Why You Should Use Polaroid Photos to Label and Organize Your Baby’s Nursery
Welcome to the beautiful, overwhelming, and deeply instinctual phase of pregnancy known as nesting, sweet mama. If you have suddenly found yourself on the floor of your baby’s room at two in the afternoon, staring at a mountain of tiny, seemingly identical white onesies, take a deep breath. You are exactly where you are supposed to be. As a doula and a mother who has walked this path, I can tell you that the urge to organize your baby’s space is more than just a desire for a pretty room—it is your heart and mind preparing to welcome a new life. But here is a secret that many first-time parents do not realize until the baby actually arrives: traditional text labels simply do not work when you are running on two hours of sleep.
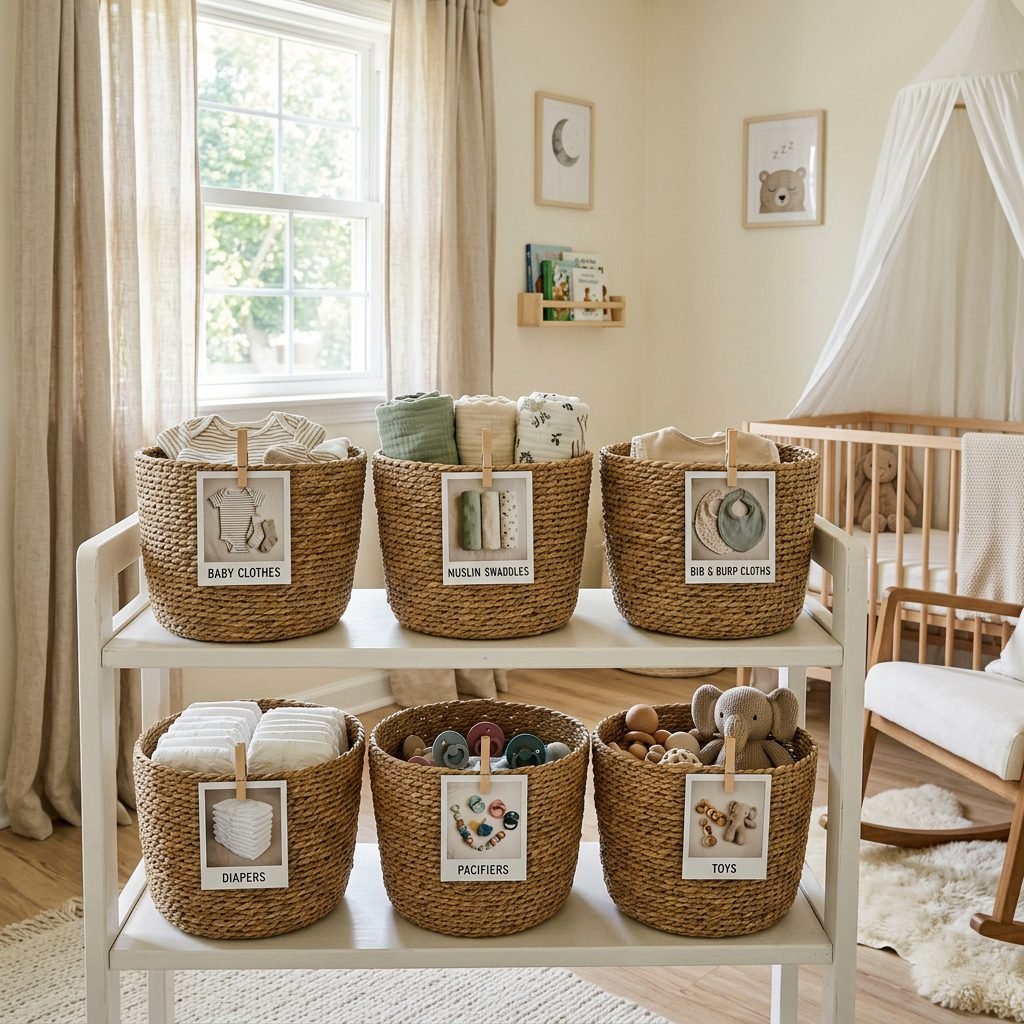
Enter the ultimate nursery organization hack: using Polaroid photos to label your baby’s bins, drawers, and baskets. This is not just an aesthetic trend you saw on a beautifully curated social media feed; it is a highly functional, deeply practical strategy designed specifically for the postpartum brain. When you are recovering from birth, navigating hormonal shifts, and learning how to feed your baby, the last thing you need is to be digging through six different canvas bins looking for a burp cloth while your little one cries. You need visual cues. You need a system that is so foolproof that your partner, your mother-in-law, and your postpartum doula can all navigate your nursery without having to ask you a single question. Today, we are going to walk through exactly why this method is a lifesaver, how to set it up step-by-step, and how it will gracefully evolve as your tiny newborn grows into an independent toddler.
The 3 AM Blowout Test: Why Visual Labels Beat Text
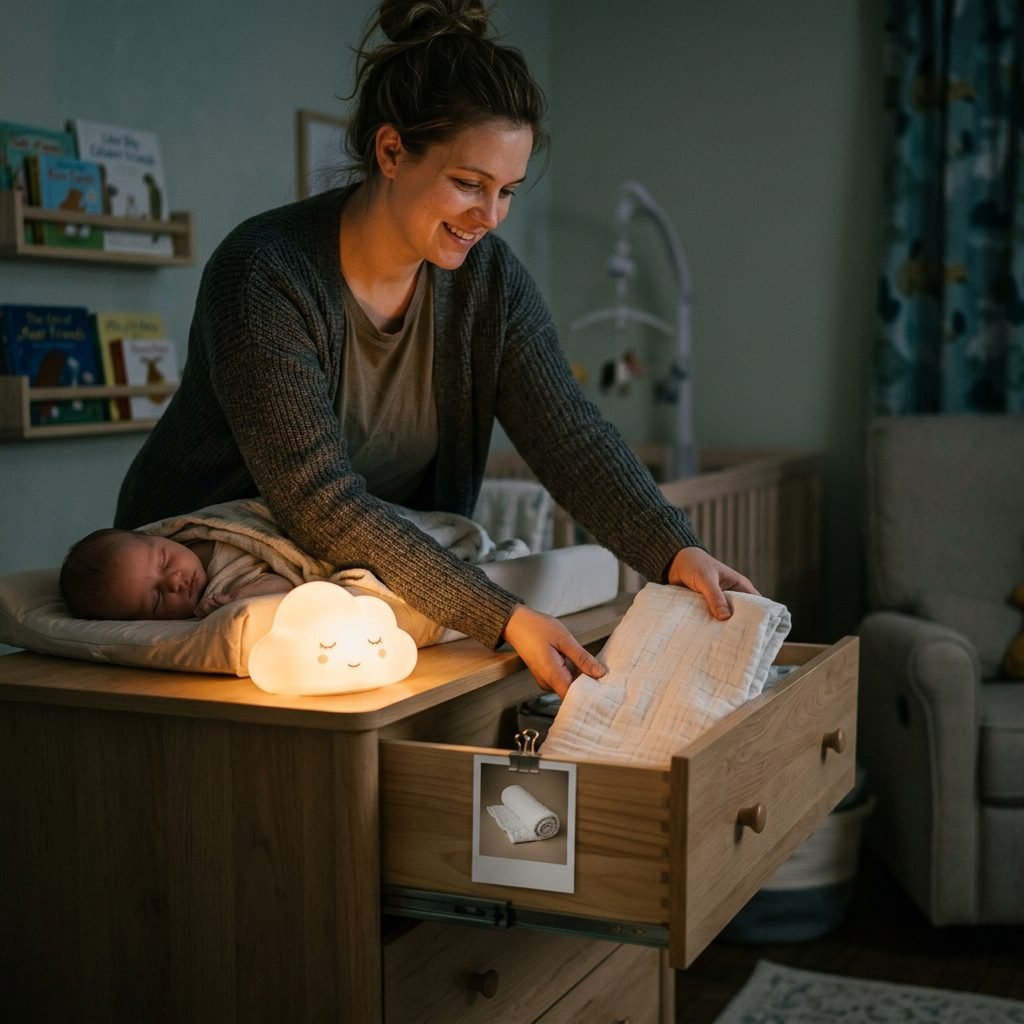
Let us paint a very realistic picture of early motherhood. It is 3:15 AM. You are operating in the dim glow of a red-light sound machine. Your baby has just had a spectacular diaper blowout that has somehow breached the boundaries of their swaddle, their pajamas, and the crib sheet. You are holding a slippery, crying infant in one arm, and you need a fresh size 0-3 month zipper sleeper, a new crib sheet, and a handful of wipes—immediately. If your nursery drawers are labeled with text from a label maker, your exhausted, sleep-deprived brain has to focus, read the text, process the words, and match them to the drawer. It sounds simple now, but in the middle of the night, cognitive load is a real hurdle.
Visual labels bypass the language processing center of your brain entirely. When you see a Polaroid photo of a folded zipper sleeper pinned to a basket, your brain registers the image instantly. There is zero translation required. This is a concept rooted in cognitive psychology, often utilized in high-stress environments to reduce decision fatigue and mental load. As a new mother, your mental load is going to be at an all-time high. You are tracking feeding schedules, wet diapers, your own physical healing, and the emotional weight of caring for a newborn. You do not need to memorize where the baby socks are kept. By using clear, bright Polaroid photos of the exact items living inside each bin, you are gifting your future self a frictionless environment. You are creating a space that cares for you, so you can focus entirely on caring for your baby.
Step-by-Step: Crafting Your Polaroid Nursery Labels
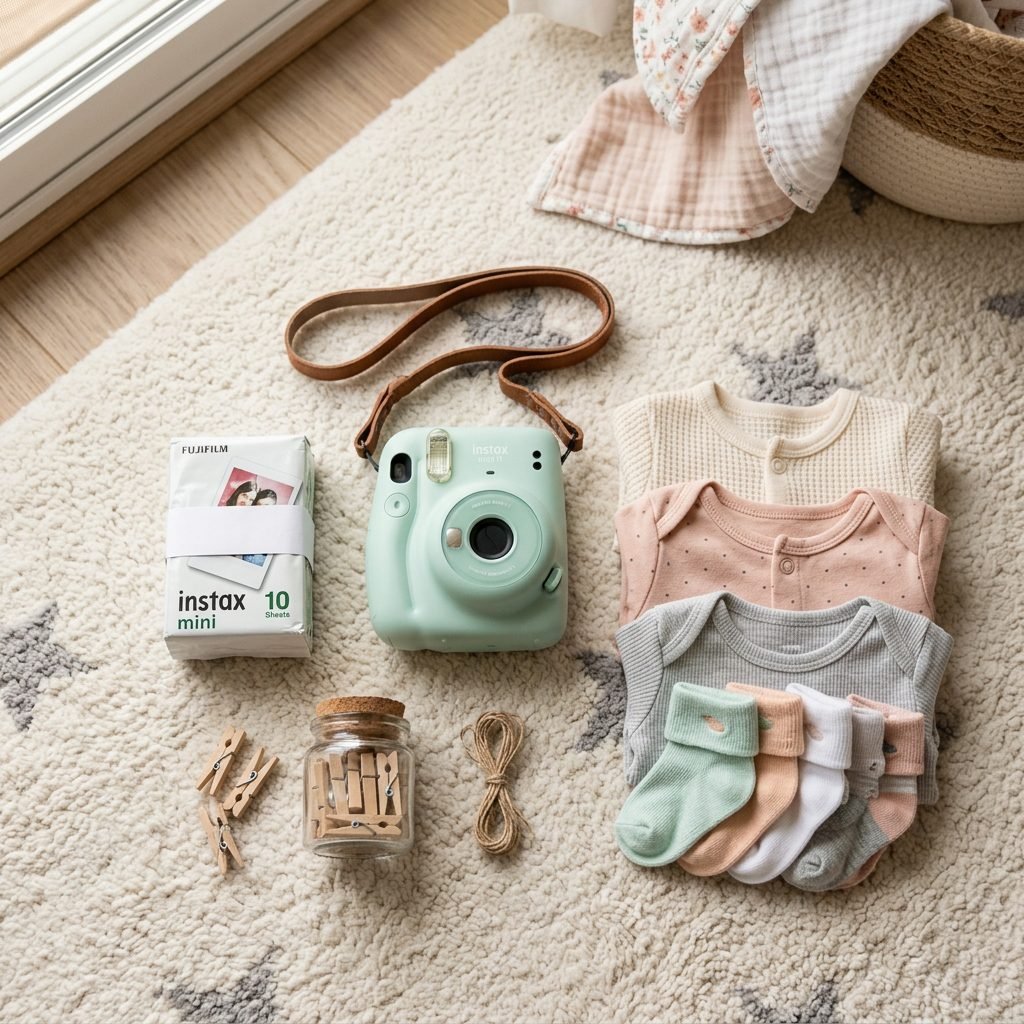
Creating this system is one of the most joyful and satisfying nesting projects you can undertake. It is tactile, creative, and incredibly productive. Whether you are using a classic Polaroid camera, a Fujifilm Instax, or a smartphone photo printer like the HP Sprocket or Canon Ivy, the process is simple and meditative. Put on your favorite soothing playlist, grab a cup of pregnancy-safe red raspberry leaf tea, and let us get started.
- Sort and Categorize: Before you take a single photo, group all of your baby items into logical categories. Keep all newborn-sized clothing together, separate from 0-3 months. Group burp cloths, swaddles, crib sheets, and diapering essentials into their own distinct piles.
- Select the Perfect Representative Item: You do not need to photograph every single item. Choose one item that perfectly represents the category. For the swaddle bin, pick your favorite patterned muslin swaddle. For the pacifier basket, choose one pacifier and lay it flat.
- Style the Shot: Find a spot in your home with bright, indirect natural light. Lay a neutral background down—a white sheet or a piece of poster board works beautifully. Fold the representative item neatly and take a clear, top-down photo. If you are using an instant camera, ensure you are close enough that the item fills the frame.
- Print and Prep: If you are using a smartphone printer, you can edit the brightness before printing to ensure the image pops. Once you have your physical photos, give them a few minutes to fully develop and dry.
- Attach Securely: This is where the magic happens. Depending on your storage bins, you have a few options. For wicker or woven baskets, use small wooden craft clothespins to clip the photo to the rim. For acrylic or solid plastic bins, use double-sided mounting tape or clear adhesive label pockets. For fabric bins, a simple safety pin through the bottom white margin of the Polaroid works perfectly.
“Nesting is not just about folding tiny clothes; it is about creating a sanctuary of predictability in a season of beautiful unpredictability. Give yourself permission to make this space work for your peace of mind.”
The Ultimate Nursery Organization Blueprint: What to Label
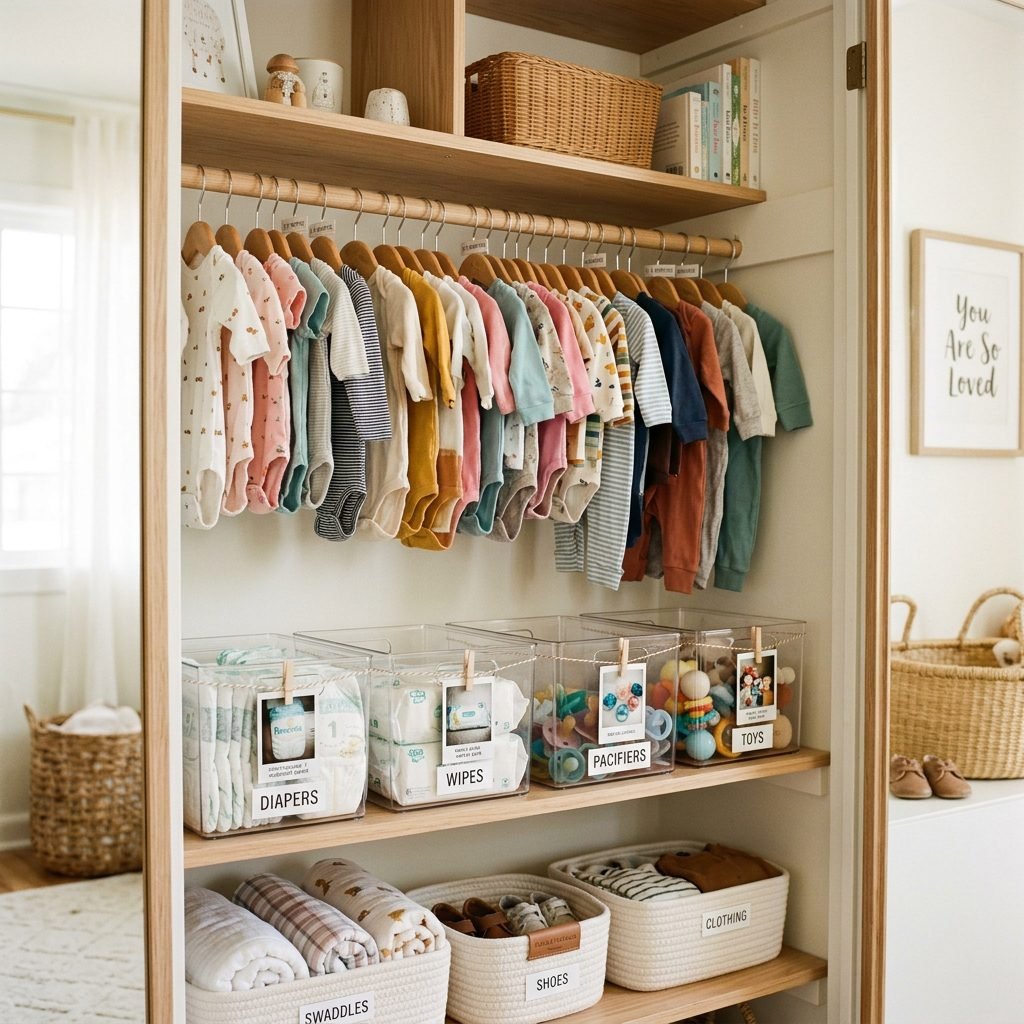
When you are staring at a mountain of baby shower gifts, it can be difficult to know exactly how granular you need to get with your organization. Do you need a separate bin for mittens and socks? Should long-sleeve onesies be separated from short-sleeve onesies? As a doula who has organized countless nurseries, my advice is to organize based on how you will dress your baby, not just by item type. Below is a comprehensive guide to the essential categories you should create and label with your Polaroid system.
| Nursery Category | Items Inside the Bin | Polaroid Photo Setup Idea | Best Storage Container Type |
|---|---|---|---|
| Newborn Clothing | NB sized onesies, pants, and sleepers | A folded NB onesie next to a wooden ‘Newborn’ milestone disc | Shallow drawer dividers or small acrylic bins |
| Size 0-3 Months | 0-3M clothing, slightly larger sleepers | A folded 0-3M sleeper with the size tag slightly visible | Medium canvas baskets inside a closet system |
| Swaddles & Sleep Sacks | Muslin blankets, velcro swaddles, transitional sacks | A neatly rolled muslin blanket tied with a soft ribbon | Large woven floor basket or deep drawer |
| Diapering Essentials | Extra wipes, diaper cream, spatulas, extra diapers | A single clean diaper laid flat next to a tube of cream | Tiered rolling utility cart (e.g., IKEA Raskog) |
| Feeding & Burp Cloths | Cloth diapers used as burp rags, bibs, nursing pads | A stack of three folded white burp cloths | Small tabletop basket near the nursing glider |
| Postpartum Care for Mom | Mesh underwear, peri bottle, cooling pads, nipple butter | A peri bottle and a soothing gel pad | Discreet opaque basket tucked into the diaper cart |
A vital tip for expectant mothers: Do not forget to create a dedicated space for your own postpartum recovery items in the nursery. While you will likely have a primary setup in your bathroom, having a backup stash of nursing pads, nipple cream, and a large water bottle in the nursery will save you during marathon cluster-feeding sessions. Labeling this bin ensures your partner can grab your supplies just as quickly as they can grab a fresh diaper.
Caregiver-Proofing: Helping Partners and Grandparents Help You
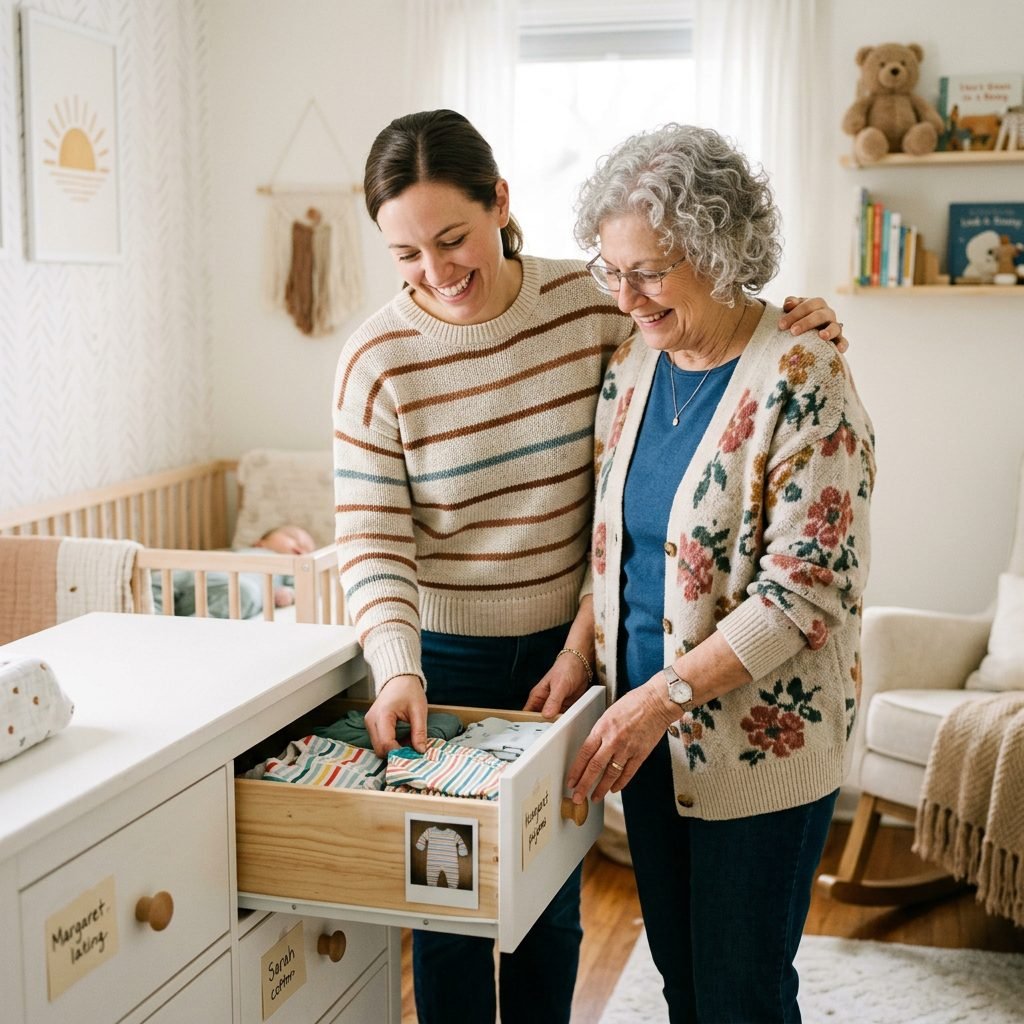
One of the most profound benefits of the Polaroid organization method is how it drastically reduces the maternal mental load. In many households, the mother inadvertently becomes the “default parent”—the keeper of the inventory, the only one who knows that the size 3-6 month clothes are in the top right drawer, while the 6-9 month clothes are in the bottom left. When well-meaning partners, grandparents, or babysitters try to help put away laundry or dress the baby, they often have to interrupt the mother to ask where things go. This means that even when you are resting, your brain is still managing the household.
By implementing a highly visual, idiot-proof system, you are empowering your village to support you autonomously. When your mother-in-law finishes a load of baby laundry, she does not need to guess where the sleep sacks go; she just matches the physical item to the picture on the basket. When your partner is on duty for the midnight diaper change, they know exactly which drawer holds the fresh crib sheets. It removes the friction of asking and answering questions, fostering a more collaborative caregiving environment.
“Hey honey, I have organized the nursery using photos on all the bins. Everything goes exactly where its picture is. If you are ever putting away laundry or grabbing a fresh outfit, just match the item to the Polaroid. It will save us both so much time!”
Using a simple script like the one above sets the expectation early on. It gently communicates that the system is established and easy to follow, inviting your partner to take full ownership of nursery maintenance alongside you. It is a small organizational choice that yields massive dividends for your relationship and your peace of mind during the postpartum period.
Growing With Your Baby: From Nursery to Toddler Playroom
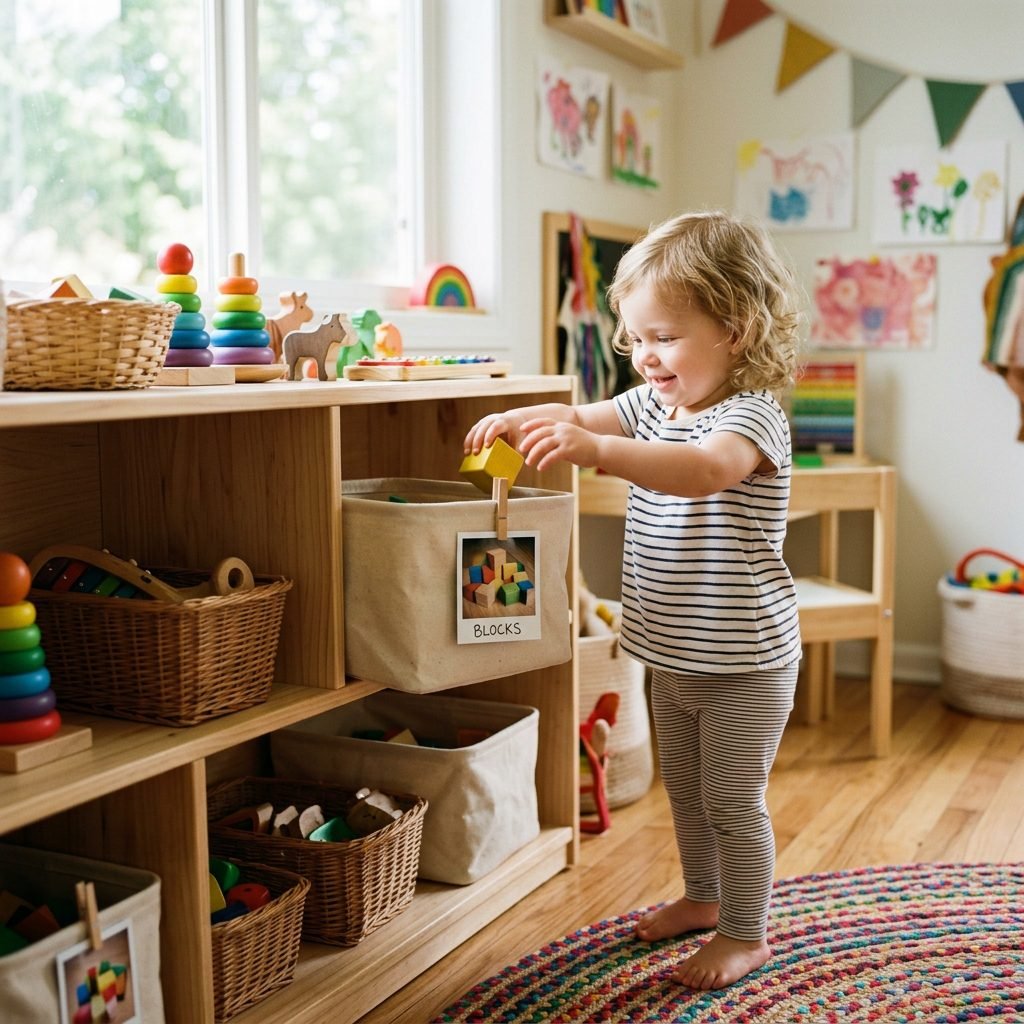
The beauty of the Polaroid labeling system is that it is not just a temporary hack for the newborn phase; it is a long-term organizational strategy that perfectly aligns with Montessori principles of child development. As your tiny baby grows into an active, curious toddler, their environment needs to shift to support their emerging independence. Around the age of 18 to 24 months, toddlers enter a sensitive period for order. They thrive on predictability and love knowing exactly where things belong.
When your storage bins are labeled with photographs, you are providing your toddler with the visual cues they need to participate in their own daily routines. You can transition the Polaroid photos from baby onesies to toddler items: a picture of wooden blocks on the block bin, a picture of toy cars on the vehicle bin, and a picture of stuffed animals on the plush basket. When it is time for clean-up, you no longer have to do it all yourself. You can turn it into a matching game.
- Encourages Independence: Toddlers can confidently choose their own toys and, more importantly, put them away correctly without being able to read text labels.
- Builds Vocabulary: Pointing to the picture of the “socks” and then finding the physical socks helps bridge the gap between visual representation and language.
- Reduces Tantrums: When a child knows exactly where their favorite toy lives, it reduces the frustration of feeling out of control in their environment.
To transition your system, simply snap new photos as your child’s interests and clothing sizes change. It is a living, breathing organizational method that grows seamlessly alongside your family, proving that the best nursery hacks are the ones that endure well beyond the fourth trimester.
Conclusion
Nesting is such a profoundly special time, mama. It is your heart’s way of making physical space for the immense love that is about to enter your home. By taking the time to implement this Polaroid photo organization system, you are doing so much more than just making a Pinterest-worthy nursery. You are actively caring for your future, sleep-deprived self. You are building a system that supports your partner, empowers your village, and eventually teaches your growing toddler the beauty of a peaceful, orderly space. Take it one photo, one bin, and one folded tiny onesie at a time. You are going to be an incredible mother, and your baby is so lucky to be coming home to such a thoughtfully prepared space.