How to Use a Bookshelf as a Room Divider for Your Bedroom Nursery Nook
Creating a Sanctuary Within a Sanctuary
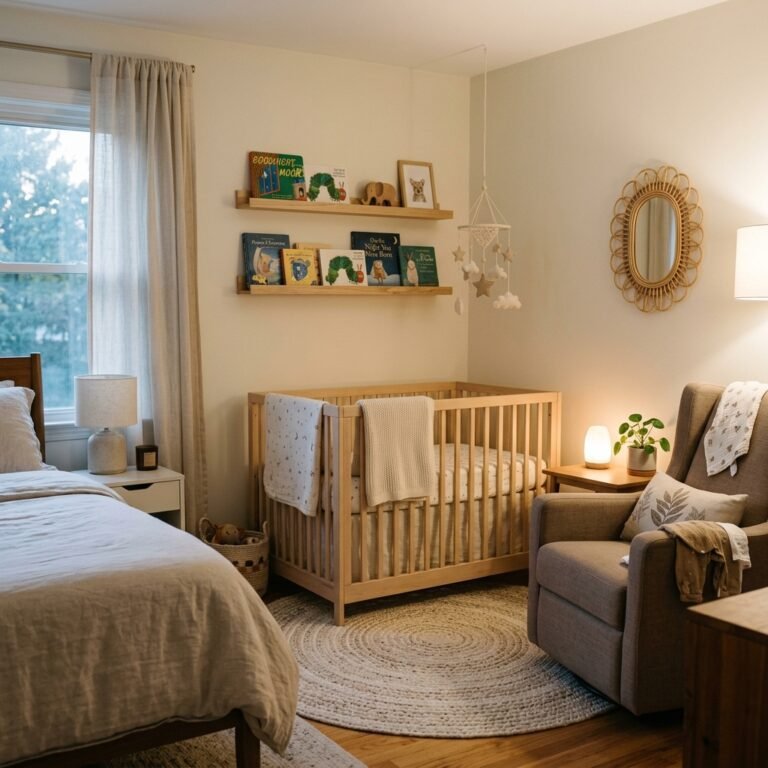
Hello, mama. If you are reading this, you are likely in the thick of the nesting phase, that beautiful, frantic, and deeply emotional time where every fiber of your being wants to prepare a perfect spot for your little one. But let’s be real for a moment: not every home comes with an extra bedroom just waiting to be turned into a Pinterest-perfect nursery. Perhaps you are living in a cozy city apartment, or maybe you simply want to keep your baby close during those first six to twelve months as recommended by pediatric experts. Whatever your reason, creating a ‘nursery nook’ in your master bedroom is a brilliant, intimate solution.
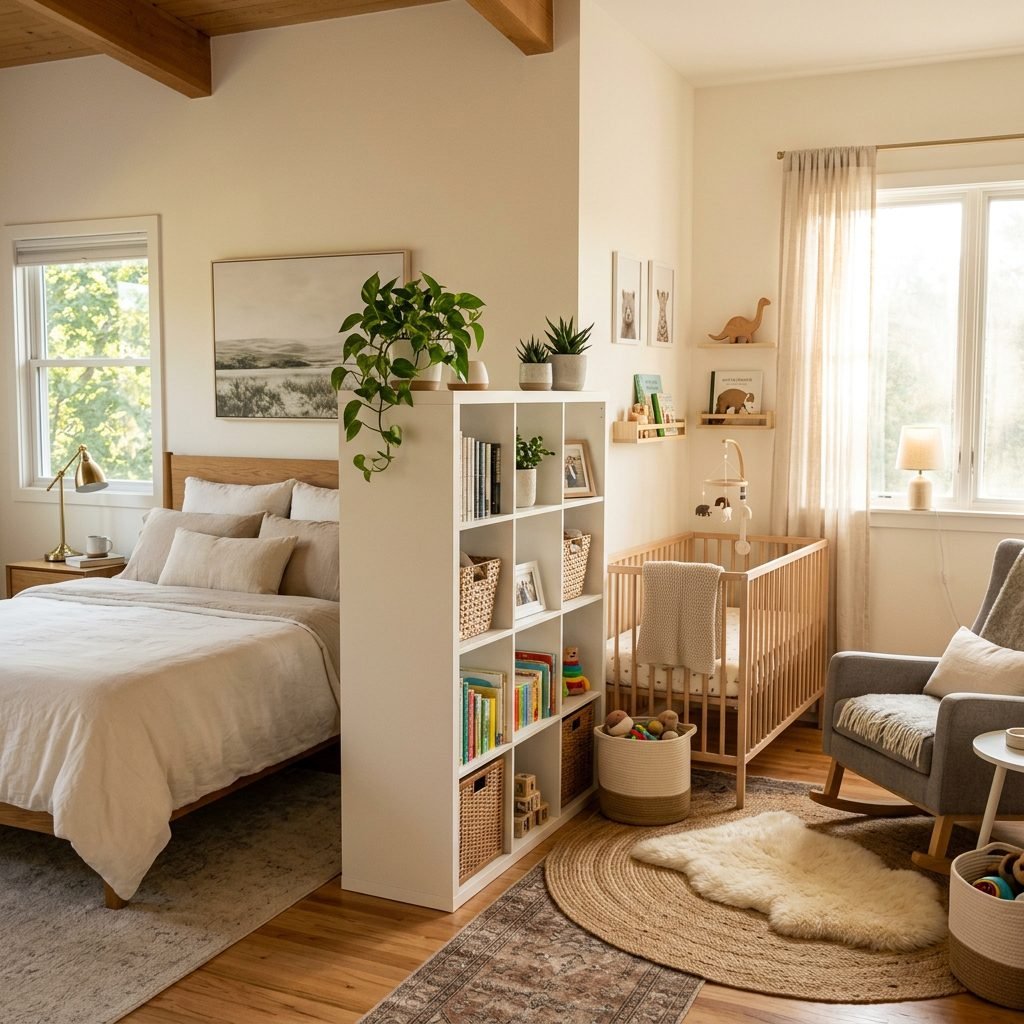
Using a bookshelf as a room divider is one of my favorite doula-approved ‘small space hacks.’ It provides the physical separation you need to feel like you still have an adult sanctuary, while giving your baby a dedicated, organized space of their own. It’s about more than just furniture; it’s about creating boundaries for your mental health while fostering a close bond with your newborn. In this guide, we are going to walk through exactly how to choose, secure, and style a bookshelf to create a functional and dreamy nursery nook that feels like a hug for your whole family.
Remember, mama: your baby doesn’t need a 500-square-foot palace. They need a safe place to sleep, a clean place for changes, and your heartbeat nearby. You are doing an amazing job.
Selecting the Perfect Divider: Form Meets Function
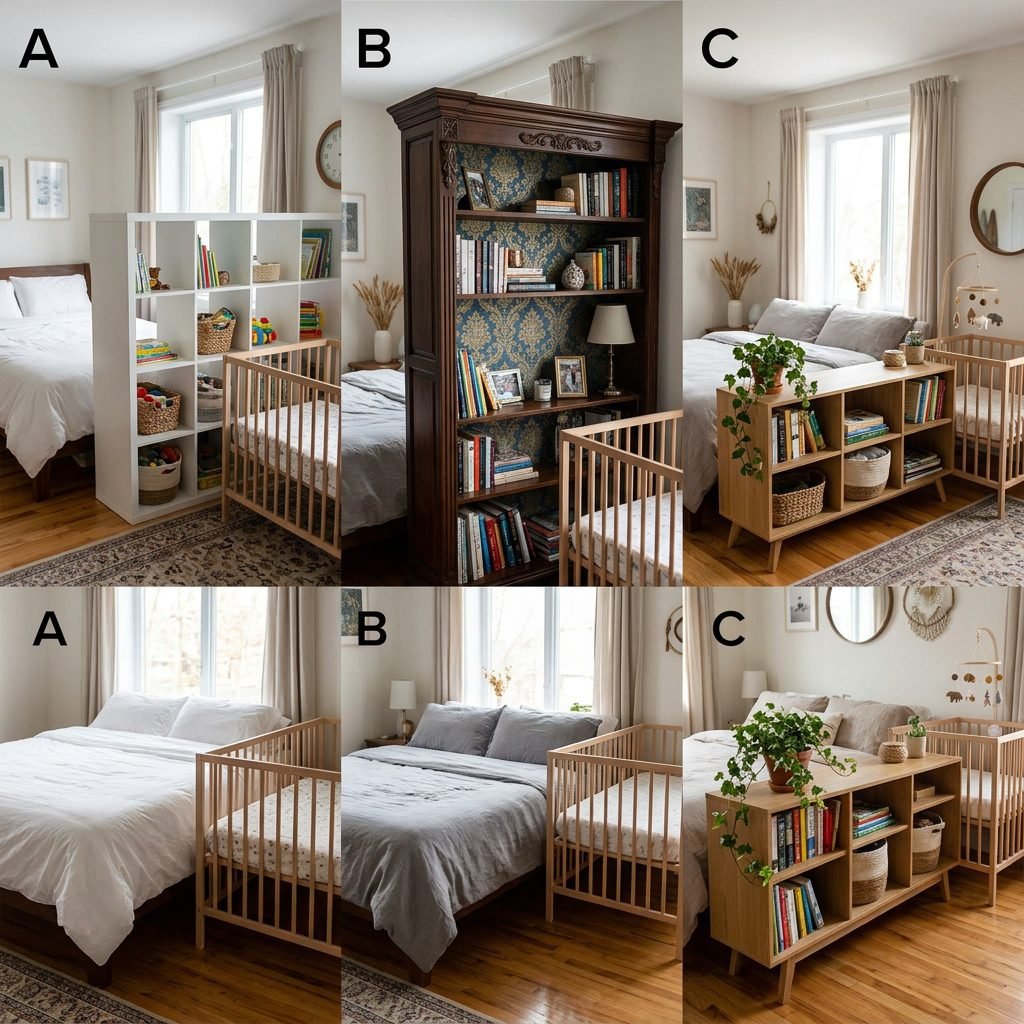
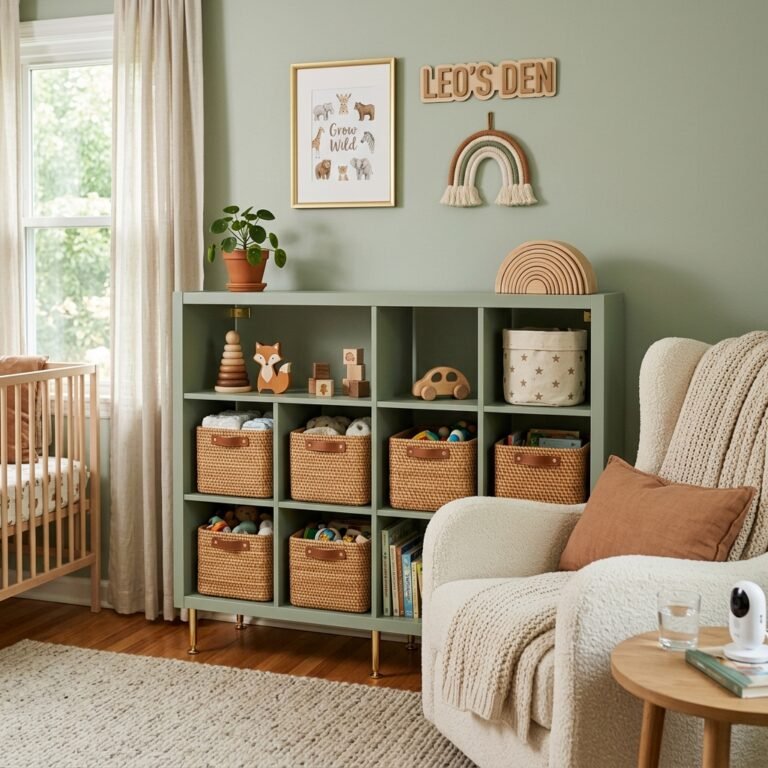
When you are looking for a bookshelf to act as a wall, you have to think differently than if you were just placing it against a flat surface. You need something that looks good from both the ‘front’ and the ‘back,’ or a unit that is open-backed (cubby style). The gold standard for this, as many crafty moms know, is the IKEA Kallax or similar cube storage systems. These are deep enough to be stable but open enough to let light pass through, so your bedroom doesn’t feel like a dark cave.
Consider the height carefully. A waist-high bookshelf (about 30 to 40 inches) creates a visual boundary without blocking your view of the baby from your own bed. A taller unit (59 inches or more) offers more privacy and light blocking, which can be a godsend during daytime naps. Here is a quick comparison to help you decide which style fits your lifestyle:
| Bookshelf Style | Pros | Cons |
|---|---|---|
| Open Cube (e.g., Kallax) | Access from both sides, lets in light, highly customizable. | Can look cluttered if not organized with bins. |
| Solid Back Library Style | Complete visual privacy, acts like a real wall. | Blocks light, back side looks ‘unfinished’ without DIY work. |
| Low Horizontal Console | Keeps the room feeling airy, easy to see baby. | Less storage space, minimal sound/light blocking. |
Pro Tip for the ‘Unfinished’ Back
If you choose a bookshelf with a thin, ugly cardboard backing, don’t fret! You can easily dress up the ‘back’ side (the side facing your bed) with peel-and-stick wallpaper, a coat of paint, or even a stretched piece of beautiful fabric. This makes the unit look like a custom piece of furniture rather than a temporary fix.
Safety First: The Non-Negotiable Doula Checklist

Mama, I need you to hear me on this: Safety is the most important part of this project. A bookshelf standing in the middle of a room is a potential tip hazard once your baby starts to roll, crawl, and eventually pull themselves up. Even before they are mobile, an earthquake or an accidental bump from a tired parent can be dangerous.
- Anchor it to a side wall: You MUST secure at least one side of the bookshelf to a wall stud using L-brackets or heavy-duty furniture straps.
- Weight distribution: Place your heaviest items—like stacks of board books or extra boxes of wipes—on the bottom shelves. This lowers the center of gravity and makes the unit much more stable.
- Avoid ‘Climbable’ Bins: Once baby is older, they will try to use the cubbies as a ladder. Choose soft fabric bins rather than hard plastic or wood for the lower levels.
- The 2nd Row Rule: Do not place heavy frames, lamps, or humidifiers on the very top of a free-standing divider. One bump and they could fall into the crib.
Affirmation: I am creating a safe, secure, and loving environment for my baby to grow. My home is a sanctuary of protection.
The Art of the Two-Sided Storage System
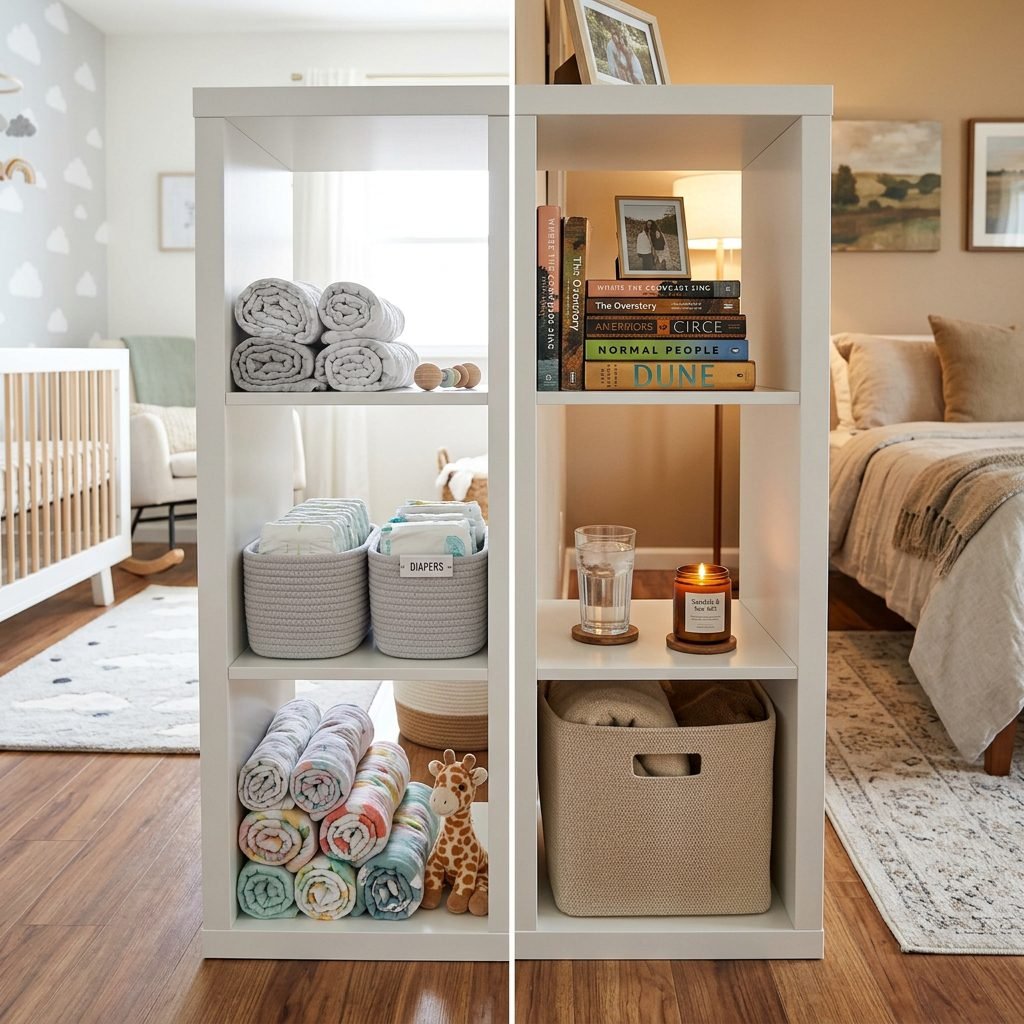
The magic of a bookshelf divider is that it serves two masters. The side facing the ‘nursery’ should be purely functional for baby care, while the side facing your ‘master suite’ should help you feel like a relaxed adult. This dual-purpose approach is the key to small-space sanity.
The Nursery Side (The ‘Care Station’)
Use the middle shelves (at waist height) for items you need quickly and frequently. This prevents you from having to bend down too much while recovering from birth. I recommend using woven or labeled bins to keep things tidy:
- Top Cubbies: Diapers, wipes, and diaper cream (out of reach of curious hands).
- Middle Cubbies: Swaddles, burp cloths, and clean onesies.
- Bottom Cubbies: Heavier items like extra blankets or toy bins.
The Bedroom Side (The ‘Mama Station’)
On the side facing your bed, use the shelves to reclaim your identity. This is where you put your nursing water bottle, your current read, a small dimmable lamp for late-night feeds, and maybe a calming succulent. By keeping your ‘adult’ items on this side, you maintain a mental boundary between ‘Mom Mode’ and ‘Rest Mode.’
| Shelf Level | Nursery Side Use | Bedroom Side Use |
|---|---|---|
| Top | White noise machine, monitor | Small plant, aromatherapy diffuser |
| Middle | Diapering essentials | Current books, hydration station |
| Bottom | Bulk wipes, toy storage | Slippers, extra bed linens |
Managing Light and Sound for Better Sleep
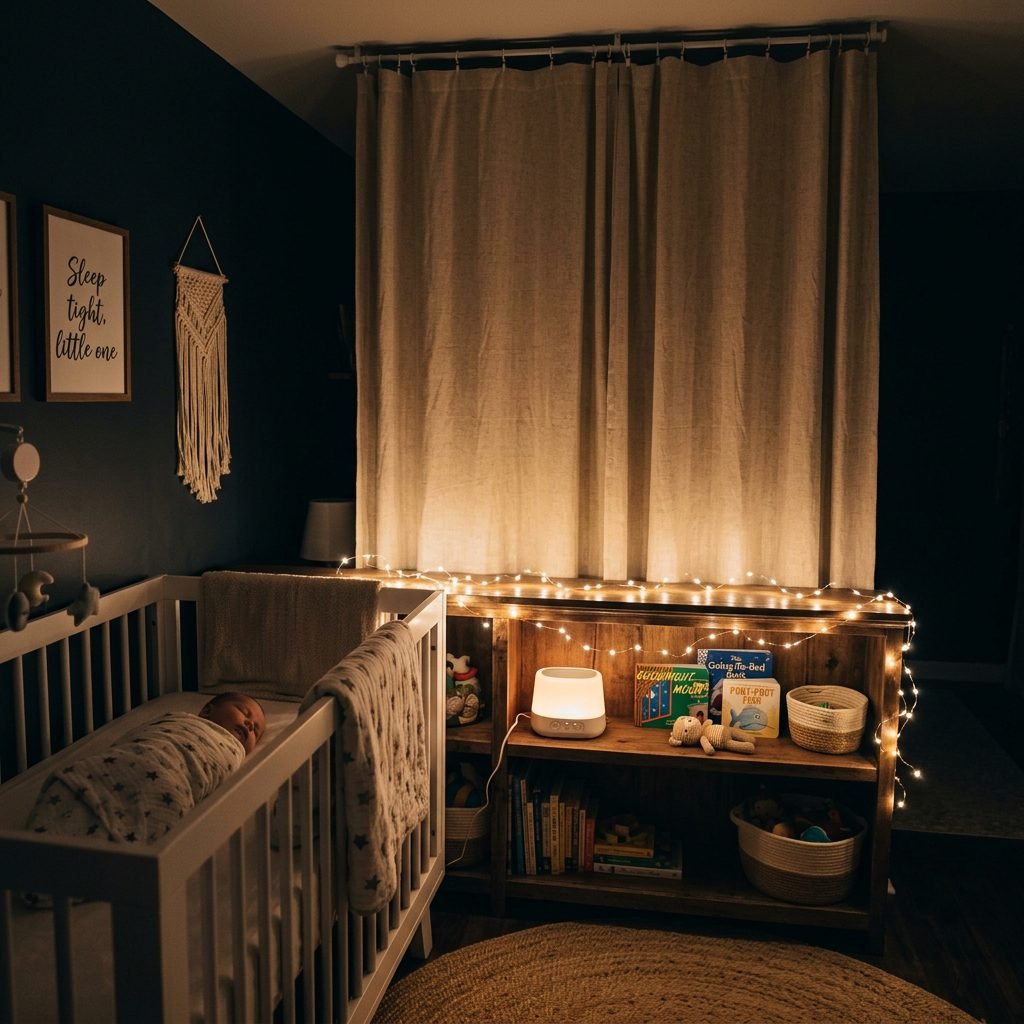
One of the biggest challenges of a shared room is that your movements might wake the baby, or the glow of your phone might disturb their sleep. A bookshelf divider offers a physical skeleton that you can use to create a sensory barrier.
To block light effectively, consider adding a tension rod between the top of the bookshelf and the ceiling, or simply draping a thick, aesthetic quilt over the back of the unit. This creates a ‘blackout’ effect for the baby’s side even if you have your bedside lamp on to read. Sound management is also crucial. Placing a white noise machine on a shelf inside the divider helps create a consistent ‘sound wall’ that muffles the noise of you opening a closet door or climbing into bed.
Creating the ‘Nook’ Atmosphere
To make the nursery side feel like its own room, try these styling tips:
- Peel-and-Stick Stars: Apply them to the ‘ceiling’ of the bookshelf cubbies on the baby’s side.
- Battery-Operated Fairy Lights: String them along the top for a soft, magical glow that won’t strain your eyes during 3 AM diaper changes.
- Small Rug: Place a small, plush rug specifically in the ‘nook’ area to define the space and dampen the sound of footsteps.
The Step-by-Step DIY Setup Guide
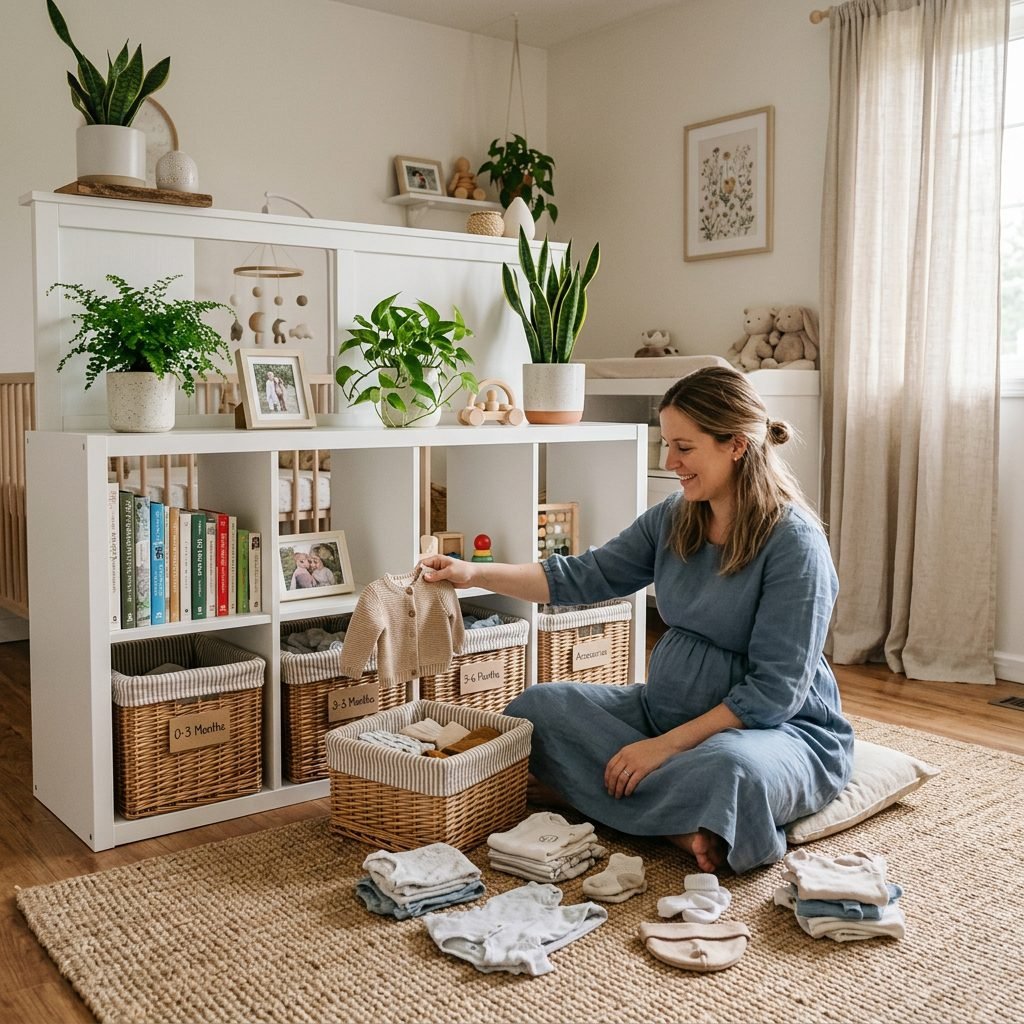
Ready to build? Follow this sequence to ensure your nursery nook is ready before your due date. I recommend doing this around the 32nd to 34th week—you’ll still have enough energy to move (with help!), but it’s close enough that the space won’t get dusty before baby arrives.
- Measure Twice: Measure the distance from your bed to the wall. Ensure there is at least a 36-inch walkway so you don’t trip in the dark.
- Assemble in Place: If you are using a large unit, assemble it in the bedroom. Trying to squeeze a 4×4 Kallax through a bedroom door is a recipe for frustration!
- The Anchor Phase: Use your drill and wall anchors. If you are a renter, look for no-drill furniture straps that can be secured to the wall with heavy-duty adhesive or small brad nails.
- The ‘Shake Test’: Once anchored, give the shelf a firm shake. It should not budge. If it wobbles, re-tighten your brackets.
- Style the ‘Zones’: Place your bins and items according to the ‘Two-Sided’ strategy we discussed.
- Test the Lighting: Sit on your bed and turn on your lamp. Check if the light spills directly into the crib area. Adjust your curtains or backing as needed.
Doula Tip: Keep a ‘Postpartum Basket’ on the shelf facing your bed. Fill it with high-protein snacks, nipple cream, and extra hair ties. You’ll thank me later!
Conclusion
Your Beautiful, Shared Journey
Mama, creating a nursery nook with a bookshelf divider is a testament to your creativity and your love. You are proving that you don’t need a massive house to provide a high-quality, nurturing environment for your baby. By using these simple design hacks, you’ve created a space where you can recover, rest, and bond with your little one in a way that feels organized and intentional.
As you sit in your bed and look over at that little divider, know that it represents the beautiful boundary you are building—one that keeps your baby safe and close, while still honoring the woman you are. Take a deep breath, enjoy the scent of those freshly laundered onesies, and get some rest. You’ve built a beautiful nest.