How to Transform an IKEA Kallax Shelf into Beautiful Nursery Toy Storage
Hello there, sweet mama. I can almost feel the excitement (and maybe a little bit of that nesting-induced adrenaline) radiating through the screen. Whether you are currently cradling a growing bump or you are navigating the beautiful, blurry days of early postpartum, I want you to take a deep breath. You are doing an incredible job. As a doula, I’ve spent countless hours in nurseries, and I’ve seen firsthand how a cluttered space can lead to a cluttered mind. When the toys start to pile up—and oh, they will—having a system that is both beautiful and functional is a gift you give to your future self.
Today, we are talking about the ultimate chameleon of the nursery world: the IKEA Kallax. It is affordable, sturdy, and quite literally a blank canvas. But we aren’t just going to put it together and call it a day. No, mama, we are going to transform it into a piece that looks like it came from a high-end boutique, tailored perfectly to your home’s aesthetic and your baby’s developmental needs. Let’s roll up our sleeves and create a space that feels like a sanctuary for both you and your little one.
Why the Kallax is the Doula’s Choice for Nursery Wellness
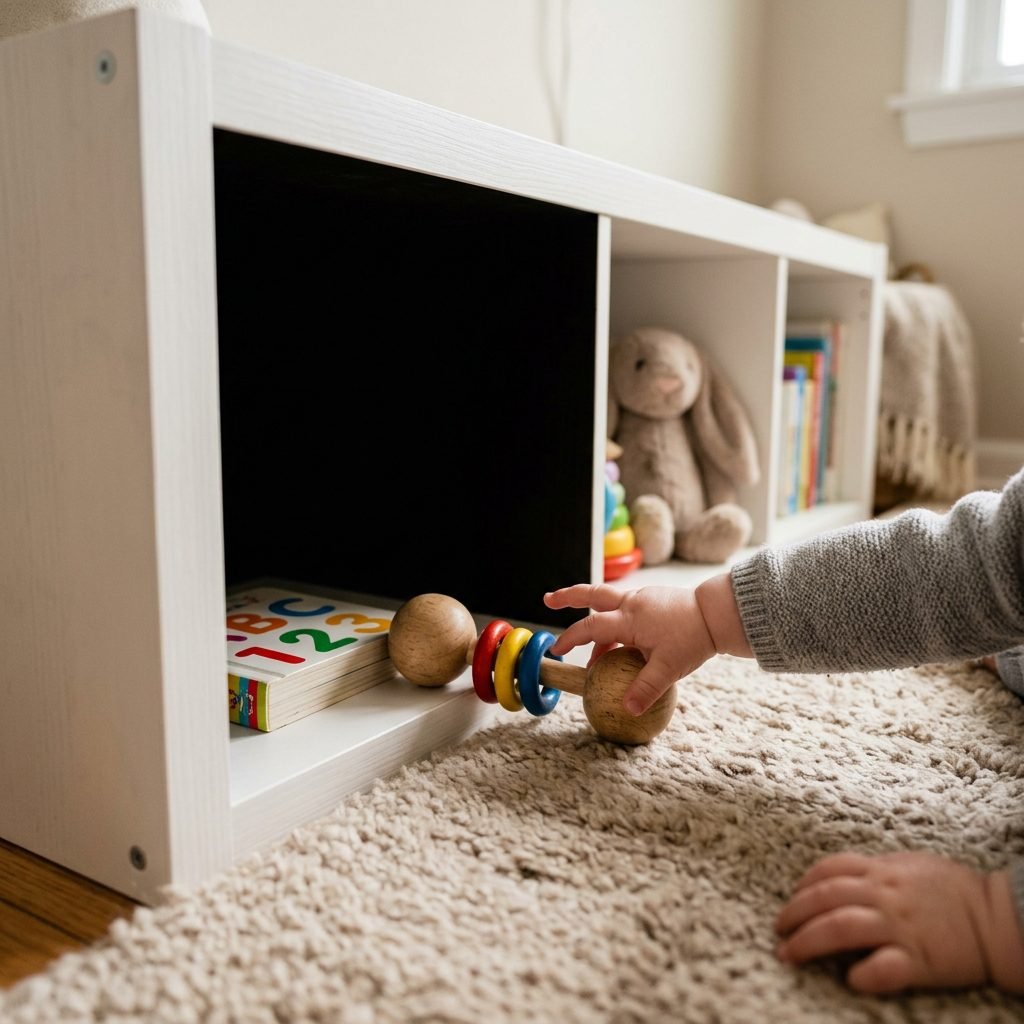
In my years supporting families, I have found that the environment we live in deeply impacts our nervous system. For a new mother, a room filled with chaotic piles of brightly colored plastic can feel overstimulating. The Kallax offers what I call ‘Visual Quiet.’ By using a grid system, we create a predictable, structured environment for your baby to explore. This isn’t just about ‘cleaning up’; it is about creating a sensory-friendly zone where your baby can focus on one toy at a time without being overwhelmed by ‘the toy mountain.’
The Benefits of Low-Profile Storage
- Promotes Independence: When the Kallax is placed horizontally, it is the perfect height for a crawling baby or toddler to reach their own treasures.
- Safety First: Its wide base makes it much sturdier than tall, narrow bookshelves, though we will always prioritize anchoring it.
- Affordability: Saving money on the shelf means you can invest more in organic crib mattresses or that high-quality nursing glider you’ve been eyeing.
Your nursery should be a place where you feel peace, not a place that adds to your ‘to-do’ list. Simplicity is the highest form of nursery sophistication.
Safety First: The Non-Negotiable Foundations
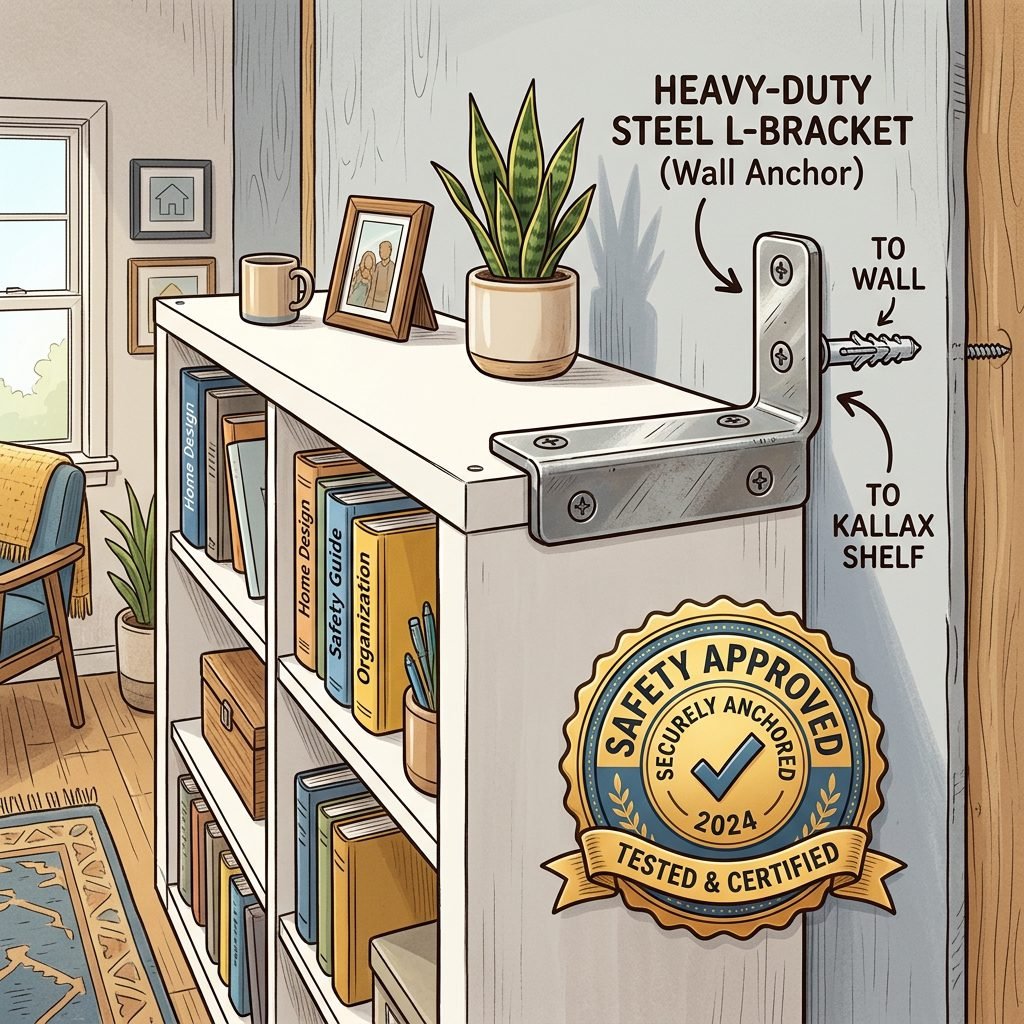
Before we get to the ‘pretty’ parts, we have to talk about the ‘safe’ parts. As your doula, your safety and your baby’s safety are my absolute priorities. Once your little one starts pulling themselves up—which happens in the blink of an eye, I promise—that shelf becomes a tempting ladder. We must ensure it is rock-solid.
The Golden Rules of Kallax Safety
First and foremost, anchor it to the wall. IKEA provides the hardware, but if you have thick baseboards, you may need to purchase ‘L-brackets’ from a hardware store to ensure a flush, secure fit against the studs. Secondly, if you are painting or staining your shelf, you must use Zero-VOC, baby-safe paint. Babies explore with their mouths, and we want to ensure no nasty chemicals are off-gassing in their sleeping environment.
| Safety Feature | Why It Matters | Mama’s Action Step |
|---|---|---|
| Wall Anchoring | Prevents tip-overs during climbing | Use L-brackets into wall studs |
| Zero-VOC Paint | Protects respiratory health | Choose brands like Ecos or Heirloom Traditions |
| Edge Protectors | Softens sharp corners for new walkers | Apply clear silicone corner guards |
| Weight Distribution | Keeps the unit stable | Place heaviest books/toys in bottom cubbies |
The Aesthetic Glow-Up: Customizing Your Look
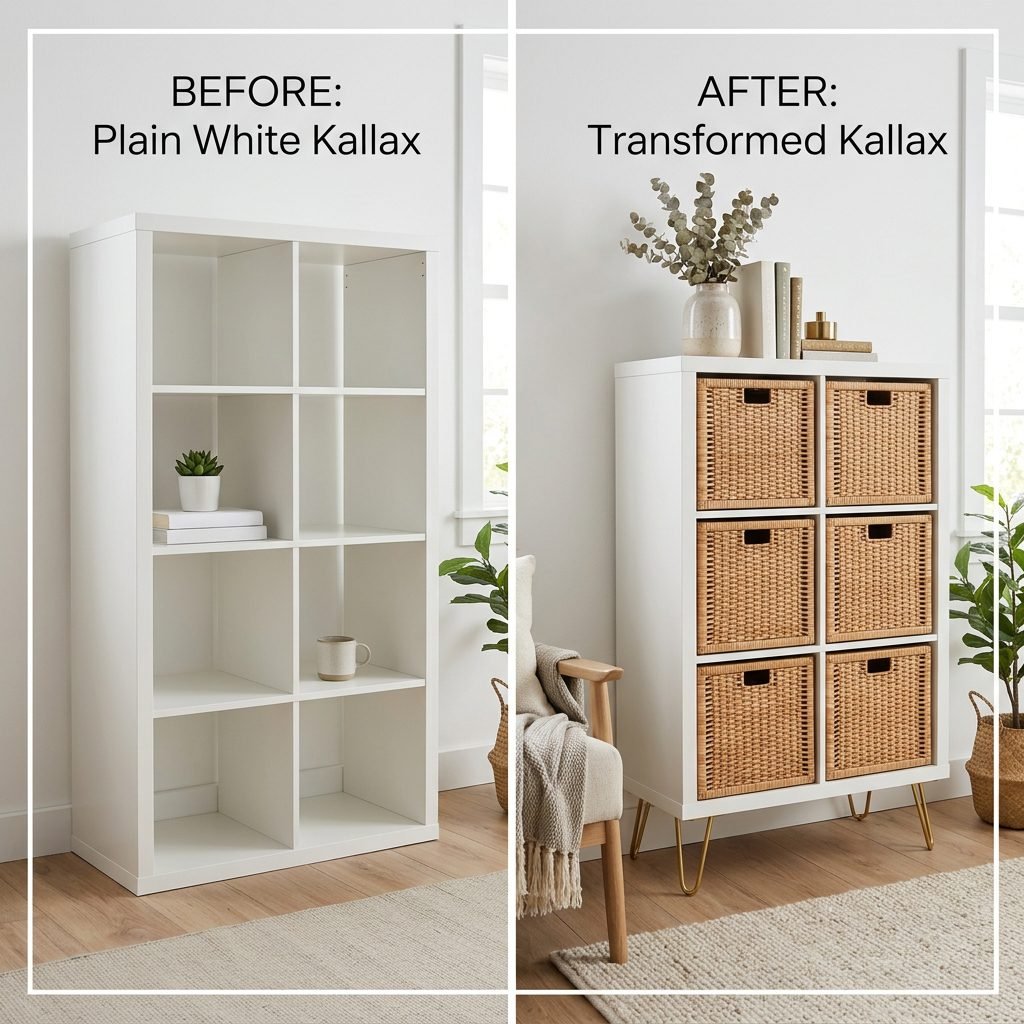
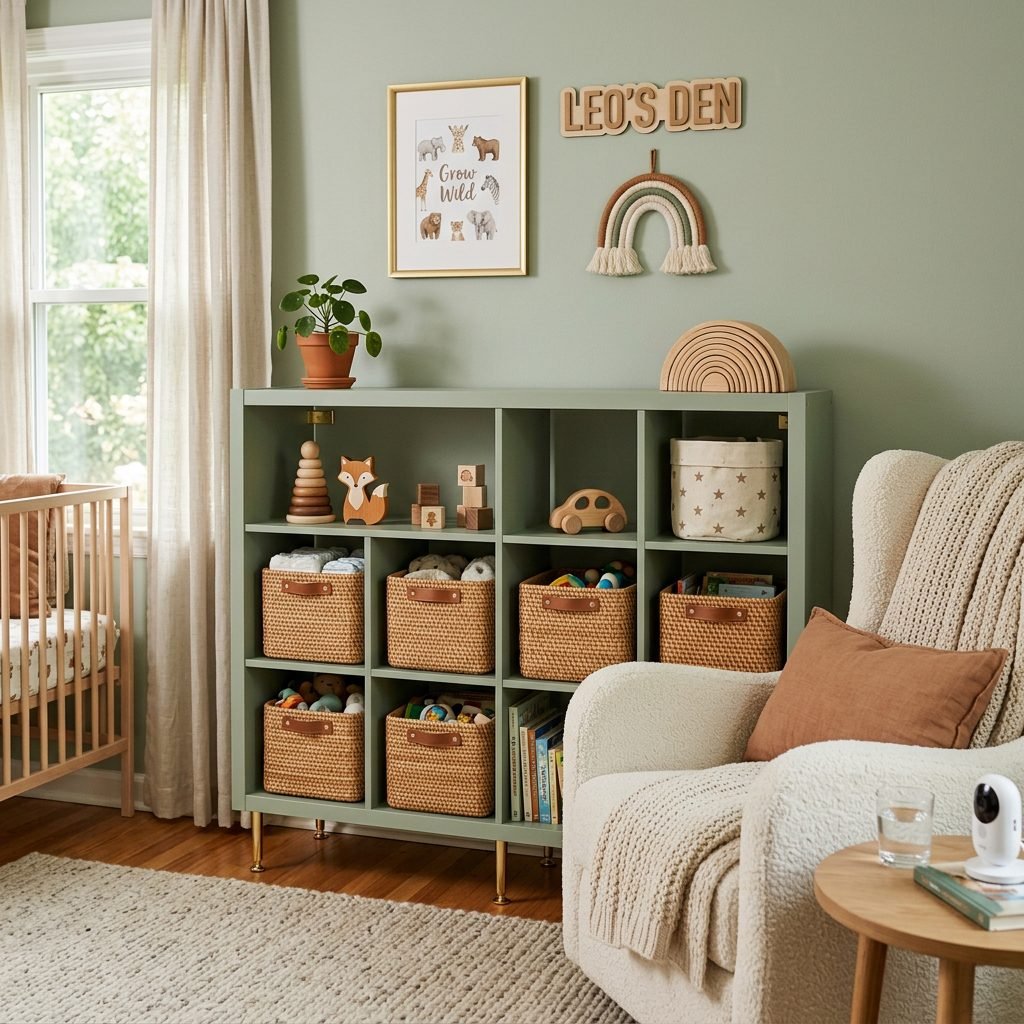
Now for the fun part! The standard white or wood-effect Kallax can look a bit ‘dorm room’ if left alone. We want ‘Designer Nursery.’ The easiest way to elevate the look is by adding furniture legs. Elevating the unit just 4 to 6 inches off the ground completely changes its silhouette, making it look like a custom sideboard rather than a boxy shelf.
Three Ways to Customize
- Add Mid-Century Modern Legs: Purchase a set of four tapered wooden legs. You will need a ‘top plate’ hardware set to screw them into the bottom of the Kallax frame.
- The Overlay Trick: Companies like O’verlays sell fretwork panels that fit perfectly over the front of Kallax drawers, giving it a high-end Chinoiserie or geometric look.
- Contact Paper Magic: Line the back of the cubbies with a soft floral wallpaper or a linen-textured contact paper. This adds depth and a pop of personality every time you look at the shelf.
If you choose to paint, I recommend a soft, muted palette. Think sage greens, dusty roses, or a warm terracotta. These colors are proven to have a calming effect on both infants and tired parents.
The Montessori Method: Organizing for Development
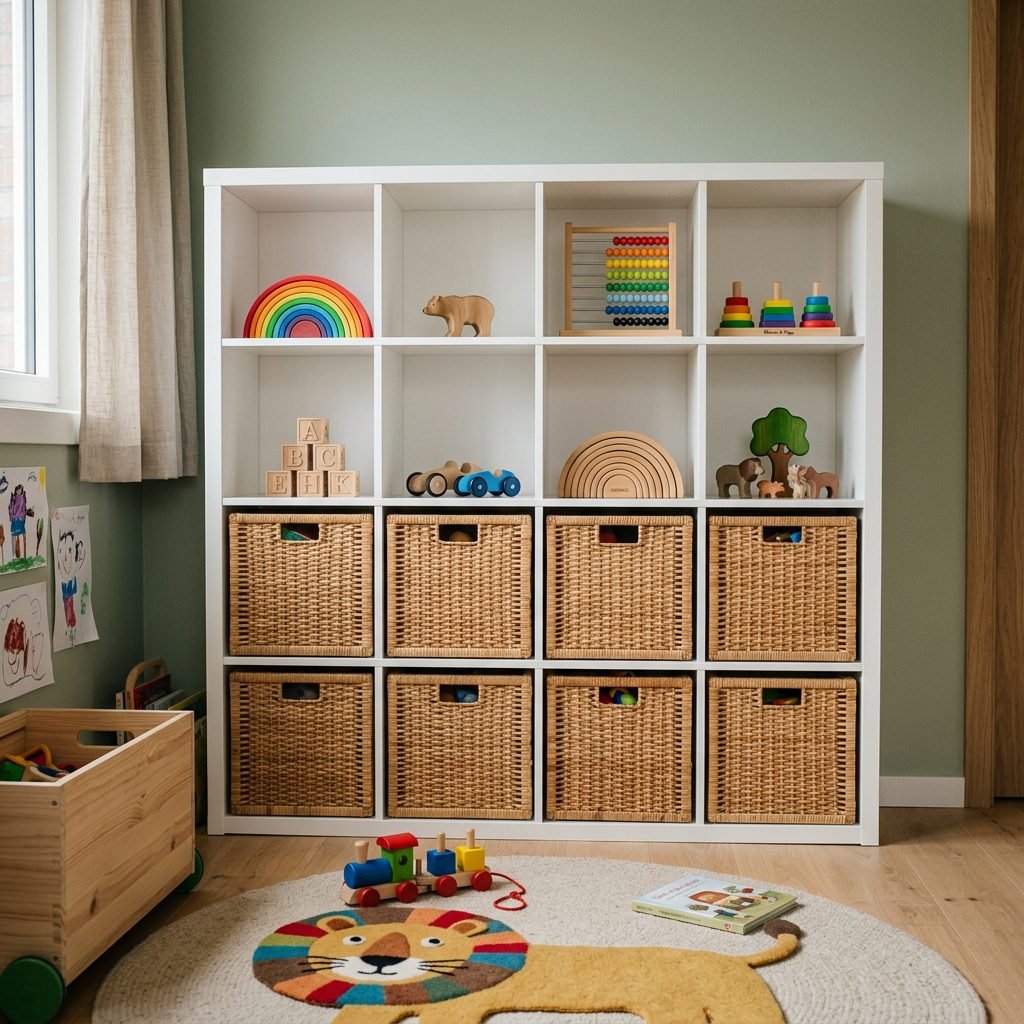
In the Montessori philosophy, ‘less is more.’ Instead of cramming every cubby with a bin full of toys, try a Toy Rotation System. Use the top row for items you want to keep out of reach (like heavy books or delicate keepsakes) and the bottom row for your baby’s current favorites.
How to Structure Your Cubbies
I suggest a mix of open shelving and closed bins. Open shelving allows the baby to see their options, which encourages ‘purposeful play.’ Closed bins are for the ‘messy’ items—the wooden blocks, the soft plushies, or the extra swaddles. Use natural materials like seagrass, rattan, or organic cotton rope for your bins to keep the sensory experience grounded and natural.
| Storage Type | Best For… | Doula Tip |
|---|---|---|
| Open Cubby | Montessori wooden toys, puzzles | Display only 1-2 items per cubby |
| Rattan Baskets | Blocks, balls, musical instruments | Easier for baby to pull out and explore |
| Fabric Bins | Extra blankets, burp cloths | Hides the ‘visual clutter’ of textiles |
| Insert Drawers | Diapering supplies, small pacifiers | Keep these in the top row for easy access |
Step-by-Step: Adding a Custom Backing and Legs
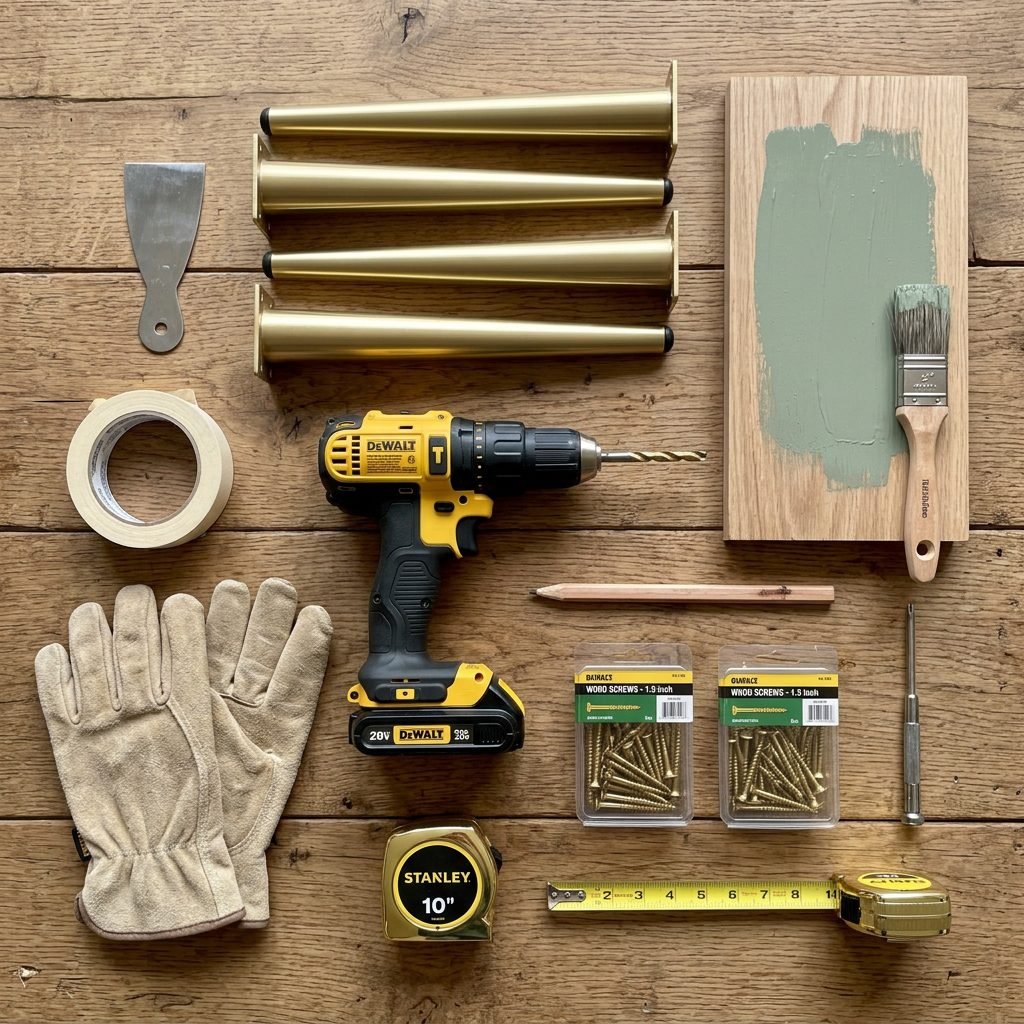
Ready to get crafty? This is a project you can easily finish in a weekend (or a few nap times!). Adding a back to the Kallax is a game-changer because it prevents toys from sliding behind the unit and hitting the wall.
Materials Needed
- IKEA Kallax (2×4 or 2×2 size)
- 1/8 inch plywood or hardboard (cut to the dimensions of the back)
- Small finishing nails or a staple gun
- Furniture legs and mounting plates
- Power drill and screwdriver
The Process
- Assemble the frame: Build your Kallax according to the instructions, but stop before you move it to the wall.
- Attach the backing: Lay the unit face down. Align your plywood sheet. Nail it around the perimeter every 6 inches. This also adds incredible structural integrity!
- Install the legs: Measure 2 inches in from each corner on the bottom panel. Drill pilot holes and screw in your mounting plates. Twist in your chosen legs.
- Seal and Paint: If you are painting, do this now before moving it into the nursery. Allow it to cure for at least 48 hours to ensure no lingering odors.
Mama, don’t worry about being perfect. That little bit of uneven paint or a slightly crooked nail? That is the mark of a mother building a home with love.
Postpartum Maintenance: Keeping the Peace
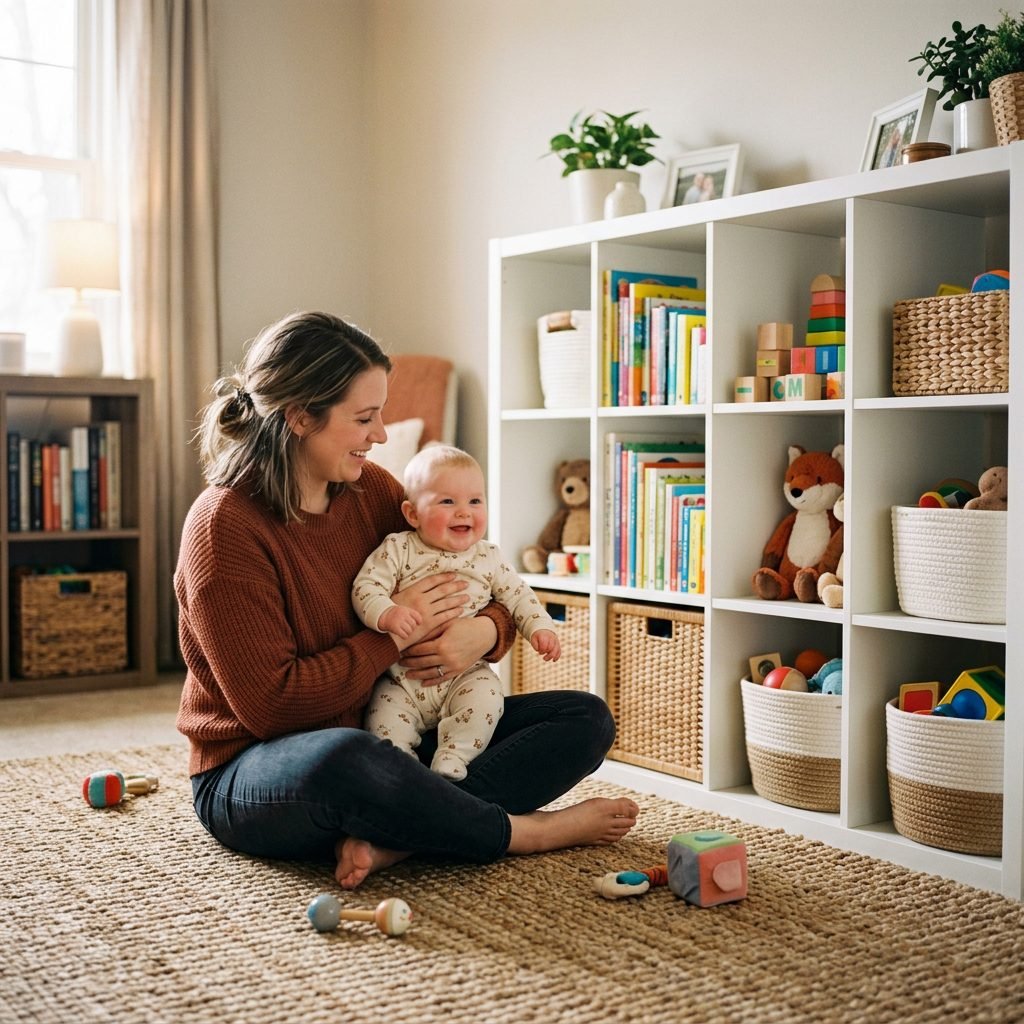
Once the baby arrives, your time will be precious. The beauty of the Kallax system is that it is low-maintenance. Every Sunday evening, or whenever you feel that ‘clutter-creep’ starting, take 5 minutes to rotate the toys. If your baby has stopped playing with the wooden rings, swap them out for the soft ball hidden in the basket. This keeps their environment fresh and engaging without you having to buy a single new thing.
Remember, this shelf isn’t just for toys. As your baby grows, it will hold their first school books, their sports trophies, and their teenage treasures. By choosing a versatile piece like the Kallax and giving it a high-quality makeover now, you are creating a piece of furniture that will grow alongside your family.
Conclusion
There you have it, mama. You’ve taken a simple, affordable piece of furniture and turned it into a bespoke nursery masterpiece. More importantly, you’ve created an organized, safe, and beautiful environment for your little one to grow and for you to thrive. Every time you walk into that nursery and see those neatly organized cubbies, I want you to feel a sense of pride. You are building a beautiful life, one cubby at a time. If you ever feel overwhelmed, just remember: you have the instincts, the heart, and now, the storage solutions to handle it all. Sending you so much love on this journey!