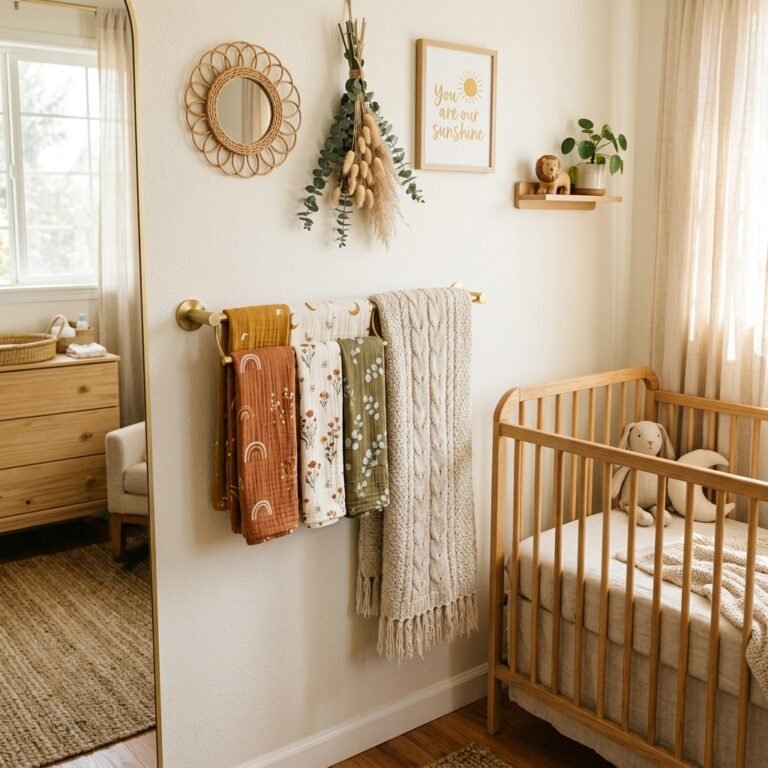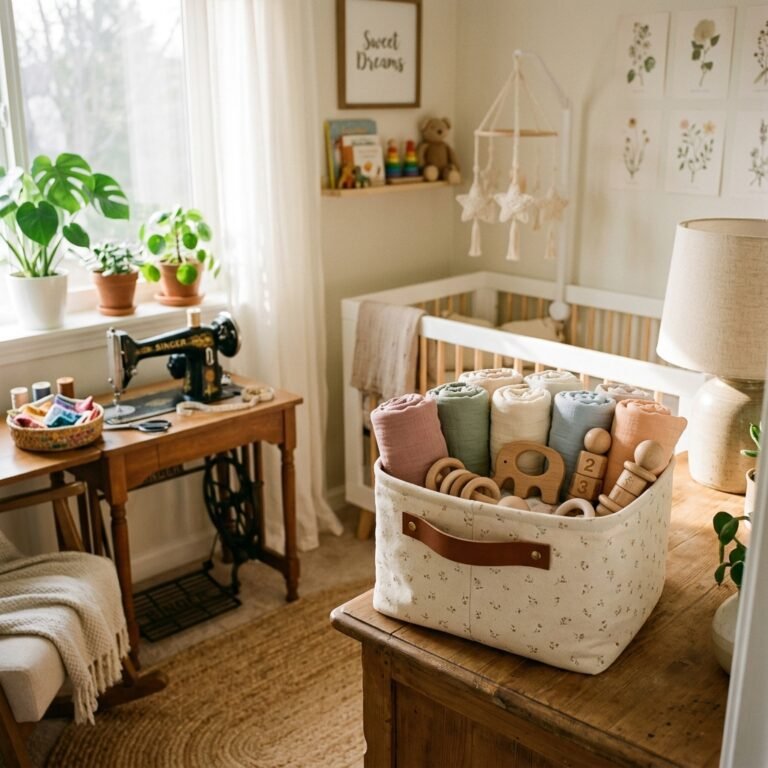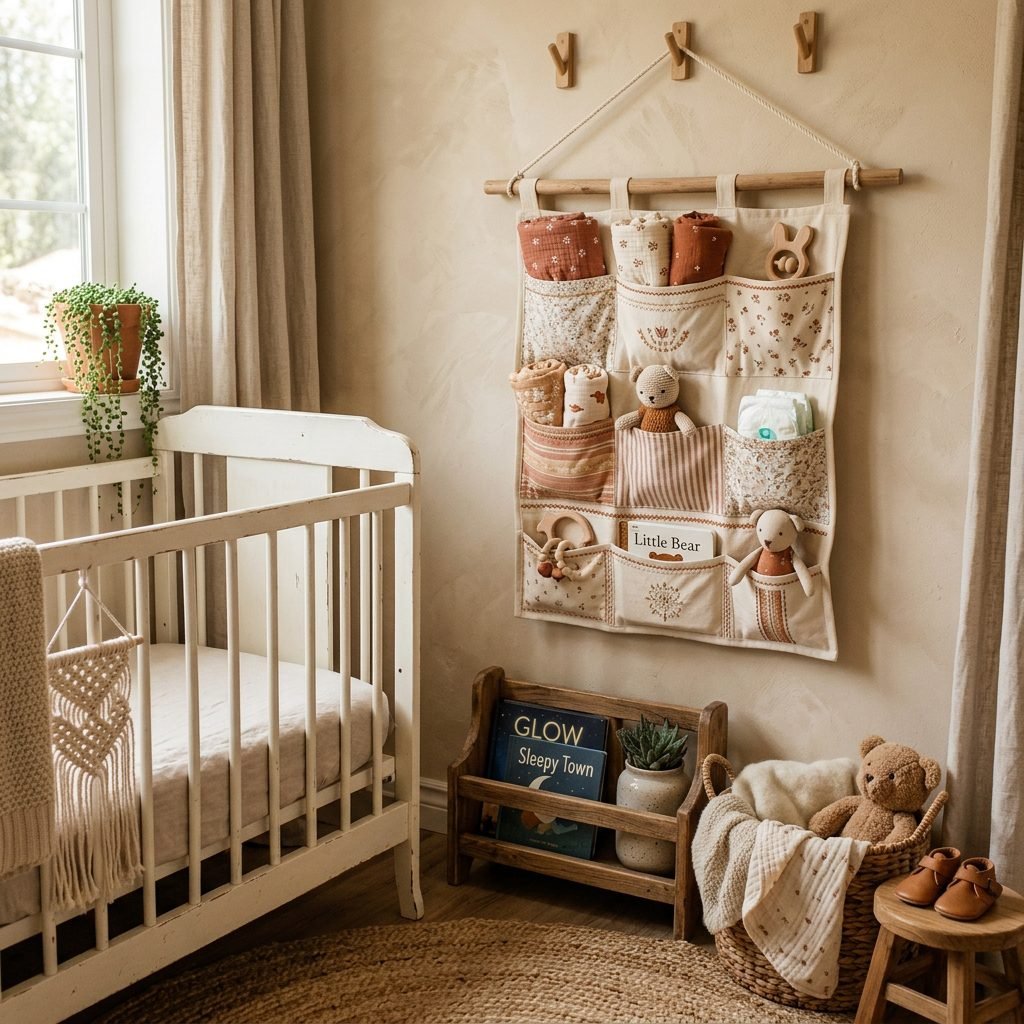
Sew Your Own: DIY Fabric Wall Hanging Pocket Organizer for Nursery Storage
Embracing the Nesting Season with Creativity
Oh, sweet mama, I see you. Whether you are in the middle of your second trimester and suddenly feel the urge to organize every single onesie, or you are a seasoned doula helping a client prepare their sacred space, the ‘nesting’ instinct is a powerful, beautiful thing. It is more than just cleaning; it is about preparing your heart and your home for a new life. As a doula and a fellow maker, I know that the most precious nursery items aren’t always the ones bought from a big-box store—they are the ones crafted with love, intention, and a few yards of beautiful fabric.
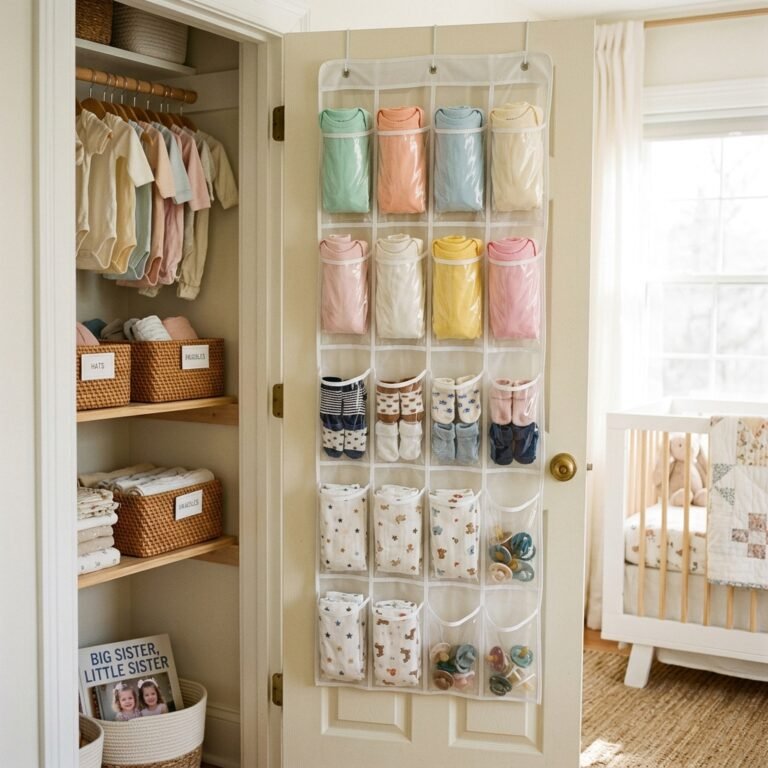
In a world of plastic bins and impersonal storage solutions, a DIY Fabric Wall Hanging Pocket Organizer offers a soft, tactile, and highly functional way to clear the clutter. If you are working with a small nursery or a shared bedroom, vertical storage is your absolute best friend. This project allows you to customize every pocket to fit your specific needs—from those tiny newborn socks that always go missing to the heavy-duty diaper creams you need at 3:00 AM. Grab a cup of herbal tea, settle into your favorite chair, and let’s walk through this creative journey together. You’ve got this, and your nursery is going to feel so much more like you when we’re done.
The Foundation: Choosing Materials and Budgeting
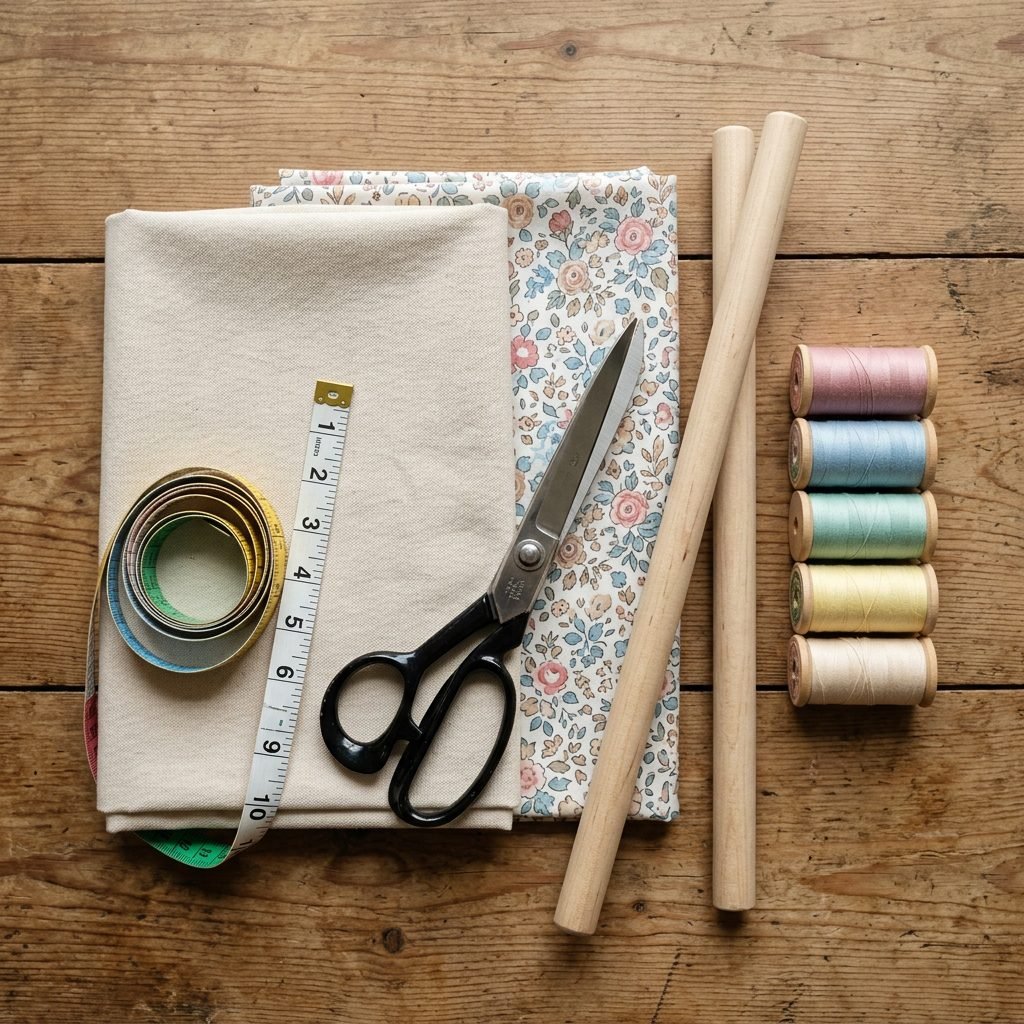
Selecting the Right Fabrics for Your Baby’s Space
When you are sewing for a nursery, the quality of the fabric matters immensely. We want materials that are durable enough to hold weight, yet soft enough to belong in a baby’s room. I always recommend 100% Cotton Canvas or a heavy-duty Linen-Cotton blend for the backing. These fabrics provide the structure needed so the organizer doesn’t sag under the weight of diapers and wipes. For the pockets, you can get a bit more creative with patterns and textures, but ensure they are breathable and easy to wash.
Remember, mama: Look for Oeko-Tex certified fabrics if possible. This ensures the textiles are free from harmful chemicals, giving you peace of mind as your little one grows and explores their environment with their hands (and mouths!).
Let’s look at what you’ll need to gather. This project is wonderfully budget-friendly, often costing less than a high-end plastic organizer while offering ten times the charm.
| Material Item | Estimated Cost (USD) | Purpose |
|---|---|---|
| 1 Yard Heavy Canvas (Backing) | $10.00 – $15.00 | Provides the main structure and stability. |
| 1/2 Yard Patterned Cotton (Pockets) | $6.00 – $8.00 | Adds aesthetic flair and functional storage. |
| 1/2 Yard Fusible Interfacing | $3.00 – $5.00 | Stiffens the pockets so they stay open. |
| Wooden Dowel (3/4″ diameter) | $2.00 – $4.00 | The hanging mechanism for the wall. |
| Cotton Twine or Ribbon | $1.00 – $2.00 | For hanging the dowel on a hook. |
| Total Estimated Budget | $22.00 – $34.00 | A custom heirloom for under $35! |
The Step-by-Step Sewing Ritual
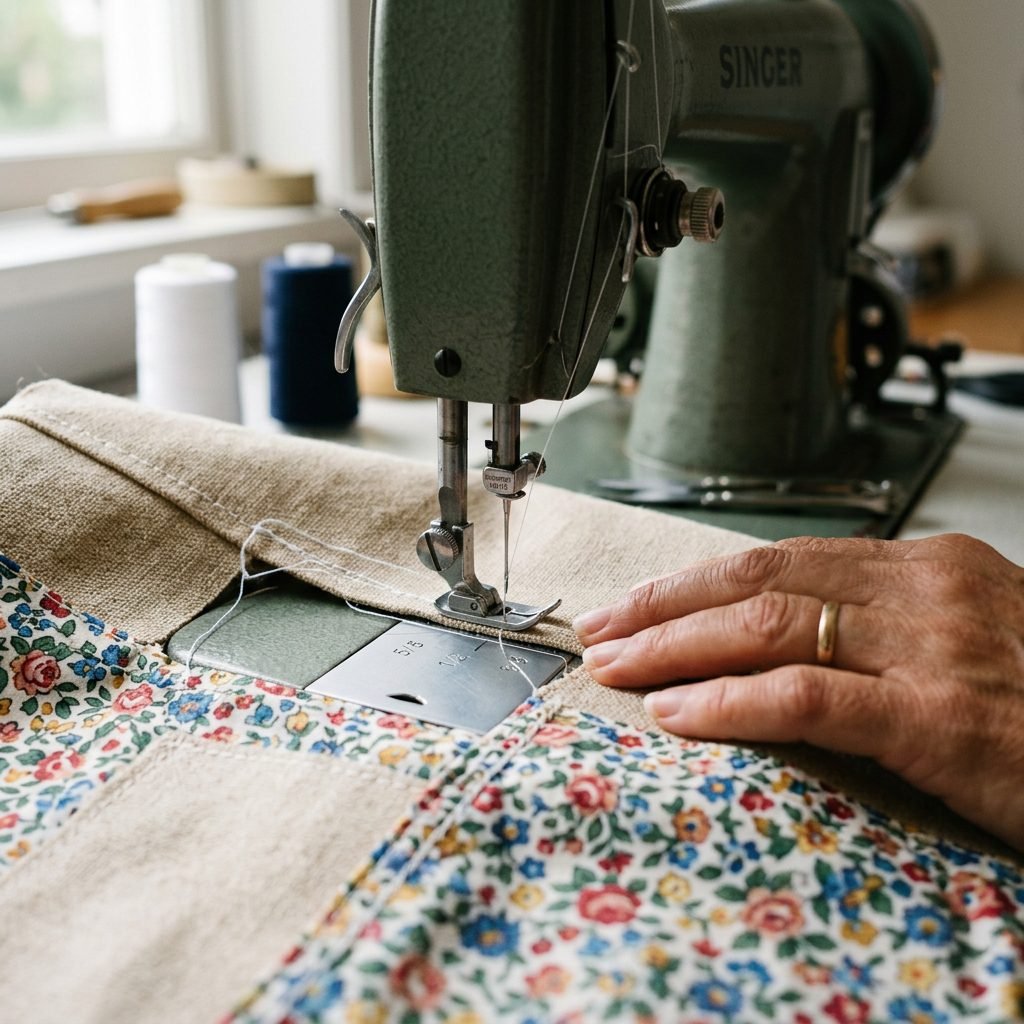
Preparing and Cutting Your Fabric
Before we touch the sewing machine, we must honor the prep work. Pre-washing your fabric is a non-negotiable step. Cotton and linen can shrink significantly, and you don’t want your beautiful organizer to warp the first time it hits the laundry. Once dried and pressed, follow these measurements for a standard medium-sized organizer (approx. 18″ x 24″).
- Cut the Backing: Cut two rectangles of your heavy canvas measuring 19″ x 26″ (this includes a 1/2″ seam allowance).
- Cut the Pockets: For a three-tier design, cut three strips of your patterned fabric measuring 22″ x 10″. The extra width allows us to create ‘box pleats’ so the pockets can actually hold bulky items like diapers.
- Apply Interfacing: Iron your fusible interfacing onto the back of your pocket strips. This is the ‘secret sauce’ that keeps your pockets from drooping sadly over time.
Assembling the Organizer
Now, let’s bring it all together. Follow these steps with patience and a little bit of grace for yourself.
- Hem the Pockets: Fold the top edge of each pocket strip down by 1/2″, press, and stitch. This creates a clean, finished edge where you will be reaching in and out constantly.
- Create the Pleats: Lay a pocket strip onto one backing piece. Pin the edges, then create two small folds (pleats) in the fabric so the strip matches the 18″ width of the backing. Stitch the bottom of the pocket strip to the backing.
- Divide the Pockets: Sew vertical lines down the pocket strip to create individual compartments. I like a mix of one wide pocket for swaddles and two narrow ones for pacifiers and thermometers.
- Join the Backing: Place the second canvas rectangle on top (right sides together). Sew around the sides and bottom, leaving the top open. Turn it right-side out and press.
- The Dowel Sleeve: Fold the top edge over by 2″ to the back and stitch across to create a channel for your wooden dowel.
Designing for Function: What Goes Where?
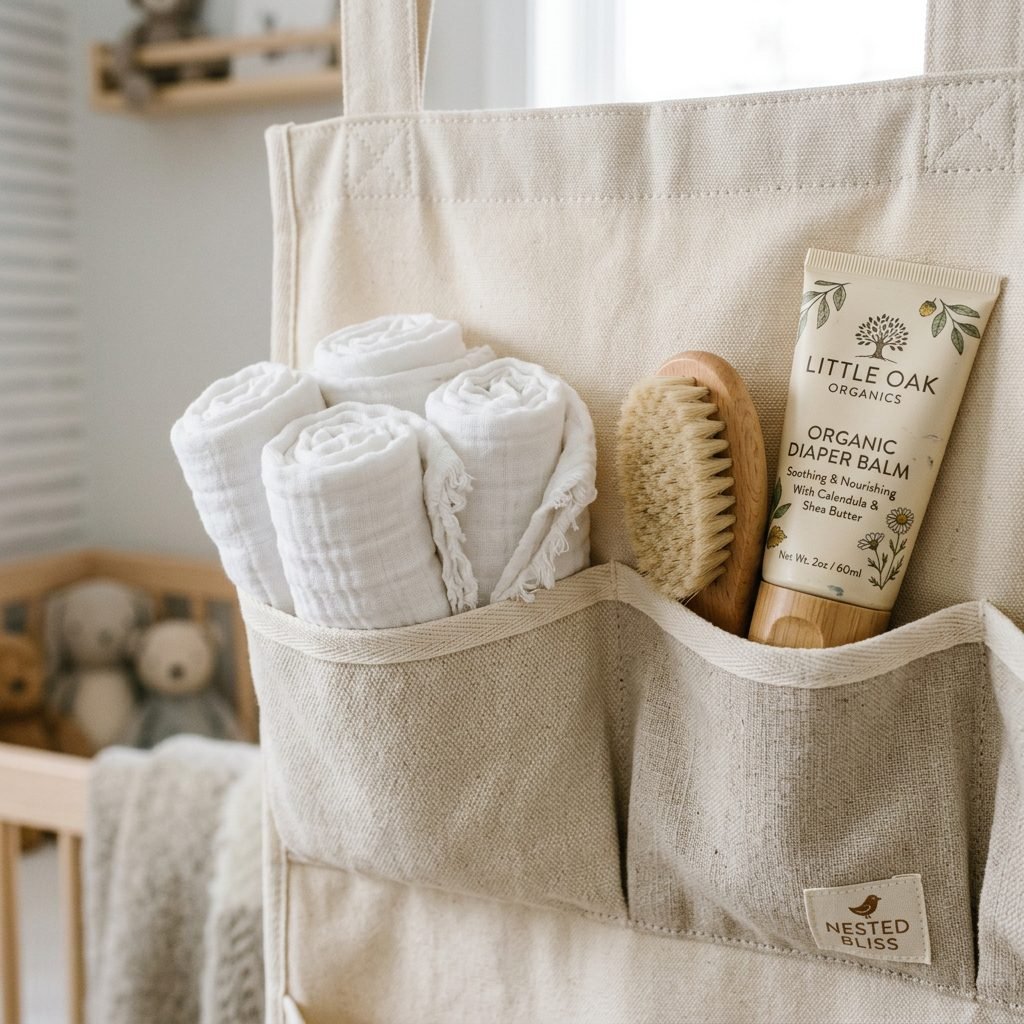
Optimizing Your Storage for Postpartum Flow
As a postpartum recovery nurse, I think about ‘ergonomics of care.’ When you are holding a wiggly baby with one hand, you need to be able to grab a wipe or a burp cloth with the other without looking. Your DIY organizer isn’t just decor; it’s a tool to reduce stress during those high-intensity parenting moments.
Think about the ‘Golden Zone’—the pockets at your waist-to-chest height. This is where the most-used items should live. Lower pockets are great for items the baby might eventually help grab (like soft board books), while higher pockets should hold things you want to keep out of reach, like nail clippers or small ointments.
| Pocket Level | Suggested Items | Why It Works |
|---|---|---|
| Top Tier (High) | Thermometer, Saline Drops, Diaper Cream | Keeps small, medical, or messy items out of baby’s reach. |
| Middle Tier (Easy Access) | Diapers, Wipes, Burp Cloths | The ‘Action Zone’ for quick changes and spills. |
| Bottom Tier (Low) | Spare Onesie, Soft Rattle, Board Book | Easy to grab while sitting or for older babies to explore safely. |
Pro-Tip: If you are a breastfeeding or pumping mama, consider making a second, smaller organizer specifically for your nursing station. Fill it with nipple cream, nursing pads, a snack bar, and a long phone charging cable!
The Nesting Connection: Why Crafting Matters
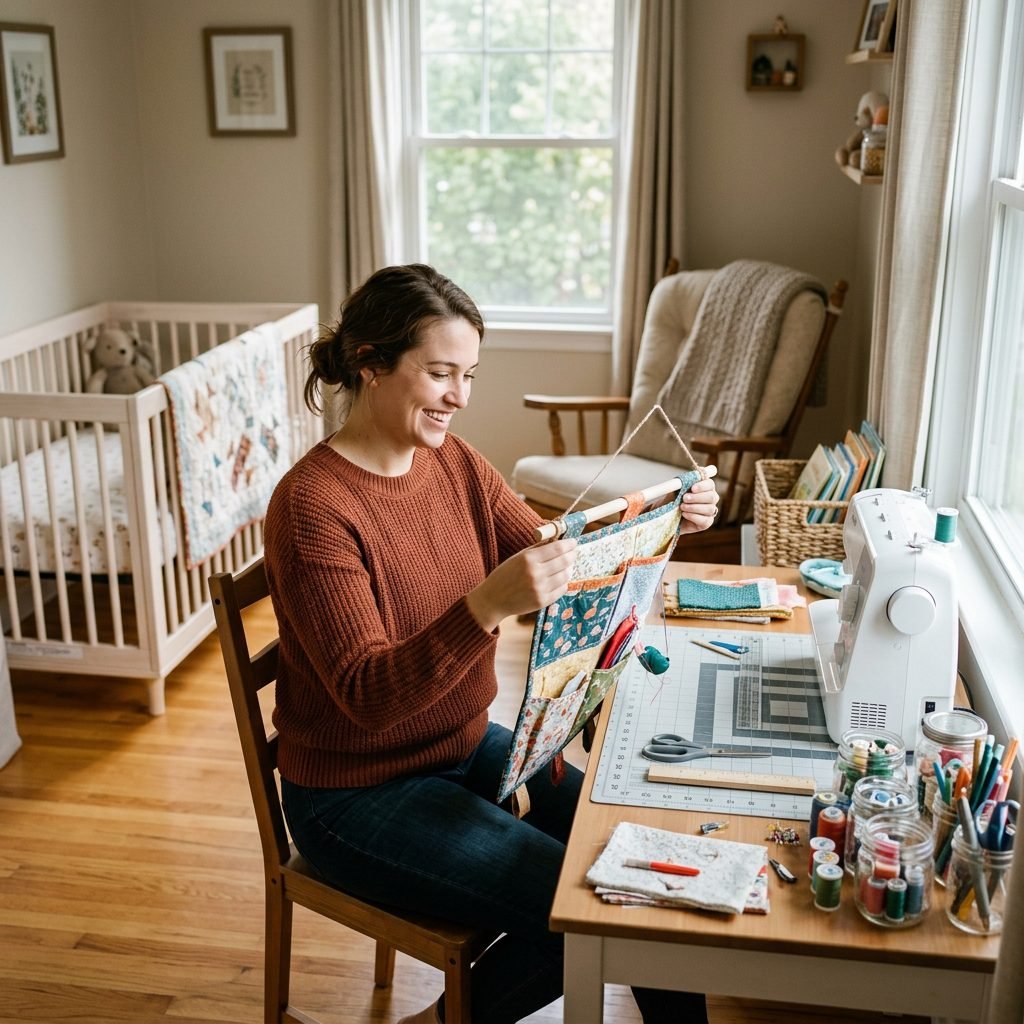
The Therapeutic Power of Making
In the whirlwind of doctor appointments, nursery furniture assembly, and reading every baby book under the sun, it is easy to feel a bit disconnected from your own hands. Sewing this organizer is a form of mindful preparation. There is a rhythmic, meditative quality to the sound of a sewing machine that can help lower cortisol levels—something every expectant mother needs.
For my doula clients, I often suggest a small craft project like this as a way to bond with the baby before they arrive. As you stitch, you are literally weaving your care into the walls of their room. It’s also a wonderful way to combat ‘baby brain’ by focusing on a tangible task with a clear beginning, middle, and end. If a stitch isn’t perfectly straight, please don’t rip it out! Those little ‘imperfections’ are a testament to a handmade life. Your baby won’t care about a crooked seam, but they will grow up in a home filled with things made by their mother’s loving hands.
Safety, Care, and Longevity
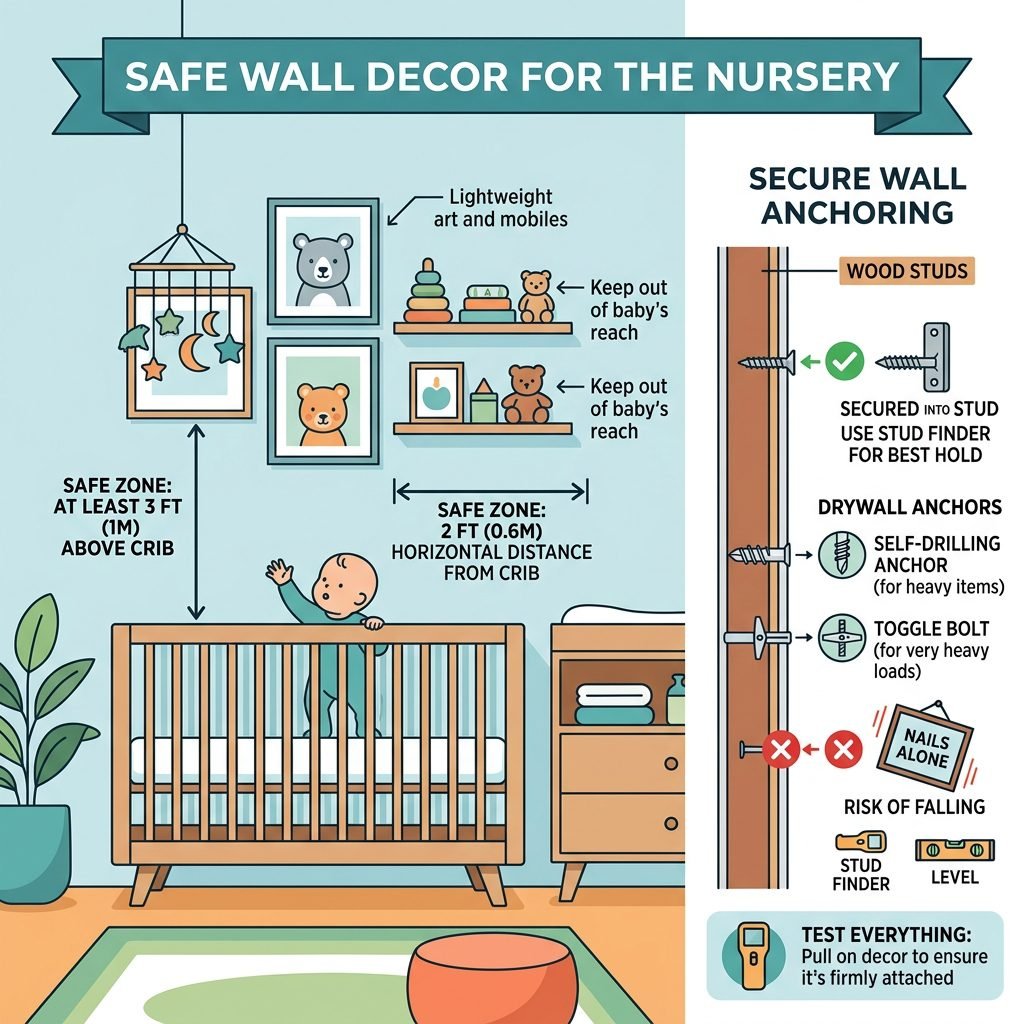
Safe Hanging Practices
Safety is our number one priority in the nursery. While this organizer is soft, the dowel and the items inside have weight. Always ensure you are hanging the organizer on a secure wall hook anchored into a stud, or use heavy-duty adhesive hooks rated for at least 10 lbs.
- Placement: Never hang the organizer directly over the crib or changing table where a curious baby could pull it down onto themselves.
- Weight Limits: Avoid placing heavy glass bottles or heavy electronics in the pockets. Stick to textiles, wood toys, and lightweight plastic items.
- Maintenance: Because we used high-quality cotton, you can simply remove the dowel and toss the fabric portion into a delicate wash cycle. Air dry to prevent any further shrinkage and iron on a medium setting to restore its crisp shape.
As your child grows, this organizer can evolve! It can move from holding diapers to holding art supplies, toy cars, or even hair accessories. It is a piece designed to grow with your family, moving from the nursery to a toddler room and beyond.
Conclusion
Your Handmade Sanctuary Awaits
Creating a nursery that feels like a sanctuary doesn’t require a massive budget—it requires heart. By sewing your own fabric wall hanging pocket organizer, you’ve not only solved a storage dilemma but also added a layer of warmth and personality to your baby’s first room. I am so proud of you for taking this time for yourself and your little one. Whether you chose a bold, modern print or a soft, vintage floral, your handiwork is a beautiful expression of the love that already fills your home.
Remember, mama, the days may be long, but the years are short. Surrounding yourself with functional beauty makes those long days just a little bit brighter. Happy sewing, and may your nursery be a place of peace, rest, and wonderful memories.