Small Space Magic: How to Convert Your Walk-In Closet Into a Cozy Nursery
Oh, sweet mama, I know that feeling all too well. You look at your beautiful, growing belly, and then you look at your cozy apartment or your charming but compact home, and you wonder: where on earth is this baby going to go? First, take a deep breath. Your baby doesn’t need a sprawling master suite; they need a safe, snug, and loving environment close to you. That is exactly where the ‘clursery’—the closet nursery—comes into play. As a doula, I have seen families create the most magical, serene spaces in the most unexpected corners. Converting a walk-in closet isn’t just a ‘hack’; it is a brilliant way to keep your little one nearby while maintaining the flow of your home. In this guide, we are going to walk through every step of this transformation, from ensuring the air is fresh and safe to picking the perfect mini-crib that feels like a literal hug for your newborn. We are going to turn that storage space into a sanctuary using a little bit of design magic and a whole lot of love.
“A nursery is not measured by its square footage, but by the peace and preparation you pour into it. Your baby will feel the warmth of your heart, not the width of the walls.”
Safety First: Ventilation, Airflow, and the Foundation
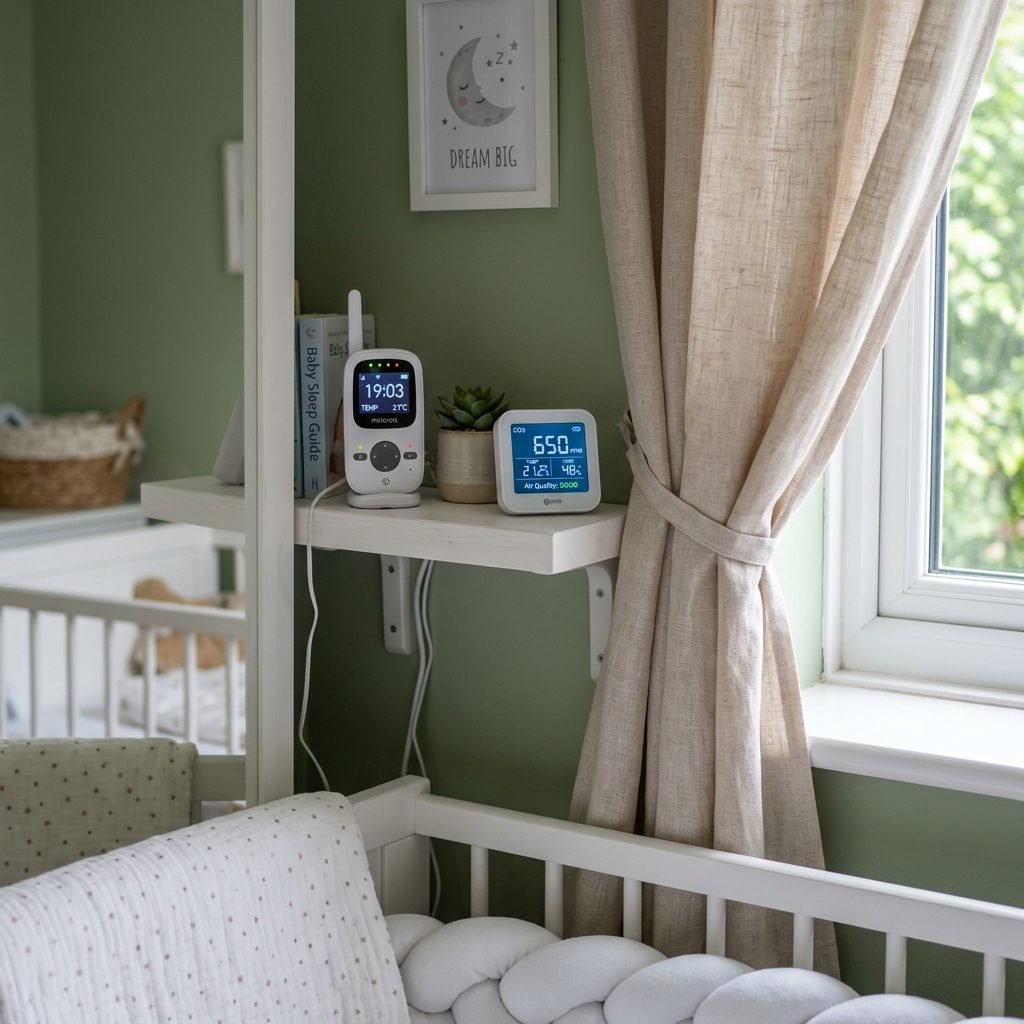
Before we even think about the cute wallpaper or those tiny hangers, we have to talk about the most important thing: safety and comfort. Closets are designed to hold clothes, not humans, which means they often lack the ventilation of a standard bedroom. When we convert this space, we must prioritize airflow to ensure a safe sleep environment. Air circulation is vital in reducing the risk of SIDS and keeping your baby from overheating.
Ensuring Proper Ventilation
The first step is often removing the closet doors entirely. This immediately opens the space and allows the room’s HVAC system to reach the nook. If you want to maintain a sense of separation, consider replacing heavy wooden doors with breathable linen curtains or a decorative screen that allows air to pass through freely. Additionally, I highly recommend installing a small, whisper-quiet ceiling fan if the height allows, or using a high-quality floor fan positioned just outside the closet to keep the air moving. Always use a CO2 monitor in small spaces to give yourself that extra peace of mind; it’s a small investment for a lot of sleep-filled nights.
Lighting and Electricity
Most walk-in closets have a single, harsh overhead bulb. We want to swap that out for something much softer. Consider a dimmable LED fixture or even battery-operated wall sconces to avoid complicated rewiring. You want ‘warm’ light (around 2700K) to help support your baby’s developing circadian rhythm. Pro tip: Ensure all outlets are baby-proofed from day one, and if you need to run extension cords for a baby monitor or sound machine, use cord covers to keep everything sleek and safe.
The ‘Clursery’ Layout: Choosing the Perfect Mini-Crib
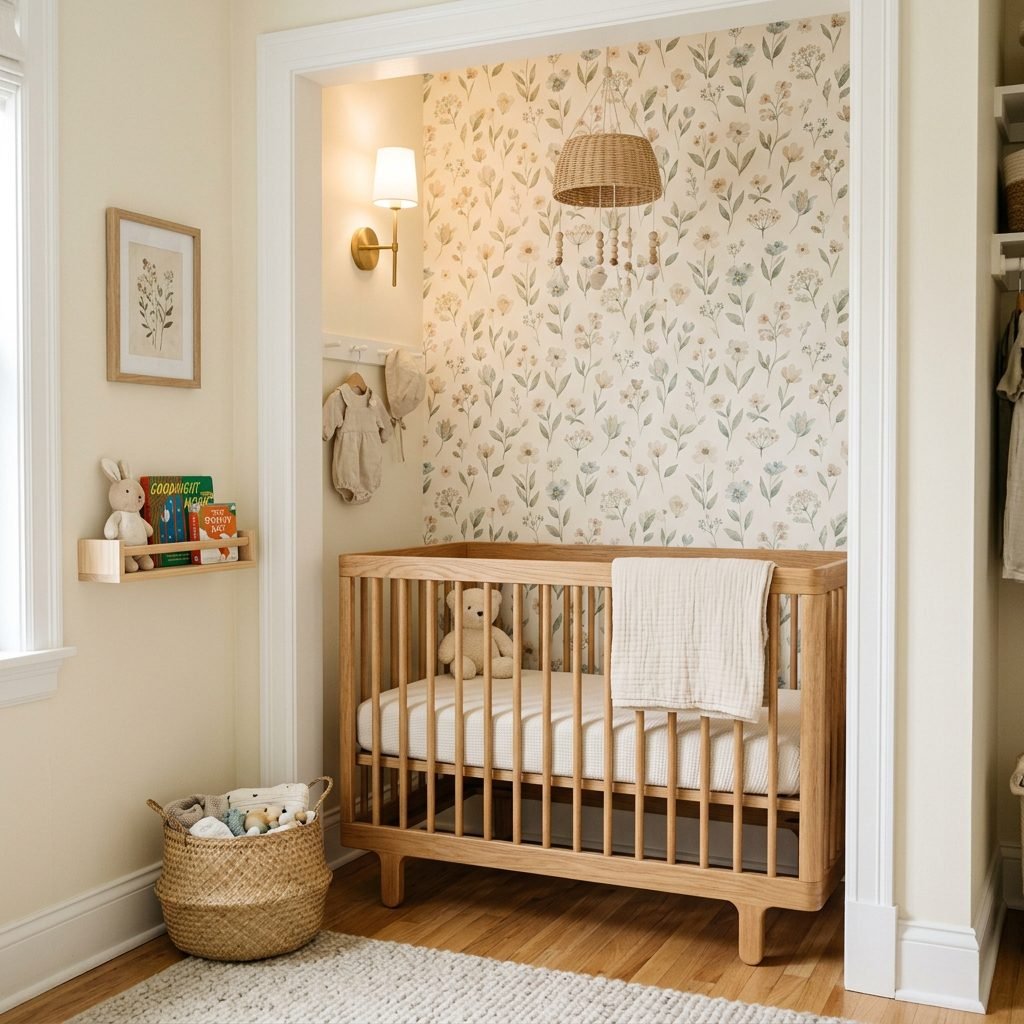
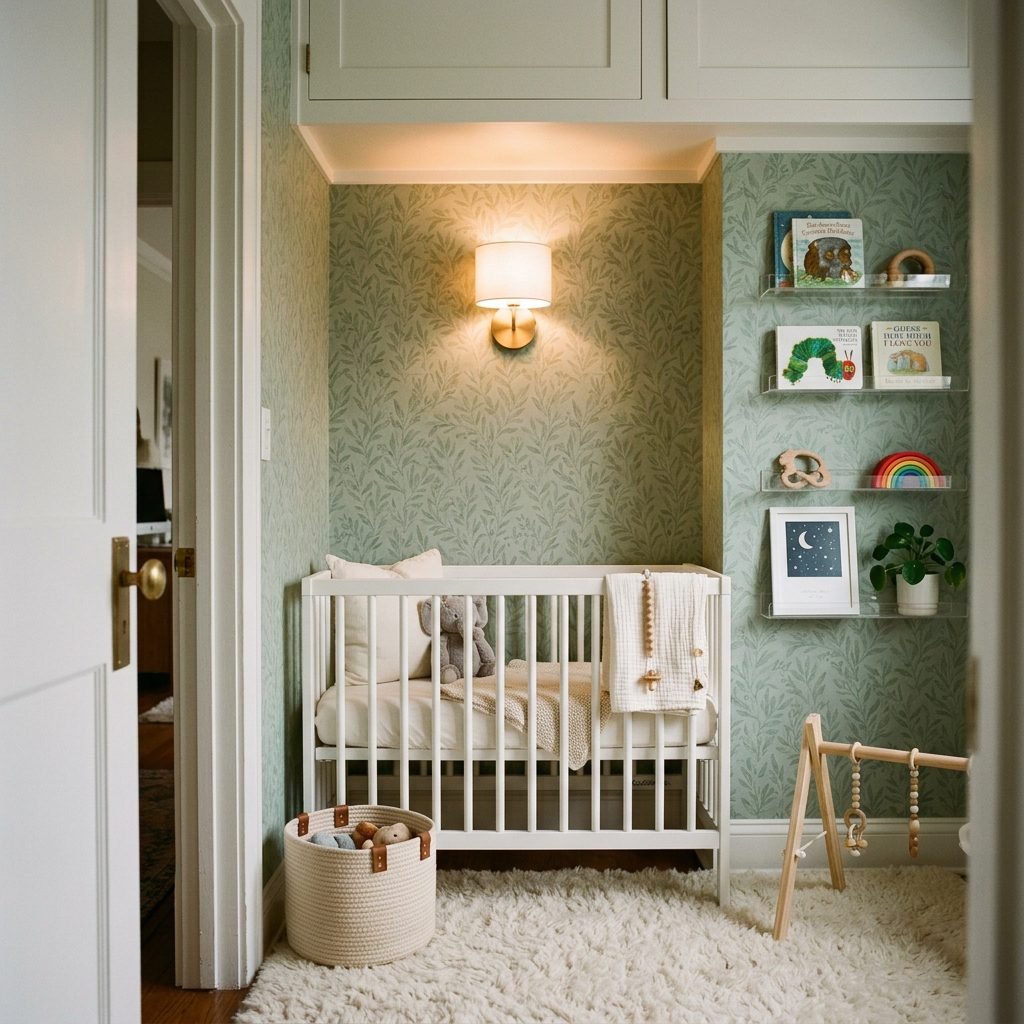
The centerpiece of your new nursery is, of course, the crib. In a walk-in closet, a standard-sized crib is usually a no-go. But don’t worry, mama! Mini-cribs are a total game-changer. They offer the same safety standards as full-sized cribs but with a much smaller footprint (usually around 24 by 38 inches). This allows you to fit the crib comfortably while still having room to move around for those middle-of-the-night diaper changes.
Measuring for Success
Grab your measuring tape! You need to ensure there is at least two feet of clearance around the crib if possible, or at the very least, enough space for you to comfortably lift the baby in and out without bumping your elbows. When selecting a crib, look for one with wheels; being able to move the crib slightly to clean behind it or to reach a fallen pacifier is a lifesaver in a tight space.
The Changing Station Dilemma
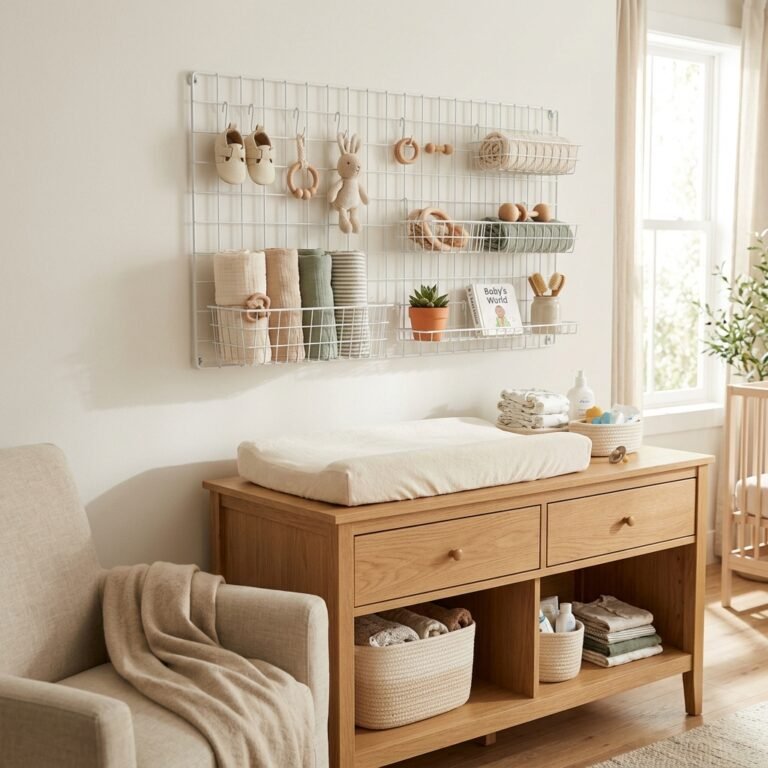
If your closet is extra snug, you might not have room for a traditional changing table. This is where we get creative. You can use a dresser-top changing pad on a low dresser tucked into the closet, or even a wall-mounted folding changing table (think high-end version of what you see in public restrooms, but much cuter!). This saves precious floor space and keeps your essentials within arm’s reach. Remember, in a small space, every piece of furniture must earn its keep!
Vertical Victory: Maximizing Storage with Style

When you lose floor space, you must look up! The walls of your closet are your greatest asset. As a doula and organizer, I always tell my clients: if it can be hung, hang it. We want to keep the floor as clear as possible to make the room feel larger and to prevent tripping during those sleepy night feeds.
Floating Shelves and Acrylic Organizers
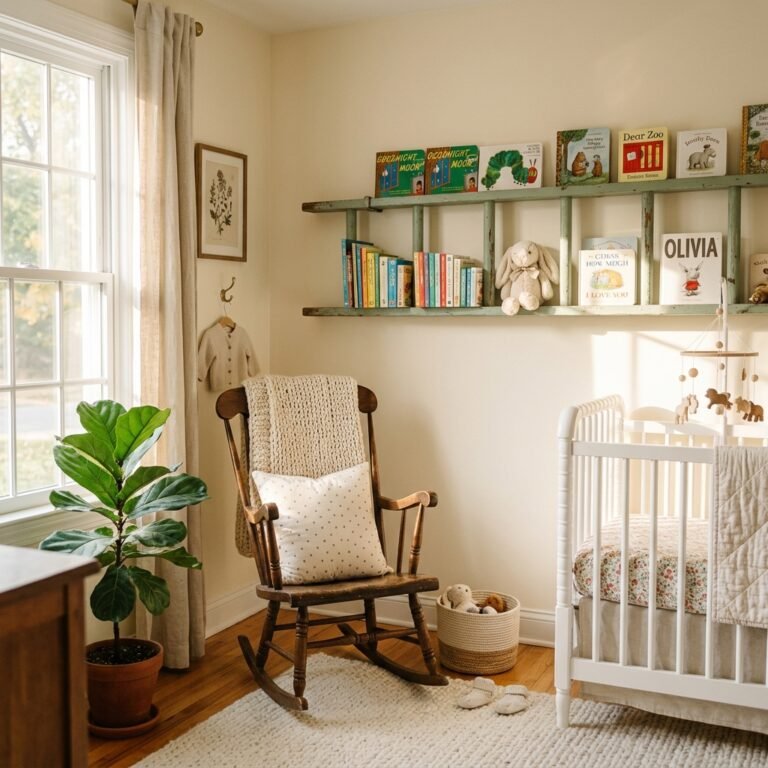
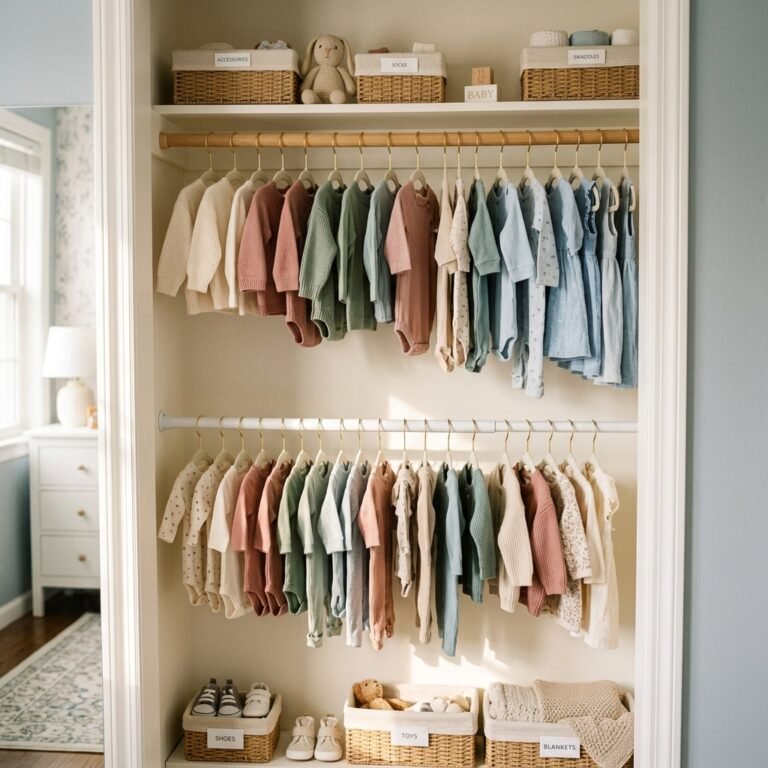
Traditional bulky bookshelves take up too much room. Instead, install acrylic floating bookshelves. Because they are clear, they don’t add visual ‘weight’ to the room, making the closet feel airy while still displaying those beautiful board books. For clothing, utilize the existing closet rod but add hanging closet organizers for folded items like onesies and swaddles. Grouping by size (0-3 months, 3-6 months) with cute wooden dividers will save you so much stress when the baby has an inevitable blowout and you need a new outfit fast.
The Magic of the Pegboard
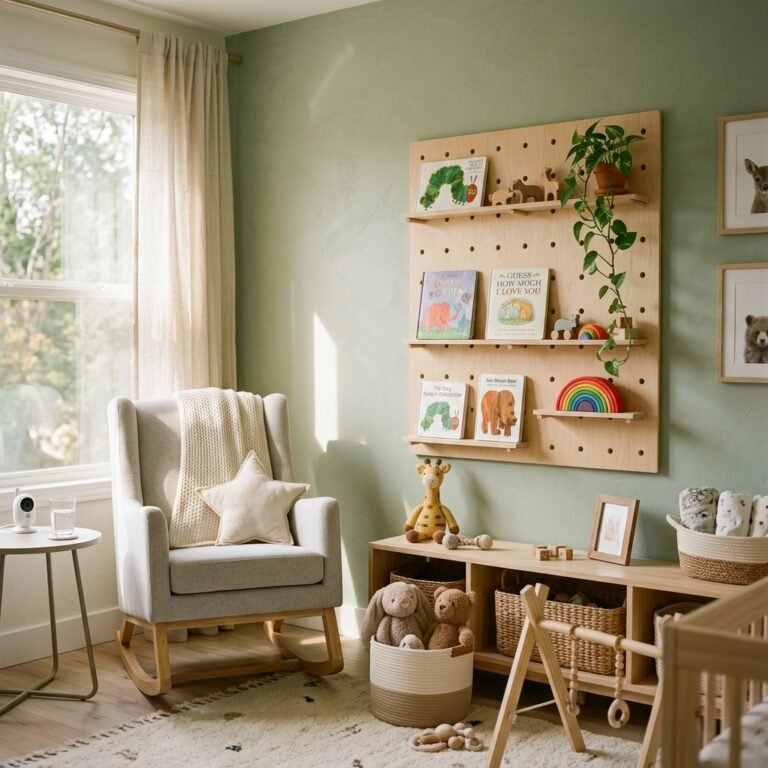
One of my favorite ‘clursery’ hacks is the IKEA Skådis pegboard. You can mount this on the side wall and use it to hold everything: diaper creams, pacifiers, hairbrushes, and even tiny shoes. It turns your wall into a functional work of art. Use vertical space for things you don’t use every day, like extra packs of wipes or blankets, and keep the ‘high-traffic’ items at waist level.
Creating a Sensory Sanctuary: Aesthetics and Sound
Just because it’s a closet doesn’t mean it shouldn’t be beautiful! In fact, small spaces are the perfect place to go bold with decor because it’s less expensive to decorate. You want this space to be a sensory sanctuary—low stimulation but high comfort. This helps your baby understand that the ‘clursery’ is a place for rest.
Color and Texture
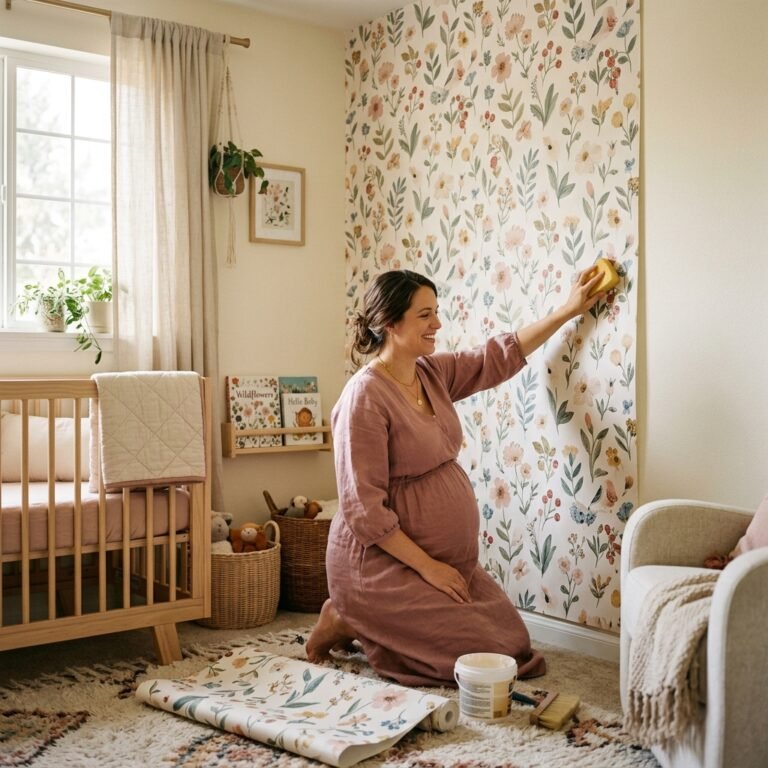
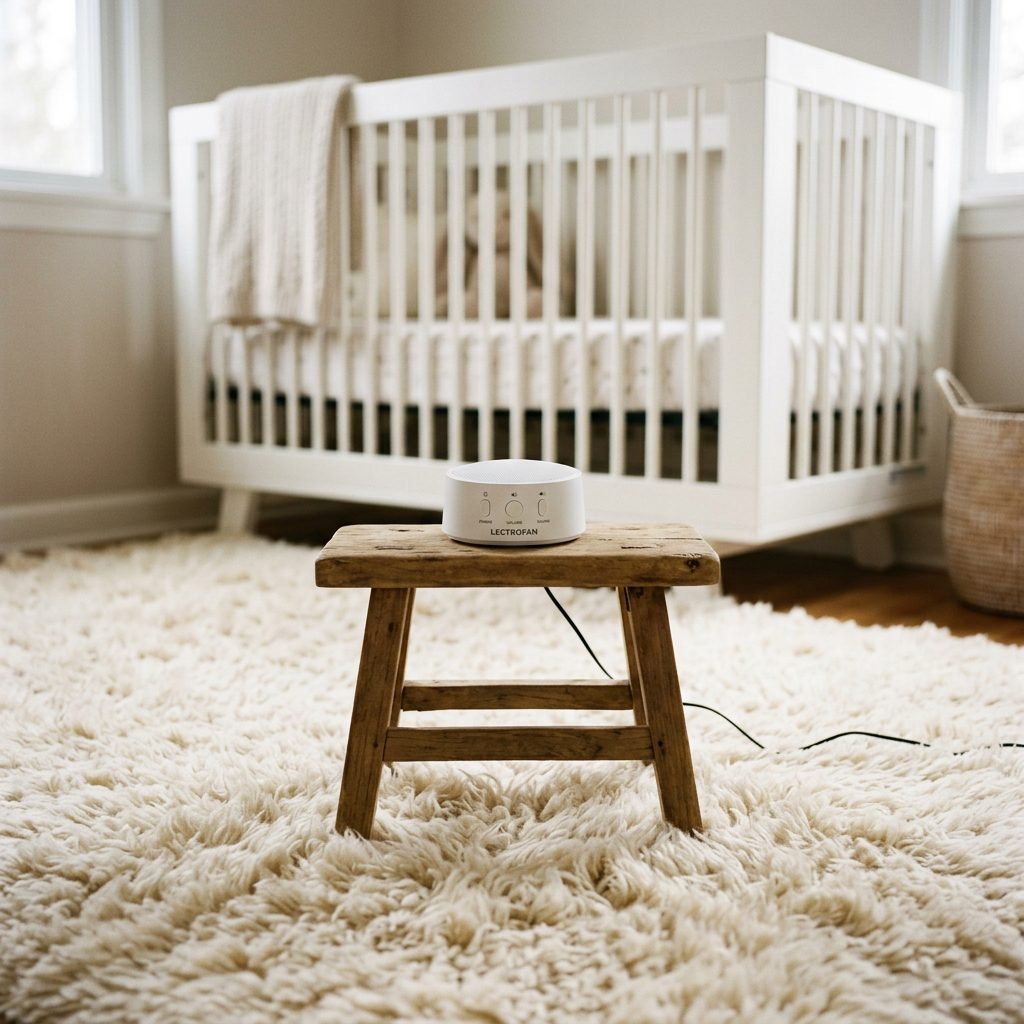
Stick to a cohesive color palette. Light, cool colors like soft blues, sage greens, or warm creams can make a small space feel more expansive. If you love patterns, try a peel-and-stick wallpaper on just the back wall of the closet to create depth. For the floor, a high-pile plush rug is essential. Not only does it feel good under your feet, but it also acts as a sound dampener, absorbing the noise of your footsteps so you don’t wake the sleeping giant (or, you know, the tiny baby).
Sound Management
Closets can sometimes be echoey. To combat this, use a high-quality white noise machine. This is non-negotiable for a closet nursery, especially if the closet is near a hallway or living area. The white noise creates a consistent ‘sound blanket’ that masks household noises. Placement tip: Place the sound machine between the crib and the closet opening (or door) to act as a barrier against outside sounds.
The Small Space Registry: Essential vs. Extra
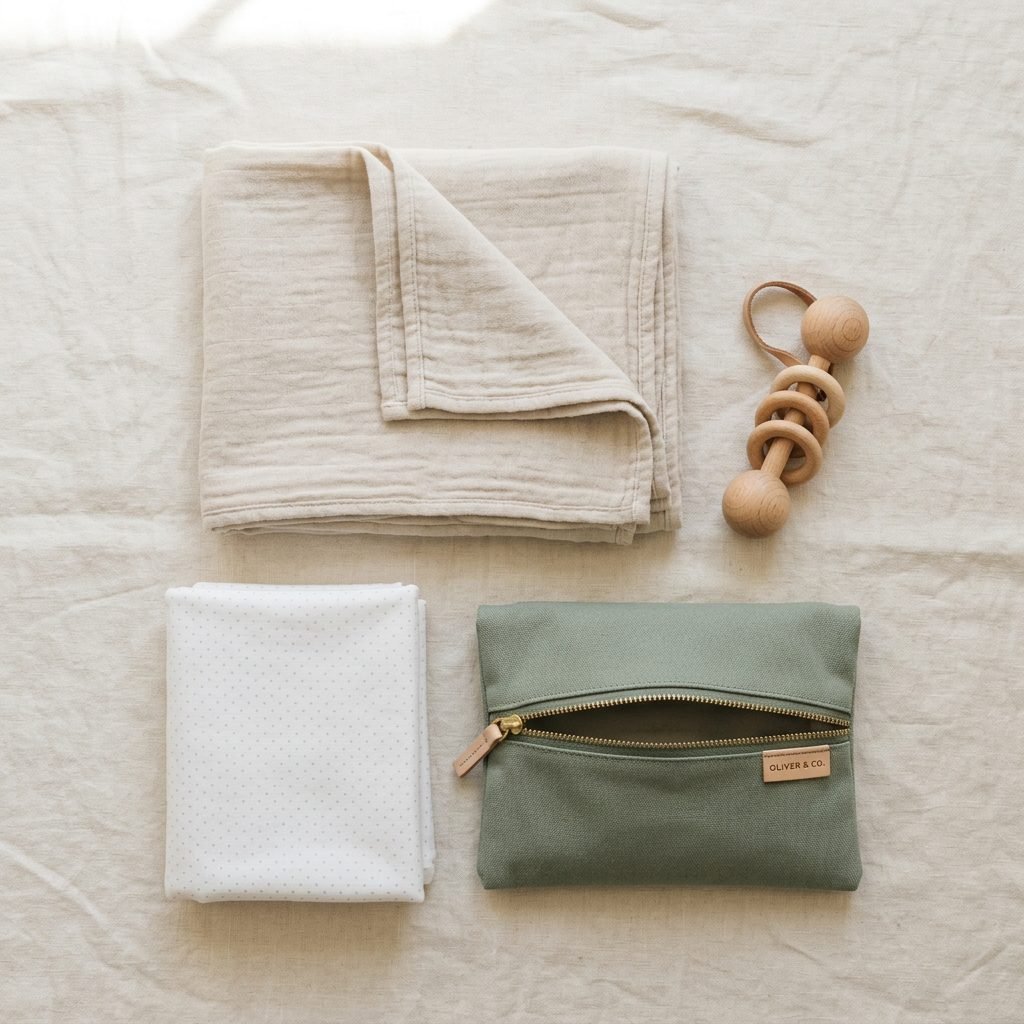
When you are working with a ‘clursery,’ you have to be a bit of a minimalist. You simply cannot fit every gadget on the market. We need to focus on multi-functional, compact items. To help you plan, I’ve put together this comparison to show you how to swap traditional bulky items for small-space superstars.
| Category | Traditional Item (Skip This) | Small Space Alternative (Buy This) |
|---|---|---|
| Sleeping | Full-Size Crib | Mini-Crib or Bassinet with Wheels |
| Diapering | Standalone Changing Table | Dress-top Pad or Wall-Mounted Table |
| Storage | Large Bookshelf | Acrylic Floating Wall Shelves |
| Utility | Large Diaper Pail | Compact ‘Ubbi’ Pail or Small Sealed Bin |
| Feeding | Full-Size Glider in Closet | Nursing Stool & Pillow (Keep Glider in Bedroom) |
| Clothing | Large Wardrobe | Over-the-door Organizer & Hanging Dividers |
Sisterly Tip: Don’t feel pressured to have everything ready by day one. Start with the essentials (sleep, diapers, clothes) and see how you use the space before adding more. Your ‘clursery’ will evolve as your baby grows!
The Final Nesting Phase: Maintenance and Organization
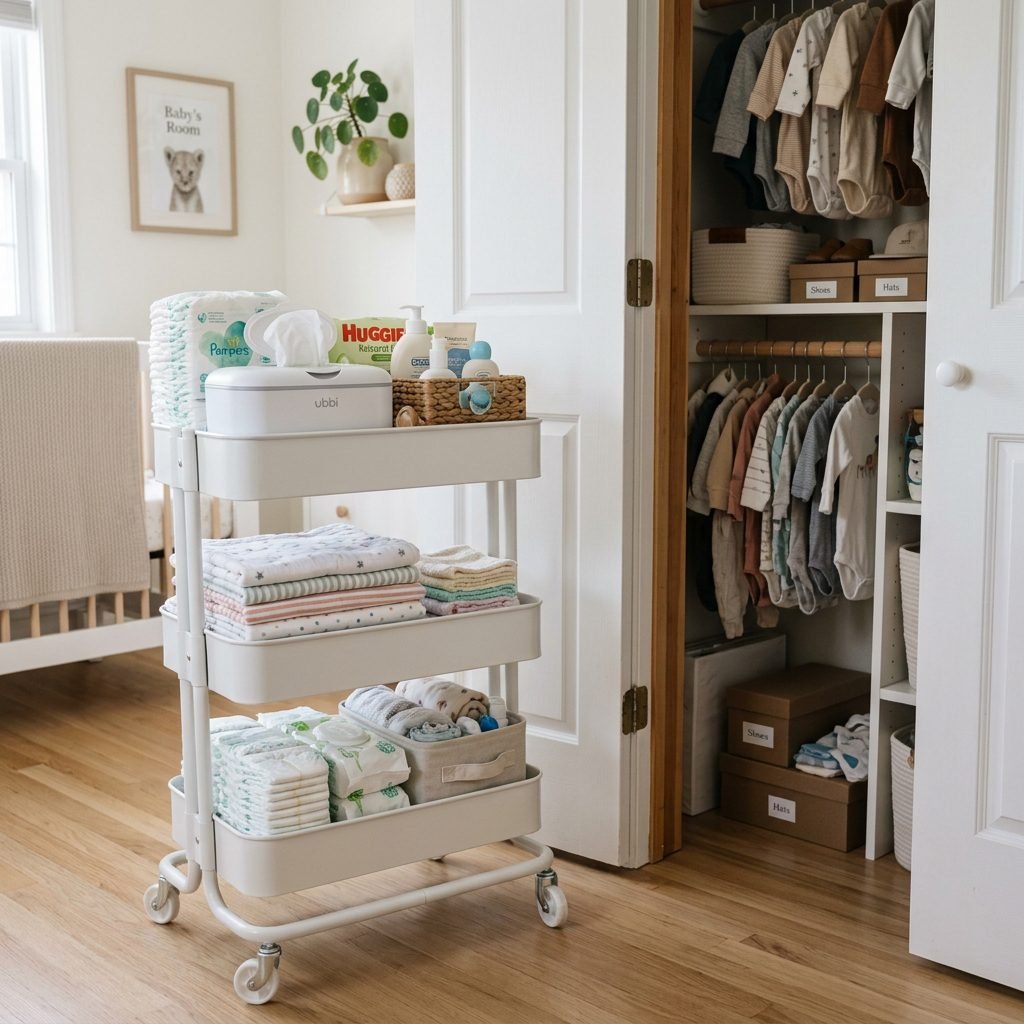
Once the ‘clursery’ is built, the secret to keeping it magical is organization maintenance. In a small space, a little mess looks like a big mess very quickly. You want to establish a system that works for your tired, postpartum self. Everything must have a home.
The One-In, One-Out Rule
Babies grow so fast, mama! To prevent the closet from becoming a mountain of outgrown clothes, keep a ‘Done With It’ basket in the corner. As soon as an outfit gets too tight, toss it in the basket. Once the basket is full, move those clothes to long-term storage or donate them. This keeps your active drawer space dedicated only to things that fit your baby right now.
Utilizing the Back of the Door
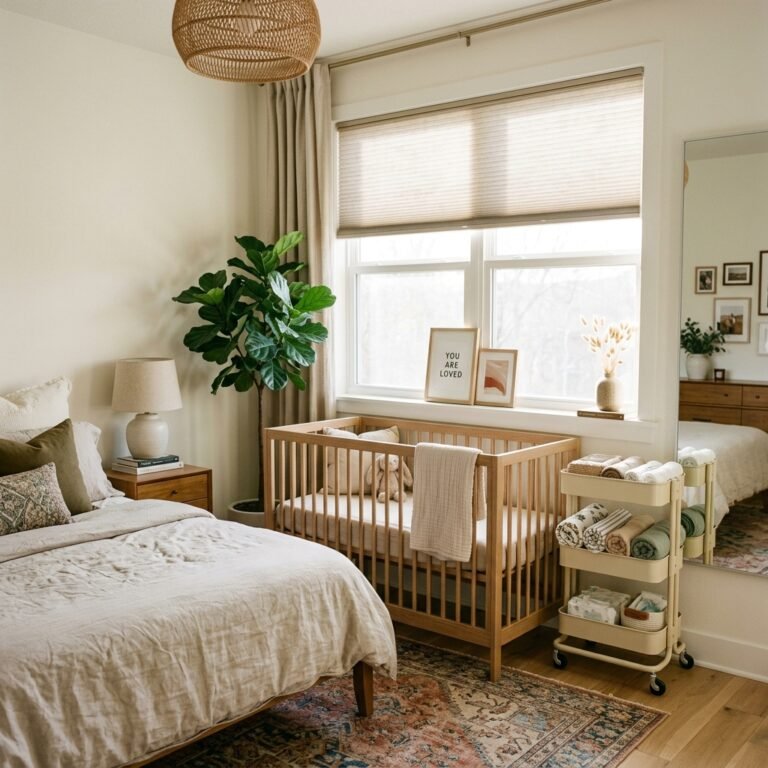
If you kept your closet doors, the back of the door is prime real estate. An over-the-door organizer with clear pockets is perfect for storing socks, hats, bows, and even extra diapers. It keeps these small items from getting lost in larger drawers. If you removed the doors, you can achieve the same effect with a rolling utility cart (like the IKEA Råskog). This cart can hold all your breastfeeding or diapering supplies and can be rolled out of the closet and into your bedroom whenever you need it. It is the ultimate ‘clursery’ companion!
Conclusion
Creating a ‘clursery’ is such a beautiful testament to your resourcefulness and love as a mother. You are quite literally making room in your life for this new soul, and that is a powerful thing. Remember, your baby won’t remember the square footage of their first room; they will remember the sound of your voice, the warmth of your touch, and the peaceful environment you worked so hard to create. You’ve got this, mama! Whether you are in a tiny studio or just making the most of an extra closet, you are building a home filled with magic. Welcome home, little one.