How to Turn an IKEA Tjusig Shoe Rack into a Modern Nursery Bookshelf
Welcome to Your Creative Nesting Journey
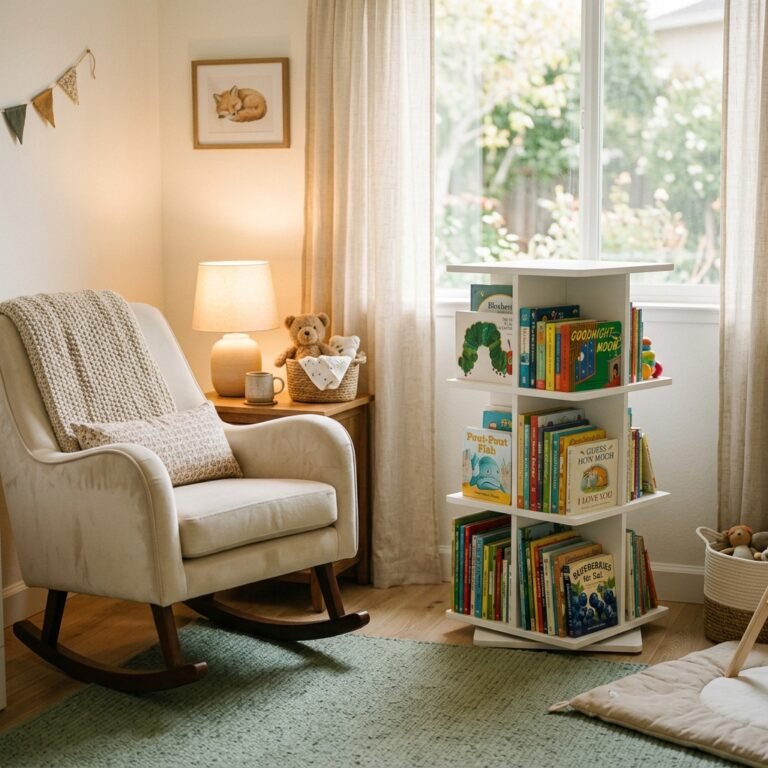
Hello, sweet mama! If you are currently in that magical, slightly frantic phase known as ‘nesting,’ you are exactly where you need to be. As a doula and a fellow mom, I know that overwhelming urge to make every corner of your home perfect before your little one arrives. We want spaces that are not only beautiful but functional, especially when we are navigating those late-night feedings and early-morning snuggles. One of the biggest challenges in any nursery—whether it is a grand suite or a cozy corner in your bedroom—is book storage. We want our babies to fall in love with stories from day one, but bulky traditional bookshelves can take up precious floor space and make it hard for little hands to reach their favorite tales.
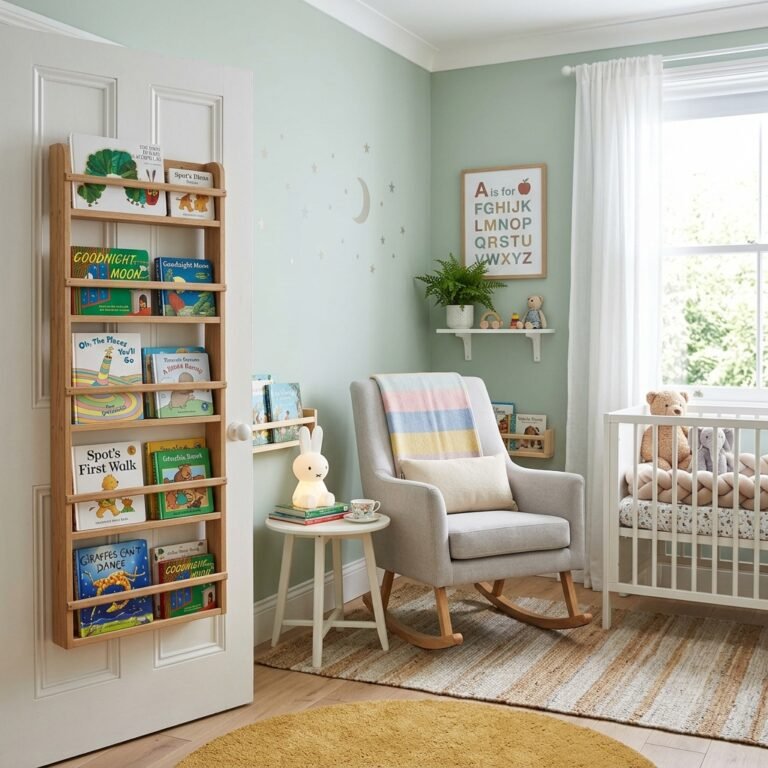
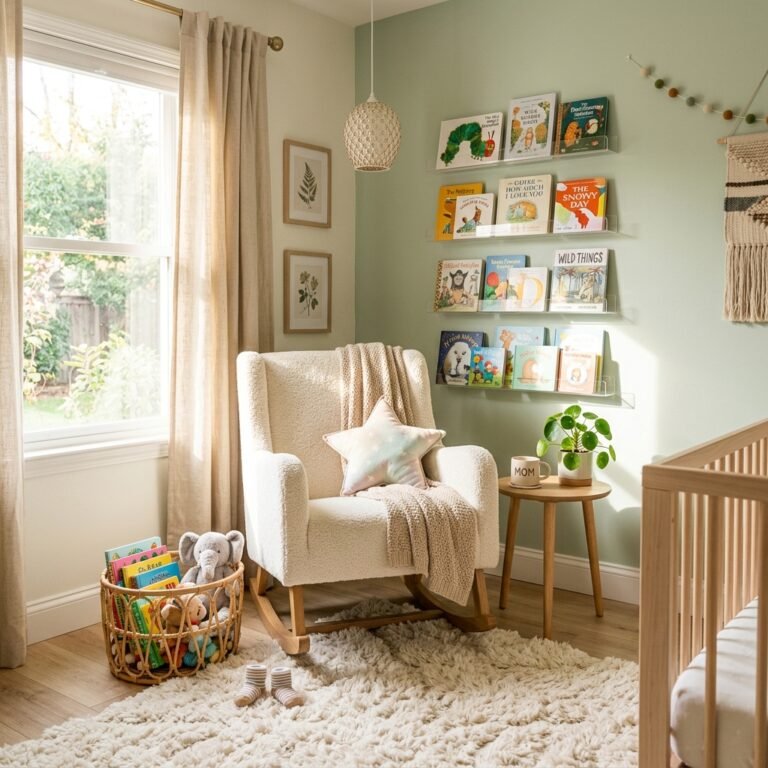
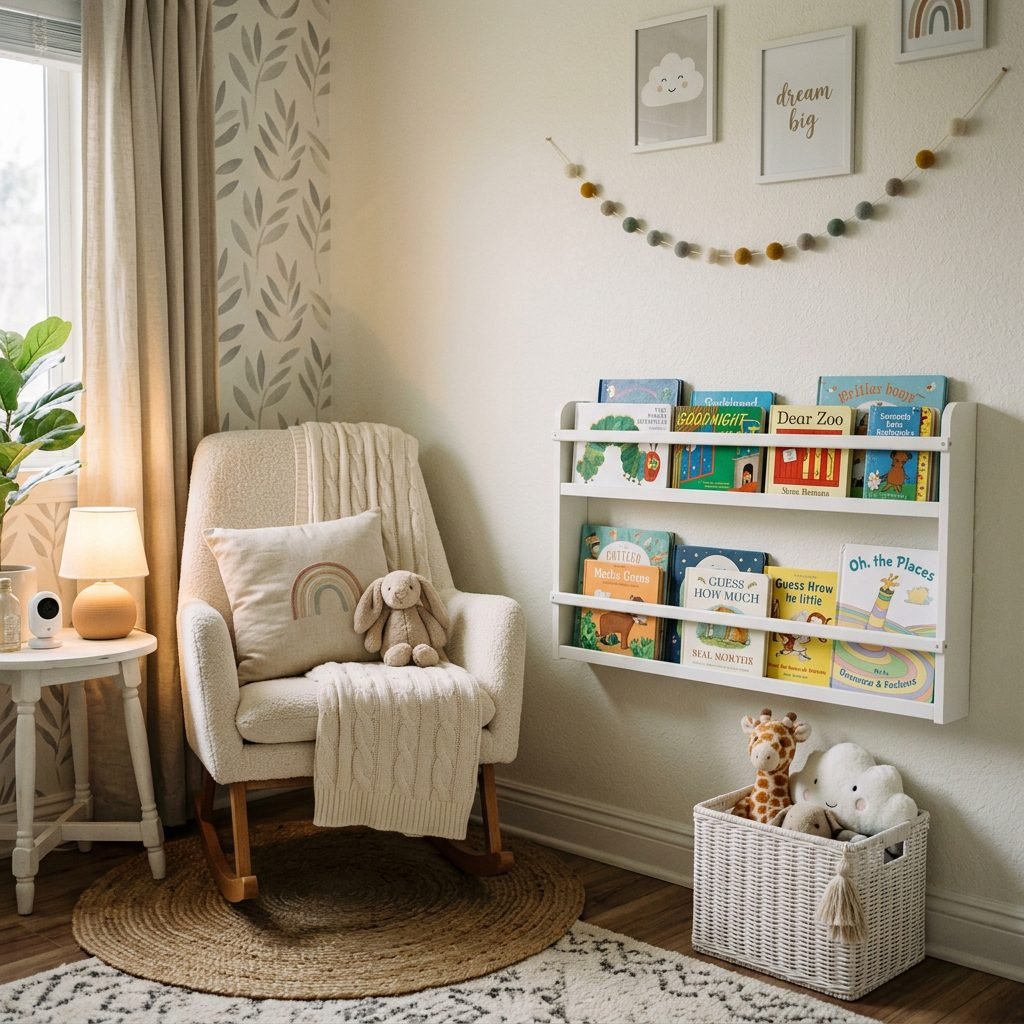
That is where the IKEA Tjusig shoe rack hack comes in. Originally designed to hold sneakers and boots, this humble piece of furniture has a secret life as a sleek, modern, front-facing bookshelf. Why front-facing, you ask? As a pediatric sleep and development enthusiast, I love front-facing shelves because they allow babies and toddlers to see the covers of their books, which sparks curiosity and encourages early literacy. In this guide, I am going to walk you through every step of this transformation, ensuring it is safe, stylish, and budget-friendly. Grab a cup of red raspberry leaf tea, put your feet up for a moment, and let us plan your nursery’s newest focal point.
The Magic of the Tjusig: Why This Hack Works for Your Nursery
Design Meets Functionality
When we look at nursery design through a doula’s lens, we prioritize accessibility and calm. The IKEA Tjusig rack, with its clean lines and sturdy wooden rungs, offers a minimalist aesthetic that fits perfectly into modern, Scandinavian, or boho-themed nurseries. Unlike deep bins where books go to disappear, the Tjusig allows you to lean books against the rails, creating a gallery-wall effect. This is particularly helpful during the postpartum period when you want everything within arm’s reach while you are seated in your nursing chair.
Space-Saving Brilliance
For my mamas living in apartments or smaller homes, floor space is gold. By mounting the Tjusig on the wall, you clear the ‘walking path’ around the crib or changing table. This reduces trip hazards—something your future, sleep-deprived self will deeply appreciate! Here is a quick look at why the Tjusig stands out compared to other popular IKEA hacks:
| Feature | Tjusig Rack Hack | Mosslanda Picture Ledge | Flisat Wall Storage |
|---|---|---|---|
| Depth | 12 inches (Great for thick board books) | 4.5 inches (Very slim) | 4 inches (Limited capacity) |
| Material | Solid Wood/Steel | MDF | Solid Pine |
| Visual Style | Modern/Industrial | Minimalist | Traditional/Rustic |
| Capacity | 15-20 Books per tier | 3-5 Books | 5-8 Books |
Setting up your nursery isn’t just about decor; it’s about creating a sanctuary where you and your baby can bond without the stress of clutter.
Gathering Your Supplies: The Non-Toxic Nursery Kit

Safety and Prep
Before we pick up a screwdriver, let’s talk about safety. Your baby will eventually be a curious toddler who might decide to test the texture of the shelf with their mouth. This is why I always recommend using low-VOC or zero-VOC paints and sealants. When you are pregnant, your sense of smell is heightened, and your body is more sensitive to fumes, so choosing ‘green’ materials is as much for you as it is for the baby.
Materials You Will Need:
- IKEA Tjusig Shoe Rack (The 31-inch width is standard).
- Fine-grit sandpaper (220 grit is perfect for scuffing the factory finish).
- Tack cloth or a damp microfiber rag.
- Primer (Look for a high-quality water-based primer).
- Non-toxic paint (Satin or semi-gloss finishes are easiest to wipe clean).
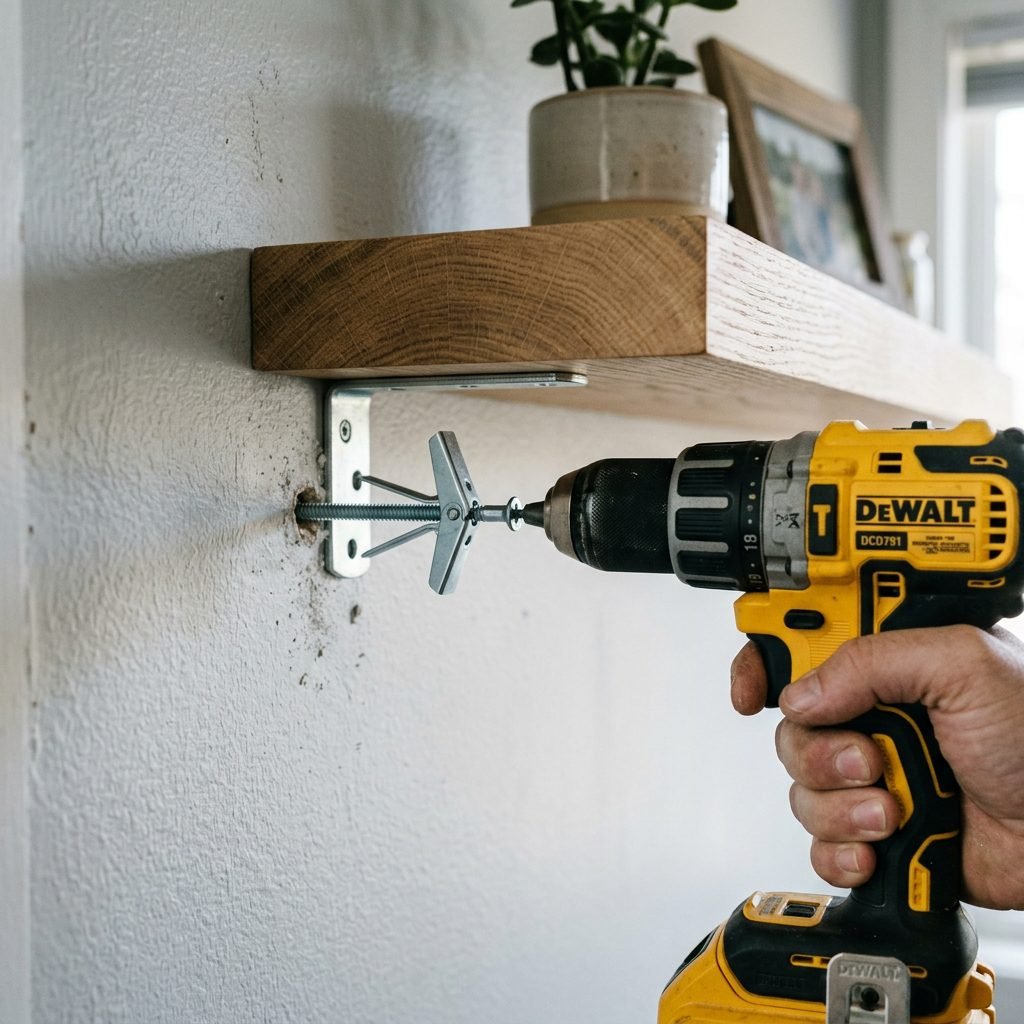
- Power drill and wall anchors (Crucial: You must use anchors rated for at least 50 lbs).
- Level (To ensure your books don’t look like they are sliding off the wall!).
Pro-Tip from a Doula: If you are in your third trimester, please do not do the heavy lifting or the high-wall mounting yourself. This is a perfect job for a partner, a friend, or a nesting-party guest. Your job is to be the ‘Creative Director’ and stay hydrated!
Step-by-Step Transformation: From Shoe Rack to Story Center
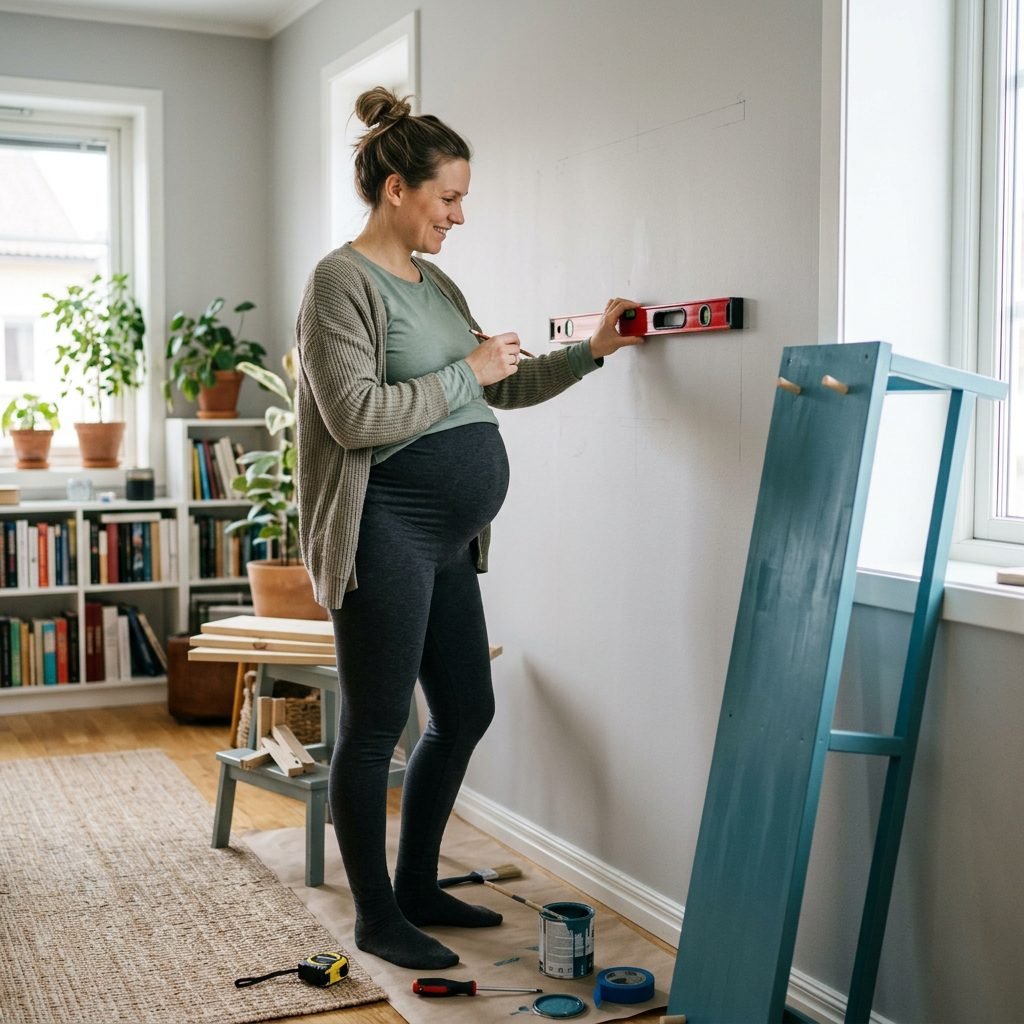
The DIY Process
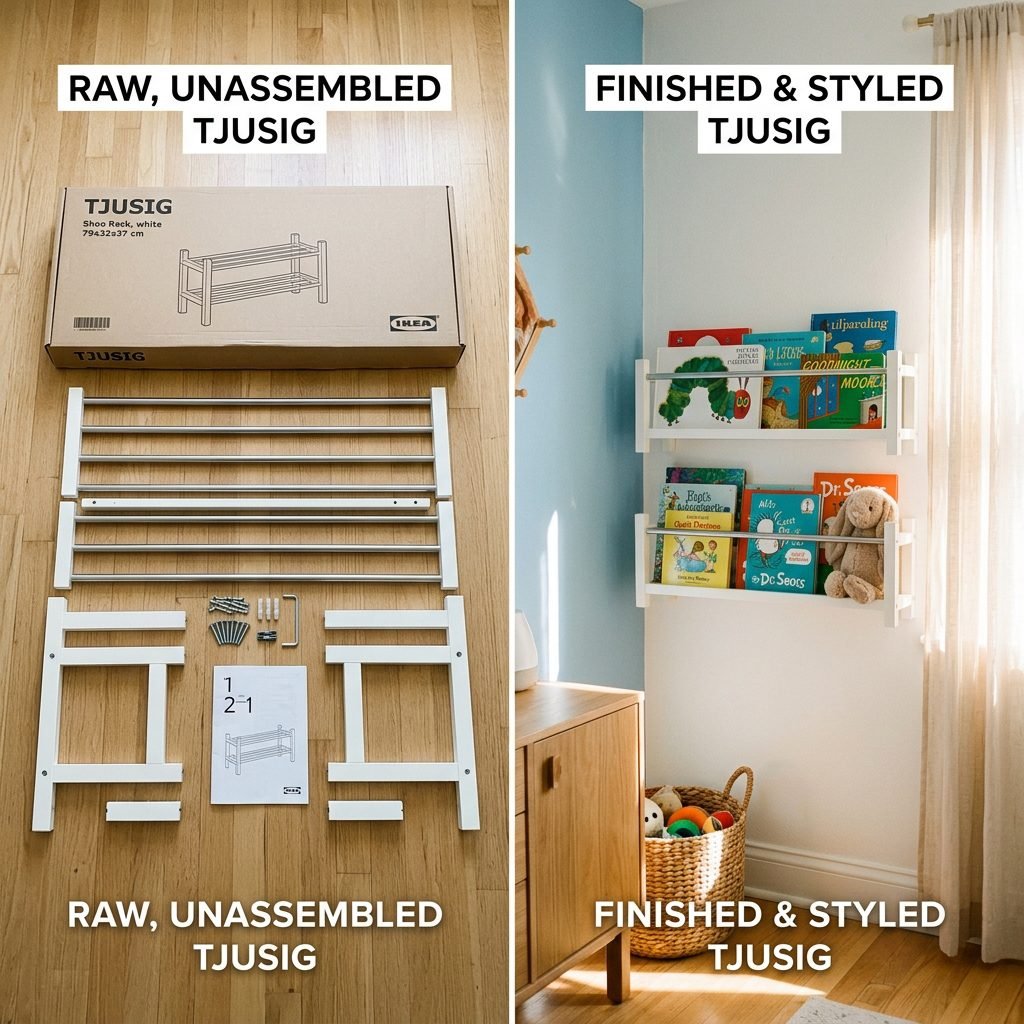
- Unbox and Inspect: Open your Tjusig kit. You will notice it has two side frames and several metal or wood rungs. For a bookshelf, we will be assembling it slightly differently than the shoe rack instructions suggest.
- Sand and Prep: Even if you like the natural wood look, a light sanding helps the paint or sealer bond. Wipe away all dust with your tack cloth. Safety note: Wear a mask while sanding to avoid inhaling fine particles.
- The ‘Reverse’ Assembly: Instead of placing the rack on the floor, we are going to envision it vertically. For most nursery books, the standard spacing works well, but you can choose to omit a middle rung if you have extra-large ‘atlas-style’ children’s books.
- Painting: Apply your primer first, let it dry for 4 hours, and then apply two thin coats of your chosen color. Soft sages, dusty roses, or classic white are timeless choices.
- Mounting (The Most Important Step): Hold the rack against the wall. Mark your holes. Use a stud finder to see if you can hit a wooden stud. If not, use ‘toggle bolt’ style anchors. These are the gold standard for nursery safety because they won’t pull out of the drywall if a toddler tries to pull themselves up using the shelf.
Remember, mama: ‘Done is better than perfect.’ Your baby won’t notice a tiny paint drip, but they will notice the rhythm of your voice as you read to them from these shelves.
Styling Your Shelves for Sensory Development

Creating a Visual Feast
Now for the fun part! As a doula, I love discussing sensory play. For newborns, high-contrast black and white books are incredible for their developing vision. As they grow, you can transition to touch-and-feel books. The Tjusig’s open design allows you to hang small sensory toys or ‘crinkle’ books from the lower rungs using plastic links.
Organization Hacks:
- Color Coding: Arrange books by the colors of the rainbow. It’s visually soothing for you and helps toddlers learn their colors later on.
- The ‘Rotation’ Method: Don’t crowd the shelf. Keep 10-12 books out at a time and keep the rest in a basket. Every Sunday, swap them out. This keeps ‘story time’ fresh and exciting.
- Height Matters: Mount the bottom rack low enough so that a crawling baby can eventually reach the bottom row. This fosters independence—a key Montessori principle!
| Age Group | Recommended Book Type | Placement on Tjusig |
|---|---|---|
| 0-3 Months | High-Contrast/Board Books | Top tier (Parent’s eye level) |
| 6-12 Months | Touch-and-Feel/Lift-the-flap | Middle tier (Reachable for baby) |
| 1-2 Years | Hardcover Picture Books | Bottom tier (Self-selection) |
Ensuring a Safe Nursery Environment
The Doula’s Safety Checklist
We cannot talk about nursery furniture without talking about tip-over prevention. According to safety standards, any furniture in a child’s room should be securely anchored. Since the Tjusig is lightweight, the risk is less about the rack falling and more about the books falling on a baby or the rack being pulled off the wall.
Top Safety Tips:
- Weight Limits: Do not overload the shelves with heavy adult encyclopedias. Keep it strictly for children’s literature.
- Smooth Edges: After painting, feel the edges of the Tjusig. If the paint dried with any sharp ‘drips,’ sand them down.
- Non-Toxic Finishes: Ensure your paint is ‘Lead-Free’ and ‘Phthalate-Free.’
- Placement: Never hang shelves directly above a crib where a baby could reach through the slats and pull items down onto themselves. Aim for a wall adjacent to the nursing chair or the changing station.
Your peace of mind is the greatest gift you can give yourself during the fourth trimester. Knowing your nursery is a ‘yes space’—where baby can explore safely—is priceless.
Budget Breakdown and Final Thoughts
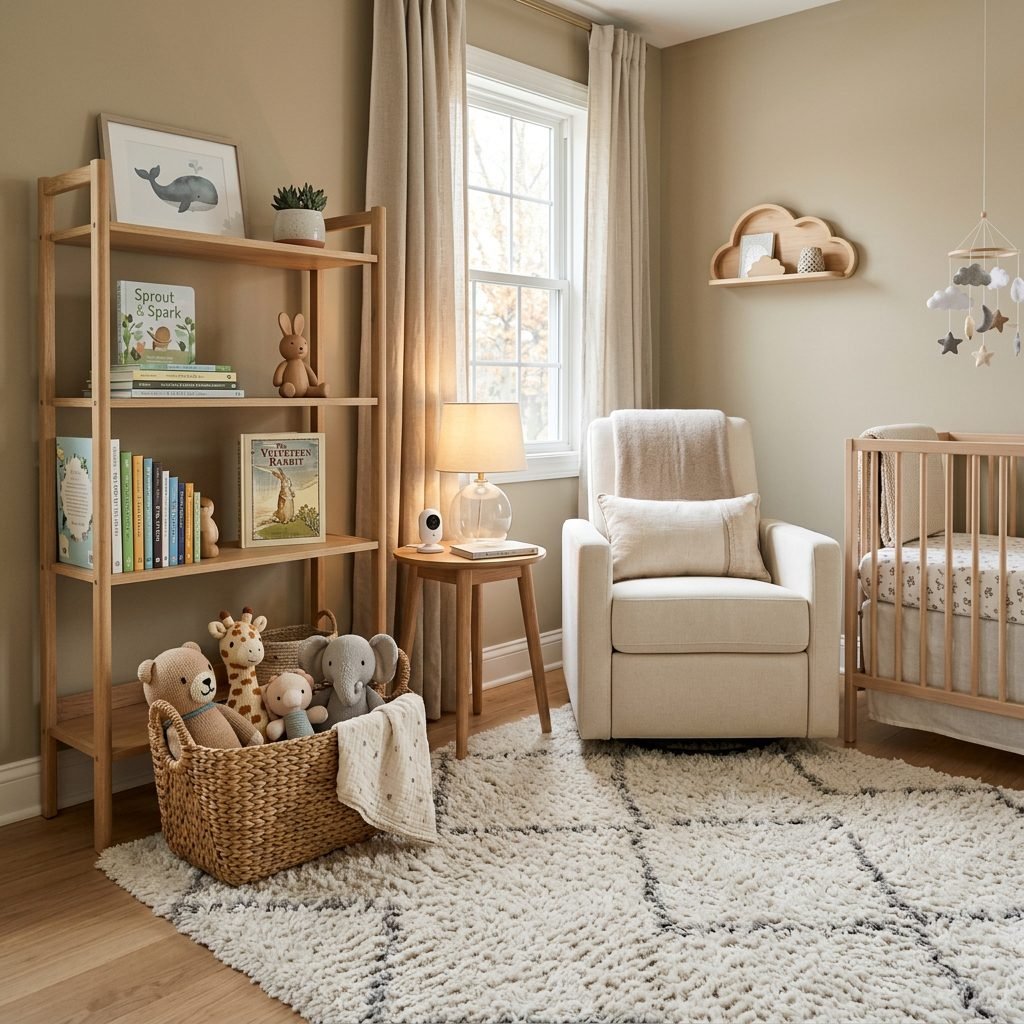
Smart Spending for Growing Families
Preparing for a baby is expensive—there is no way around it! Between the car seat, the stroller, and the endless boxes of diapers, finding ways to save without sacrificing style is a huge win. The IKEA Tjusig hack is one of the most cost-effective ways to get a high-end ‘designer’ look for a fraction of the price.
| Item | Estimated Cost (USD) |
|---|---|
| IKEA Tjusig Rack | $25.00 |
| Sample Size Paint | $8.00 |
| Wall Anchors/Hardware | $5.00 |
| Sandpaper/Brushes | $7.00 |
| Total Project Cost | $45.00 |
Compare that to high-end nursery bookshelves that often retail for $150 to $300, and you have saved enough to buy a month’s supply of high-quality organic swaddles! This project is a testament to your resourcefulness as a mother. You are building more than a shelf; you are building the foundation of your child’s home library.
Conclusion
You’ve Got This, Mama!
Transforming an IKEA Tjusig shoe rack into a modern nursery bookshelf is more than just a DIY project; it is a labor of love. It’s about creating a space that reflects your style while prioritizing your baby’s development and safety. As you stand back and look at your handiwork, take a deep breath and acknowledge the incredible work you are doing—both in your home and in growing that precious life inside you.
Whether you choose to paint it a bold accent color or keep it a serene natural wood, this shelf will hold the stories that you will read a thousand times over. It will witness the ‘one more book’ pleas and the quiet moments of a midnight feeding. You are creating a beautiful world for your little one, one IKEA hack at a time. Happy nesting!