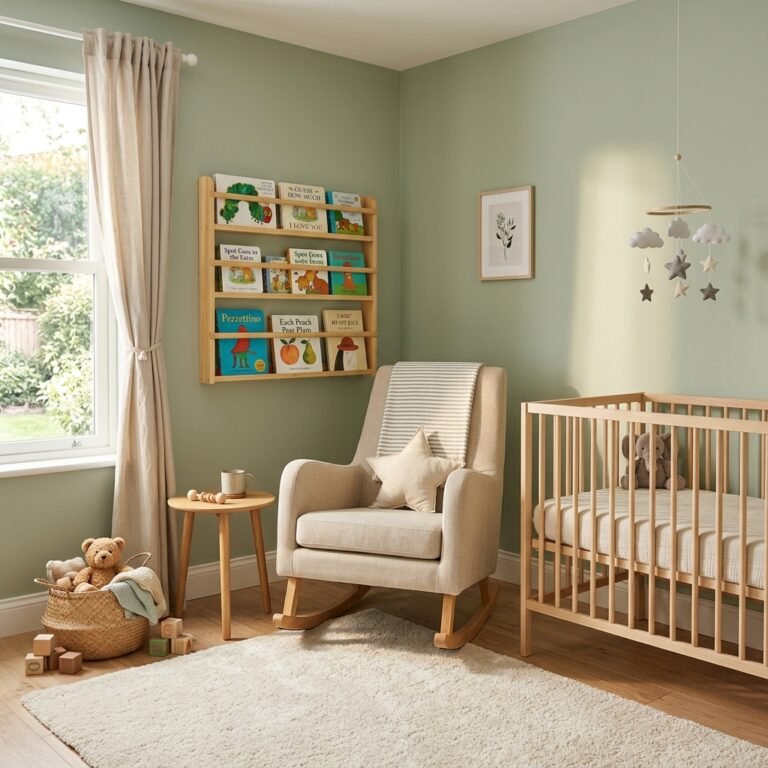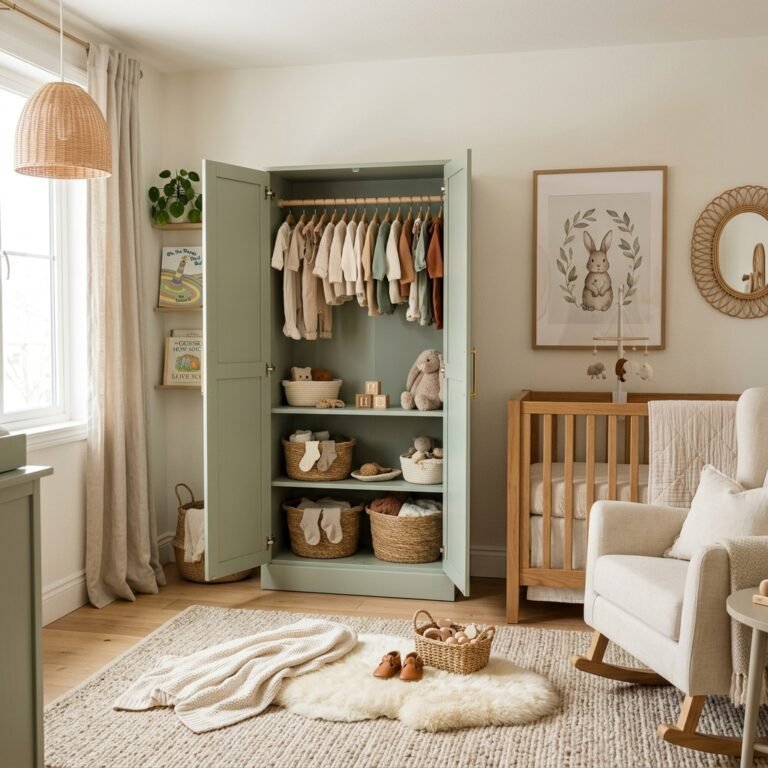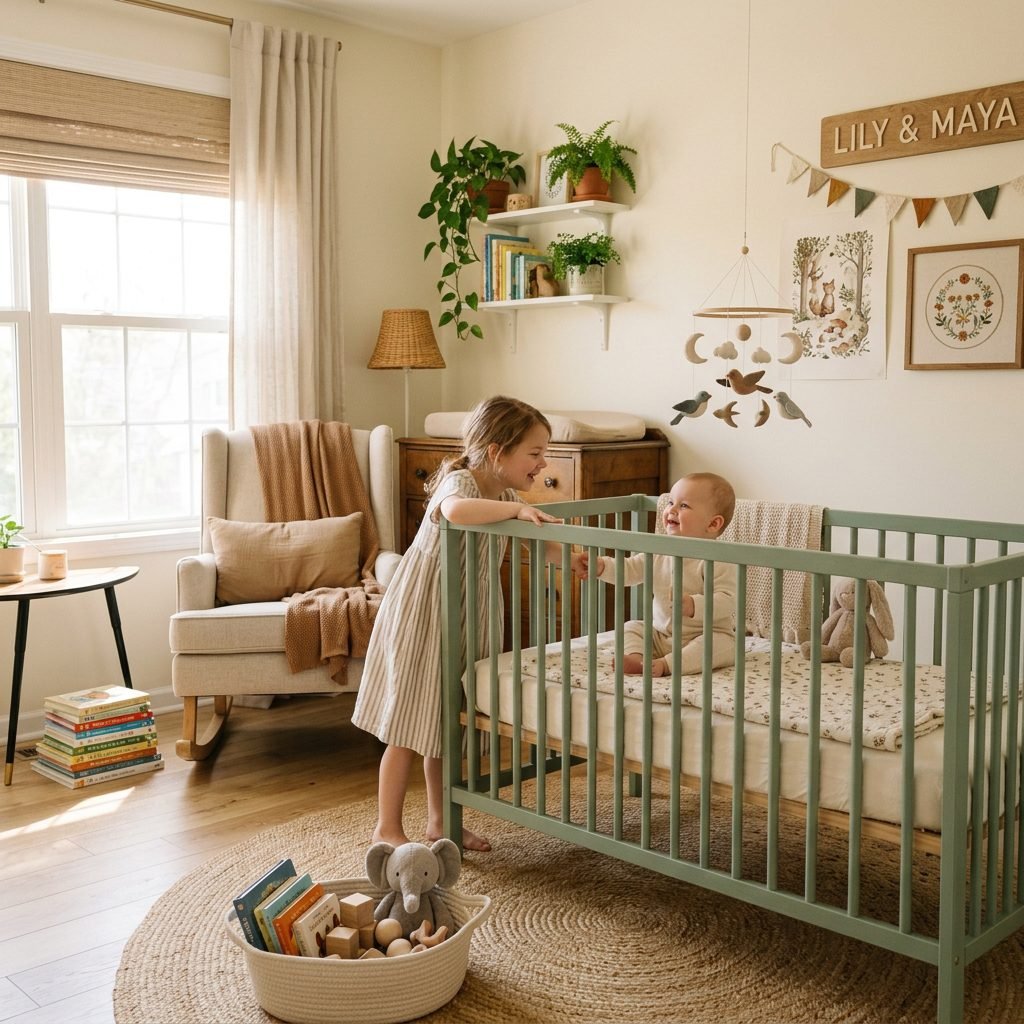
IKEA Sniglar Crib Hack: How to Safely Paint and Customize Your Crib
Welcome to Your Creative Nesting Journey, Mama
Oh, sweet mama, I see you. You’re in that beautiful, whirlwind phase of nesting where every corner of the nursery feels like a canvas for the love you’re already carrying. If you’ve brought home the IKEA Sniglar crib, you’ve made a brilliant choice. As a doula and a fellow mom, I adore this piece because it’s made of solid, untreated beech wood—a rare find at such an affordable price point. It’s the perfect ‘blank slate’ for your nursery vision.
But I also know that as your hands reach for the paintbrush, your heart is asking: Is this safe for my baby? Between the concerns about VOCs (Volatile Organic Compounds) and the knowledge that your little one will eventually use those crib rails as a teething toy, the stakes feel high. That’s why I’m here. We aren’t just going to make this crib look like a Pinterest dream; we are going to ensure it is a safe, non-toxic sanctuary for your baby’s most precious hours of sleep. Grab a cup of red raspberry leaf tea, and let’s walk through this transformation together, step-by-step.
The Safety First Mindset: Choosing Your Non-Toxic Palette
Understanding Paint Safety for Your Little One
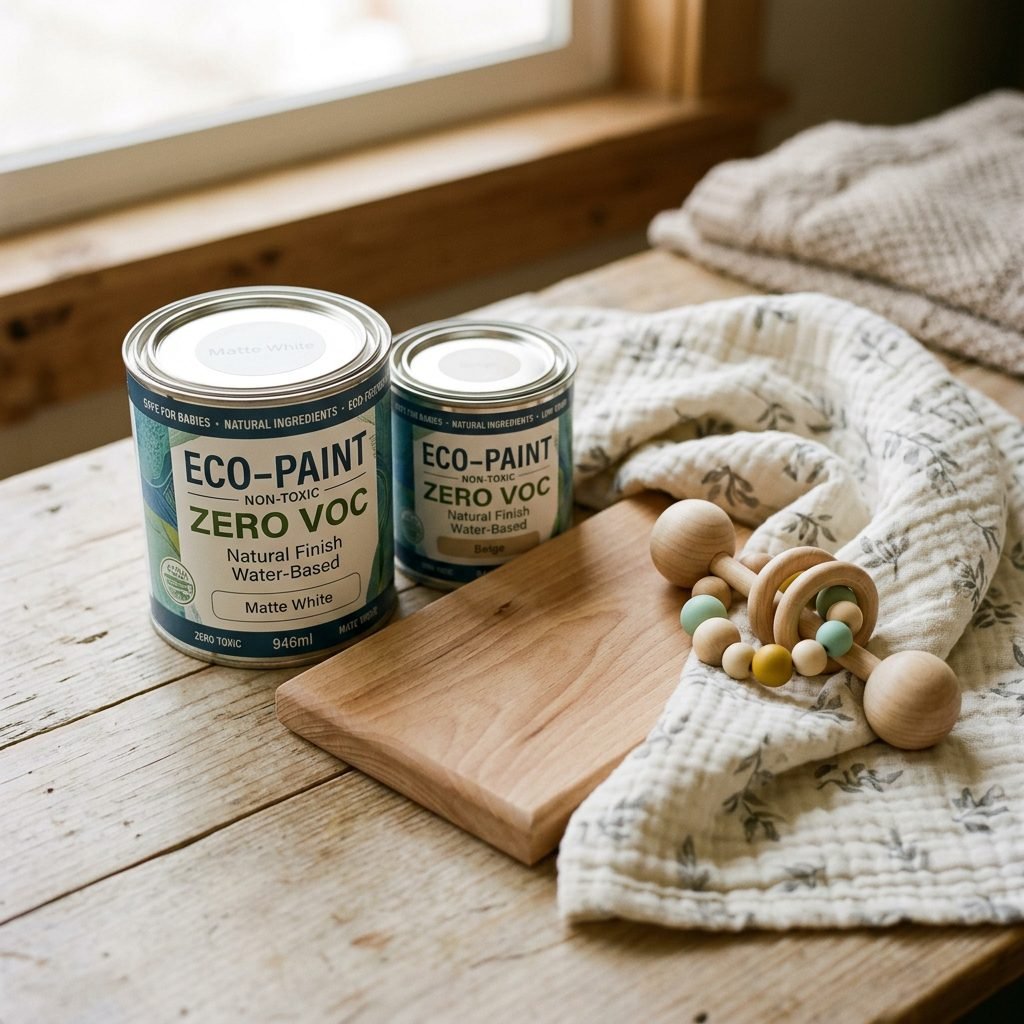
Before we even touch a brush, we have to talk about what goes into the paint. Traditional oil-based or even some standard latex paints can ‘off-gas’ for weeks or months, releasing chemicals that aren’t ideal for developing lungs. Since our Sniglar is raw wood, it absorbs what we put on it.
What to Look for in Nursery Paint
- Zero-VOC: Look for labels that explicitly state ‘Zero-VOC’ rather than just ‘Low-VOC.’
- GreenGuard Gold Certification: This is the gold standard for indoor air quality.
- Baby-Safe Finishes: Some paints are specifically marketed as ‘toy-safe’ or ‘nursery-safe,’ often meaning they meet European Safety Standard EN71-3.
As your doula-expert, I highly recommend Milk Paint or Mineral Paint. Milk paint is ancient, made from milk protein, lime, and pigment—it’s literally edible in its raw form (though I wouldn’t suggest it for breakfast!). It creates a beautiful, breathable, matte finish that feels very high-end.
| Paint Type | Pros | Cons |
|---|---|---|
| Milk Paint | 100% Organic, Zero VOCs, beautiful matte finish | Requires mixing, can be ‘chippy’ if not sealed |
| Chalk Paint | No sanding required, low VOC options, easy to use | Needs a wax or topcoat, can be pricey |
| Mineral Paint | Built-in topcoat, very durable, Zero VOC | Fewer color options in some brands |
A Sisterly Reminder: Your baby will spend 12 to 16 hours a day with their face inches from these rails. Spending an extra $20 on high-quality, non-toxic paint is the ultimate gift of peace of mind.
The Essential Toolkit: Budget and Materials
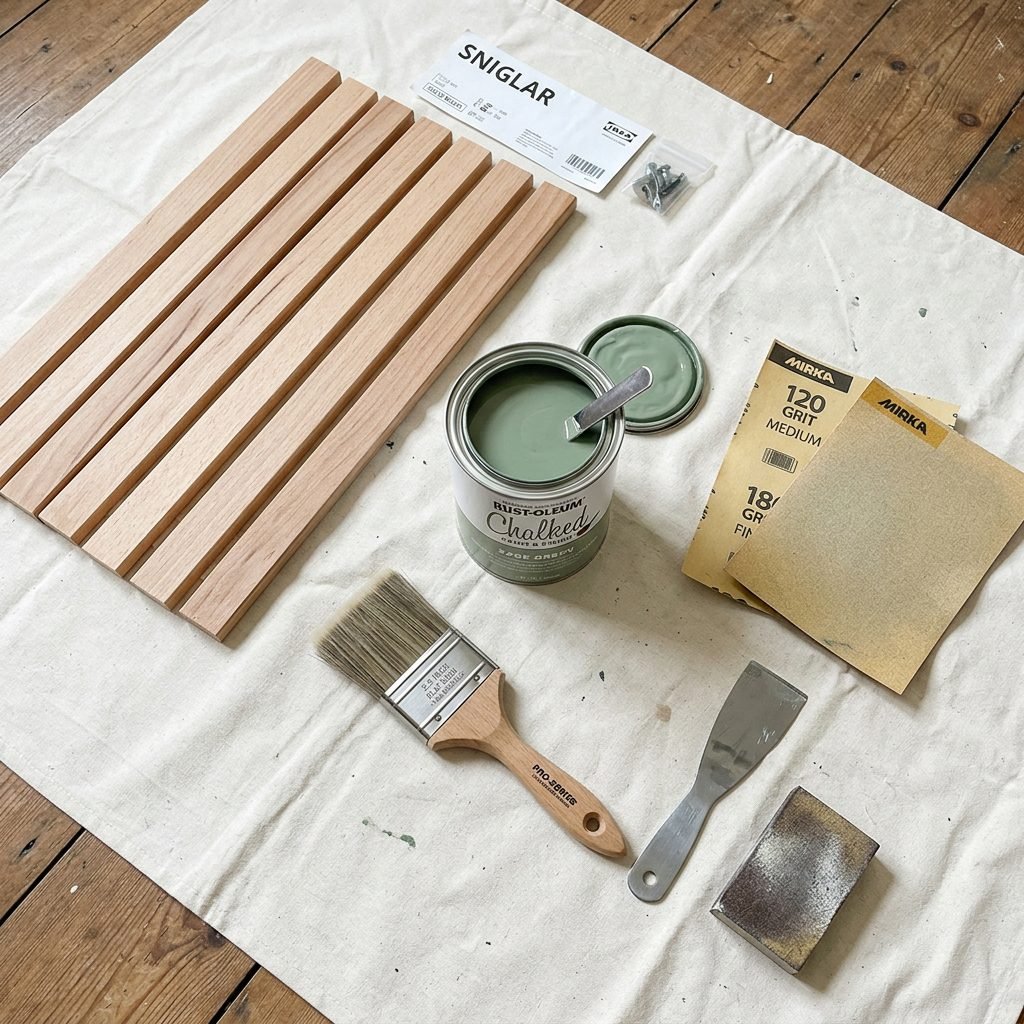
Setting Up Your DIY Station
The beauty of the Sniglar hack is that it doesn’t require a massive investment. Because the wood is untreated, we skip the hardest part of most furniture flips: stripping old varnish. However, we still need to prep the surface to ensure the paint bonds and doesn’t flake off when baby starts gumming the rails.
Here is your shopping list for a professional-level finish:
| Item | Requirement | Estimated Cost |
|---|---|---|
| IKEA Sniglar Crib | The base piece | $119.00 |
| Fine-Grit Sandpaper | 220 grit for smoothing | $5.00 |
| Tack Cloth | To remove dust | $3.00 |
| Non-Toxic Primer | If using light colors | $25.00 |
| Zero-VOC Paint | 1 Quart is plenty | $30.00 – $45.00 |
| High-Quality Brush | Synthetic for latex, natural for milk | $12.00 |
Preparation is 90% of the Work
I know you’re excited to see the color, but don’t skip the sanding! Even though the Sniglar is ‘raw,’ it often has a slight factory smoothing that can repel paint. A quick, light hand-sand with 220-grit sandpaper will open up the wood fibers, allowing your paint to grip tightly. This prevents the ‘peeling’ effect that can be a choking hazard later on.
Step-by-Step: The Painting Process
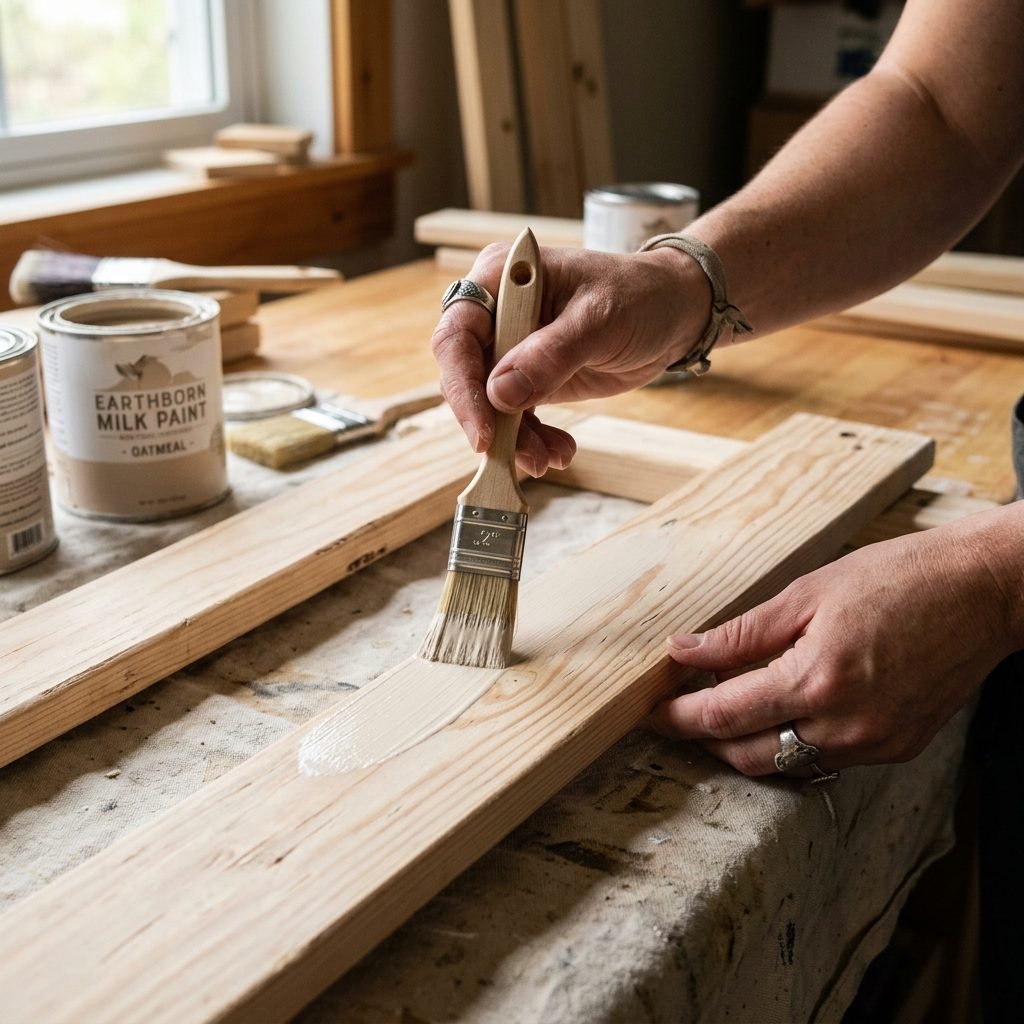
Transforming Your Crib with Care
Follow these steps closely, mama. If you are currently pregnant, please ensure you are working in a very well-ventilated area, even with non-toxic paints, and don’t hesitate to ask a partner or friend to do the heavy lifting or low-to-the-ground painting to protect your back.
- Unbox and Inspect: Lay out all the pieces of the Sniglar. It is much easier to paint the rails and slats before assembly.
- Light Sanding: Using your 220-grit sandpaper, gently sand every surface. You aren’t trying to remove wood; you’re just creating a ‘key’ for the paint.
- Clean Thoroughly: Use a damp (not soaking) microfiber cloth or a tack cloth to remove every speck of dust. If dust stays, your finish will be bumpy.
- Prime (Optional but Recommended): If you are painting the crib a light color like white or cream, use a non-toxic primer first to prevent the wood tannins from bleeding through and turning your paint yellow.
- Thin Coats: Apply your first coat of paint. The secret to a professional look is three thin coats rather than one thick one. This prevents drips and ensures a harder, more durable finish.
- Dry and Sand: Let the first coat dry completely (usually 2-4 hours). Lightly sand again with a very fine grit to knock down any ‘raised grain’ before the second coat.
- Final Coat and Cure: Apply your final coat. Now, this is the hard part: Wait.
Birth Affirmation for the Crafty Mom: Just as I am patiently preparing a space for my baby, I am preparing my heart for the journey of motherhood. Every stroke of this brush is a prayer for their safety.
Creative Customizations: Making It Your Own
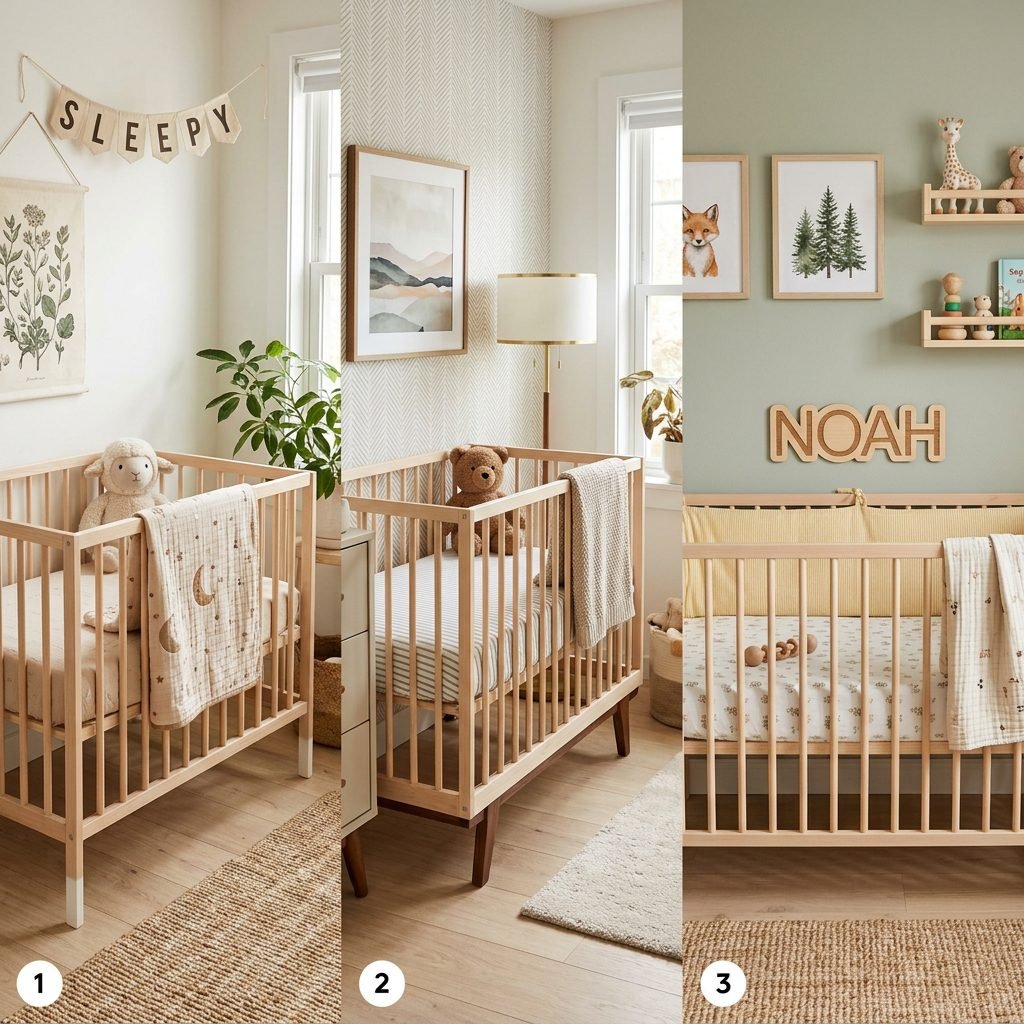
Beyond the Color: Designer Touches
If you want your Sniglar to look like it came from a high-end boutique rather than a flat-pack box, consider these ‘level-up’ hacks. These small changes make a massive difference in the overall aesthetic of the nursery.
The Dip-Dyed Look
One of my favorite trends is the ‘half-painted’ crib. Leave the top rail and the top 6 inches of the slats in their natural beech wood state, and paint the bottom two-thirds. This creates a modern, Scandinavian look and has the added benefit of keeping the ‘teething zone’ completely paint-free!
Upgrading the Legs
The Sniglar legs are functional but basic. You can purchase mid-century modern furniture legs or ‘bun’ feet from hardware stores. By adding a mounting plate to the bottom corners of the crib frame, you can elevate the height and the style instantly. Just ensure the new legs are rated for the weight of the crib and are securely fastened.
Cane Webbing Accents
For a boho-chic vibe, some moms attach natural cane webbing to the solid end-panels of the Sniglar. This adds texture and warmth. If you do this, ensure the cane is sanded smooth so there are no sharp splinters for little fingers to find.
Custom Hardware
While the Sniglar doesn’t have drawers, you can add decorative elements to the end panels, like a beautiful brass hook for a hanging diaper organizer or a personalized wooden name sign.
The 72-Hour Rule and Final Assembly
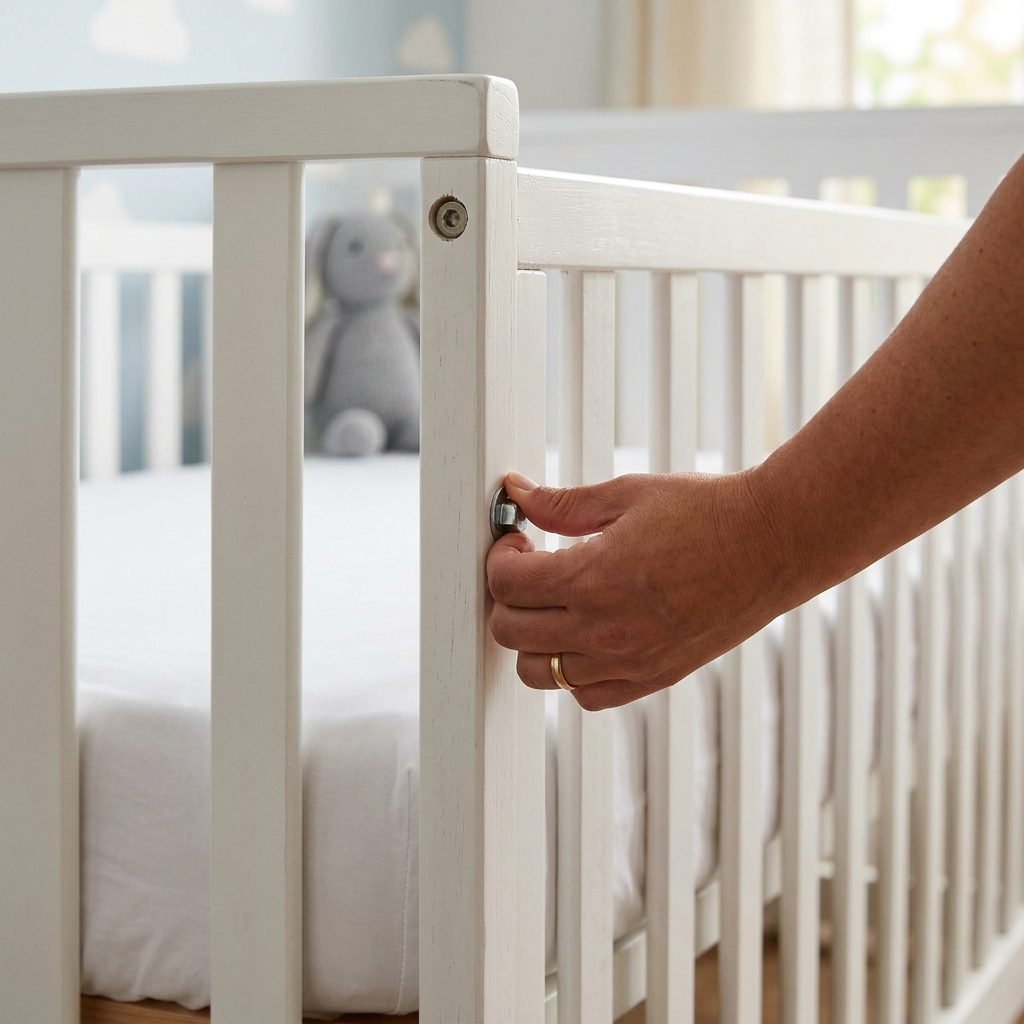
Ensuring a Safe Sleep Environment
Listen closely, because this is the ‘Doula-Expert’ advice that often gets missed in DIY blogs. There is a difference between paint being ‘dry’ and paint being ‘cured.’
The Curing Process
Paint is dry to the touch within hours, but it can take 7 to 30 days to fully cure. Curing is the chemical process where the paint reaches its maximum hardness. For a crib, I recommend finishing your project at least three weeks before your due date. This allows all moisture to evaporate and the finish to become durable enough to withstand a baby’s activity.
Assembly Safety Check
When you are ready to put the crib together, follow the IKEA manual exactly. Do not skip any screws. The Sniglar is famous for its safety, but only if assembled correctly.
- Check the Mattress Fit: Ensure there are no gaps larger than two fingers between the mattress and the crib sides.
- Check the Bolt Tightness: After painting, the wood may have expanded slightly. Ensure all bolts are flush and tight.
- No Bumpers: Despite how cute they look in photos, please skip the crib bumpers. Firm mattresses and a clear sleep space are the gold standard for SIDS prevention.
| Safety Feature | What to Check |
|---|---|
| Slat Spacing | Must be no more than 2-3/8 inches apart |
| Structural Integrity | No wobbling when shaken firmly |
| Paint Adhesion | Rub a cloth over the rails; no color should transfer |
Conclusion
Your Labor of Love is Complete
There you have it, mama. You’ve taken a simple, humble piece of furniture and turned it into a bespoke masterpiece filled with intention. By choosing non-toxic materials and taking the time to prep and cure the wood, you’ve created a space that isn’t just beautiful—it’s a sanctuary.
As you stand back and look at your handiwork, take a deep breath. This crib is a symbol of the care you are already providing for your little one. Whether you chose a calming eucalyptus green, a bold terracotta, or a classic creamy white, that crib is now part of your family’s story. Now, go put your feet up—you’ve earned it! Your baby is going to have the sweetest dreams in the beautiful space you’ve built.