Step-by-Step DIY Knitted Newborn Photo Wrap Tutorial for Gorgeous Portraits
Welcome to Your Creative Nesting Journey, Mama
There is a special kind of magic that settles into a home during the third trimester. It is that deep, soul-stirring urge to prepare, to soften the edges of the world, and to create a literal nest for the little soul about to join your family. As a doula, I often see this ‘nesting’ energy manifest in cleaning or organizing, but one of the most therapeutic ways to channel this anticipation is through the rhythmic, meditative art of knitting. Creating a DIY newborn photo wrap is more than just a craft project; it is a labor of love that results in a functional piece of art for those first precious portraits.
In this guide, we are going to walk hand-in-hand through the process of selecting the gentlest fibers, mastering a stretch-friendly stitch, and ensuring the absolute safety of your little one during their first photo session. Whether you are a seasoned knitter or picking up needles for the first time as you await your baby’s arrival, this tutorial is designed to be a soothing, practical companion. Let’s create something beautiful together, mama.
“In every stitch, there is a wish for your baby; in every row, a prayer for their peace. Hand-knitting is the slow, intentional welcome every newborn deserves.”
Choosing the Right Fiber: Softness, Breathability, and Safety
The Importance of Fiber Selection for Newborn Skin
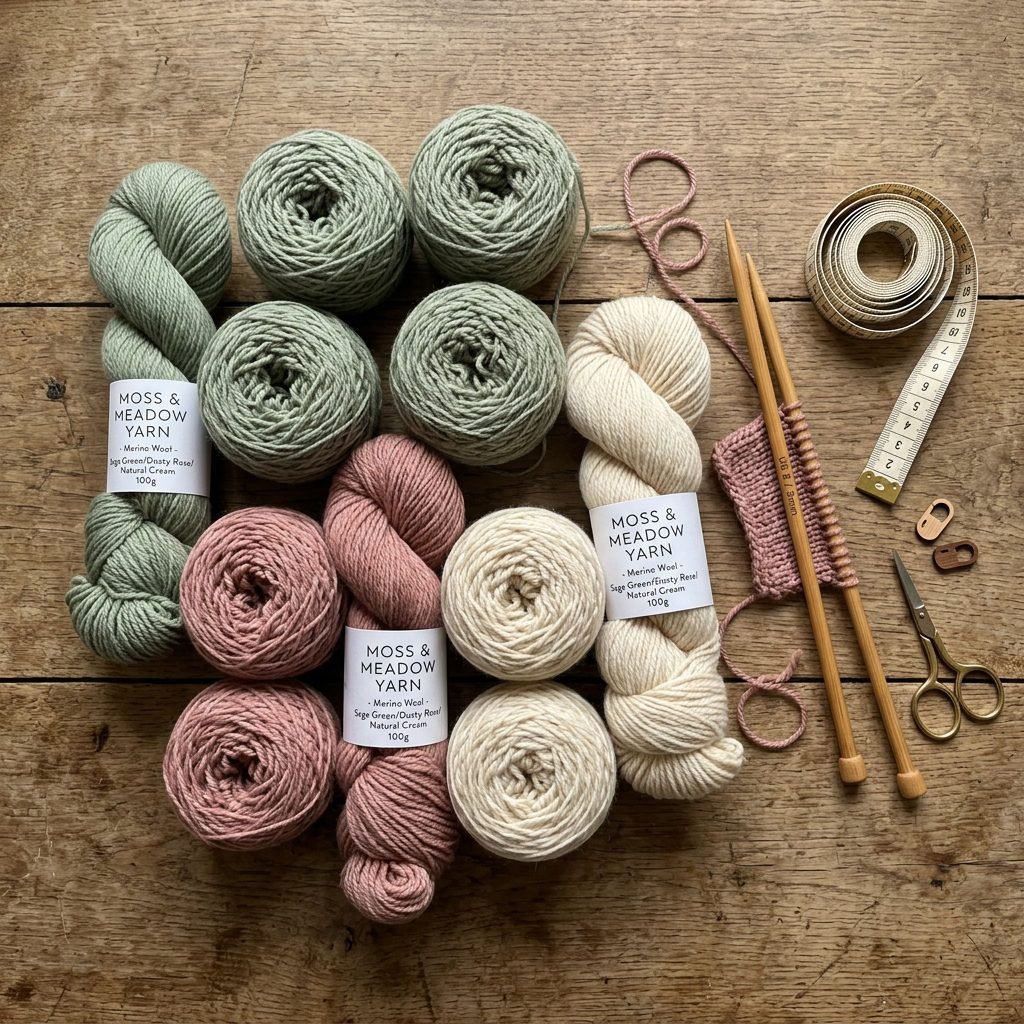
When we are creating something that will be snug against a newborn’s sensitive skin, the fiber we choose is our most important decision. Newborns have a skin barrier that is significantly thinner than ours, making them more susceptible to irritation and temperature fluctuations. As a doula and craft enthusiast, I always recommend natural, breathable fibers that offer both ‘give’ and ‘breathability’.
- Merino Wool: Naturally thermoregulating and incredibly soft. Look for ‘superwash’ if you want ease of care, though hand-washing is always best for longevity.
- Bamboo Silk Blends: These offer a stunning drape and a slight sheen that looks exquisite in professional photography.
- Organic Cotton: A wonderful choice for summer babies, though it has less ‘stretch’ than wool.
Avoid synthetic acrylics that don’t breathe, as they can cause a baby to overheat quickly during a photo session. We want a wrap that feels like a gentle cloud, not a plastic trap.
| Fiber Type | Pros for Photography | Estimated Cost |
|---|---|---|
| Merino Wool | High stretch, matte finish, very warm | $15 – $25 per skein |
| Bamboo/Silk Blend | Beautiful drape, soft sheen, cooling | $20 – $30 per skein |
| Organic Cotton | Hypoallergenic, crisp stitch definition | $10 – $18 per skein |
| Mohair/Silk Lace | Ethereal, ‘halo’ effect, very lightweight | $25 – $40 per skein |
The Essential Supplies and Budget Breakdown
Setting Up Your Knitting Nook
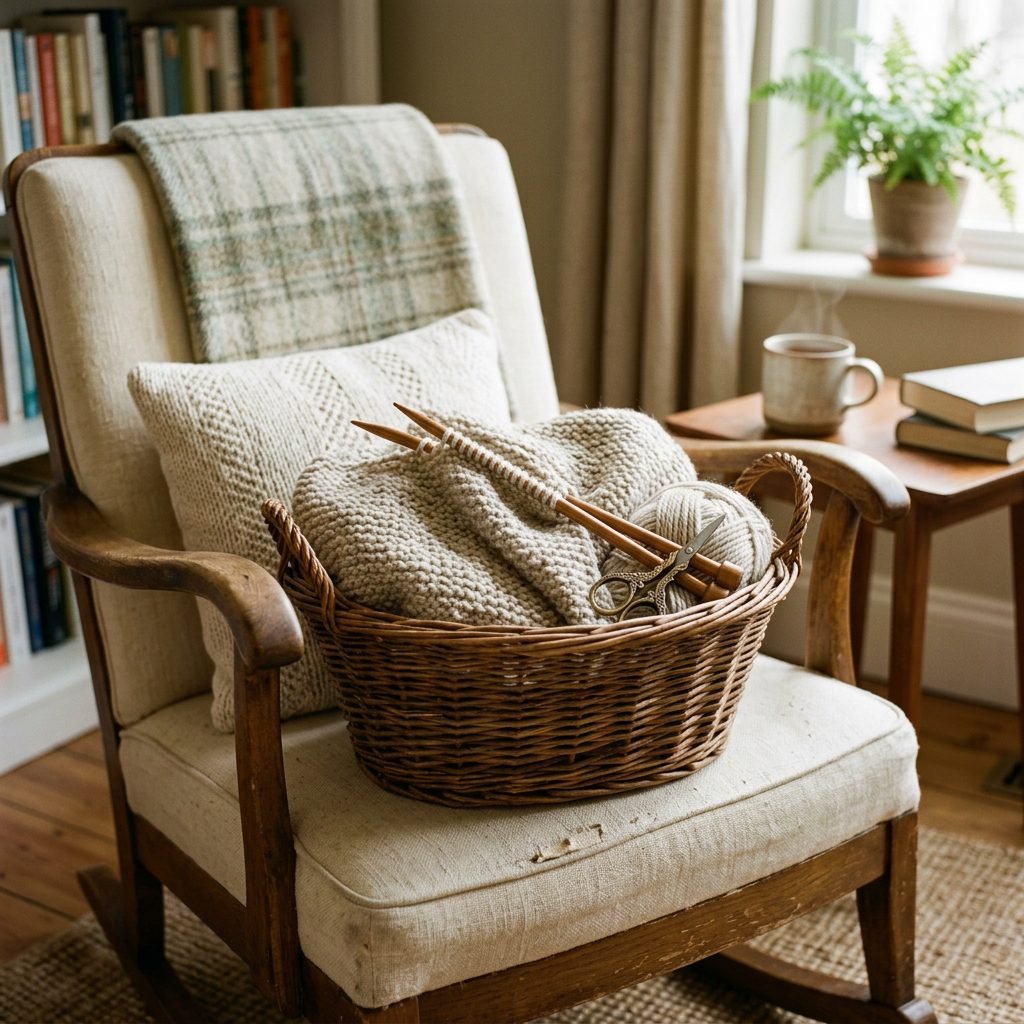
Before we cast on, let’s gather our tools. Knitting for your baby should be a stress-free experience, so having everything at arm’s reach is key. You don’t need a massive investment to create a professional-grade photo wrap. In fact, keeping it simple often yields the most timeless results.
- Knitting Needles: I recommend size US 8 (5.0mm) or US 10 (6.0mm). Using larger needles with thinner yarn creates an ‘open’ stitch that is more breathable and stretchy.
- Yarn: Approximately 200-300 yards of Lace or Fingering weight yarn (held double) or a single strand of Sport weight yarn.
- Tapestry Needle: For weaving in those ends.
- Soft Measuring Tape: To ensure we hit the 12-inch by 40-inch sweet spot.
Expect to spend about $20 to $50 total, depending on the luxury level of your yarn. This is a fraction of the cost of high-end boutique props, and yours will carry the scent and energy of a mother’s touch.
Step-by-Step Knitting Instructions for the ‘Cloud Wrap’
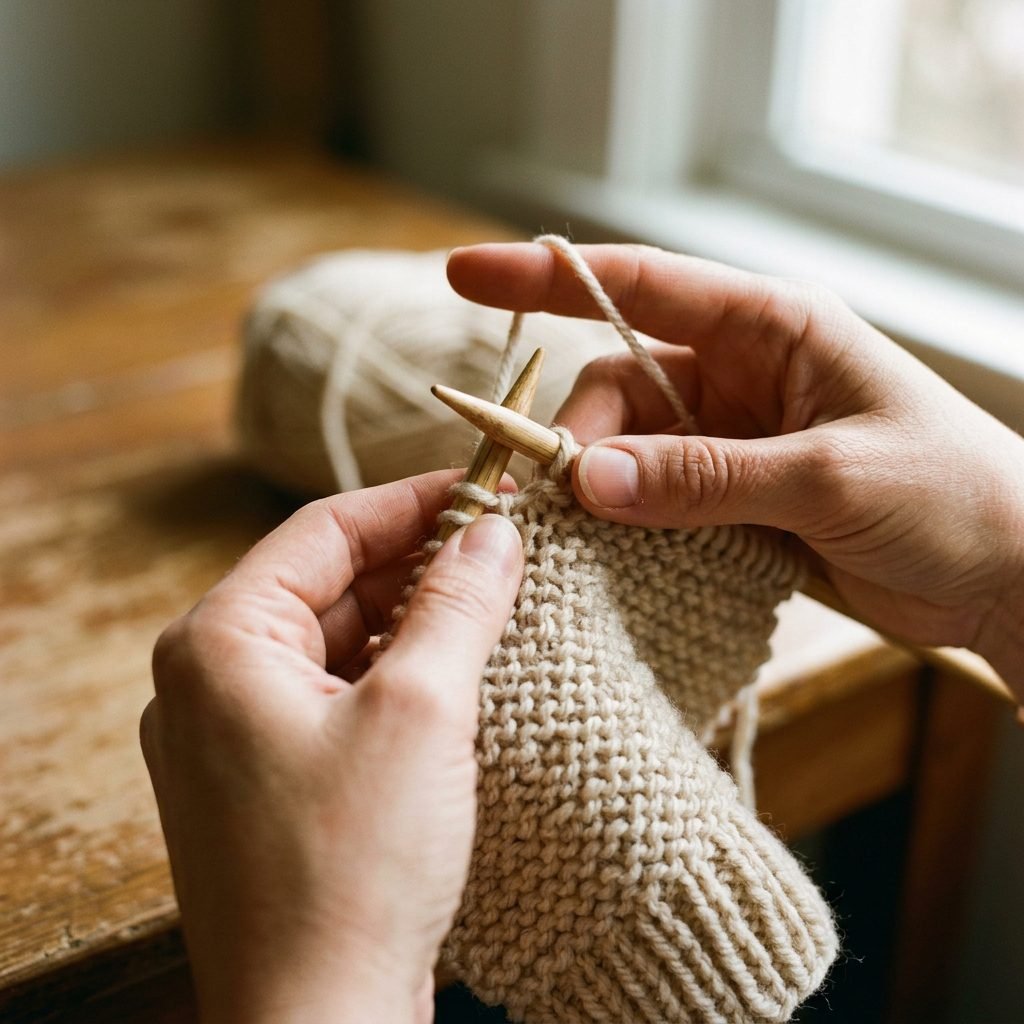
The Pattern: Simple Garter or Moss Stitch
For a newborn wrap, we want a texture that is interesting but not so bumpy that it leaves marks on the baby’s skin. The Garter Stitch (knitting every row) is my favorite for beginners because it creates a reversible, squishy fabric with maximum horizontal stretch—perfect for swaddling.
- Cast On: Using the long-tail cast-on method, cast on 40 to 50 stitches. This should give you a width of roughly 12 inches.
- The Body: Knit every stitch across every row. This is your meditative space. Focus on your breath and the movement of the needles.
- Check Your Gauge: Every few inches, gently stretch the fabric. It should spring back. If it feels too stiff, switch to larger needles.
- Length: Continue knitting until the piece measures 40 to 45 inches long. This length allows for the ‘taco’ wrap or the ‘double-loop’ wrap in photos.
- Bind Off: Bind off loosely. If you bind off too tightly, one end of your wrap will be constricted, making it difficult to tuck around the baby safely.
“Don’t worry about perfection, mama. A dropped stitch here or there is just a place for the light to get in. Your baby will only feel the warmth of the wool and the love in your hands.”
Safety First: The Doula’s Guide to Newborn Posing
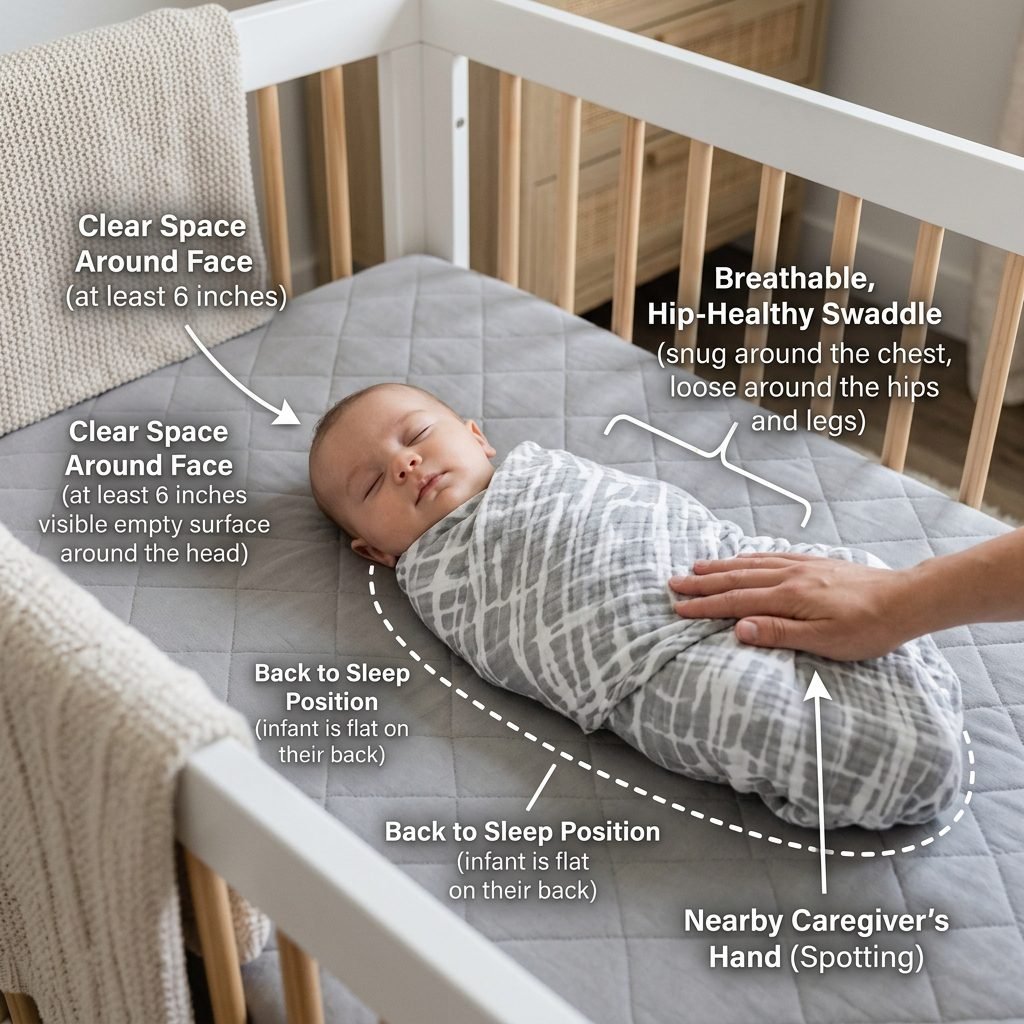
Keeping Your Little One Secure and Comfortable
As a doula, safety is my primary language. While we want those ‘Pinterest-perfect’ shots, the baby’s physiological well-being is the only priority. A wrap that is too tight can restrict breathing or circulation, and a baby who is too hot will become distressed.
| Safety Category | What to Look For | Action Step |
|---|---|---|
| Circulation | Check fingers and toes for blue/purple tints | Loosen the wrap immediately if skin color changes |
| Airway | Chin should be off the chest (two-finger gap) | Adjust the head position to ensure an open airway |
| Temperature | Nape of the neck feeling sweaty or hot | Remove layers and use a fan to circulate air |
| Stability | Baby ‘rolling’ or shifting in the prop | Always have a ‘spotter’ (partner) within arm’s reach |
The Golden Rule of Wrapping
Never leave a wrapped baby unattended on a surface, even for a split second. Newborns can have unexpected startle reflexes (the Moro reflex) that can cause them to shift. When using your DIY wrap, ensure the fabric is tucked securely but not tightly enough to compress the ribcage.
Styling Tips for Professional-Looking Portraits at Home
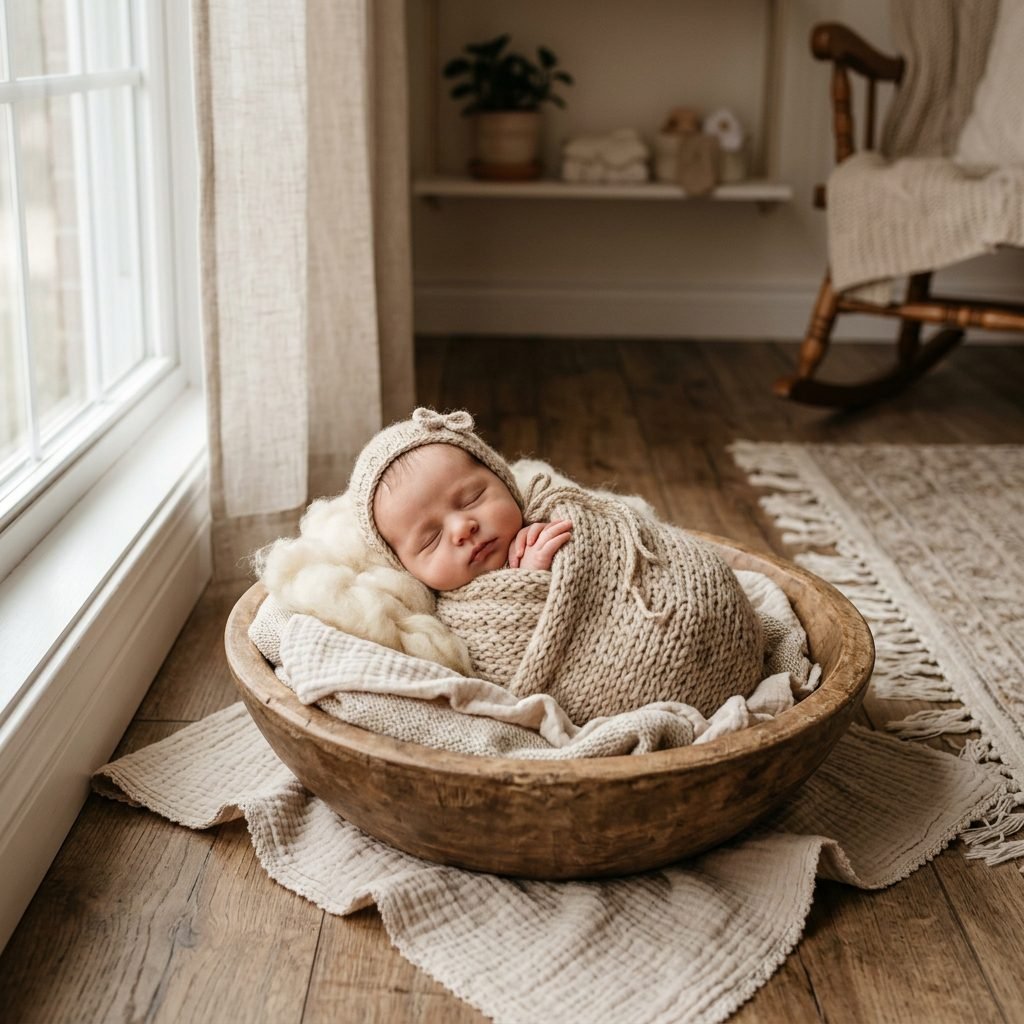
Lighting and Composition
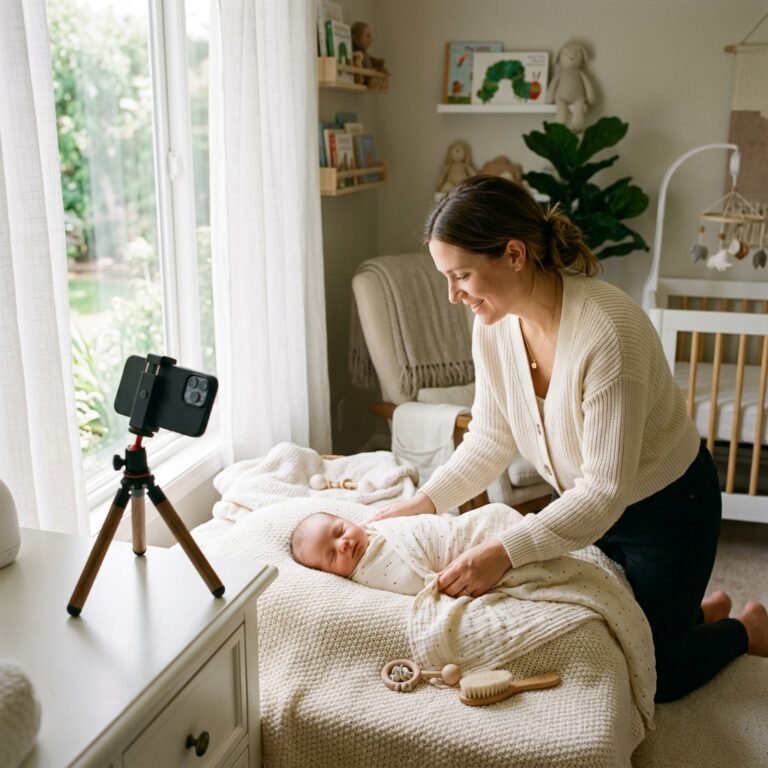
You’ve finished your wrap, and now it’s time for the big reveal! You don’t need a studio to get gorgeous results. Find a large window with indirect sunlight—North-facing windows are the ‘holy grail’ of photography because they provide soft, consistent light without harsh shadows.
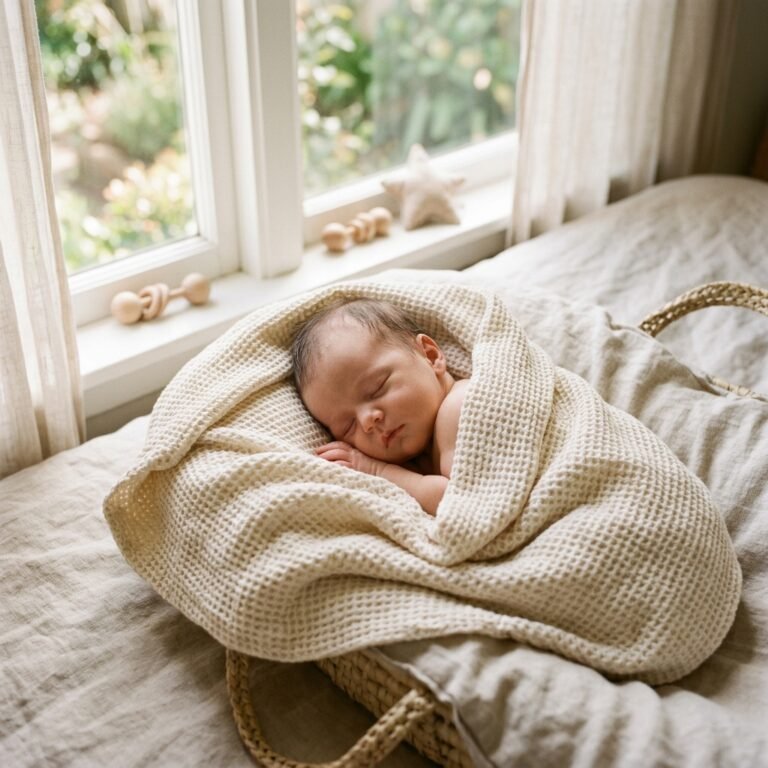
- The ‘Cradle’ Wrap: Fold your knitted wrap in half lengthwise. Place the baby in the center and gently cross the ends over the tummy, tucking them under the baby’s weight.
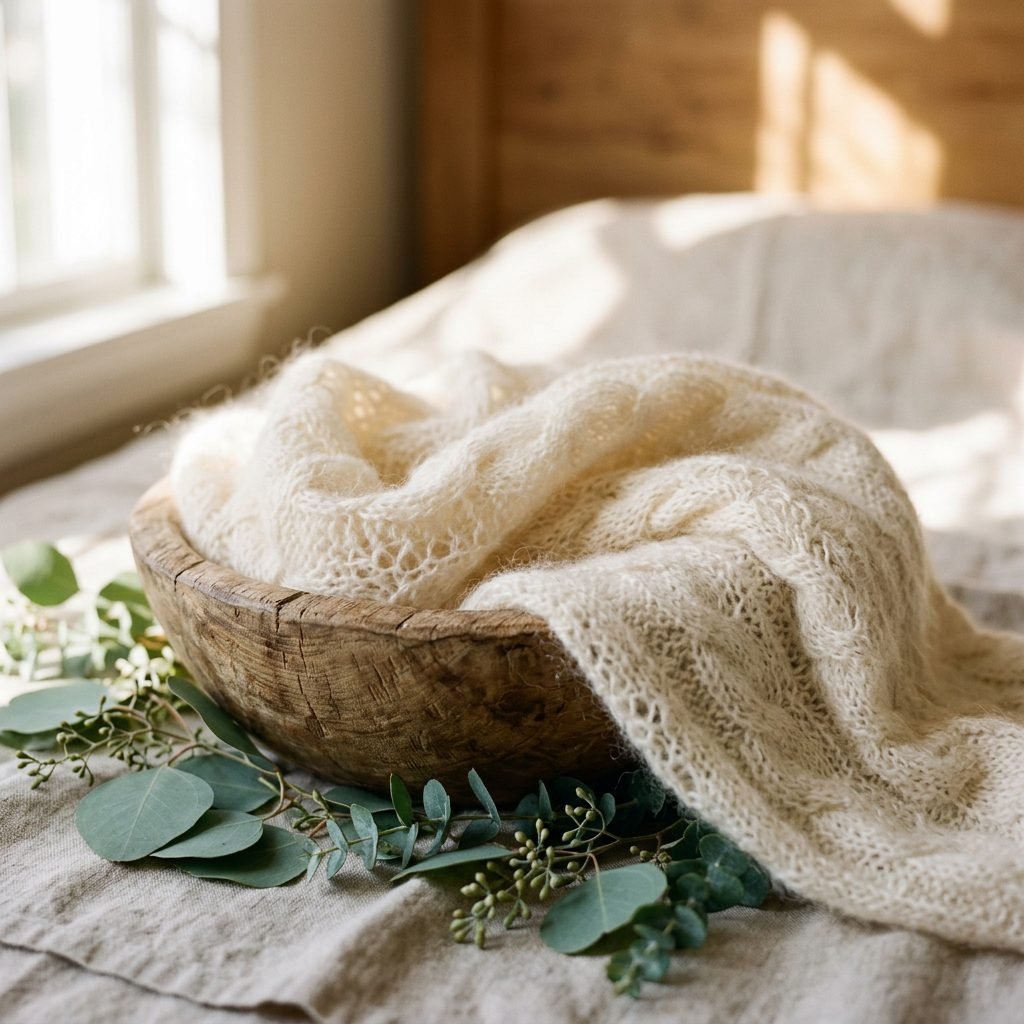
- The ‘Texture Layer’: If your baby isn’t in the mood to be swaddled, use the wrap as a textured base layer in a basket or bowl.
- Color Harmony: Pair your cream or earth-toned wrap with a simple, solid-colored backdrop. Avoid busy patterns that distract from the baby’s features.
Pro Tip: Warm up the room to about 75-80 degrees Fahrenheit before undressing the baby. A warm baby is a sleepy, poseable baby!
Caring for Your Heirloom Wrap Post-Session
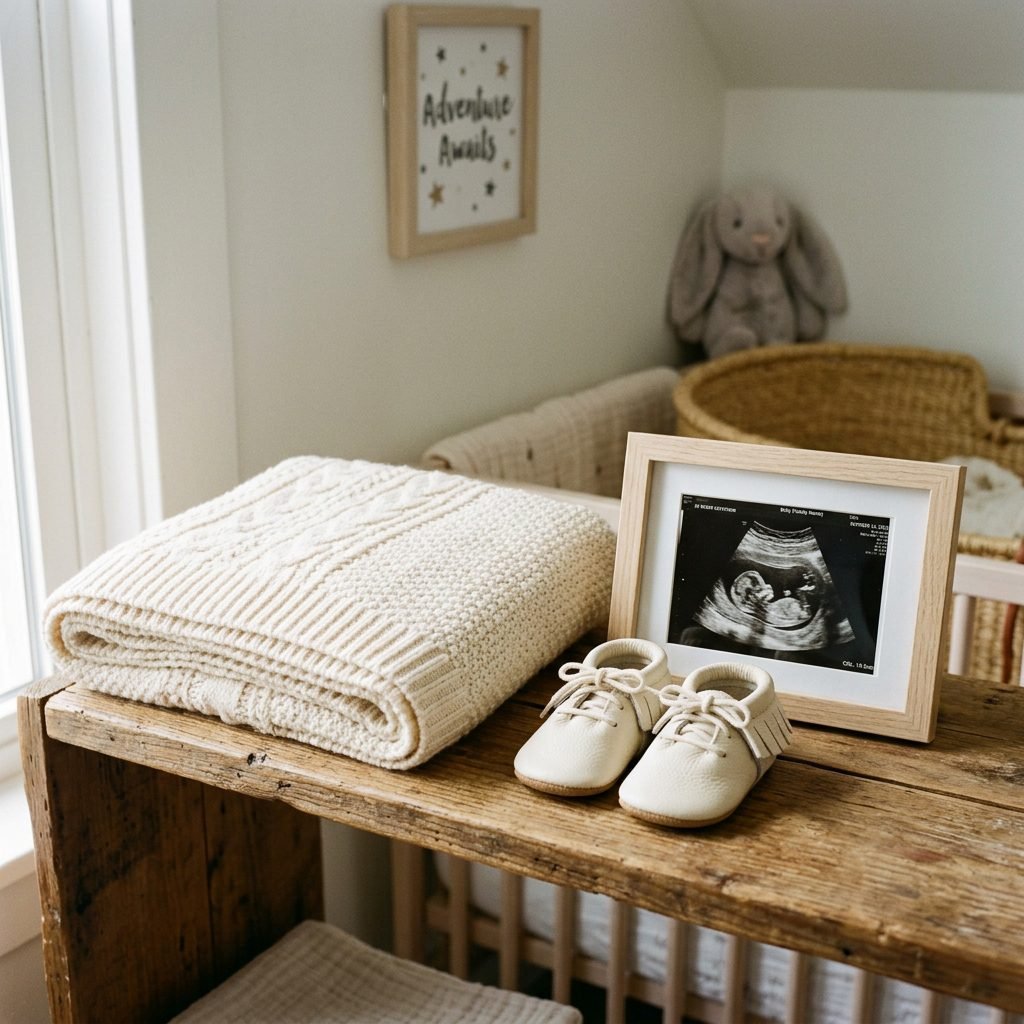
Preserving the Memory
Once the photo session is over, your wrap becomes a keepsake. Because it’s made of high-quality fiber, it requires gentle care to stay soft for future siblings or to be tucked away in a memory box.
- Hand Wash Only: Use a gentle, wool-safe detergent or a drop of baby shampoo in lukewarm water.
- No Wringing: Never wring out the wrap. Instead, lay it on a clean towel, roll it up like a burrito, and press down to absorb the moisture.
- Dry Flat: Reshape the wrap on a flat surface away from direct sunlight to prevent the fibers from becoming brittle or fading.
By taking care of the wrap, you are preserving the physical manifestation of the time you spent waiting for your little one. It’s a beautiful reminder of your transition into motherhood.
Conclusion
A Gift from Your Heart to Theirs
Creating a DIY knitted newborn photo wrap is a journey of patience and presence. As you worked through those rows, you weren’t just making a photography prop; you were practicing the very skills you will use as a mother: consistency, care, and the ability to create comfort out of simple elements. These photos will eventually hang on your walls, and every time you look at them, you’ll remember the quiet afternoons spent knitting and the incredible miracle of your baby’s first days. You are doing a wonderful job, mama. Enjoy these fleeting, beautiful moments.