How To Build A Space-Saving Behind Door Nursery Book Rack
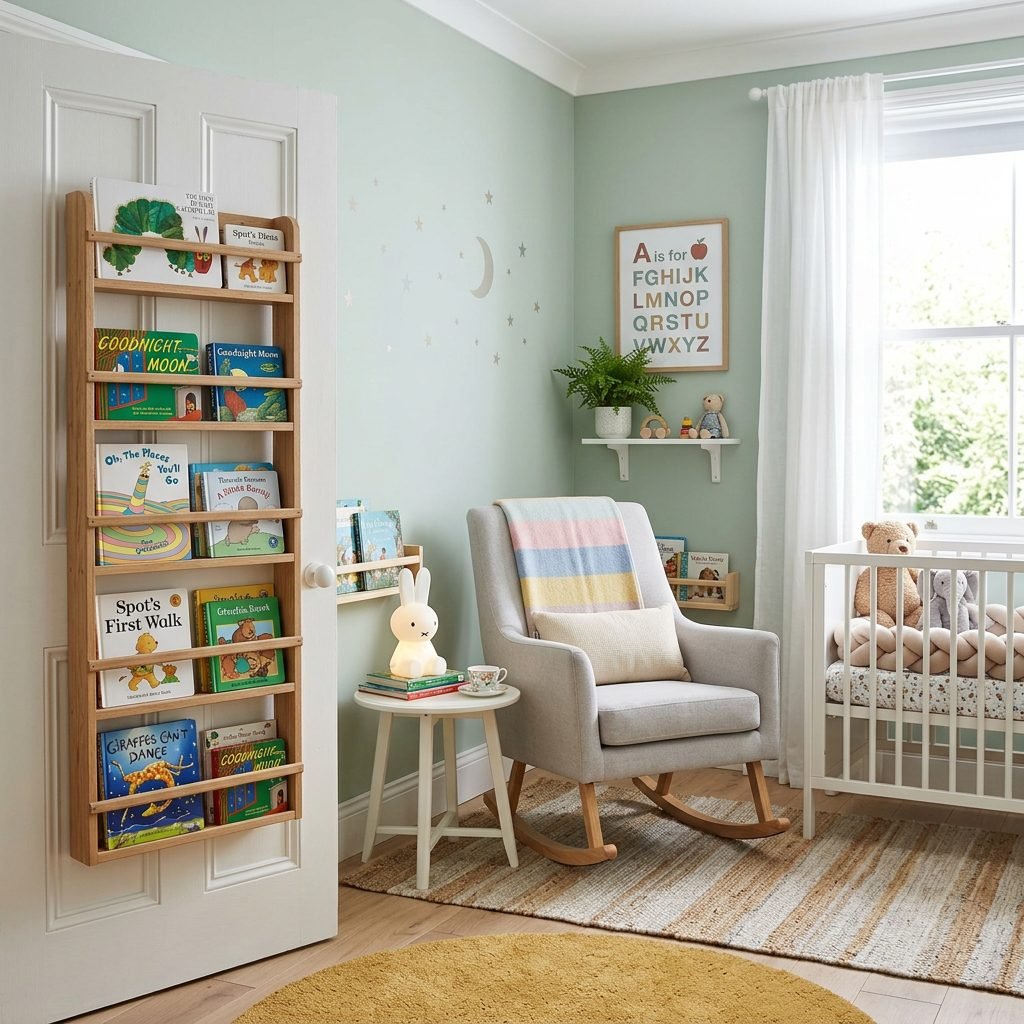
Oh, sweet mama, I see you. You are in that beautiful, whirlwind phase of nesting, looking at every square inch of your nursery and wondering how on earth all these tiny clothes, diapers, and books are going to fit. Whether you are prepping for your first little one or rearranging for a growing toddler, space is the one thing we always seem to need more of. As a doula, I’ve spent countless hours in nurseries, and I’ve seen how a cluttered environment can add to that postpartum overwhelm. That is why I am so excited to share one of my absolute favorite ‘small space’ secrets with you: the behind-the-door book rack.
The space behind a door is often forgotten—a ‘dead zone’ that does nothing but collect dust. But with a little bit of DIY magic, we can transform it into a functional, beautiful library that keeps your favorite bedtime stories within arm’s reach without taking up a single inch of precious floor space. This project is gentle enough for a weekend afternoon, even if your ‘pregnancy brain’ is in full swing. Let’s create a calm, organized sanctuary for you and your baby, one shelf at a time.
Remember, mama: creating a home for your baby isn’t about perfection; it’s about creating a space where you feel peaceful and prepared. You are doing an incredible job.
Why Vertical Storage is a Game-Changer for Modern Nurseries
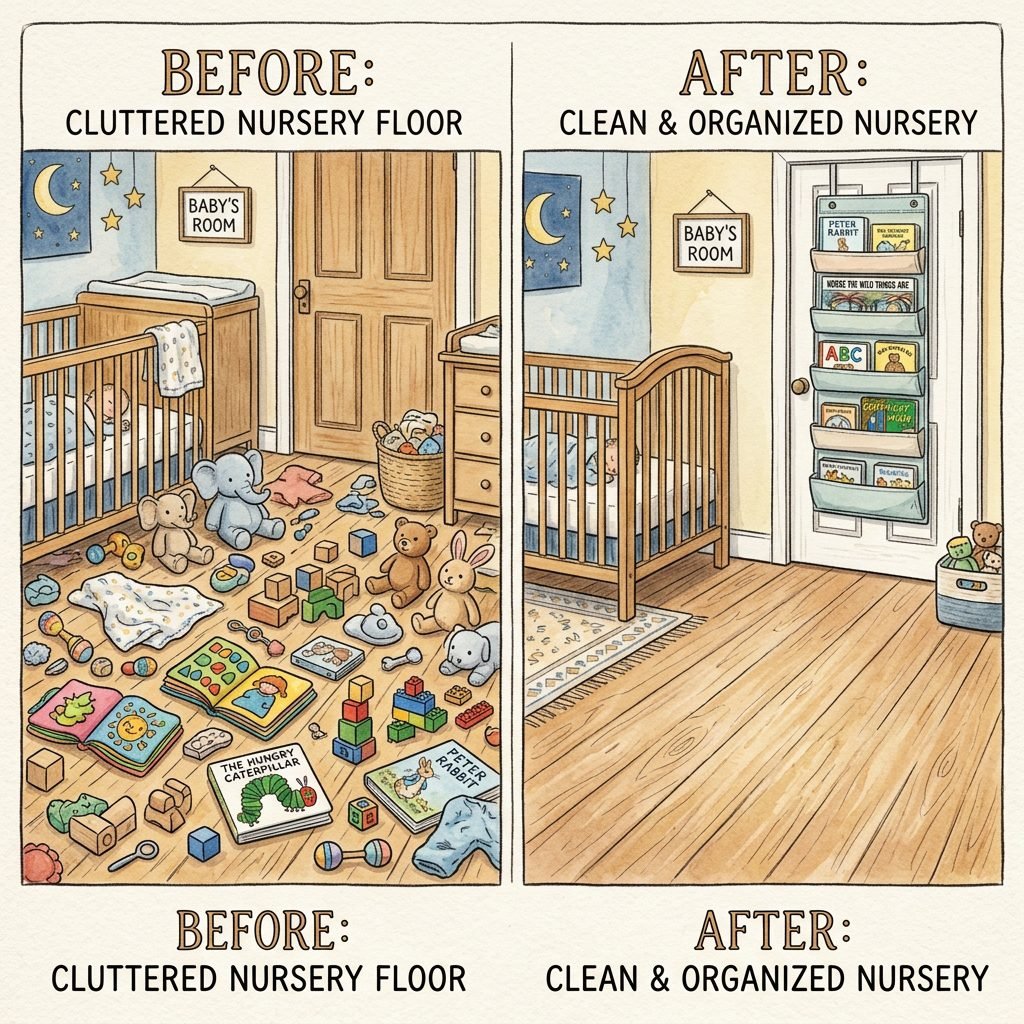
When we think about nursery storage, we often gravitate toward bulky bookshelves or floor bins. While those are lovely, they can make a small room feel cramped and difficult to navigate, especially during those late-night nursing sessions when you’re walking on a bit of a sleep-deprived haze. Vertical storage is the secret weapon of interior organizers for a reason. By utilizing the wall space behind the door, you are essentially creating storage out of thin air.
From a doula’s perspective, an organized space promotes a calm nervous system. When everything has a place, your mind can rest. This behind-the-door rack isn’t just about books; it’s about reducing the visual noise in your sanctuary. It also keeps books ‘front-facing,’ which is wonderful for your baby’s visual development. Seeing the colorful covers helps them recognize their favorite stories long before they can read the titles.
| Storage Type | Floor Space Used | Visibility | Ease of Access |
|---|---|---|---|
| Standard Bookshelf | 2-4 Square Feet | Spine only | Moderate |
| Floor Bins | 1-2 Square Feet | Hidden/Stacked | Low (digging required) |
| Behind-Door Rack | 0 Square Feet | Full Cover View | High (one-handed) |
Gathering Your Supplies: What You Need for This DIY Project
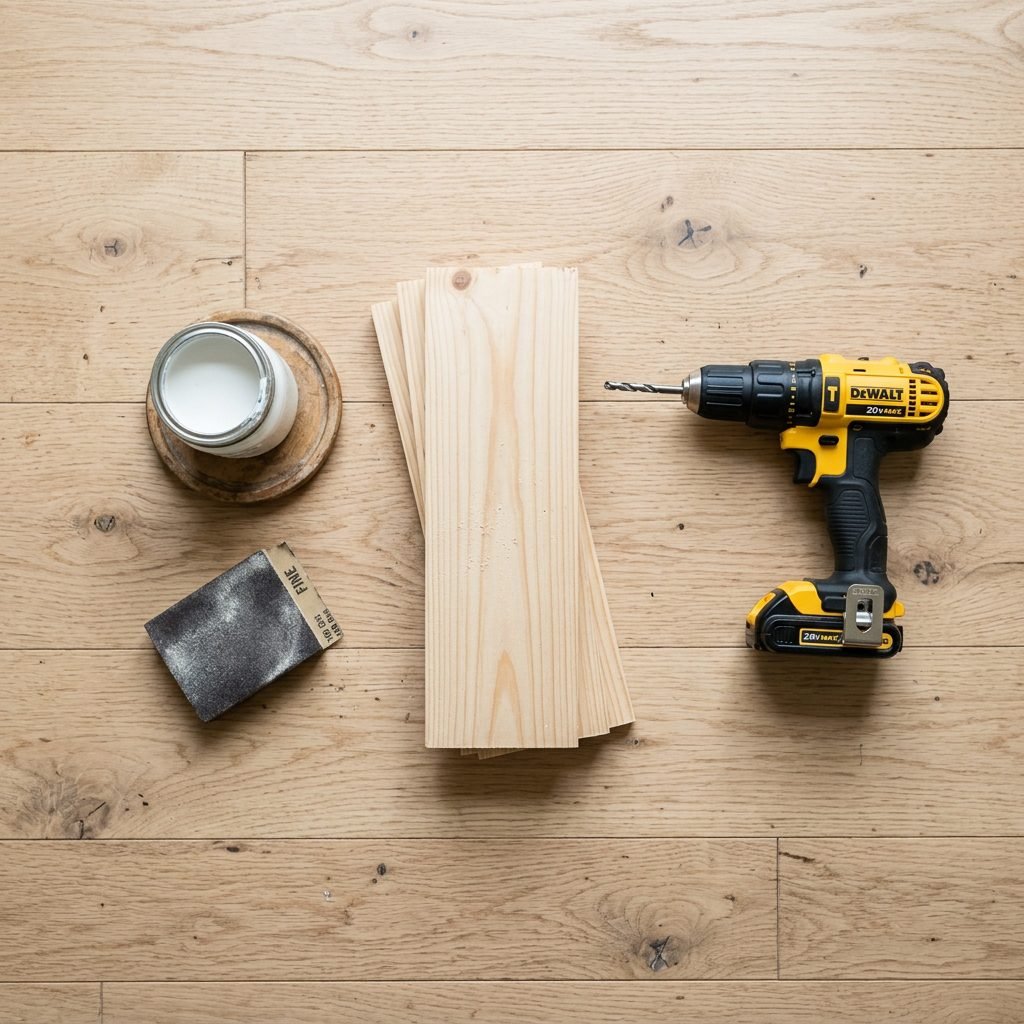
Before we dive into the ‘how-to,’ let’s make sure your ‘crafty mom’ station is ready. You don’t need a professional workshop for this; just a few basic tools and a trip to the local hardware store. If you are currently pregnant, please remember to work in a well-ventilated area if you are painting or staining, and don’t be afraid to ask your partner or a friend to do the heavy lifting or the drilling!
The Material List
- 1×2 Pine or Poplar Boards (for the front rails)
- 1×4 Pine or Poplar Boards (for the base of the shelves)
- Wood Glue (non-toxic is best for nursery items)
- 1.5-inch Wood Screws or a Brad Nailer
- Wall Anchors (essential if you aren’t hitting a stud)
- Sandpaper (120 and 220 grit)
- Paint or Wood Stain (Low-VOC or Zero-VOC for baby’s safety)
Choosing the right wood is key. Pine is budget-friendly and easy to work with, while Poplar is slightly harder and takes paint beautifully. Avoid pressure-treated woods, as they contain chemicals we don’t want near our little ones.
Step-By-Step Guide: Building Your Custom Book Ledges
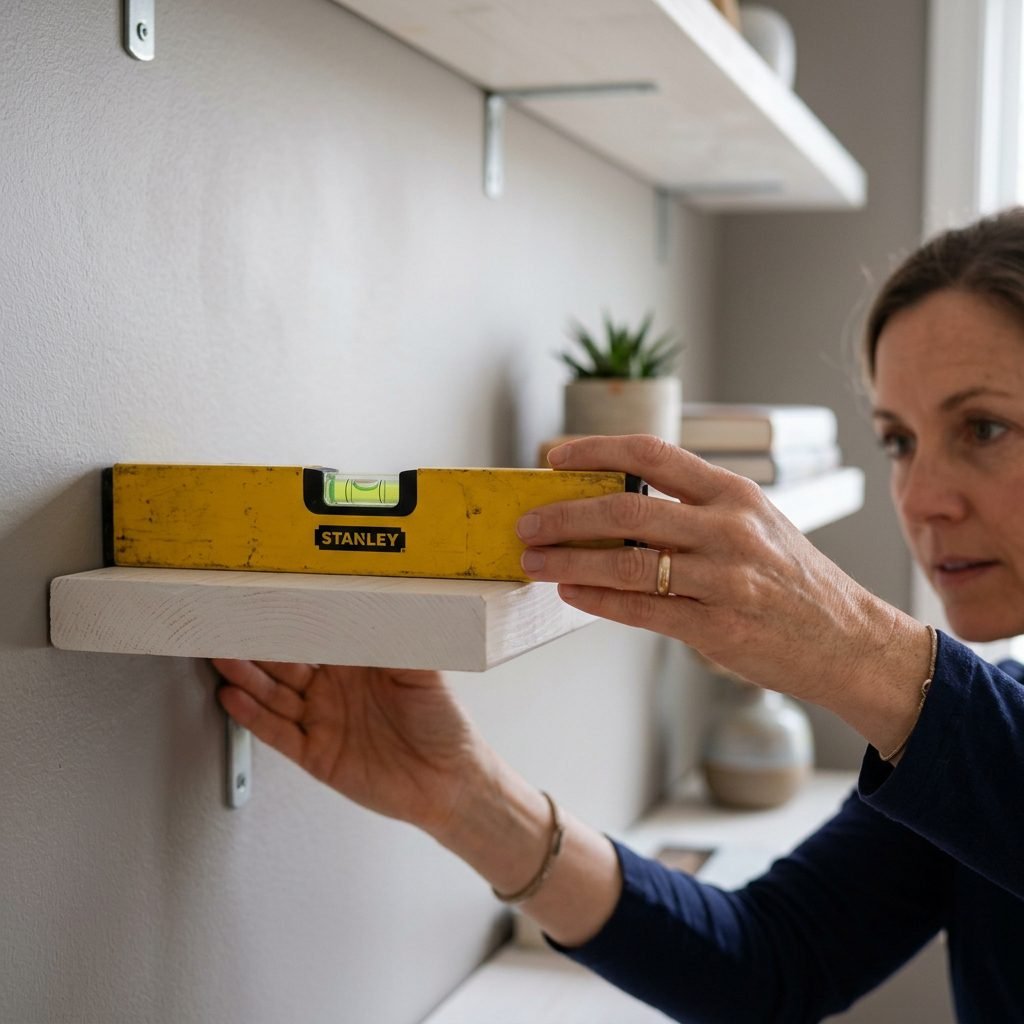
Ready to build? Follow these steps to create your custom ledges. We are going for a slim-profile design—usually about 3.5 inches deep—so the door can still open wide without hitting the rack.
- Measure Your Space: Measure the width of the wall behind the door. Subtract 4 inches from that width to ensure the rack doesn’t interfere with the door hinges or the corner.
- Cut the Boards: You will need a 1×4 board for the ‘floor’ of the shelf and a 1×2 board for the ‘front rail’ that keeps the books from falling. Cut them to your measured width.
- Sand Everything: This is vital, mama! Little fingers are curious. Sand every edge until it is buttery smooth. Start with 120 grit and finish with 220 grit.
- Assemble the ‘L’: Apply a thin bead of wood glue along the edge of the 1×4 and press the 1×2 rail against it. Secure it with brad nails or screws. This creates the ‘lip’ that holds the books.
- Finish: Apply your baby-safe paint or stain. Many moms love a classic white to match the trim, or a natural wood finish for a boho-nursery vibe.
- Mounting: Use a level to ensure your shelves are straight. If you aren’t mounting directly into wall studs, you must use heavy-duty wall anchors. Space the shelves about 12-14 inches apart vertically to accommodate taller picture books.
Pro-Tip: If you’re feeling extra tired today, it’s okay to do this in stages. Cut one day, sand the next. Listen to your body!
Safety and Durability: Securing the Library for Your Little One

As a doula and a mom, safety is my top priority. Once your baby starts crawling and pulling themselves up, everything in the nursery becomes a potential ladder. We need to make sure this book rack is toddler-proof.
First, always ensure the front rail is high enough. A 2-inch rail (using a 1×2 board) is usually perfect for keeping books in place while allowing the covers to be seen. Second, check the weight capacity of your anchors. Books are surprisingly heavy! If you have a collection of thick board books, those shelves will be carrying a significant load.
| Safety Feature | Why It Matters | Sisterly Advice |
|---|---|---|
| Rounded Corners | Prevents bumps and bruises | Use a sanding block to soften every sharp edge. |
| Wall Anchors | Prevents the shelf from pulling out | Toggle bolts are the strongest for drywall. |
| Non-Toxic Finish | Safe for ‘mouthing’ phase | Look for ‘Greenguard Gold’ certified paints. |
| Height Placement | Accessibility vs. Safety | Keep the bottom shelf high enough that a crawler can’t use it as a step. |
Curating the Collection: Organizing for Sleep and Development
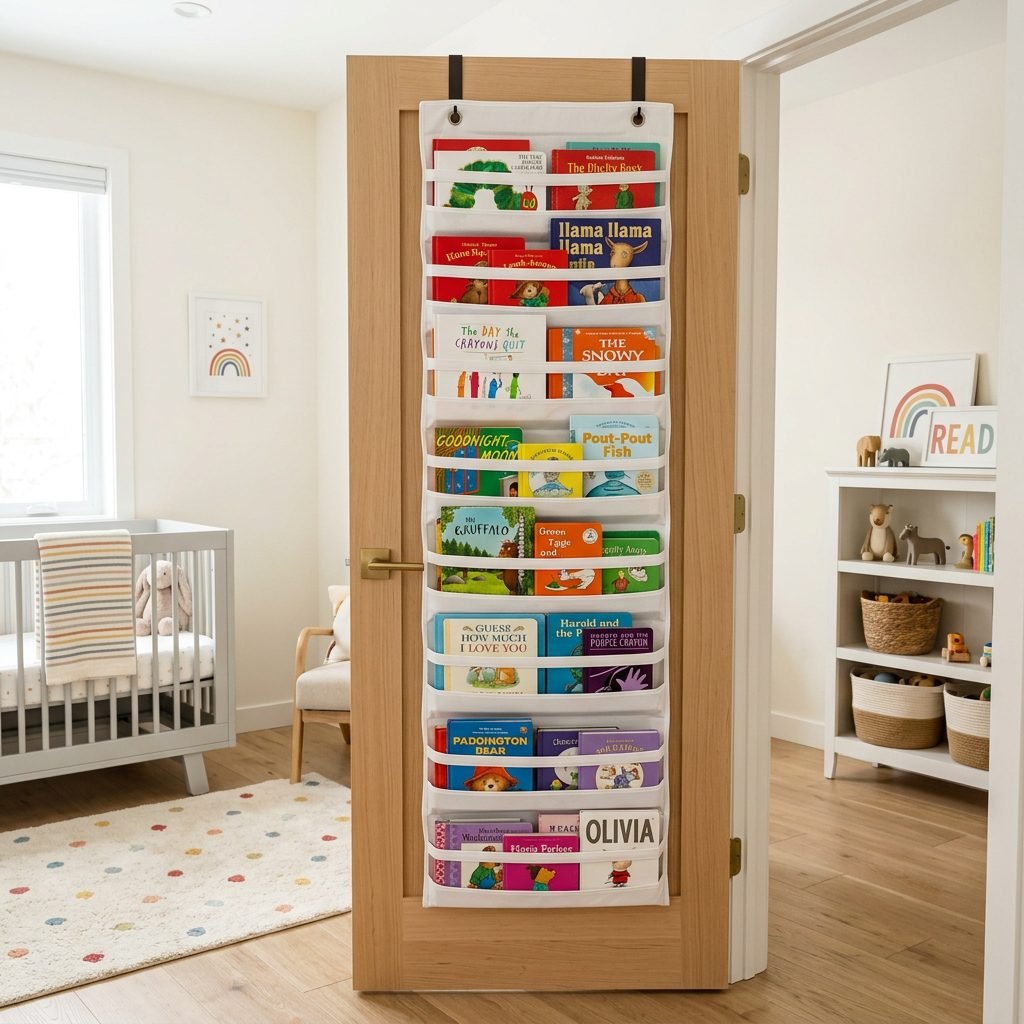
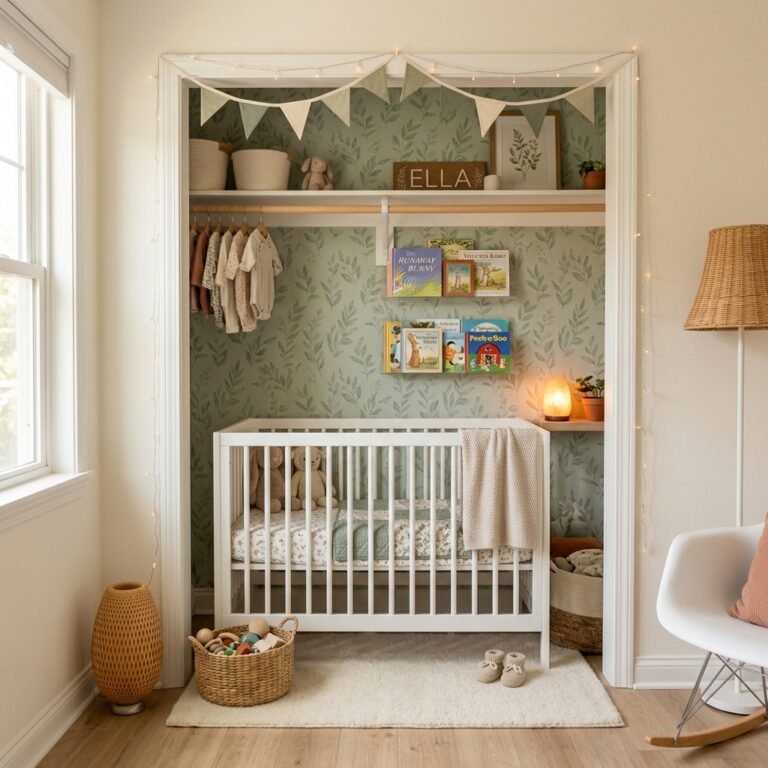
Now for the fun part—filling the shelves! This isn’t just about storage; it’s about creating a sensory experience. For newborns, I recommend placing high-contrast (black and white) books on the lower shelves where you might sit with them. As they grow, you can rotate the books based on their interests or the season.
I love to organize nursery books by purpose rather than just size:
- The ‘Calm Down’ Shelf: Soft, rhyming stories and ‘goodnight’ books at eye level for bedtime.
- The ‘Active Play’ Shelf: Interactive books with textures, flaps, or sounds.
- The ‘Keepsake’ Shelf: Beautifully illustrated hardcovers that might be a bit more fragile, placed on the highest rack.
By keeping the books front-facing, you are encouraging early literacy. Your baby will start to associate the images on the cover with the stories you tell, creating a deep, lasting bond with reading.
The Budget Breakdown: DIY vs. Store Bought
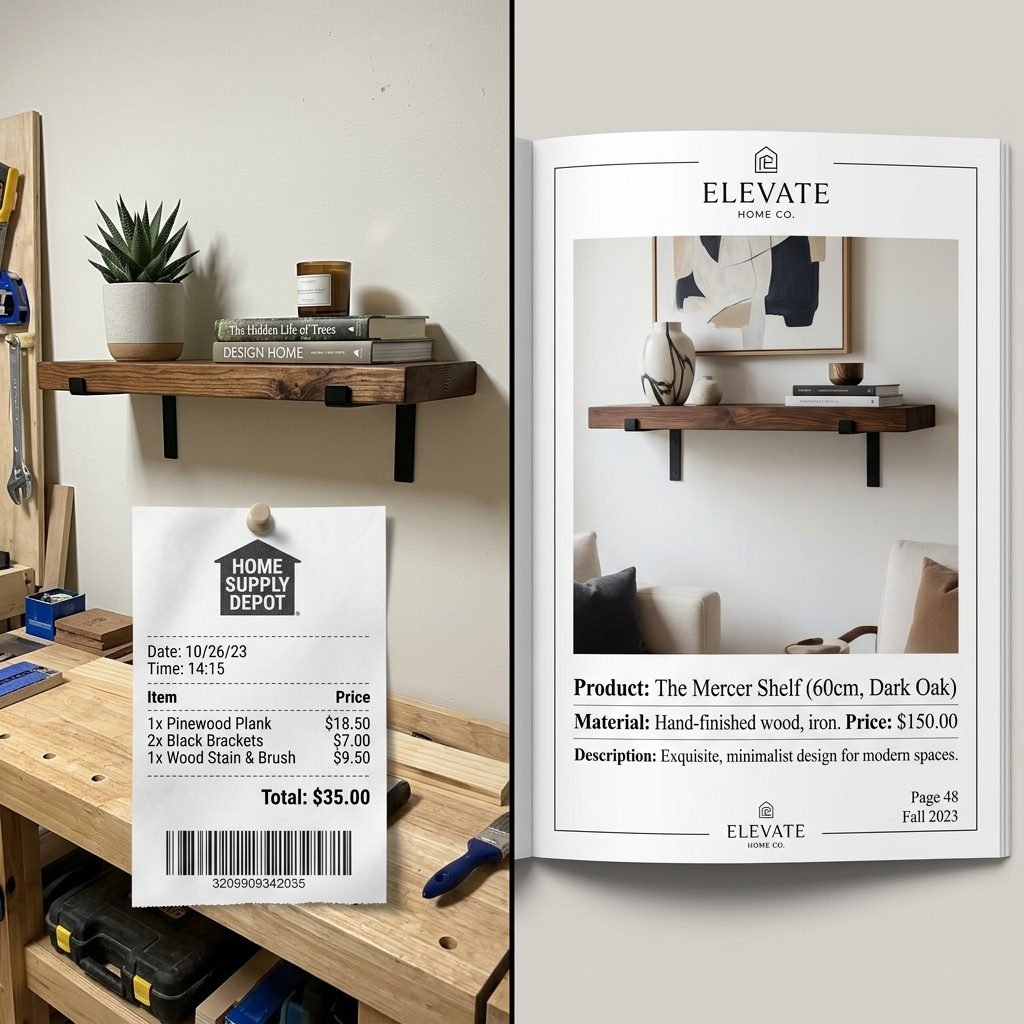
One of the best things about this project is how much money it saves you. High-end nursery boutiques often sell similar ‘floating ledges’ for $40 to $60 per shelf! By building your own, you can outfit an entire wall for the price of one designer shelf. This leaves more room in the budget for those organic cotton swaddles or that luxury nursing pillow you’ve been eyeing.
| Item | DIY Estimated Cost | Store-Bought Equivalent |
|---|---|---|
| Lumber (3 shelves) | $15.00 | $120.00 – $180.00 |
| Hardware & Anchors | $8.00 | Included |
| Paint/Finish | $12.00 (Small can) | Included |
| Total Investment | $35.00 | $120.00+ |
Not only do you save money, but you gain the satisfaction of knowing you built something with your own two hands for your baby’s room. That sense of accomplishment is a wonderful boost during the transition into motherhood.
Conclusion
Mama, you’ve done it! You’ve taken a simple, overlooked space and turned it into a treasure trove of stories for your little one. This behind-the-door book rack is more than just a storage solution; it’s a testament to your love and your readiness to welcome this new life into a home that is organized, peaceful, and full of wonder. As you sit in your nursery, looking at those beautiful book covers, take a deep breath and soak in this moment. The transition to motherhood is a journey of a thousand small steps, and today, you’ve taken a wonderful one. Happy reading, and even happier nesting!