Maximizing Space: How to Use Corner Shelves for Smart Nursery Storage
Hello, beautiful mama. If you are reading this, chances are that incredible, undeniable nesting instinct has officially kicked in. You are looking around your home, perhaps staring at a room that feels just a little too small, and wondering how on earth you are going to fit an entire tiny human’s worth of belongings into it. Take a deep, cleansing breath. As a doula and a mama who has organized her fair share of closet-sized nurseries, I am here to tell you a comforting truth: you do not need a massive room to create a magical, highly functional space for your baby. You just need to know how to look at the room differently.
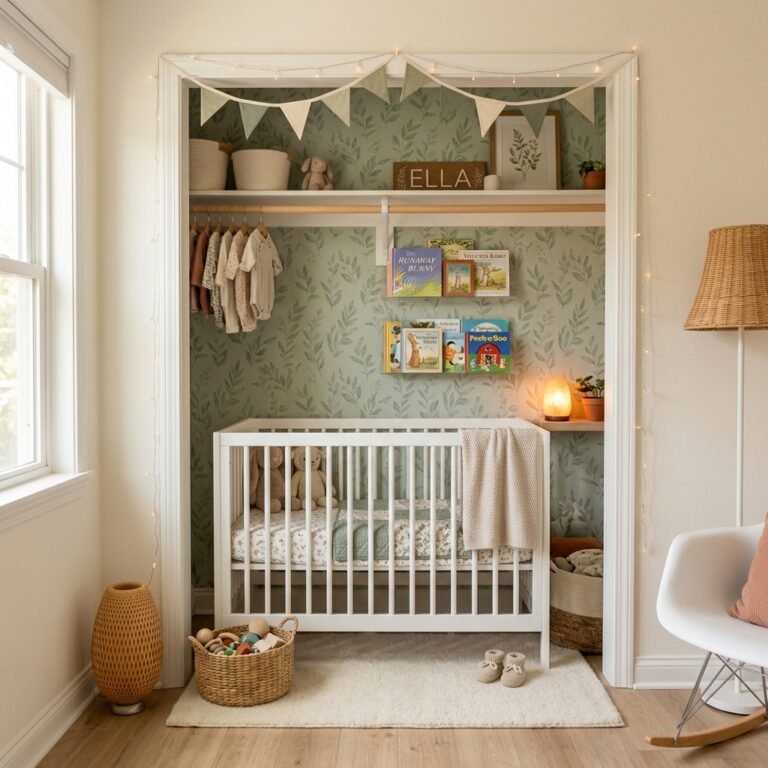
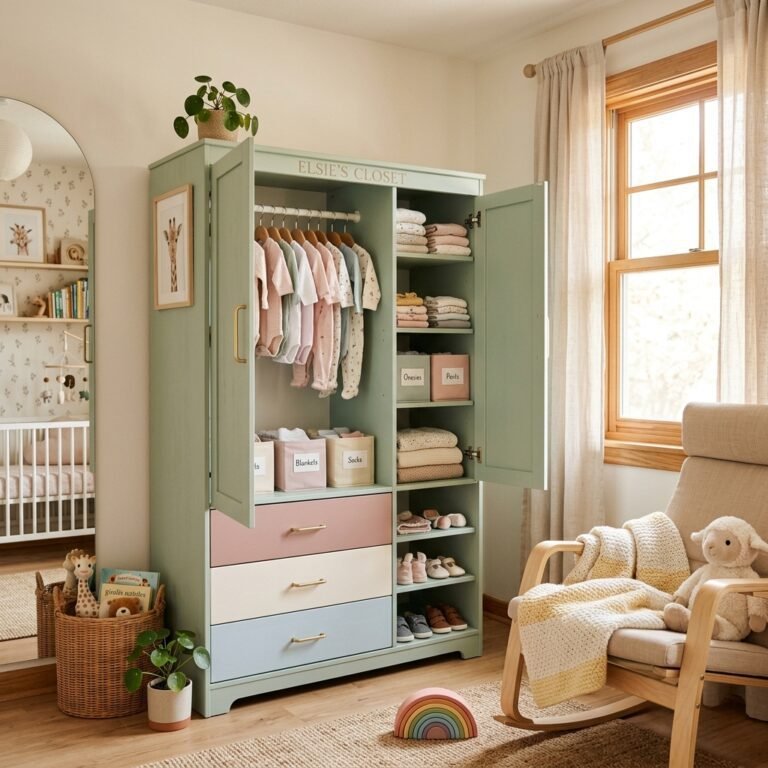
When we are designing a nursery, we often focus on the big pieces: the crib, the changing table, the glider. But in doing so, we completely overlook the most valuable real estate in any small room—the corners! Corner shelves are the unsung heroes of smart nursery storage. They take dead, unused space and transform it into a vertical powerhouse of organization. Whether you are storing an endless supply of burp cloths, displaying those precious heirloom storybooks, or keeping diaper cream safely out of a toddler’s reach, corner shelves are your best friend.
Remember this, mama: A peaceful environment helps foster a peaceful mind. When you are waking up at 2 AM for a feeding, knowing exactly where everything is without tripping over clutter is a gift you give to your future postpartum self.
In this guide, we are going to walk through exactly how to maximize your space using corner shelves. We will cover the best types of shelves for your specific needs, how to organize them by “zones” for ultimate late-night efficiency, budget-friendly DIY hacks, and most importantly, how to ensure everything is completely baby-proofed and safe. Let’s create a serene, clutter-free sanctuary for you and your little one!
The Magic of the Unused Corner: Why Every Inch Matters
Shifting Your Perspective on Space
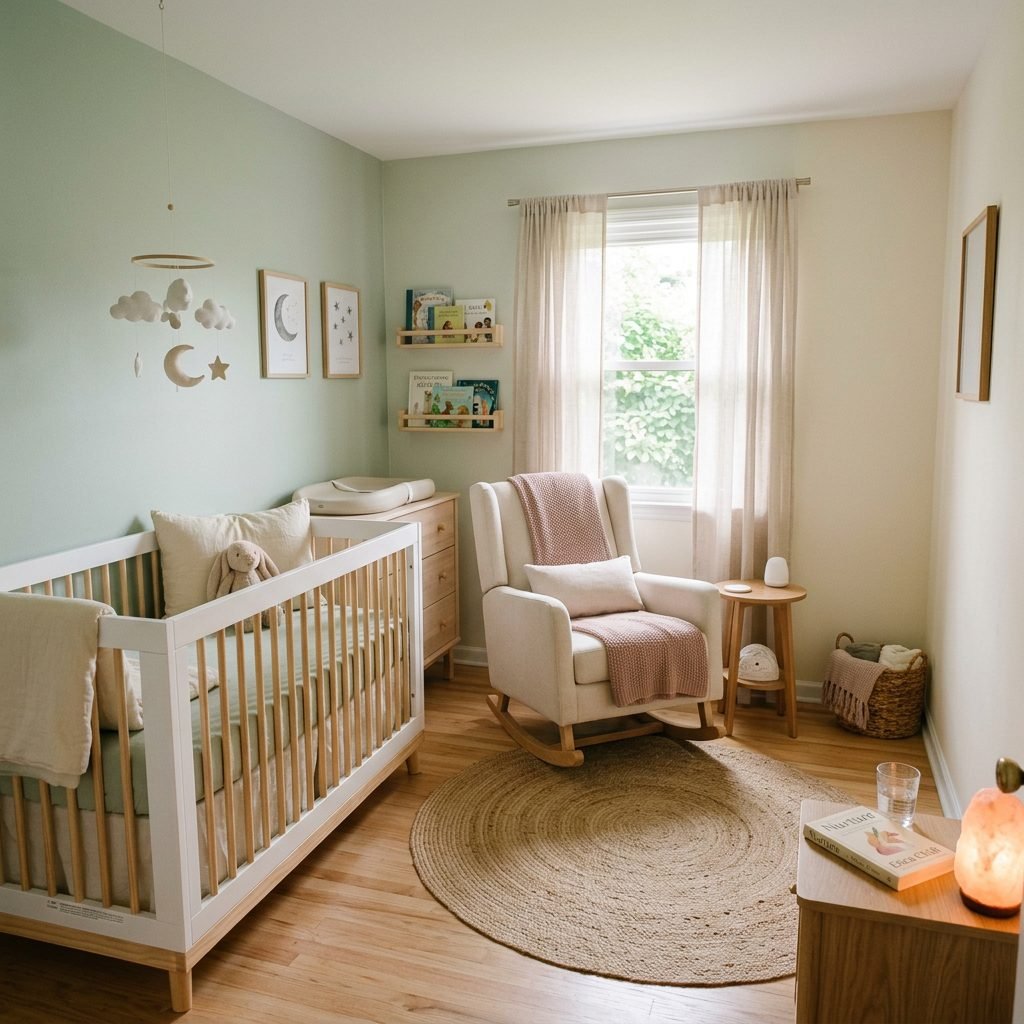
When you are staring down a mountain of baby shower gifts—from tiny socks to bulky breast pumps—panic can easily set in. But before you start researching expensive storage units or considering a home addition, I want you to walk into your nursery and look at the corners. In interior design, corners are often considered “dead zones.” Furniture is typically pushed flat against the walls, leaving these awkward triangular spaces completely empty. By installing corner shelves, you are essentially creating storage out of thin air.
The Psychological Benefits of Vertical Storage
As expectant parents, we often underestimate the psychological weight of visual clutter. During your postpartum recovery, your hormones will be fluctuating, your sleep will be fragmented, and your energy will be entirely devoted to healing and feeding your baby. Walking into a nursery where toys are scattered across the floor or changing supplies are piled haphazardly on a dresser can trigger anxiety. Vertical storage, like corner shelves, draws the eye upward, making the room feel taller, more open, and significantly more breathable. It allows you to have everything you need within arm’s reach without sacrificing precious floor space where your baby will eventually learn to crawl and play.
- Maximizes Floor Space: Frees up room for a comfortable glider or a soft tummy-time mat.
- Creates Visual Height: Draws the eye up, making small rooms or low ceilings feel expansive.
- Keeps Hazards Out of Reach: Allows you to store items like diaper rash creams, nail clippers, and humidifiers safely away from curious little hands.
- Utilizes Dead Space: Turns the awkward gap between the window and the closet into a highly functional storage hub.
Choosing the Perfect Corner Shelf: Floating, Standing, or Built-In?
Finding the Right Fit for Your Nursery
Not all corner shelves are created equal, and choosing the right type depends entirely on your room’s layout, your DIY comfort level, and your specific storage needs. Let’s break down the three main types of corner shelves you can use to maximize your nursery space.
1. Floating Corner Shelves
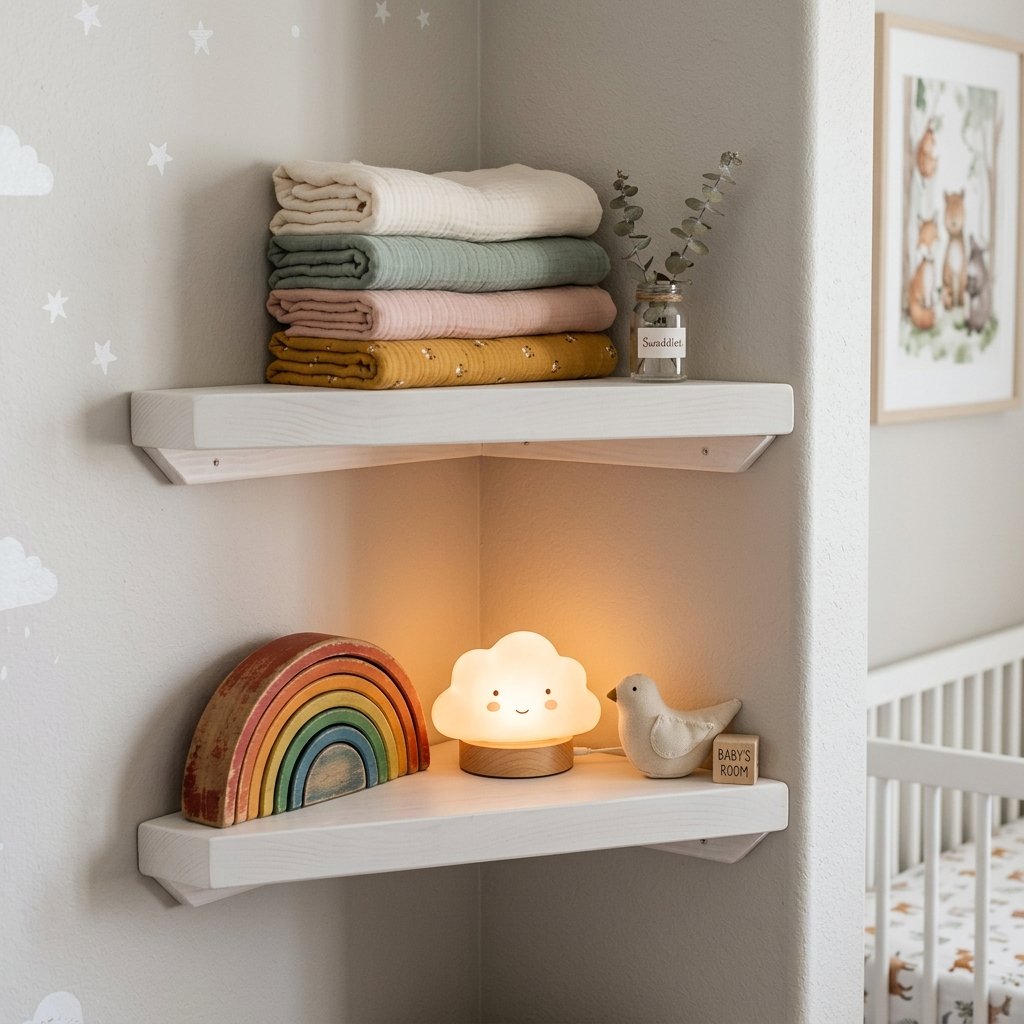
Floating shelves are individual, bracket-less (or hidden bracket) shelves that mount directly into the wall. They are incredibly sleek and modern. Because they do not have a footprint, you can place a laundry hamper or a diaper pail directly underneath them. They are perfect for displaying lightweight items like baby monitors, sound machines, small framed photos, and soft plush toys. However, they typically have a lower weight capacity, so they aren’t ideal for heavy stacks of hardcover books.
2. Standing Corner Bookshelves
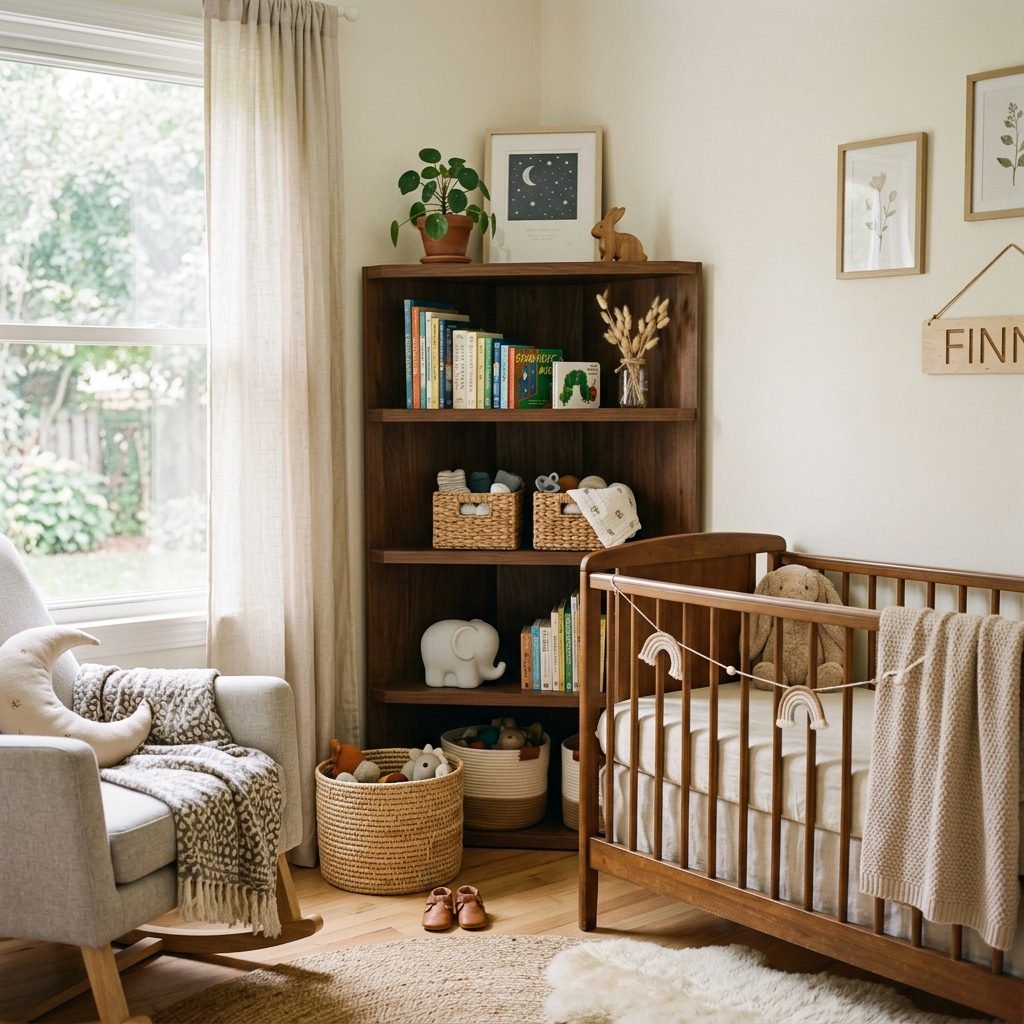
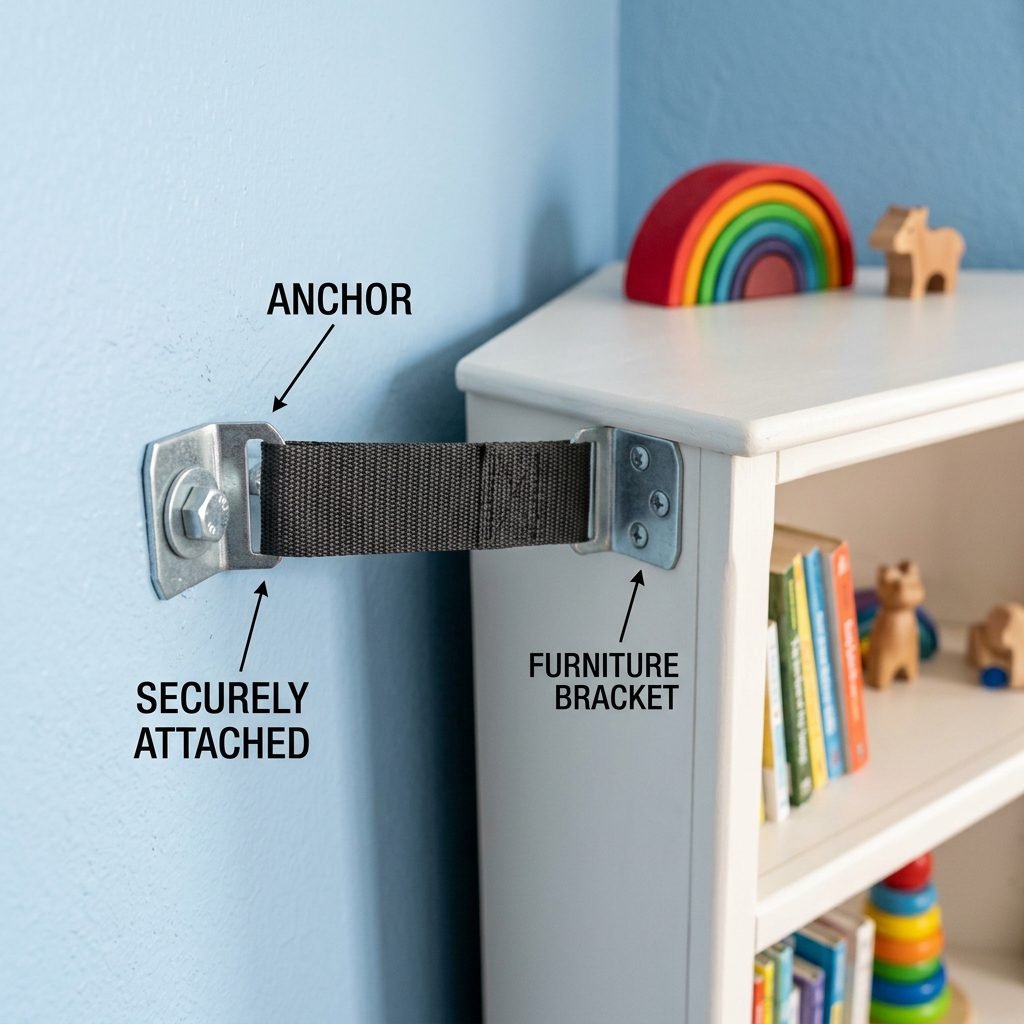
If you live in a rental and cannot drill multiple holes into the walls, or if you simply need maximum storage capacity, a standing corner bookshelf is a fantastic option. These units fit snugly into the corner and provide multiple tiers of storage from the floor up. They are excellent for storing heavier items in woven baskets, organizing a large library of children’s books, and holding extra blankets. Crucial safety note: Even though they stand on the floor, they MUST be anchored to the wall to prevent tipping!
3. Built-In Corner Units
If you own your home and want a custom, high-end look, built-in corner shelves are the ultimate dream. These are permanently attached to the walls and often blend seamlessly with the room’s baseboards and crown molding. They offer the highest weight capacity and can be customized to fit exact dimensions, making them perfect for unusually shaped rooms or attic nurseries with sloped ceilings.
| Shelf Type | Best For | Pros | Cons |
|---|---|---|---|
| Floating Shelves | Tiny nurseries, displaying decor, keeping items out of reach | Zero floor footprint, highly customizable height, modern look | Lower weight limit, requires drilling into studs or using heavy-duty anchors |
| Standing Bookshelf | Renters, heavy storage, large book collections | Massive storage capacity, easy to assemble, renter-friendly (mostly) | Takes up some floor space, can feel bulky in very tight rooms |
| Built-In Units | Homeowners, custom spaces, long-term investment | Seamless aesthetic, highest weight capacity, adds home value | Expensive, requires advanced DIY skills or a contractor, permanent |
Zone Defense: Organizing Your Shelves for Late-Night Ease

The Postpartum-Friendly Organization Strategy
Mama, let’s talk about the reality of the “fourth trimester.” When you are operating on fragmented sleep, your brain is not going to remember where you hid the extra pacifiers. Organization in a nursery isn’t just about making things look pretty for Instagram; it is about functional, intuitive systems that support your postpartum recovery. I highly recommend organizing your corner shelves using the “Zone Defense” method.
Zone 1: The Top Shelves (The Out-of-Reach Zone)
The highest shelves, anything above your shoulder height, should be reserved for items you rarely need to touch or items that absolutely must be kept away from a baby. This is the perfect spot for your baby monitor camera, your Wi-Fi router, decorative keepsakes, fragile gifts, or a beautiful trailing plant (make sure it’s non-toxic, like a Spider Plant or Boston Fern!).
Zone 2: The Middle Shelves (The Grab-and-Go Zone)
This is your prime real estate. The shelves that sit between your waist and eye level are where you want to store the items you use multiple times a day. If your corner shelf is near the changing table, use this zone for a beautiful basket filled with rolled-up diapers, a stack of clean burp cloths, baby lotion, and your sound machine. Pro-tip: Store small, loose items in soft, fabric bins. This prevents them from looking cluttered and makes it easy to pull the whole bin down with one hand while holding your baby with the other.
Zone 3: The Bottom Shelves (The Heavy & Play Zone)
The shelves closest to the floor are your heavy-duty zones. Because babies will eventually become crawling, pulling-up toddlers, anything on these bottom shelves becomes fair game for exploration. Store heavy board books, large soft toys, and extra blankets here. Never store anything heavy, sharp, or toxic on the bottom shelves.
| Shelf Zone | Height Range | Ideal Items to Store | Storage Container Type |
|---|---|---|---|
| Top Zone | 60+ inches | Baby monitor, keepsakes, framed art, sound machine | Open display, no containers needed |
| Middle Zone | 36 to 60 inches | Diapers, wipes, lotions, burp cloths, pacifiers, daily care kits | Soft fabric bins, clear acrylic trays, woven baskets |
| Bottom Zone | Floor to 36 inches | Board books, large plush toys, extra crib sheets, swaddles | Large floor baskets, open shelving for easy toddler access |
Doula Secret: Keep a small, dimmable tap-light on the middle shelf. When you come in for a 3 AM feeding, you can simply tap the light on for a soft glow without turning on the harsh overhead lights and fully waking up your baby!
Budget-Friendly Hacks: Custom Looks on a Diaper Budget
Creating Magic Without Breaking the Bank
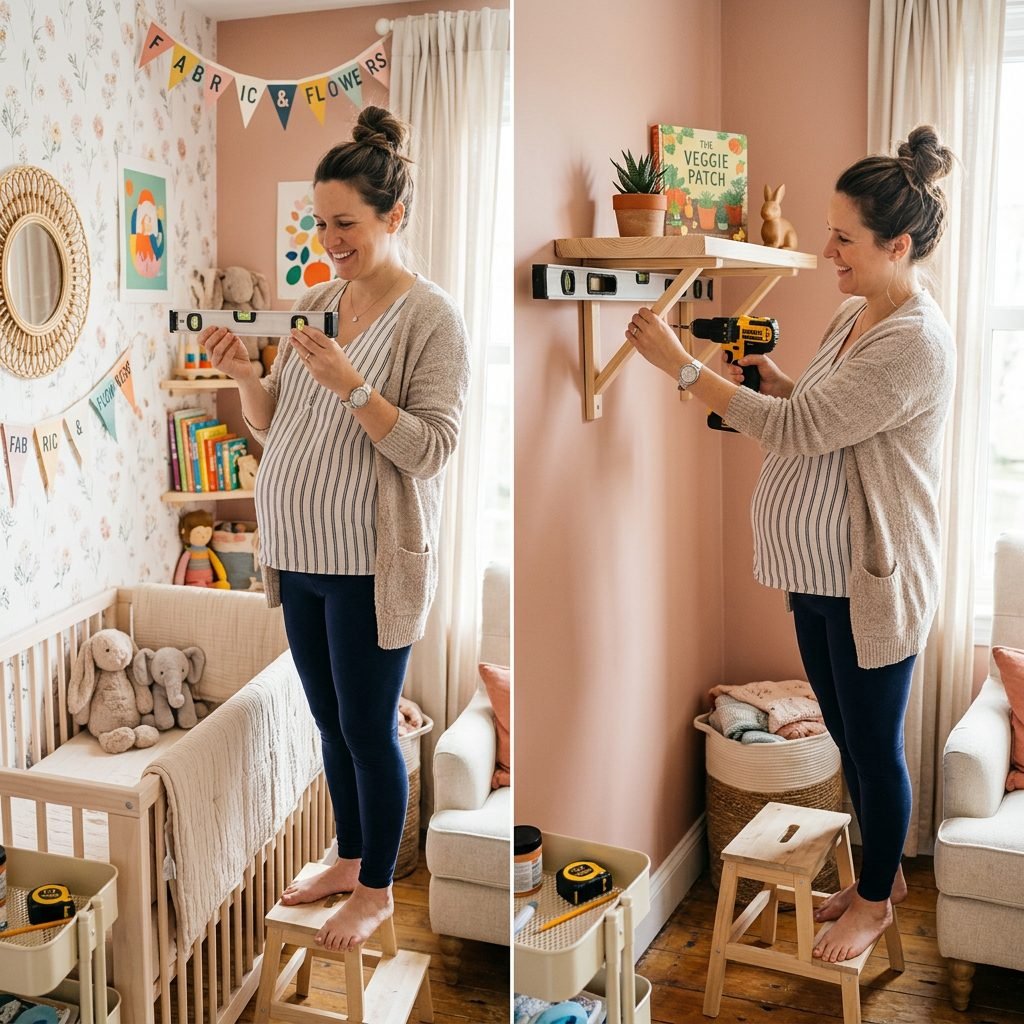
Preparing for a baby is expensive, and you do not need to spend hundreds of dollars on custom shelving to get a beautiful, functional result. Crafty moms and nursery designers have perfected the art of the “hack,” turning inexpensive items into stunning storage solutions. Let’s look at some of my favorite budget-friendly ways to maximize your corner space.
The IKEA Spice Rack Hack
This is a classic for a reason! IKEA sells small, solid wood spice racks (the BEKVÄM) for just a few dollars each. While they are meant for the kitchen, they are the absolute perfect size for a nursery corner. Because they have a little wooden bar across the front, they are ideal for displaying baby books facing outward, creating a beautiful, colorful “book nook” in an otherwise empty corner. You can paint them to match your nursery walls or leave them natural wood for a boho, earthy vibe. Mount three or four of these vertically in a corner, and you have an instant, space-saving library.
Hardware Store Bracket Shelves
If you want a rustic or industrial look, head to your local hardware store. You can purchase inexpensive L-brackets and pre-cut triangular pieces of wood. Sand the wood, apply a baby-safe, non-toxic stain or paint, and mount them directly into the wall studs. This allows you to customize the exact size and depth of the shelves to perfectly fit your specific corner. It is incredibly cost-effective and gives a beautiful, custom-built appearance.
Repurposing Floating Picture Ledges
Picture ledges are very narrow floating shelves with a lip on the edge. They are usually used for displaying framed photos, but they are brilliant for small nursery corners. The lip prevents items from sliding off, making them a safe choice for storing baby lotions, diaper rash creams, and small bottles. Because they are so narrow (usually only 3 to 4 inches deep), they can fit into the tightest corners without obstructing pathways or bumping into the crib.
| Storage Hack | Estimated Cost | Before Capacity | After Capacity (Using Hacks) |
|---|---|---|---|
| IKEA Spice Racks | $15 – $25 | 0 books displayed | 15-20 board books facing outward |
| DIY Bracket Shelves | $30 – $50 | Empty corner space | Holds 3-4 large baskets of baby gear |
| Picture Ledges | $20 – $40 | Cluttered changing table | All daily care items stored vertically |
Baby-Proofing Your Vertical Storage: A Doula’s Safety Checklist
Protecting Your Precious Little Explorer
As a doula and infant care expert, I cannot stress this section enough. Right now, your baby might just be a tiny, stationary potato, but in the blink of an eye, they will be rolling, crawling, pulling up, and climbing. Nurseries must be designed with a mobile, curious toddler in mind from day one. Vertical storage is fantastic, but if it is not properly secured, it can pose a significant tipping hazard.
Anchor Everything to the Wall
If you choose a standing corner bookshelf, you must anchor it to the wall. Do not rely on the weight of the items on the bottom shelf to keep it stable. Toddlers are incredibly strong and can pull a bookshelf down on themselves in seconds. Use heavy-duty nylon furniture straps or metal L-brackets to secure the top of the bookshelf directly into a wall stud. If you cannot find a stud, use heavy-duty toggle bolts designed for drywall.
Mind the Weight Limits
Floating shelves are beautiful, but they have strict weight limits. Always check the manufacturer’s guidelines. A standard floating shelf secured only in drywall might only hold 10 to 15 pounds, while one secured into a wall stud can hold up to 50 pounds. Never overload a floating shelf, especially if it is positioned anywhere near the crib or changing table.
The “No Climb” Rule
When organizing your shelves, be mindful of what you place on the top tiers. If you put a highly desirable toy, a bright light, or a fascinating object on the top shelf, a toddler will view the lower shelves as a ladder to reach it. Keep the top shelves visually boring to a child (like extra wipes or plain boxes) and keep the fun, safe items on the bottom.
- Secure Cords: If you have a baby monitor or sound machine on a shelf, ensure the power cord is completely secured to the wall using cord covers. Dangling cords are a strangulation hazard.
- Avoid Glass: Never use glass shelves or store glass items (like picture frames with real glass) on nursery shelves. Opt for acrylic or shatterproof alternatives.
- Check Hardware Regularly: Make it a habit to check the screws and brackets on your floating shelves every few months. Wood can shift and drywall can crumble over time.
- Crib Clearance: Never install shelves directly over the crib. Earthquakes, structural shifts, or a vigorously jumping toddler in the next room could cause items to fall into the sleeping area.
Safety Reminder: Your baby’s safety is always more important than aesthetics. If a shelf feels wobbly, take it down immediately and reinforce it. Peace of mind is the most beautiful thing you can have in your nursery.
Conclusion
Mama, creating a nursery should be a joyful, exciting part of your pregnancy journey, not a source of stress. By looking at your room’s corners as opportunities rather than dead space, you can create a beautifully organized, highly functional sanctuary for you and your baby. Whether you opt for sleek floating shelves, a sturdy standing bookcase, or a clever DIY hack, the key is to organize with your postpartum self in mind. Keep your essentials in the “grab-and-go” zone, secure everything tightly to the wall, and take a moment to step back and admire the cozy little nest you have built. You are doing an amazing job already, and your baby is going to love the space you have prepared for them. Now, go put your feet up, hydrate, and rest—you’ve earned it!