Smart & Pretty: Creative Ways to Display Nursery Books Face Out to Encourage Reading
Hello, beautiful mama! If you are in the thick of the nesting phase, folding tiny onesies, and dreaming about the quiet moments you will soon share with your little one, you are in exactly the right place. As a doula and a fellow mama who has spent countless midnight hours rocking sweet babies to sleep, I know that designing a nursery is about so much more than just picking out a crib and a rug. It is about creating a sanctuary—a warm, safe space where your baby will grow, learn, and dream.
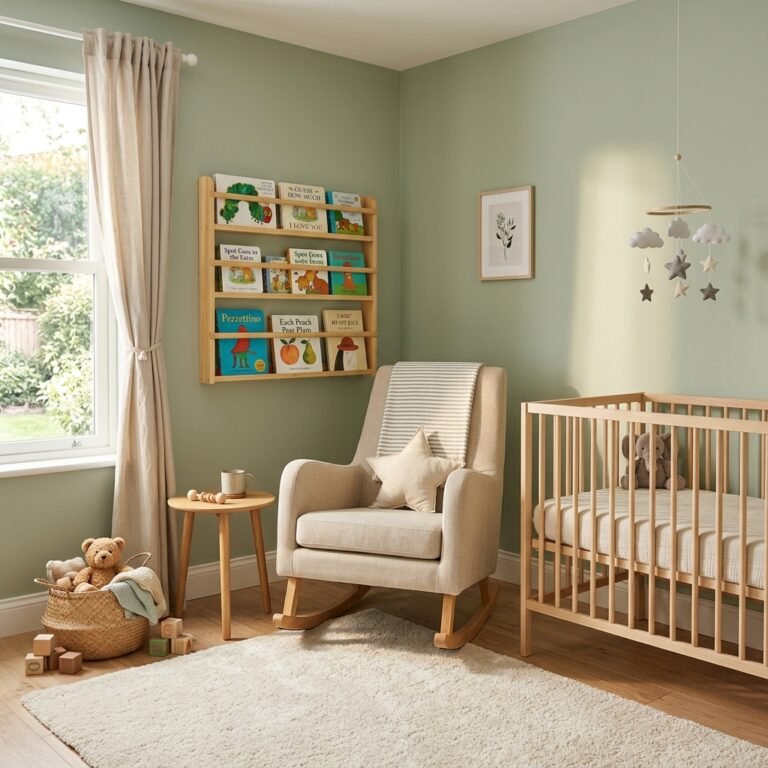
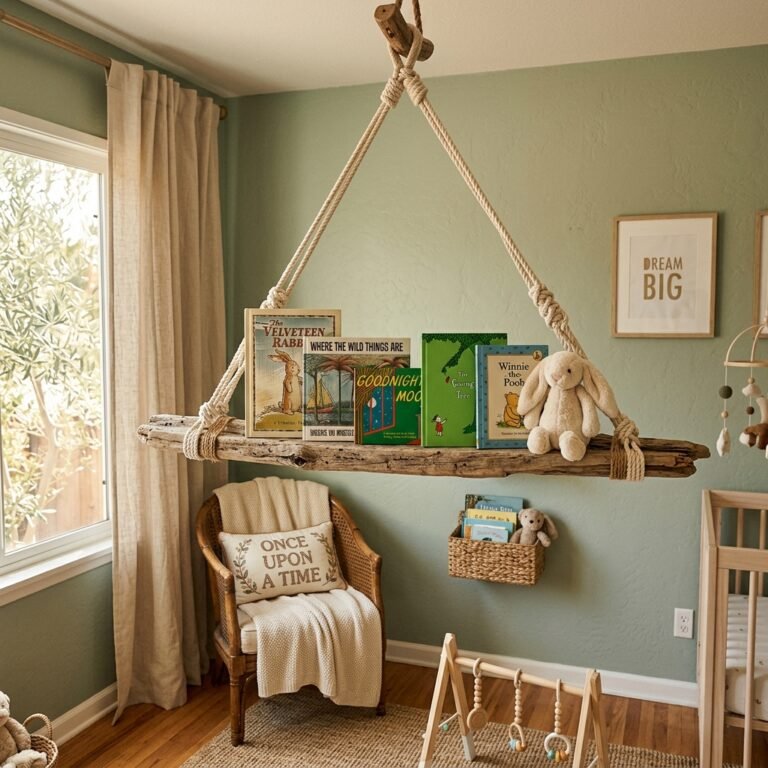
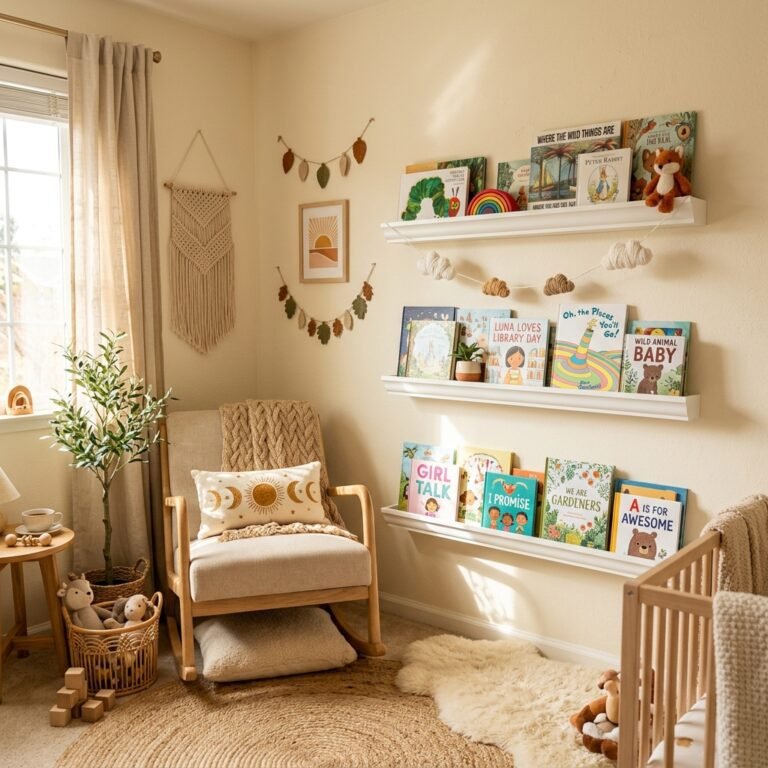
One of the most magical additions to any nursery is a thoughtfully curated library. But instead of tucking those gorgeous, colorful children’s books away on a traditional bookshelf where only the spines are visible, we are going to talk about something incredibly special today: face-out book displays. Displaying books face-out is a brilliant, Montessori-inspired approach that not only serves as stunning, budget-friendly wall art but also actively encourages your child’s early literacy and independence.
“A book displayed with its cover facing out is an open invitation to a child’s imagination. It says, ‘Come here, let’s go on an adventure together.'”
In this comprehensive guide, we are going to walk through the smartest, prettiest, and safest ways to display your baby’s library. Whether you are working with a tiny closet-sized nursery, looking for a crafty weekend DIY project, or wanting a sleek modern aesthetic, I have got you covered with practical, sisterly advice. Grab a cup of red raspberry leaf tea, put your swollen feet up, and let’s design the reading nook of your dreams!
The Magic of Face-Out Books: Why It Works for Tiny Brains
Before we dive into the beautiful design hacks, let’s talk about the why behind this trend. As a maternal wellness expert, I always look at nursery design through the lens of child development. When babies are born, their vision is still developing; they rely heavily on high-contrast patterns and bright colors to focus. Traditional bookshelves, which only show the narrow spines of books, offer zero visual stimulation for an infant or toddler.
The Montessori Connection
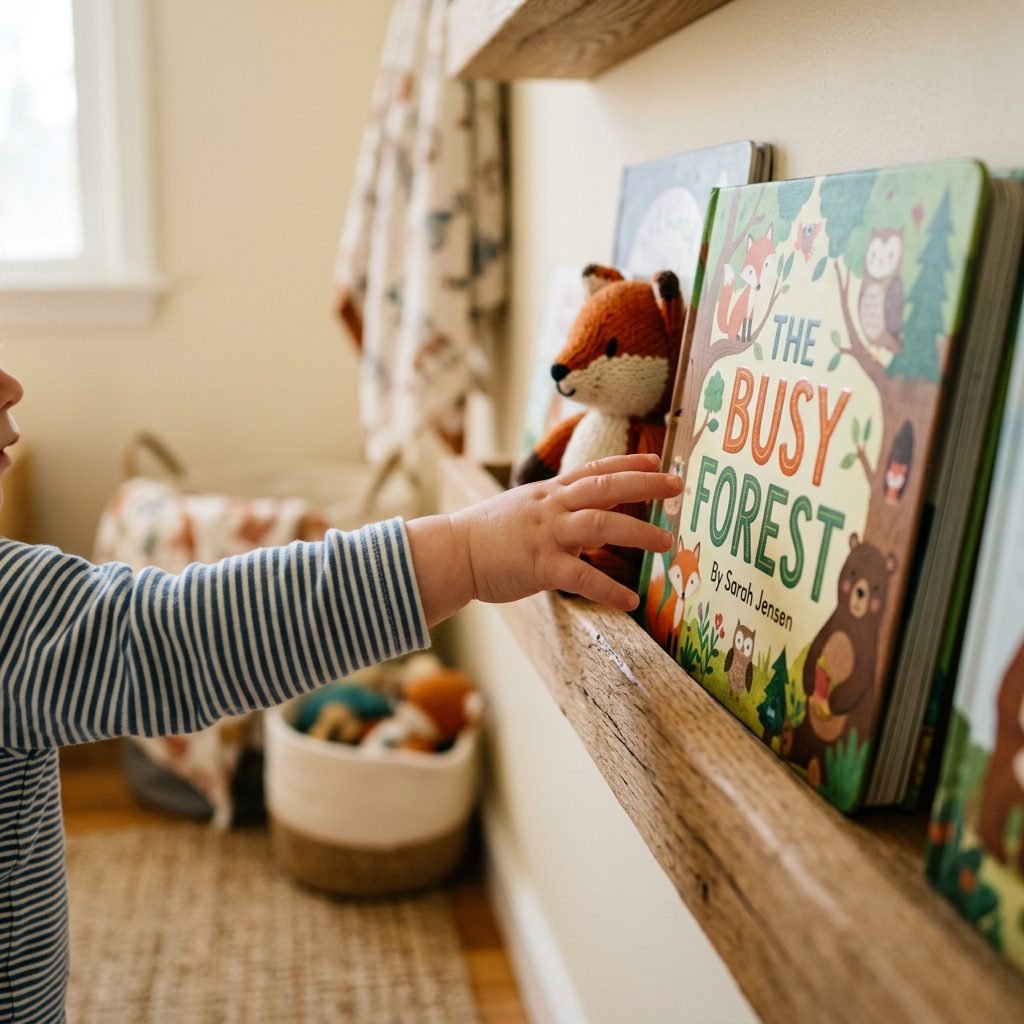
The Montessori philosophy heavily emphasizes accessibility and independence. When a toddler can see the full cover of a book, they can independently choose what they want to read based on the illustration, rather than pulling every single book off a shelf to find the one with the bunny on it (we have all been there, mama!).
- Visual Invitation: Beautiful book covers act as interactive wall art that rotates as your library grows.
- Fosters Independence: Toddlers can easily slide books in and out of front-facing ledges without frustration.
- Space-Saving: Face-out ledges take up minimal footprint, making them perfect for small nurseries or tight corners behind rocking chairs.
- Protects Books: Traditional stacking often leads to ripped pages and bent covers when little hands yank them out.
| Display Method | Visual Appeal | Toddler Accessibility | Space Required |
|---|---|---|---|
| Traditional Bookshelf (Spines Out) | Low (Hard to see covers) | Low (Hard to pull out without dropping others) | High (Requires deep floor space) |
| Face-Out Ledges / Floating Shelves | High (Showcases artwork) | High (Easy to grab and replace) | Minimal (Uses vertical wall space) |
| Floor-Level Book Bins | Medium (Top book visible) | Very High (Perfect for crawlers) | Medium (Takes up floor corner) |
The Invisible Magic: Acrylic Floating Shelves
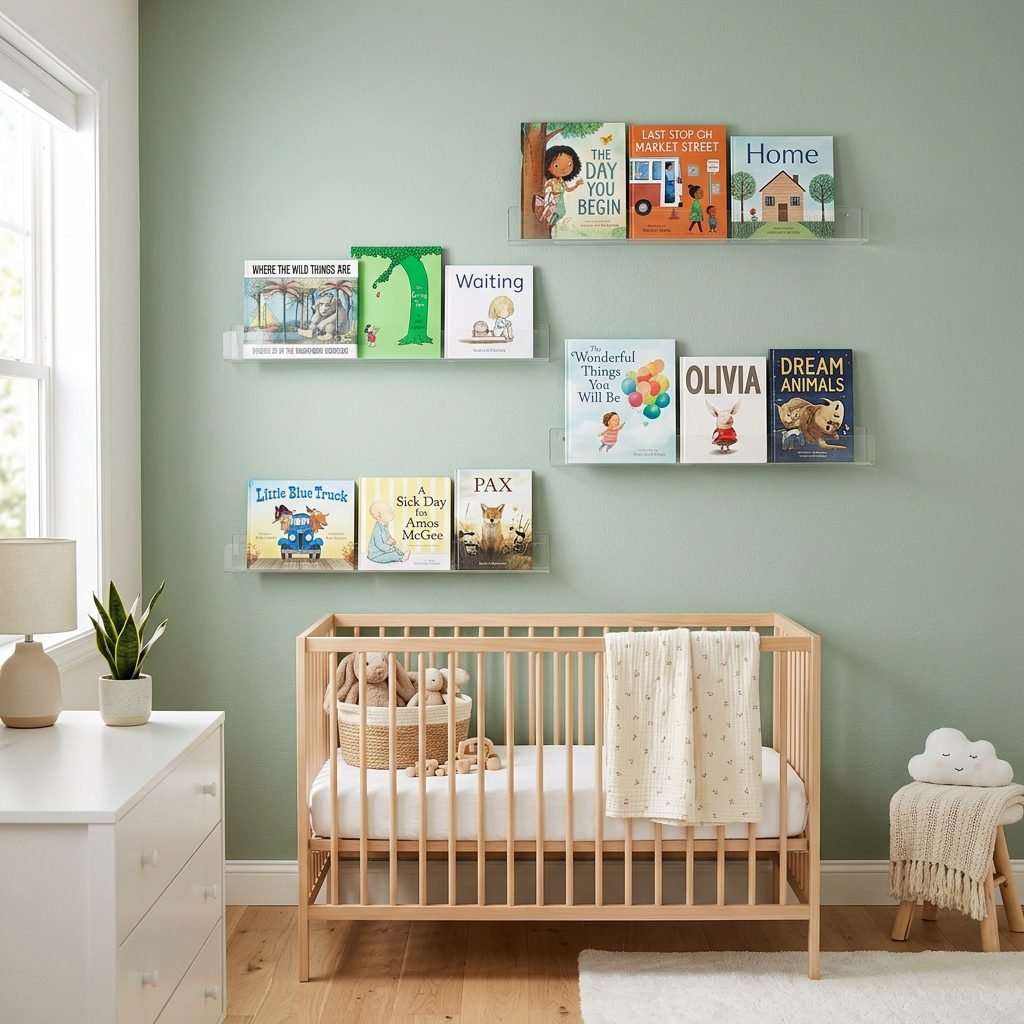
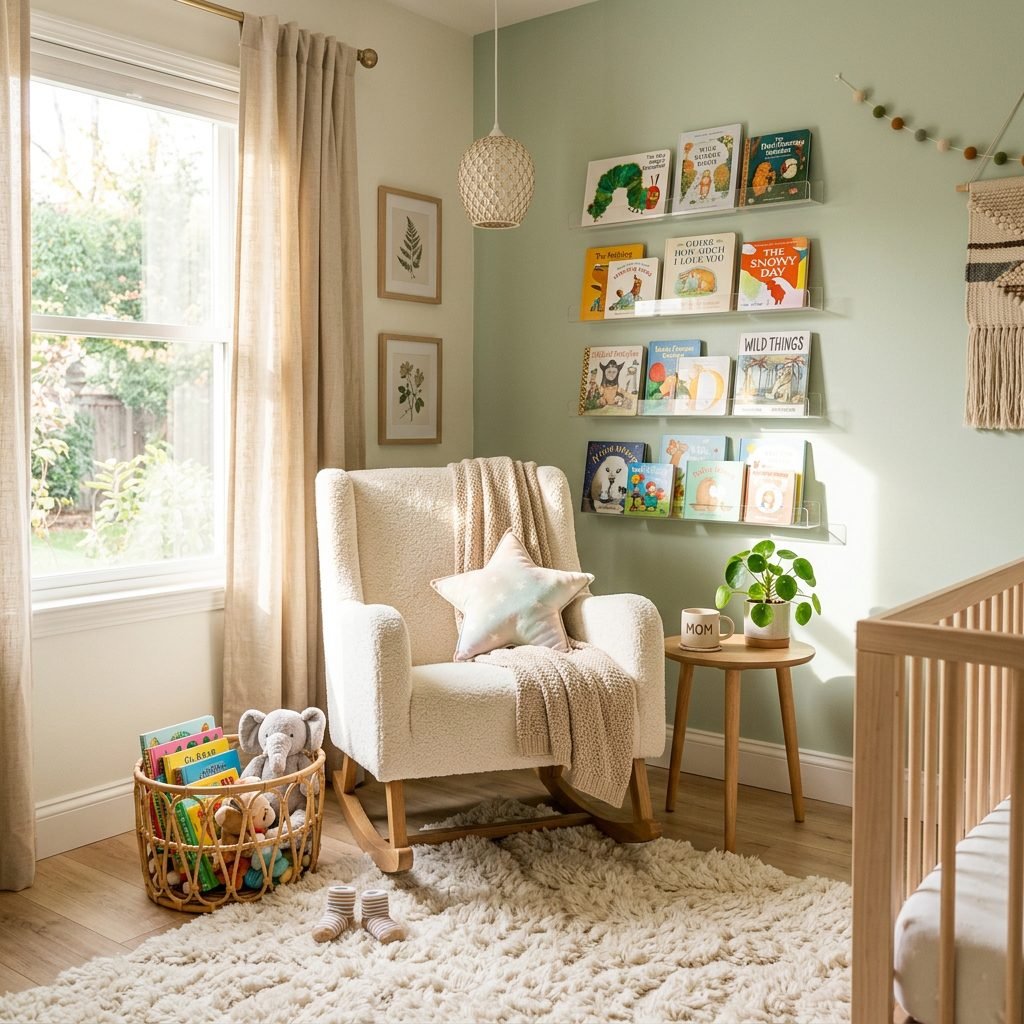
If you love a clean, modern, and uncluttered aesthetic, acrylic floating shelves are going to be your absolute best friend. These transparent ledges are practically invisible, meaning the colorful artwork on your baby’s books takes center stage. They give the illusion that the books are magically floating on the wall!
Why We Love Them
Acrylic shelves are incredibly lightweight, easy to clean, and they blend seamlessly with any nursery theme—whether you are going for a boho woodland vibe or a chic, minimalist Parisian look. Plus, they are fantastic for small spaces because they don’t add visual bulk to the room.
Installation Tips for Mamas and Partners
When installing these, safety and spacing are key. You want to make sure they are spaced far enough apart to accommodate tall picture books.
- Measure Your Tallest Books: Standard picture books can be up to 12 inches tall. To be safe, leave at least 14 to 15 inches of vertical space between each shelf.
- Use a Level: Nothing will drive your postpartum brain crazier than a crooked shelf! Use a laser level or a standard bubble level and mark your drill holes with a pencil.
- Use the Right Anchors: Do not rely on drywall alone! Always use the heavy-duty drywall anchors provided (or upgrade to toggle bolts) to ensure the shelves can hold the weight of heavy board books.
- Stagger for Visual Interest: Instead of a straight vertical line, try staggering the shelves slightly to the left and right to create a dynamic gallery wall effect.
“Pro-Tip: Keep a microfiber cloth in your nursery cart. A quick wipe down once a week will keep those acrylic shelves free of dust and tiny, sticky fingerprints!”
The Cult-Classic IKEA Spice Rack Hack
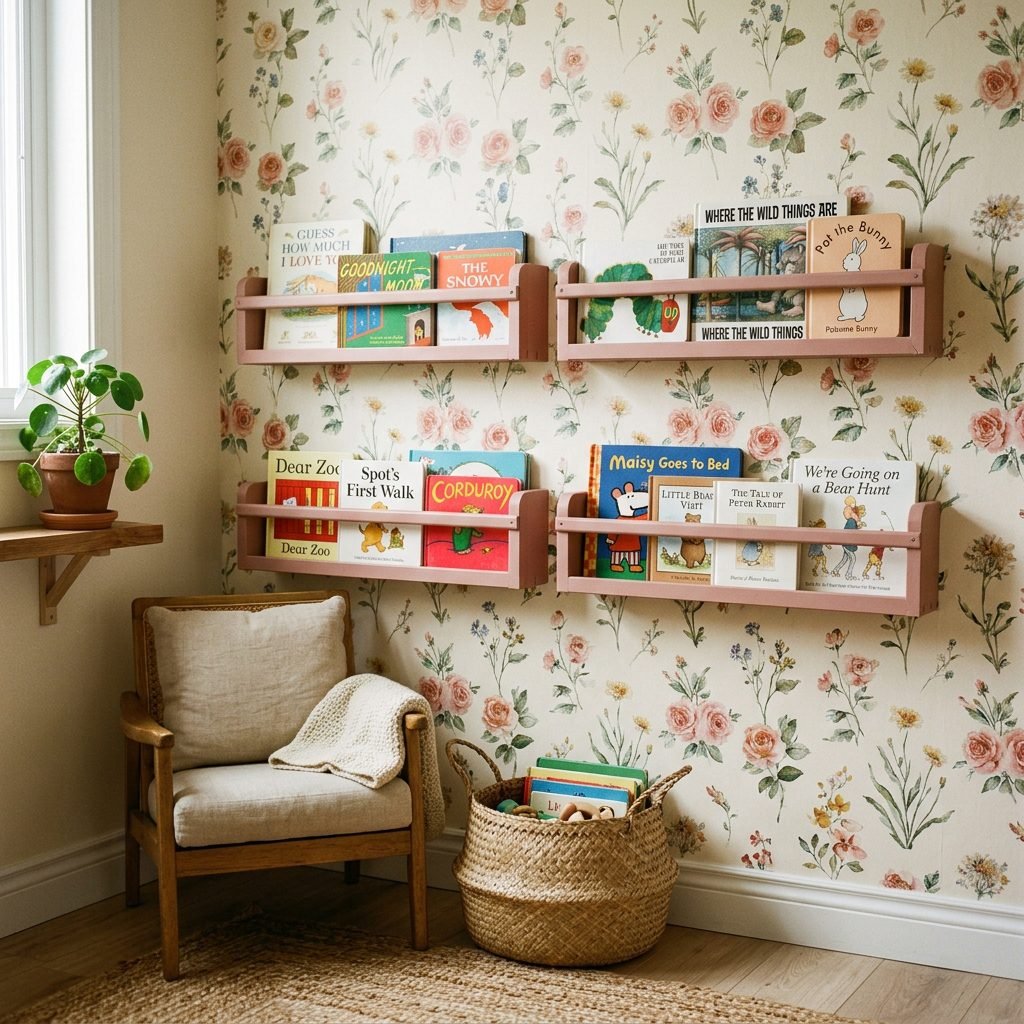
Oh, mama, if you love a good DIY project that won’t break the bank, you have to try the legendary IKEA spice rack hack. The IKEA BEKVÄM spice rack is a solid wood ledge that costs around $6.99, but when flipped right-side up, it functions as the perfect, perfectly-sized face-out bookshelf for tiny board books.
Step-by-Step DIY Customization
Because they come in raw, unfinished solid wood, these little racks are a blank canvas for your nesting creativity. You can leave them natural for a Scandi look, stain them to match your crib, or paint them in a gorgeous accent color.
- Sand the Edges: Use a 120-grit sandpaper to gently smooth out any rough edges or splinters. We want everything baby-soft!
- Prime the Wood: If you are painting them a solid color, apply one coat of a non-toxic, zero-VOC primer to ensure the paint grips well.
- Paint or Stain: Apply two coats of your chosen nursery color. A soft terracotta, dusty rose, or muted mustard yellow looks absolutely stunning.
- Let Cure: Allow the racks to dry completely in a well-ventilated area for at least 48 hours before bringing them into the nursery to off-gas.
| DIY Book Display Options | Estimated Cost | Time Required | Vibe / Aesthetic |
|---|---|---|---|
| IKEA BEKVÄM Spice Racks (Raw) | $7 per rack | 20 minutes (Install only) | Scandinavian / Natural |
| IKEA BEKVÄM (Painted/Stained) | $15 per rack (with paint) | 1-2 days (Drying time) | Custom / Playful |
| DIY Crown Molding Ledges | $30 for materials | Half-day project | Traditional / Elegant |
| Repurposed Vintage Crates | $10 – $25 at thrift store | 1 hour (Cleaning/Sanding) | Rustic / Farmhouse |
Floor-Level Baskets and Forward-Facing Book Bins

While wall ledges are beautiful, we also want to think about the days when your sweet newborn turns into a curious, crawling explorer. Providing a few books at the floor level is a wonderful way to encourage independent play and early reading habits.
Creating the Ultimate Cozy Corner
Instead of shelves, consider using a forward-facing wooden book bin or a soft, structured cotton rope basket placed directly on the floor. This setup allows your baby to safely pull themselves up, dig through their books, and select their favorite bedtime story without needing your help to reach the wall.
- Soft Rope Baskets: Choose baskets made from natural cotton or jute. They have soft edges, meaning no bumped heads if a wobbly crawler takes a tumble.
- Forward-Facing Caddies: Look for low-to-the-ground wooden caddies with tiered fabric pockets. These allow books to face forward but sit right at toddler eye level.
- Add Comfort: Anchor your floor-level book display with a plush, machine-washable rug or a thick floor cushion. Add a soft, dimmable floor lamp (with the cord safely hidden behind the furniture!) to create the ultimate cozy reading nook.
“Remember, mama: A messy book basket means a loved book basket. Don’t stress if your toddler pulls every single book out onto the rug. That is exactly how they learn to love reading!”
Nursery Safety: Securing Shelves for Busy Toddlers
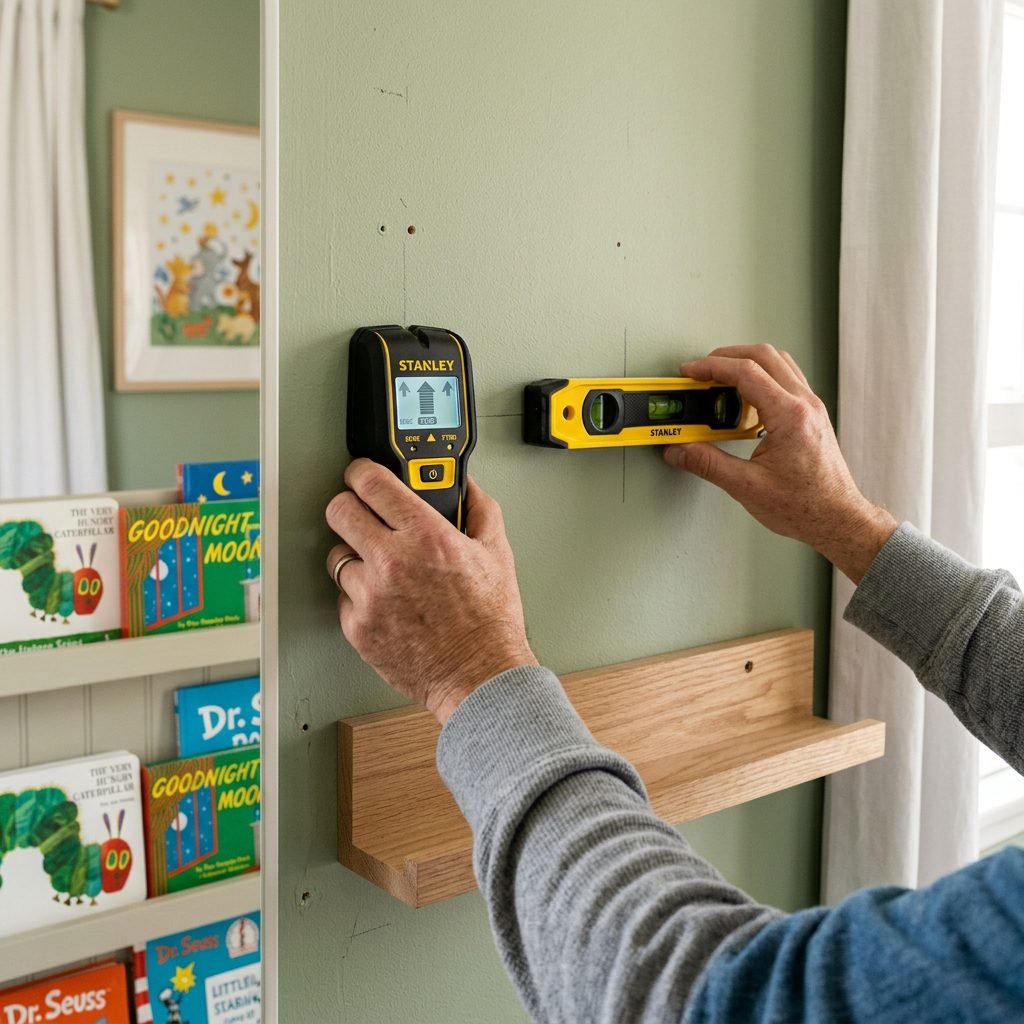
Sisterly advice time: As your doula and maternal wellness guide, I have to put my safety hat on for a moment. When you are pregnant, it is hard to imagine your tiny, sleepy newborn turning into a climbing, pulling, energetic toddler. But it happens in the blink of an eye! Nursery safety is paramount, especially when it comes to wall-mounted decor.
Crucial Installation Guidelines
Toddlers are known to grab onto ledges to pull themselves up to a standing position. If a shelf is not properly secured, it can easily pull out of the drywall and cause a serious injury.
- Always Find a Stud: Whenever possible, drill your shelf screws directly into a wooden wall stud. This is the absolute safest method.
- Use Heavy-Duty Anchors: If you cannot hit a stud, you must use heavy-duty drywall anchors or toggle bolts rated for at least 50 lbs. Standard plastic anchors are not enough for a shelf that a child might pull on.
- Check Weight Limits: Books are heavy! A 3-foot ledge filled with board books can easily weigh 20-30 pounds. Ensure your shelving hardware is rated for this weight.
- Avoid Sharp Edges: If you are installing shelves at toddler-height, ensure they have rounded edges. If using acrylic, look for polished, smooth corners.
| Child’s Age / Stage | Recommended Shelf Height (from floor) | Safety Considerations |
|---|---|---|
| Newborn (0-6 months) | Any height (Adult access only) | Ensure shelves are not mounted directly over the crib. |
| Crawler (6-12 months) | Floor level baskets only | Keep cords hidden; ensure baskets are soft-sided. |
| Toddler (1-3 years) | 24 to 36 inches (Bottom shelf) | Must be anchored to studs. Expect them to pull on shelves. |
| Preschooler (3-5 years) | 36 to 48 inches (Bottom shelf) | Teach them to use a safe, sturdy step stool if needed. |
Conclusion
Creating a beautiful, face-out library for your little one is one of the most joyful nesting projects you can take on. Whether you choose the sleek, invisible look of acrylic shelves, the budget-friendly charm of the IKEA spice rack hack, or a cozy floor-level basket, you are doing something wonderful. You are building an environment that whispers to your child: “Here is a world of stories, just waiting for you.”
As you drill those holes, paint those ledges, and organize those sweet board books, remember to take a deep breath and give yourself some grace. Your nursery doesn’t have to look like a perfect Pinterest board on day one. It just has to be a space filled with love, warmth, and a few good bedtime stories.
You are going to be a wonderful mother, and those late-night reading sessions in the glow of the nursery lamp will soon become your most treasured memories. Happy nesting, mama! You’ve got this.