How to Customize an IKEA Smastad Wardrobe for the Ultimate Small Space Nursery
Welcome to Your Nesting Journey, Mama
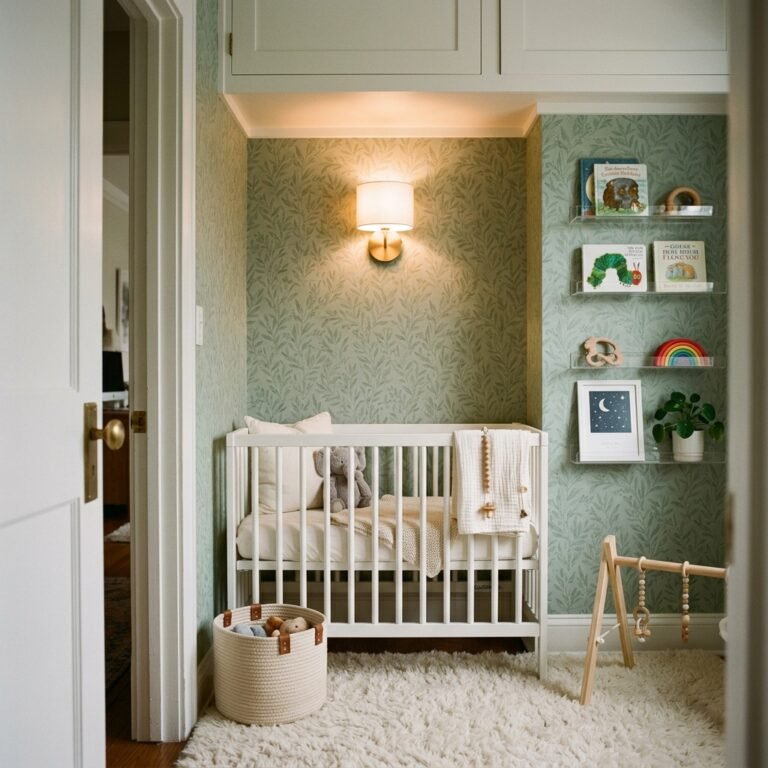
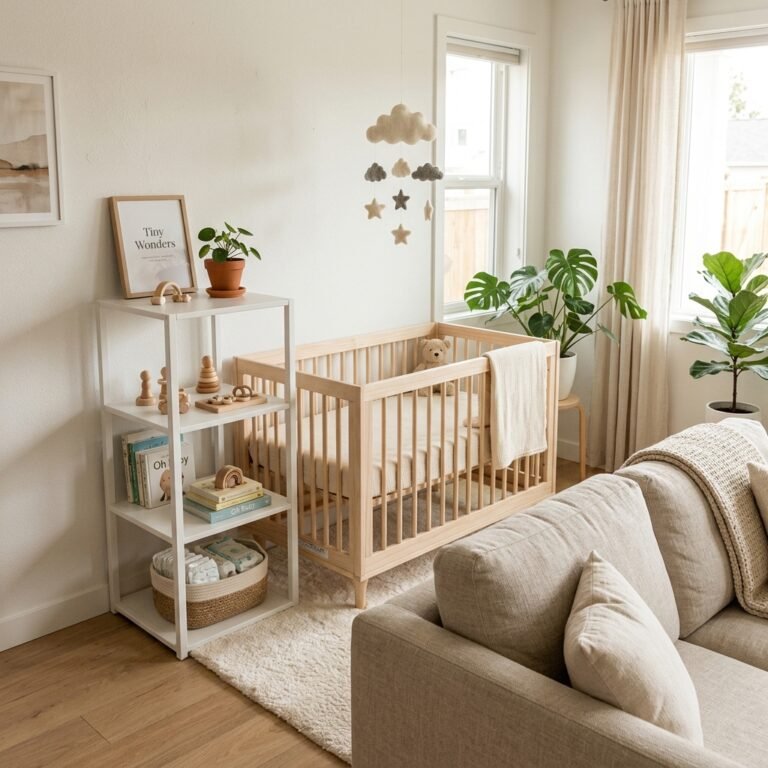
Oh, sweet mama, I know that feeling all too well—the urge to organize every tiny onesie, the need to create a sanctuary for your little one, and the slight panic when you realize your nursery space is… well, cozy. Whether you are working with a dedicated small room or carving out a corner in your master bedroom, I want you to take a deep breath. You don’t need a sprawling mansion to provide a beautiful, functional, and organized start for your baby. As a doula, I’ve seen how much peace an organized space can bring to a new mother. When those 3:00 AM diaper changes happen, knowing exactly where the extra wipes and the clean sleepers are located is a form of self-care.
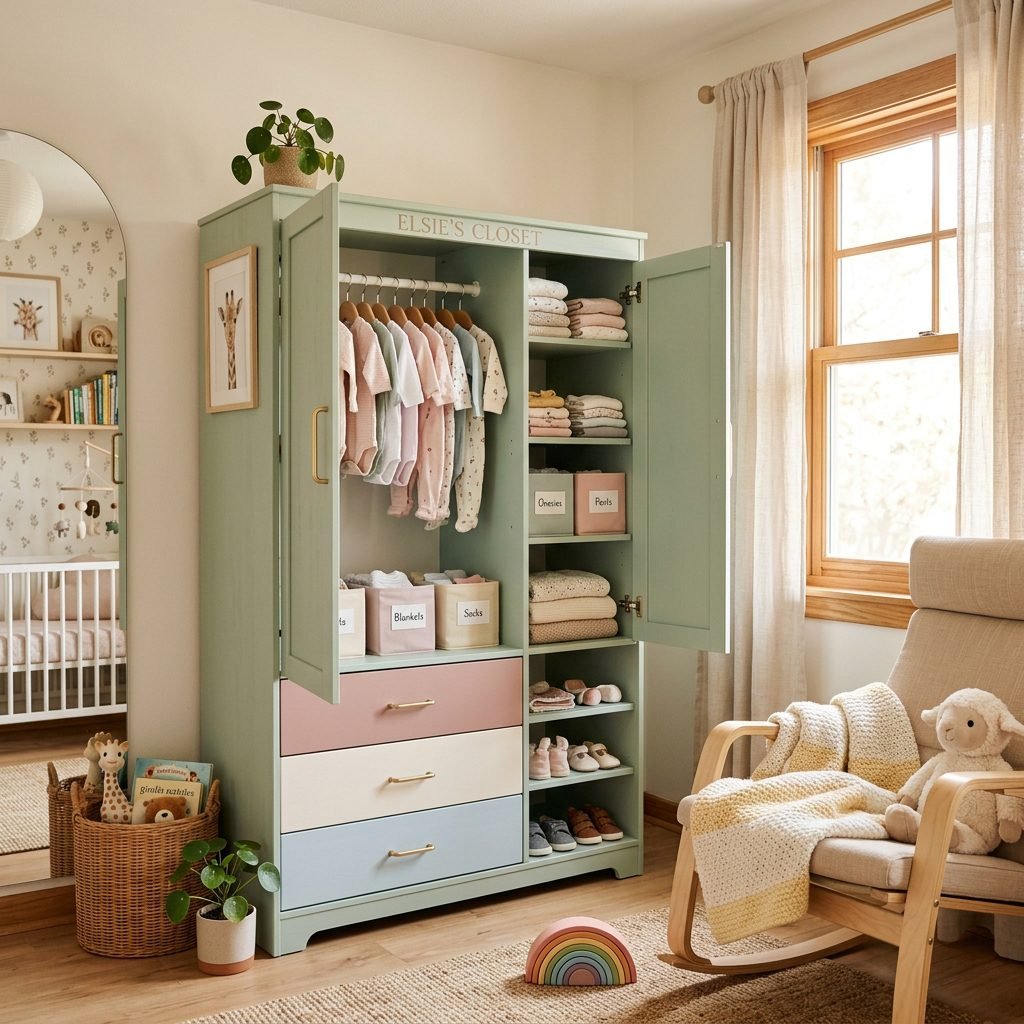
Today, we are diving deep into one of my absolute favorite pieces for small-space living: the IKEA Smastad wardrobe. This isn’t just a piece of furniture; it is a versatile, modular system that can grow with your child from the newborn days through the toddler years. In this guide, I’m going to walk you through how to customize this IKEA staple to maximize every square inch of your nursery. We’ll talk about hardware hacks, internal organization strategies, and how to make this budget-friendly piece look like a high-end designer find. Let’s get your nest ready, together.
The Magic of Smastad: Why It’s a Small Space Hero
Why Choose the Smastad System?
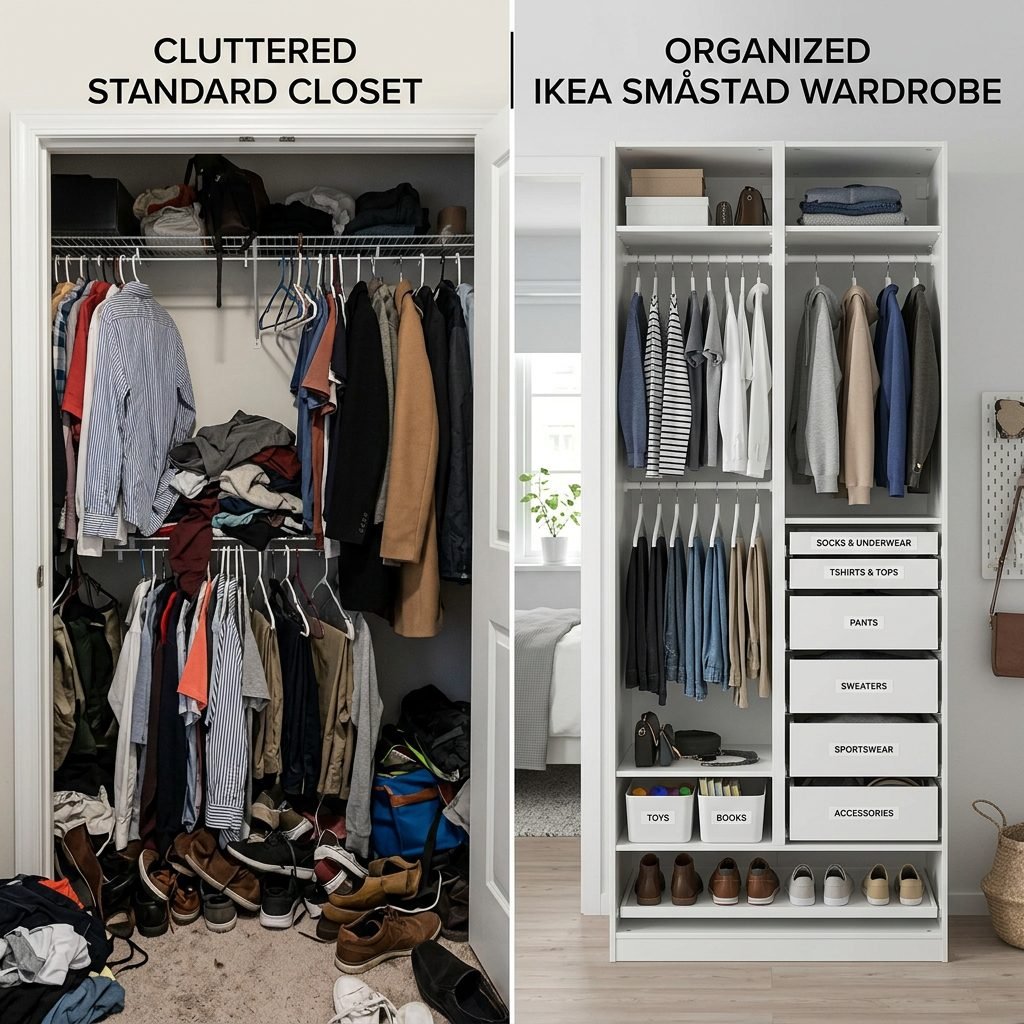
When you are dealing with a small footprint, vertical space is your best friend. The Smastad system is specifically designed for children, meaning the heights are accessible, and the depth is perfect for small garments without overwhelming the room. Unlike the larger PAX system, which can sometimes feel too bulky in a tiny nursery, Smastad offers a streamlined profile that fits into tight corners and alcoves.
The Modular Advantage
The beauty of Smastad lies in its modularity. You can combine hanging space, drawers, and open shelving in a way that suits your specific needs. For a newborn, you might want more drawers for those tiny socks and swaddles. As they grow into a toddler, you can easily swap a drawer for another hanging rod. It’s a long-term investment in your home’s organization.
| Feature | Standard Closet | Customized Smastad |
|---|---|---|
| Space Utilization | Fixed rods, often too high | Adjustable rods and shelving |
| Accessibility | Difficult for toddlers to reach | Designed for child-level access |
| Storage Density | Low (lots of wasted vertical space) | High (drawers and shelves maximize height) |
| Cost | $500 – $2,000+ | $150 – $400 |
“Your nursery doesn’t need to be big to be full of love and order. A small space, well-curated, is a calm space for both you and your baby.”
Designing with Intention: Planning Your Layout for Newborn to Toddler
The Postpartum-First Layout
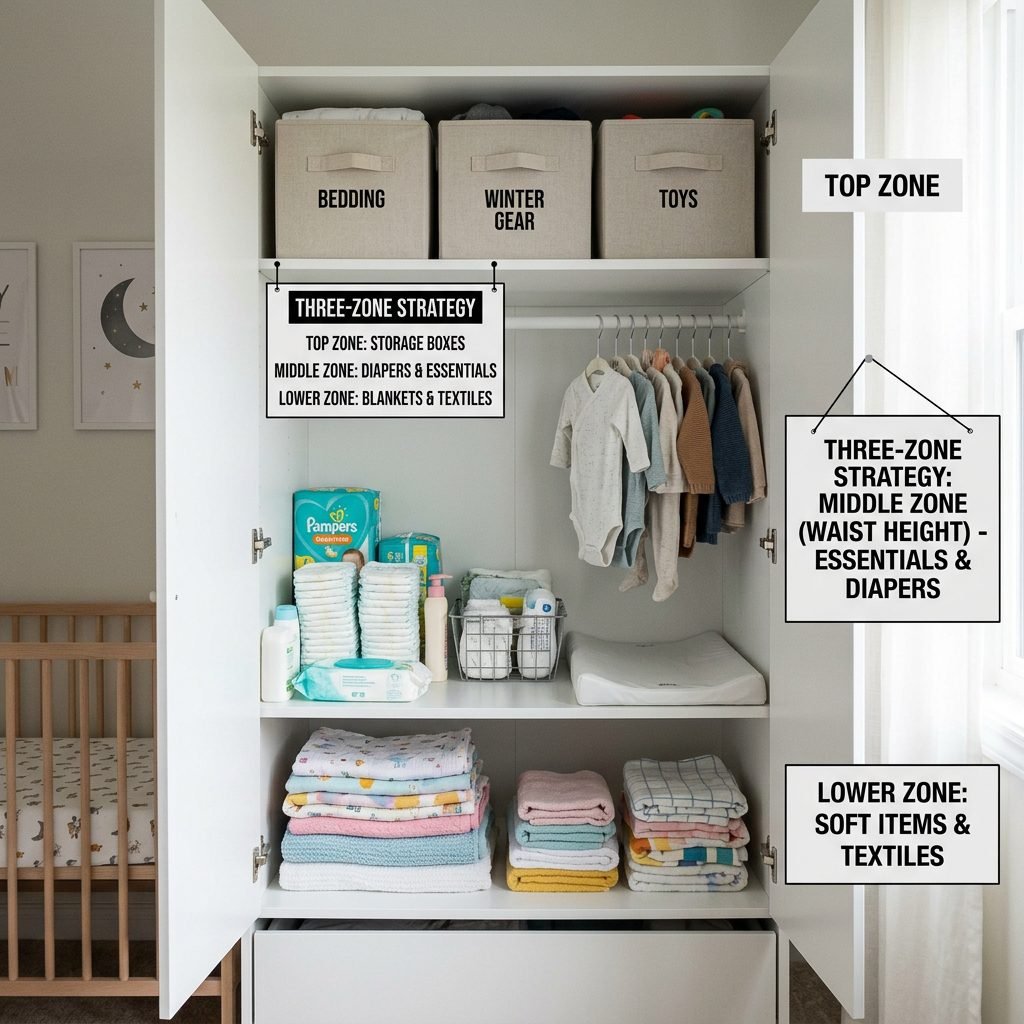
As your doula, my first priority is your physical recovery. In those first few weeks postpartum, you want to minimize bending and reaching. When planning your Smastad customization, place the items you will use most frequently—diapers, wipes, onesies, and burp cloths—at waist height. This prevents unnecessary strain on your back and abdominal muscles, especially if you are recovering from a C-section.
The Three-Zone Strategy
- Zone 1 (Eye Level): Frequently used items like daily outfits, hats, and swaddles.
- Zone 2 (Lower Level): Heavier items like blankets, sleep sacks, and eventually, toys the child can reach.
- Zone 3 (Upper Level): Out-of-season clothes, extra diaper boxes, and items you only need occasionally.
By categorizing your storage this way, you create a flow that supports your daily rhythm. I recommend using the HJÄLPA and UPPRYMD accessories from IKEA to create these zones within the wardrobe frame. The mesh baskets are particularly wonderful because they allow you to see exactly what is inside without having to dig through a drawer while holding a wiggly baby.
The Step-by-Step Customization: Tools, Hardware, and Hacks
Transforming the Basics
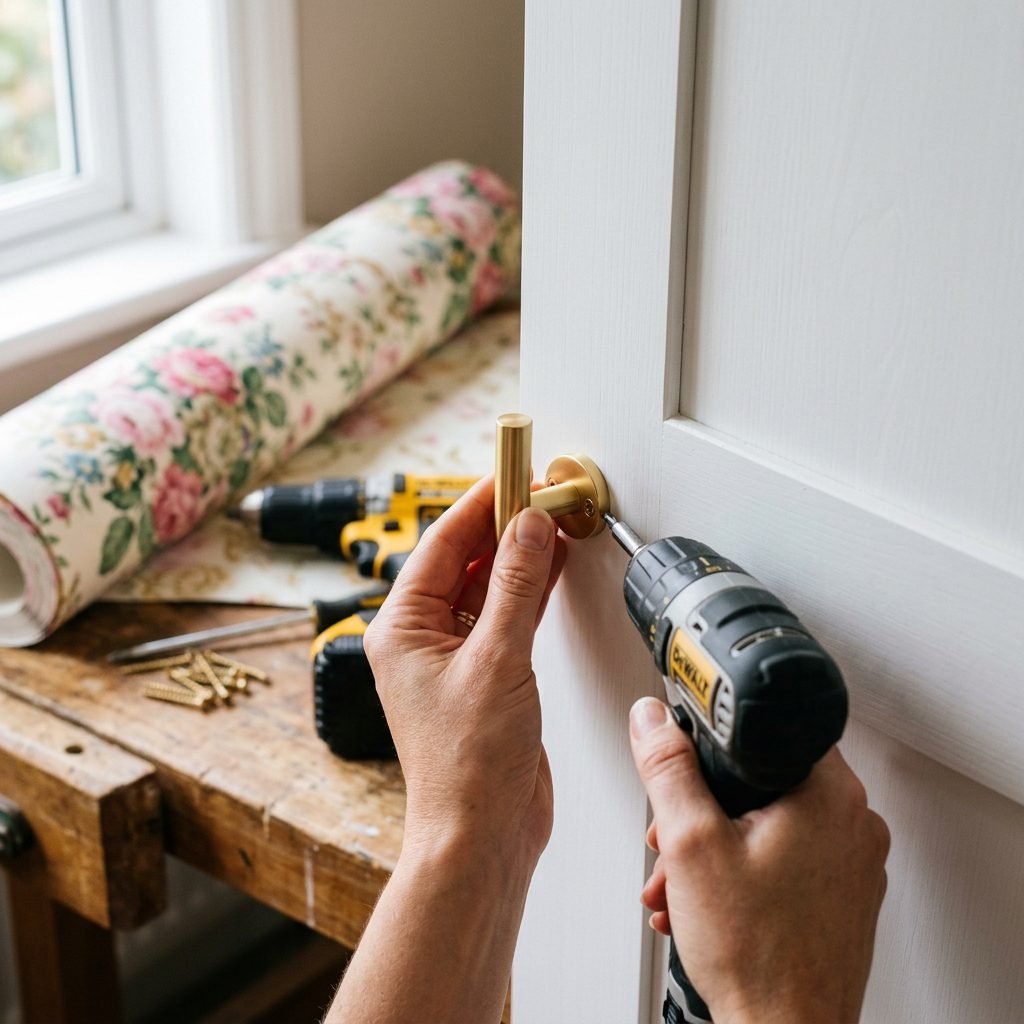
Now, let’s get into the fun part—the DIY! You don’t need to be a master carpenter to make these changes. A few simple swaps can take the Smastad from ‘basic’ to ‘bespoke.’ Here is what you will need to get started.
Materials and Tools List
- Smastad Wardrobe Frame (choose the size that fits your nook)
- Custom Hardware: Brass or leather pulls to replace the standard plastic ones.
- Contact Paper or Wallpaper: For the back panel of the wardrobe.
- Battery-Operated Motion Lights: To illuminate the interior.
- Drill and Screwdriver: For assembly and hardware installation.
Step-by-Step Execution
- Prep the Back Panel: Before assembling the frame, apply a beautiful peel-and-stick wallpaper to the back panel. This adds a pop of color and personality that makes the wardrobe feel like a piece of art.
- Assemble the Frame: Follow the IKEA instructions carefully, but always anchor the unit to the wall. This is non-negotiable for nursery safety.
- Install Custom Pulls: The standard Smastad handles are fine, but adding gold, matte black, or leather pulls immediately elevates the look. You may need to drill new holes if your chosen hardware doesn’t align with the pre-drilled ones.
- Layer Your Lighting: Stick motion-sensor LED strips to the underside of the shelves. When you open the door at night, you’ll have a soft glow that helps you find what you need without waking the baby with harsh overhead lights.
Doula-Approved Organization: Organizing for the ‘Fourth Trimester’
The Art of the Micro-Category
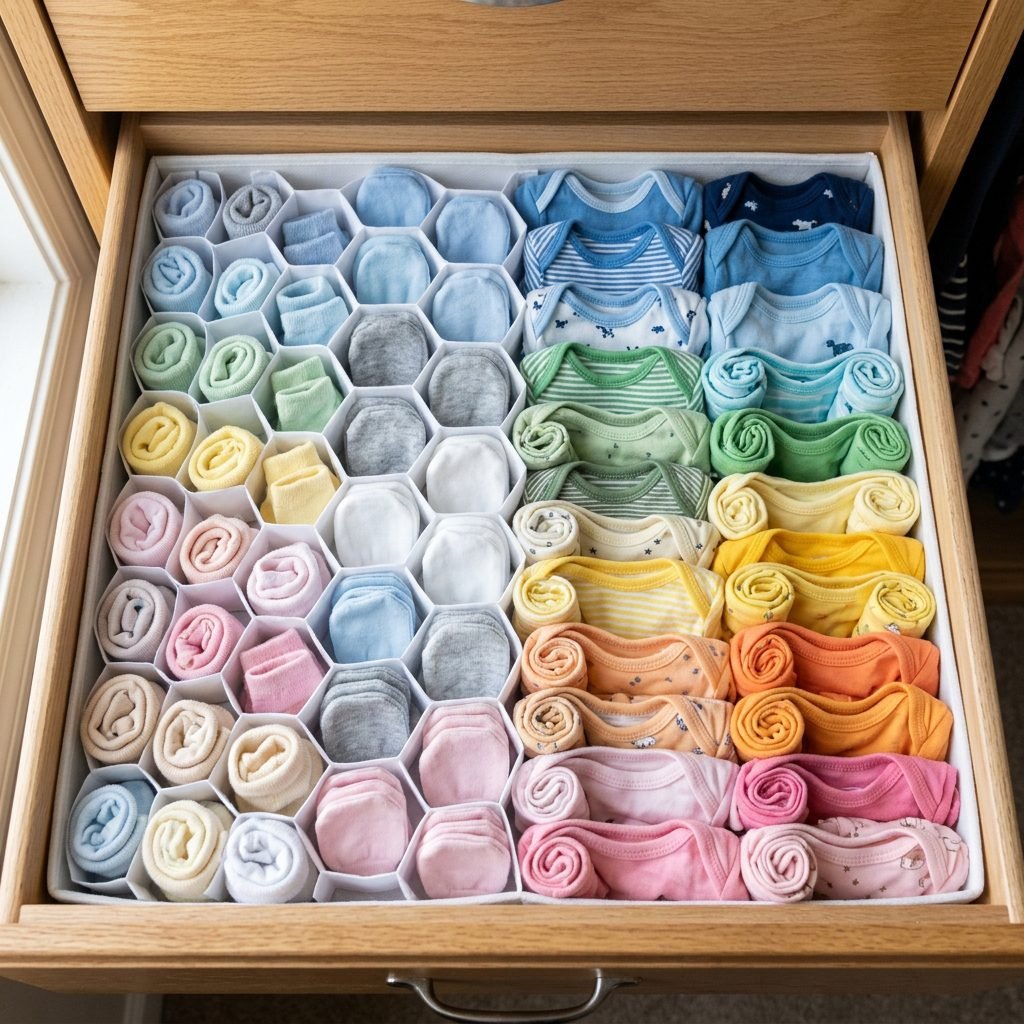
In the ‘Fourth Trimester,’ brain fog is real. We want to make your organization so intuitive that you don’t even have to think. This is where micro-categorization comes in. Instead of one big drawer for ‘clothes,’ we are going to break it down into specific needs.
Essential Categories for Your Drawers
- The ‘Coming Home’ Kit: A small basket with the very first outfits, socks, and a soft hat.
- Size-Specific Sections: Use drawer dividers to separate Newborn, 0-3 Months, and 3-6 Months. Trust me, they grow faster than you think!
- The ‘Leaky’ Basket: Keep a dedicated spot for extra mattress protectors and sheets for those inevitable middle-of-the-night blowouts.
| Item Category | Best Storage Method | Quantity Needed (Approx) |
|---|---|---|
| Onesies/Sleepers | Rolled in shallow drawers | 10-15 per size |
| Swaddles/Blankets | Stacked on open shelves | 5-7 |
| Socks/Mittens | Small bins or honeycomb dividers | 8-10 pairs |
| Diapering Supplies | Top drawer or side caddy | 1-2 packs |
“Organization is not about perfection; it’s about efficiency and giving yourself more time to snuggle that sweet baby.”
Aesthetic Touches: Making IKEA Look High-End and Personalized
Adding Soul to the Structure
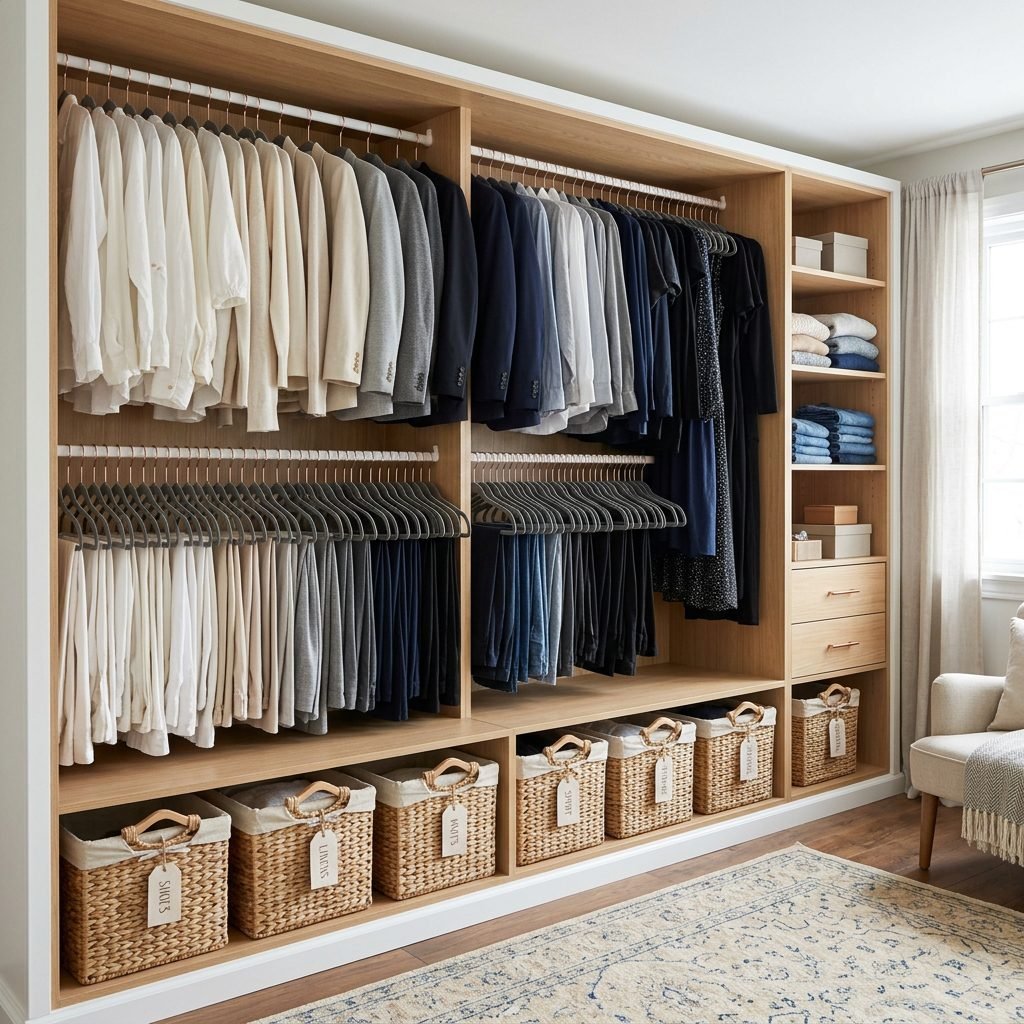
While the Smastad is functional, we want it to feel like it belongs in a curated nursery. To achieve a high-end look on a budget, focus on texture and tone. If you’ve chosen a neutral wardrobe, bring in warmth through natural materials.
Styling Tips
- Woven Baskets: Use seagrass or water hyacinth baskets on open shelves to hide less-than-pretty items like breast pump parts or extra wipes.
- Uniform Hangers: Switch out mismatched plastic hangers for slim velvet ones in a soft grey or blush. This saves space and looks incredibly organized.
- Label Everything: Use a label maker or beautiful handwritten tags tied with twine to identify what is in each bin. This is especially helpful for partners or grandparents who want to help but don’t know where things go.
Remember, mama, this space should make you feel good. Choose colors and textures that soothe your soul. If a certain print makes you smile, incorporate it into the lining of the drawers or the wallpaper hack we discussed earlier.
Safety First: Essential Tips for a Secure Nursery Environment
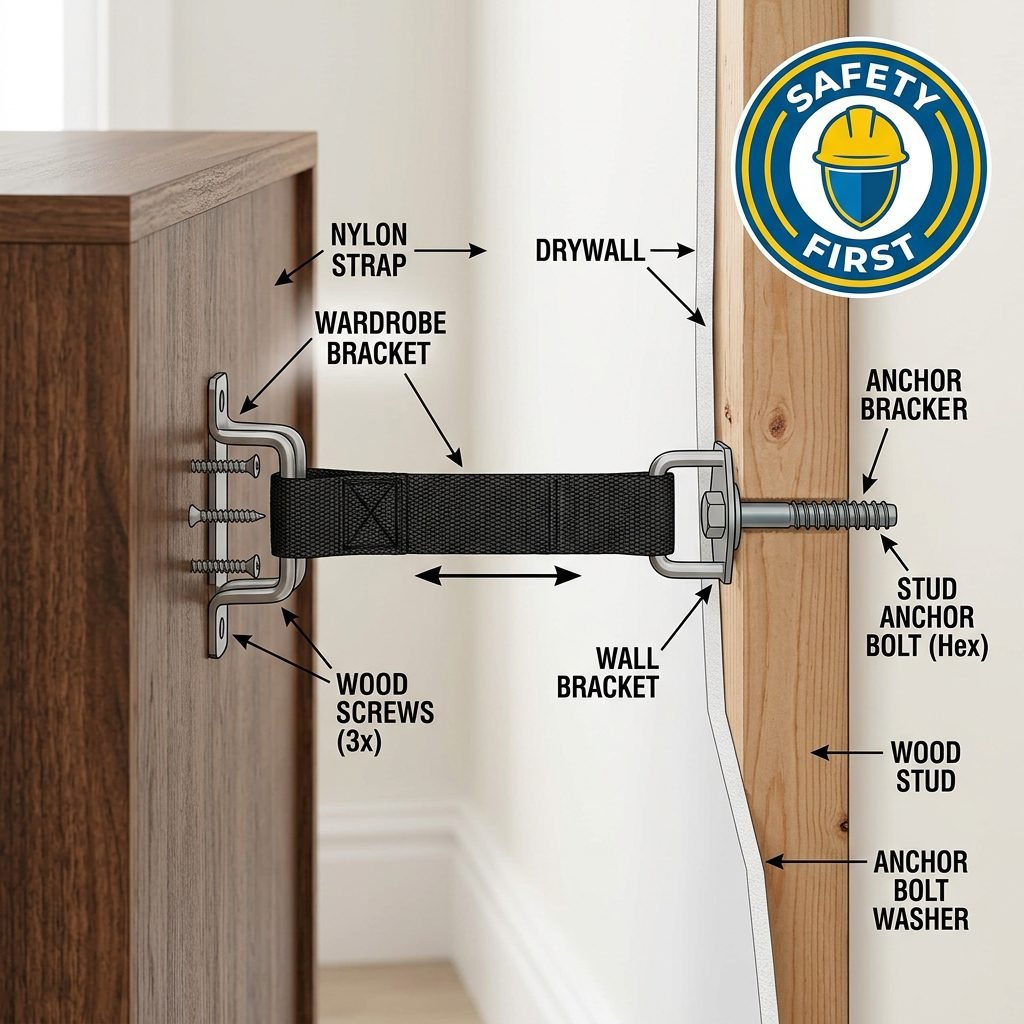
Protecting Your Little Explorer
As a doula and an advocate for infant safety, I cannot stress this enough: safety is the foundation of design. A customized wardrobe is only wonderful if it is secure. Since the Smastad is lightweight and designed for kids, it can easily tip if a toddler decides to use the drawers as a ladder.
Safety Checklist
- Wall Anchoring: Use the anti-tip kit provided by IKEA or purchase a heavy-duty furniture strap. Ensure it is anchored into a stud or using appropriate wall anchors for your wall type.
- Non-Toxic Finishes: If you choose to paint your Smastad, ensure you are using Zero-VOC, baby-safe paint. Babies explore with their mouths, and we want to keep those toxins away.
- Finger Guard Protectors: Consider adding soft-close dampers (if not already included) or finger guards to prevent little fingers from getting pinched in the drawers.
- Weight Distribution: Place heavier items like books or bulk diaper boxes at the bottom of the unit to lower the center of gravity.
By following these steps, you are creating a ‘Yes Space’—a place where your child can eventually explore safely, and you can rest easy knowing the environment is secure.
Conclusion
You’ve Got This, Mama
Creating the ultimate small-space nursery is a labor of love, and your effort to organize and beautify this space is a beautiful first gift to your baby. The IKEA Smastad wardrobe hack is more than just a DIY project; it’s about creating a functional system that supports you through the beautiful, chaotic, and transformative journey of motherhood. By maximizing your storage, prioritizing your physical comfort, and adding those personal, aesthetic touches, you’ve turned a simple piece of furniture into a cornerstone of your home.
As you finish your nursery prep, remember to take moments for yourself. Sit in that nursery chair, look at the organized drawers, and visualize the sweet moments to come. You are doing an incredible job, and your baby is so lucky to have a mama who cares so deeply about the home they are coming into. Happy nesting!