How to Make a Gorgeous DIY Wooden Nursery Sign with Your Baby’s Name
The Magic of the Nesting Phase
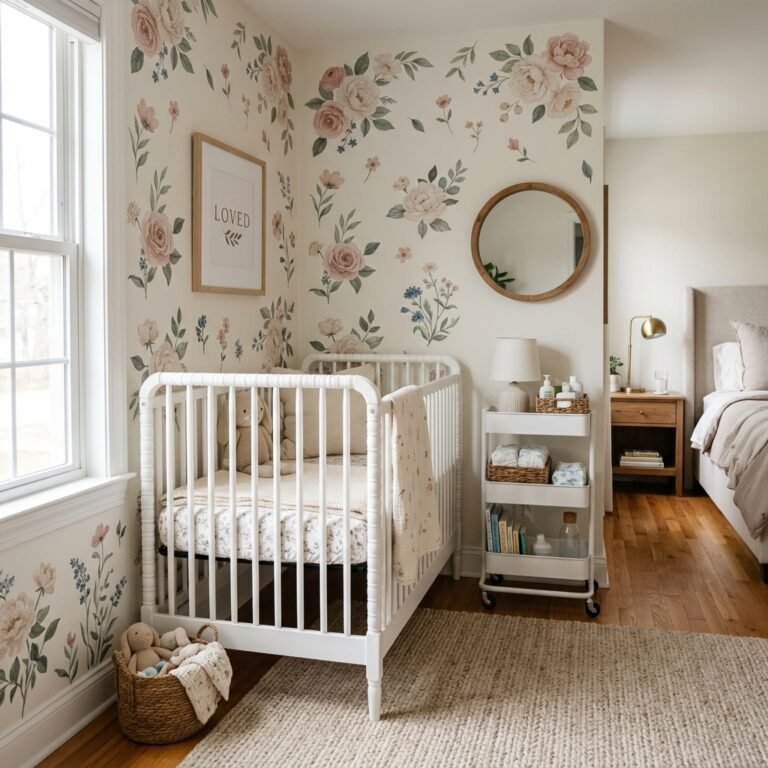
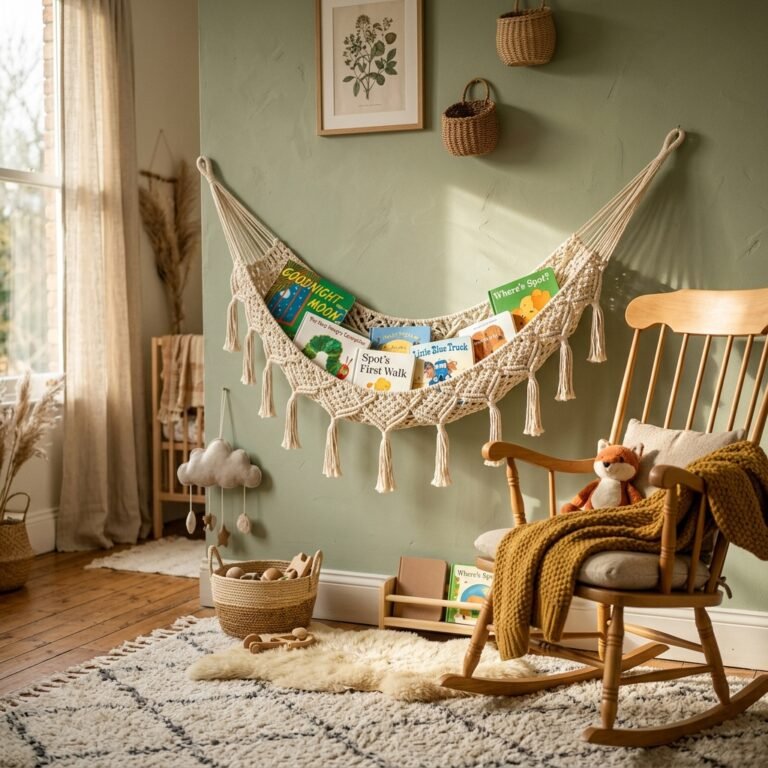
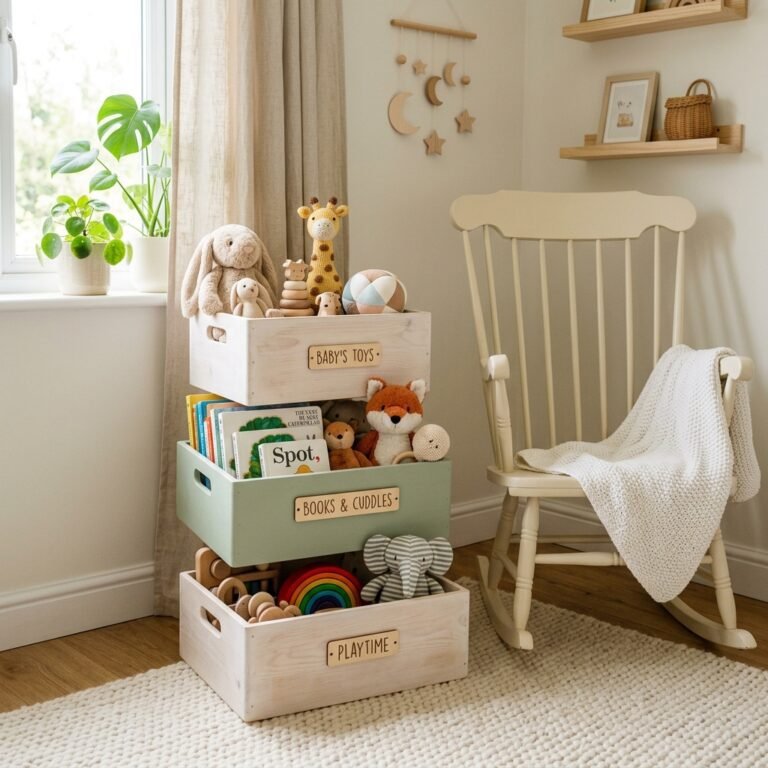
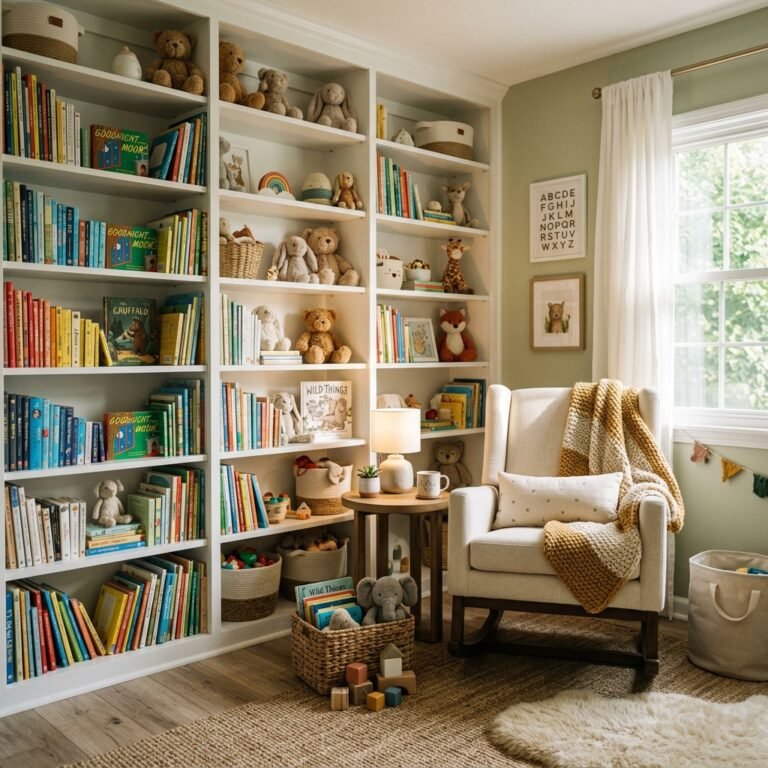
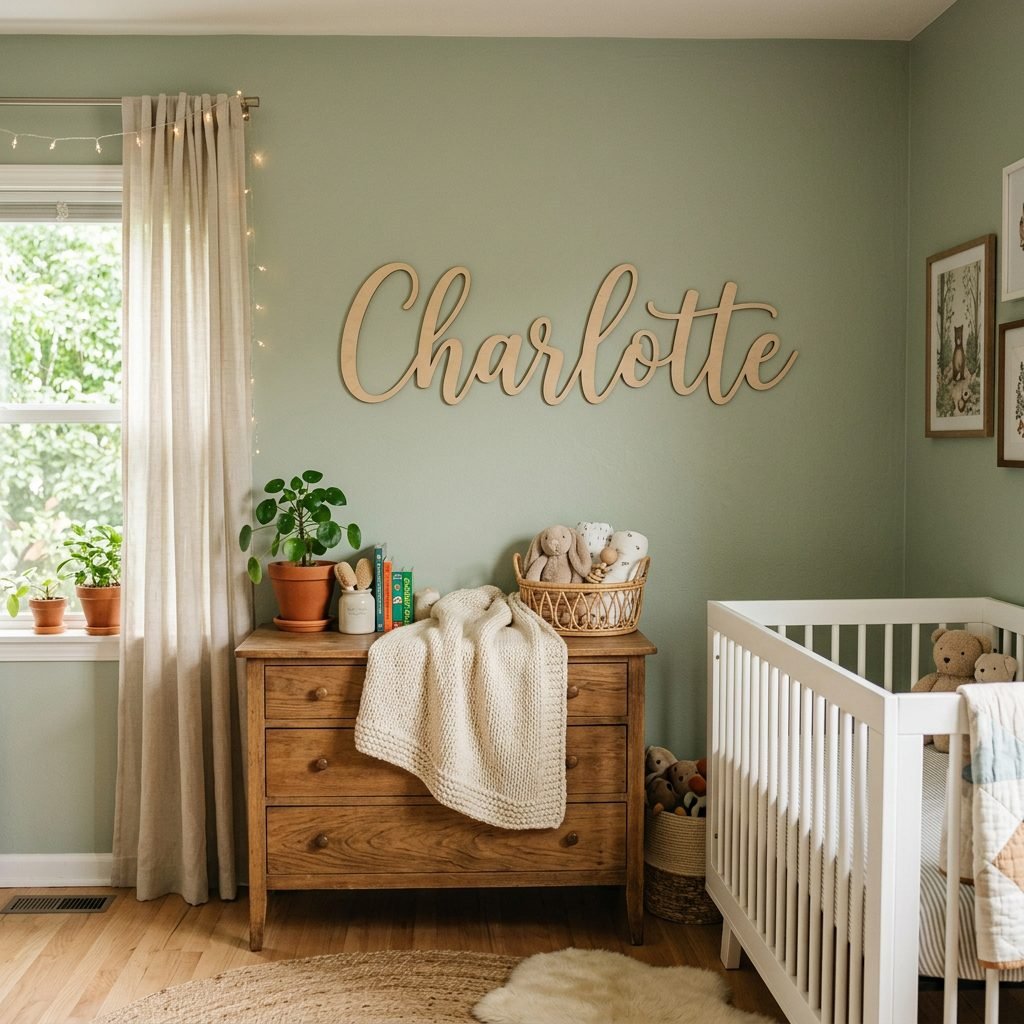
Oh, mama, I see you. You’re in that beautiful, whirlwind phase where every corner of your home feels like a canvas for the love you’re already carrying. As a doula, I’ve sat with so many of you as you’ve folded tiny onesies and organized diaper drawers, and I know that ‘nesting’ is more than just a biological urge—it’s a spiritual preparation. Creating something with your own hands for your baby’s space is a powerful way to bond before they even arrive. Today, we are going to channel that beautiful energy into a DIY wooden nursery sign that will serve as the focal point of your little one’s sanctuary.
A name is the first gift you give your child. Seeing it displayed in their room makes the dream of their arrival feel so much more tangible. Whether you are a seasoned crafter or someone who usually avoids a glue gun, this guide is designed to be gentle, practical, and deeply rewarding. We aren’t just making decor; we are weaving a welcome for your baby. Let’s take a deep breath, grab a cup of red raspberry leaf tea, and start creating something gorgeous together.
Selecting Your Materials: Safety and Aesthetics
Choosing the Right Foundation
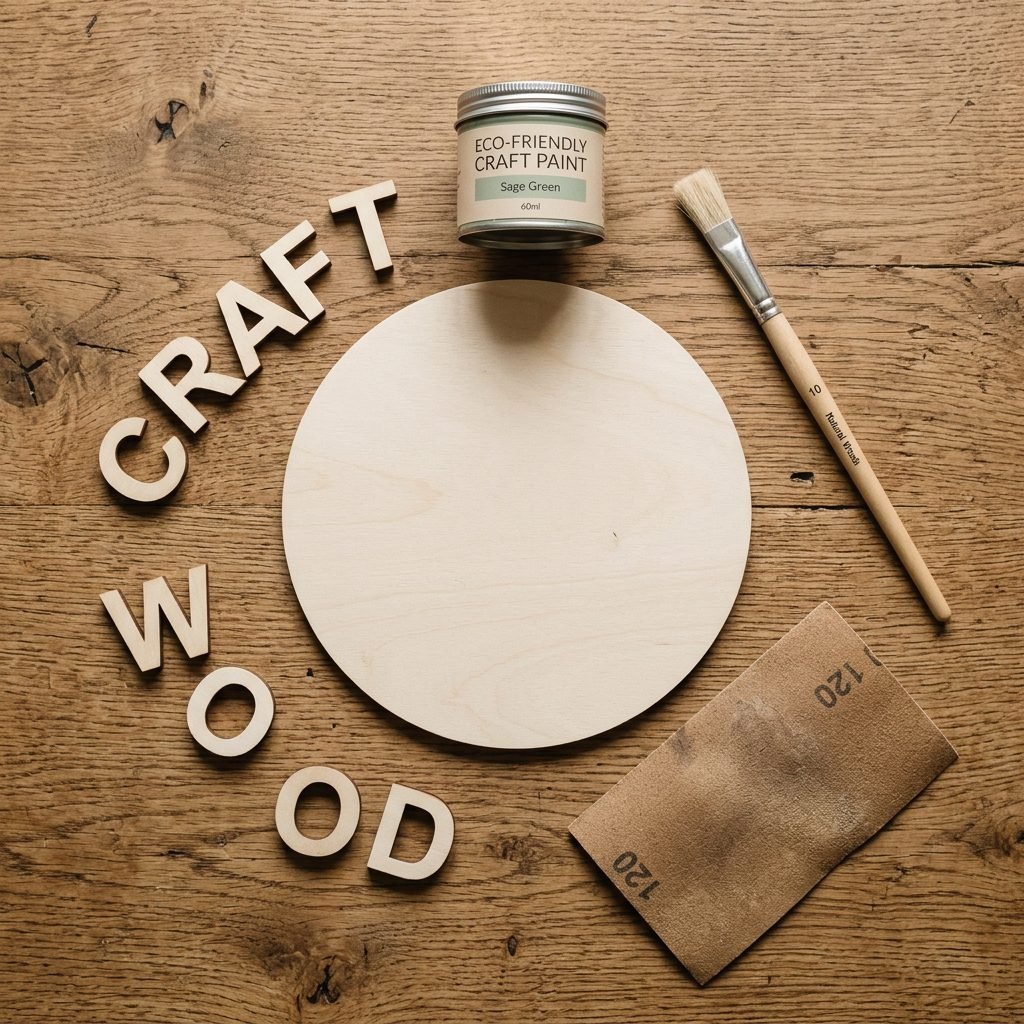
When we talk about nursery decor, safety is our North Star. Since your baby will be sleeping and breathing in this environment, we want to choose materials that are as kind to their lungs as they are to your eyes. For a wooden sign, I recommend Baltic Birch plywood or solid Pine. These woods are sturdy yet light enough to hang securely. Avoid pressure-treated woods or old pallets that might contain harsh chemicals or mold.
Non-Toxic Finishes for Tiny Lungs
Traditional wood stains can off-gas Volatile Organic Compounds (VOCs) for weeks. Instead, look for water-based, low-VOC or zero-VOC stains and paints. Some mamas even love the ‘tea-staining’ method, where you use highly concentrated black tea and a vinegar/steel wool solution to age the wood naturally. It’s safe, cheap, and creates a stunning rustic look.
| Material Item | Estimated Cost | Why You Need It |
|---|---|---|
| Wood Round or Board (18-24″) | $15 – $25 | The base of your sign. |
| Laser-Cut Wooden Letters | $10 – $30 | The baby’s name (pre-cut is easiest!). |
| Zero-VOC Paint/Stain | $8 – $15 | Color and protection without fumes. |
| Wood Glue (Non-Toxic) | $5 – $8 | To secure the letters to the base. |
| Sandpaper (120 and 220 grit) | $4 – $6 | To ensure a smooth, splinter-free finish. |
| Hardware (D-Rings or French Cleats) | $5 – $10 | For heavy-duty, safe hanging. |
Step-by-Step: Crafting the Masterpiece
Phase 1: Sanding for Softness
Start by sanding your wood base. Even if it feels smooth, give it a once-over with 120-grit sandpaper and finish with 220-grit. This ensures there are no tiny splinters that could catch on a curtain or a curious hand later on. Wipe it down with a damp microfiber cloth to remove all dust before you move to the next step.
Phase 2: Applying the Base Coat
Apply your stain or paint in thin, even layers. If you’re using a stain, rub it in with a lint-free rag, following the grain of the wood. Let it dry completely—usually 2 to 4 hours depending on the humidity. This is a great time to put your feet up and practice some prenatal visualizations!
Phase 3: Perfecting the Lettering
While the base dries, paint your letters. Many mamas choose a contrasting color—like a crisp white against a dark walnut stain, or a soft gold against a sage green.
Pro-Tip: Use a small makeup sponge to ‘dab’ paint onto the letters instead of brushing. This prevents paint from dripping down the sides and keeps the edges clean.
Phase 4: The Layout and Glue
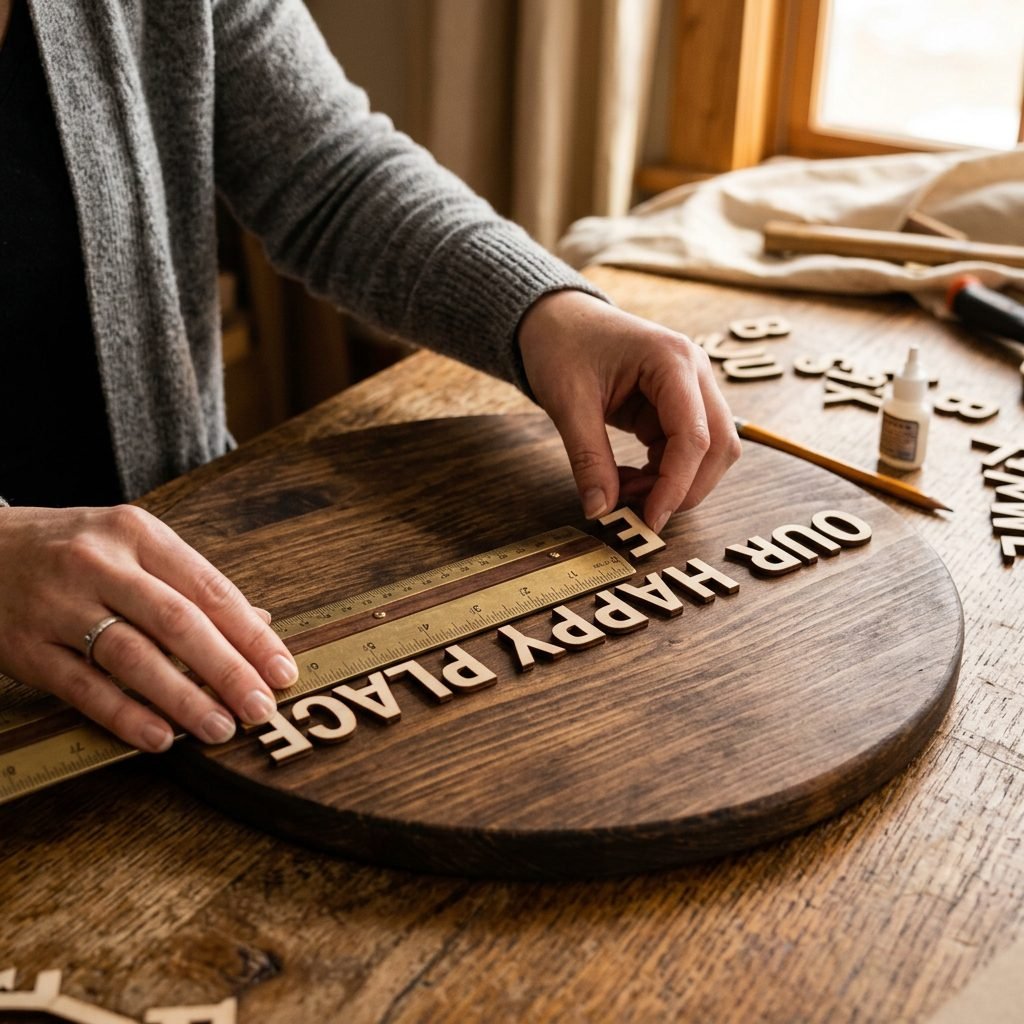
Before you touch the glue, lay your letters out on the board. Use a ruler or a level to ensure the name is centered. Once you’re happy with the placement, lightly mark the corners with a pencil. Apply a thin bead of non-toxic wood glue to the back of each letter. Press firmly and wipe away any ‘squeeze-out’ immediately with a Q-tip.
The Golden Rule of Nursery Safety: Where to Hang
Avoiding the ‘Fall Zone’
As a doula and a safety-conscious nurse, I have to be the ‘boring’ sister for a moment: Never hang a heavy wooden sign directly over the crib. Even with the best anchors, earthquakes, house settling, or a toddler pulling on a nearby curtain can cause things to fall. Instead, consider these safer locations:
- Above the Changing Table: A great focal point that stays out of the ‘sleep zone.’
- The Entry Wall: A beautiful way to welcome anyone who enters the room.
- A Reading Nook: Mounted above a cozy nursing chair or bookshelf.
Secure Fastening Techniques
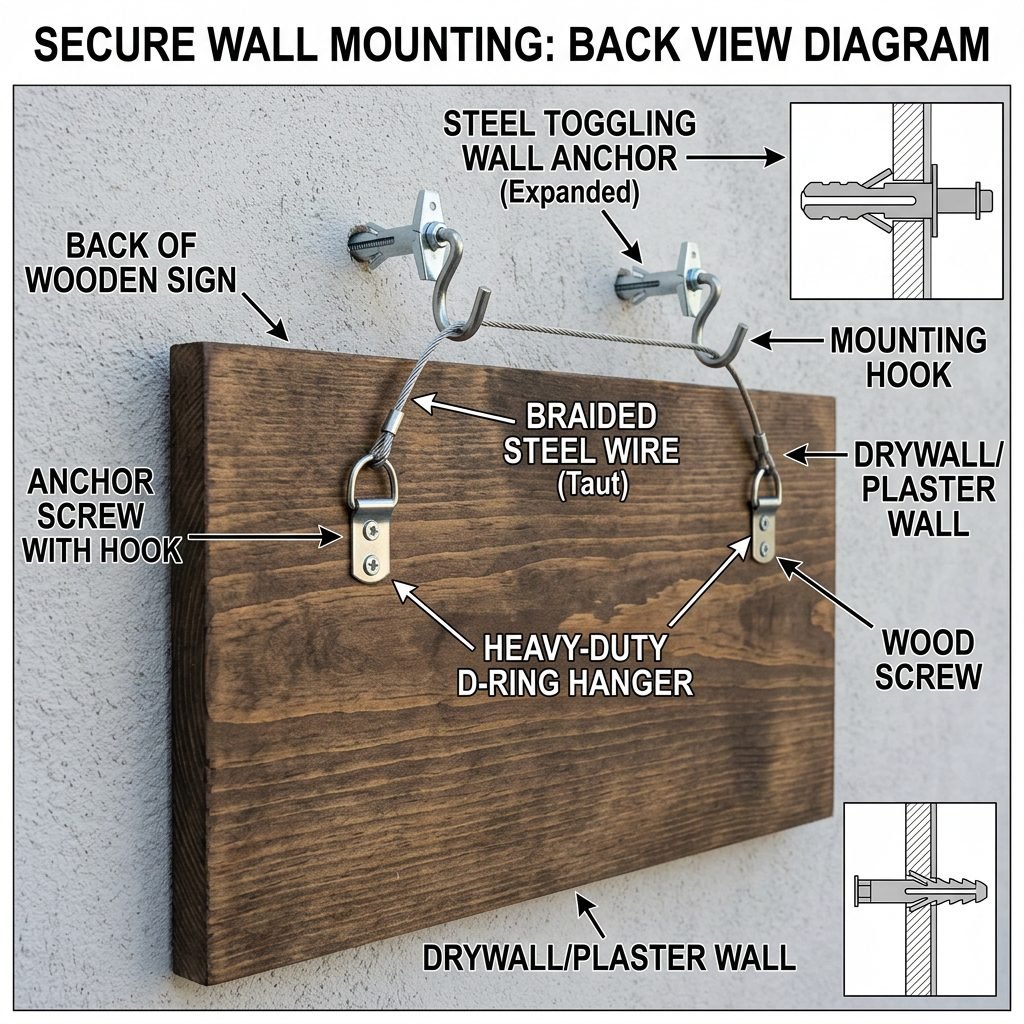
Don’t rely on a single nail. For a wooden sign, I highly recommend D-rings on both sides of the back, or a French Cleat for larger, heavier signs. A French cleat distributes the weight evenly and keeps the sign flush against the wall so it can’t be easily knocked off. If you are mounting into drywall, always use anchors rated for at least double the weight of the sign.
Styling and Personalization: Beyond the Name
Adding Floral and Celestial Accents
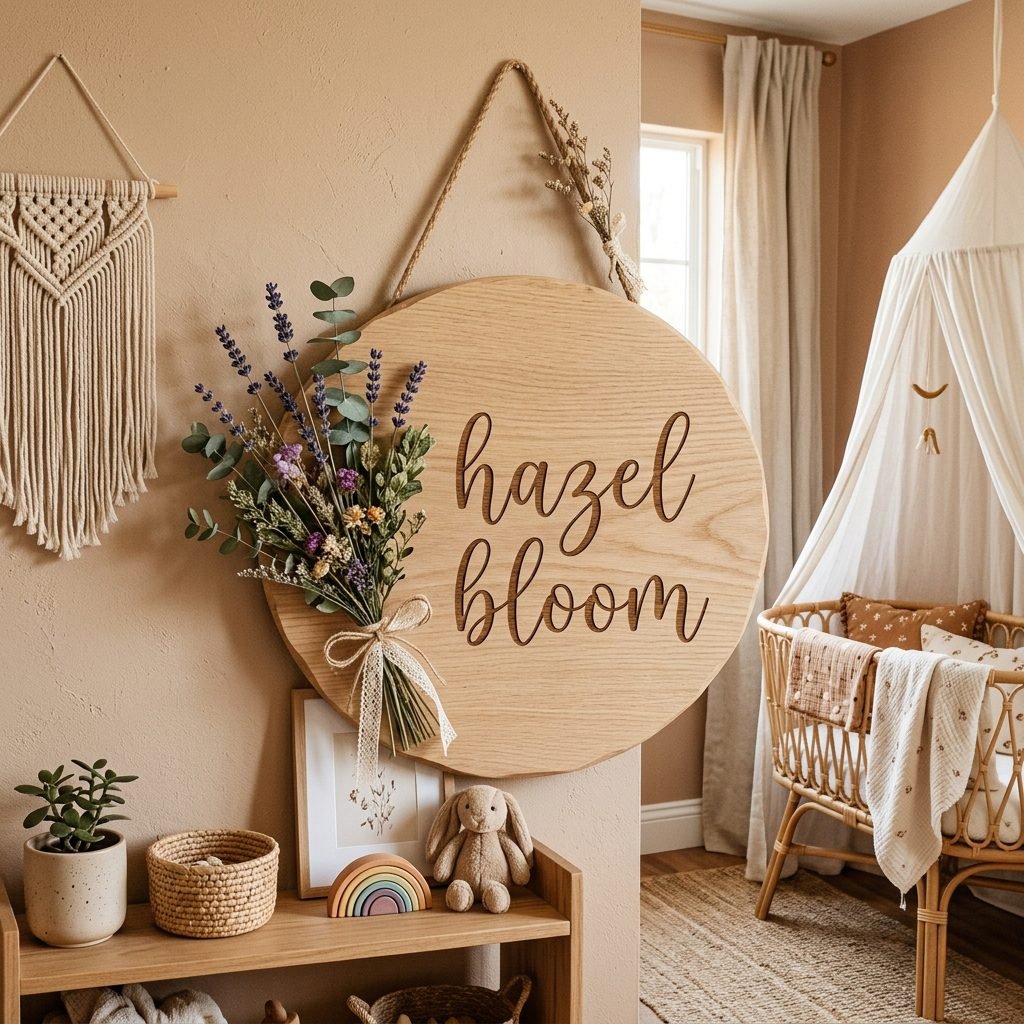
Your sign doesn’t have to stop at the name! You can glue dried eucalyptus, silk flowers, or even small wooden stars around the perimeter to match your nursery theme. If you’re going for a ‘Woodland’ vibe, a bit of preserved moss or a small wooden fawn silhouette can add so much character.
Meaningful Color Palettes
Colors evoke emotion. Consider what ‘vibe’ you want for your baby’s sleep space:
- Soft Blues and Greys: Promote calm and lower blood pressure.
- Earth Tones (Terracotta, Ochre): Create a sense of groundedness and warmth.
- Cream and White: Keep the space feeling airy and clean.
Affirmation: As I hang this sign, I claim this space as a sanctuary of peace, safety, and love for my child.
The Emotional Impact of DIY Projects

Crafting as Mindfulness
The transition to motherhood can feel overwhelming. There are so many things out of your control—the timing of labor, the temperament of the baby, the recovery process. DIY projects like this name sign offer a sense of agency and accomplishment. When you sand that wood or paint those letters, you are practicing a form of ‘active meditation.’ It allows you to slow down your heart rate and focus on the present moment.
I often encourage my clients to listen to their ‘birth playlist’ or a calming podcast while they work. This builds a positive sensory association with the nursery. By the time your baby is in your arms, this room won’t just be a collection of furniture; it will be a space where you have already poured hours of love and intention.
Conclusion
A Legacy in the Making
There you have it, mama. A gorgeous, handmade wooden sign that is so much more than a piece of decor—it’s a symbol of your baby’s identity and your journey into motherhood. Every time you walk into the nursery for those late-night feedings or quiet snuggles, you’ll see that name and remember the care you took to prepare for them. You are already an incredible mother, and your attention to detail and love for your little one shines through in everything you do. Take a moment to admire your work, rub your belly, and know that you are doing a wonderful job. I can’t wait for your sweet baby to see their name on that wall!