How to Set Up a Floating Shelf Changing Table in a Small Shared Master Bedroom
Oh, sweet mama, I know exactly how you feel. You are looking at your beautiful master bedroom and wondering how on earth a tiny human—and all their very large gear—is going to fit without turning your sanctuary into a cluttered warehouse. When you are working with a small shared space, every square inch is sacred. You want to stay close to your little one during those hazy, beautiful newborn nights, but you also need to maintain your own sense of calm and order. That is where the floating shelf changing table comes in. It is a total game-changer for the modern, space-conscious mother. By lifting the changing station off the floor, we create the illusion of more space, keep your floor clear for easy vacuuming (or just for walking without tripping in the dark!), and allow for custom ergonomic heights that save your precious postpartum back. In this guide, we are going to walk through every single detail—from safety and studs to styling and storage—so you can create a nursery nook that feels like a boutique hotel rather than a cramped corner. Let’s roll up our sleeves and create some practical magic together.
The Foundation: Why a Floating Shelf is a Game-Changer for Small Spaces
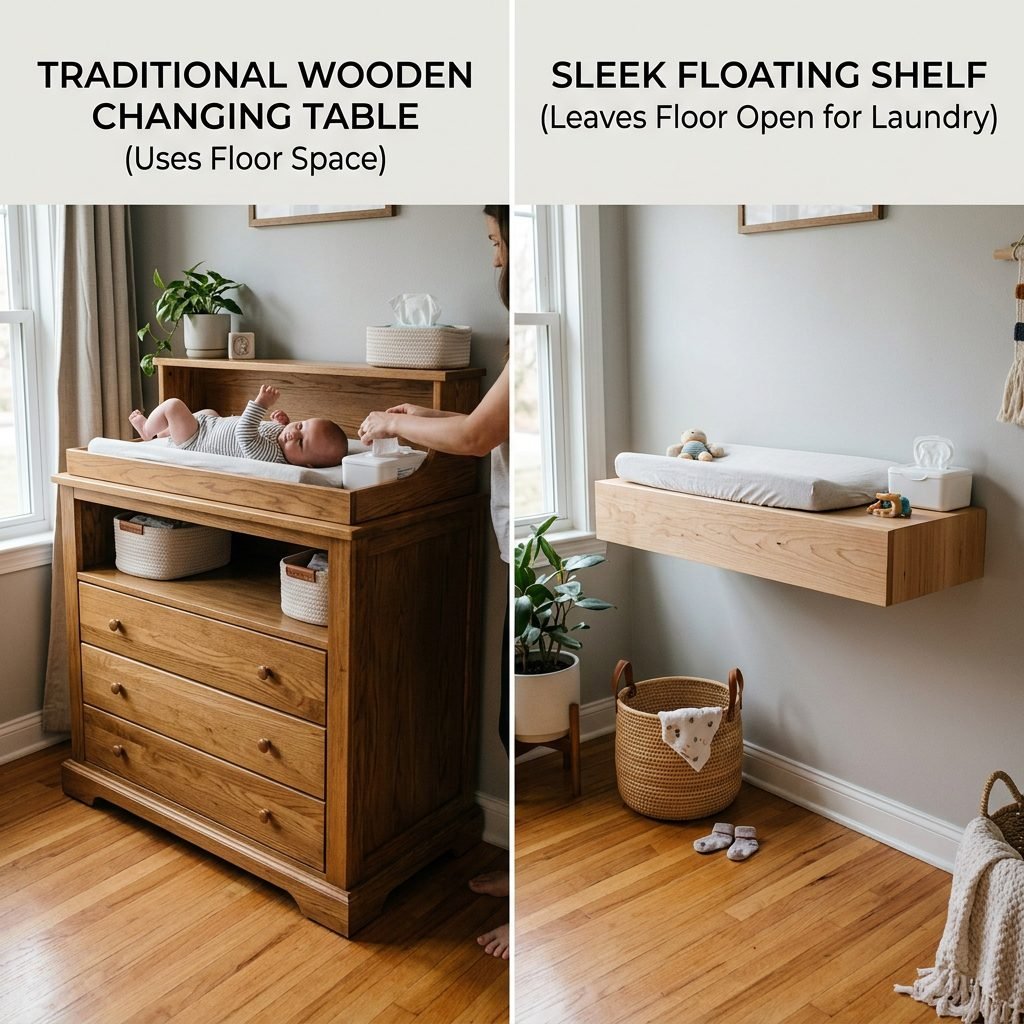
When you are navigating the transition into motherhood, your environment plays a massive role in your mental well-being. A traditional, bulky changing table can often feel like a giant obstacle in a small master suite. A floating shelf, however, offers a minimalist footprint that preserves the visual flow of the room. As a doula, I often see parents struggling with back pain because standard changing tables are too low. One of the greatest benefits of a DIY floating setup is that you can mount it at the exact height that works for your body. No more hunching over! Furthermore, by utilizing vertical space, you leave the area underneath the shelf open for rolling carts, laundry hampers, or simply a clear path for your feet. Let’s look at how a floating shelf compares to traditional options.
| Feature | Traditional Changing Table | Floating Shelf Station |
|---|---|---|
| Floor Space Usage | High (Occupies 4-6 sq ft) | Zero (Wall-mounted) |
| Height Customization | Fixed (Usually 30-32 inches) | Fully Adjustable to your height |
| Storage Potential | Built-in shelves | Customizable (Under-shelf or Over-shelf) |
| Long-term Use | Often discarded or sold | Can be repurposed as a desk or vanity |
Choosing the right location is your first step. Look for a wall that has at least 36 inches of horizontal clearance and is within arm\’s reach of where you will be sleeping, yet far enough away that the light from a diaper change won\’t fully wake your partner if they are catching a nap. Pro-tip: Ensure the wall is a structural wall or has sturdy wood studs, as this shelf will need to support the weight of the shelf, the pad, the supplies, and eventually, a wiggly 25-pound toddler.
Measuring for Success: Dimensions and Weight Limits You Can’t Ignore
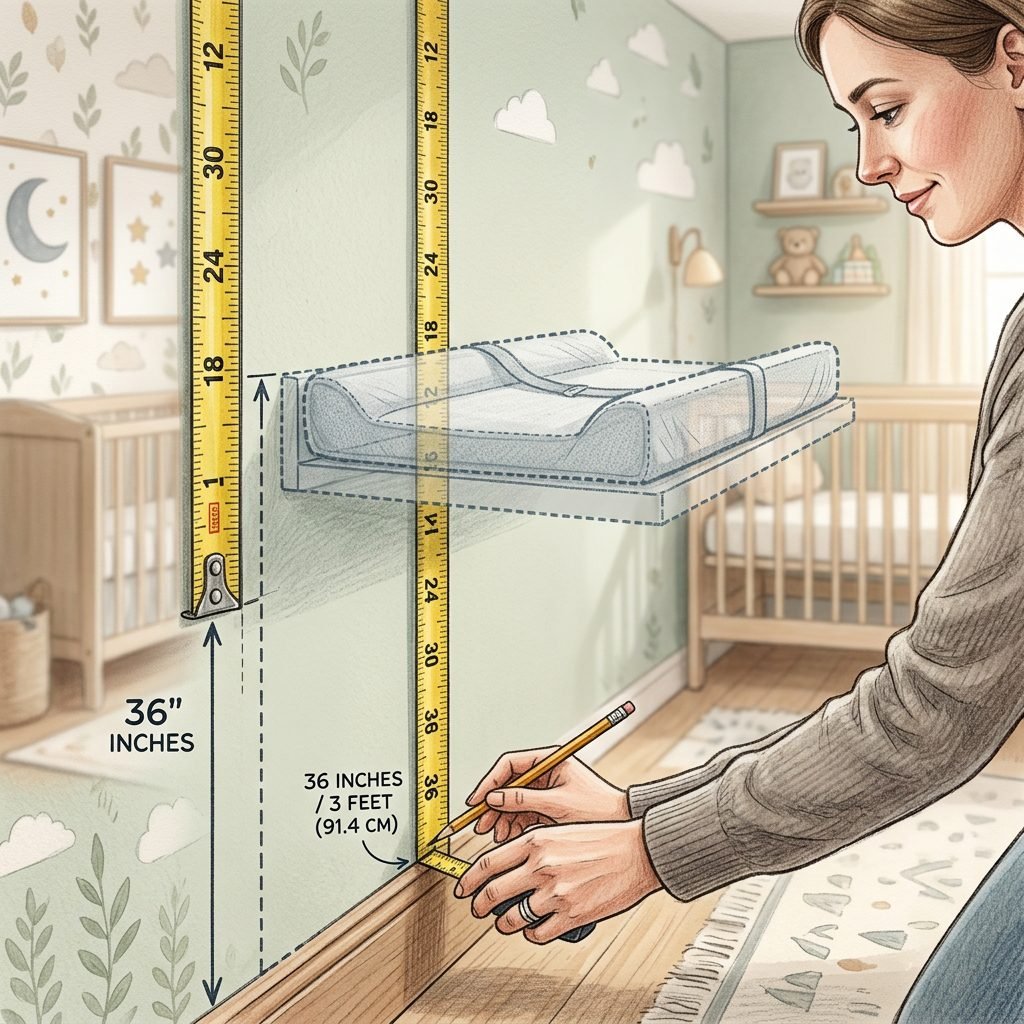
Before we pick out the pretty baskets, we have to talk about the physics. Safety is our absolute priority. A standard changing pad is usually 16 inches wide by 32 inches long. This means your floating shelf needs to be at least 17 to 18 inches deep to ensure the pad sits securely without overhanging. Most standard decorative floating shelves are only 10 inches deep, which is not safe for a changing station. You will likely need to look for ‘deep’ floating shelves, or use a sturdy piece of finished butcher block or kiln-dried wood held up by heavy-duty brackets. When calculating weight capacity, don’t just think about your 8-pound newborn. Think about the dynamic weight—the pressure you apply when leaning on the shelf and the weight of a growing baby. You want a shelf and bracket system rated for at least 75 to 100 pounds to be completely safe.
Essential Dimension Checklist:
- Depth: Minimum 17 inches.
- Length: 33-36 inches (to allow room for a wipe container next to the pad).
- Height: Measure from the floor to your waistline (usually 34-38 inches).
- Clearance: Ensure there is at least 24 inches of head space above the shelf so baby doesn’t bump their head as they grow.
“Mama, remember: Your changing station is your command center. If it is at the right height, your posture will be protected, and those 2:00 AM changes will feel just a little bit easier on your body.”
The Step-by-Step Installation Guide: Securing Your Baby’s Safety

Now, let’s get into the nitty-gritty of installation. If you aren’t handy with a drill, this is a great time to call in a partner, a friend, or a professional. We are not just hanging a picture frame; we are building a piece of functional furniture. You must anchor this shelf into the wall studs. Drywall anchors, even the ‘heavy duty’ ones, are generally not recommended for a surface that will hold a moving baby. Here is your step-by-step process:
- Locate the Studs: Use a high-quality stud finder to locate the vertical wood beams behind your drywall. Mark them clearly with a pencil.
- Level and Mark: Use a long level to draw a straight line where the top of your shelf will sit. Mark the drill holes according to your bracket or shelf mounting plate.
- Pre-Drill: Drill pilot holes into the studs. This prevents the wood from splitting and ensures a tighter fit for your screws.
- Mount Brackets: If using external brackets, screw them into the studs using 3-inch lag screws. If using a floating shelf with an internal bracket, slide the shelf onto the mounted plate and secure it with the provided set screws.
- The Stress Test: Once mounted, apply significant downward pressure with your hands. The shelf should not flex or creak. If it does, you need more support.
| Wall Type | Recommended Fastener | Safety Rating |
|---|---|---|
| Wood Studs | 3-inch Lag Screws | Highest |
| Brick/Masonry | Concrete Sleeves/Anchors | High |
| Drywall Only | Toggle Bolts | NOT RECOMMENDED for changing tables |
The Reach-and-Grab Organization Method: Curating Your Vertical Station

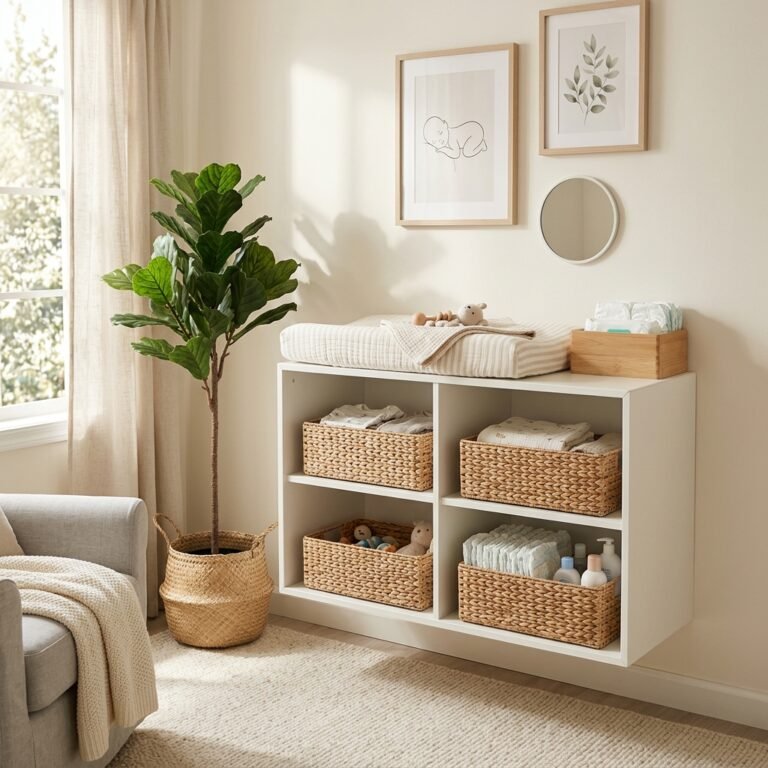
Once the shelf is up, the real fun begins! In a small shared bedroom, we want to avoid ‘visual noise.’ This means choosing storage that looks like decor. I recommend the Reach-and-Grab Method: everything you need for a standard diaper change should be accessible with one hand, because the other hand will always be on your baby. Use the wall space above the shelf for a small, secondary floating shelf to hold items like diaper cream, hand sanitizer, and a small nightlight. Below the main shelf, you can install a row of hooks for swaddles or pajamas. Pro-tip: Use a wall-mounted diaper caddy to save surface space on the shelf itself.
The Ultimate Changing Station Inventory:
- Top Surface: Contoured changing pad (with a safety strap) and a wipe dispenser.
- Upper Shelf: Diaper cream, extra pacifiers, and a small basket for ’emergency’ outfit changes.
- Under-Shelf Baskets: One for diapers, one for burp cloths, and one for laundry.
- Lighting: A dimmable, touch-activated LED light for nighttime changes that won’t wake your partner.
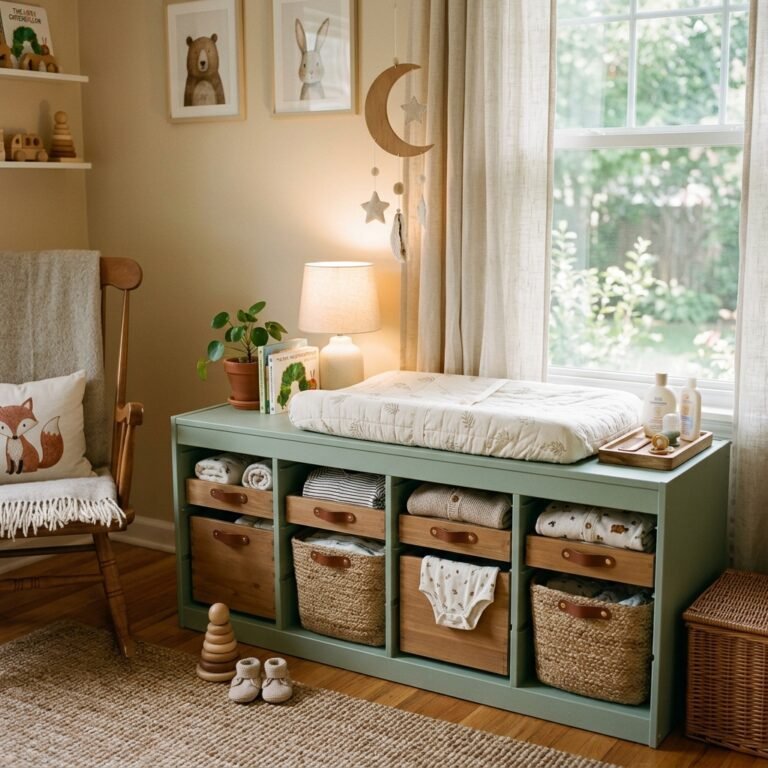
By keeping the surface of the shelf relatively clear, you create a sense of calm. Choose baskets made of natural materials like seagrass or cotton rope to soften the look of the room and keep it feeling like a ‘master suite’ rather than just a ‘nursery.’
Design Harmony: Blending Baby’s Nook with Your Master Suite
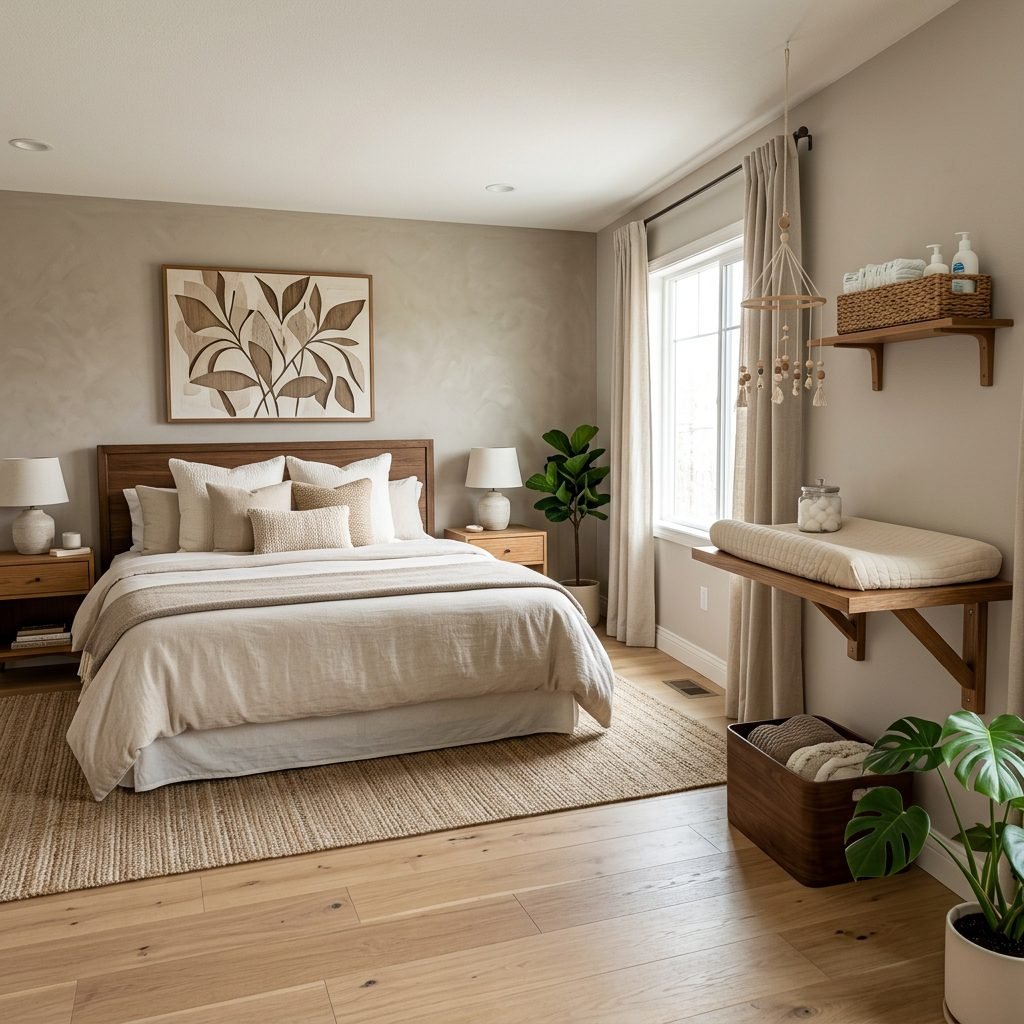
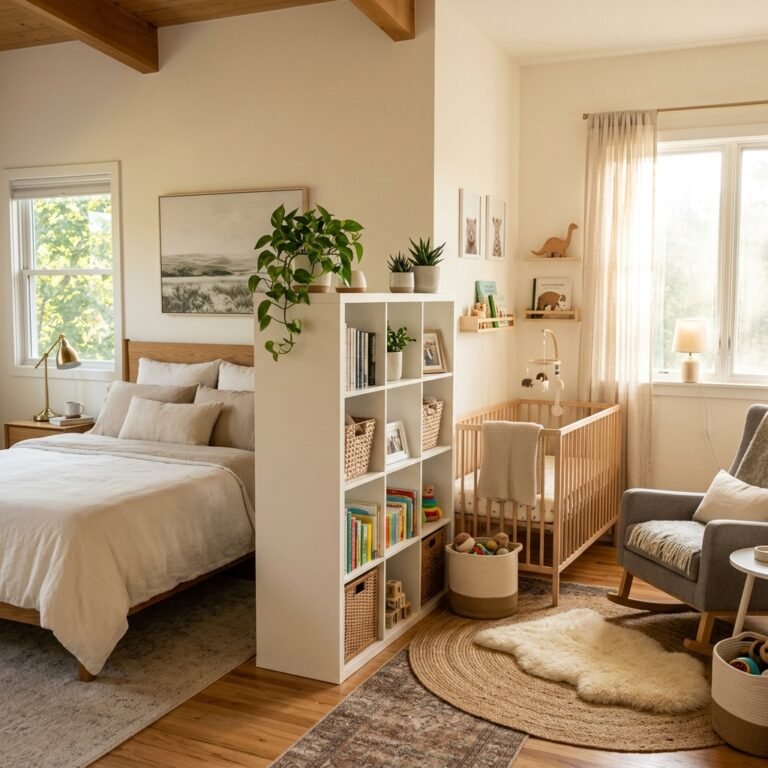
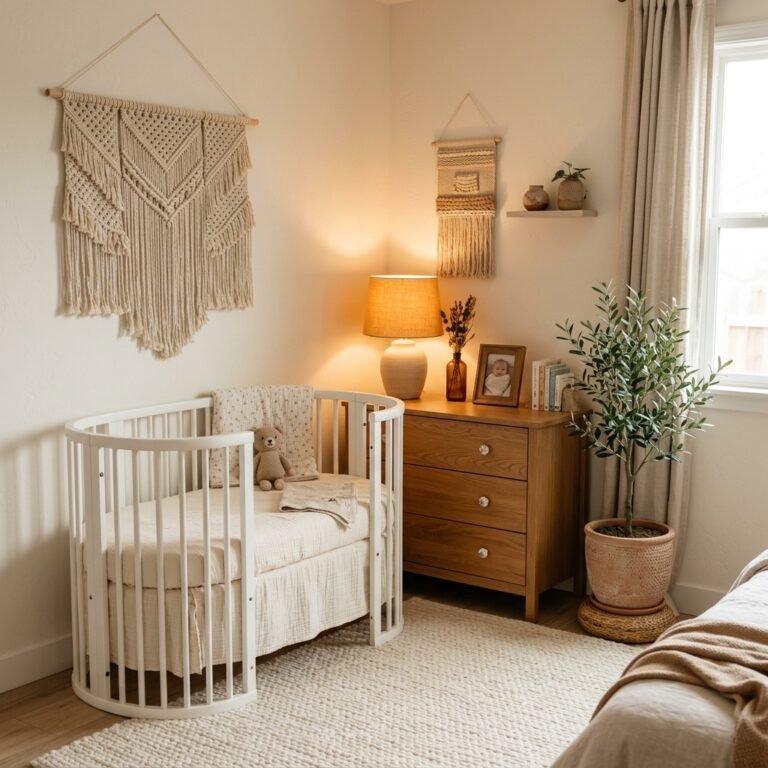
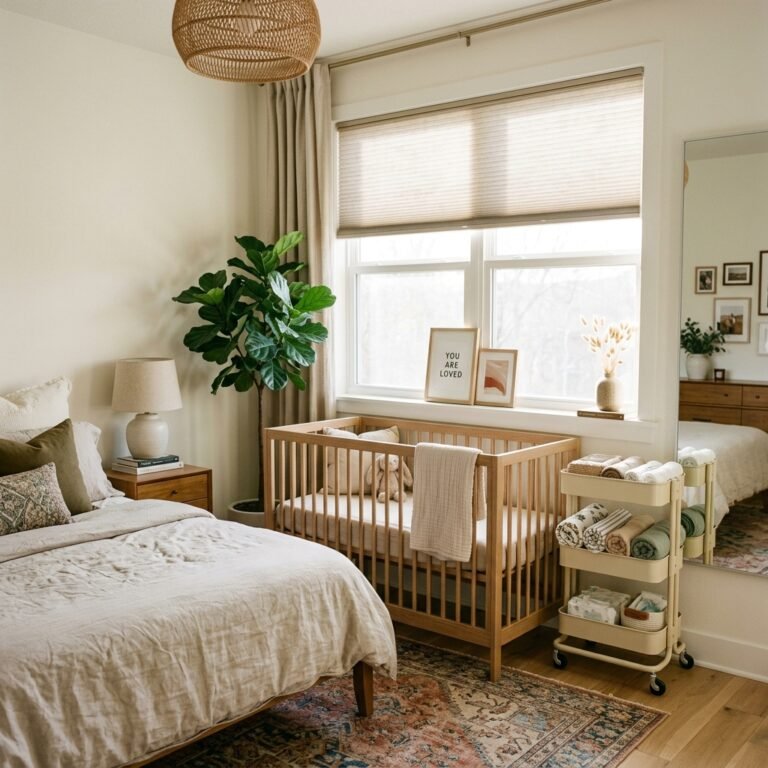
The biggest fear many moms have with a shared bedroom is that it will stop feeling like their room. To maintain design harmony, look for a shelf that matches your existing bedroom furniture. If you have a mid-century modern bed, go with a walnut-stained shelf. If your room is airy and coastal, a white-washed oak or a clean white shelf works beautifully. You can also use a removable wall decal or a small section of wallpaper behind the changing station to ‘zone’ the area without it taking over the whole wall. This creates a focal point that looks intentional and stylish. Don’t forget the power of textiles! A changing pad cover in a sophisticated linen or a muted floral print can bridge the gap between ‘baby gear’ and ‘adult decor.’ Remember, this is your space too, mama. You deserve to feel inspired when you look at it.
Essential Safety Protocols: The Doula’s Golden Rules for Floating Stations
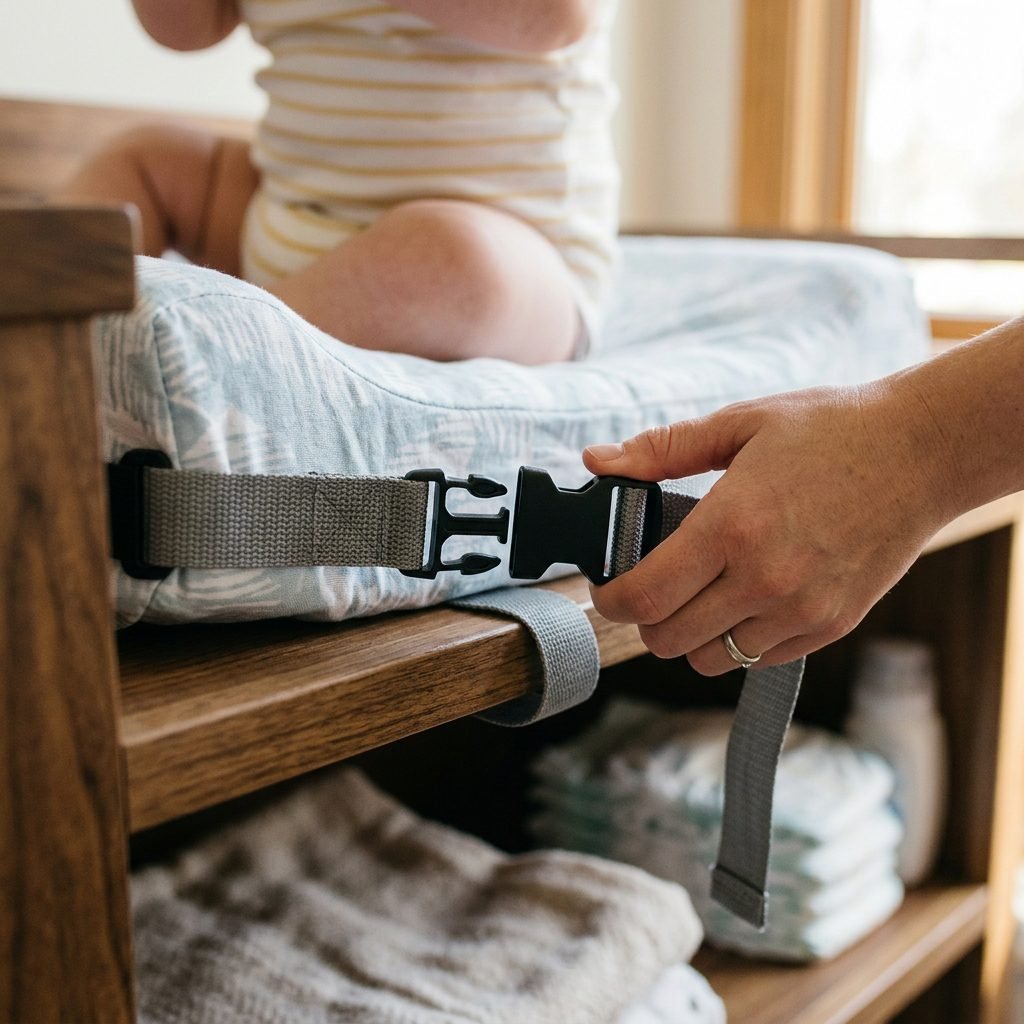
As much as we love the aesthetics, safety is the foundation of everything we do. When using a floating changing table, there are a few non-negotiable rules. First, never, ever leave your baby unattended, even for a split second. Because a floating shelf doesn’t have the high sides of a traditional crib-style changer, the risk of a fall is real if you turn away. Second, check the mounting screws every month. Vibrations in the house or the weight of use can occasionally loosen screws; a quick 30-second check ensures everything stays rock solid. Third, ensure the changing pad is bolted or stuck to the shelf. Most pads come with a screw-down strap or you can use heavy-duty adhesive Velcro strips to ensure the pad doesn’t slide during a particularly active diaper change.
| Safety Check | Frequency | Action |
|---|---|---|
| Screw Tightness | Monthly | Check brackets for any wiggle |
| Pad Attachment | Daily | Ensure Velcro or straps are secure |
| Weight Check | Quarterly | Re-evaluate as baby grows |
| Clearance Check | Weekly | Ensure no hanging cords or heavy items are above baby |
Conclusion
Setting up a floating shelf changing table is more than just a space-saving hack; it is a way to reclaim your home and your transition into motherhood with intention and style. By choosing a setup that respects the limited footprint of your shared master bedroom, you are creating a functional, ergonomic, and beautiful environment for both you and your baby. You don’t need a sprawling nursery to be an incredible mother. You just need a little bit of creativity, a sturdy set of brackets, and the confidence to know that you are building a home that works for your unique family. You\’ve got this, mama! Take a deep breath, grab your level, and let\’s get that sanctuary ready for your little one.