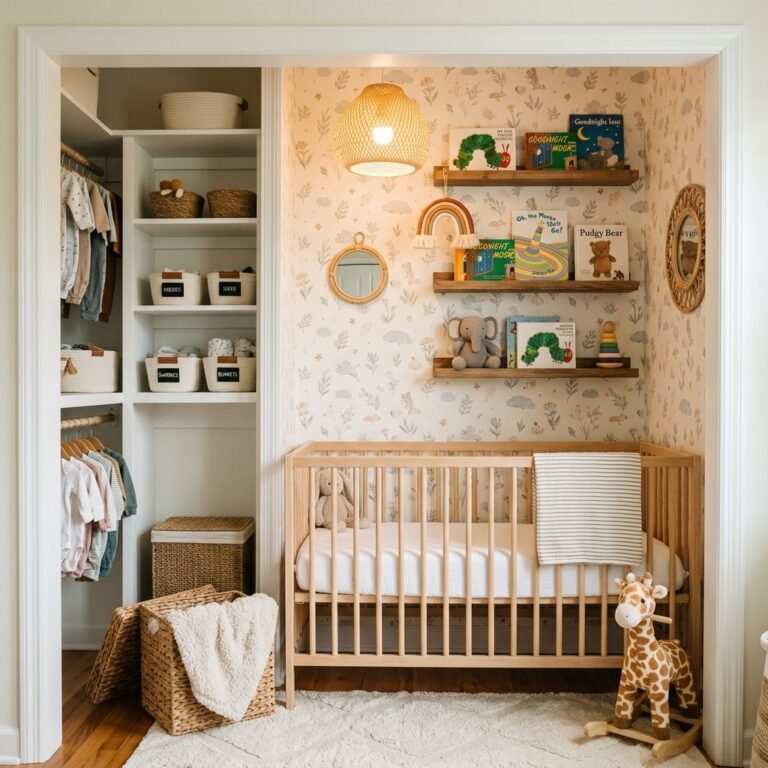
How To Create A Custom Built-In Nursery Library With This IKEA Billy Bookcase Hack
Welcome to the Nesting Phase, Mama
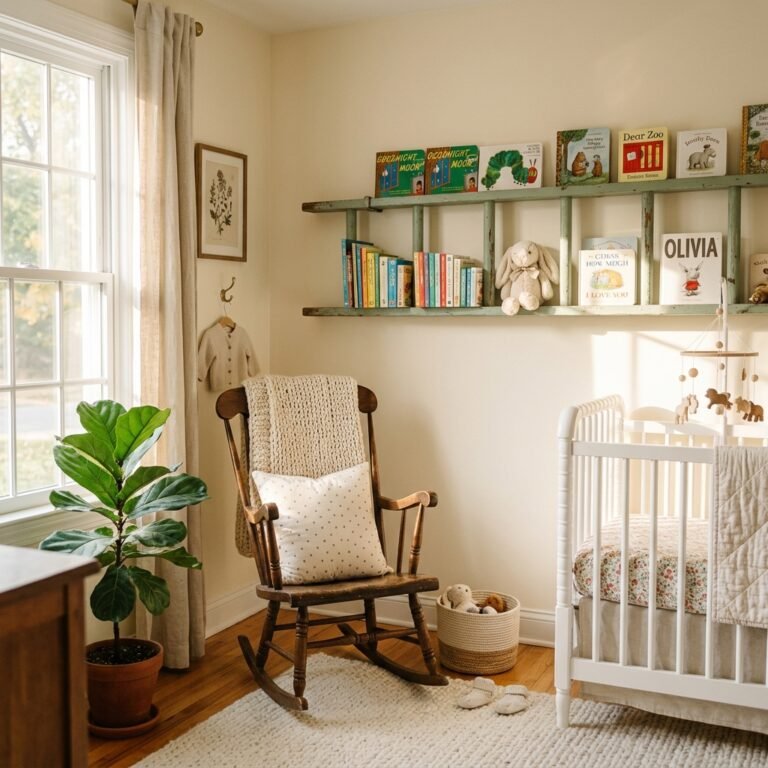
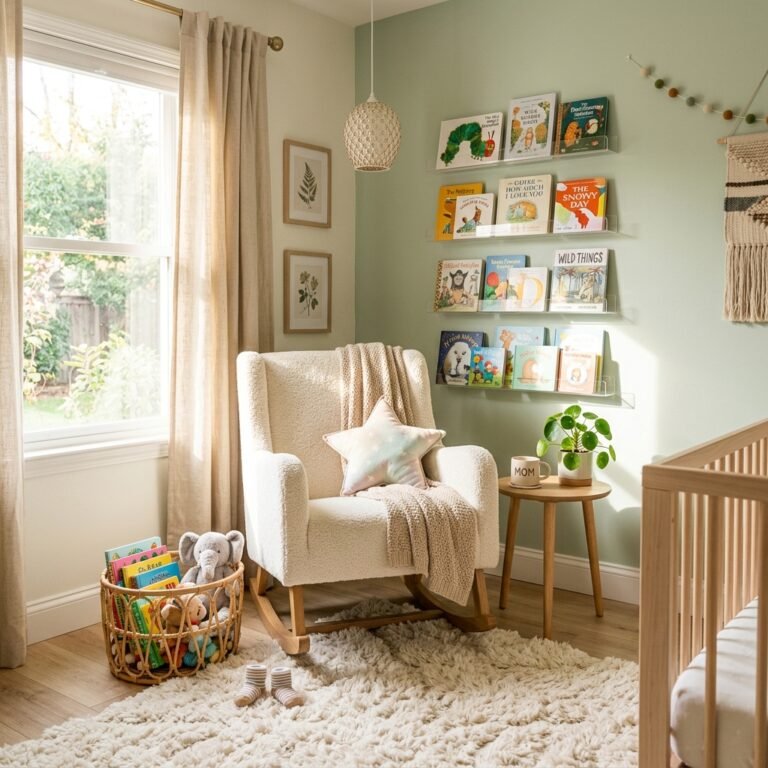
Oh, sweet mama, I see you. You are in that beautiful, slightly frantic, and deeply emotional phase where every corner of your home feels like a canvas for your baby’s arrival. As a doula and a fellow mom, I know that the ‘nesting’ urge is more than just a desire to clean—it is a soul-deep preparation for the little life you are about to hold. One of the most magical gifts you can give your child is a love for stories. Creating a custom built-in nursery library isn’t just about storage; it’s about creating a sanctuary for late-night nursing sessions, whispered fairy tales, and the first time your little one points to a colorful picture and giggles.
You might have seen those Pinterest-perfect nurseries with floor-to-ceiling libraries and thought, ‘There is no way my budget or my tired pregnancy brain can handle that.’ But here is a little secret: with the humble IKEA Billy Bookcase and a bit of sisterly guidance, we can create a high-end, custom look that looks like it cost thousands for a fraction of the price. Let’s roll up our sleeves—carefully, because we’re protecting that bump—and build something beautiful together.
Planning Your Sanctuary: Dimensions and Selection
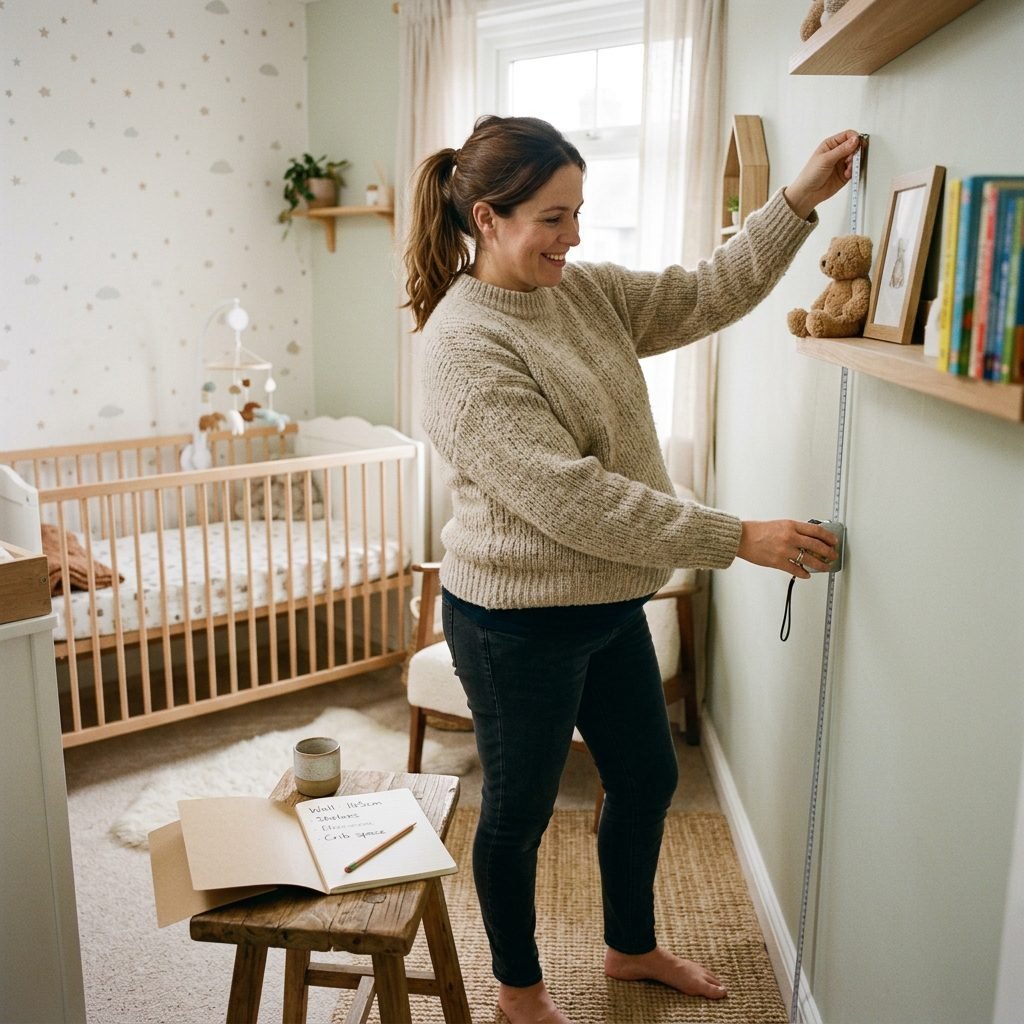
Measuring Your Space with Care
Before we even head to the blue-and-yellow aisles of IKEA, we need to take a breath and a measuring tape. When you are planning a built-in look, precision is your best friend. Measure the width of your wall from baseboard to baseboard, and the height from floor to ceiling. Remember, mama, we want these to look like they were born with the house!
Choosing the Right Billy Units
The IKEA Billy comes in various widths and heights. For a truly custom look, I always recommend using the height extension units. This allows the library to reach toward the ceiling, creating that grand, built-in feel. If you have a wider wall, you can line up three or four units side-by-side. If you are working with a small nursery nook, a single wide unit with extensions can still feel incredibly luxurious.
| Room Dimension | Recommended Billy Setup | Estimated Storage Capacity |
|---|---|---|
| Small (4-5 ft wall) | 2 Standard Billys + 2 Extensions | 150+ Board Books |
| Medium (6-8 ft wall) | 3 Standard Billys + 3 Extensions | 250+ Books & Baskets |
| Large (9+ ft wall) | 4 Standard Billys + 4 Extensions | 400+ Books & Heirlooms |
Pro-Tip: Always check the ‘As-Is’ section at IKEA first! Sometimes you can find Billy units that were floor models for a deep discount, and since we are painting them anyway, a tiny scratch won’t matter.
The Supply List: Everything You Need for the Hack
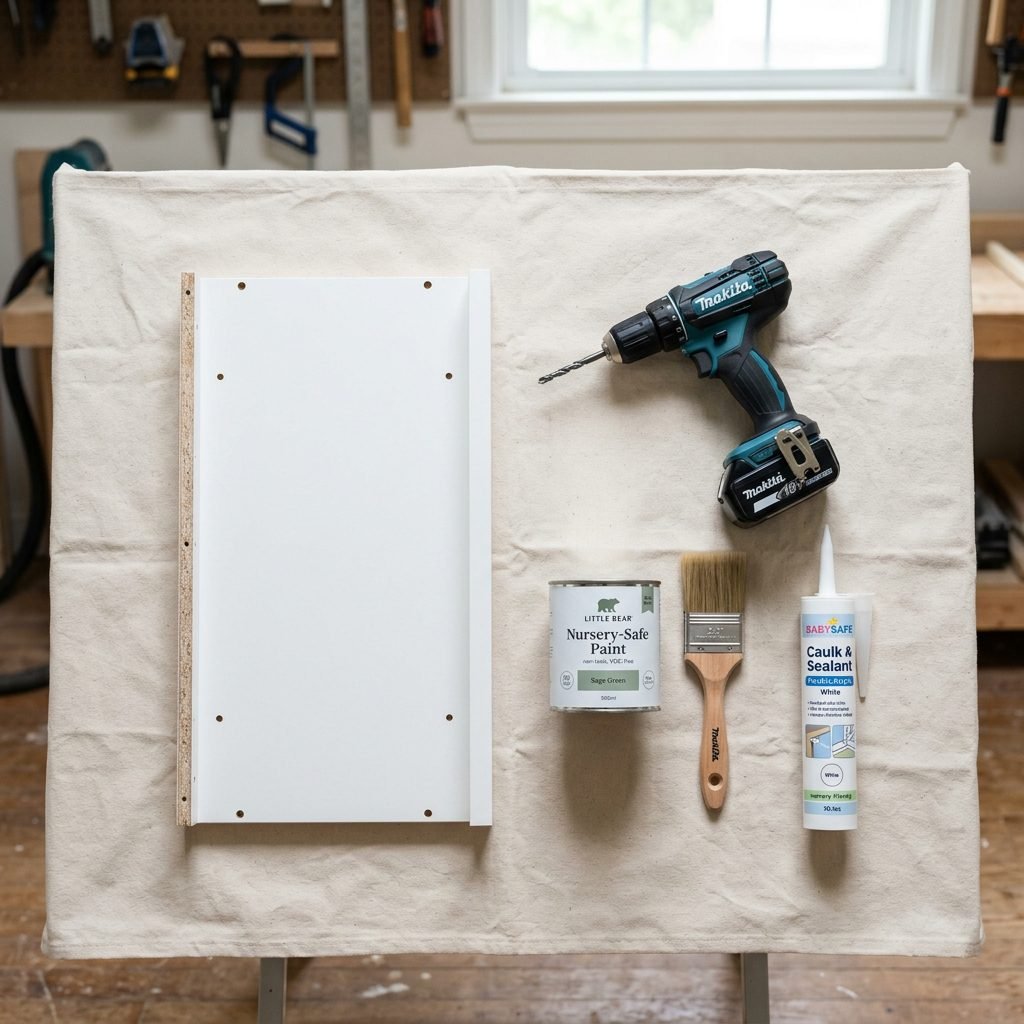
Gathering Your Materials
We want to make this as stress-free as possible. I’ve put together a comprehensive list of what you’ll need. You don’t have to do this all in one day—take it step by step, and don’t be afraid to ask for help with the heavy lifting!
- IKEA Billy Bookcases (and height extensions).
- 1×2 Pine Boards (for the ‘face frame’ that hides the seams).
- Baseboard and Crown Molding (to match your room’s existing trim).
- Wood Filler and Caulk (the secret weapons for a seamless look).
- Power Drill and Screws.
- Wall Anchors (Heavy-duty toggle bolts are best).
- Primer and Paint (Use a Low-VOC or Zero-VOC paint for nursery safety).
| Material Item | Purpose | Safety Note |
|---|---|---|
| Wall Anchors | Securing units to studs | MANDATORY for nursery safety |
| Wood Filler | Hiding shelf pin holes | Sand smooth before painting |
| Zero-VOC Paint | Custom color finish | Safe for baby’s developing lungs |
| Caulk | Filling gaps between wall/unit | Ensures the ‘built-in’ appearance |
Step-by-Step Construction: The Foundation of Safety

1. Assemble and Position
Start by assembling your Billy units according to the IKEA instructions. However, do not attach the back panels yet if you want your wall color to show through, or if you plan to wallpaper the back for a pop of pattern! Line them up against your wall. If you have carpet, you may need to cut away a small section of the carpet and padding so the units sit flush on the subfloor, or use shims to level them.
2. The Non-Negotiable: Anchoring
As a doula, safety is my middle name. Once your baby starts crawling and pulling up, these shelves become a climbing wall. You must secure these units into the wall studs. Use ‘L’ brackets at the top and middle. If the units don’t align perfectly with your studs, use heavy-duty toggle anchors that can support at least 50-75 lbs per anchor.
3. Creating the Base and Top
To make them look built-in, we need to bridge the gap between the floor and the bottom shelf. You can build a simple 2×4 frame ‘plinth’ for the bookcases to sit on, or simply run a piece of baseboard molding across the bottom of all units. Do the same at the top with crown molding to close the gap between the bookcase and the ceiling.
- Secure the units to each other using 1.25-inch wood screws through the side panels.
- Level the units using wood shims underneath the base.
- Attach the face frames (1×2 pine) to cover the vertical seams where two bookcases meet.
The Magic of Finishes: Hiding the Seams

Filling the Holes
One dead giveaway that a shelf is from IKEA is those rows of pre-drilled adjustment holes. To get the custom look, decide on your shelf heights and then use wood filler to fill every single unused hole. Once it dries, sand it flush. It’s a tedious task, mama, so put on your favorite podcast and take your time.
Caulking Like a Pro
Caulk is your best friend. Run a bead of caulk along the seams where the bookcase meets the wall and where the molding meets the bookcase. This hides any gaps caused by uneven walls (which every house has!).
Painting for Longevity
IKEA furniture has a laminate finish that can be tricky to paint. Use a high-quality bonding primer (like Zinsser B-I-N) first. This ensures your topcoat of paint won’t peel off when you slide books in and out. For a nursery, I love soft sage greens, warm terracottas, or a classic creamy white.
“Every gap you fill and every stroke you paint is an act of love for the little one who will soon be reaching for these books.”
Styling for Development and Joy
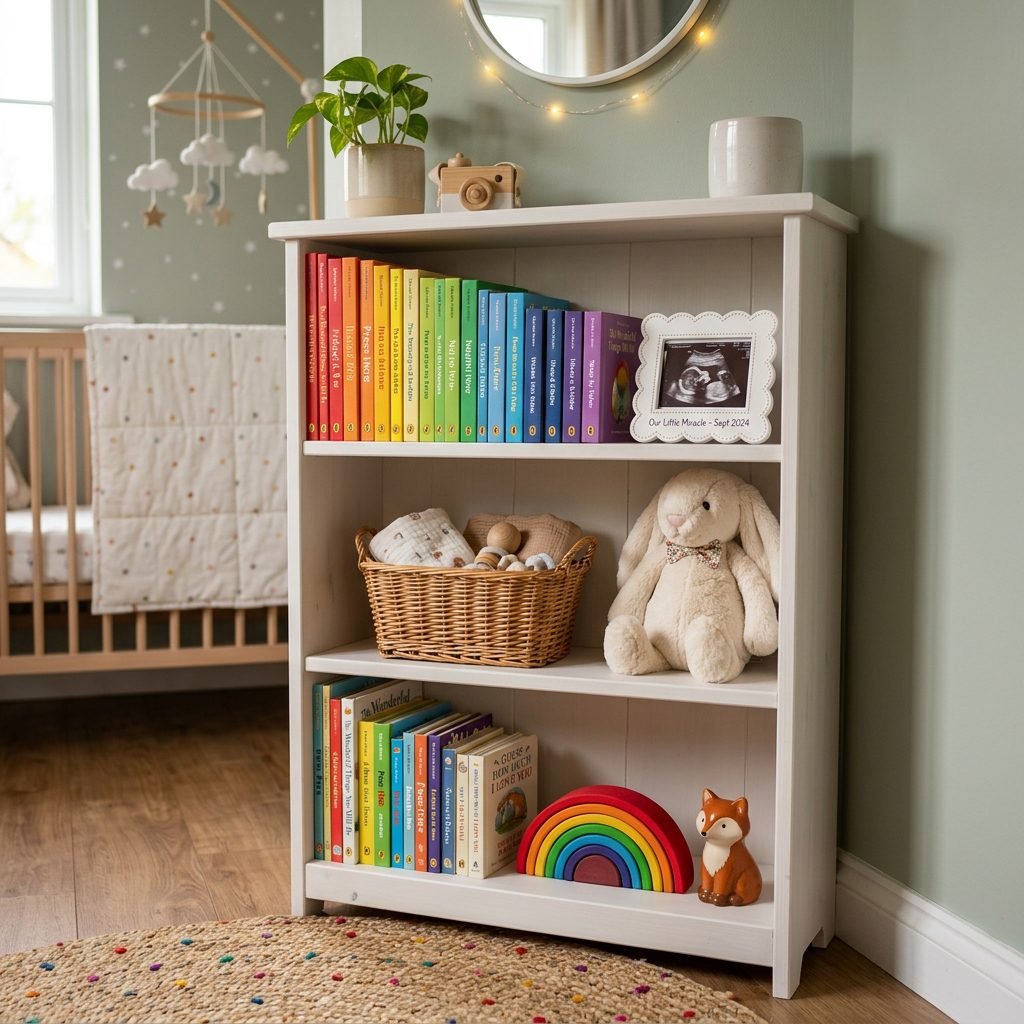
The Sensory Library
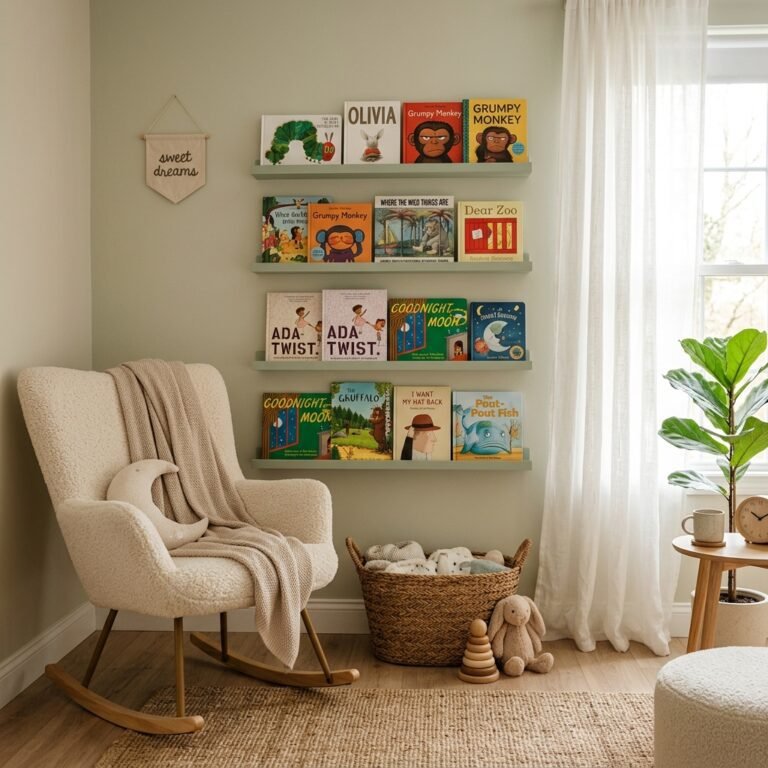
Now for the best part! Organizing the books. In the early months, baby’s eyes love high-contrast black and white. Place those on the lower shelves. As they grow, we want to encourage independence. Use the bottom two shelves for board books and soft ‘indestructible’ books that baby can grab themselves.
Adding Texture and Function
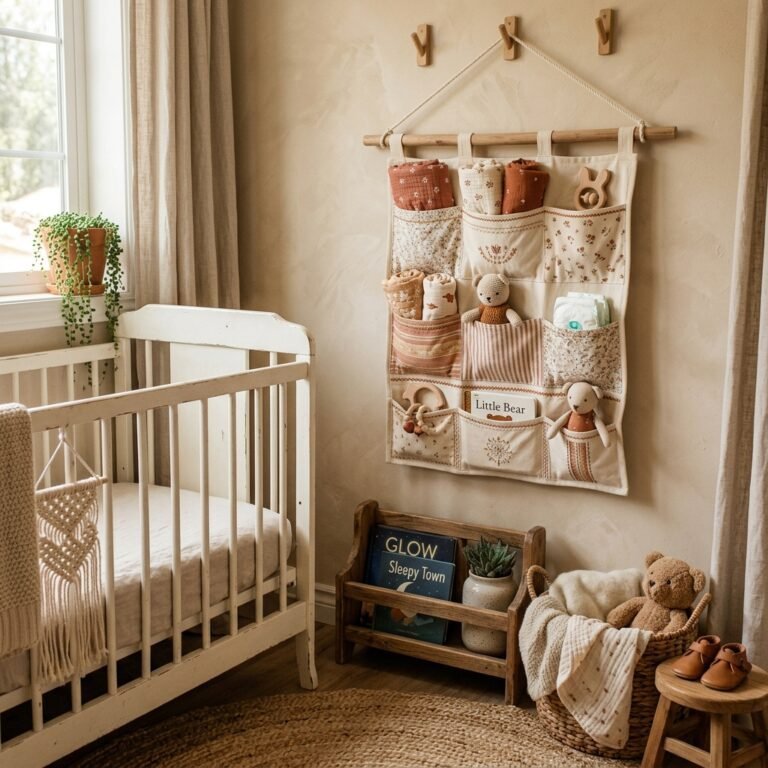
Interspersing books with woven baskets is a great way to hide less-than-aesthetic items like extra diapers, pacifiers, or small toys. Use the higher shelves for beautiful keepsakes, framed birth announcements, or a sound machine.
| Shelf Level | Age Appropriateness | Items to Include |
|---|---|---|
| Bottom Shelves | 0-2 Years | Board books, soft toys, texture balls |
| Middle Shelves | 3-5 Years | Picture books, puzzles, coloring sets |
| Top Shelves | Parent Only | Heirlooms, humidifier, monitors |
Lighting the Way
If you really want to level up, add battery-operated puck lights or plug-in library sconces to the top of the units. This creates a soft, warm glow for those 2 AM feedings when you don’t want to turn on the harsh overhead lights.
Maintaining Your Custom Library
Durability and Cleaning
Babies are sticky, mama! That’s just the truth. Because we used a high-quality paint and primer, you should be able to wipe down your library with a damp microfiber cloth. Avoid harsh chemicals that could off-gas near the crib.
Rotating the Collection
To keep your little one engaged, try a ‘book rotation.’ You don’t need to have every book out at once. Keep a small selection on the shelves and swap them out every few weeks. This makes ‘old’ books feel new and exciting again!
- Check anchors every 6 months to ensure they remain tight.
- Dust the tops of the units (or the crown molding) monthly.
- Update photos and keepsakes as your baby hits new milestones.
Conclusion
Your Legacy in Leaves
You did it, mama! You’ve taken a few boxes of particle board and turned them into a custom built-in library that will hold the stories of your child’s life. From the first time you read ‘Goodnight Moon’ to the day they start reading chapter books on their own, this library will be a constant in their world.
Remember, the most important part of this project isn’t the perfect paint job or the straightness of the molding—it’s the intention you put into it. You are building a home, a childhood, and a future. Take a moment to sit in your nursery chair, look at your handiwork, and rub that beautiful bump. You are doing an amazing job. Happy nesting!