How to Make DIY Wooden Under-Bed Rolling Storage Boxes for Baby Clothes
Welcome to the Nesting Journey, Mama
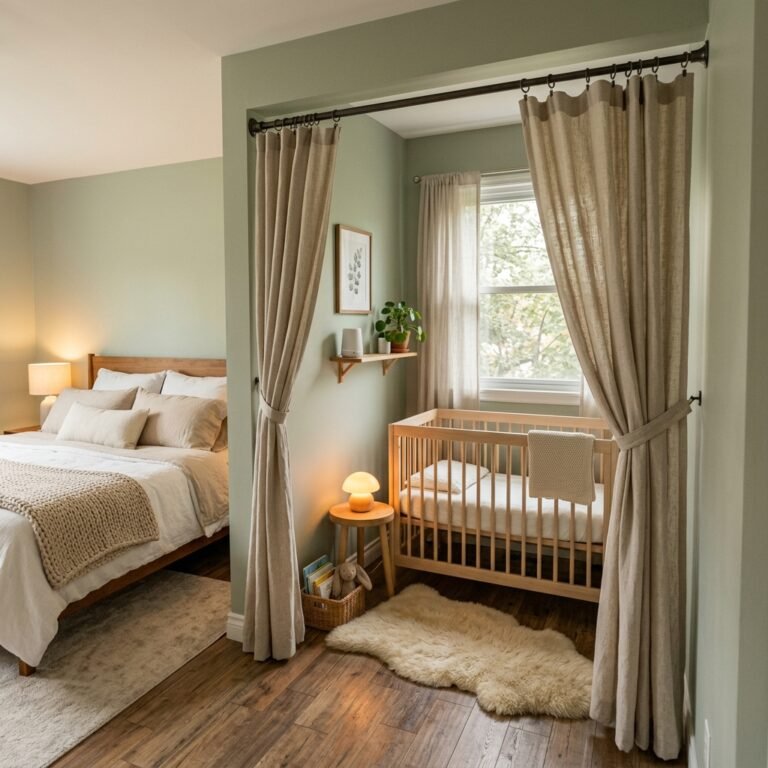
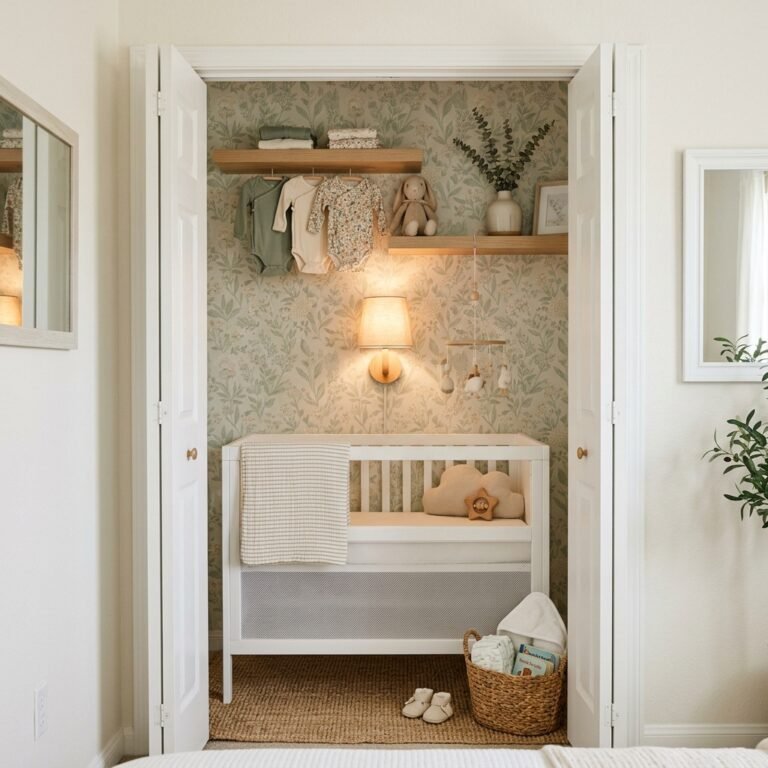
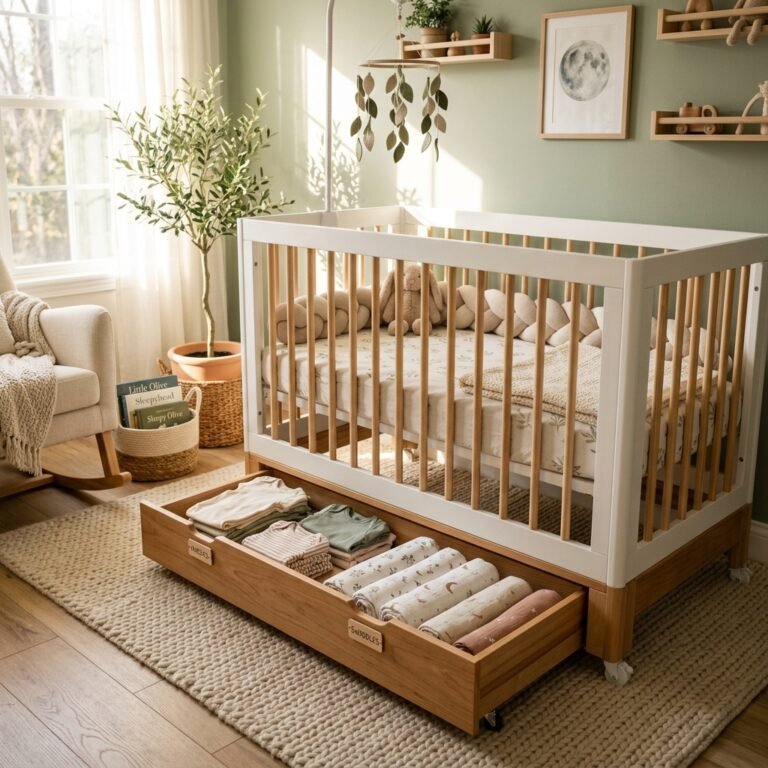
Oh, sweet mama, I see you. You’re in that beautiful, slightly frantic, yet deeply instinctual phase of nesting. There is something so primal about wanting every tiny sock, every soft muslin swaddle, and every miniature romper to have its own special place before your little one arrives. But let’s be real: babies come with a lot of stuff, and unless you live in a sprawling estate, space becomes a precious commodity very quickly. As a doula and a fellow mom who has tripped over many a stray laundry basket in the middle of the night, I want to share a secret with you: the most underutilized real estate in your home is right under the crib.
Today, we are going to transform that ‘dead space’ into a functional, beautiful storage haven. Making your own DIY wooden under-bed rolling storage boxes isn’t just about saving money; it’s about the love and intention you pour into your nursery. It’s a project that is manageable, even if you aren’t a master carpenter, and the result is a set of heirloom-quality boxes that will serve your family for years. Grab a glass of water (stay hydrated, mama!), put on some soothing music, and let’s walk through this together, step by sisterly step.
Building a home for your baby’s things is a way of building a home for your baby’s heart. Take it slow, breathe deep, and enjoy the process of preparation.
Why Under-Bed Storage is a Nursery Game-Changer
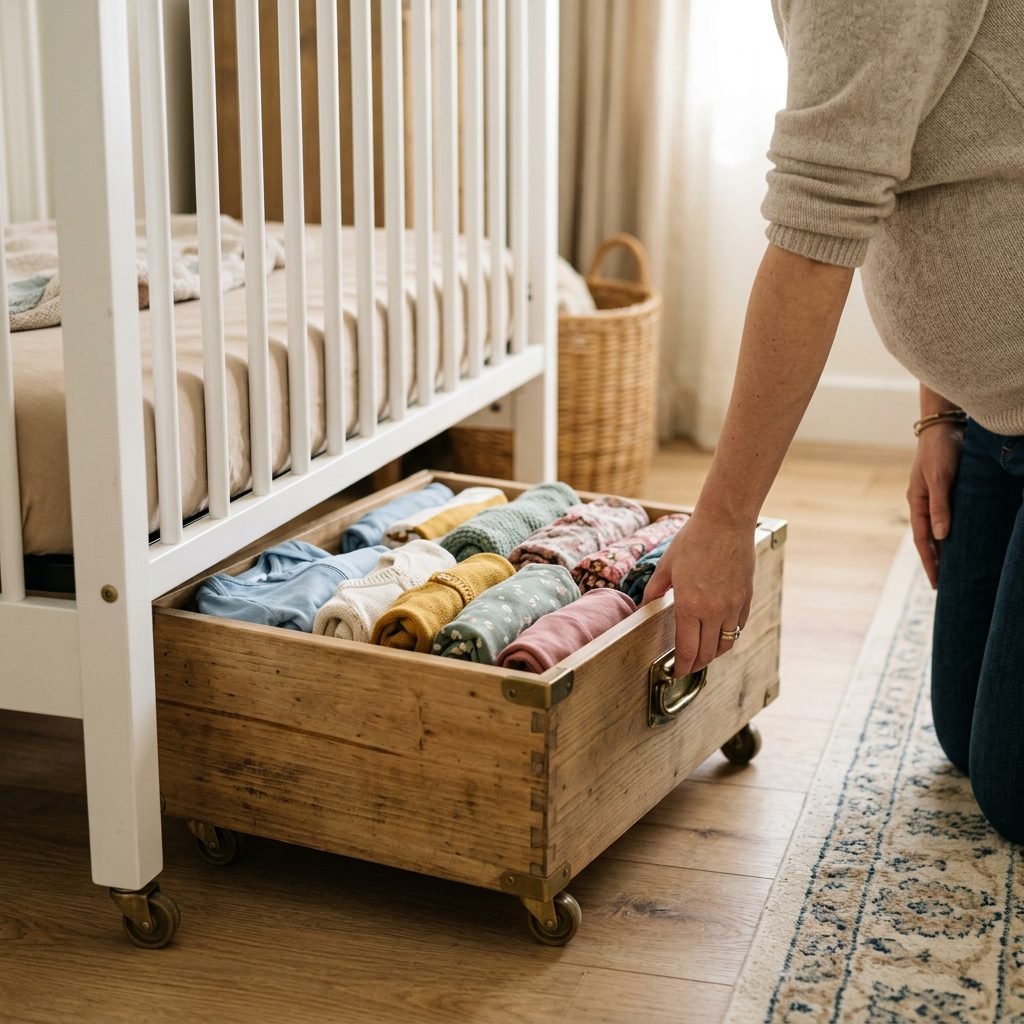
When you’re navigating the early days of postpartum recovery, the last thing you want to do is dig through a deep, dark closet or climb a step-stool to reach the 3-6 month sleepers. Accessibility is everything. Under-bed storage keeps the next size up—or the seasonal items you aren’t using quite yet—right at your fingertips. By using rolling boxes, you eliminate the strain on your back that comes from lifting heavy plastic bins. You simply glide them out with a gentle pull.
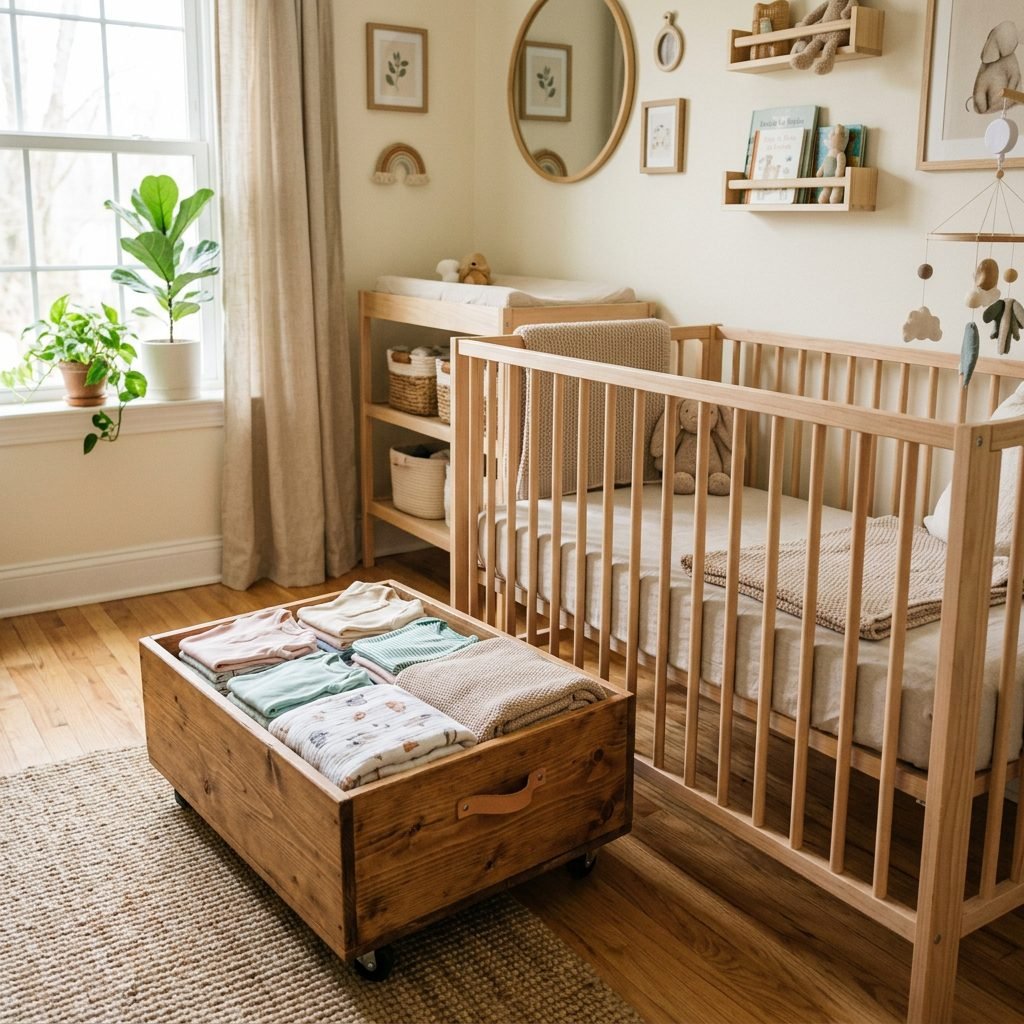
From a design perspective, wooden boxes add a touch of warmth and organic texture that plastic containers just can’t match. They feel intentional. They feel like home. Moreover, they are infinitely customizable. You can paint them to match your crib, stain them to show off the wood grain, or even add sweet stenciled labels so you know exactly where the ‘Coming Home’ outfit is tucked away.
Benefits of the Rolling Box Design
- Ergonomic Ease: No heavy lifting required, which is vital for your postpartum body.
- Custom Fit: You can build these to the exact dimensions of your crib or bed frame.
- Durability: Unlike fabric bins that sag, wood stands the test of time and toddlerhood.
- Breathability: Natural wood is better for storing natural fibers like cotton and bamboo.
Your Crafting Shopping List: Materials and Budget
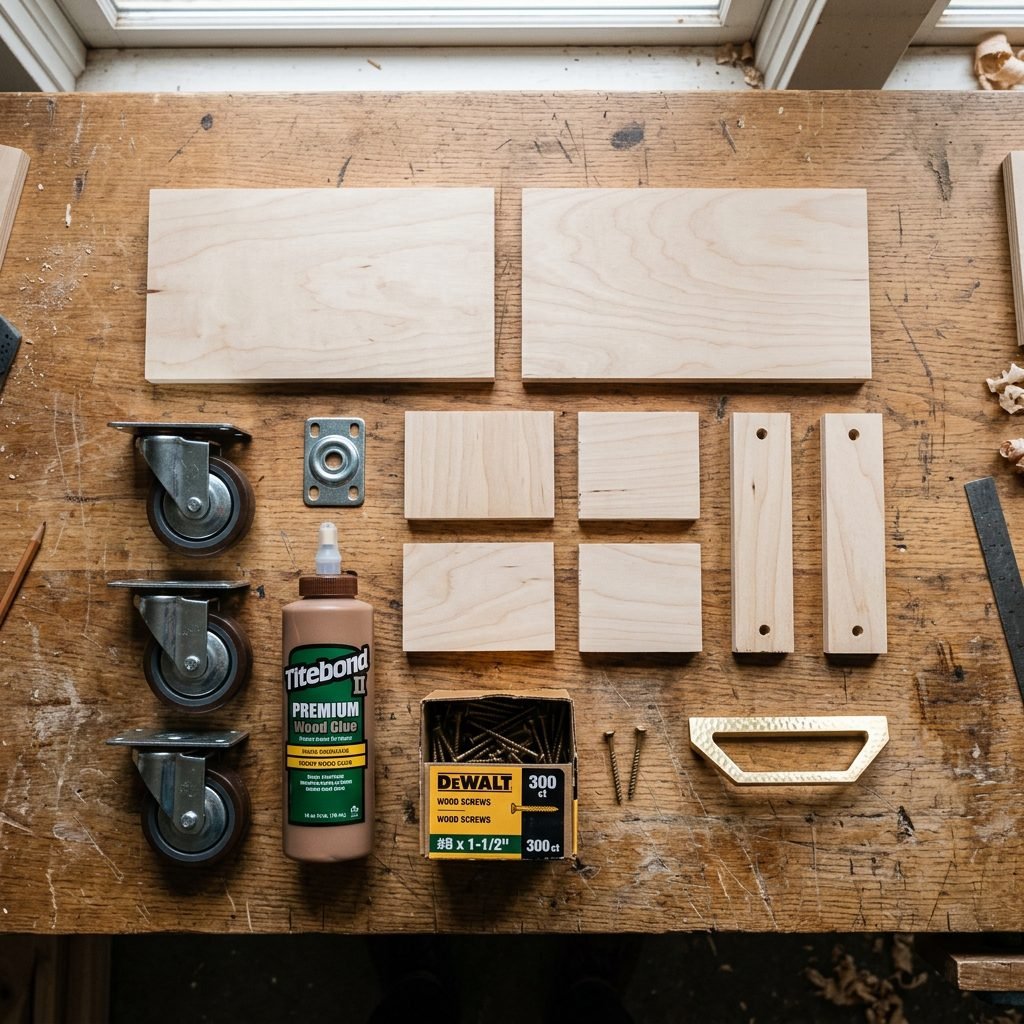
Before we pick up a saw, let’s talk about what we need. I’ve curated this list to be budget-friendly while prioritizing safety. We want to use materials that won’t off-gas harmful chemicals near your sleeping baby. Look for ‘PureBond’ or formaldehyde-free plywood at your local hardware store. It’s a small upgrade that makes a big difference for nursery air quality.
| Material / Tool | Purpose | Estimated Cost |
|---|---|---|
| 1/2-inch Plywood | The main structure of the box | $30.00 |
| 2-inch Swivel Casters | Allows the box to roll in any direction | $15.00 |
| Wood Glue (Non-Toxic) | Reinforces the joints | $6.00 |
| 1-inch Wood Screws | Secures the sides and base | $5.00 |
| Sandpaper (80, 120, 220 grit) | Ensures a smooth, snag-free finish | $8.00 |
| Low-VOC Paint or Sealant | Adds color and protects the wood | $18.00 |
| Decorative Handles | For easy pulling and aesthetic charm | $10.00 |
Pro Tip: Most hardware stores will actually cut the plywood for you if you bring in your measurements! This is a total lifesaver if you don’t have a table saw at home or if you’re managing that third-trimester fatigue.
Measuring and Cutting: The Foundation of Success
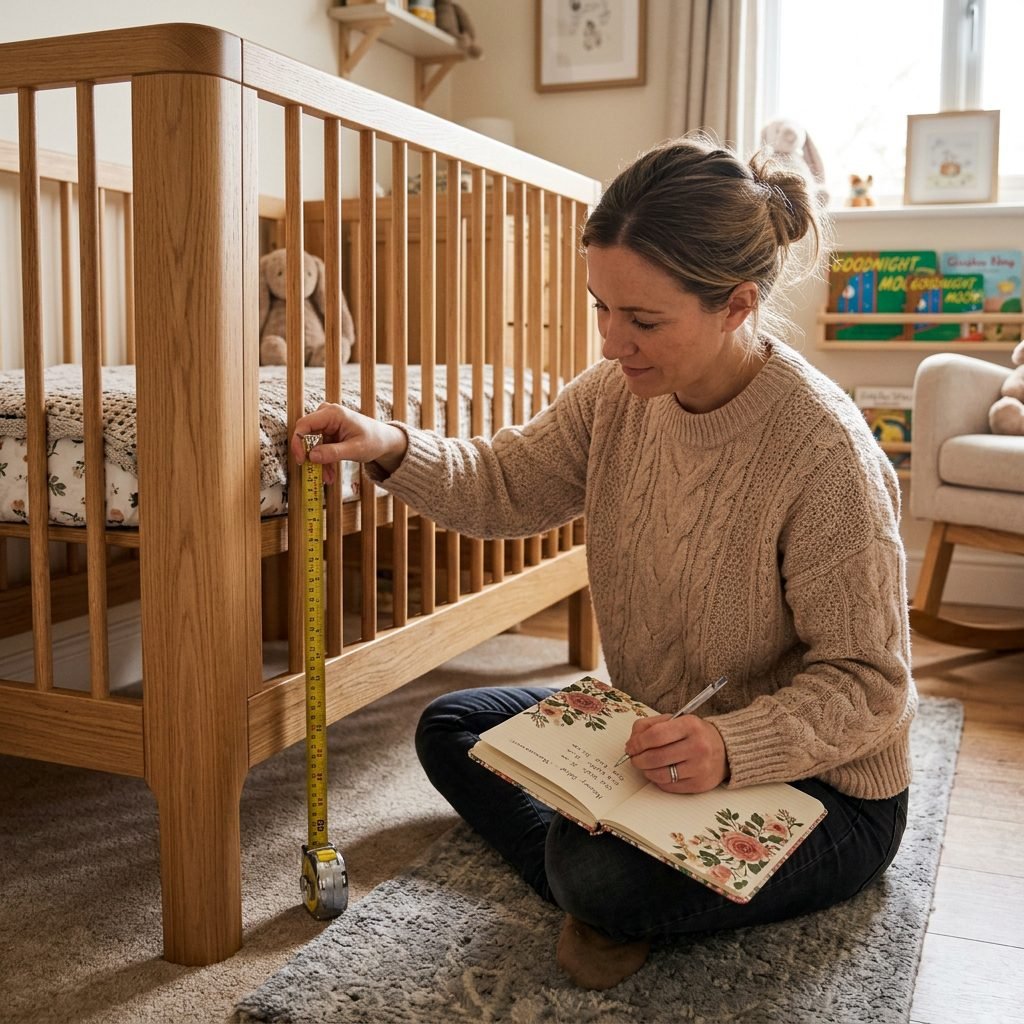
Precision is your best friend here, mama. First, measure the clearance height from the floor to the bottom rail of your crib. You’ll want your finished box (including the wheels!) to be at least 1 inch shorter than this height so it doesn’t scrape. Next, measure the width between the crib legs. I recommend making two medium-sized boxes rather than one giant one; they are much easier to manage!
The Cut List (For a Standard Box)
- One Base: This is the floor of your box.
- Two Long Sides: These will be the front and back.
- Two Short Sides: These will fit between your front and back pieces.
Remember to subtract the thickness of your wood when calculating the length of your side pieces. For example, if your base is 24 inches wide and you are using 1/2-inch wood, your side pieces need to account for that overlap. If this feels like ‘pregnancy brain’ is making the math hard, don’t worry! Just draw it out on a piece of paper first. Visualizing the ‘sandwich’ of the wood pieces helps immensely.
Assembly: Bringing Your Vision to Life
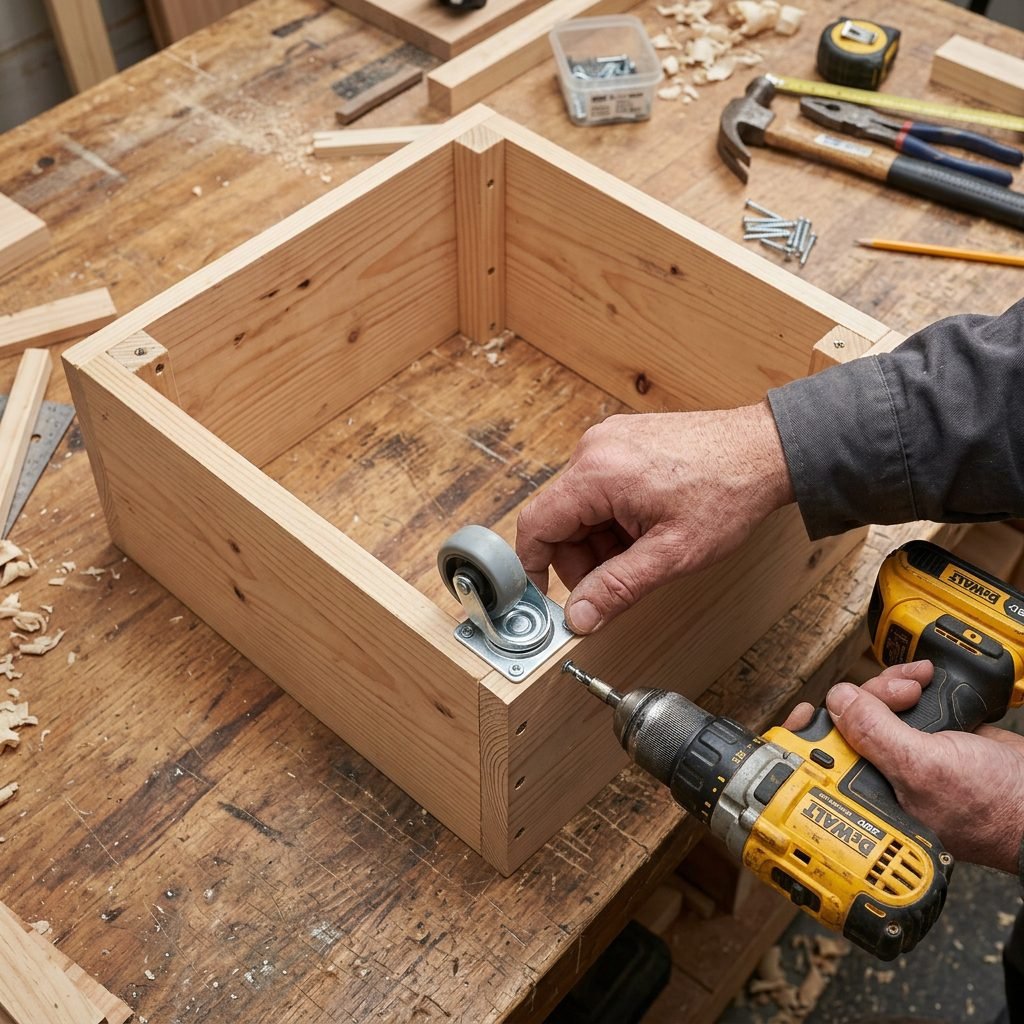
Now for the fun part! This is where you see your hard work take shape. We are going to use a ‘glue and screw’ method. This ensures the boxes are sturdy enough to hold heavy blankets or even a collection of board books later on. Always pre-drill your holes. Plywood can split easily if you try to force a screw in without a pilot hole.
Step-by-Step Assembly Instructions
- Apply Wood Glue: Run a thin bead of glue along the edge of the base piece.
- Attach the Sides: Press your first side piece against the base. Use clamps if you have them, or just hold it steady.
- Screw it Down: Drive your screws through the side piece into the edge of the base every 6 inches.
- Repeat for All Sides: Continue until you have a four-sided box attached to your base.
- The Casters: Flip the box over. Position your casters at the four corners, about 1 inch from the edges. Screw them in securely.
Once the box is assembled, take a moment to sand everything. Start with the rough 80-grit sandpaper and move up to the 220-grit. Pay special attention to the corners and top edges. We want these boxes to be as smooth as a baby’s cheek so no tiny fingers get splinters and no delicate knits get snagged.
The Finishing Touches: Safety and Style

Mama, safety is our North Star. When choosing a finish, look for labels that say ‘Zero-VOC’ or ‘Toy Safe.’ Milk paint is a wonderful, traditional option that is naturally non-toxic. If you prefer a natural wood look, a food-grade beeswax or hemp oil finish is perfect. Avoid heavy polyurethane sprays which can have a strong odor for weeks.
For the ‘style’ factor, consider the hardware. A vintage brass handle looks stunning against dark-stained wood, while a simple leather loop pull adds a modern, boho vibe. You can also line the bottom of the boxes with pretty contact paper—something floral or a soft geometric print—to make opening the box a little treat for yourself every time.
Affirmation: I am creating a space of peace and order for my family. My hands are capable, and my heart is ready.
Organizing Your New Space: The Doula’s Method
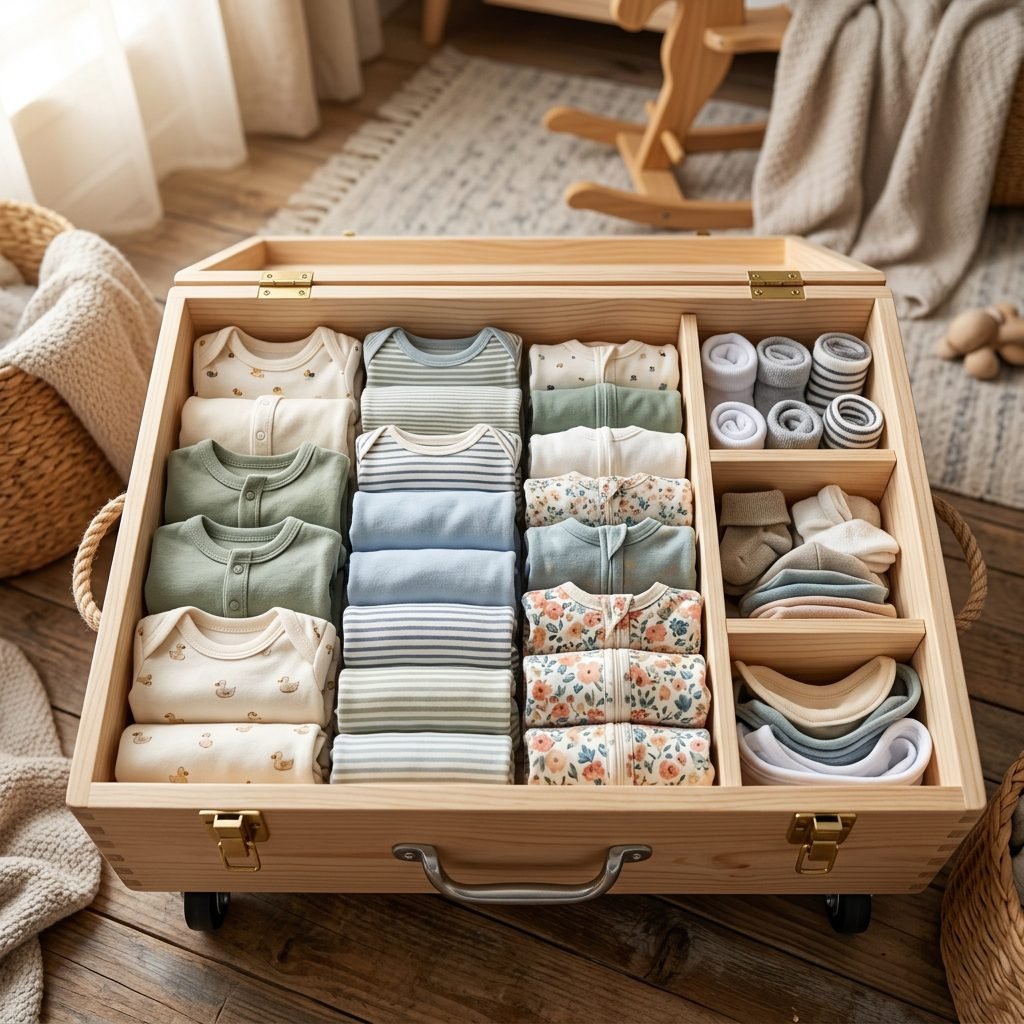
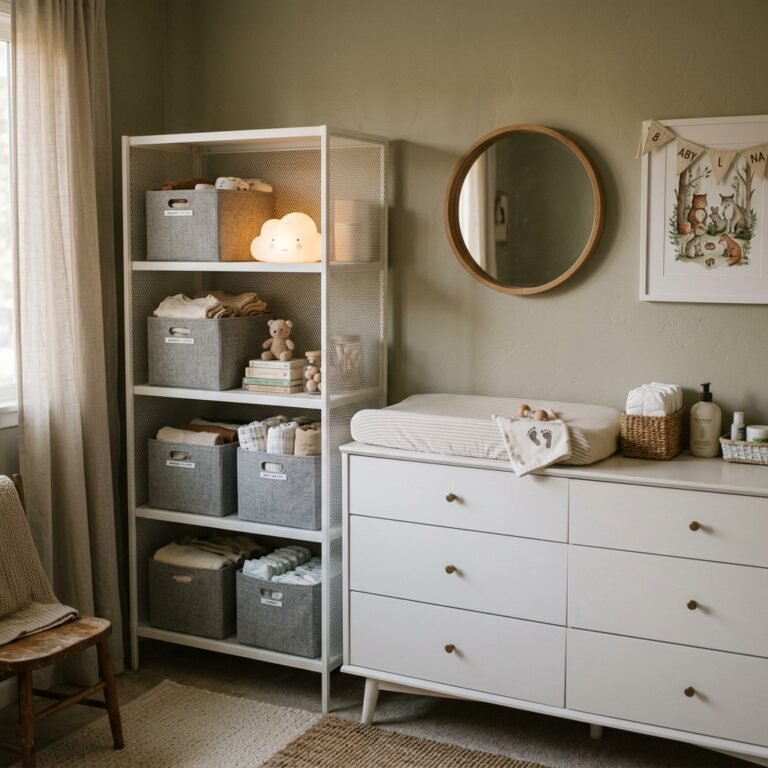
Now that your boxes are dry and rolling smoothly, let’s fill them! As a doula, I recommend the ‘File Folding’ method (often called the KonMari style). Instead of stacking onesies on top of each other, fold them into small rectangles and stand them up side-by-side. This way, you can see every single item at a glance without digging.
What to Store in Your Rolling Boxes
- The ‘Next Size Up’: Keep 3-6 month clothes here while baby is in newborns.
- Seasonal Gear: Heavy snowsuits in summer or sun hats in winter.
- Crib Linens: Spare waterproof mattress pads and fitted sheets.
- Burp Cloth Overload: We all know you can never have too many!
Use small tension rods or pieces of leftover plywood as dividers inside the box to keep categories separate. Labeling the front of the box (e.g., ‘Sleepers’ or ‘Blankets’) helps partners and grandparents find things easily, which means fewer questions for you during nap time!
Conclusion
There you have it, mama! You’ve taken a simple sheet of wood and turned it into a functional piece of furniture that solves a major nursery headache. Every time you glide that box out to reach for a fresh swaddle, I want you to feel a sense of pride. You are not just organizing clothes; you are preparing the way for your little one’s arrival with care and creativity.
Remember, the nursery doesn’t have to be perfect, and it doesn’t have to look like a showroom. It just needs to work for you. These rolling boxes are a testament to your resourcefulness. Now, go put your feet up, have a snack, and admire your handiwork. You’ve earned it!