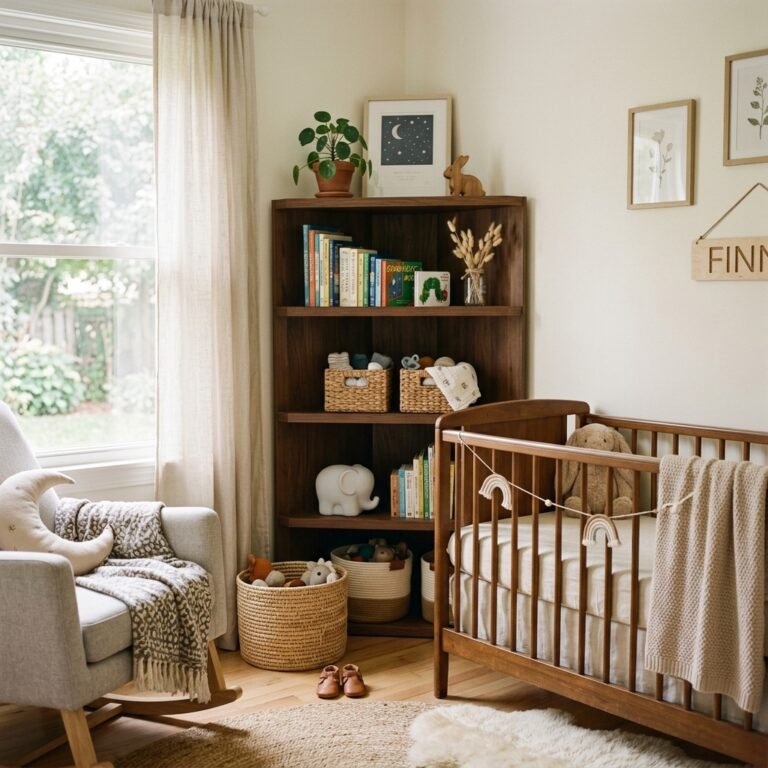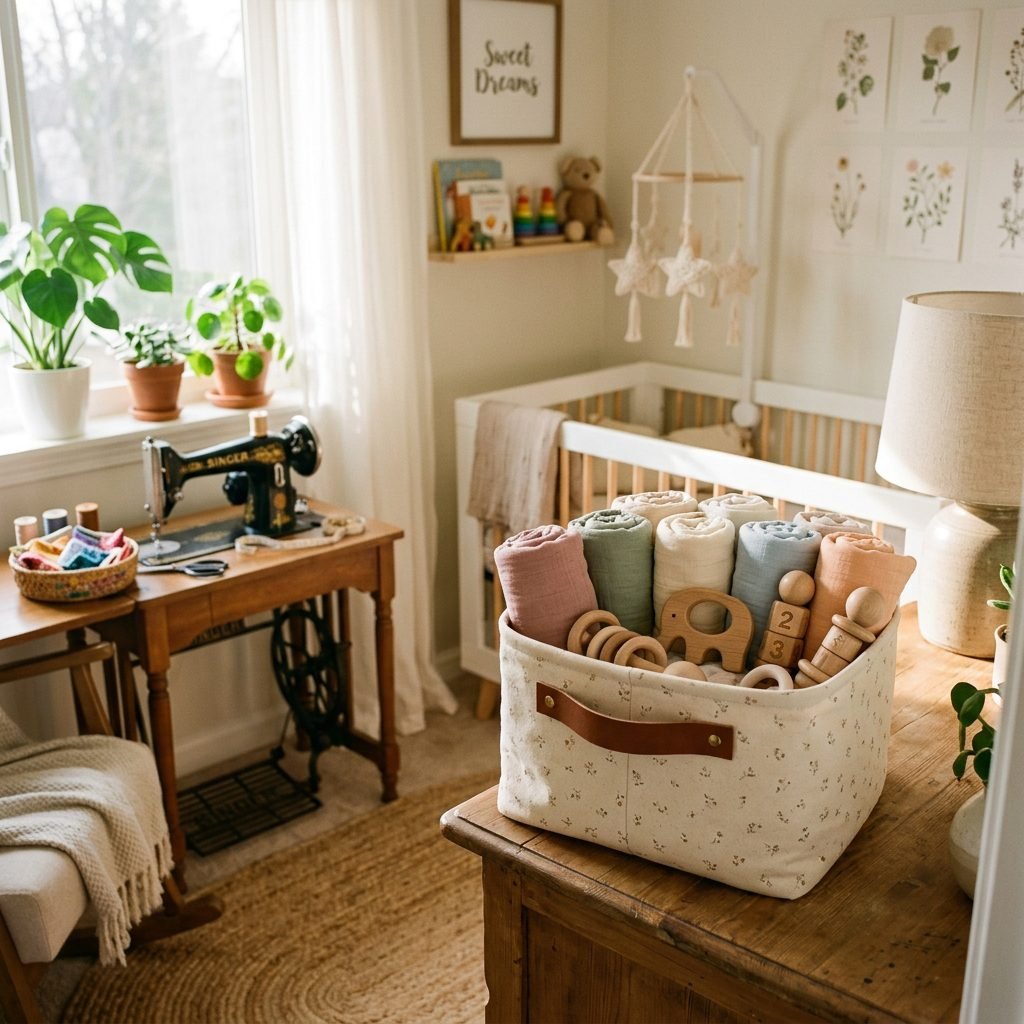
DIY Fabric Storage Baskets: An Easy Beginner Sewing Project for Nursery Organization
Mama, if you are finding yourself suddenly folding baby washcloths at 2 AM or obsessing over the exact layout of your diaper cart, welcome to the beautiful, wild world of nesting. It is a primal, deeply loving instinct that prepares both your home and your heart for your little one’s arrival.
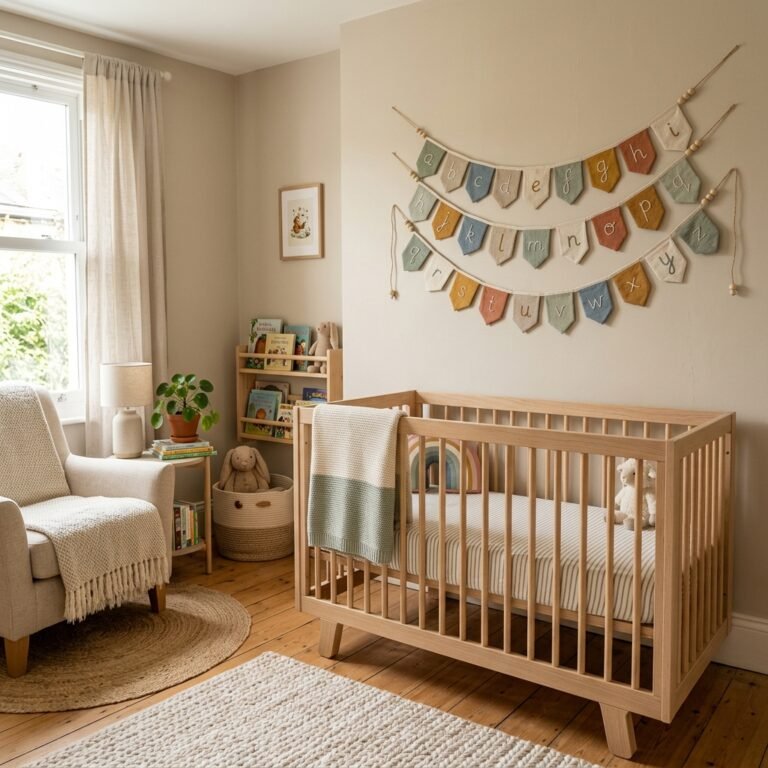
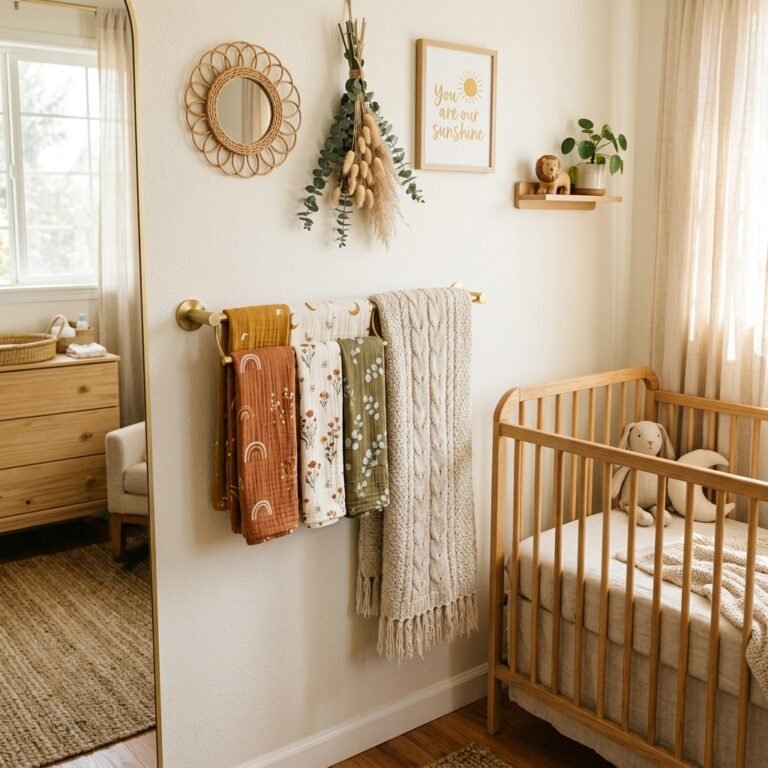
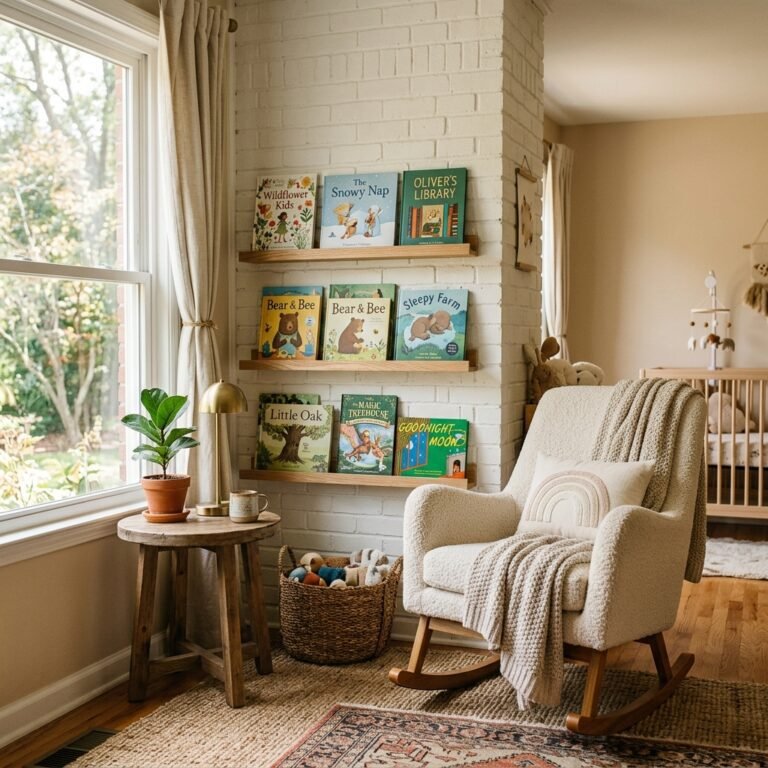
As a doula and a fellow mother, I see this nesting energy in almost every expectant mama I work with. Your body is doing the monumental work of growing a tiny human, and your mind is busy creating a safe, cozy sanctuary for them. But let us be honest: babies come with a lot of stuff. From tiny socks that mysteriously disappear to endless stacks of burp cloths, pacifiers, and diaper creams, keeping a nursery organized can feel completely overwhelming. That is exactly why I love introducing mamas to this beginner-friendly sewing project. Creating your own DIY fabric storage baskets is not just about organization; it is a mindful, creative outlet that allows you to infuse your baby’s space with your own personal touch and love.
You do not need to be a master seamstress to tackle this. Even if the last time you touched a sewing machine was in middle school home economics, you can do this! Soft fabric baskets are incredibly practical, perfectly safe for when your baby starts crawling (no sharp plastic edges here!), and can be customized to match any nursery theme perfectly. In this comprehensive guide, we are going to walk through every single step together, sister to sister, ensuring you feel confident, relaxed, and empowered. Grab a cup of red raspberry leaf tea, take a deep breath, and let us dive into the wonderful world of nursery crafting!
The Magic of Nesting: Why DIY Storage Wins Over Store-Bought
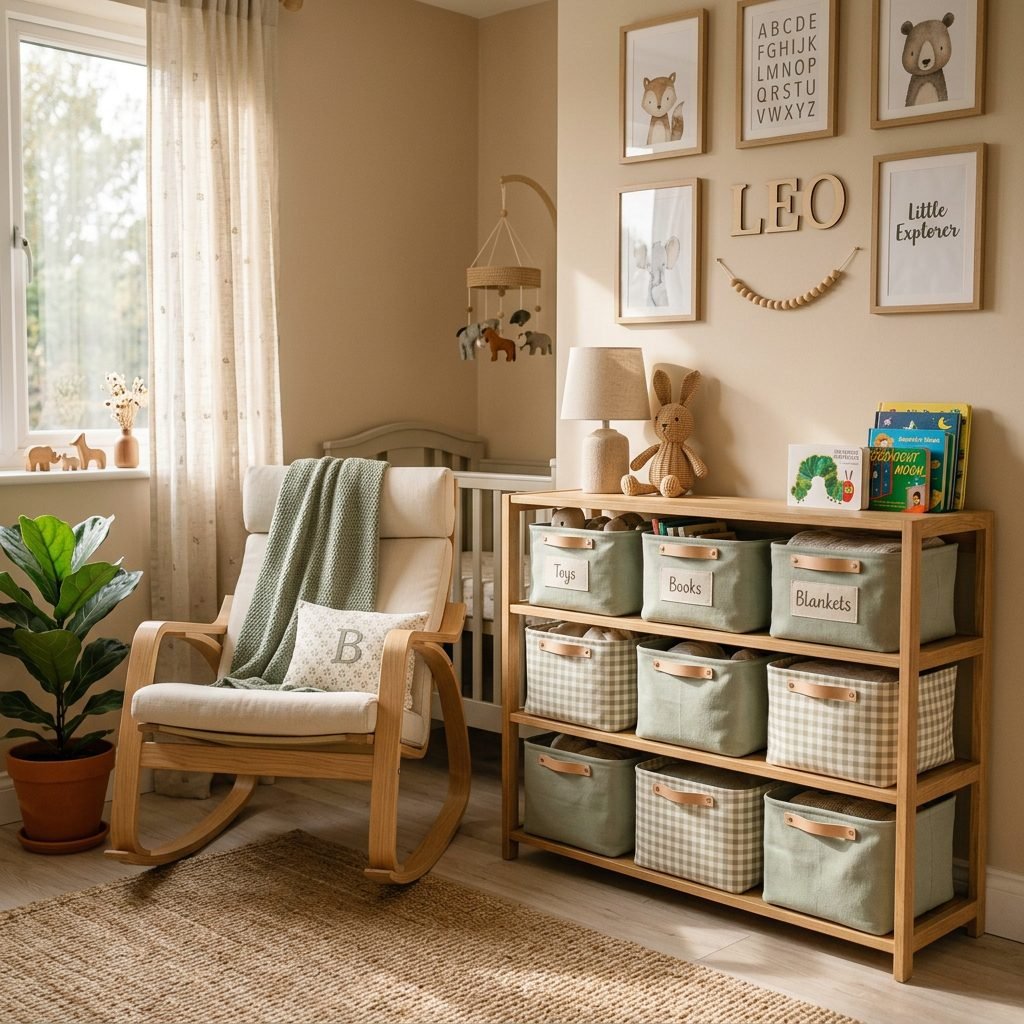
When you are in the thick of the third trimester, the urge to organize is biologically driven. It is your mind’s way of establishing control and safety before the beautiful chaos of newborn life begins. While it is incredibly easy to click ‘add to cart’ on a set of acrylic or rigid plastic bins, there is something profoundly grounding about making your own nursery storage.
1. Safety First for Your Future Crawler
As a pediatric sleep consultant and postpartum nurse, I always encourage parents to think a few months ahead. Right now, your baby will be safely swaddled in a bassinet, but before you know it, they will be rolling, scooting, and pulling themselves up on every piece of furniture in the room. Fabric baskets are completely soft. If a wobbly crawler pulls a fabric basket off a low shelf, there are no hard corners, heavy materials, or sharp edges to cause bumps or bruises. They are the ultimate baby-proof organization tool.
2. Washability for Real-Life Messes
Let us have a real talk about motherhood: bodily fluids happen. Diaper creams explode, bottles leak, and spit-up is a daily occurrence. Store-bought cardboard-lined woven baskets cannot be thrown in the washing machine. Our DIY fabric baskets, however, can be tossed right into the wash on a gentle cycle, making them infinitely more hygienic and practical for a busy postpartum mama.
3. Complete Customization
Nursery design is such a joyful part of pregnancy! Whether you are designing a moody woodland retreat, a bright and airy boho sanctuary, or a minimalist neutral haven, finding the exact right storage bins can be frustrating. By sewing your own, you control the aesthetic entirely. You can choose organic cottons, match the fabric to your crib sheets, or even upcycle sentimental textiles like your own childhood blankets.
Gathering Your Supplies: The Ultimate Crafty Mom Checklist
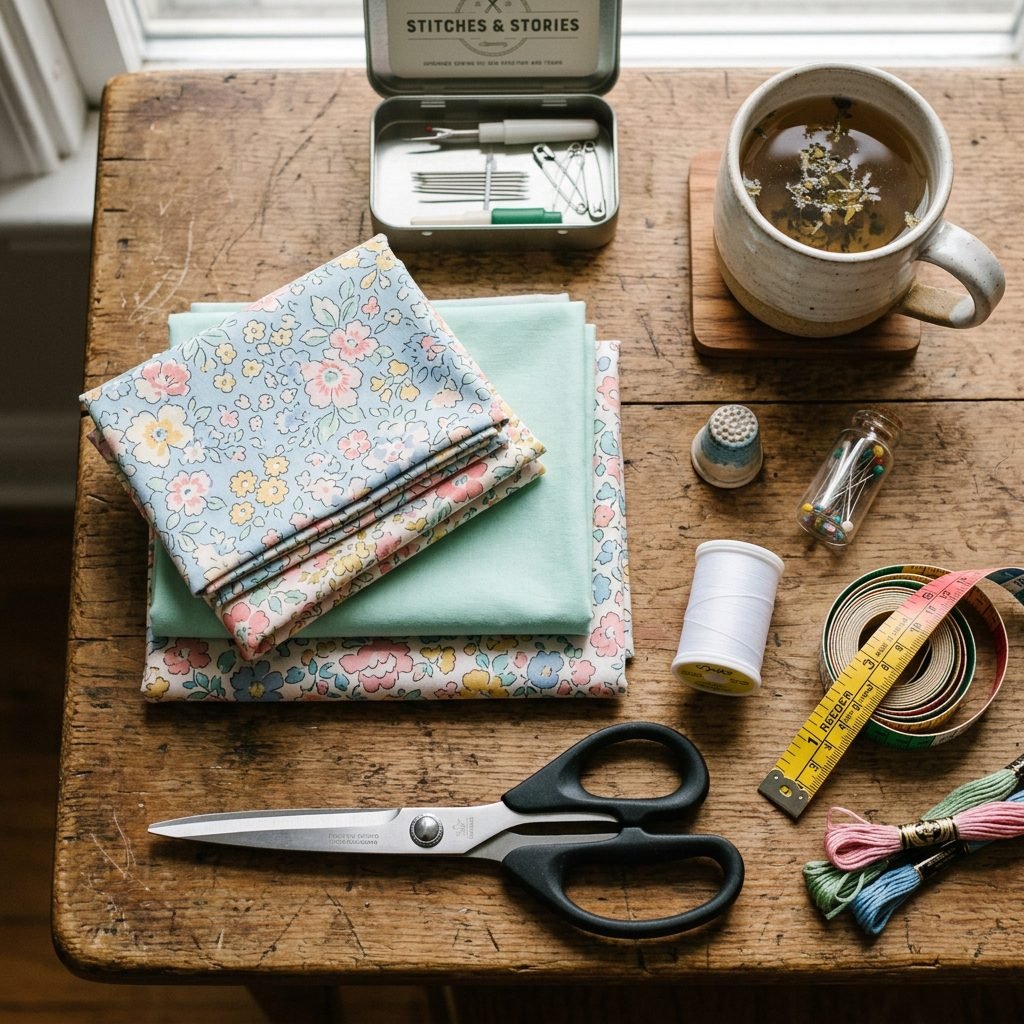
Before we make our first cut, we need to gather our tools. Think of this like prepping your postpartum recovery kit; having everything within arm’s reach makes the process smooth and stress-free. For this project, you will need two types of fabric: an outer canvas or heavy cotton for durability, and a soft, cute lining fabric. You will also need interfacing, which is the secret ingredient that gives your basket its sturdy, stand-up shape.
Understanding Interfacing
If you are new to sewing, interfacing might sound intimidating. Simply put, it is an extra layer of material that you iron onto the back of your fabric to make it stiffer. For these baskets, I highly recommend using a heavyweight fusible interfacing (like Pellon Decor Bond) or a fusible fleece if you want a softer, quilted look. The term ‘fusible’ just means it has a heat-activated glue on one side that sticks to your fabric when you iron it.
Materials & Budget Breakdown
Here is exactly what you will need for one medium-sized basket (perfect for holding about 20 newborn diapers or a dozen rolled swaddles). I have included a budget breakdown to show just how cost-effective this DIY can be compared to luxury nursery boutiques.
| Material / Tool | Purpose in Project | Estimated Cost (US) |
|---|---|---|
| 1/2 Yard Outer Fabric | Provides the exterior look (Canvas, Linen, or Twill recommended) | $5.00 – $8.00 |
| 1/2 Yard Lining Fabric | The interior pop of color (Quilting Cotton is perfect) | $4.00 – $6.00 |
| 1 Yard Fusible Interfacing | Gives the basket structure so it stands upright (e.g., Pellon 809) | $3.00 – $5.00 |
| Coordinating Thread | Holds it all together (All-purpose polyester thread) | $2.00 |
| Fabric Scissors or Rotary Cutter | For clean, straight cuts | Already Owned |
| Sewing Pins or Wonder Clips | Keeps fabric aligned while sewing | Already Owned |
| Iron and Ironing Board | Essential for fusing interfacing and pressing seams | Already Owned |
Doula Tip: If you are feeling fatigued or experiencing pregnancy aches, do not feel like you have to buy and sew everything in one day. Break it up! Tuesday can be your fabric shopping day, Wednesday can be cutting and ironing, and Thursday can be sewing. Listen to your body, mama.
Prepping Your Fabric and Workspace
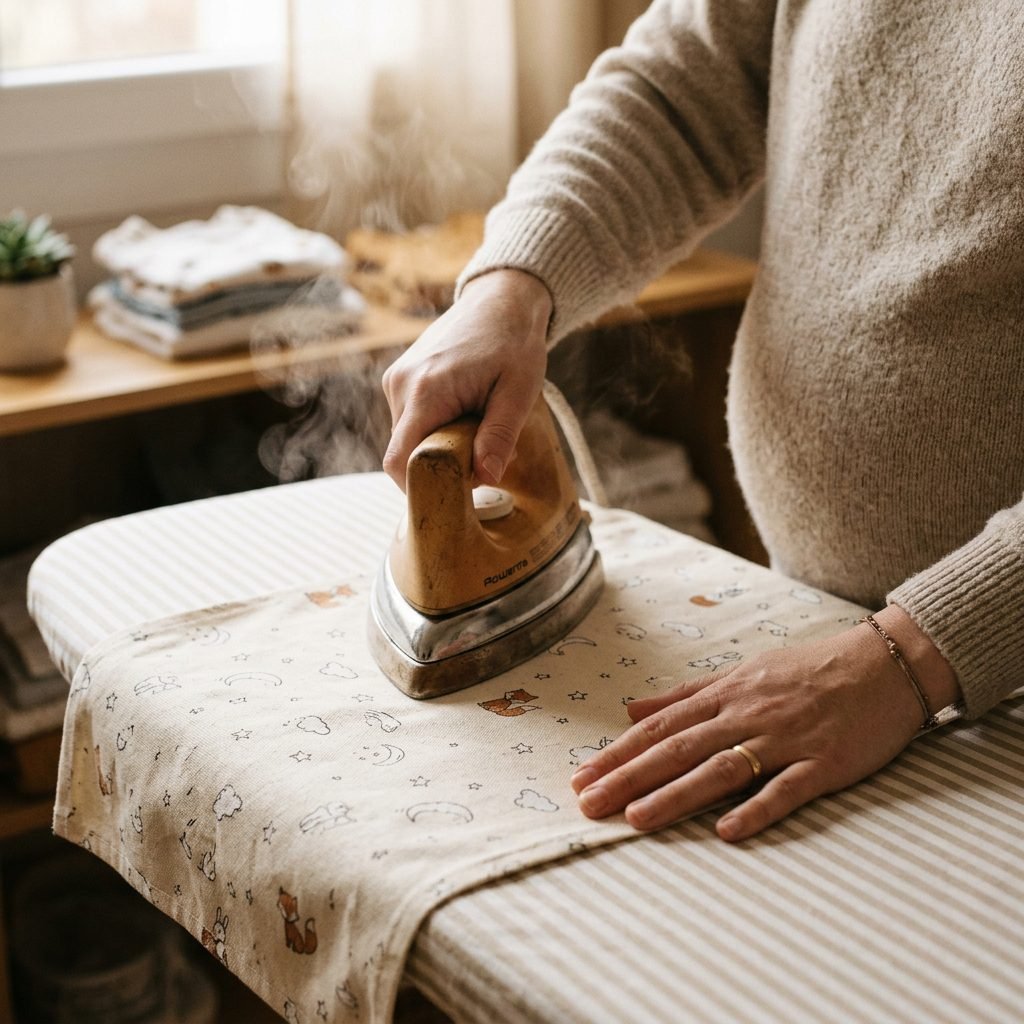
Preparation is the key to a beautiful final product. Just like we practice our breathing techniques before labor begins, we must prep our fabrics before the needle hits the thread. This ensures your baskets won’t shrink or warp the first time you have to wash them.
Step 1: Wash and Iron
Always pre-wash your fabrics if you plan on washing the finished baskets. Use the same gentle, baby-safe detergent you plan to use for your little one’s clothes. Once dried, give both the outer fabric and the lining fabric a really good press with a hot iron. Wrinkle-free fabric is crucial for accurate cutting.
Step 2: Cutting Your Pieces
For a medium-sized basket that sits perfectly on an IKEA Kallax shelf or a standard changing table, you will need to cut the following dimensions. I recommend using a rotary cutter and a self-healing mat if you have them, as they save your wrists from the strain of scissors, but sharp fabric scissors work beautifully too.
- Outer Fabric: Cut two rectangles measuring 14 inches wide by 12 inches tall.
- Lining Fabric: Cut two rectangles measuring 14 inches wide by 12 inches tall.
- Fusible Interfacing: Cut two rectangles measuring 13.5 inches wide by 11.5 inches tall. (Cutting the interfacing slightly smaller reduces bulk in your seam allowances, making it easier for your machine to sew through).
Step 3: Fusing the Interfacing
Place your outer fabric rectangles face down on your ironing board. Center the interfacing on top, ensuring the bumpy, glue side is facing down against the wrong side of your fabric. Follow the manufacturer’s instructions on your interfacing to iron it into place. Usually, this involves pressing a hot, steamy iron onto the interfacing for about 10-15 seconds per section. Do not slide the iron; press and lift, press and lift. This step can be incredibly meditative. Take deep breaths as you work, visualizing the peaceful nursery you are creating.
Step-by-Step Sewing Guide: Crafting Your Basket
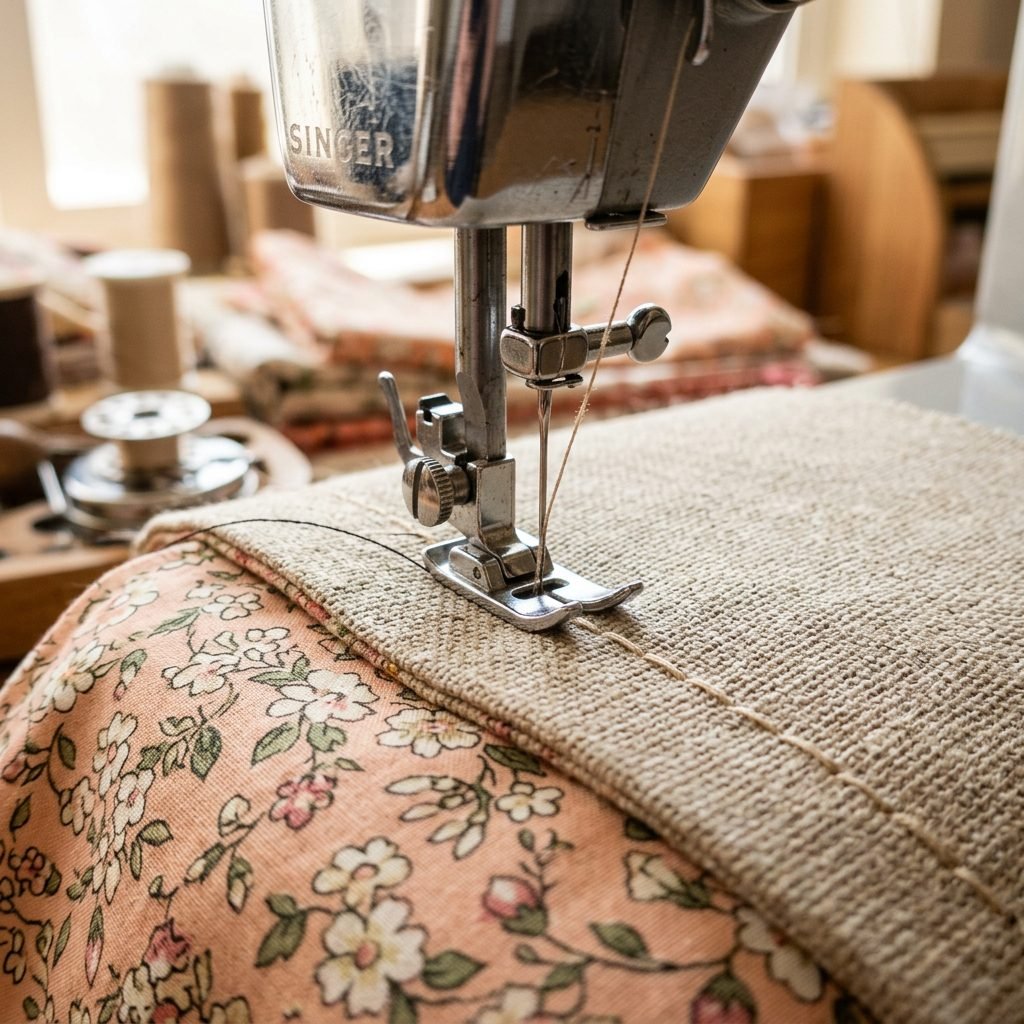
Now comes the exciting part—watching flat pieces of fabric transform into a functional, beautiful three-dimensional basket! Set up your sewing machine with a straight stitch and a standard needle. Remember to backstitch at the beginning and end of every seam to lock your stitches in place so they do not unravel.
Phase 1: Sewing the Outer Shell and Lining
- Pin the Outer Pieces: Take your two outer fabric pieces (with the interfacing attached) and place them right sides together. This means the pretty, printed sides should be touching each other. Pin along the two sides and the bottom edge. Leave the top edge open.
- Sew the Outer Shell: Using a 1/2-inch seam allowance, sew down one side, across the bottom, and up the other side. Remember to backstitch! Press the seams open with your iron to reduce bulk.
- Pin and Sew the Lining: Repeat this exact process with your two lining pieces, placing them right sides together. However, when you sew the bottom edge, leave a 4-inch gap in the middle unsewn. This gap is your ‘turning hole’—it is absolutely crucial for turning the basket right-side out later!
Phase 2: Boxing the Corners (Creating the Gusset)
This is the magic step that gives your basket a flat bottom so it can stand up.
- Take your sewn outer shell. Keep it inside out. Pull the front and back of the fabric apart at one of the bottom corners, flattening it so the side seam lines up perfectly with the bottom seam. It will form a triangle point.
- Measure 2.5 inches down from the point of the triangle along the seam line. Draw a straight line across the triangle with a pencil or fabric marker. The line should be about 5 inches long.
- Sew straight across this drawn line. Backstitch well!
- Trim off the excess triangle point, leaving about a 1/2-inch seam allowance.
- Repeat this process for the other bottom corner of the outer shell, and then do both bottom corners of the lining.
Phase 3: Assembly and Topstitching
- Turn your outer shell completely right-side out. It should look like a basket now! Leave your lining inside out.
- Place the outer basket inside the lining basket. The right sides of the fabrics should be touching each other. Match up the side seams and pin all the way around the top raw edge.
- Sew all the way around the top edge using a 1/2-inch seam allowance.
- Now, reach into that 4-inch gap you left in the bottom of the lining. Grab the outer fabric and gently pull the entire basket through the hole. It will look like a wrinkly mess for a moment—do not panic, this is normal!
- Once pulled through, sew the 4-inch gap in the lining closed. You can do this by machine sewing very close to the edge, or by hand using a blind stitch for a completely invisible finish.
- Push the lining down inside the basket. Press the top edge firmly with your iron so it is crisp and neat.
- Finally, topstitch all the way around the top edge of the basket, about 1/4-inch from the rim. This keeps the lining firmly in place and gives it a professional, finished look. Fold the top rim down an inch or two to show off the contrasting lining!
Nursery Organization Hacks: How to Utilize Your New Baskets
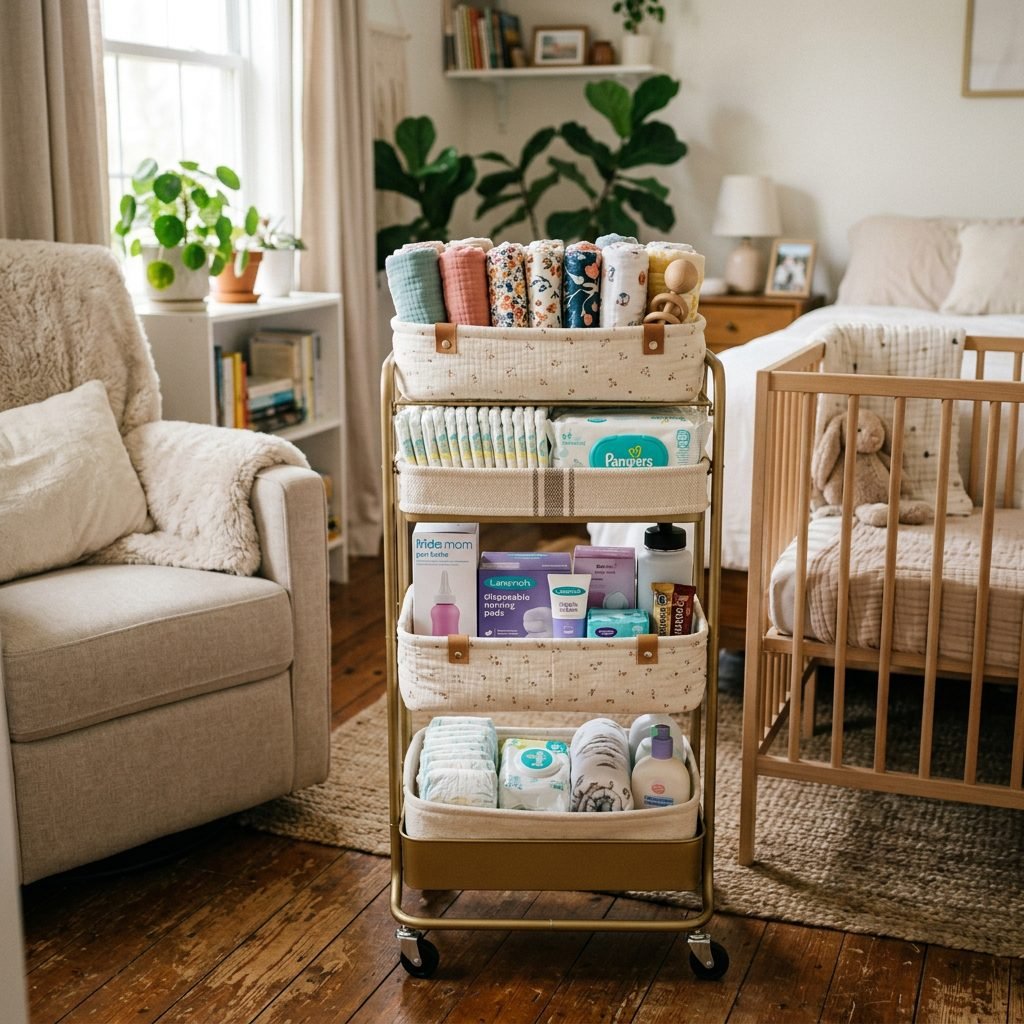
Congratulations, mama! You have just created a beautiful, custom storage piece. But the fun does not stop at sewing; now we get to organize. Having a well-organized space is a massive stress-reliever during the postpartum period. When you are operating on two hours of sleep, knowing exactly where the burp cloths are is a tiny but significant victory.
The Diaper Changing Station
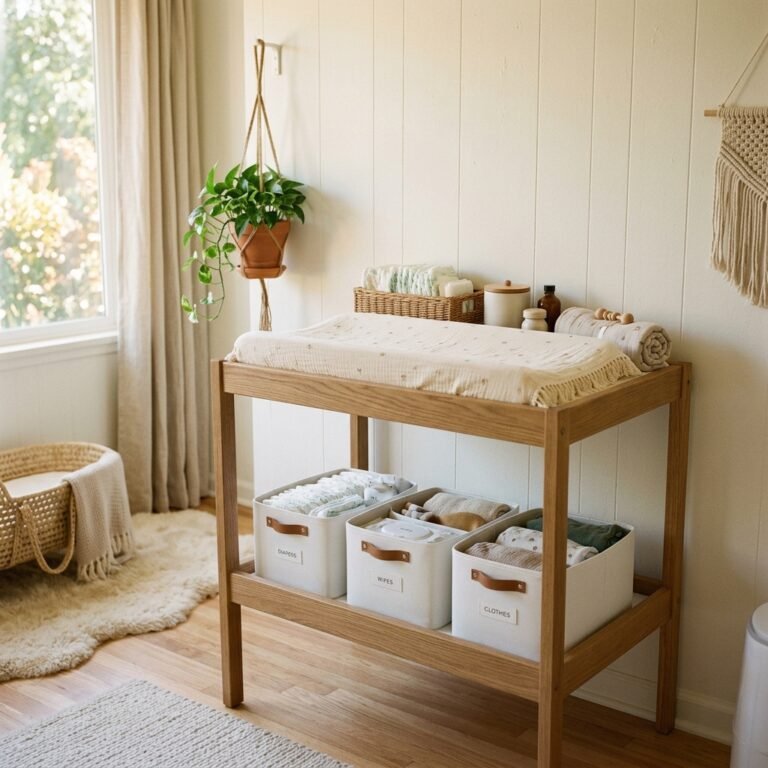
Your changing table is the command center of the nursery. Use your new fabric baskets to compartmentalize this area. I recommend having three distinct baskets on or near the changing table:
- Basket 1: Diapers. A medium basket can hold a stack of newborn or size 1 diapers perfectly. Storing them out of their plastic packaging makes them easier to grab one-handed while holding a squirming baby.
- Basket 2: Creams and Care. Use a slightly smaller basket for diaper rash creams, baby lotion, a soft hairbrush, and nail clippers. Keeping these tiny items contained prevents them from rolling off the table.
- Basket 3: Distraction Toys. Around 4-6 months, babies discover that diaper changes are an excellent time to practice alligator-rolling. Keep a small basket of safe, soft toys or high-contrast cards right next to the changing pad to hand to them for distraction.
The Postpartum Care Cart
Do not forget about yourself, sister! While we focus so much on the nursery, your recovery is equally important. Many mamas create a mobile postpartum care cart (like the popular IKEA Raskog cart) to roll between the bedroom and the bathroom. Use your DIY fabric baskets to organize your postpartum supplies. One basket can hold your peri bottle, soothing sprays, and witch hazel pads. Another can hold your nursing pads, nipple cream, and a stash of high-protein snacks like granola bars or almonds to keep your energy up during cluster feeding sessions.
Toy Rotation and Sensory Play
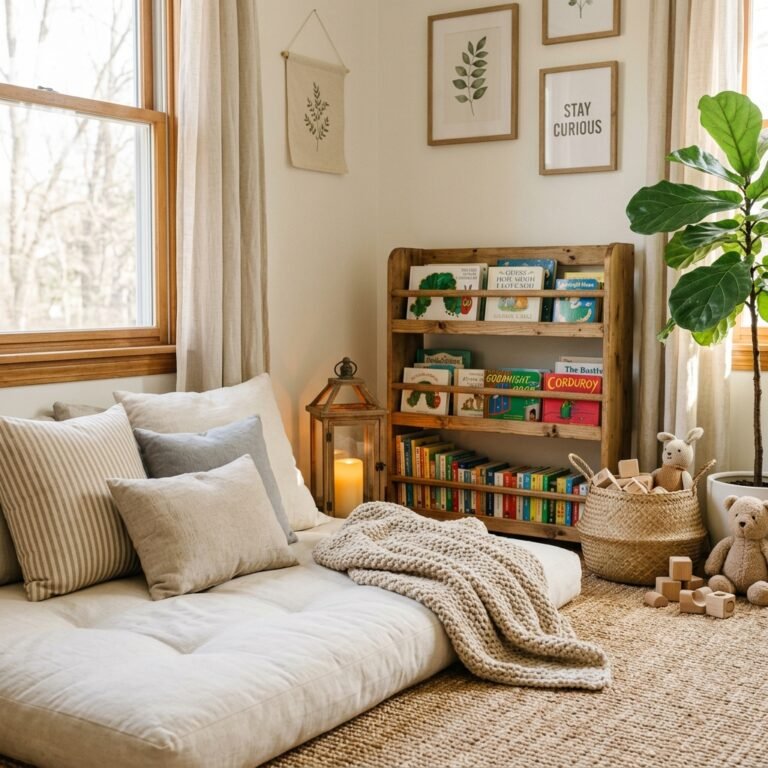
As your baby grows into a toddler, these baskets will transition beautifully into toy storage. Because they are soft, they are perfect for storing wooden blocks, soft plushies, or sensory play items. You can even color-code your baskets or use iron-on vinyl labels to help your little one learn how to clean up and sort their toys by category!
Troubleshooting Common Beginner Sewing Mistakes
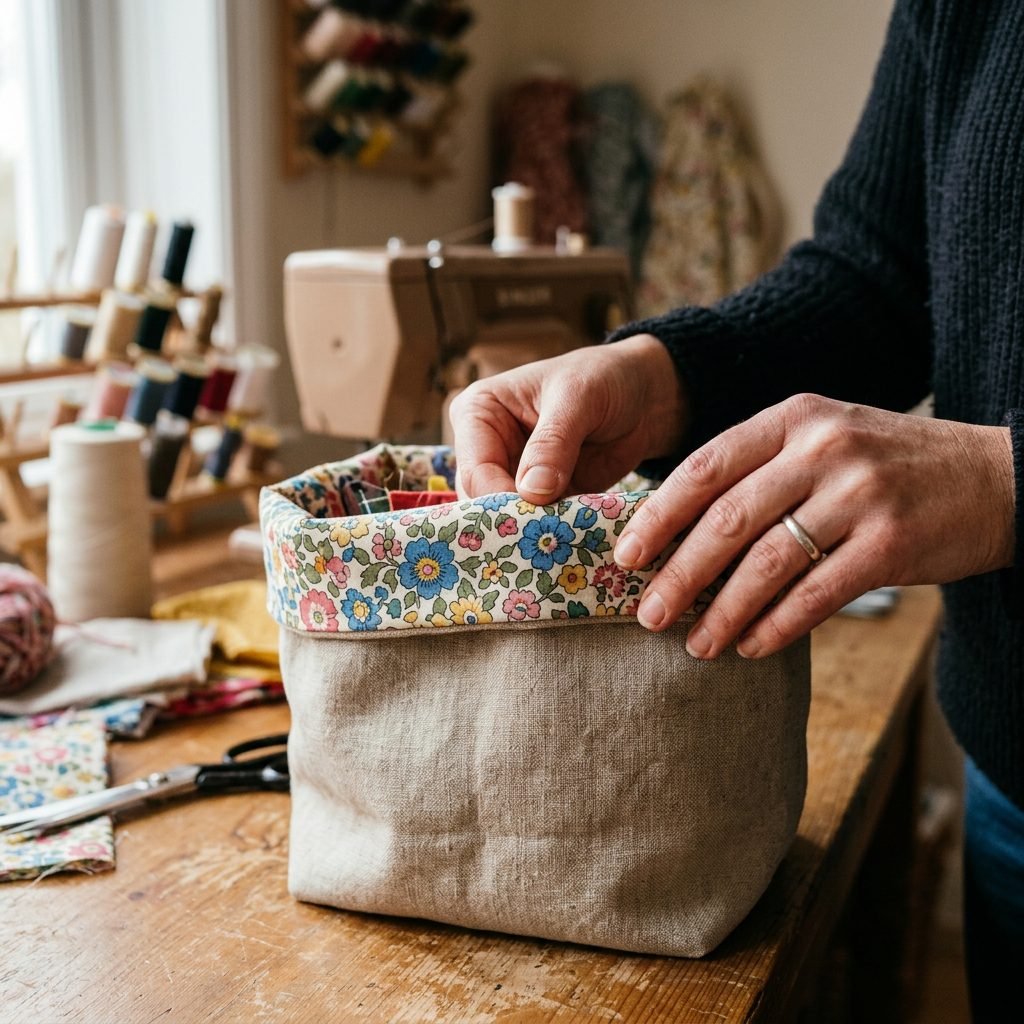
If your basket did not turn out perfectly on the first try, please give yourself some grace. Learning a new skill while pregnant is a huge accomplishment! Sewing is a journey of patience. Let us troubleshoot a few common hiccups so your next basket is even better.
My Basket Won’t Stand Up Straight
If your basket is looking a little slouchy or floppy, the issue is almost always the interfacing. Either the interfacing you chose was not heavy enough, or it did not fully fuse to the fabric. Next time, try using a stiffer stabilizer like Pellon Peltex, or ensure your iron is hot enough and you are pressing for the full 15 seconds. If you have already finished a floppy basket, simply fold the top rim down twice—this creates a thicker cuff that adds instant stability!
The Corners Look Pointy or Uneven
When boxing the corners (creating the gusset), precision is key. If your seams do not line up perfectly when you flatten the triangle, your basket might sit a bit wonky. Take your time pinning the side seam directly over the bottom seam before drawing your straight line. Use a clear quilting ruler to ensure your drawn line is exactly perpendicular to the seam.
My Sewing Machine is Jamming
Sewing through multiple layers of canvas and interfacing can be tough on a machine. If your needle is getting stuck or the thread is bunching up underneath (creating a ‘bird’s nest’), stop immediately. First, completely re-thread your machine—both the top thread and the bobbin. 90% of machine issues are threading errors! Second, make sure you are using a heavy-duty needle (like a size 90/14 or a Denim needle), which is designed to punch through thick fabrics without bending.
Conclusion
Mama, you did it! Taking the time to craft something with your own two hands for your baby’s space is a beautiful expression of love. These DIY fabric storage baskets are more than just a place to stash diapers; they are a testament to your nesting journey, your creativity, and your dedication to creating a warm, welcoming home for your little one.
Remember, motherhood is much like sewing: there will be messy moments, unraveled threads, and times when you have to rip out a seam and start over. But the final result is always uniquely beautiful and entirely yours. As you fold those tiny onesies and tuck them into your handmade baskets, take a moment to breathe deeply, place a hand on your belly or hold your sweet baby close, and acknowledge the incredible work you are doing. You are strong, you are capable, and you are already an amazing mother. Happy sewing, sister!