How to Shoot Organic, Greenery-Themed Newborn Portraits at Home for Free
Welcome to Your Living Room Studio, Mama
Oh, sweet mama, I see you. You are in that hazy, beautiful, sleep-deprived bubble where every tiny yawn and curled toe feels like a miracle you want to freeze in time. I know the feeling of wanting those high-end, organic, ‘Pinterest-perfect’ newborn portraits but looking at the $1,000+ price tag of professional photographers and feeling a little pinch in your heart. Between the diapers, the gear, and the savings for the future, a professional shoot isn’t always in the cards—and that is perfectly okay.
As a doula, I’ve seen mothers create the most breathtaking memories using nothing more than a sunny window and a few leaves from their backyard. You don’t need a fancy DSLR or a studio rental to capture the essence of your baby’s first days. The ‘Organic Greenery’ aesthetic is all about simplicity, life, and freshness—elements you already have in your home. Today, I’m going to walk you through how to be the photographer, the stylist, and the baby whisperer, all while spending exactly zero dollars. Grab a cup of tea (or your third coffee), and let’s turn your living room into a sanctuary of memories.
Remember, Mama: Your baby doesn’t need a professional backdrop to look beautiful. They are the masterpiece; the greenery is just the frame.
The Art of the ‘Free’ Find: Scavenging Your Sanctuary
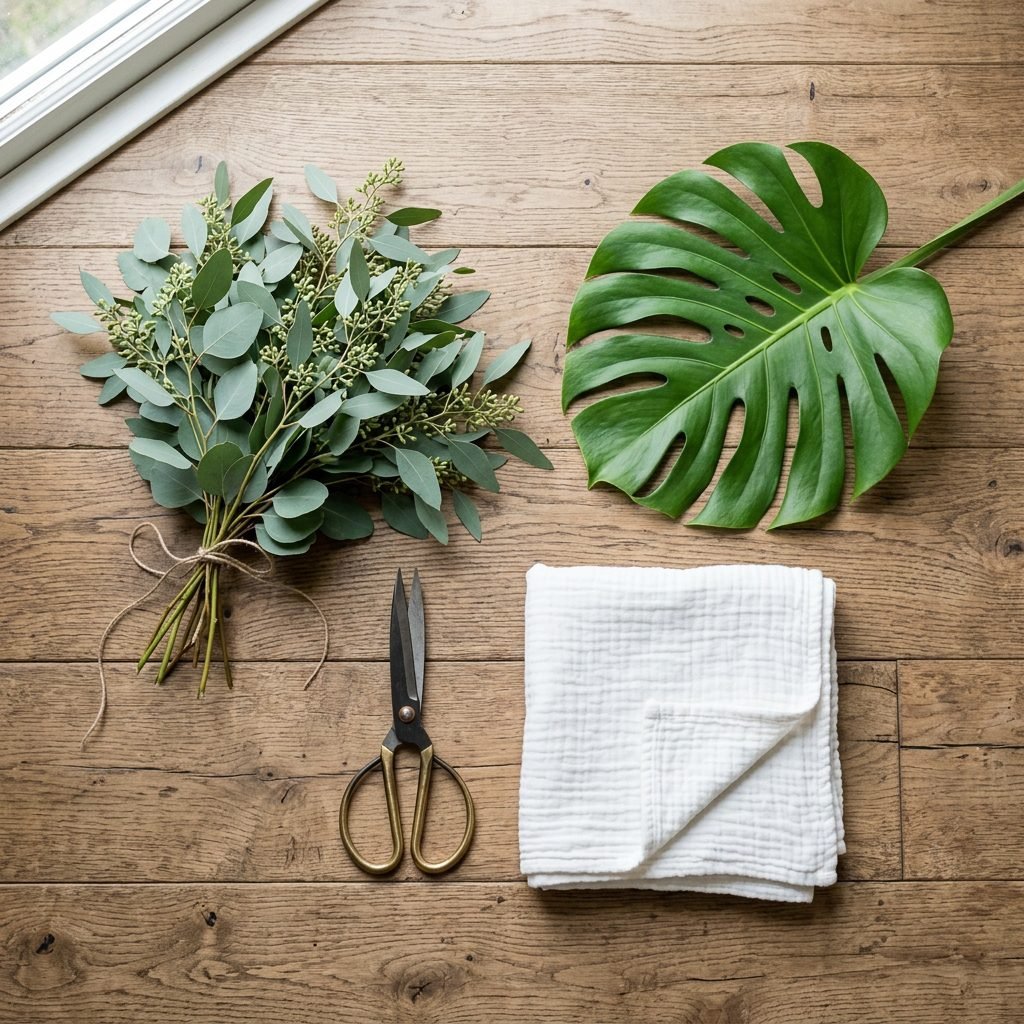
The secret to an ‘organic’ look is using textures and colors found in nature. Before you even touch your camera, we need to go on a little scavenger hunt around your house and yard. We are looking for neutral textures and vibrant greens.
1. The Base Layer
You need a clean, neutral surface. Look for:
- A plain white or cream bedsheet.
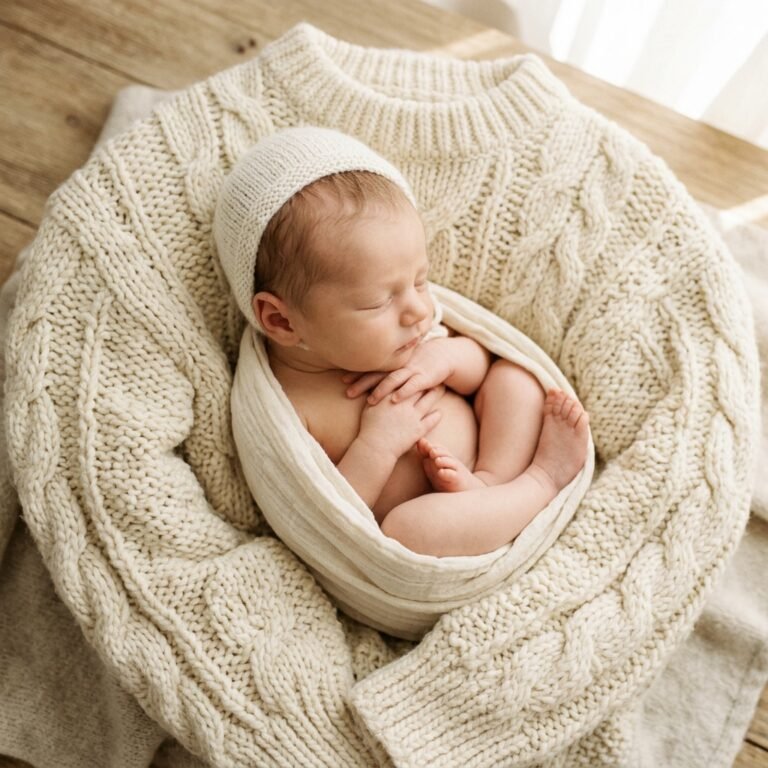
- A chunky knit throw blanket (beige, oatmeal, or light grey).
- A sheepskin rug or a soft bath towel hidden under a linen cloth.
2. The Greenery
This is where the magic happens. You don’t need to visit a florist. Walk through your home and yard with a pair of scissors:
- Houseplants: Clip a few leaves from your Monstera, Pothos, or Fiddle Leaf Fig. Even a Snake Plant leaf can add a modern, architectural touch.
- Outdoor Gems: Look for Eucalyptus, Ferns, or even simple Ivy. If it’s spring, fruit tree blossoms or olive branches are stunning.
- Herb Garden: Rosemary and Sage not only look textured and ‘earthy’ but they smell divine and can help calm the atmosphere.
| Material Type | Best ‘Free’ Source | Visual Effect |
|---|---|---|
| Texture | Linen duvet or knit shawl | Soft, cozy, high-end feel |
| Large Greenery | Monstera or Philodendron leaves | Bold, tropical, modern |
| Fine Greenery | Ferns or Dried Lavender | Delicate, whimsical, boho |
| Fillers | Boxwood clippings or Eucalyptus | Full, lush, organic frame |
Lighting Your Little Sprout: The Magic of Window Light
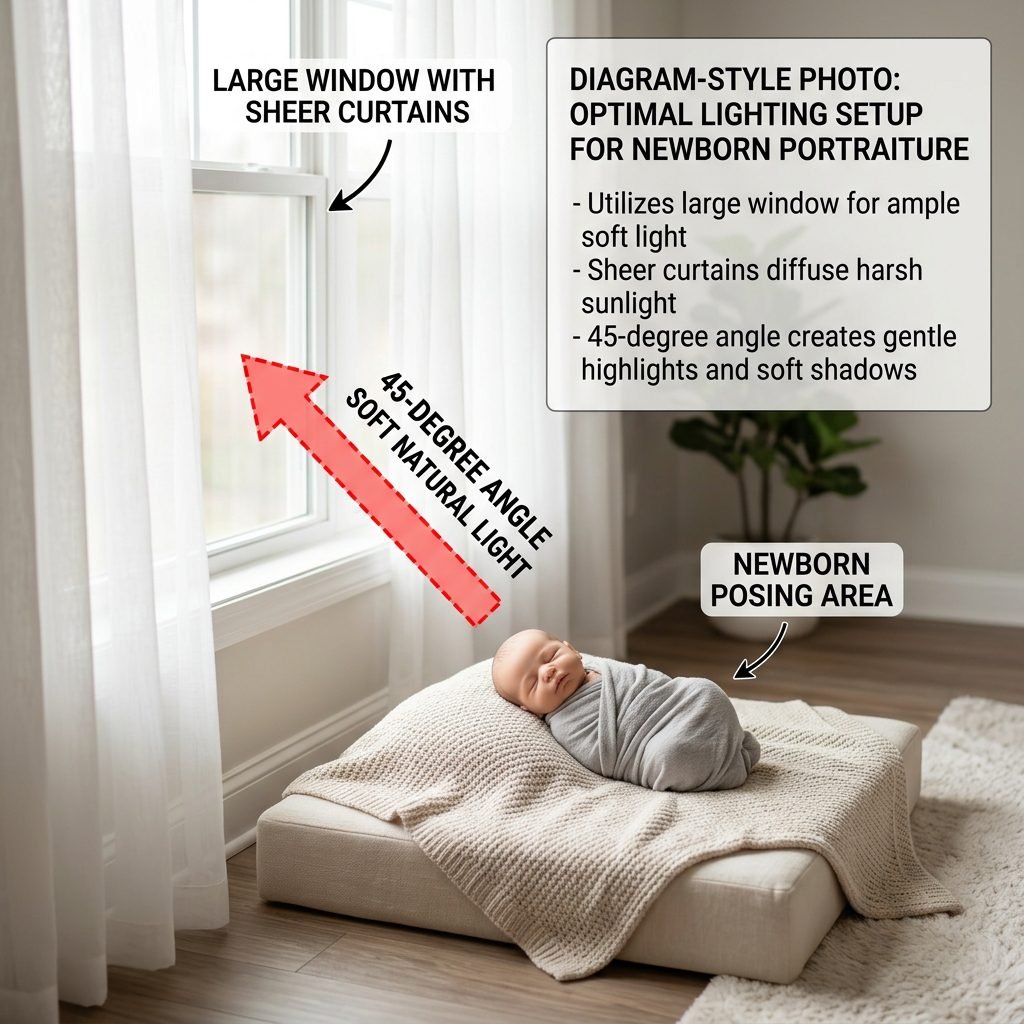
In the world of photography, light is everything. You don’t need expensive softboxes; you have the best light source in the world: the sun. But the trick isn’t just ‘brightness’—it’s direction and quality.
Finding the ‘Golden’ Window
Look for a large window or sliding glass door that does not have direct, harsh sunlight hitting the floor. We want ‘indirect’ light. If the sun is beaming in directly, hang a thin, white sheer curtain or even a white bedsheet over the window to diffuse it. This creates that ‘creamy’ skin tone we all love.
The 45-Degree Rule
Place your ‘set’ (the blanket and greenery) on the floor at a 45-degree angle to the window. Position the baby so the light travels from the top of their head down toward their toes. This is called ‘top-lighting’ and it creates those soft, natural shadows under the nose and chin that look professional. Never point the baby’s feet toward the window, as this creates ‘up-lighting’ (the ‘ghost story’ look), which isn’t flattering for newborns.
| Window Direction | Best Time to Shoot | Light Quality |
|---|---|---|
| North Facing | All Day (10 AM – 3 PM) | Consistent, cool, and soft. Perfect for beginners. |
| South Facing | Early Morning or Late Afternoon | Warm and bright; may need a sheer diffuser. |
| East Facing | Morning (8 AM – 10 AM) | Bright and energetic; great for ‘awake’ shots. |
| West Facing | Late Afternoon (4 PM – Sunset) | Golden and moody; beautiful for ‘sleeping’ shots. |
Safety First, Cuddles Second: Prepping Your Tiny Model
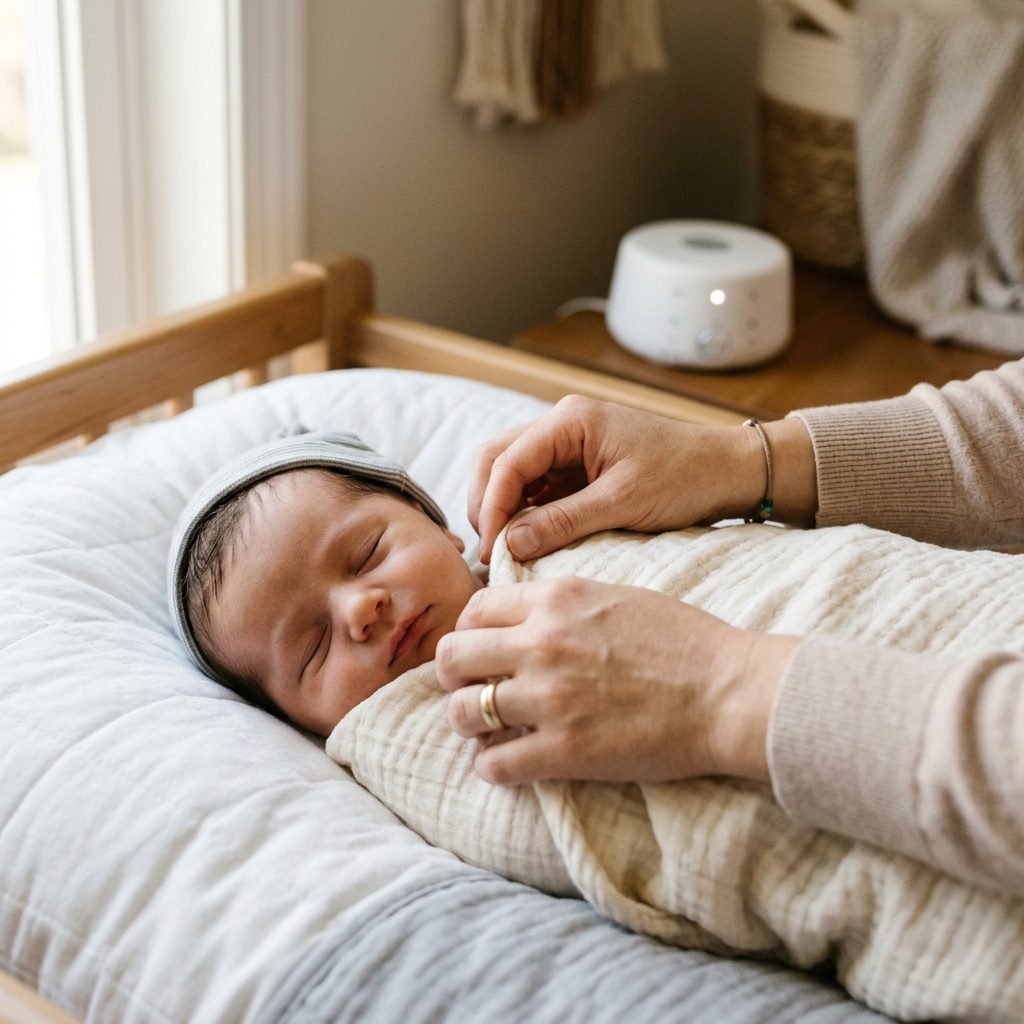
As a doula, safety is my absolute priority. A ‘pretty’ photo is never worth a risk. Since we are doing this at home, we need to ensure the environment is a womb-like sanctuary.
The Comfort Checklist
- The ‘Milk Coma’: Feed the baby right before the shoot. A full tummy equals a sleepy, poseable baby.
- Turn Up the Heat: Newborns can’t regulate their temperature well. If they are in a swaddle or just a diaper, the room should feel slightly too warm for you (around 75-80°F).
- White Noise: Use a white noise machine or an app to mimic the sound of the womb. This masks the ‘click’ of your phone camera.
- The Spotter: If you are taking a ‘top-down’ shot, always wear your camera strap around your neck. If you have a partner or friend, have them stand right next to the baby as a ‘spotter’ just in case of a sudden startle reflex.
Mama Tip: If your little one is fussy, try the ‘Tiger in the Tree’ hold for a few minutes before laying them down, or do a gentle 5-minute infant massage to relax their limbs.
Safe Plant Selection
Not all greenery is baby-safe. Ensure the leaves you use are clean and free of bugs or pesticides. Avoid plants with milky sap (like some Euphorbias) or sharp thorns. Always place the greenery around the baby, not directly touching their mouth or eyes.
The Greenery Gallery: Styling Your Organic Set
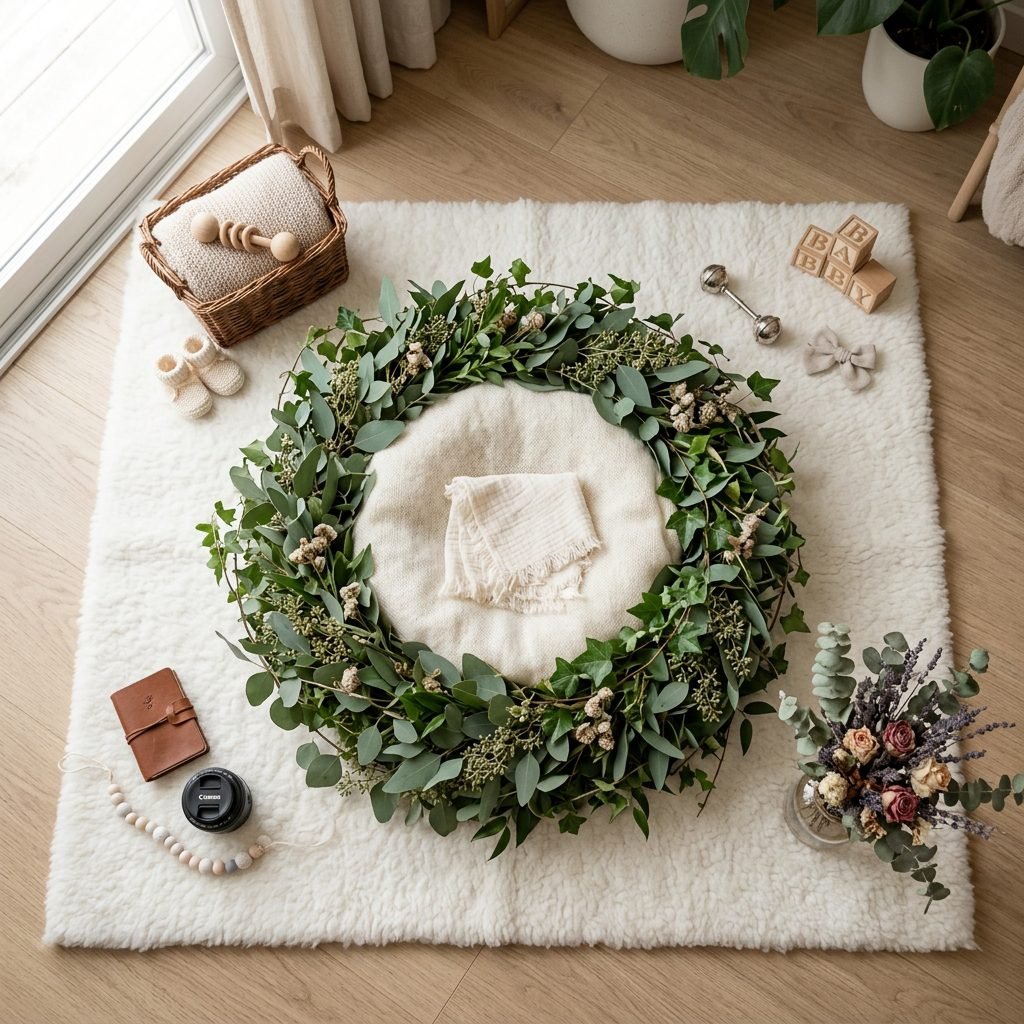
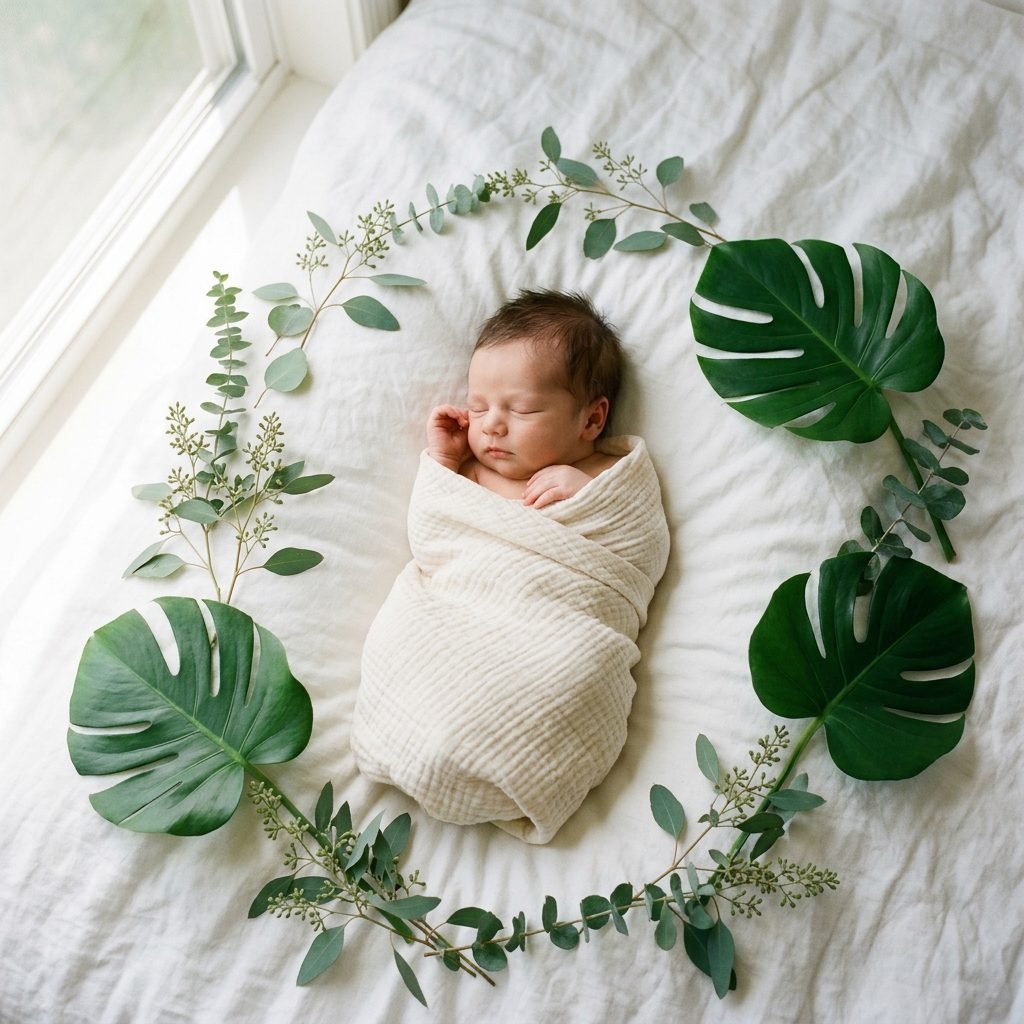
Now for the creative part! You are the set designer. We want the greenery to look like it’s growing around the baby, not just thrown there. Think ‘nest,’ not ‘salad.’
The ‘Nest’ Technique
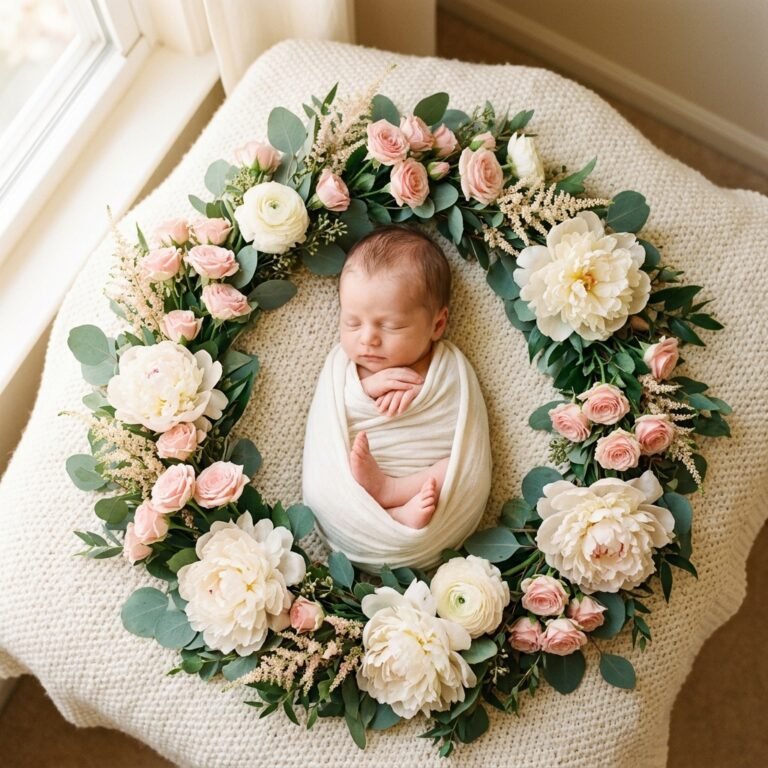
Create a circular ‘halo’ of greenery around the baby’s head. Start with larger leaves (like Monstera) as the base and tuck smaller sprigs (like Eucalyptus or Ferns) underneath them to create depth. Use odd numbers (3, 5, or 7 sprigs)—this is a classic design trick that is more pleasing to the eye.
The Color Palette
Keep your colors monochromatic. Since we are using green, stick to whites, creams, and tans for the fabrics. This makes the green ‘pop’ and keeps the focus on the baby’s delicate skin. If you want a tiny hint of color, a single dried flower or a wooden rattle can add a lovely touch without being distracting.
| Styling Element | The ‘Do’ | The ‘Don’t’ |
|---|---|---|
| Greenery Placement | Layer leaves for depth and height. | Lay them flat like a 2D drawing. |
| Baby’s Outfit | Simple swaddle or a plain diaper cover. | Bright patterns or ‘slogan’ onesies. |
| Props | One meaningful item (e.g., an ultrasound photo). | Cluttering the frame with too many toys. |
The Mama-Photographer’s Shot List: Poses and Perspectives
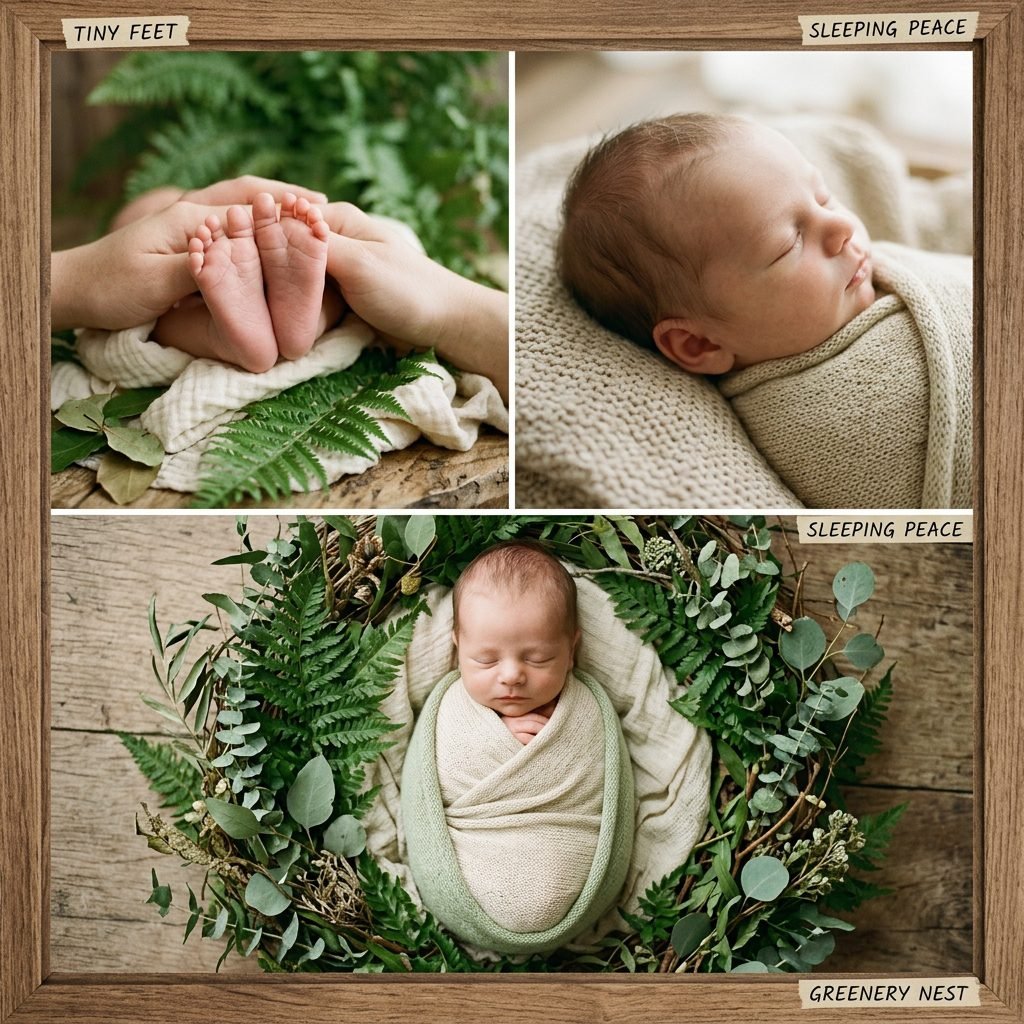
You don’t need to move the baby much to get a variety of looks. In fact, the less you move them, the better! Use your own body to change the perspective.
1. The ‘Bird’s Eye’ (The Hero Shot)
Stand directly over the baby. Ensure your phone/camera is parallel to the floor. This is the classic ‘organic’ shot where the greenery creates a frame around the baby. Focus on the eyelashes.
2. The ‘Profile’ (The Tiny Details)
Crouch down so you are at eye-level with the baby. Shoot from the side to capture the ‘button nose’ and the curve of their forehead. This is a great time to use a Portrait Mode setting to blur the background greenery.
3. The ‘Macro’ (The Macro-Magic)
Get close! Capture the things that change the fastest:
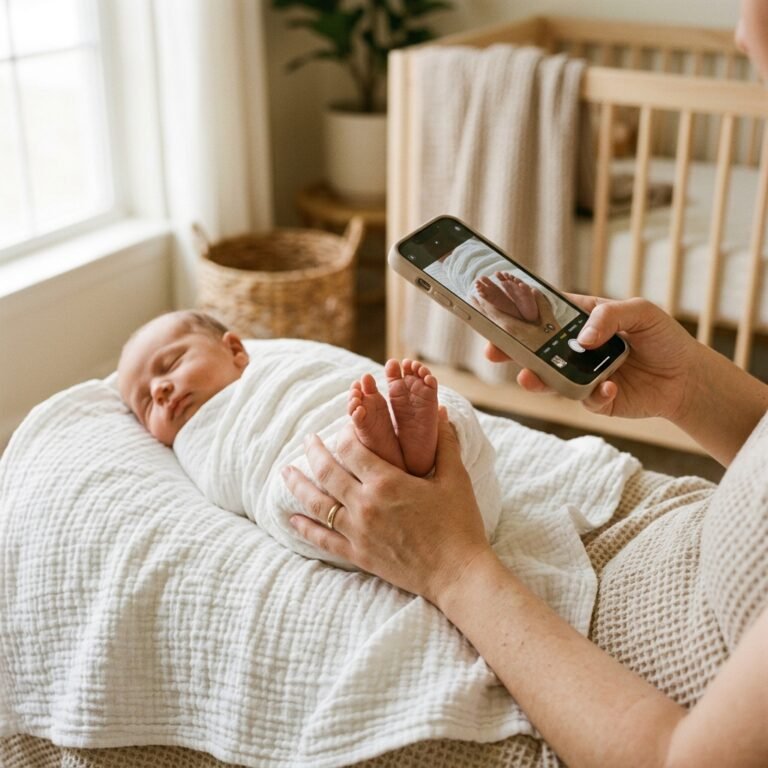
- Those tiny, peeling toes peeking out of the greenery.
- The swirl of hair on the crown of their head.
- Their tiny fingers gripping the edge of a leaf or your own finger.
4. The ‘Negative Space’
Don’t always put the baby in the center. Place them in the bottom third of the frame and let the greenery fill the top two-thirds. This creates a high-end, ‘editorial’ look that is perfect for birth announcements.
Polishing the Magic: Free Editing Tools for a Professional Finish

Even professional photos look a bit ‘flat’ straight out of the camera. The ‘Organic’ look relies on softness and warmth. You can achieve this in 30 seconds using free apps like Lightroom Mobile or Snapseed.
The ‘Organic’ Edit Formula:
- Exposure: Increase slightly to make the photo ‘airy.’
- Contrast: Decrease slightly to soften the skin.
- Shadows: Pull them up (brighten) to remove any harsh dark spots.
- Saturation: Decrease slightly (especially for the greens) to give it a ‘muted’ or ‘fine art’ look.
- Warmth/White Balance: If the baby looks a bit blue or ‘cold,’ slide the warmth toward the yellow/orange side just a tiny bit.
Affirmation: I am capturing the soul of my child. A little grain or a slightly blurry edge only adds to the ‘dreamy’ memory of these fleeting days.
Conclusion
You Did It, Mama!
There you have it—a professional-grade, organic newborn gallery without spending a single dime. By using the natural light in your home, the plants in your garden, and the love in your heart, you’ve created something far more valuable than a studio session. These photos aren’t just images; they are a testament to your resourcefulness and your devotion during this transformative postpartum period.
Don’t worry if the baby cried halfway through or if the leaves weren’t perfectly symmetrical. The beauty of the ‘organic’ style is that it embraces imperfection. Print these out, hang them in the nursery, and whenever you look at them, remember how powerful you are. You are a mother, a creator, and your baby’s first and favorite storyteller. Congratulations on your beautiful new sprout!