How to Use a Pegboard for Genius Baby Diaper Changing Station Storage
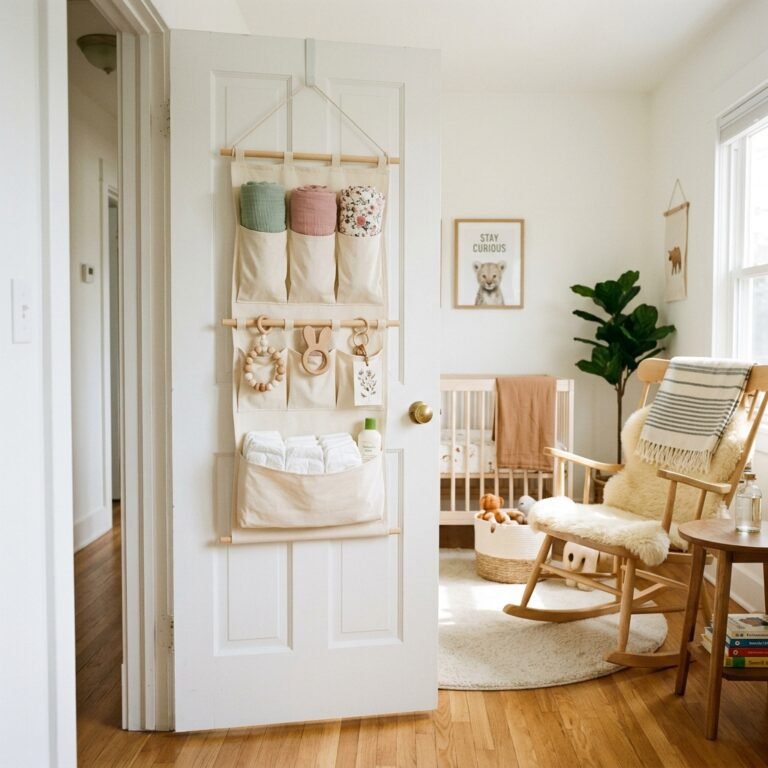
Oh, sweet mama, I see you. You are in the heart of the nesting phase, that beautiful, whirlwind time where every fiber of your being wants to prepare the perfect nest for your little one. Or perhaps you are already in the thick of it, navigating the ‘midnight haze’ of diaper changes and realizing that fumbling through deep, dark dresser drawers for a single diaper cream is the last thing your tired heart needs. As a doula and a mama who has been in those trenches, I want to share a little secret that is a total game-changer for your nursery: the vertical pegboard. It is not just for tool sheds or craft rooms anymore; it is the ultimate ‘genius’ solution for a stress-free changing station. By moving your essentials from hidden drawers to an open, organized vertical space, you are not just saving room—you are saving your sanity. In this guide, we are going to walk through exactly how to build, organize, and style a pegboard station that feels like a warm hug every time you walk into the room. We will talk about ergonomics, safety, and those little aesthetic touches that turn a chore into a moment of connection with your baby. Let’s roll up our sleeves and create a space that works as hard as you do, mama.
The Philosophy of the Vertical Nursery: Why Pegboards Save Your Back and Brain
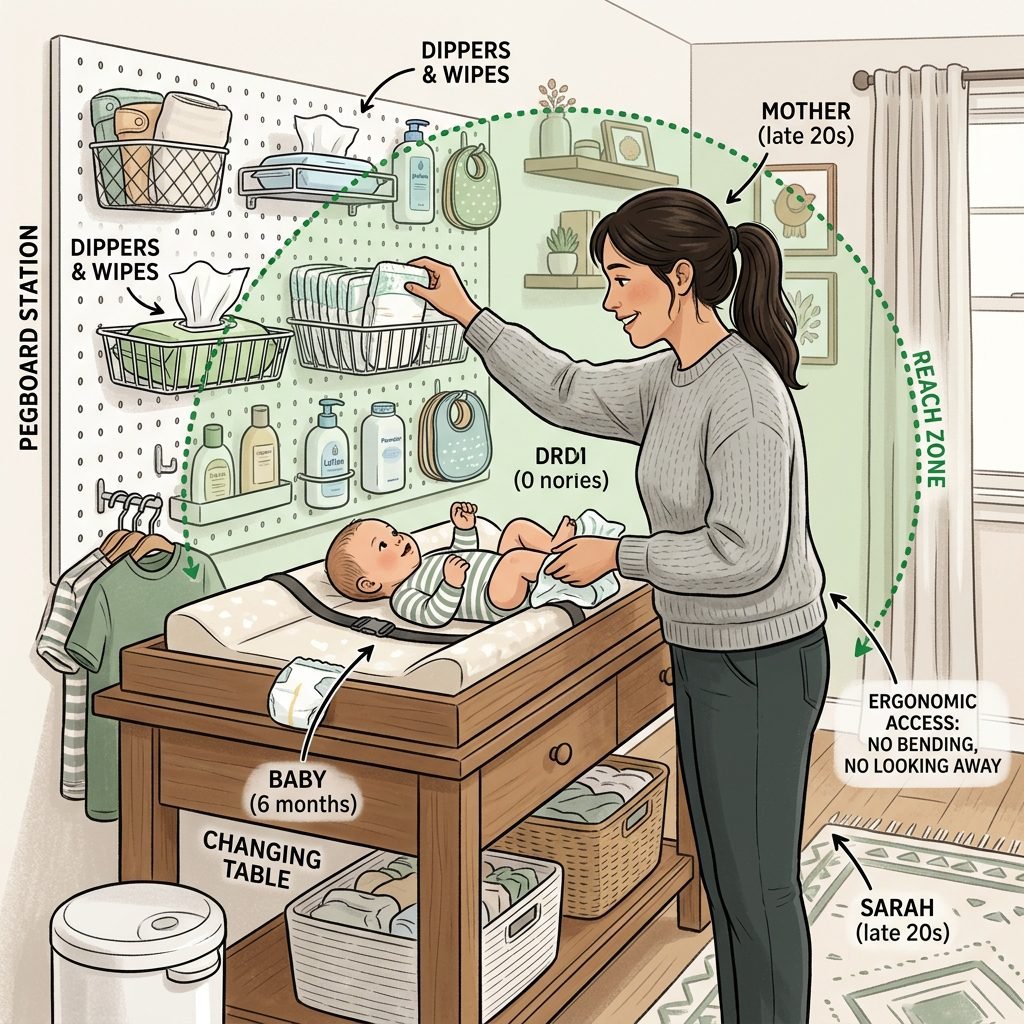
When we think about nursery design, we often focus on the big items—the crib, the glider, the rug. But the most high-traffic area in your home for the next two years will be the diaper changing station. Think about it: you will be performing this task 8 to 12 times a day in the early weeks. Traditional changing tables often rely on drawers or low shelves, which require you to bend, reach, and look away from your baby. A pegboard changes the geometry of motherhood. By utilizing the wall space directly in front of you, everything remains at eye level and within a 12-inch reach. This is crucial for safety because it means you never have to take a hand off your wiggly little love to find a fresh onesie or a wipe. It also respects your postpartum body; whether you are recovering from a C-section or dealing with the common back aches of early motherhood, minimizing unnecessary bending is a form of self-care. Furthermore, the visual clarity of a pegboard helps reduce ‘mental load.’ When you can see exactly how many diapers are left, you never run out unexpectedly. It’s about creating a system that supports your brain when you are running on three hours of sleep.
| Storage Method | Accessibility Score | Safety (Hand-on-Baby) | Space Efficiency |
|---|---|---|---|
| Traditional Dresser Drawers | Low (Requires bending/searching) | Moderate (Requires one-handed drawer pulling) | Low (Uses floor footprint) |
| Open Shelving | Moderate (Items get pushed to back) | High (Visual access) | Moderate (Bulky) |
| Genius Pegboard Station | Highest (All items at eye level) | Highest (Never leave baby’s side) | Highest (Zero floor space used) |
Choosing Your Canvas: Metal vs. Wood vs. IKEA Skådis
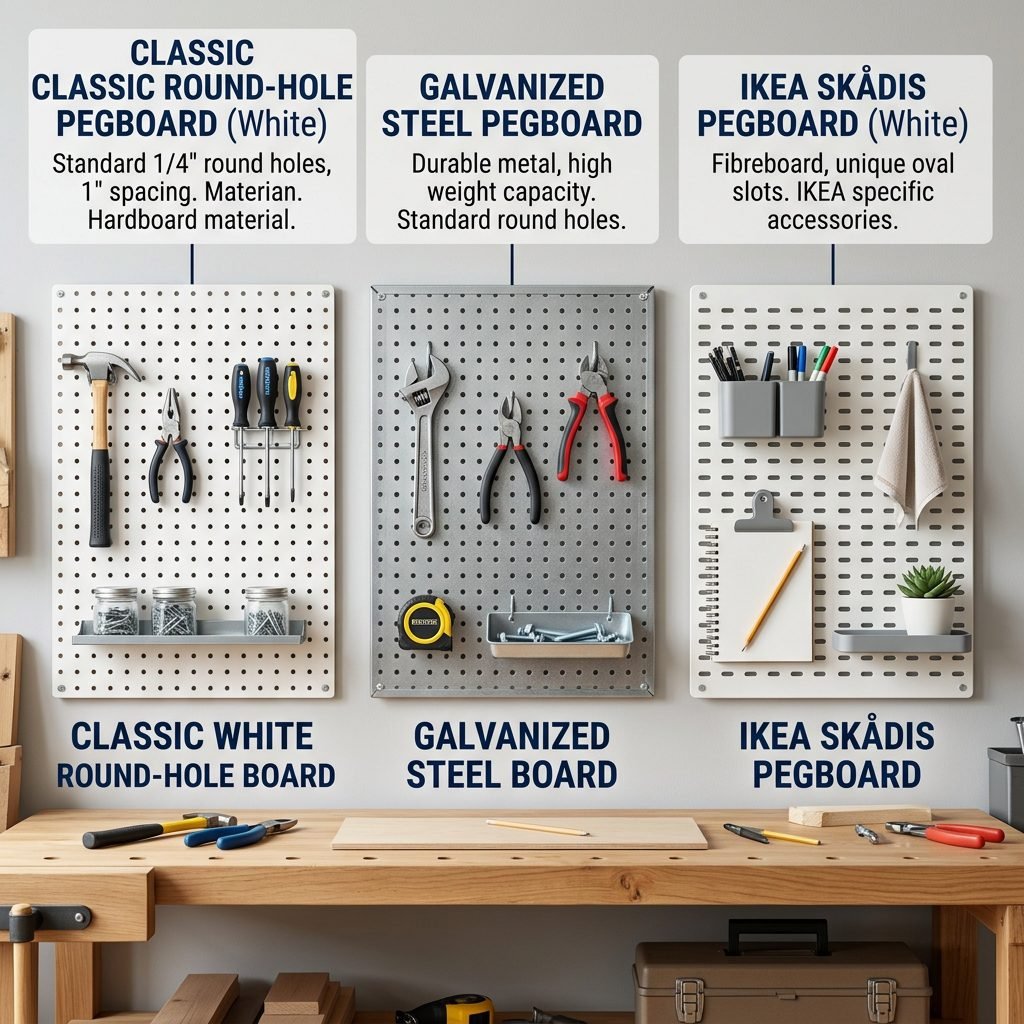
Not all pegboards are created equal, and choosing the right material is the first step in your DIY journey. You want something durable, easy to clean (because, let’s be honest, diaper changes can get messy), and aesthetically pleasing. The three main contenders are traditional hardboard, modern metal, and the cult-favorite IKEA Skådis system. Hardboard is the classic brown or white board you find at hardware stores; it’s affordable but can be prone to moisture damage if you live in a humid climate. Metal pegboards are incredibly sturdy and offer a sleek, industrial look, but they can be noisy when metal hooks clank against them—something to consider if you have a light sleeper. Then there is the IKEA Skådis, which features elongated holes rather than round ones. Most modern ‘nursery hacks’ use this system because IKEA offers a massive range of specific accessories like containers with lids, elastic cords, and letter trays that fit perfectly. Whatever you choose, ensure the board is at least 22×22 inches to provide enough surface area for all your essentials without feeling cluttered.
Mama’s Affirmation: I am creating an environment that fosters peace and ease for both me and my baby. My space is a reflection of my care.
The Essential Shopping List and Budget Breakdown
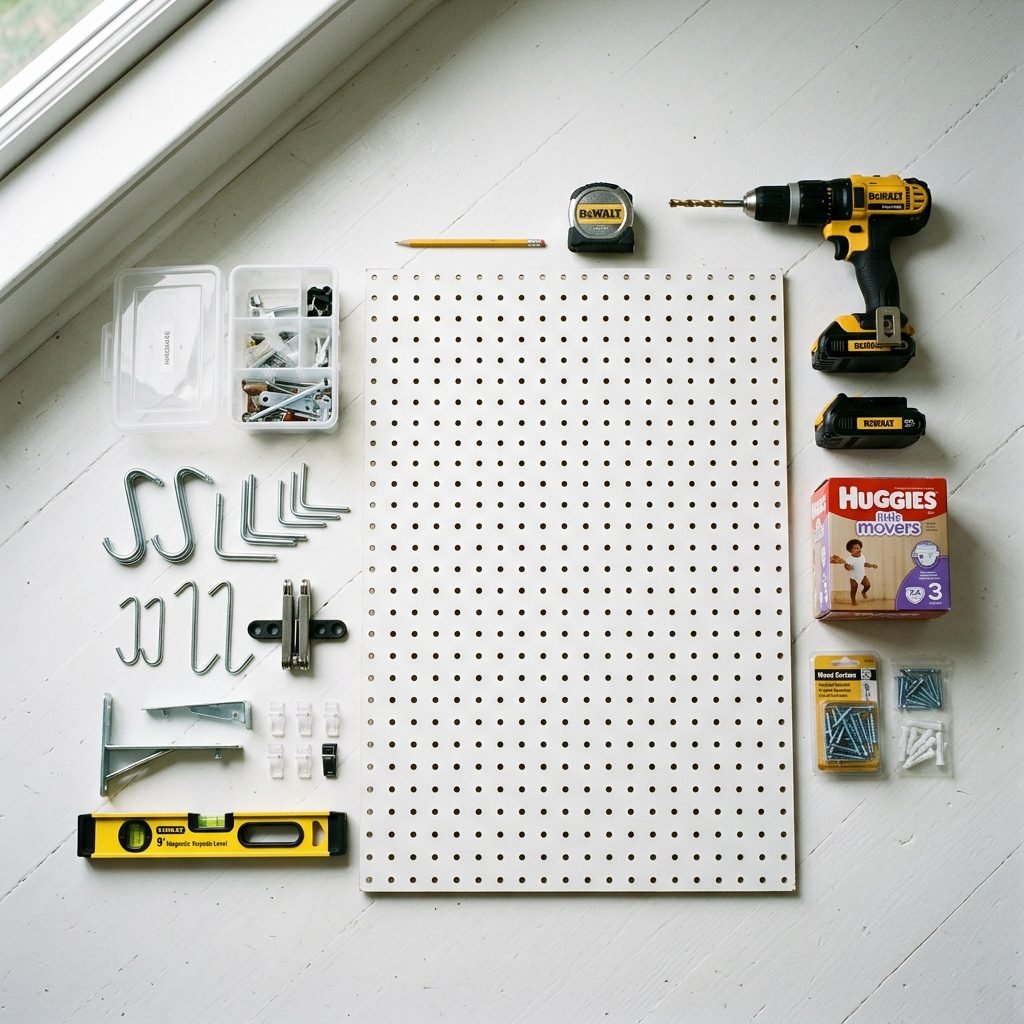
Before you head to the store, let’s get organized. You don’t need to spend a fortune to create a genius station. In fact, one of the best things about a pegboard is that it grows with your child—later on, this will become a desk organizer or a craft station! For now, we are focusing on the ‘Diapering Phase.’ You will need the board itself, a mounting kit (ensure it includes spacers to keep the board off the wall so hooks can fit), and a variety of bins. I always recommend clear acrylic bins for creams so you can see the labels, and deeper baskets for diapers. Don’t forget a few ‘S’ hooks for hanging things like a diaper disposal bag dispenser or a small toy to distract your little one during those wiggly phases. Here is a realistic budget breakdown for a high-end looking station:
| Item | Estimated Cost (USD) | Purpose |
|---|---|---|
| Pegboard (Standard Size) | $20 – $35 | The foundation of your station. |
| Mounting Hardware/Spacers | $5 – $10 | Secures board to wall safely. |
| Acrylic Bins (Set of 3) | $15 – $20 | Holds ointments, thermometers, and clippers. |
| Wire Baskets (Set of 2) | $12 – $18 | Holds 20-30 diapers and a pack of wipes. |
| Hooks and Clips | $5 – $8 | Hangs swaddles, hats, or pacifier clips. |
| Total Estimated Investment | $57 – $91 | A complete organization system. |
Installation Masterclass: Safety and Ergonomics
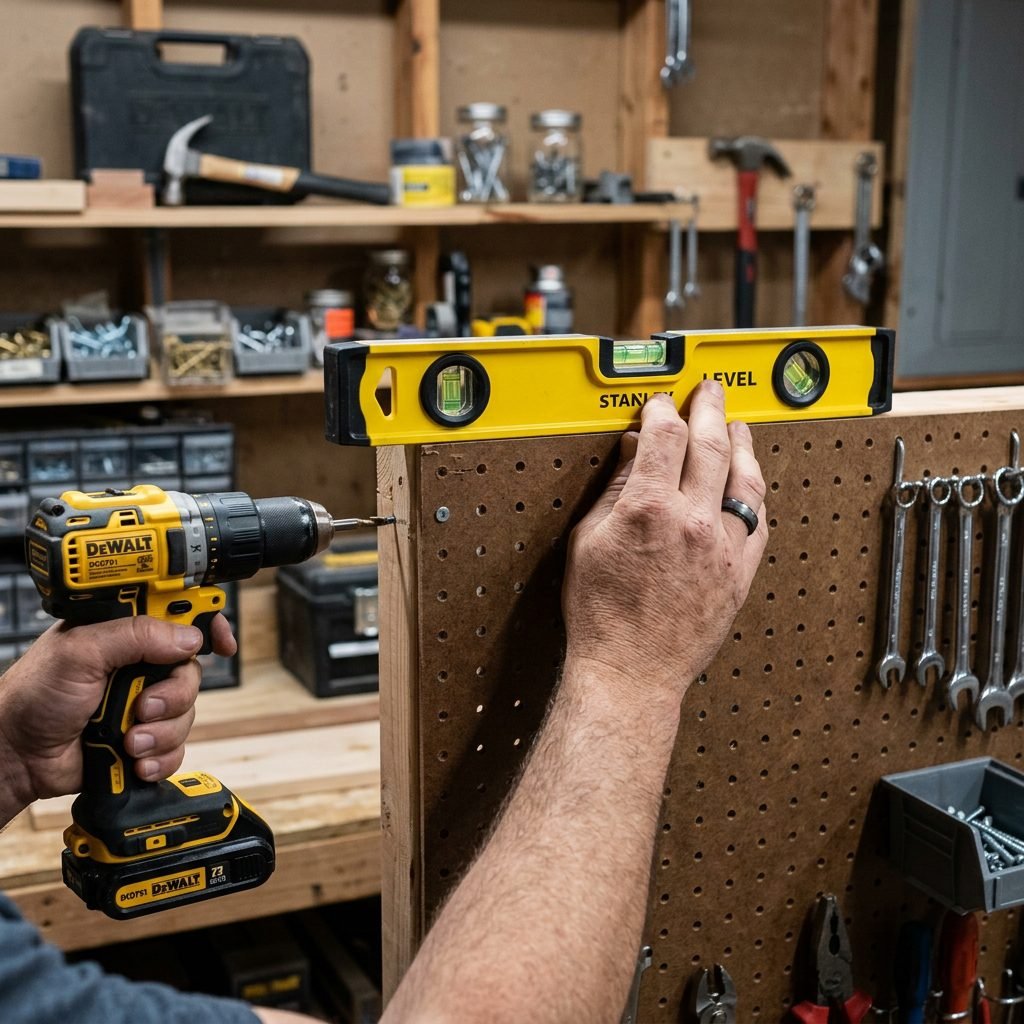
Safety is our top priority, mama. A pegboard filled with heavy wipes and glass lotion bottles needs to be rock solid. Follow these steps to ensure your station is secure:
- Find the Studs: Use a stud finder to locate the wooden beams behind your drywall. Anchoring at least one side of your pegboard into a stud is the gold standard for safety.
- Use Proper Anchors: If you can’t hit a stud, use heavy-duty toggle bolts or drywall anchors rated for at least 50 pounds. Remember, as your baby grows, they may reach up and grab at the board!
- Height Placement: Mount the board so the bottom edge is about 6 to 10 inches above the changing pad. This prevents the baby from kicking it but keeps everything within your easy reach.
- The Level Test: Use a spirit level to ensure the board is perfectly straight. A crooked board isn’t just an eyesore; it can cause round containers to roll or slide.
- Spacer Importance: Ensure there is a 1/2 inch gap between the board and the wall. Without this, you won’t be able to insert the hooks into the holes!
Once installed, give it a good ‘tug test.’ It shouldn’t budge. Now you have a safe, blank canvas ready for your maternal magic.
The Anatomy of a Perfect Pegboard: Zoning Your Supplies
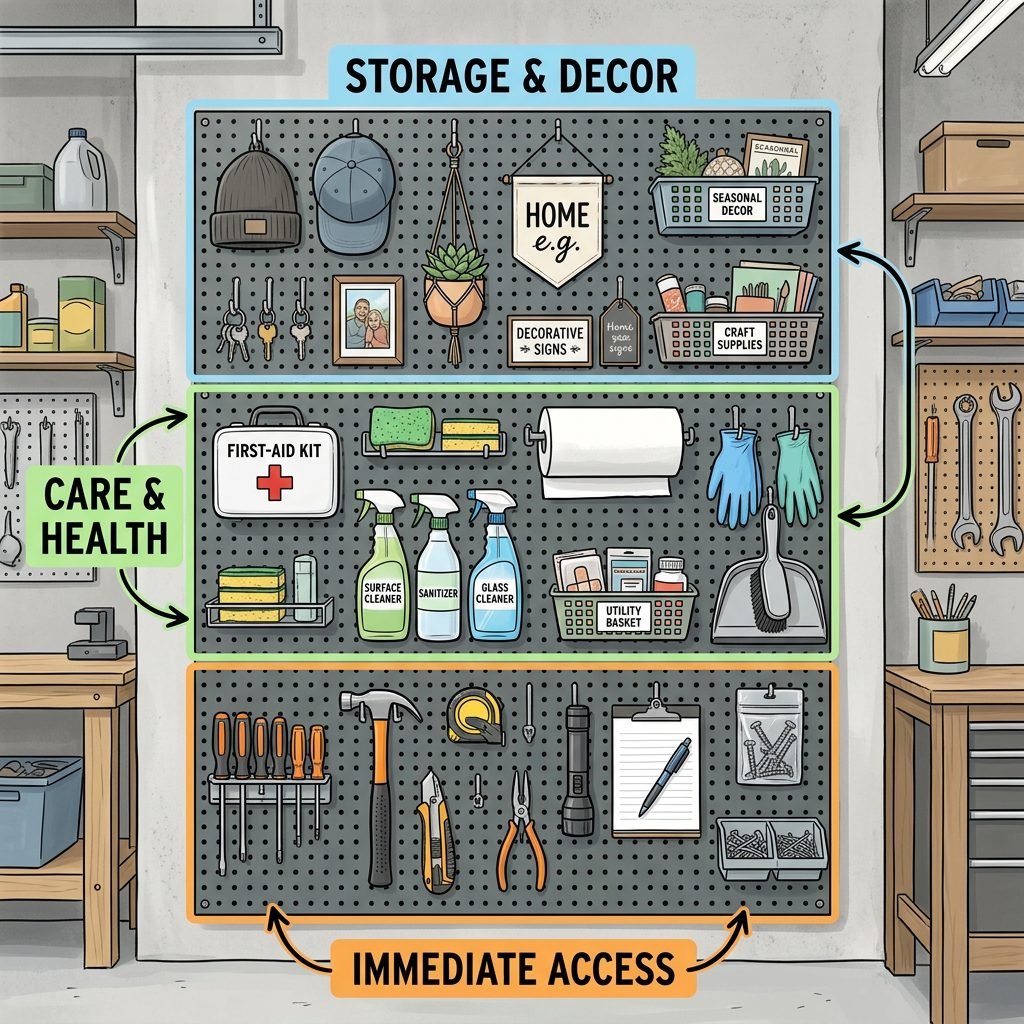
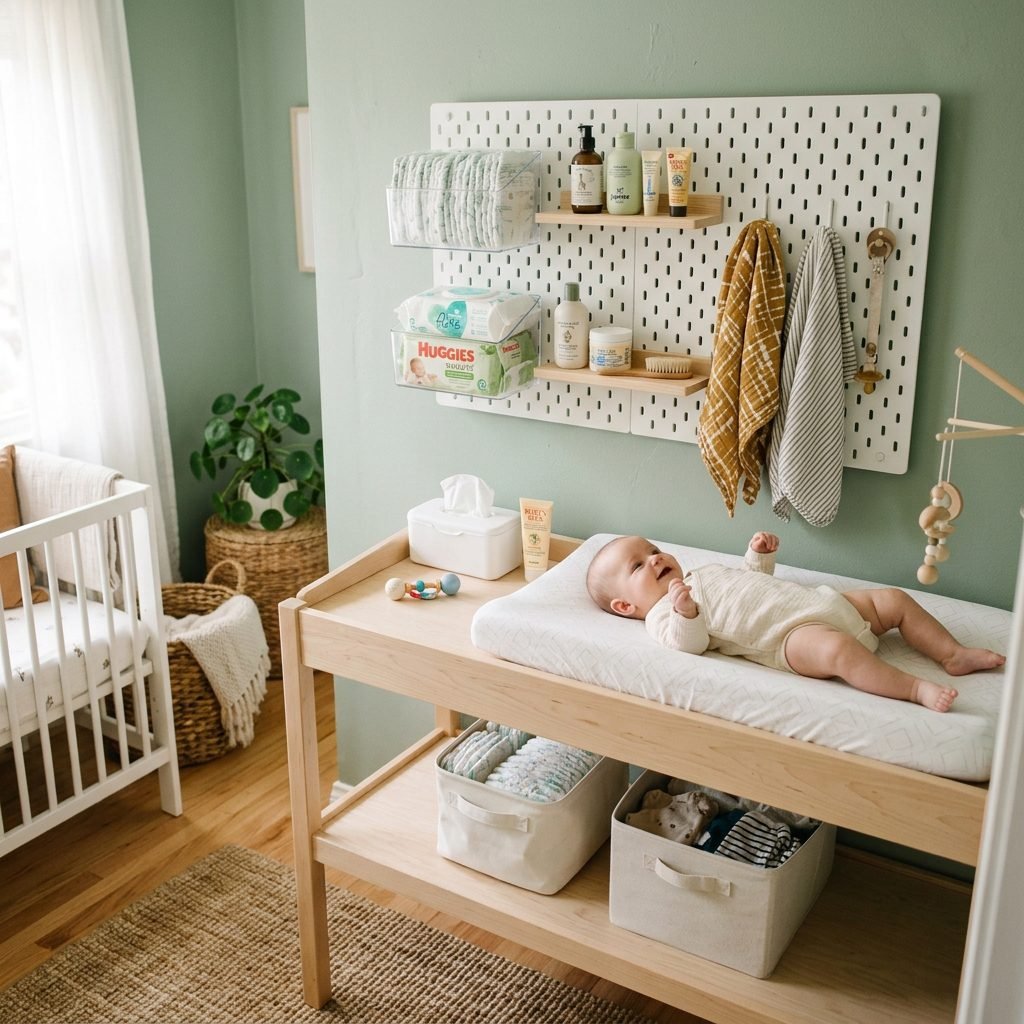
Now for the fun part: organizing! Think of your pegboard in three horizontal zones. The Lower Zone (closest to the baby) should hold items you need instantly and frequently. This is where your wipes and diapers go. Use a wide basket for diapers and a dedicated shelf or clip for the wipe dispenser. The Middle Zone is for ‘Treatment and Care.’ Place your diaper rash creams, hand sanitizer (for you!), and body lotion here. I love using small clear cups for items like a rectal thermometer, nail clippers, and a nasal aspirator—things you don’t want to be digging for in an emergency. The Upper Zone is for ‘Backup and Beauty.’ This is the place for extra pacifiers, small decorative items, a tiny plant (air plants are great!), or a framed ultrasound photo to keep your spirits high. Pro Tip: Hang a small ‘distraction toy’ or a high-contrast card on a clip at the baby’s eye level. It can buy you an extra 30 seconds of stillness during a blowout situation!
The ‘Reach Test’ Checklist:
- Can I grab a wipe with my left hand while holding baby’s legs with my right?
- Is the hand sanitizer far enough away from the baby’s reach but close enough for me?
- Are the sharp items (clippers) in the highest zone?
- Is there a spot for a fresh change of clothes for the baby?
Styling for Serenity: Making it Beautiful
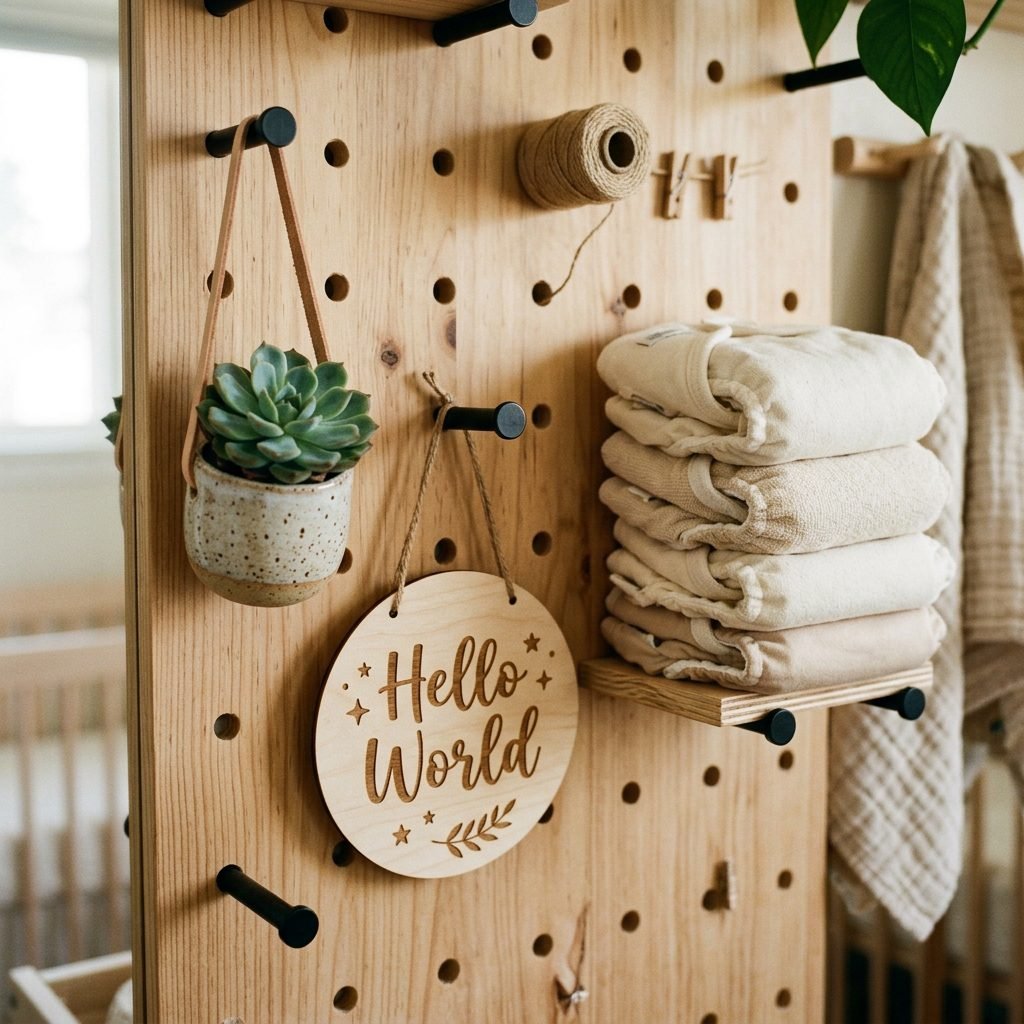
Just because it’s functional doesn’t mean it shouldn’t be beautiful. Your nursery is your sanctuary. To give your pegboard that ‘Pinterest-perfect’ look, stick to a cohesive color palette. If you have a white board, try using all wooden or all blush-colored bins. You can even paint the pegboard itself to match your walls for a ‘built-in’ look. Add texture by hanging a small macramé rainbow or a soft muslin swaddle. Lighting is also key; consider clipping a small, dimmable LED book light or a puck light to the top of the pegboard. This provides a soft glow for those late-night changes without waking the baby (or your partner) with harsh overhead lights. Remember, mama, this station is for you as much as it is for the baby. If looking at a neatly organized, aesthetically pleasing space makes you breathe a little deeper, then it is worth the extra effort to style it.
Mama’s Tip: Use Washi tape to label your bins. It’s cute, removable, and helps partners or grandparents know exactly where things go when they are ‘helping’ (bless them!).
Conclusion
Creating a genius pegboard diaper station is more than just a home improvement project; it is an act of preparation for the beautiful, chaotic journey of motherhood. By taking the time to organize your space vertically, you are setting yourself up for smoother transitions, safer changes, and a more peaceful environment. You are taking control of the ‘stuff’ so you can focus on the ‘soul’—those sweet moments of eye contact, the tiny toe tickles, and the soft coos that happen right there on the changing pad. Whether you are a first-time mom or a seasoned pro adding to your brood, this simple hack will transform your daily routine. You’ve got this, mama. Your nest is ready, your heart is full, and now, your diapers are perfectly in reach. Happy nesting!