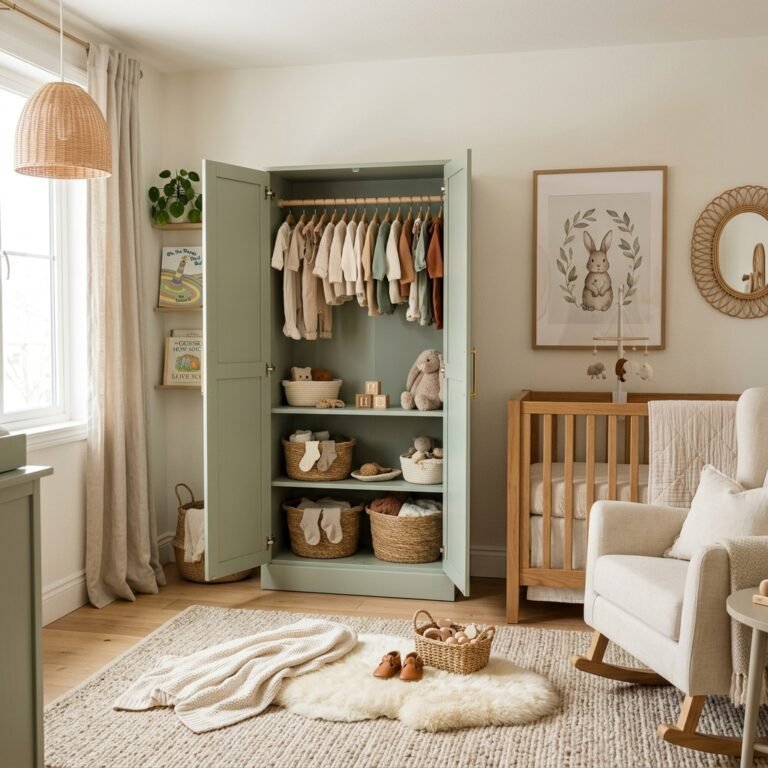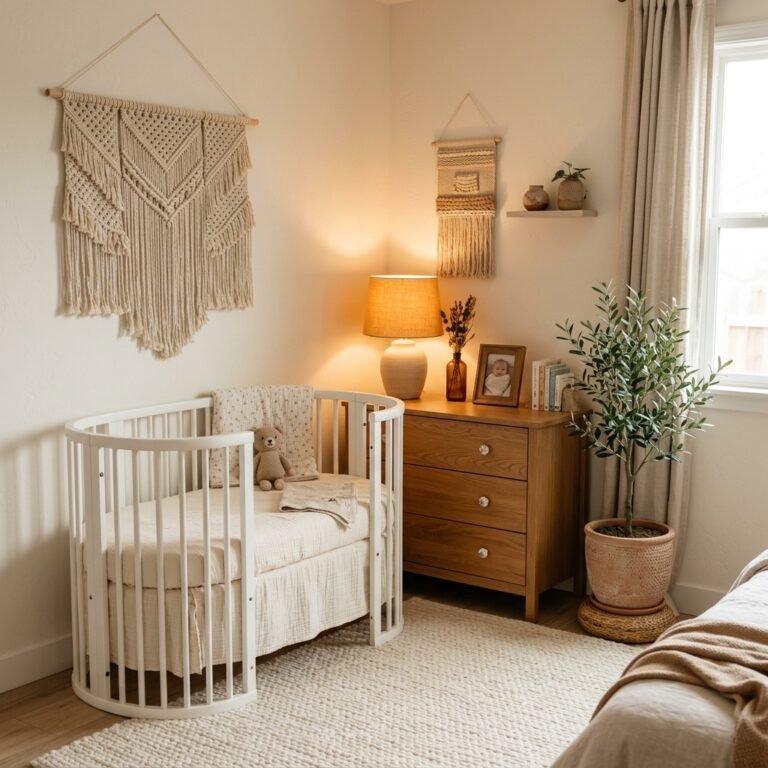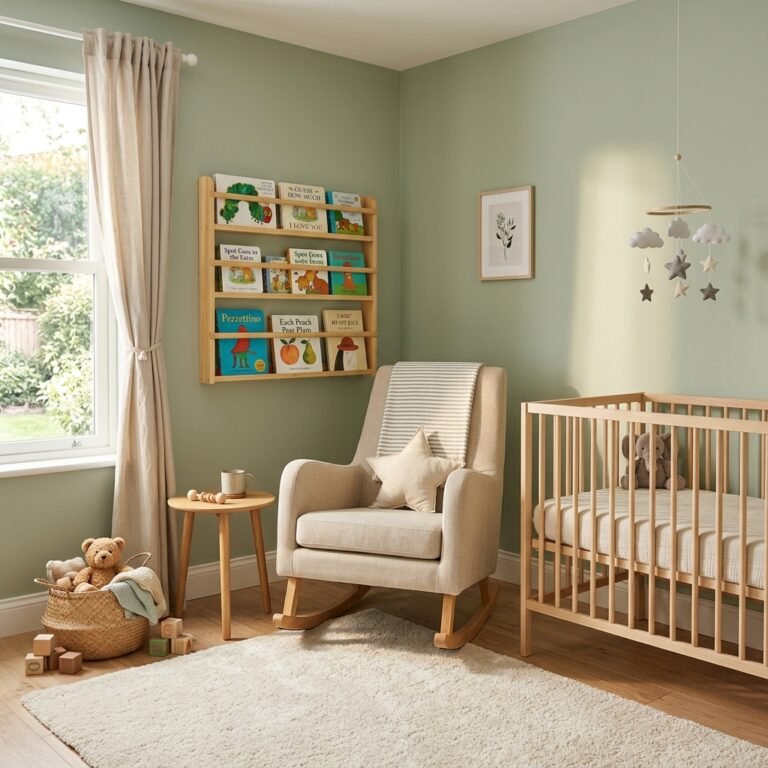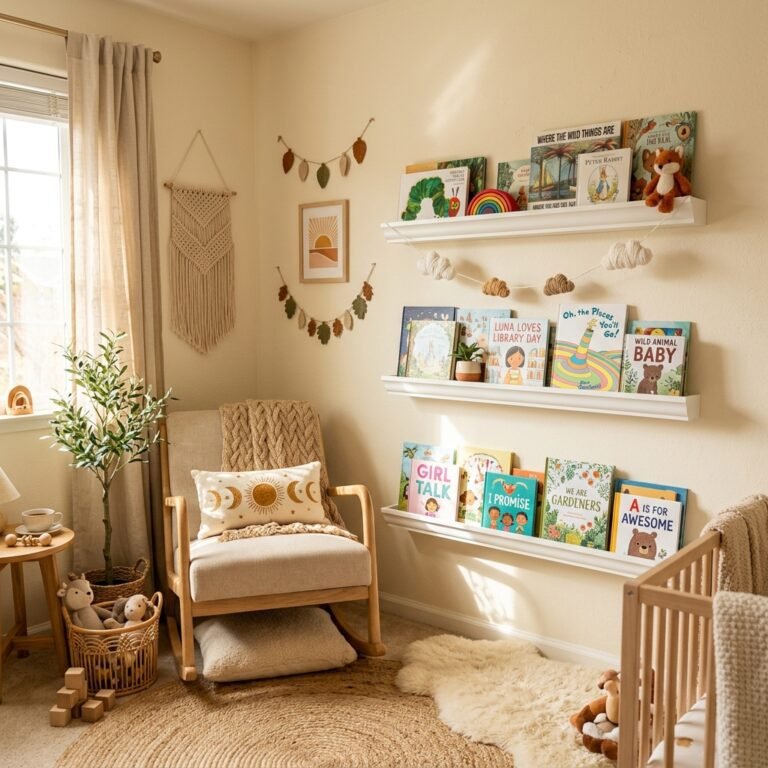
How to Convert a Standard Reach-In Closet Into a Cozy Baby Nursery Nook
Hello, beautiful mama. If you are staring at a standard reach-in closet right now, wondering how on earth you are going to fit a baby into your current living situation, I need you to take a deep, grounding breath. Drop your shoulders, unclench your jaw, and listen to me: your baby does not need a massive, magazine-cover bedroom to thrive. What your baby needs is you, a safe place to sleep, and a whole lot of love. As a doula and pediatric sleep consultant, I have seen families raise incredibly happy, healthy babies in studio apartments, shared bedrooms, and yes—closet nurseries. In fact, converting a closet into a nursery nook (sometimes affectionately called a ‘cloffice’ for babies) is one of my absolute favorite space-saving hacks. It creates a snug, womb-like environment that babies naturally crave, while keeping them close to you during those demanding postpartum months.
Nesting in a small space can feel overwhelming, especially when social media is flooded with sprawling playrooms and giant cribs. But there is a profound, intimate magic in creating a micro-nursery. It forces you to be intentional, to declutter, and to focus entirely on the essentials. Today, we are going to walk through this transformation together, step-by-step. From safely removing those clunky bifold doors to choosing the perfect mini-crib, maximizing every inch of vertical storage, and ensuring optimal airflow for safe sleep, I am here to guide you. Grab a cup of red raspberry leaf tea, get cozy, and let us turn that cluttered storage space into a breathtaking, serene sanctuary for your little one.
Step 1: The Great Clean-Out and Prepping Your Canvas
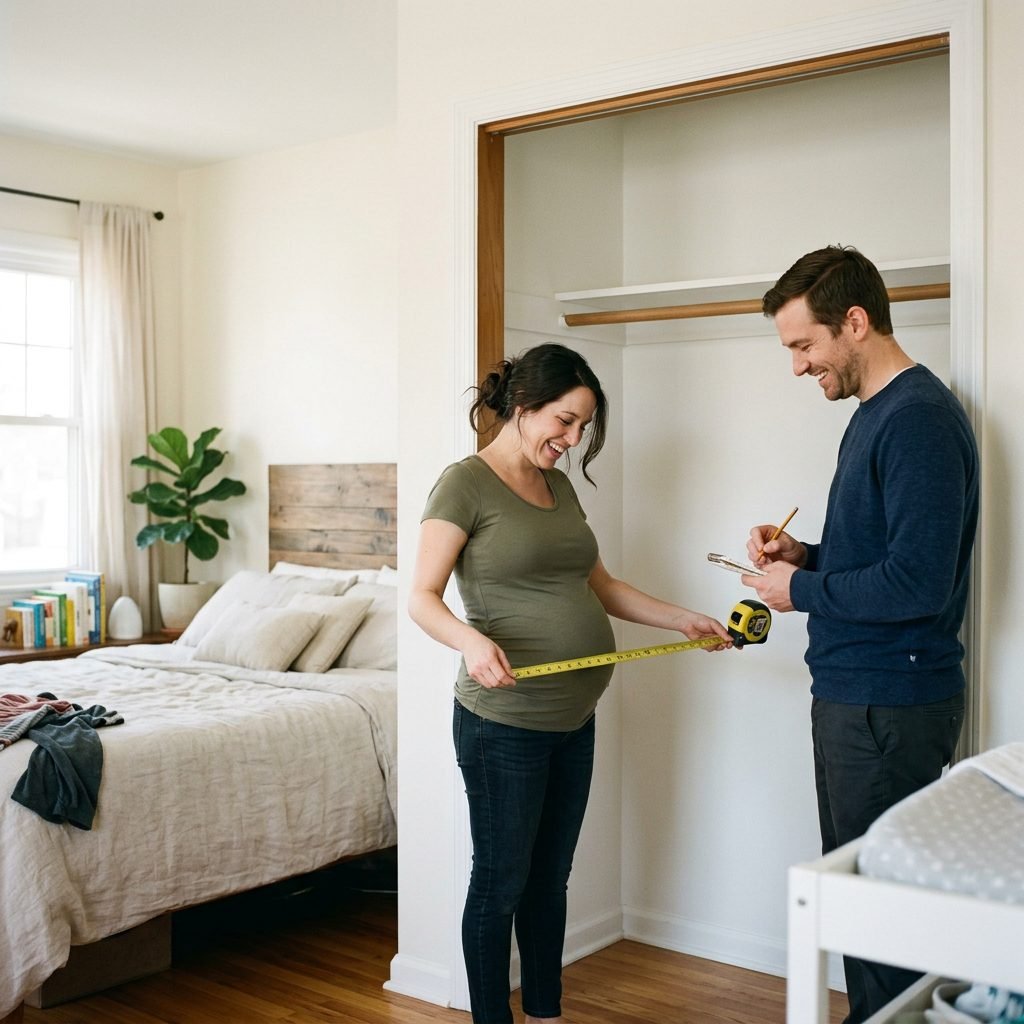
Before we can dream about botanical wallpaper and soft amber lighting, we have to tackle the physical transformation of the space. The very first step is clearing out the closet entirely. I know this can trigger some nesting anxiety—where will all those winter coats and extra linens go? But I promise you, decluttering now will bring you immense peace postpartum. Once the closet is empty, it is time to remove the doors. Standard bifold or sliding doors can be noisy, pinch little fingers, and most importantly, they restrict vital airflow. Removing them opens up the room and integrates the nook seamlessly into your master bedroom or living space.
Mama reminder: You are making space for new life. It is okay to let go of items that no longer serve you to make room for this beautiful new chapter. If you are feeling overwhelmed, ask your partner or a friend to handle the heavy lifting. Protect your pelvic floor!
After the doors are off, grab your measuring tape. You need to know your exact dimensions before buying a single piece of furniture. Measure the width, the depth (from the back wall to the door frame), and the height. Pay special attention to the depth, as standard reach-in closets are typically around 24 inches deep, which perfectly accommodates most mini-cribs. Once measured, patch any holes from old shelving systems, give the walls a thorough scrub with a pregnancy-safe, non-toxic cleaner, and let the space air out completely.
| Task | Tools Needed |
|---|---|
| Removing Doors | Screwdriver, step stool, partner assistance |
| Measuring Dimensions | Measuring tape, notepad, pencil |
| Patching Walls | Spackle, putty knife, fine-grit sandpaper |
| Cleaning Canvas | Non-toxic multi-surface cleaner, microfiber cloths |
Step 2: Designing a Womb-Like Sensory Haven
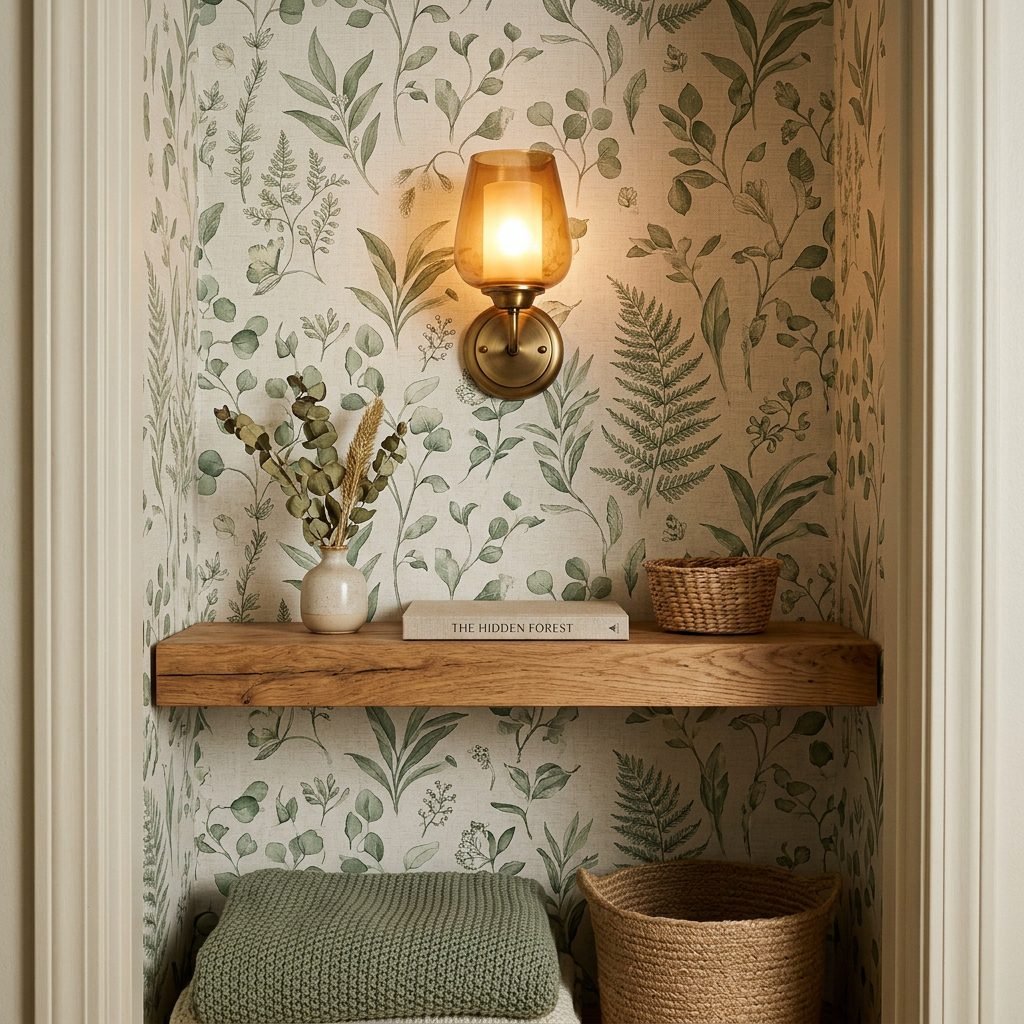
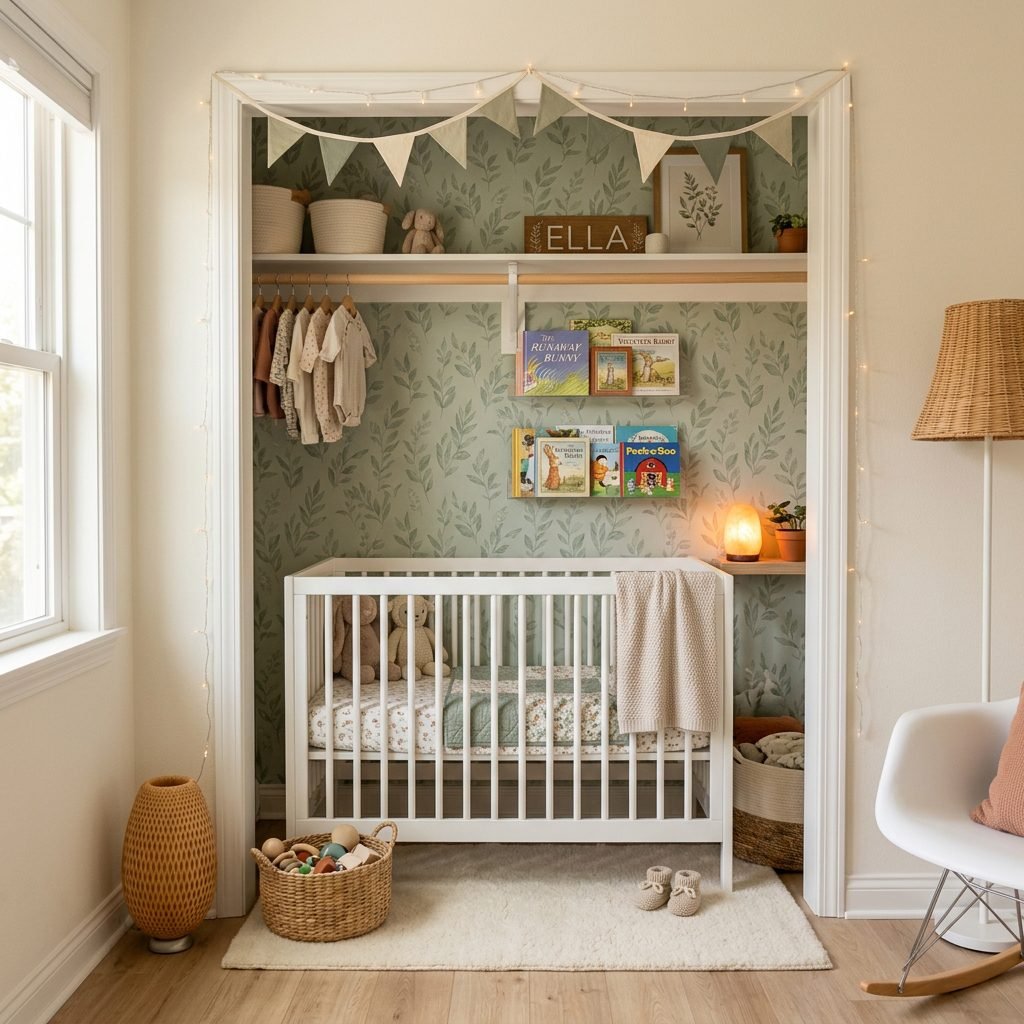
Now comes the fun part: the aesthetics! Because a closet is a naturally enclosed, slightly darker space, you can lean into this to create a deeply comforting, womb-like environment for your baby. Pediatric sleep consultants love dark, cozy spaces because they promote melatonin production and better sleep stretches. For the walls, consider a high-quality peel-and-stick wallpaper. It is a fantastic, low-commitment way to add character without dealing with toxic paint fumes during pregnancy. Opt for gentle, calming patterns like soft botanicals, muted rainbows, or starry night skies.
If you prefer to paint, it is absolutely critical to choose Zero-VOC (Volatile Organic Compounds) paint. Pregnancy-safe paints ensure that you and your baby are not inhaling harmful chemicals. When it comes to lighting, avoid harsh overhead bulbs. Instead, install a plug-in wall sconce or a battery-operated tap light with an amber bulb. Amber light does not disrupt the circadian rhythm, making it perfect for those 2 AM diaper changes and feeding sessions.
Sensory Elements to Include:
- Visual: High-contrast black and white art cards placed safely at baby’s eye level (great for early newborn development).
- Auditory: A small, portable continuous white noise machine tucked onto a high shelf to mimic the whooshing sounds of the womb.
- Lighting: A dimmable, warm amber nightlight for gentle midnight check-ins.
Step 3: Choosing the Right Crib for Your Dimensions
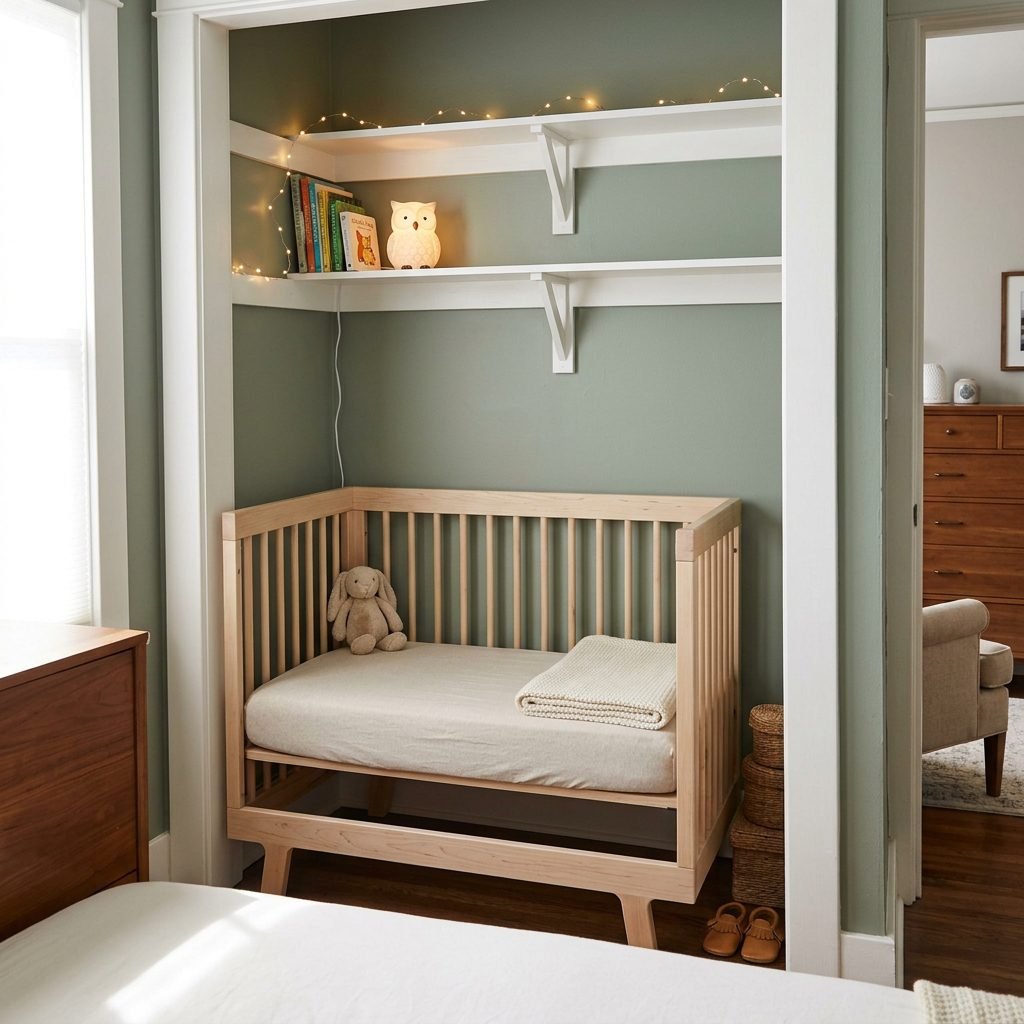
The centerpiece of your nursery nook is, of course, the sleep space. Unless you have an unusually deep closet, a standard-sized crib (which is roughly 28 inches deep and 52 inches long) will likely stick out past the door frame. This is where the magic of the mini-crib comes in. Mini-cribs are a godsend for small spaces. They typically measure around 24 inches wide by 38 inches long, allowing them to slide perfectly into a standard reach-in closet while leaving room on either side for storage.
As a postpartum nurse, I always remind parents: mini-cribs are just as safe as standard cribs, provided they meet all current safety standards. They are not bassinets; they have firm mattresses and sturdy sides, and many babies can sleep comfortably in them until they are 18 to 24 months old! When placing the crib inside the closet, ensure it is centered or positioned in a way that allows you easy, ergonomic access to lift your baby in and out without straining your back or healing abdominal muscles (especially vital if you are recovering from a C-section).
| Sleep Space Option | Average Dimensions (W x L) | Pros for Closet Nooks |
|---|---|---|
| Standard Crib | 28″ x 52″ | Longest use, but rarely fits flush inside a standard closet. |
| Mini-Crib | 24″ x 38″ | Perfect depth fit, safe for up to 18-24 months, aesthetically pleasing. |
| Pack ‘n Play | 28″ x 40″ | Budget-friendly, portable, but may protrude slightly. |
| Bassinet | 18″ x 30″ | Ultimate space saver, but only lasts for the first 4-6 months. |
Step 4: Storage Magic & Clever Organization Hacks
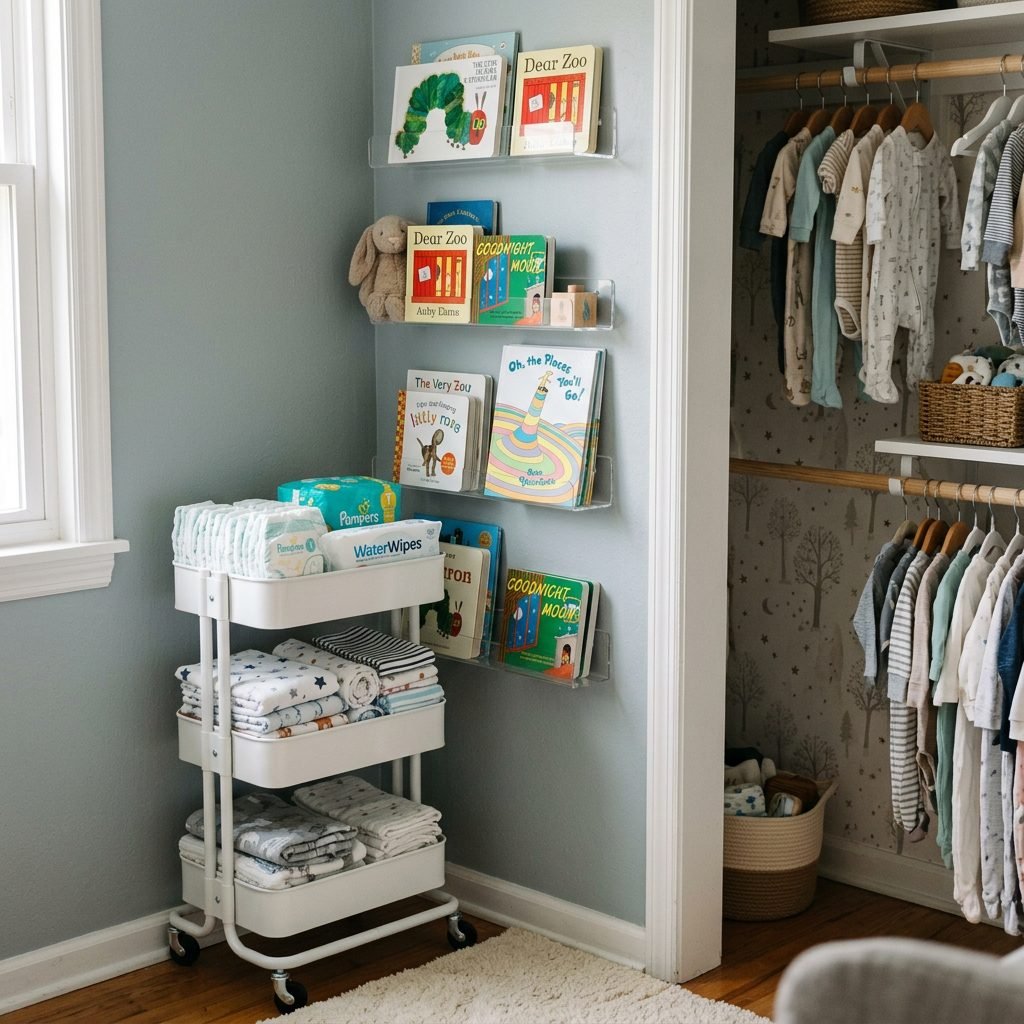
When your nursery is a closet, where do you put all the baby things? The secret to small space nursery design is maximizing vertical real estate. You have to think upward! Since the lower half of the closet is occupied by the crib, the upper half and the side walls are your prime storage zones. Start by installing floating shelves high above the crib—just ensure they are anchored securely into wall studs and positioned high enough that a standing toddler cannot reach them, and nothing can accidentally fall into the crib.
For clothing, diapers, and burp cloths, I highly recommend utilizing an IKEA rolling cart (like the Raskog). It can sit just outside the closet or tuck into a small gap, serving as a mobile diaper station that you can roll right to your bed during postpartum recovery. Another brilliant hack is using clear, acrylic floating bookshelves on the narrow side walls of the closet. They take up virtually zero visual space, hold baby books perfectly face-out, and add a beautiful pop of color through the book covers.
Top Small Space Storage Hacks:
- The IKEA Kallax Hack: If you have width to spare next to the mini-crib, slide in a 1×4 Kallax unit vertically. Fill it with soft fabric bins for onesies, swaddles, and pacifiers.
- Over-the-Door Organizers: If you chose to keep one side of a sliding door, or if your bedroom door is nearby, hang a clear-pocket shoe organizer. It is the absolute best way to store rolled-up baby socks, diaper creams, and thermometers.
- Under-Crib Storage: Utilize the space beneath the mini-crib! Buy flat, rolling under-bed storage boxes for extra wipes, outgrown clothes, and bulky winter gear.
Step 5: Crucial Safety, Airflow, and Temperature Guidelines
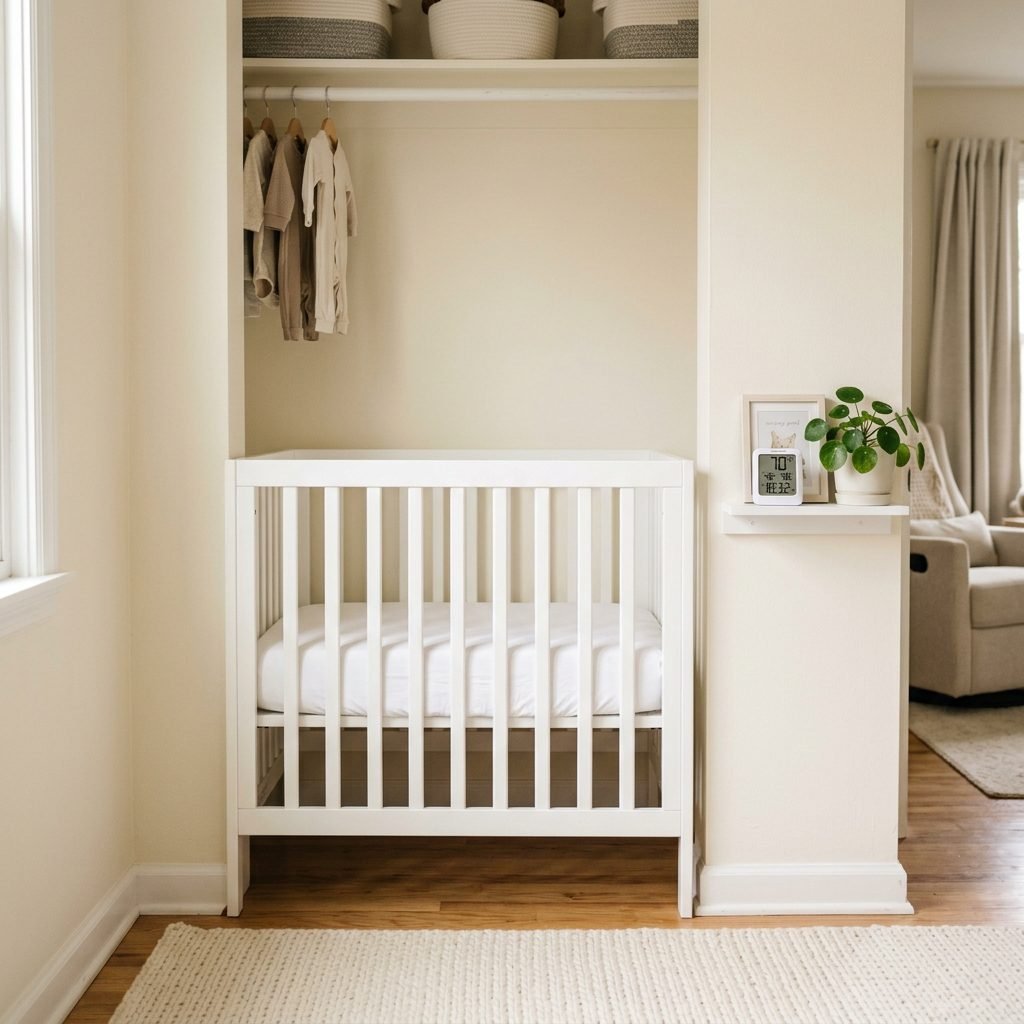
As a doula and infant care expert, this is the most important section of our guide. Creating a closet nursery is brilliant, but it requires strict adherence to safe sleep guidelines. The biggest concern with placing a crib in an alcove or closet is airflow and ventilation. Stagnant air can increase the risk of SIDS (Sudden Infant Death Syndrome), which is why removing the closet doors is non-negotiable. You want the air from your main bedroom to circulate freely around your baby.
To promote even better air circulation, consider placing a small, oscillating fan in the main bedroom, pointing gently toward (but not directly blasting on) the closet nook. Temperature control is also vital. The ideal temperature for a sleeping baby is between 68°F and 72°F (20°C – 22°C). Because closets do not usually have their own HVAC vents, you must monitor the nook’s specific temperature. I highly recommend purchasing a baby monitor that features a built-in room thermometer, or placing a standalone digital thermometer on a shelf near the crib.
| Safety Factor | Do This | Don’t Do This |
|---|---|---|
| Airflow | Remove closet doors completely; use a gentle room fan. | Keep bifold doors closed or hang heavy blackout curtains over the opening. |
| Temperature | Keep the room between 68-72°F; dress baby in breathable layers. | Place a space heater directly inside or near the closet nook. |
| Decor Placement | Secure all shelves into wall studs; keep art lightweight. | Hang heavy frames with glass directly over the crib. |
| Crib Bedding | Use only a firm mattress and a tight-fitting fitted sheet. | Add bumpers, blankets, pillows, or stuffed animals to the crib. |
Copy-Paste Reminder for Anxious Mamas: “My baby’s sleep space is safe, minimalist, and secure. I have created a beautiful environment, and I am doing an amazing job protecting my little one.”
Conclusion
Mama, as you stand back and look at your transformed closet nursery, I hope you feel an overwhelming sense of pride. You have taken a small, overlooked space and turned it into a warm, safe, and deeply intentional sanctuary for your baby. Remember that during those beautiful, exhausting postpartum days, the size of your nursery will not matter to your little one. What will matter is the warmth of your arms, the sound of your heartbeat, and the immense love you have poured into preparing for their arrival. You do not need endless square footage to be an incredible mother; you just need a safe little corner of the world to call your own. Enjoy this nesting process, trust your instincts, and get ready for the most beautiful adventure of your life.