How to Upgrade the IKEA Rast Chest into a Gorgeous Woodland Nursery Dresser
Welcome to the Nesting Journey, Sweet Mama
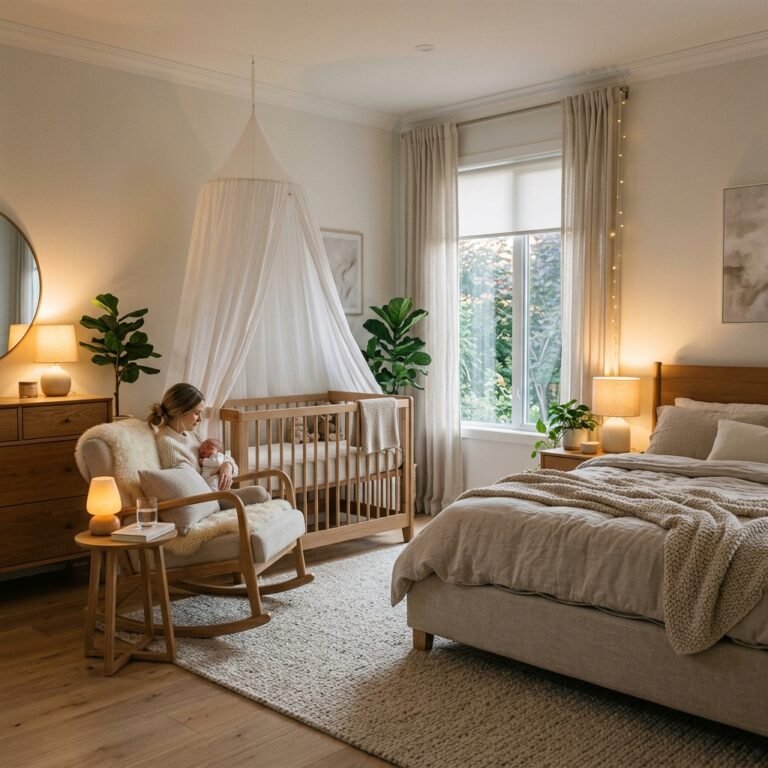
There is a unique kind of magic that happens during pregnancy—a quiet, humming energy we often call the nesting instinct. As a doula, I have sat with so many of you as you dream up the perfect sanctuary for your little one. You want a space that feels grounded, serene, and safe. But let’s be honest: preparing for a baby is expensive, and those high-end boutique dressers can cost a small fortune. That is where the IKEA Rast Chest comes in. This humble, solid pine three-drawer chest is the ultimate blank canvas for a crafty mama. Today, we are going to walk hand-in-hand through the process of turning this basic piece of furniture into a gorgeous, woodland-inspired heirloom. Whether you are in your second trimester and feeling that burst of energy, or you are a postpartum mama looking for a creative outlet while the baby naps, this project is for you. We aren’t just building a dresser; we are creating a piece of your baby’s first home with love and intention.
“The nursery is the first gift you give your child—a soft place to land and a beautiful place to grow.”
The Vision and Your Woodland Supply List
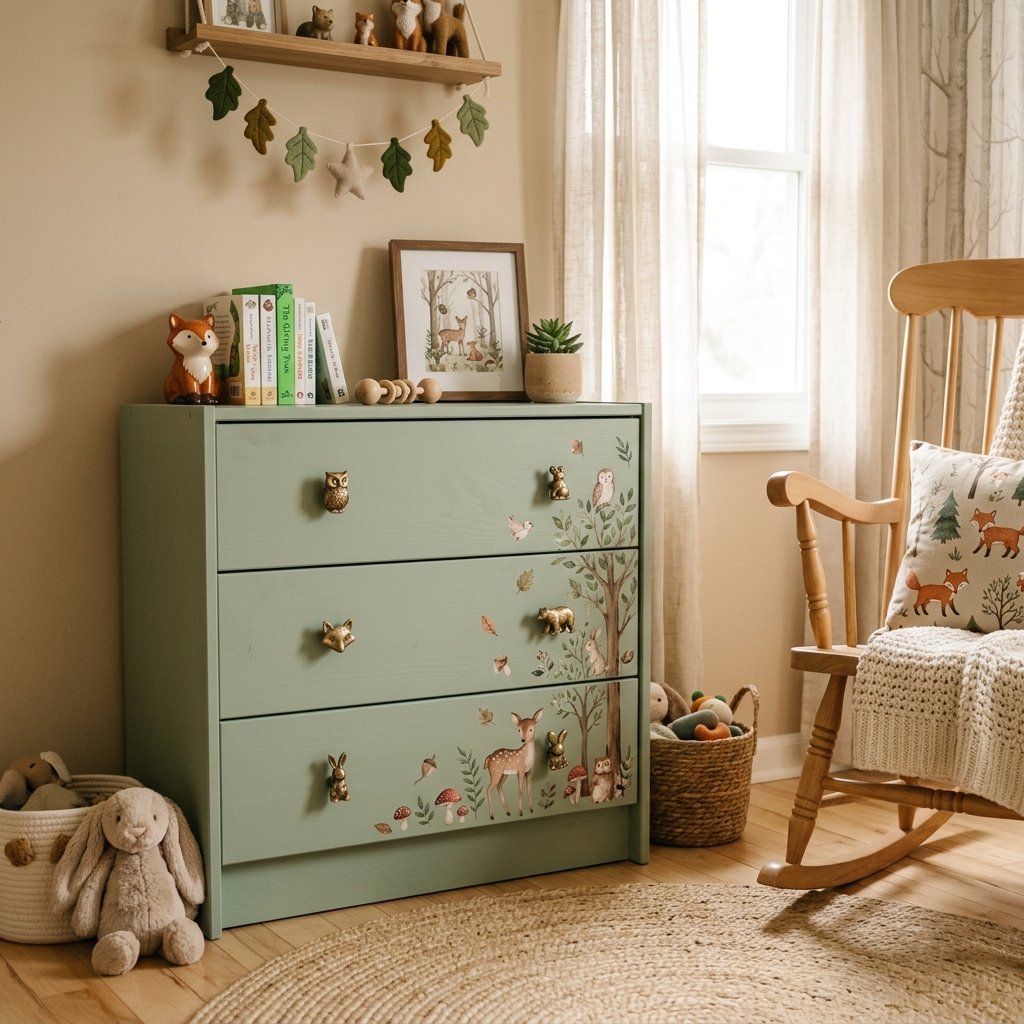
Before we pick up a paintbrush, let’s talk about the ‘Woodland’ aesthetic. Think of mossy greens, warm mushroom tones, natural wood grains, and the gentle presence of forest friends like foxes, deer, and owls. The IKEA Rast is perfect for this because it is made of real wood, which takes stain and paint beautifully. Unlike particle board furniture, the Rast can be sanded and refinished multiple times as your child grows.
Budget and Materials Breakdown
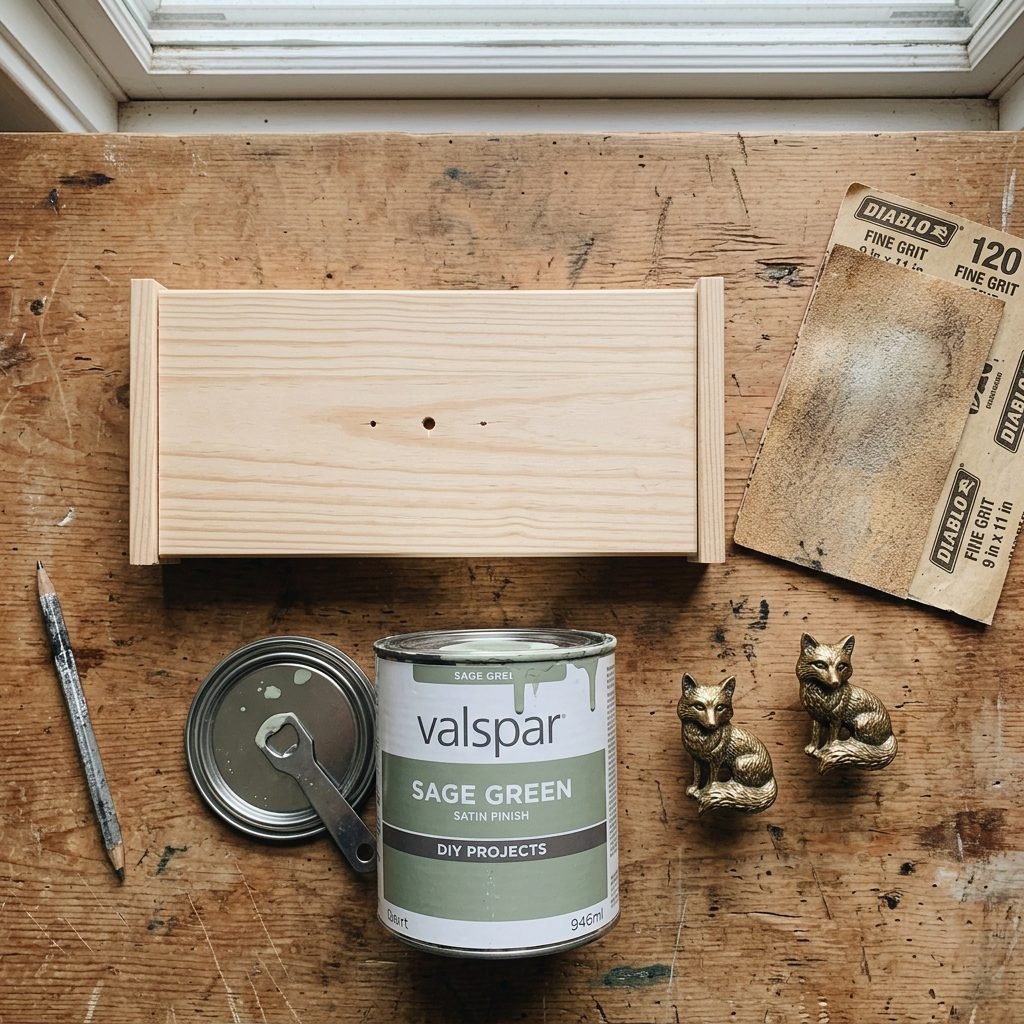
To keep things organized, I’ve put together a list of everything you’ll need. I always recommend choosing Low-VOC or Zero-VOC paints and finishes. During pregnancy and early postpartum, your sense of smell is heightened, and we want to keep the air in your nursery as pure as possible for those tiny newborn lungs.
| Item | Estimated Cost | Why You Need It |
|---|---|---|
| IKEA Rast 3-Drawer Chest | $60.00 | The solid pine foundation of our project. |
| Fine-Grit Sandpaper (220 grit) | $5.00 | To smooth out the wood for a professional finish. |
| Zero-VOC Furniture Paint (Sage or Earthy Brown) | $25.00 | Safe for baby and provides the woodland color base. |
| Woodland Animal Knobs (Brass or Wood) | $15.00 – $30.00 | The ‘jewelry’ of the dresser that brings the theme to life. |
| Water-Based Polycrylic Sealer | $15.00 | To protect the finish from diaper cream spills and sticky fingers. |
| Wood Glue and Power Drill | On Hand | For a sturdy, wobble-free assembly. |
Step-By-Step: Prepping the Pine with Love
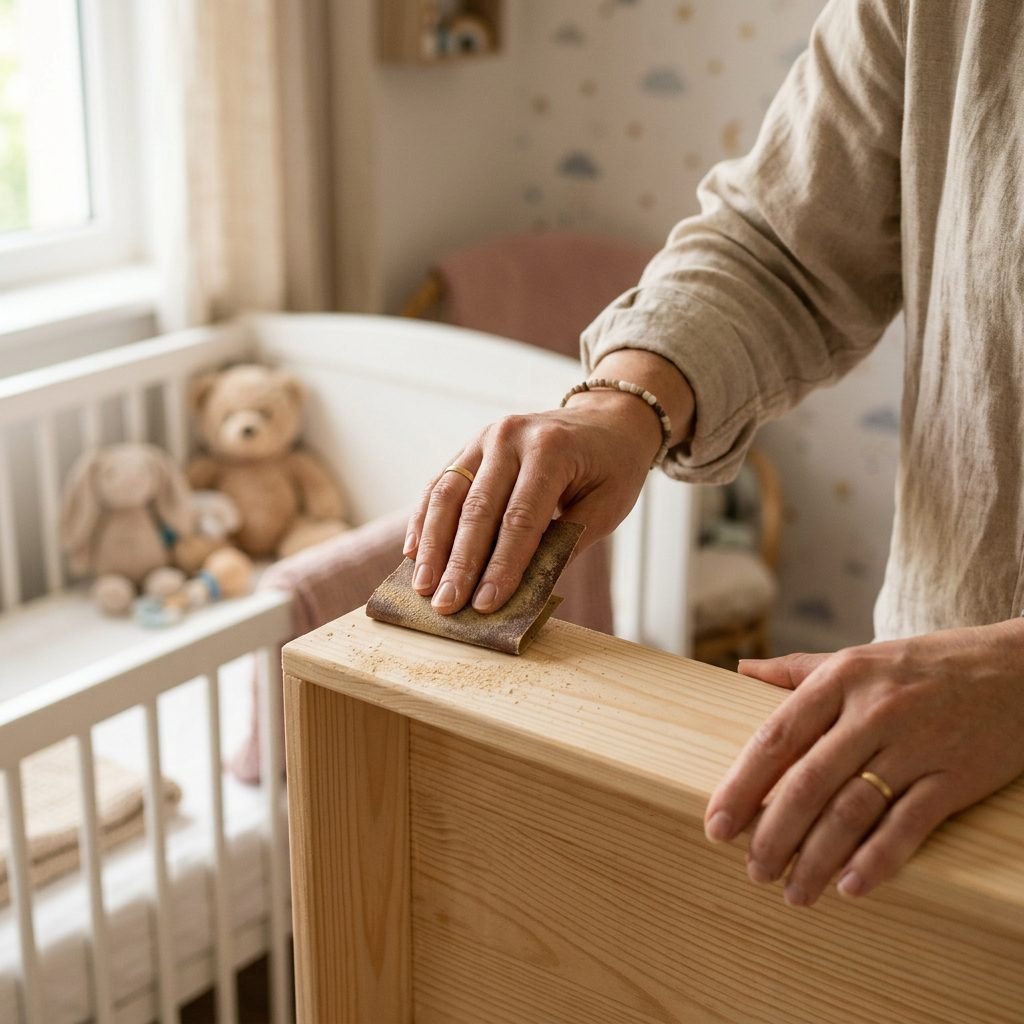
The secret to a high-end look is all in the prep work. If you are currently pregnant, please make sure you are working in a well-ventilated area—perhaps a garage with the door open or a patio on a beautiful spring day. If you can, ask a partner or a friend to help with the heavy lifting and the initial sanding.
- Assemble the Frame (Partially): Start by assembling the main frame of the Rast according to the IKEA instructions, but do not put the drawers in yet. Use a little bit of wood glue in the dowel holes for extra stability. A sturdy dresser is a safe dresser!
- The Gentle Sand: Even though the Rast comes unfinished, it can have rough patches. Use your 220-grit sandpaper to lightly sand the entire surface. You aren’t trying to remove wood; you are just making it as soft as a baby’s cheek.
- Wipe it Down: Use a tack cloth or a slightly damp microfiber towel to remove every speck of dust. If paint hits dust, it creates a gritty texture that we want to avoid.
- Fill the Holes (Optional): The Rast comes with pre-drilled holes for the standard knobs. If you’ve bought oversized woodland knobs or handles that require different spacing, use wood filler to plug the old holes, let it dry, and sand it flush before painting.
“Take your time with the prep, mama. Just like pregnancy, the foundation you build now determines the strength of what comes later.”
Painting the Forest: Choosing Your Colors
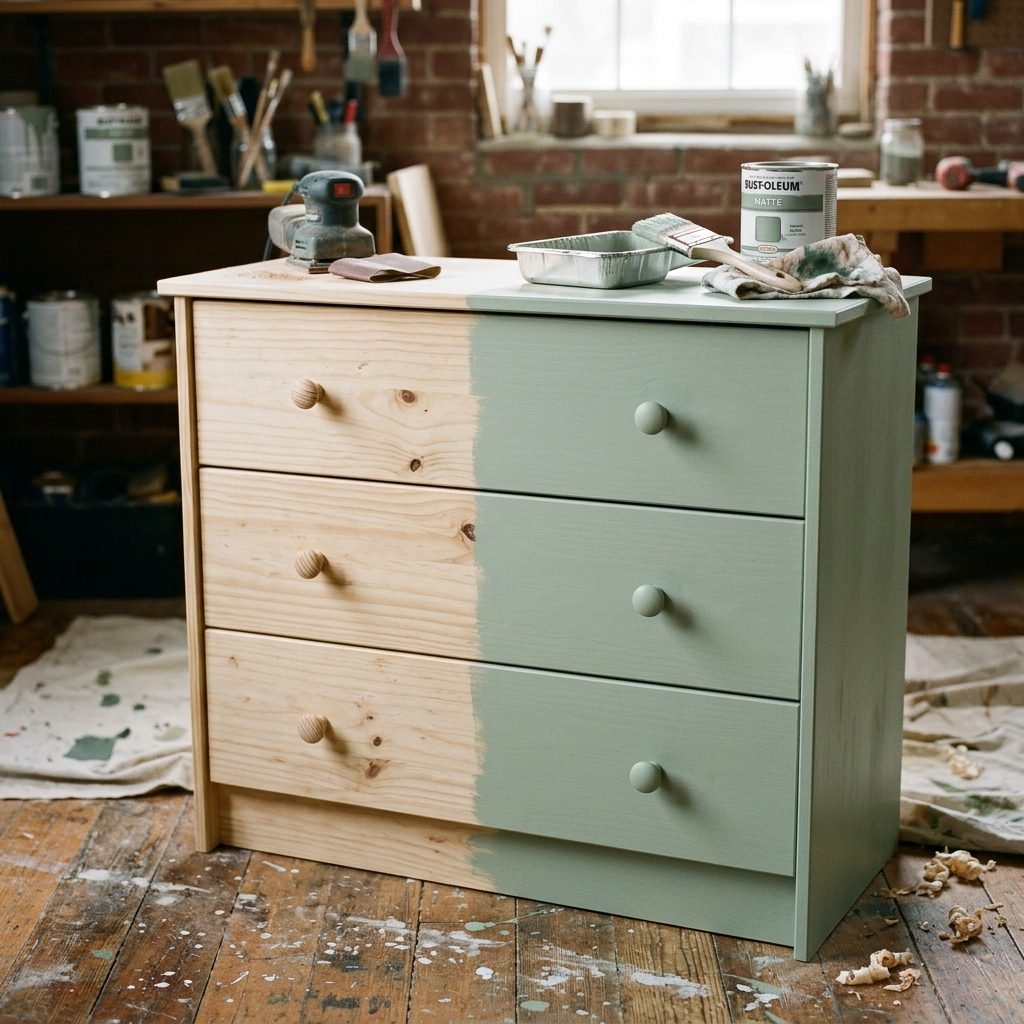
Now comes the soul of the project: the color. For a woodland theme, we want colors that evoke a sense of biophilia—our innate human connection to nature. This has been shown to lower cortisol levels and promote better sleep for both mama and baby.
Color Palette Inspiration
- Deep Forest Green: Bold, grounding, and looks incredible with brass hardware.
- Misty Sage: A soft, neutral green that feels airy and calming.
- Toasted Mushroom: A warm taupe that mimics the forest floor and hides dust well.
- Natural Pine with White Accents: If you love the wood grain, consider staining the frame and painting only the drawer fronts white.
Apply your paint in thin, even coats. It is much better to do three thin coats than one thick, gloppy one. Between coats, give it at least 2 to 4 hours to dry. This is a great time to put your feet up, hydrate with some red raspberry leaf tea, and feel those sweet baby kicks.
Whimsical Details: Hardware and Decals
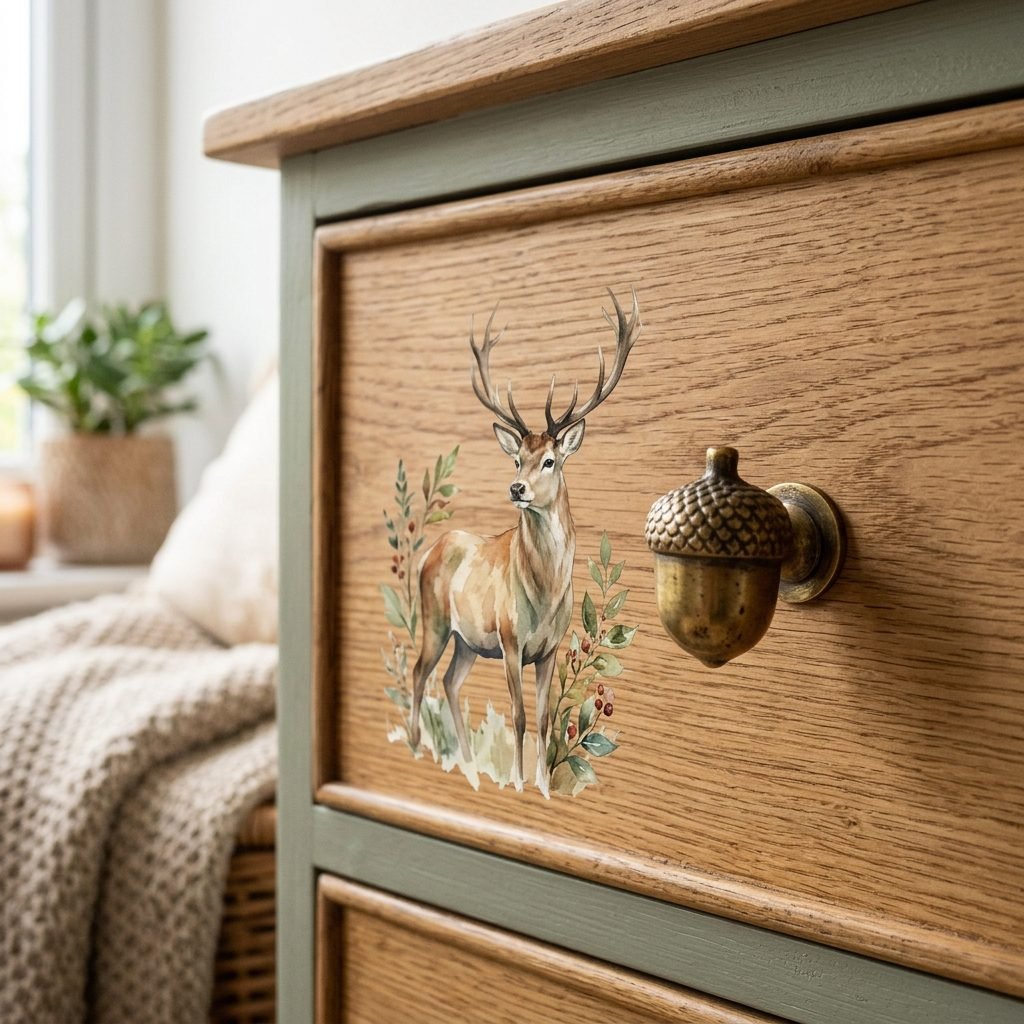
This is where the ‘gorgeous’ part of the title really shines. We are going to elevate this $60 chest into something that looks like it cost $600. The hardware is the most impactful change you can make. Look for knobs shaped like acorns, pinecones, bears, or little foxes. If you prefer a more modern woodland look, simple leather pulls in a cognac brown are stunning.
Adding Woodland Decals
If you aren’t an artist, don’t worry! High-quality vinyl wall decals work beautifully on furniture. You can apply a large watercolor pine tree across the front of all three drawers, or place tiny birds near the corners. To ensure they stay put:
- Apply the decal only after the paint has cured for at least 48 hours.
- Smooth out any air bubbles with a credit card.
- Apply a coat of water-based polycrylic over the decal to ‘lock’ it in and prevent little fingers from peeling it off later.
The Doula’s Guide to Drawer Organization
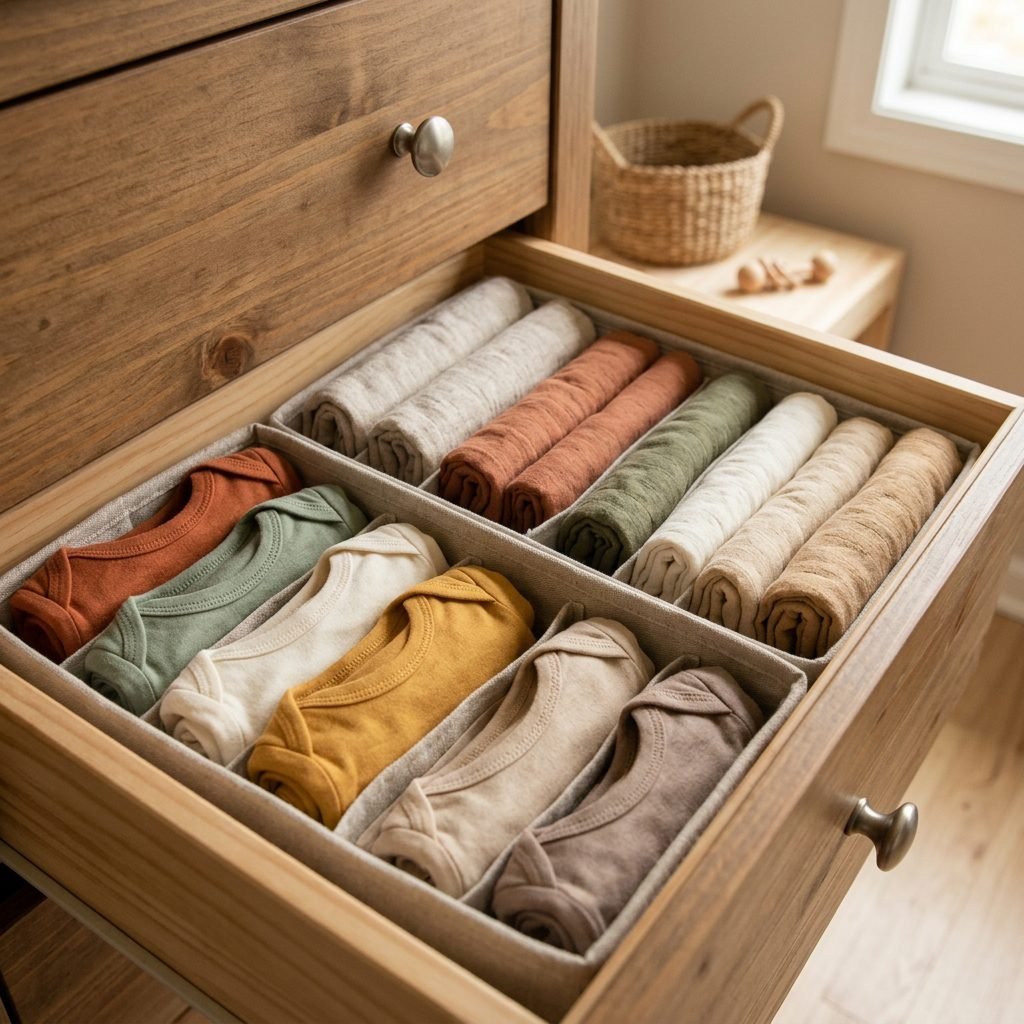
As a doula and a nursery organizer, I know that a beautiful dresser is useless if it doesn’t function well during a 3:00 AM diaper change. The IKEA Rast is compact, so we have to be strategic with the space. Because it is a shorter dresser, it often doubles as a changing table for petite mamas, or a side table next to your nursing glider.
| Drawer Level | What to Store | Organization Hack |
|---|---|---|
| Top Drawer | Diapers, Wipes, Creams, Burp Cloths | Use small fabric bins to keep tiny items from rolling around. |
| Middle Drawer | Onesies, Swaddles, Sleep Sacks | File-fold (KonMari style) so you can see every outfit at a glance. |
| Bottom Drawer | Crib Sheets, Extra Blankets, Out-of-Season Clothes | Vacuum-seal bags for items you won’t need for a few months. |
Pro-Tip: Line the inside of the drawers with woodland-patterned contact paper. It’s a sweet little surprise every time you reach for a fresh onesie!
Safety First: Anchoring and Non-Toxic Finishes
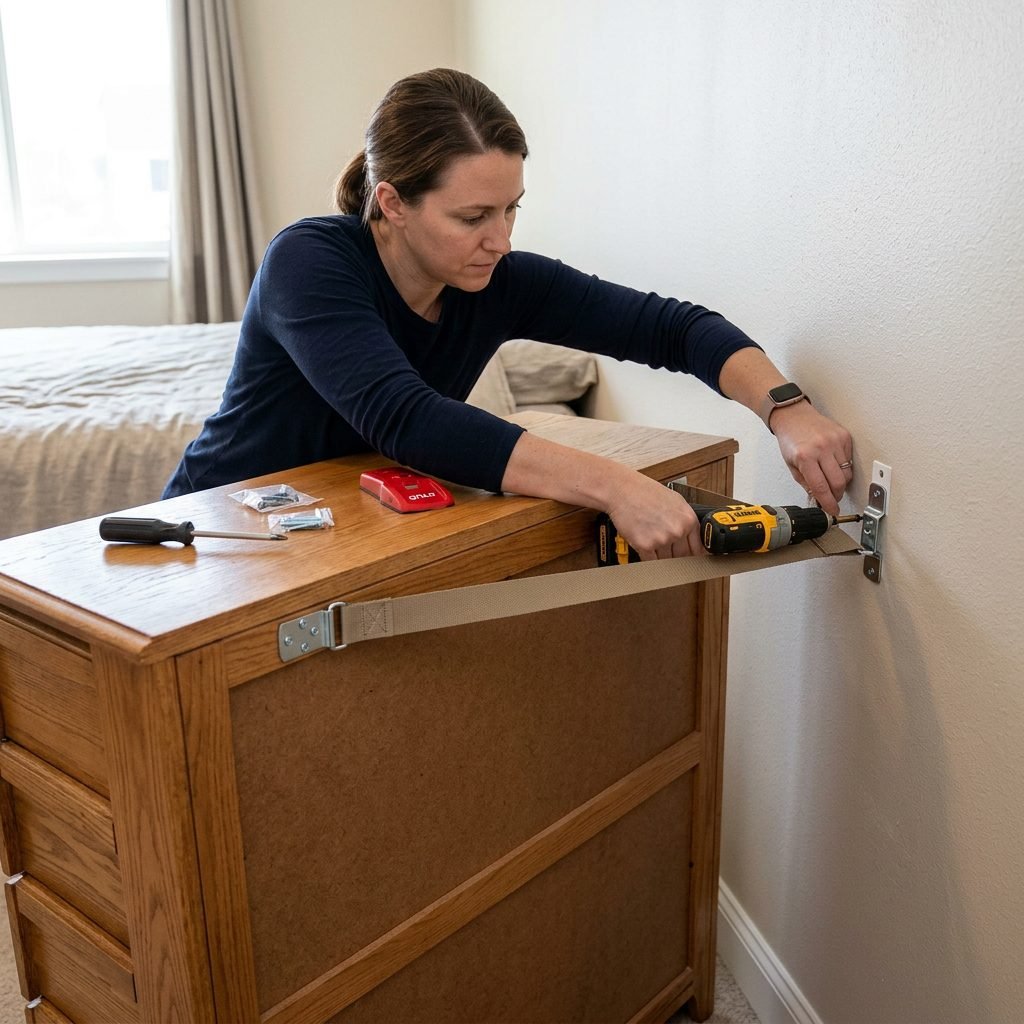
Mama, I need to put on my ‘Postpartum Nurse’ hat for a moment. This is the most important step of the entire project. Once your baby starts crawling and pulling themselves up, every piece of furniture becomes a climbing gym. The IKEA Rast is lightweight and must be anchored to the wall to prevent tip-over accidents.
- Use the Included Anchor Kit: IKEA provides hardware to secure the chest to the wall. Do not skip this!
- Find a Stud: For the most secure hold, screw the anchor directly into a wall stud. If a stud isn’t available, use heavy-duty toggle bolts.
- Smooth Edges: Ensure there are no sharp edges or splinters. If the corners feel too sharp, you can lightly round them off with your sandpaper before the final coat of paint.
- Curing Time: Allow the dresser to ‘off-gas’ and the paint to fully cure for at least two weeks before placing it in a room where a newborn will sleep. This ensures the hardest finish and the cleanest air.
Conclusion
Your Sanctuary is Ready
You did it, mama! You took a simple, unassuming piece of wood and transformed it into a beautiful, functional piece of art for your baby’s room. Every time you open those drawers to grab a tiny sock or a soft swaddle, you will be reminded of the love and effort you poured into their space before they even arrived. This woodland dresser isn’t just furniture; it’s a symbol of the nurturing environment you are building. Take a deep breath, smell the faint scent of the wood (and hopefully some lavender oil!), and enjoy this peaceful moment in your nursery. You are doing an amazing job, and your little one is so lucky to have a mama who cares so much about the details of their world. Happy nesting!