How to Build a Custom Nursery Window Seat with Hidden Toy Storage
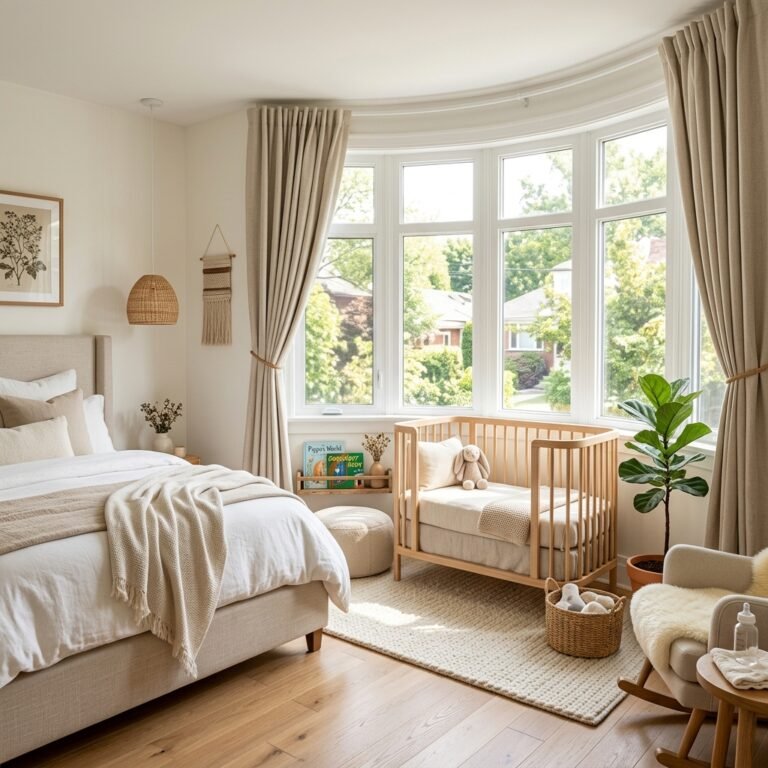
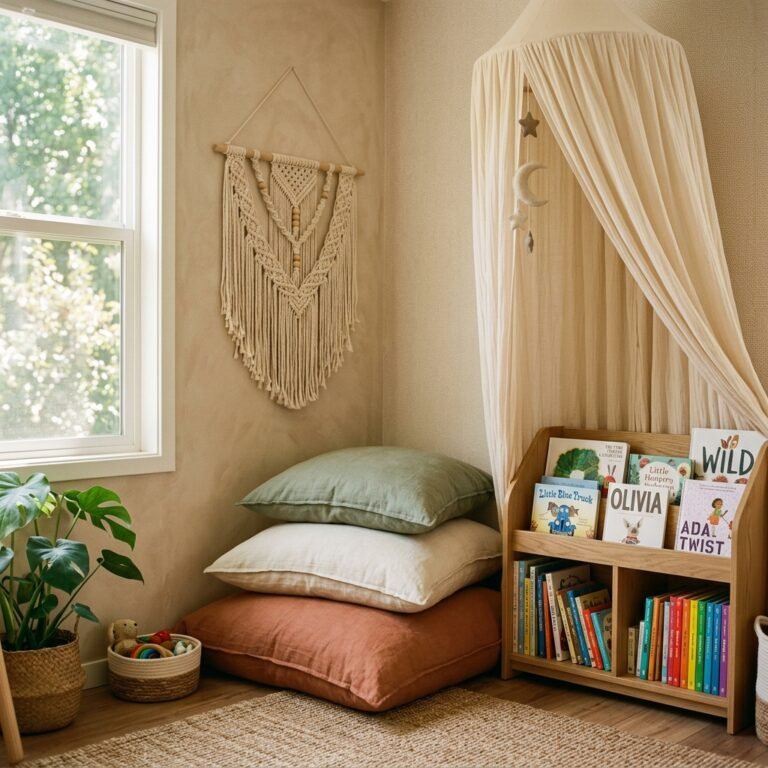
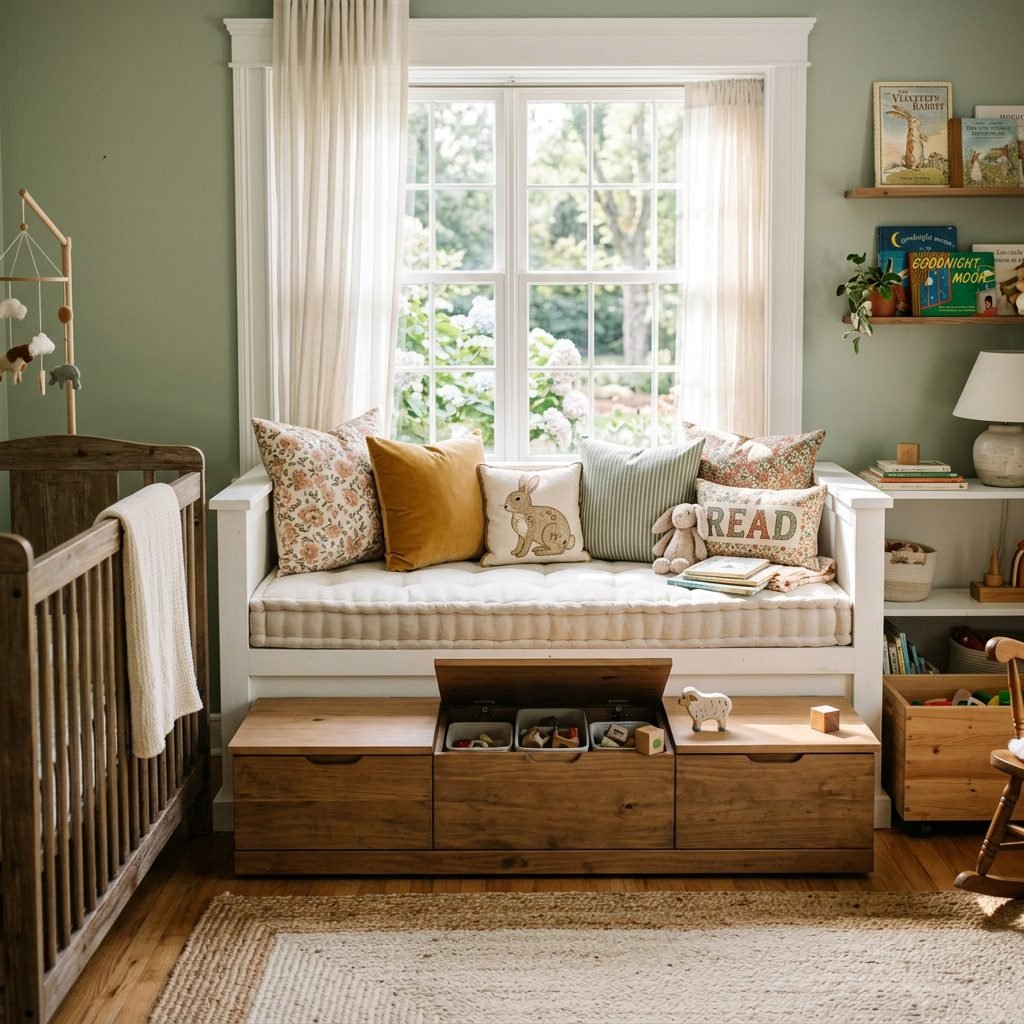
Hello, sweet mama. If you are reading this, you are likely in that beautiful, frantic, and deeply emotional phase we call nesting. I see you, and I feel that urge to make every corner of your home perfect before your little one arrives. As a doula, I’ve spent countless hours in nurseries, and I’ve learned that the most precious spaces are the ones that offer both a place to rest and a way to hide the inevitable mountain of baby gear. A custom window seat isn’t just a piece of furniture; it is a sanctuary where you will nurse at 3:00 AM, a reading nook where you’ll discover the magic of picture books, and a secret vault that keeps the floor clear of stray blocks and plushies.
Building something with your own hands (or with the help of a partner while you provide the expert vision!) is incredibly empowering. In this guide, we are going to walk through the process of creating a sturdy, safe, and beautiful window seat with hidden storage. We will focus on non-toxic materials, safety-first construction, and practical organization that grows with your child. Let’s create a space that feels as warm and welcoming as your arms.
The Nesting Blueprint: Planning and Measuring Your Space
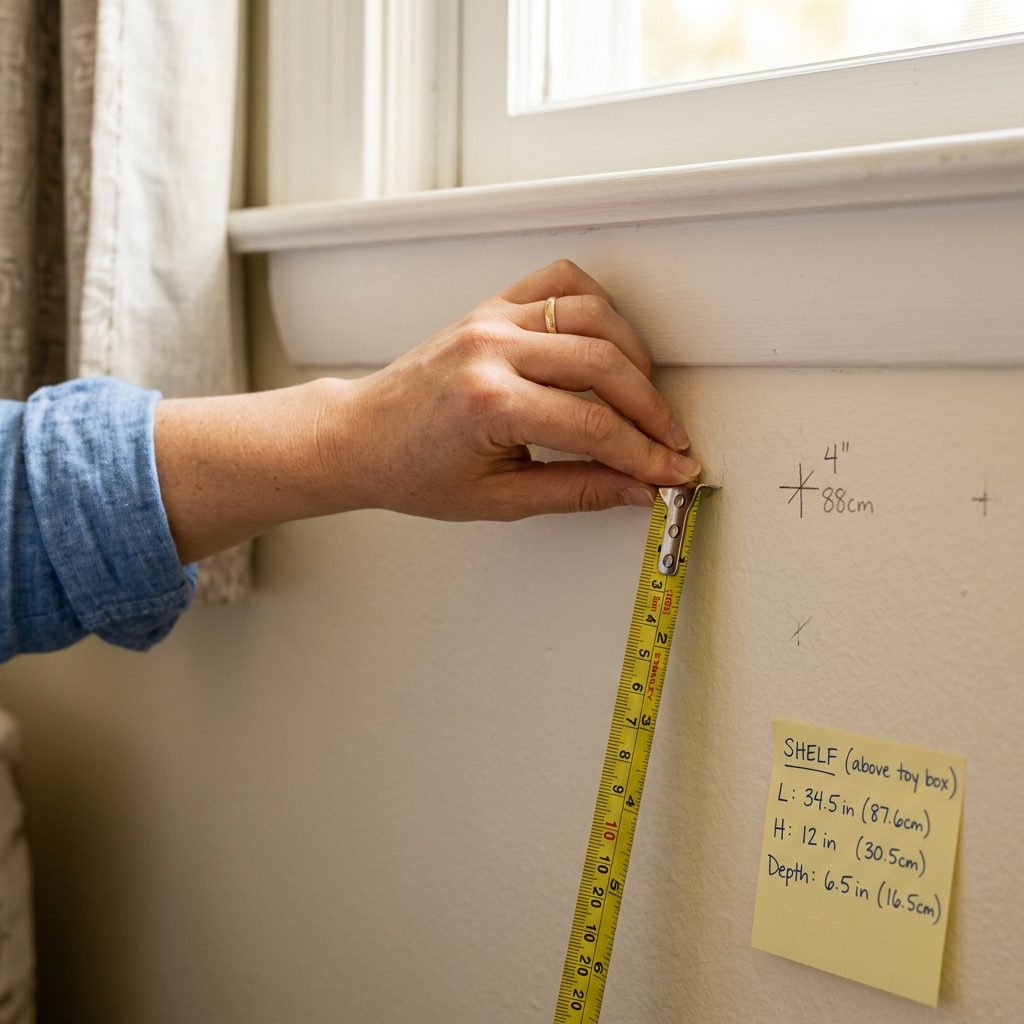
Before we pick up a saw or a drill, we need a plan that respects the unique layout of your nursery. Measuring for a window seat requires precision because we want it to look like it was always meant to be there. Start by measuring the width of the window area from wall to wall or between existing furniture. For depth, I recommend 18 to 22 inches—this is deep enough for a comfortable seat but won’t eat up too much floor space in a small room.
Standard Nursery Seating Dimensions
When planning the height, aim for 16 to 18 inches from the floor to the top of the bench. Remember to subtract the thickness of your cushion (usually 2-3 inches) from the wooden base height so your feet can still touch the floor comfortably while you’re rocking your baby.
| Dimension | Recommended Measurement | Why It Matters |
|---|---|---|
| Height | 16-18 inches | Ergonomic for sitting and nursing. |
| Depth | 18-24 inches | Provides enough room for pillows and a cozy seat. |
| Length | Window width + 2 inches | Ensures a built-in, custom look. |
Mama, remember: measure twice, cut once. If you’re feeling that pregnancy brain fog, write your measurements down on a large sticky note and tape it right to the wall where the seat will go. It helps to visualize the footprint!
Choosing Safe and Sturdy Materials
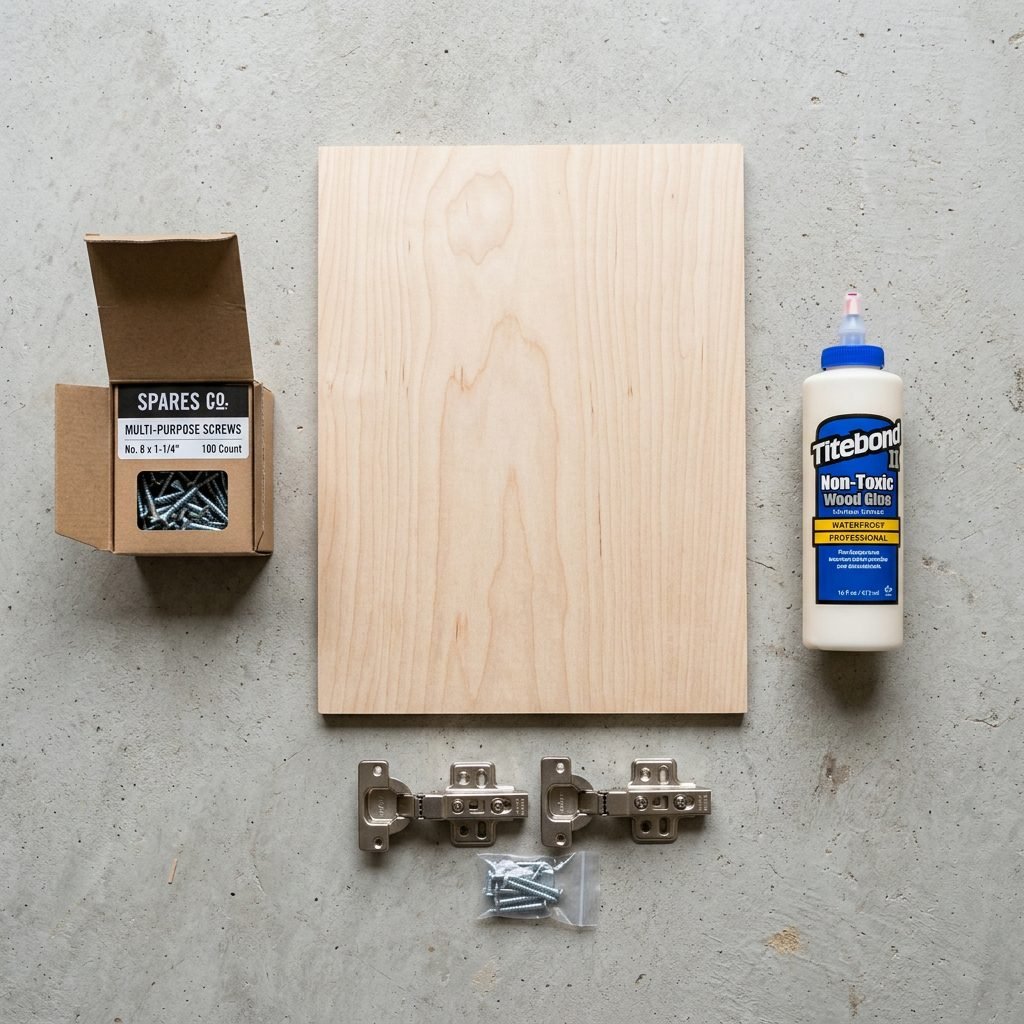
When we are building for a baby, the materials we choose matter deeply. We want to avoid high-VOC (Volatile Organic Compound) glues and paints. For the main structure, 3/4-inch Birch plywood is a fantastic choice because it is incredibly strong, smooth, and takes paint beautifully. Avoid particle board, which can off-gas chemicals and won’t hold up to years of a toddler jumping on it.
The Ultimate Material Shopping List
- 3/4″ Plywood (For the box and lid)
- 2×4 Lumber (For the internal support frame)
- 1×4 Select Pine (For the decorative trim/molding)
- Pocket Hole Screws (1-1/4 inch)
- Wood Glue (Look for non-toxic, water-based options)
- Safety Hinges (This is the most important part—more on this later!)
For the finish, look for Greenguard Gold Certified paints or natural wood waxes. These ensure that the air your baby breathes is as clean as possible. If you are doing the painting yourself, make sure the room is well-ventilated, or better yet, delegate the painting to a partner or friend while you enjoy a well-deserved snack.
Step-by-Step: Building the Storage Box Frame
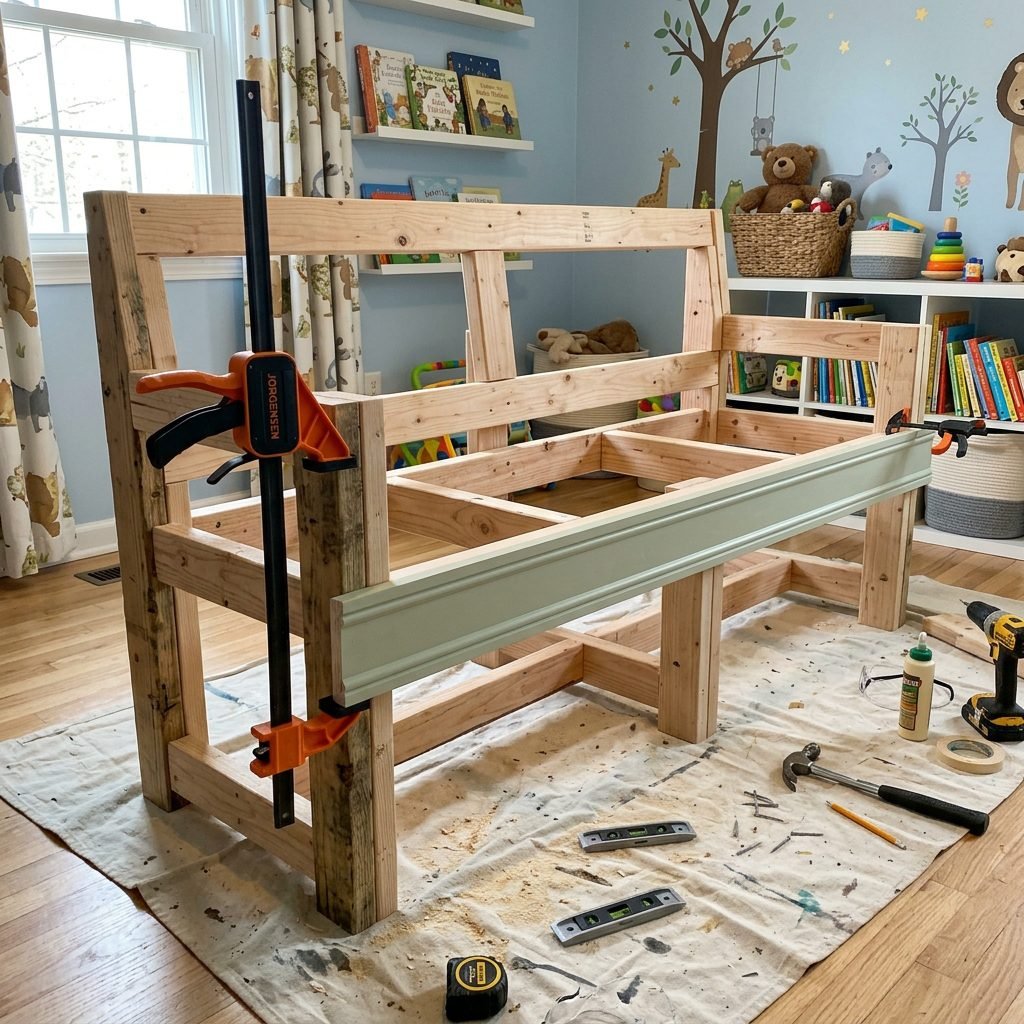
Now, let’s get into the heart of the project. We are building a simple box with a reinforced frame. This ensures the seat can support the weight of two adults (or a mama and a growing toddler). Follow these steps to build your base:
- Build the Base Frame: Construct a rectangular frame using 2x4s that sits 1 inch smaller than your total dimensions. This acts as a ‘toe kick’ and provides a solid foundation.
- Assemble the Plywood Box: Cut your plywood into four sides and a bottom. Use a Kreg Jig to create pocket holes on the inside of the panels so the screws are hidden. Join the sides to the bottom using wood glue and screws.
- Internal Supports: Add vertical 2×4 blocks in the corners of the box. This prevents the plywood from bowing over time and gives the lid a solid place to rest.
- Attach the Face Frame: Nail your 1×4 pine boards to the front of the box. This hides the raw edges of the plywood and gives it that high-end ‘built-in’ look.
Pro-tip: If your nursery has baseboards, you can either remove them and reinstall them around the bench, or ‘notch’ the back of the bench to fit over the existing trim. This is the secret to making it look like a professional carpenter did the work!
The Magic of Hidden Storage: Lids and Safety Hinges
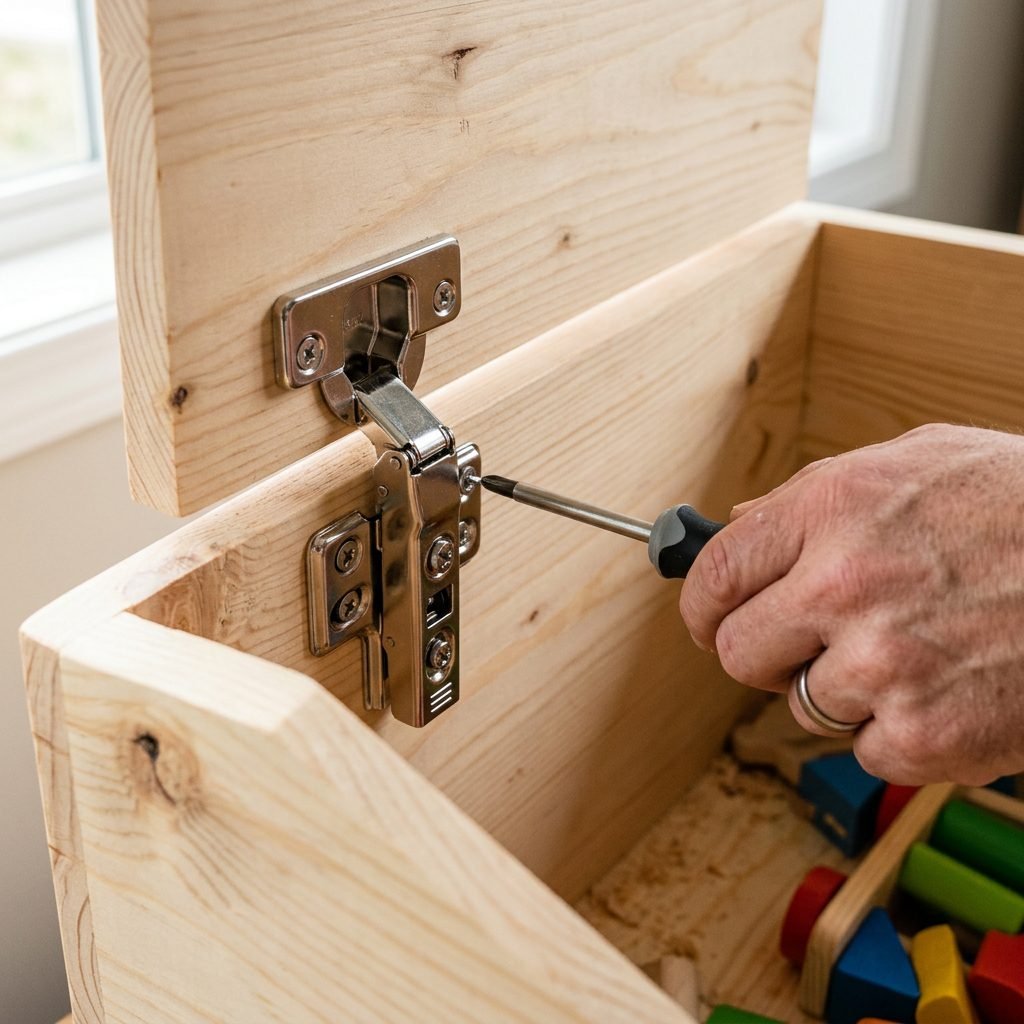
The ‘hidden’ part of this window seat is the flip-top lid. This is where you will stash the extra diapers, the wooden train sets, and the mountain of blankets. However, a heavy wooden lid can be a hazard for tiny fingers. You must use soft-close safety hinges. These hinges prevent the lid from slamming shut; instead, they allow it to glide down slowly and safely.
Comparing Lid Styles
| Lid Type | Pros | Cons |
|---|---|---|
| Piano Hinge | Very sturdy, runs the full length. | Harder to align perfectly; needs separate lid stays. |
| Torsion Hinges | Holds the lid at any angle; very safe. | More expensive; visible inside the box. |
| Removable Lid | No hinges needed; zero finger-pinch risk. | Can be heavy to lift; lid ends up on the floor. |
I highly recommend Torsion hinges or Gas struts. They provide that ‘luxury’ feel where the lid stays open while you are searching for that one specific stuffed elephant, and then closes with a gentle whisper when you’re done.
Comfort and Style: Upholstery and Textiles
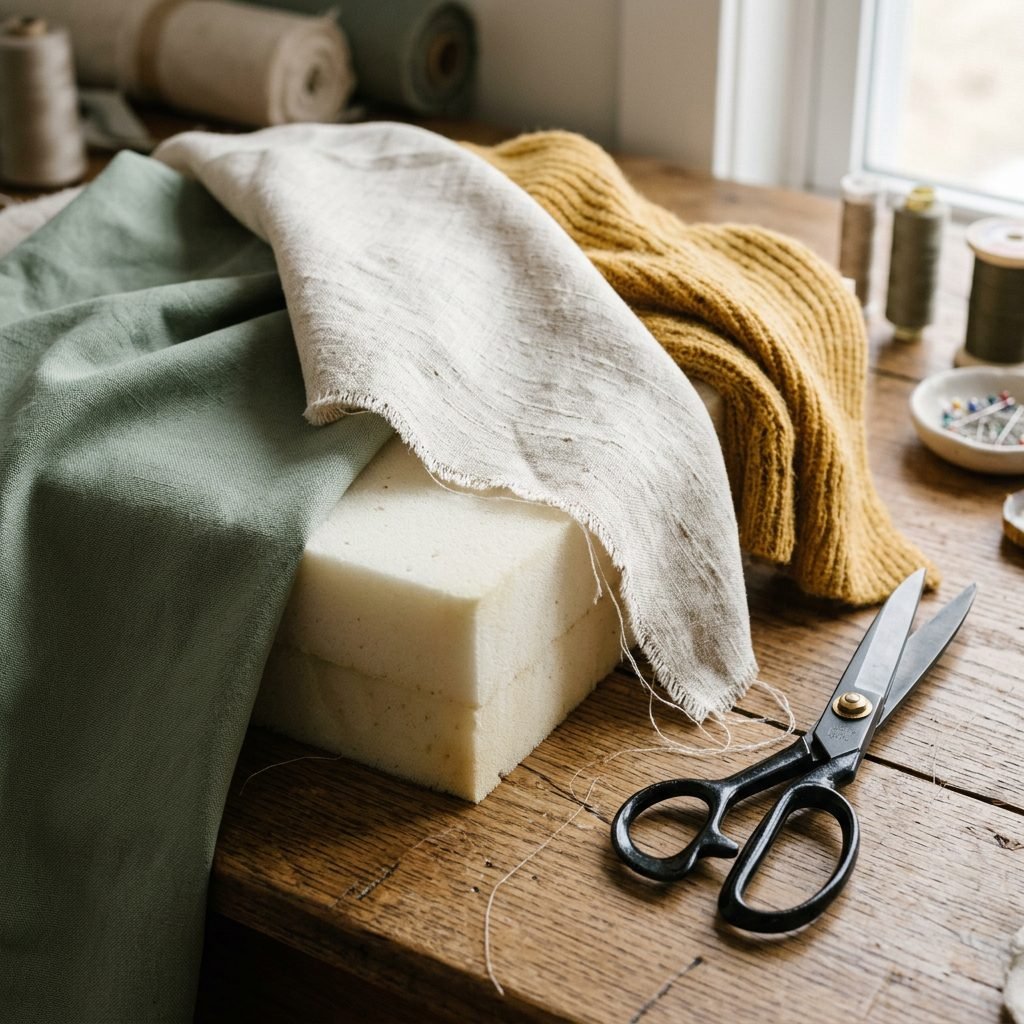
Now for the part that makes your heart sing: the styling! A window seat is only as good as its cushion. You want a foam that is firm enough to support you but soft enough for long snuggles. Look for 3-inch thick High-Density Urethane foam. You can wrap the foam in polyester batting to give it a rounded, professional look before covering it with fabric.
Choosing Your Fabric
As a mama, you know that spills are inevitable. When selecting your fabric, consider these options:
- Performance Velvet: Incredibly soft, but most spills bead right up on the surface.
- Outdoor Fabric: Don’t be fooled by the name; many modern outdoor fabrics feel like soft linen but are UV-resistant and bleach-cleanable.
- Heavyweight Cotton Canvas: Natural and breathable, but ensure it is pre-shrunk before you sew your cover.
Add a few throw pillows in varying textures—think chunky knits, smooth linens, and maybe a whimsical animal-shaped pillow. This is where you can bring in your nursery’s color palette and make the space feel truly cohesive.
Organizing the Interior: Maximizing Every Inch
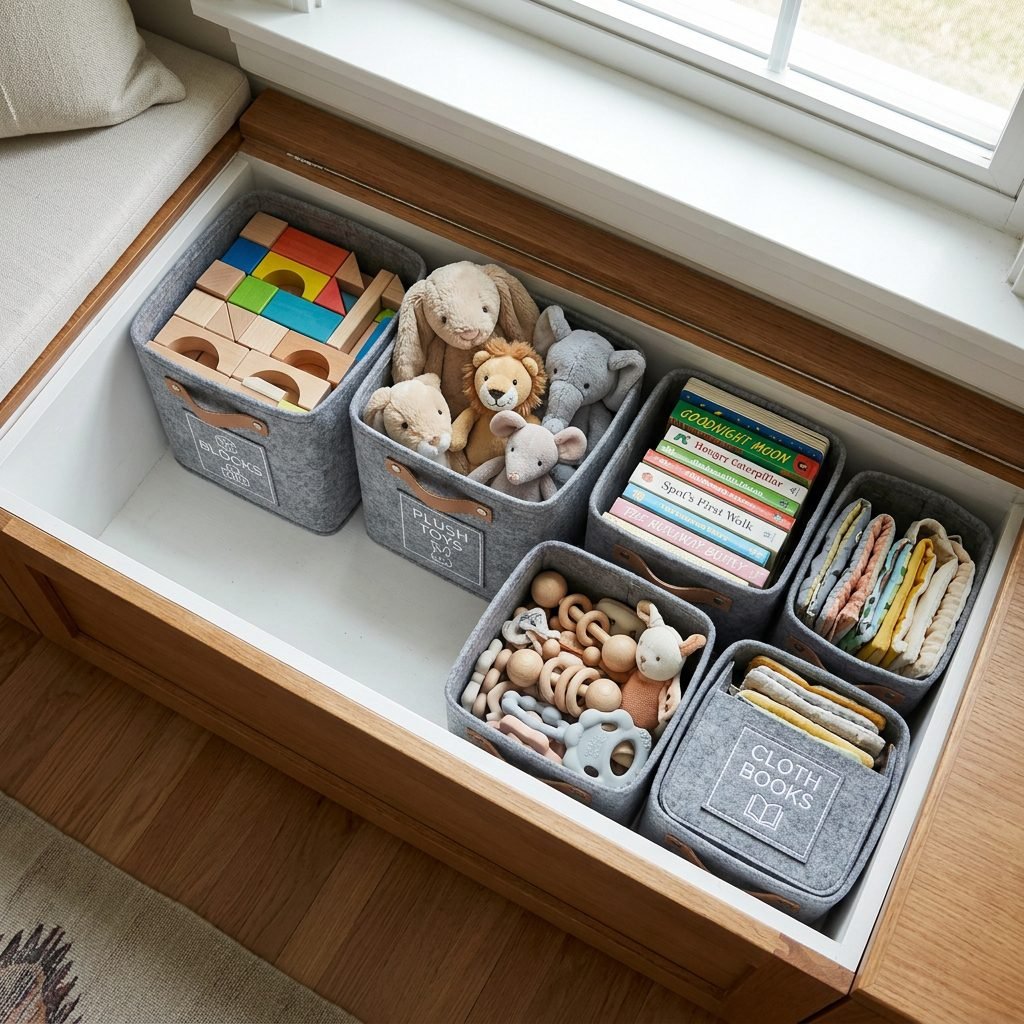
Once the build is done, don’t just throw everything inside! Use the internal space wisely. I love using clear acrylic bins or felt baskets inside the bench to categorize toys. One bin for ‘tummy time’ toys, one for ‘musical instruments,’ and another for ‘bedtime stories.’
The Toy Rotation Strategy
The hidden storage in your window seat is the perfect place to implement a toy rotation. By keeping only a few toys out on the shelves and the rest tucked away in the bench, you prevent your baby (and yourself!) from becoming overstimulated. Every two weeks, swap the ‘out’ toys with ‘hidden’ toys. It’s like Christmas morning for your little one every single time!
Remember, mama: A tidy space leads to a tidy mind. When the nursery is organized, those chaotic newborn days feel just a little bit more manageable.
Conclusion
There you have it, mama—a custom-built, safe, and beautiful window seat that will serve your family for years to come. From those first hazy days of newborn snuggles to the toddler years of independent play, this little corner of the nursery will be the backdrop of so many memories. You’ve created more than just storage; you’ve created a legacy of care. Take a moment to sit on your new bench, feel the sun on your face, and breathe in the peace of a project well done. You are doing an amazing job, and your little one is so lucky to have a mama as thoughtful and talented as you. Happy nesting!