How to Convert a Master Bedroom Bay Window into a Cozy Nursery Nook
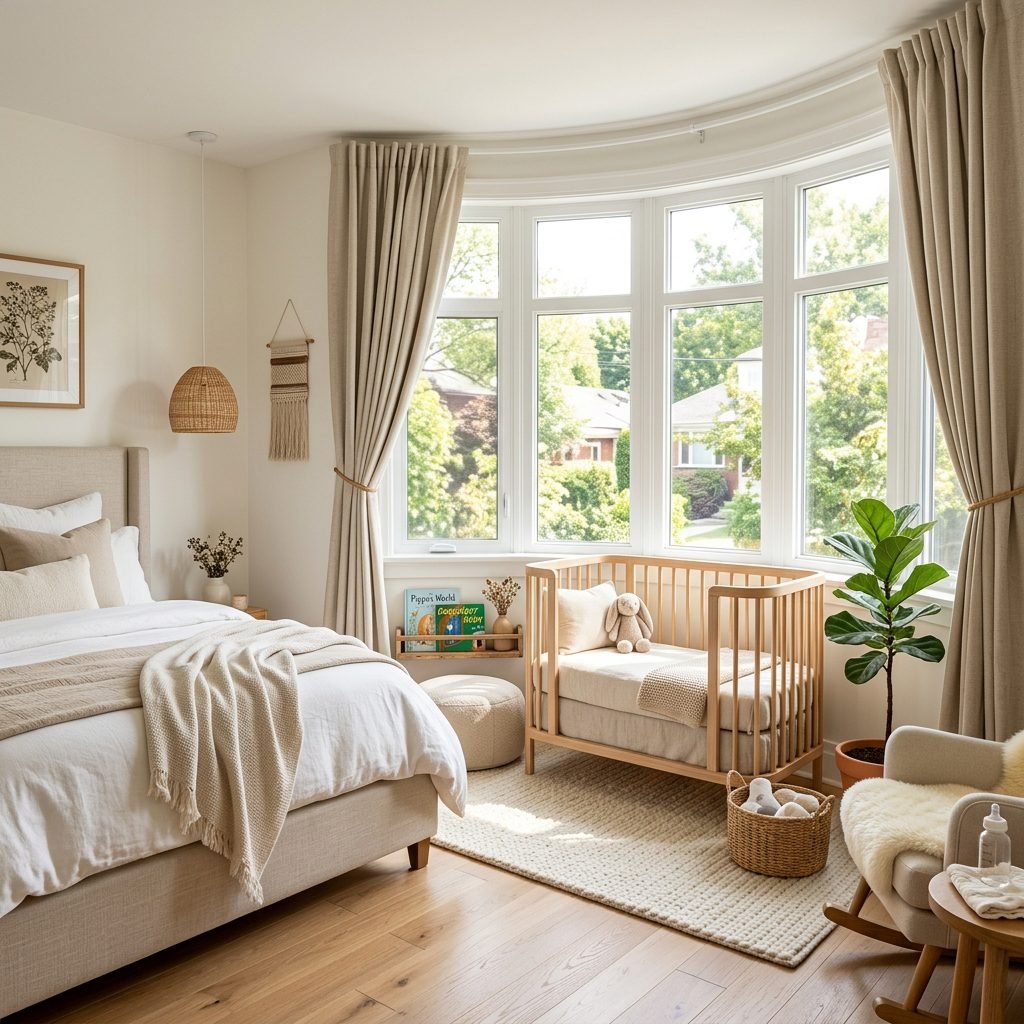
Welcome, mama! If you are looking at that beautiful bay window in your master bedroom and wondering if it could be more than just a place for a dusty armchair, you are in the right place. As a doula and a mama myself, I know that the nesting instinct is powerful, and sometimes our homes don’t quite match the vision we have for our baby’s first months. Room-sharing is a beautiful, intimate way to bond with your newborn, but it can also feel like your personal sanctuary is being taken over by plastic gear and diapers. That is where the bay window nursery nook comes in. It is the ultimate small-space hack that utilizes existing architectural beauty to create a dedicated, safe, and cozy zone for your little one without sacrificing the peace of your own bedroom.
Converting a bay window is not just about shoving a crib into a corner; it is about intentional design that considers safety, light control, and sensory comfort. In this guide, we are going to walk through every step of this transformation—from the technical measurements to the soft, sisterly touches that make a space feel like home. We will explore how to manage drafts, how to choose the perfect mini-crib that mimics the curve of your window, and how to organize those tiny onesies using vertical space you didn’t even know you had. Grab a cup of tea, take a deep breath, and let’s start building your baby’s first little corner of the world together.
Remember, mama: your baby doesn’t need a massive, Pinterest-perfect room. They need a safe place to sleep, a warm place to cuddle, and a mama who feels calm in her own space. This nook is a gift to both of you.
The Safety-First Foundation: Assessing Your Bay Window

Before we pick out the cute wallpaper or the perfect mobile, we have to talk about the ‘boring’ but vital stuff: safety. A bay window is a unique architectural feature, but it presents specific challenges for a sleeping infant. First, let’s talk about glass safety. Most modern windows are tempered, but if you live in an older home, you must ensure the glass is sturdy. More importantly, never place a crib in a way that allows a standing baby to reach the glass or the window locks.
Managing Drafts and Temperature
Windows are notorious for temperature fluctuations. To ensure your baby stays at a safe, comfortable temperature (ideally between 68 and 72 degrees Fahrenheit), you need to check for drafts. Use a draft stopper or consider upgrading to thermal-lined curtains. Drafts can lead to a fussy baby and interrupted sleep, which we definitely want to avoid! Check the area at different times of the day and night to see how the sun or the evening chill affects the nook.
Window Cord Hazards
This is a non-negotiable, mama: all window cords must be out of reach. Cordless blinds are the gold standard for nurseries. If you have existing corded blinds, use safety wraps or cleats to keep them high and tight against the wall. A baby’s curiosity grows faster than you think, and those cords are a major strangulation risk.
| Safety Feature | What to Check | Action Item |
|---|---|---|
| Window Glass | Check for cracks or thin panes | Apply safety film if needed |
| Cords/Strings | Check for dangling blind cords | Switch to cordless or use cleats |
| Drafts | Feel for air leaks on windy days | Install weather stripping |
| Lock Accessibility | Can a toddler reach the latch? | Install window guards or locks |
The Furniture Strategy: Choosing the Right Crib for the Curve
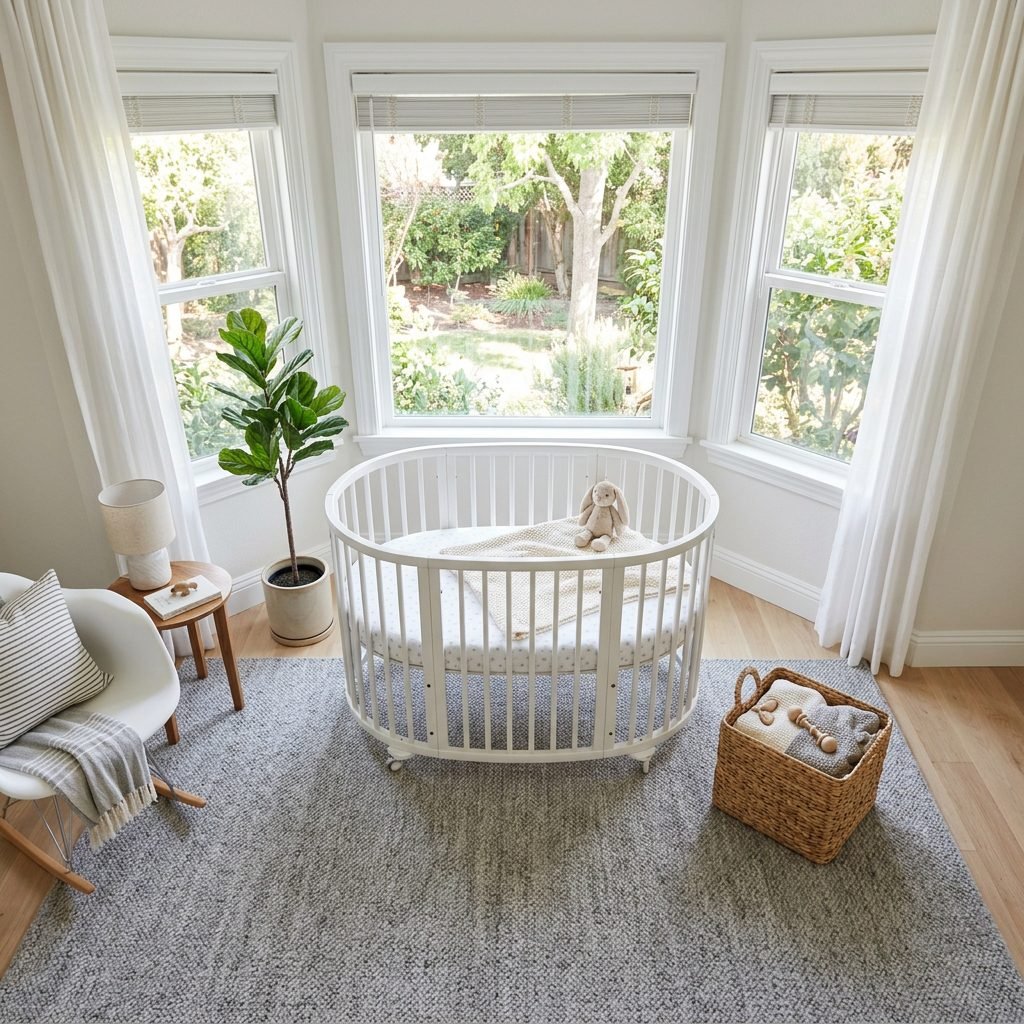
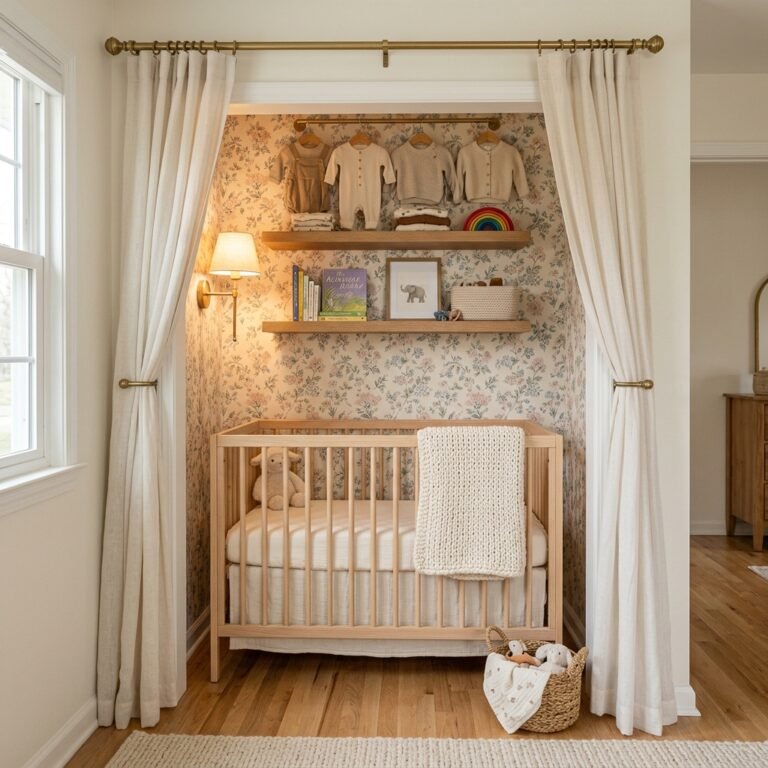
The beauty of a bay window is its shape, but that shape can be tricky for standard furniture. A full-sized rectangular crib often feels clunky and cuts off the flow of the room. This is where mini-cribs and bassinets shine. A mini-crib provides the longevity of a crib but with a smaller footprint, usually around 24 by 38 inches. If your bay window has a deep, dramatic curve, consider an oval-shaped crib. These mimic the soft lines of the window and often come with wheels, allowing you to move the baby closer to your bedside if needed during those long nights.
The ‘Crib-in-the-Curve’ Layout
When positioning the crib, try to center it within the middle pane of the bay window. This creates a focal point that looks intentional and designed. Ensure there is at least a 2-inch gap between the crib and the window treatments to prevent the baby from pulling on the fabric. If your bay window has a built-in seat, you are in luck! That seat can serve as a secondary surface for a changing pad or a staging area for nighttime feedings, provided it is kept clear of loose blankets and pillows when the baby is sleeping.
- Mini-Cribs: Best for babies up to 18-24 months.
- Bassinets: Perfect for the first 4-6 months; very space-efficient.
- Convertible Nooks: Look for furniture that can grow with the child, perhaps turning into a toddler bench later.
Light Control Mastery: Blackout Solutions for Better Naps
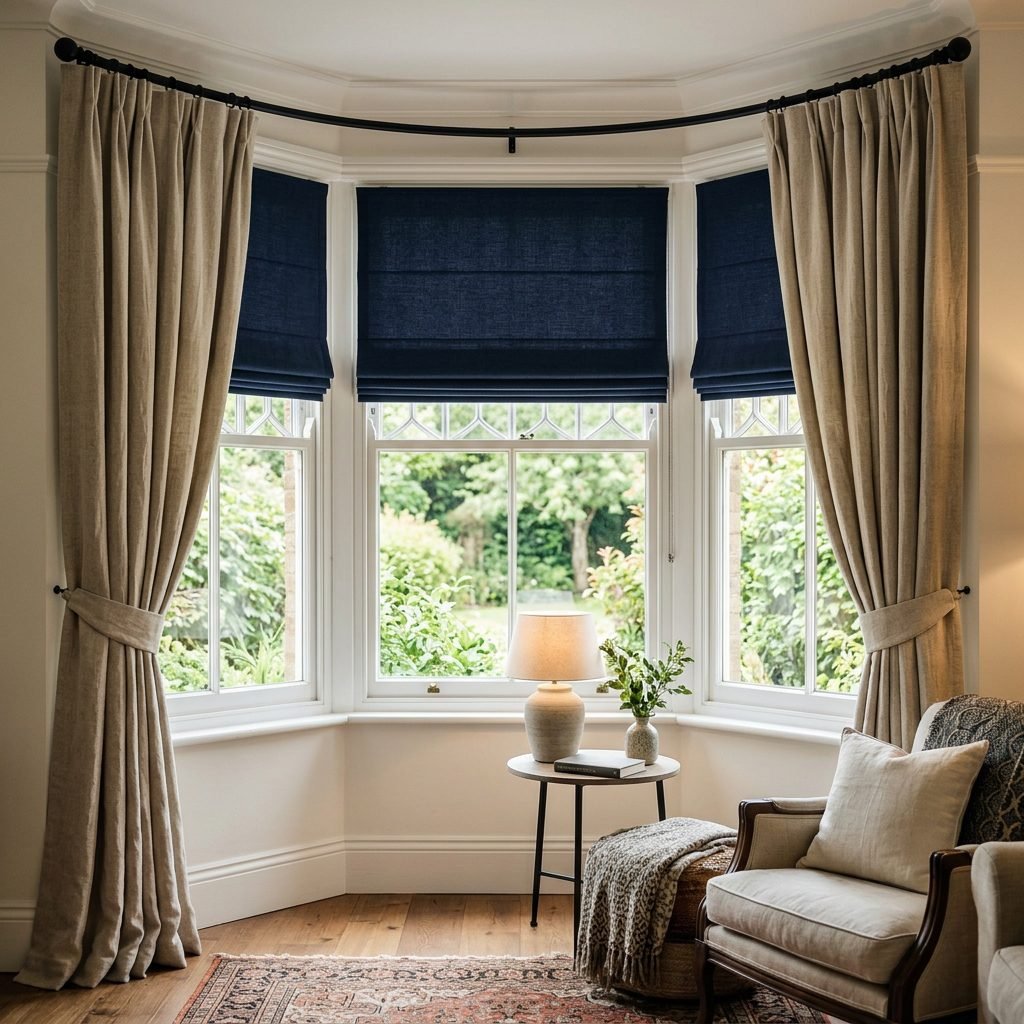
Sleep is the holy grail of new motherhood, and light control is your best friend. Bay windows are beautiful because they let in so much light, but that same light can be a nightmare for daytime naps. To create a true ‘nook’ feel, you need a multi-layered approach to window treatments. I always recommend blackout curtains that are at least 1.5 times the width of the window to ensure full coverage on the sides where light tends to ‘leak’ in.
Layering for Function and Style
Start with a cordless blackout cellular shade that fits inside the window frame. This provides the primary light-blocking power. Then, add decorative curtain panels on a wraparound rod. A wraparound (or French pipe) rod allows the fabric to curve back to the wall, eliminating those annoying slivers of light at the edges. Not only does this help the baby sleep longer, but it also provides an extra layer of sound dampening from outside noise, like cars or chirping birds.
Doula Tip: When choosing fabric, look for ‘Total Blackout’ labels. Some ‘Room Darkening’ curtains still let in enough light to stimulate a baby’s brain during a noon nap. Go for the dark side, mama!
Small Space Storage: Utilizing Vertical and Hidden Areas
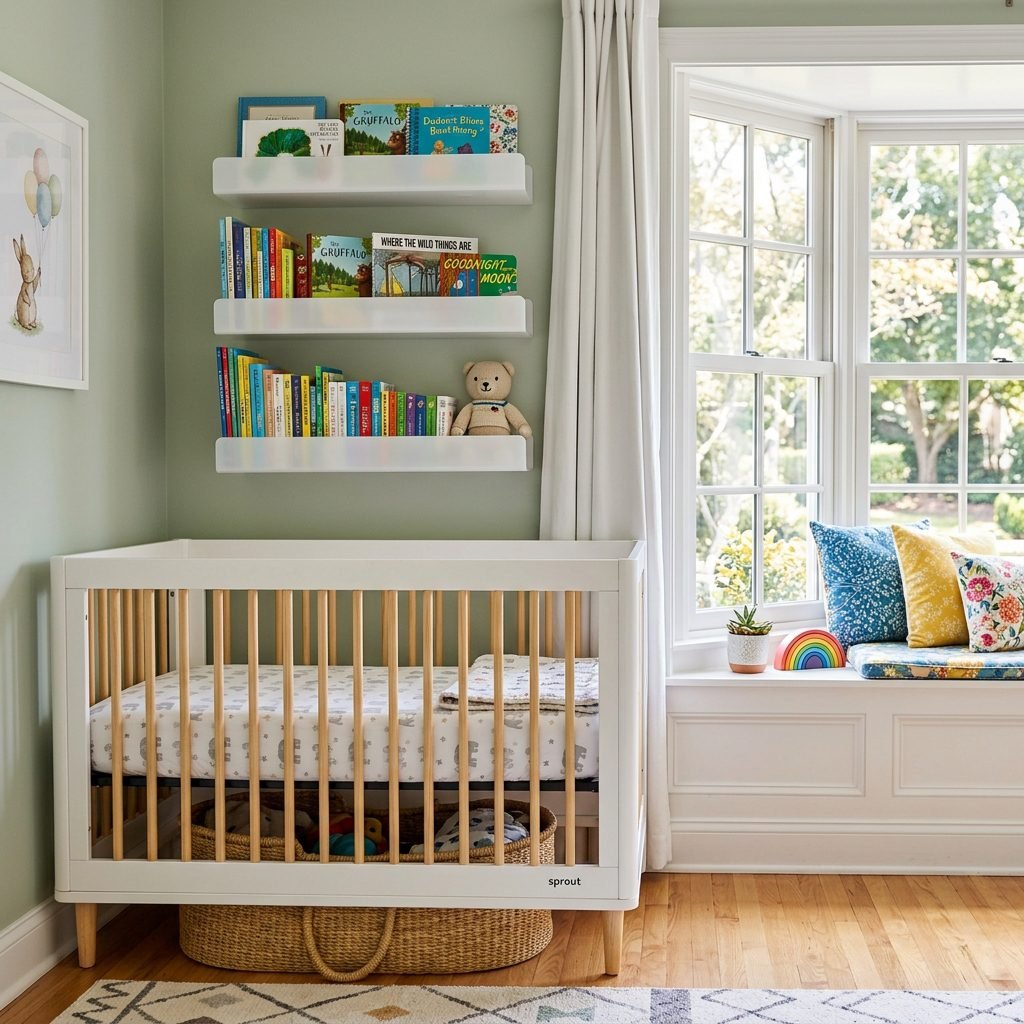
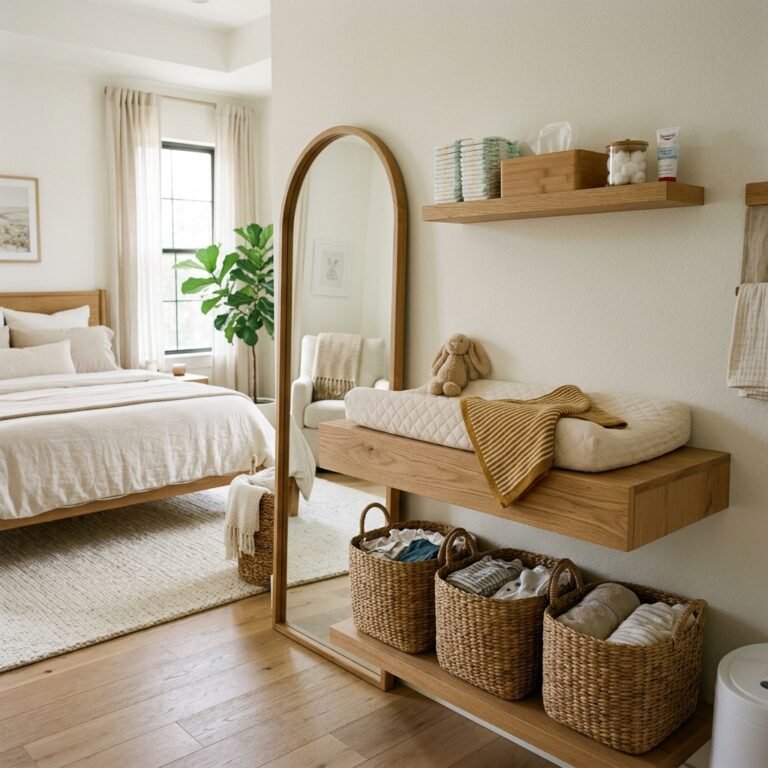
In a nursery nook, every square inch has to work for you. Since you don’t have a full closet or a giant dresser, we have to get creative. The area under the crib is prime real estate. Use low-profile rolling bins to store extra diapers, wipes, and seasonal clothes. If your bay window has wide sills, these are perfect for a small basket of ‘must-haves’ like burp cloths and pacifiers.
Vertical Storage and Floating Shelves
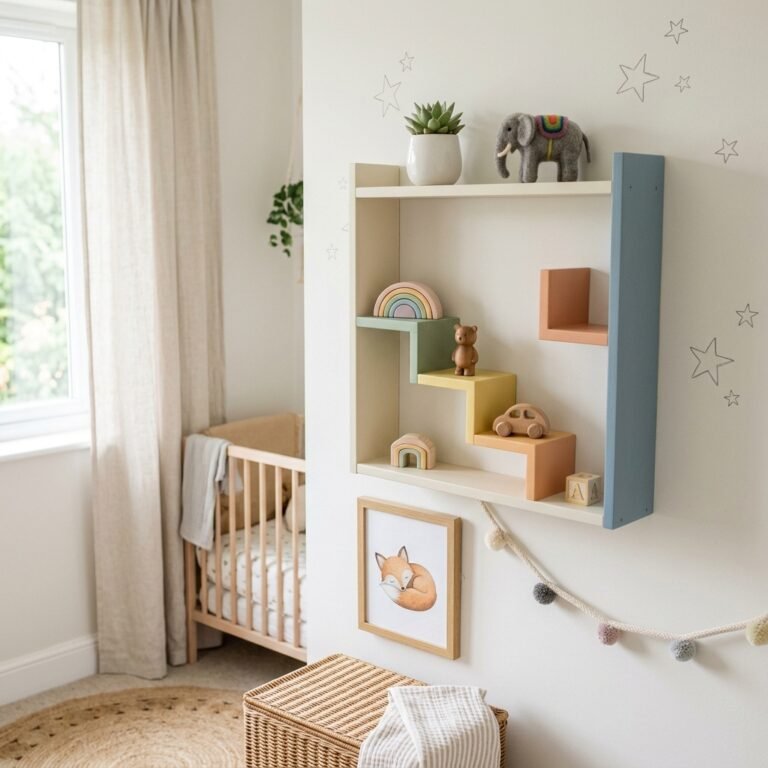
Look at the walls flanking the bay window. This is where you can install floating bookshelves or acrylic ledges. These take up zero floor space but keep bedtime stories within arm’s reach. A small pegboard on the side wall can hold everything from diaper cream to your nursing pads. By keeping the floor clear, the nook feels larger and less cluttered, which helps lower your cortisol levels—something every new mama needs!
| Storage Type | Best For | Space Saved |
|---|---|---|
| Under-Crib Bins | Diapers, Wipes, Linens | High (Uses dead space) |
| Floating Ledges | Books, Small Decor | Medium (Clears floor) |
| Window Sill Baskets | Daily Essentials | Low (Uses existing surface) |
| Over-the-Door Organizer | Shoes, Medicines, Socks | High (Uses door back) |
The Aesthetic Touch: Softening the Nook for Sensory Comfort
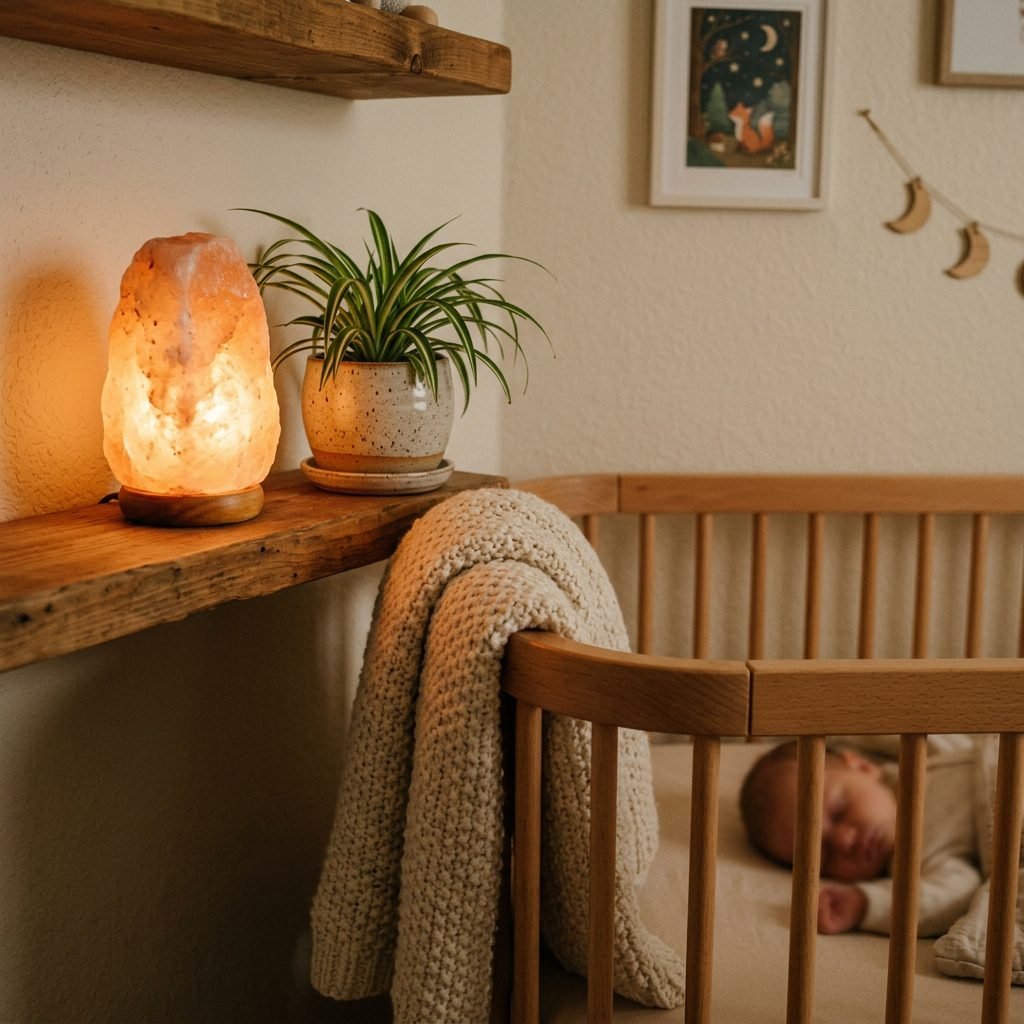
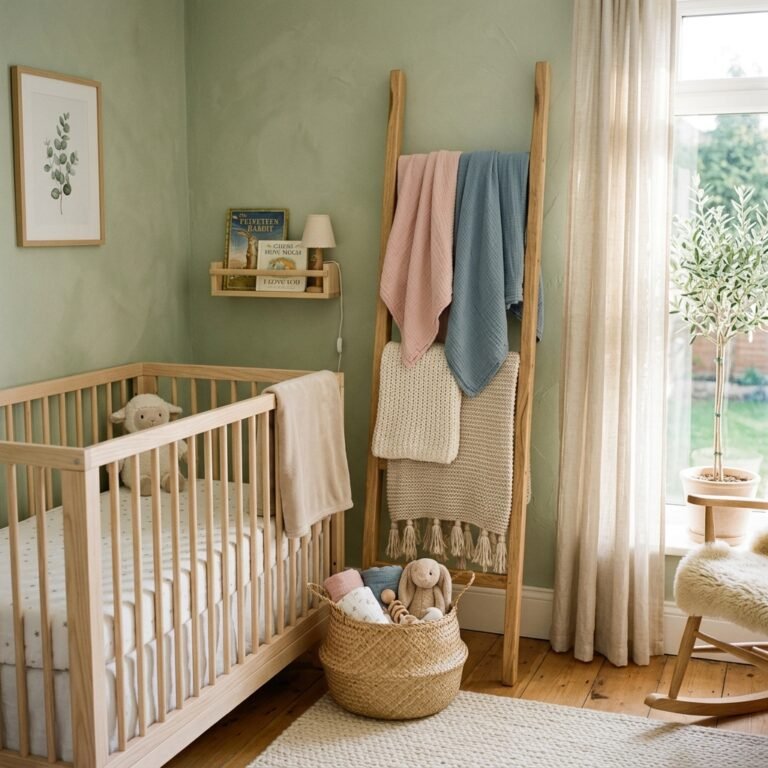
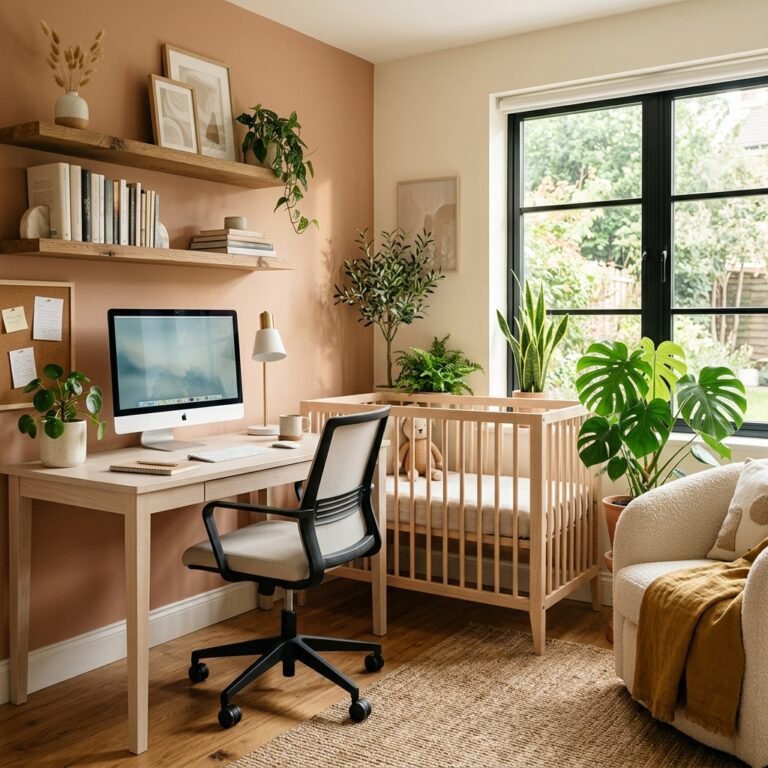
Now for the fun part! We want this nook to feel like a warm hug. Since the nook is in your master bedroom, you want to choose a color palette that complements your existing decor while adding a touch of nursery whimsy. Think muted tones like sage green, dusty rose, or warm terracotta. These colors are soothing for the baby’s developing eyes and won’t clash with your ‘adult’ space.
Adding Texture and Sound
A soft, high-pile rug in the nook area helps define the space and provides a cushion for your feet during those 3 AM shushing sessions. Speaking of shushing, a white noise machine is essential. Place it between the window and the crib to help drown out street noise. Finally, add a touch of nature with a non-toxic plant (like a Spider Plant) on a high shelf to purify the air and add a calming green element to the nook.
- Soft Lighting: Use a dimmable warm-light lamp or a salt lamp for nighttime diaper changes.
- Texture: A muslin canopy can add a magical feel, but ensure it is safely secured and away from the baby’s reach.
- Personalization: Hang a small wooden name sign or a framed ultrasound photo to make the space feel truly theirs.
The Room-Sharing Success Plan: Living with the Nook

Living with a baby in your bedroom is a transition, mama. To make it work, you need a system. I recommend a ‘Nighttime Station’ on your own nightstand. This should include a large water bottle, a healthy snack, and a dim light so you don’t have to turn on the big overhead lights. Keep the nursery nook organized by doing a ‘5-minute reset’ every morning—put the stray diapers away and straighten the crib sheet. A tidy space leads to a tidy mind.
Transitioning Later
The beauty of the bay window nook is that it is temporary. When your baby is ready to move to their own room (usually between 6 and 12 months, according to the AAP), the nook can easily transition back into a reading corner or a vanity area. You haven’t permanently altered your room; you’ve just shared it for a season of life. Enjoy this closeness; the sound of those tiny newborn snores is something you will cherish forever.
You are doing an amazing job, mama. Whether your nursery is a 500-square-foot suite or a cozy window nook, your baby has everything they need because they have you.
Conclusion
Converting your master bedroom bay window into a nursery nook is a brilliant way to embrace the early days of motherhood with style and practicality. By focusing on safety, light control, and intentional storage, you create a sanctuary that supports both your baby’s sleep and your own peace of mind. Remember to measure twice, prioritize blackout solutions, and keep those cords far out of reach. This little nook is more than just a furniture arrangement; it is the first place your baby will open their eyes and see the world—and they will see it from the comfort of your shared space. You’ve got this, mama! Happy nesting!