How to Turn an IKEA Brimnes Daybed Into a Stunning Nursery Daybed
Embracing the Nesting Journey with Practical Magic
Oh, sweet mama, I see you. You are in that beautiful, whirlwind phase of nesting, where every corner of your home feels like a canvas for the love you’re already pouring into your little one. As a doula, I’ve spent countless hours in nurseries, and I’ve seen firsthand how a well-designed space can be a sanctuary for both you and your baby. The nursery isn’t just a room for sleep; it’s a sacred command center for late-night feeds, skin-to-skin snuggles, and those precious moments of postpartum recovery.
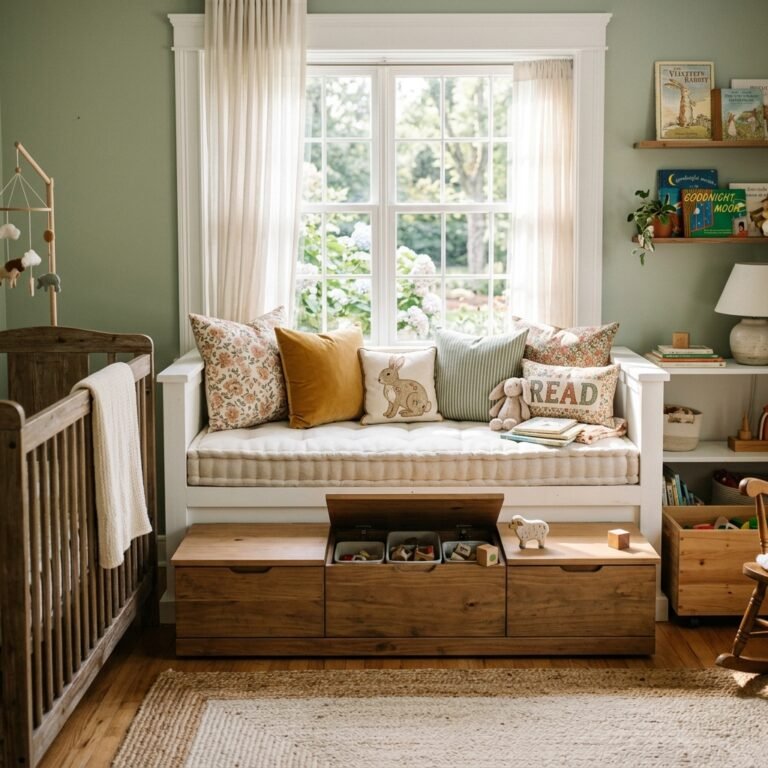
When space is tight, or when you’re looking for a piece of furniture that grows with your family, the IKEA Brimnes Daybed is a total game-changer. But let’s be honest: in its raw form, it can look a bit… well, ‘IKEA-ish.’ Today, we are going to take that functional, boxy frame and infuse it with soul, style, and softness. Whether you’re a first-time mom or a seasoned pro adding to your brood, this guide will show you how to turn a budget-friendly staple into a stunning nursery daybed that feels like a high-end designer piece.
Grab a cup of red raspberry leaf tea, put your feet up for a moment, and let’s dream up your perfect nursery nook together. We’re going to cover everything from non-toxic paint choices to the ‘doula-approved’ way to style this bed for maximum postpartum comfort.
Why the Brimnes is the Ultimate Nursery Secret Weapon
As a nursery designer and doula, I often recommend the Brimnes over a traditional rocking chair for several reasons. First, it offers massive storage. Those two deep drawers are a lifesaver for storing bulky items like extra diapers, sleep sacks, and those 74 muslin swaddles you somehow inherited. Second, it’s a bed! During those first few weeks postpartum, having a place to sleep in the nursery can be a lifesaver for partners or for you during those ‘I just need to lie down next to the crib’ moments.
Storage Capacity Comparison
| Storage Feature | Standard Glider/Chair | IKEA Brimnes Daybed |
|---|---|---|
| Under-seat Storage | None | Two Extra-Large Drawers |
| Surface Area for Pumping Gear | Minimal | Full Twin Surface |
| Longevity | Used for ~1-2 years | Grows into a Toddler/Guest Bed |
| Floor Space Impact | Medium | High (but replaces multiple pieces) |
Setting up your nursery is the first act of mothering the mother. You are creating a space where you will be reborn as a parent. Make it comfortable. Make it yours.
Step 1: The Non-Toxic Glow Up (Painting Tips)

The standard white finish of the Brimnes can feel a bit clinical. To make it ‘stunning,’ we need color! However, because this is for a nursery, we must prioritize VOC-free, non-toxic paints. Since the Brimnes is made of foil-wrapped particleboard, you can’t just slap paint on it and hope for the best. It requires a specific process to ensure it doesn’t peel when your toddler eventually decides to use it as a racetrack.
The DIY Process for a Lasting Finish
- Light Sanding: Use a 220-grit sandpaper to lightly scuff the surface. You aren’t trying to remove the finish, just creating ‘tooth’ for the primer to grab onto.
- The Secret Weapon Primer: Use Zinsser BIN Primer (the shellac-based one). It is the only thing that truly sticks to IKEA’s laminate surfaces. Pro Tip: Do this in a well-ventilated area or outdoors while you are still in your second trimester, or better yet, delegate this task to a partner!
- Paint Selection: Choose a Low-VOC or Zero-VOC paint like Benjamin Moore Natura or Sherwin-Williams Harmony. Soft sage greens, muted terracottas, or warm ‘greiges’ are incredibly soothing for a nursery environment.
- Top Coat: Apply a water-based polycrylic for durability.
Safety Note: Always wear a mask when sanding and ensure the room is aired out for at least 48-72 hours before bringing the baby into the space.
Step 2: Hardware and Trim – The Designer Details
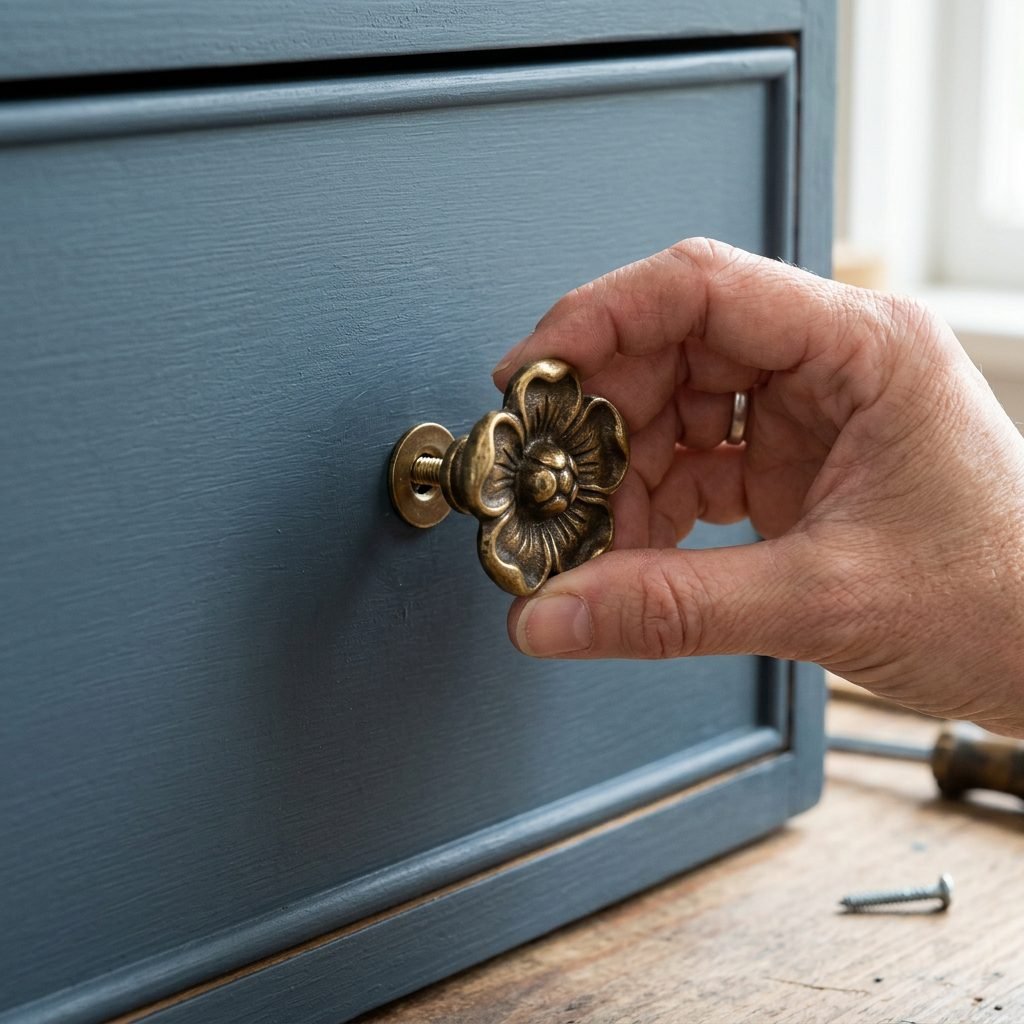
The quickest way to make a piece of furniture look expensive is to ditch the stock plastic hardware. For a nursery, we want textures that feel warm and organic. Think brushed brass, matte black, or even leather pulls.
Elevating the Aesthetic
- Swap the Knobs: Replace the standard Brimnes pulls with oversized wooden knobs or vintage-inspired brass handles. This small change completely shifts the ‘vibe’ of the room.
- Add Molding: If you’re feeling extra crafty, you can apply ‘picture frame’ molding to the drawer fronts using wood glue and a few finishing nails. This gives the bed a custom, built-in look that mimics high-end European furniture.
- The Baseboard Trick: Use caulk to fill the seams where the bed meets the wall or floor (if you are placing it permanently). This makes it look like a custom architectural feature rather than a flat-pack item.
By focusing on these tactile details, you’re creating a sensory experience for yourself. When you’re sitting there at 3:00 AM, touching a cool, solid brass handle feels much more grounding than cheap plastic.
Step 3: Doula-Approved Styling for Postpartum Comfort
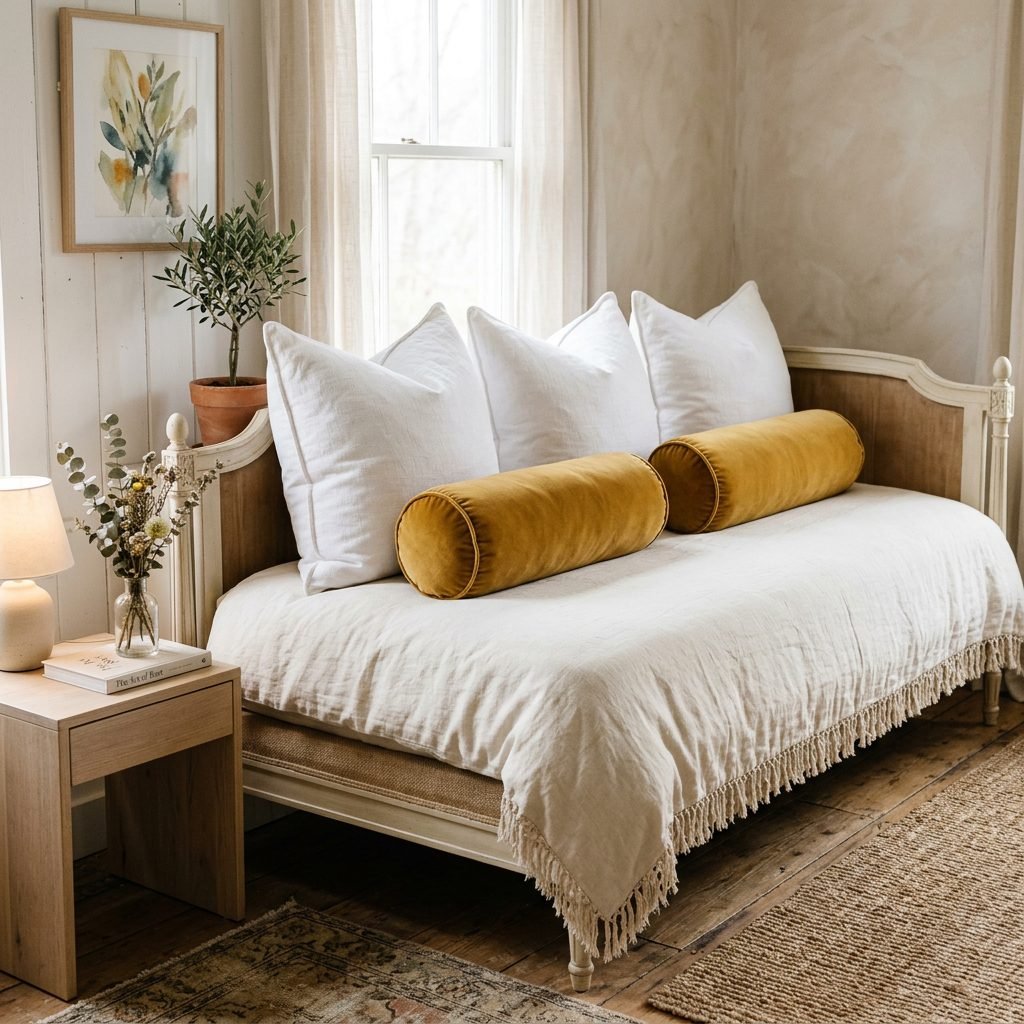
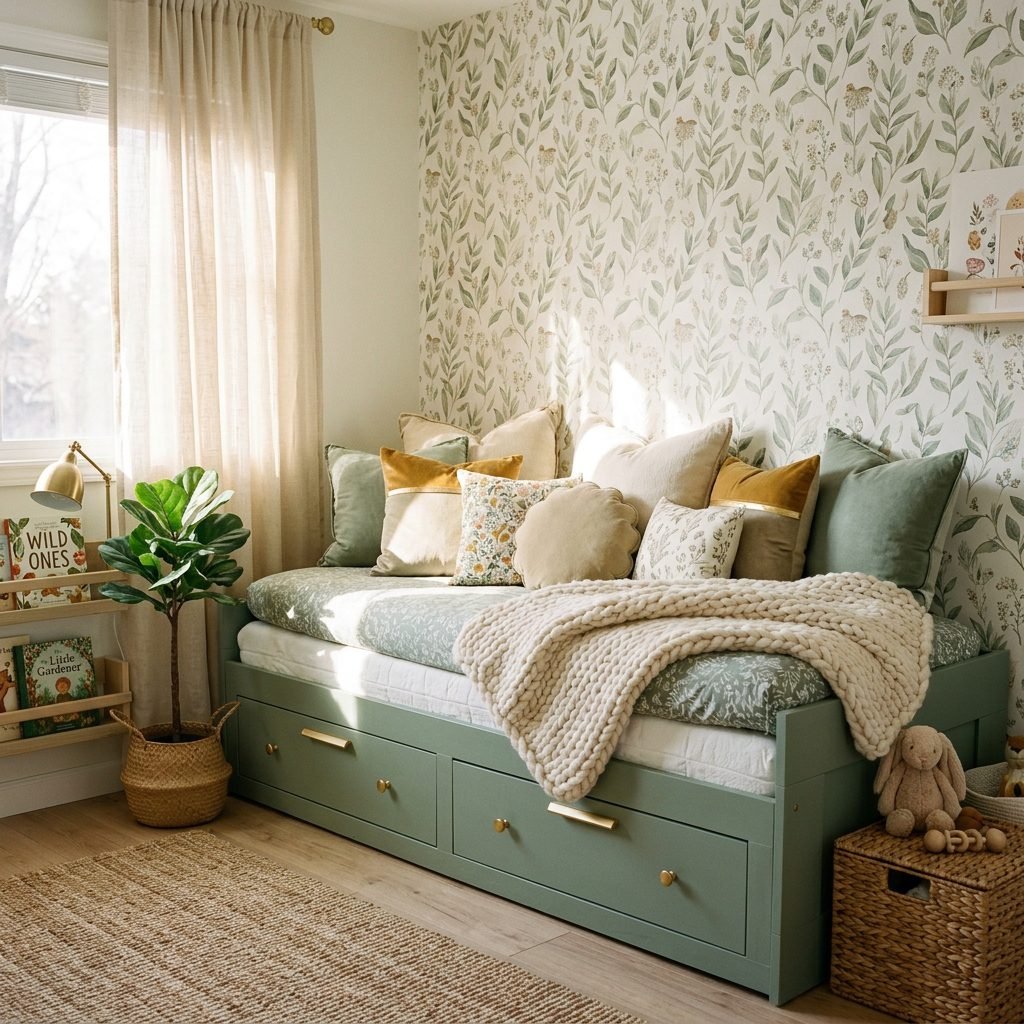
Now for the best part—the styling! A daybed in a nursery needs to be more than just pretty; it needs to be a functional recovery station. As a doula, I recommend a ‘layered’ approach. You want the bed to feel like a sofa during the day and a cozy retreat at night.
The Comfort Layering Guide
| Layer | Item Recommendation | Why it Matters |
|---|---|---|
| The Base | High-quality Twin Mattress | Critical for back support during long nursing sessions. |
| The Cover | Linen or Cotton Quilt | Breathable fabrics help regulate your temperature (especially if you have postpartum night sweats!). |
| The Support | 2-3 Large Euro Shams | These provide the ‘backrest’ so you can sit upright comfortably while feeding. |
| The Texture | Chunky Knit Throw | Adds visual warmth and provides a quick cover for naps. |
| The Function | Side Caddy | Hang a felt caddy over the side for water, nipple cream, and your phone. |
Styling Tip: Use a bolster pillow at each end of the Brimnes. Because the bed has a back and two sides, the bolsters help fill the corners and make it feel like a high-end upholstered daybed.
Step 4: Organizing the ‘Deep Storage’ Drawers
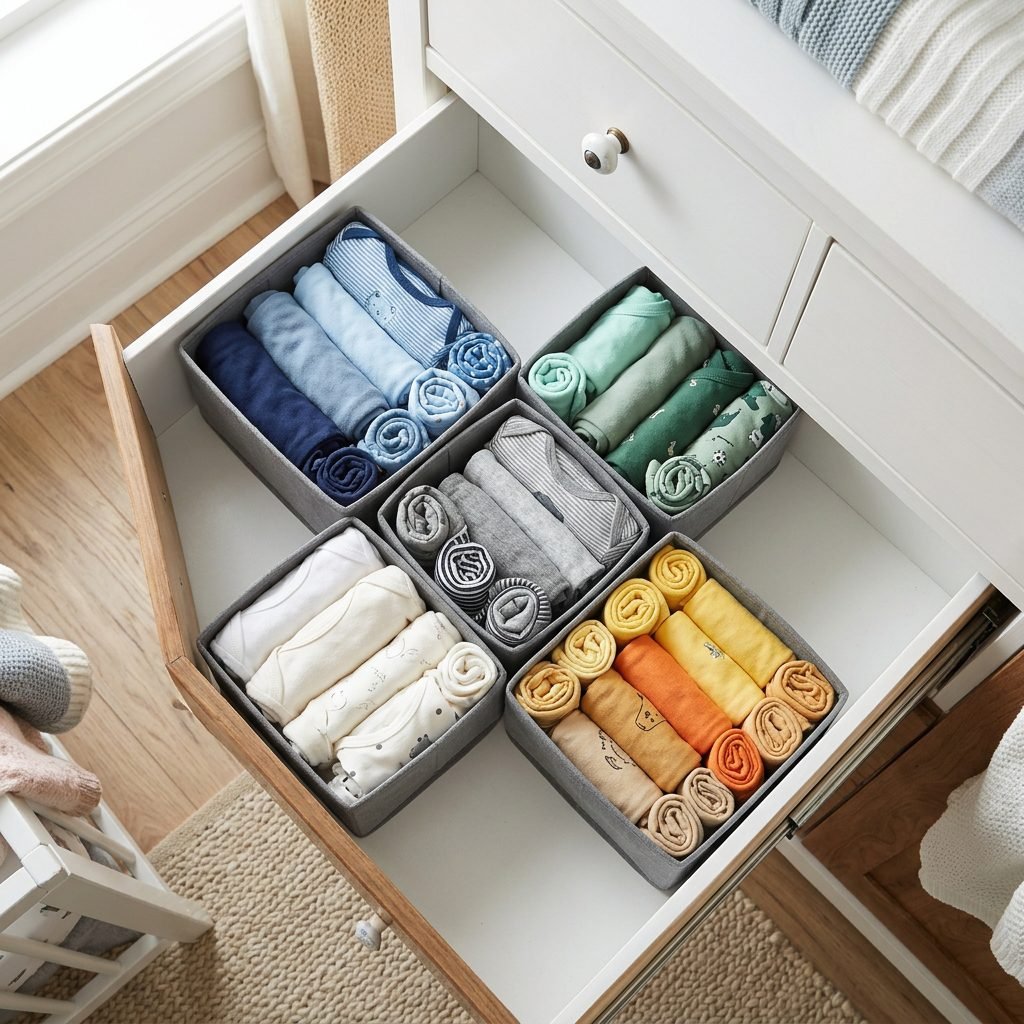
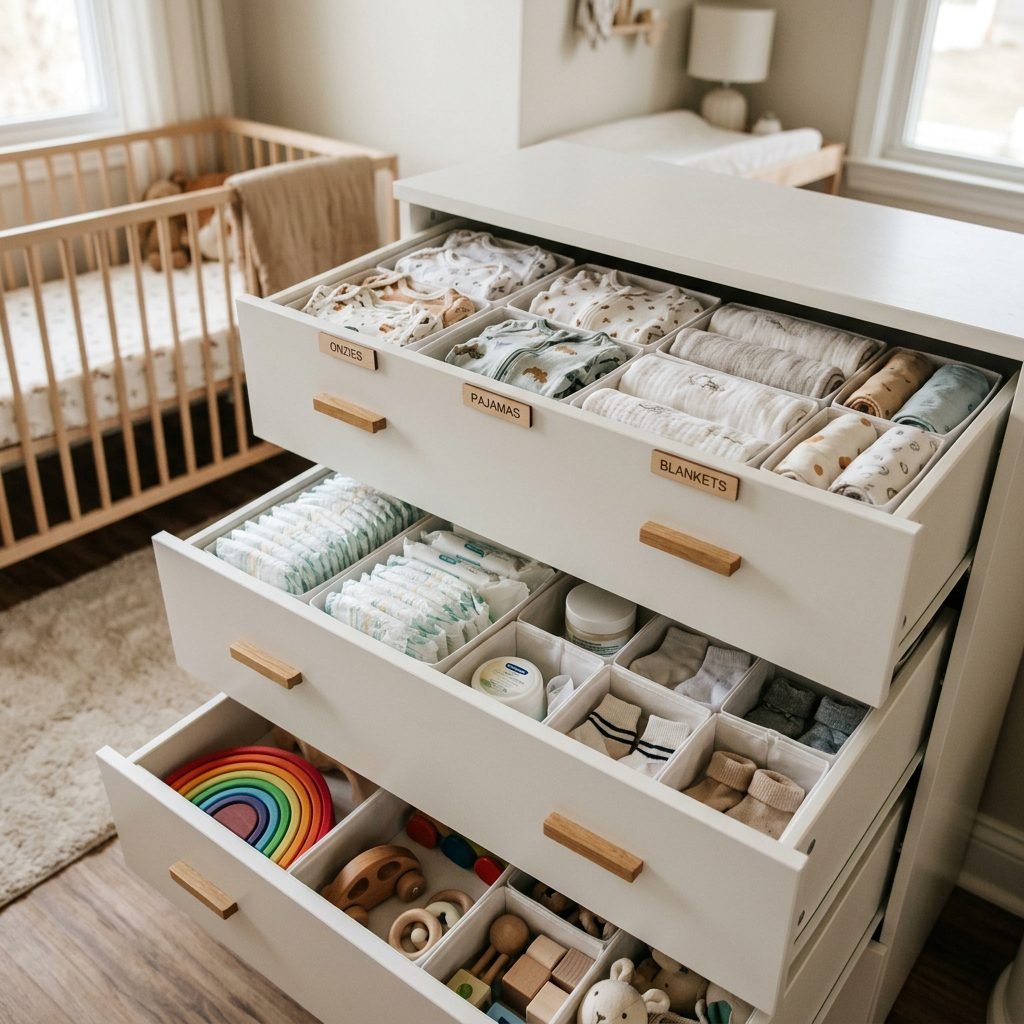
The Brimnes drawers are incredibly deep, which is a blessing and a curse. Without organization, they become a ‘black hole’ for lost socks and half-used packs of wipes. To turn this into a stunningly organized space, we use the ‘Zone Method.’
The Drawer Zone Method
- Zone 1: The Daily Essentials. Keep one half of the first drawer for things you need within arm’s reach while sitting on the bed: diapers, wipes, a change of clothes for baby, and burp cloths.
- Zone 2: The Postpartum Kit. Use the other half for your needs: heavy-duty pads, nursing pads, snacks (protein bars are life!), and a spare water bottle.
- Zone 3: The ‘Next Size Up’. The second drawer is perfect for storing clothes the baby hasn’t grown into yet or seasonal items like heavy bunting suits and blankets.
Pro Tip: Use IKEA Skubb boxes or clear acrylic dividers to keep these zones from bleeding into each other. Labeling the inside edge of the drawer can also help partners find exactly what you need when you can’t get up.
Safety and Longevity: A Note for Growing Babes
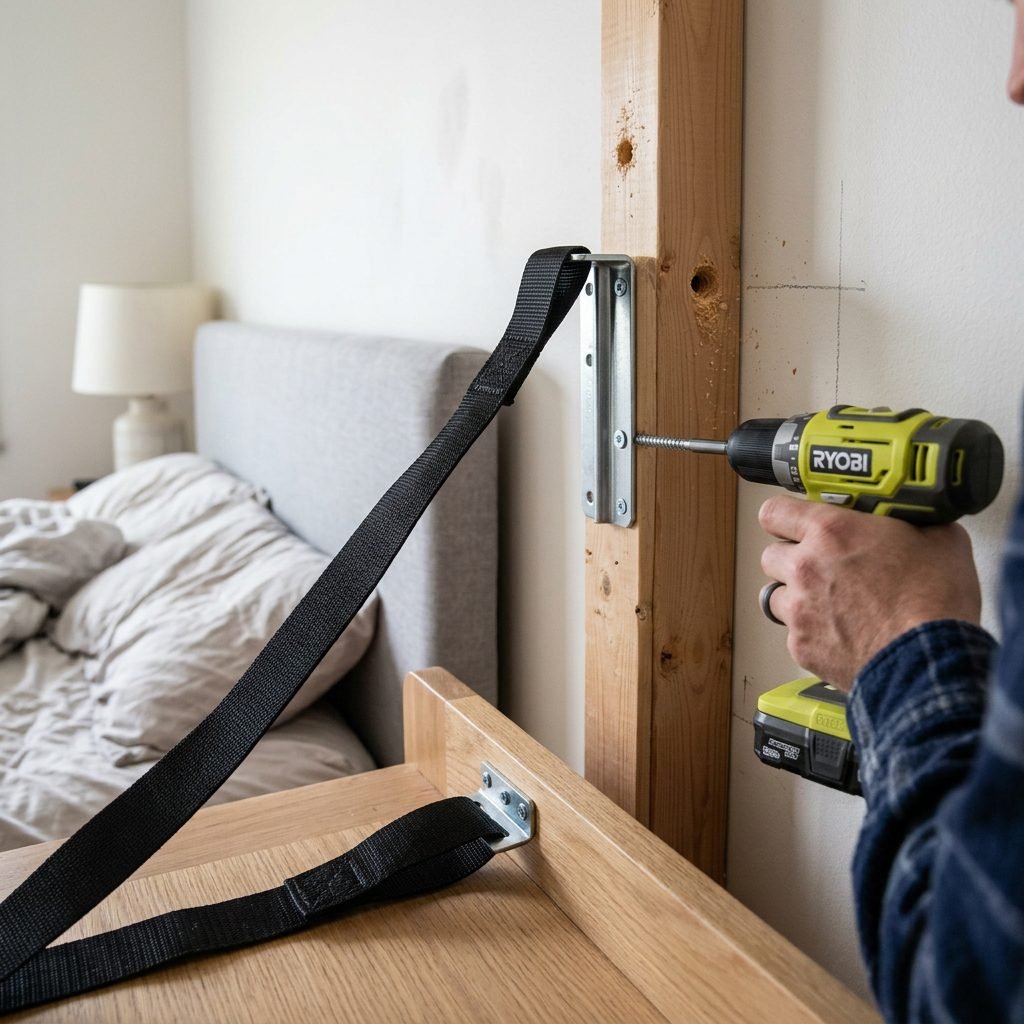
While we want the bed to be stunning, safety is our number one priority. As your baby transitions from a newborn to a curious crawler, you need to ensure the daybed remains a safe zone. The Brimnes is sturdy, but its height requires some mindfulness.
Essential Safety Checklist
- Wall Anchoring: This is non-negotiable. IKEA provides wall anchoring kits; use them. As soon as your child can pull themselves up, that bed becomes a climbing frame.
- Guardrails: If you plan on having your toddler sleep here eventually, you can purchase universal mesh guardrails or even DIY a wooden rail that matches your paint color.
- Corner Protectors: The Brimnes has fairly sharp corners. Consider clear silicone corner protectors to save your shins (and baby’s head) during those dark-room navigations.
- Mattress Gap: Ensure your twin mattress fits snugly against the frame to prevent any entrapment hazards.
Your nursery is a living space. It will change as your baby changes. Building it on a versatile foundation like a daybed ensures you aren’t replacing furniture every twelve months.
Conclusion
Your Sanctuary Awaits
Mama, you’ve done it. You’ve taken a simple piece of furniture and turned it into a masterpiece of form and function. By hacking the IKEA Brimnes Daybed, you haven’t just saved money; you’ve created a custom piece that tells the story of your preparation and love. This bed will hold you while you heal, support you while you feed, and eventually, it might even be the place where you read your child their favorite bedtime stories.
Remember, the most ‘stunning’ part of your nursery isn’t the paint color or the brass knobs—it’s the peace and presence you bring into the room. Take a deep breath, admire your handiwork, and know that you are doing an incredible job. Your nest is ready, and so are you.