How to Customize IKEA Knagglig Pine Boxes for Cute, Rustic Nursery Toy Storage
Hello, sweet mama! If you are currently in that beautiful, frantic, and deeply emotional phase of nesting, you know exactly how it feels to look at a pile of baby gear and wonder where it is all going to go. As a doula and a fellow mom, I’ve seen how a cluttered environment can add to that postpartum mental load. We want our nurseries to be sanctuaries—places of peace, soft lighting, and organized bliss. That is where the humble IKEA Knagglig pine box comes in. These sturdy, solid wood crates are a blank canvas for your creativity, and today, we are going to transform them into heirloom-quality, rustic toy storage that is as safe as it is beautiful.
Customizing these boxes isn’t just about the aesthetic; it’s about creating a space that feels intentional. Using solid pine instead of plastic bins is a wonderful choice for your baby’s respiratory health and the environment. In this guide, I’ll walk you through everything from choosing baby-safe finishes to adding functional upgrades like casters, so you can glide through your nursery with ease. Let’s roll up our sleeves and create something special for your little one’s first home.
The Magic of the Knagglig: Why This Crate is a Nursery Essential
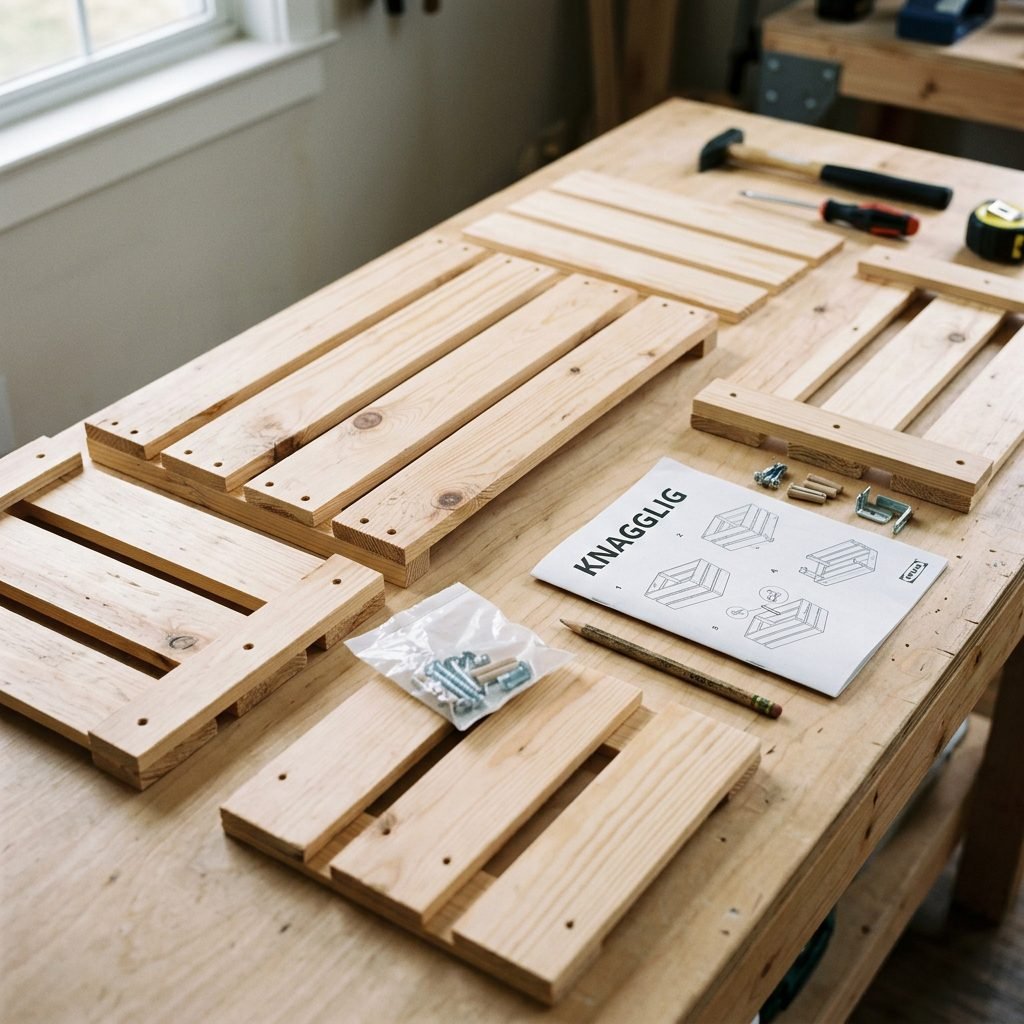
Before we dive into the paint and brushes, let’s talk about why the Knagglig is the ‘holy grail’ of nursery organization. Unlike many affordable storage options that rely on MDF or plastic, the Knagglig is made of untreated solid pine. This is vital for several reasons:
- Safety First: Untreated wood doesn’t off-gas harmful chemicals like some composite materials do.
- Durability: These crates can withstand the ‘toddler years’ when they inevitably become step-stools, race cars, or doll beds.
- Sustainability: Pine is a renewable resource, making it a choice you can feel good about.
As a doula, I always encourage parents to look for ‘open storage’ solutions. When you are sleep-deprived and holding a wiggly baby, you need to be able to toss a toy or a swaddle into a bin with one hand. The Knagglig’s open-top design makes ‘the great evening tidy-up’ much faster, giving you those precious extra minutes of rest.
Your DIY Toolkit: Choosing Non-Toxic Materials for Your Baby’s Room
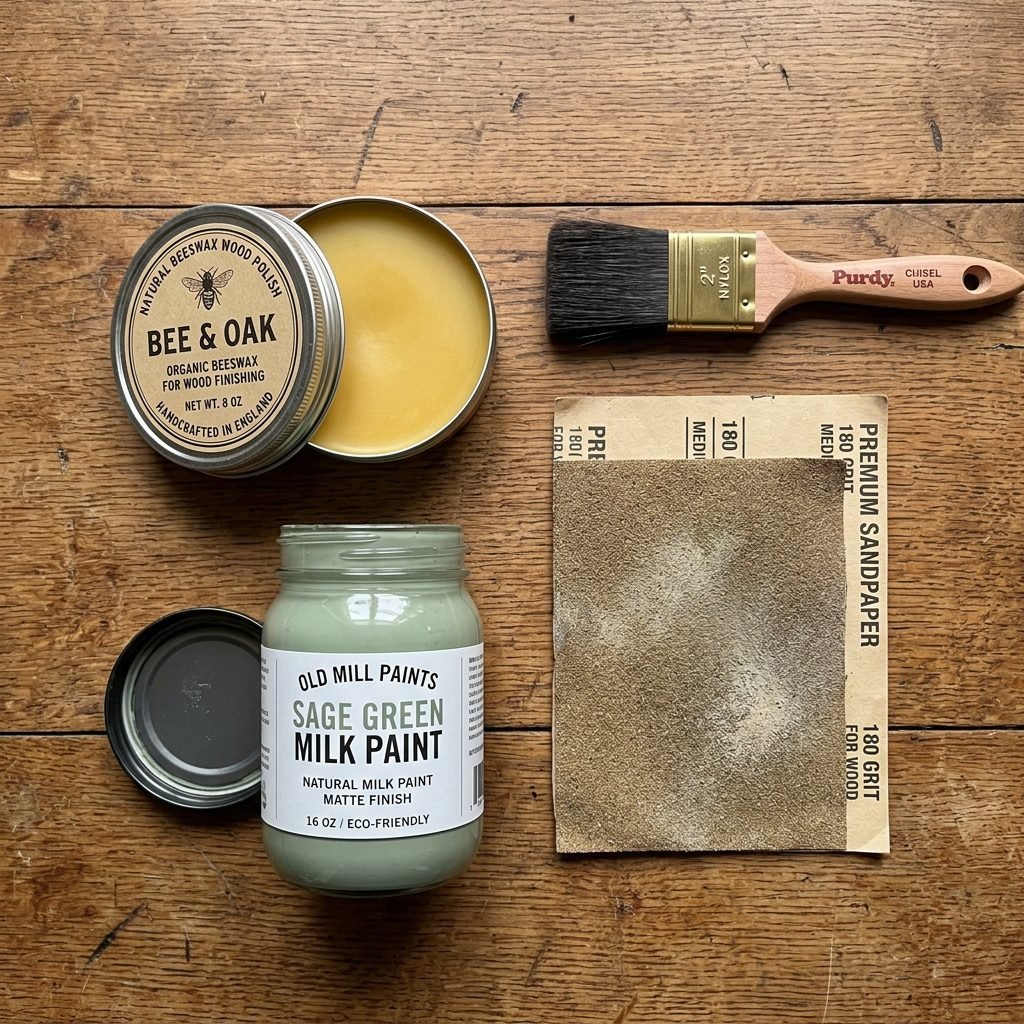
When you’re crafting for a nursery, the ingredients in your paint and stain matter just as much as the ingredients in your baby’s lotion. Babies are sensory explorers—they will touch, lick, and lean on these boxes. We want to ensure we are using Low-VOC (Volatile Organic Compounds) or Zero-VOC finishes.
| Material Item | Purpose | Budget Estimate |
|---|---|---|
| IKEA Knagglig Box (Large) | The base structure | $15.00 |
| Fine-Grit Sandpaper (220 grit) | Smoothing edges for safety | $5.00 |
| Milk Paint or Chalk Paint | Non-toxic color finish | $12.00 – $20.00 |
| Natural Beeswax or Hemp Oil | Sealing the wood safely | $10.00 |
| Felt Pads or 2-inch Casters | Floor protection or mobility | $8.00 |
A Sisterly Reminder: Always work in a well-ventilated area, even with non-toxic paints. If you are currently pregnant, this is a wonderful task for a partner or a ‘nesting party’ friend to help with while you supervise with a cup of red raspberry leaf tea!
Step-by-Step: Preparing and Sanding for Smooth, Splinter-Free Play
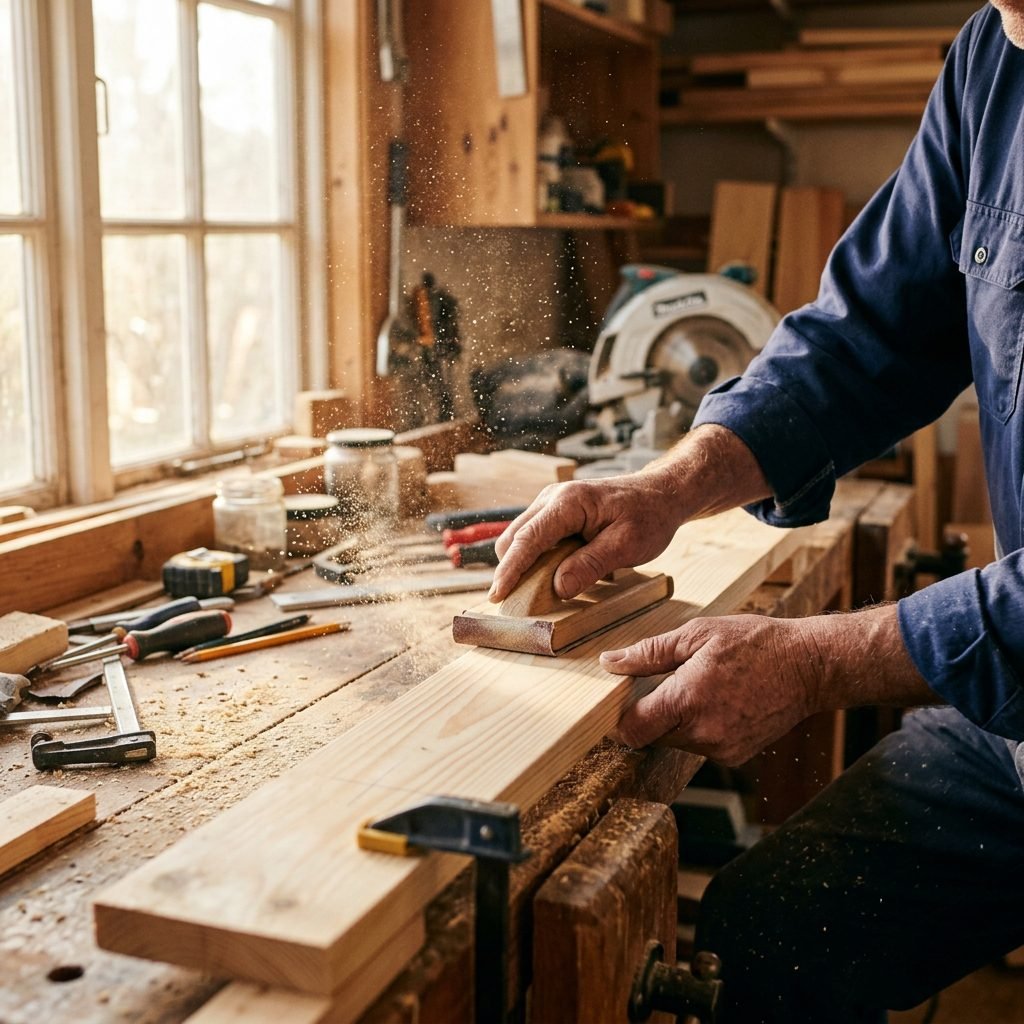
1. The Pre-Assembly Sanding
I highly recommend sanding the pieces before you screw the box together. This allows you to reach the inner corners and the edges of the slats that will be hidden once assembled. Use a 220-grit sandpaper to gently buff away any rough factory edges. Focus specifically on the top rims where tiny hands will grab.
2. The Assembly Phase
Follow the IKEA instructions—they are actually quite simple for this piece! Ensure all screws are driven in flush with the wood. If a screw is sticking out even a millimeter, it can snag a delicate muslin swaddle or scratch a crawling baby. Pro-Tip: Use a manual screwdriver rather than a power drill to avoid splitting the soft pine wood.
3. The ‘Snag Test’
Once the box is built, take a pair of old nylon stockings or a thin microfiber cloth and run it over every surface. If the fabric snags, that area needs more sanding. This is a doula-approved safety check to prevent splinters during future ‘tummy time’ explorations.
Four Creative Ways to Style Your Rustic Toy Boxes
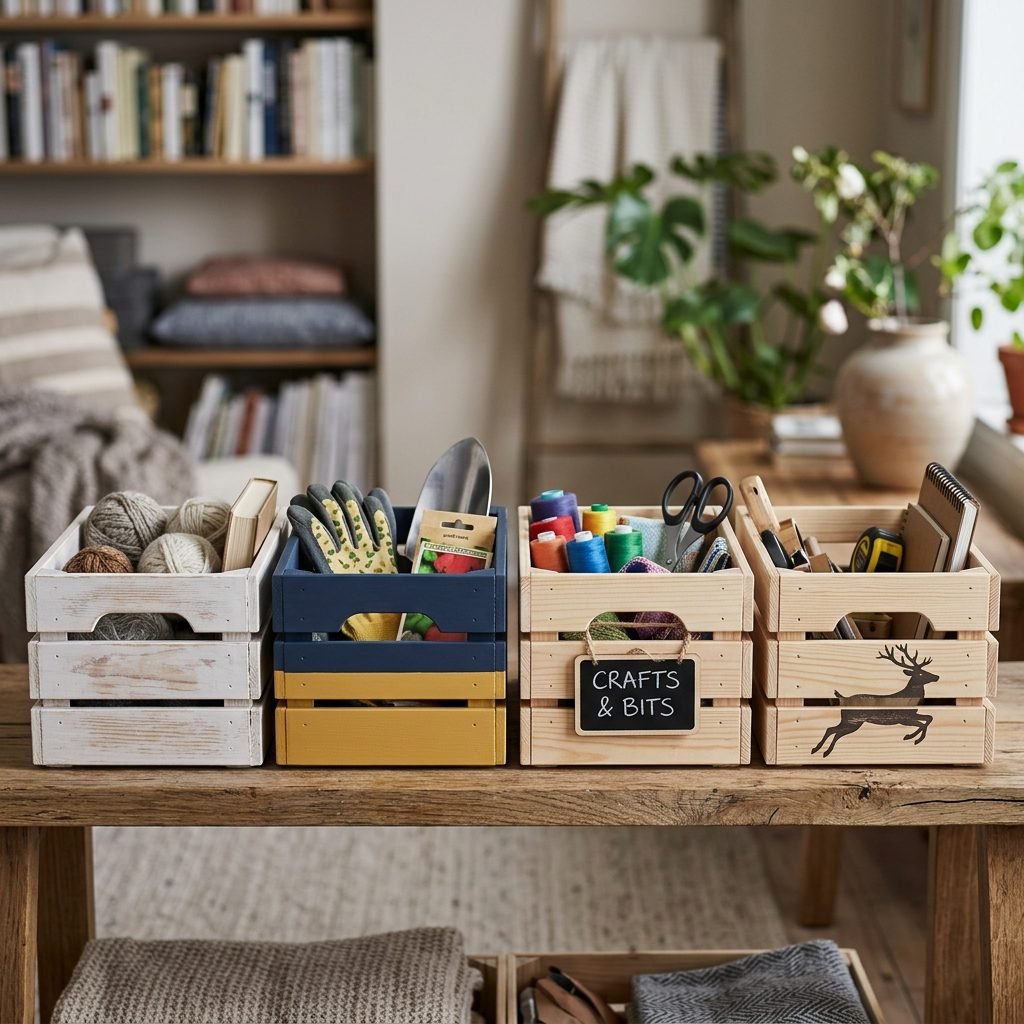
Now for the fun part—the styling! Here are four ways to turn that plain pine into a nursery masterpiece:
- The Scandi Whitewash: Mix white milk paint with 50% water. Brush it on and immediately wipe it off with a rag. This brightens the wood while letting the beautiful grain shine through.
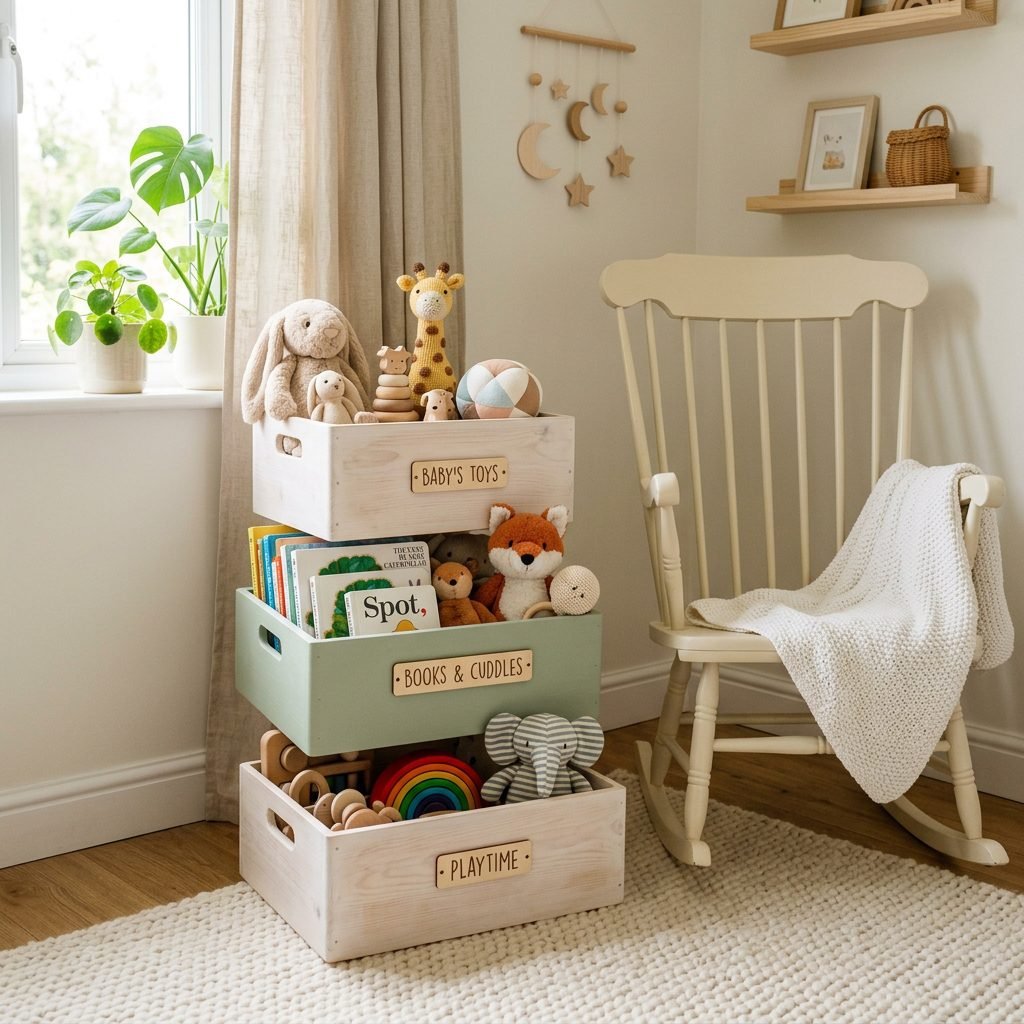
- The Dipped Look: Paint only the bottom third of the box in a soft pastel (like dusty rose or eucalyptus green) and leave the top two-thirds natural. It’s modern, chic, and very ‘designer nursery.’
- The Chalkboard Front: Paint one of the short ends with chalkboard paint. This allows you to label the boxes (‘Blocks’, ‘Soft Toys’, ‘Books’) as your child grows and their toy collection evolves.
- The Stenciled Heirloom: Use a stencil to add your baby’s initials or a simple woodland motif (like a pine tree or a little bear) to the side of the box.
Whichever method you choose, finish the wood with a food-safe hemp oil or beeswax. This protects the paint from scuffs and makes the boxes easy to wipe down with a damp cloth later on.
Functional Upgrades: Adding Casters and Personal Touches
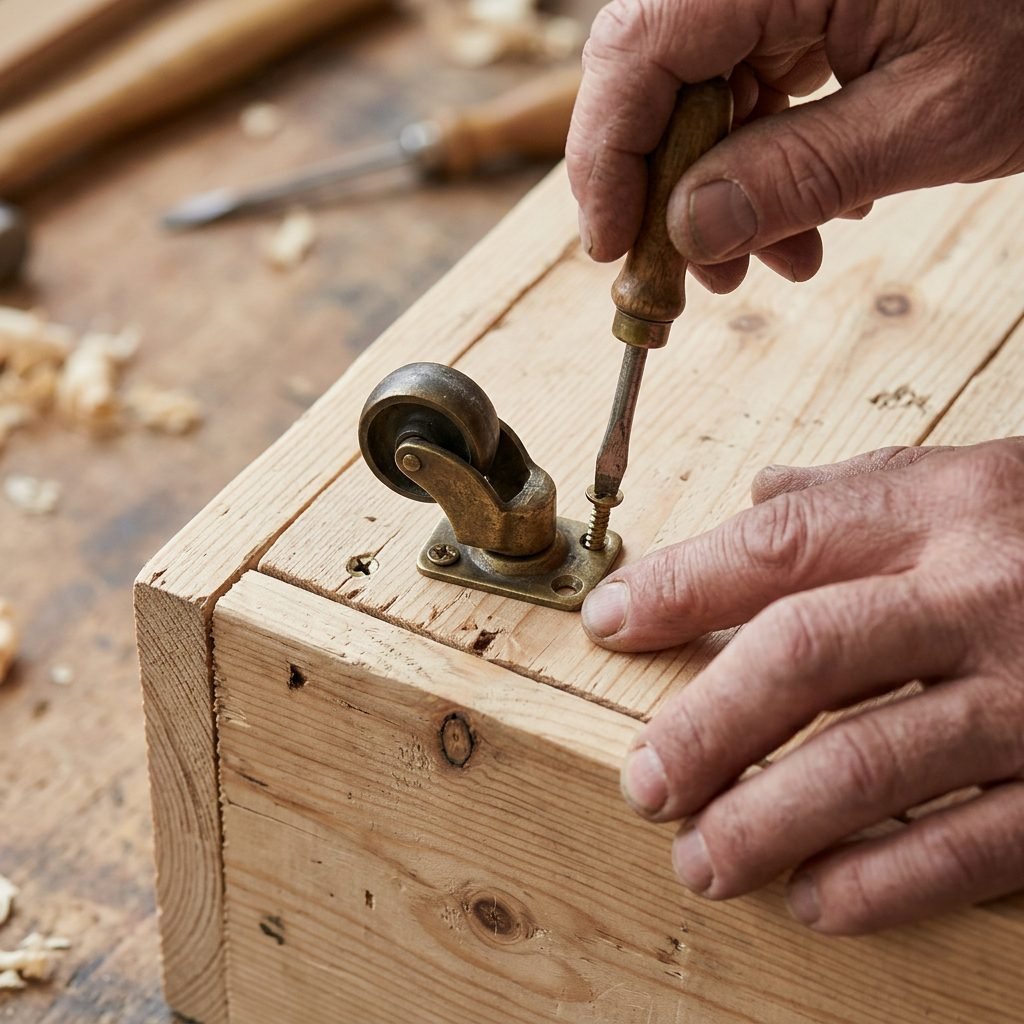
As a postpartum recovery nurse will tell you, bending over repeatedly to pick up toys is the last thing your back needs after birth. Let’s make these boxes work for you!
Adding Mobility
By attaching four 2-inch swivel casters to the bottom corners of your Knagglig, you transform it into a rolling toy cart. This is a game-changer for cleaning! You can simply wheel the toy box out of the way to vacuum the rug and wheel it back. Just ensure you choose casters with a ‘locking’ mechanism if you plan to keep the box in a specific spot once the baby starts pulling themselves up to stand.
Softening the Interior
If you plan to use the boxes for delicate items like heirloom knits or lace bonnets, consider lining the bottom with a piece of self-adhesive cork or a custom-cut piece of felt. This provides a soft landing for items and prevents any wood resin from touching your most precious fabrics.
Organizing with Intention: A Doula’s Guide to Toy Rotation
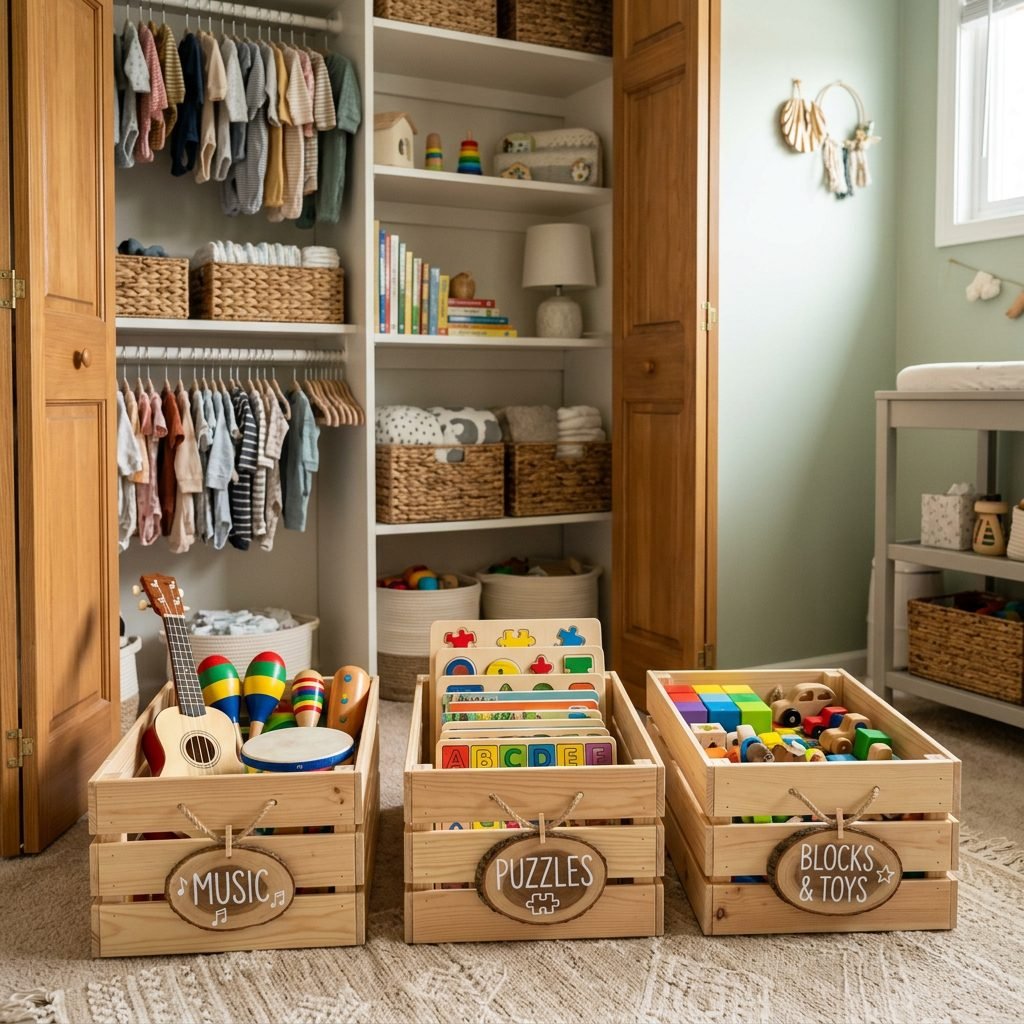
Storage is only as good as the system behind it. In the Montessori and Doula worlds, we often talk about toy rotation. Instead of having fifty toys available at once—which can overstimulate a baby—we keep five or six out and store the rest.
| Toy Category | Storage Method | Developmental Benefit |
|---|---|---|
| Sensory/High Contrast | Top Knagglig Layer | Visual tracking & focus |
| Wooden Blocks/Rattles | Middle Knagglig Layer | Grasping & motor skills |
| Soft Plush/Loveys | Bottom Knagglig Layer | Emotional comfort & texture |
| Board Books | Vertical in Crate | Early literacy & recognition |
By using your customized Knagglig boxes for rotation, you can keep one box in the living room and two in the nursery closet. Every Sunday, swap the boxes. Your little one will feel like they have brand-new toys every week, and your floor will stay remarkably clear!
Conclusion
Mama, you are doing an incredible job. Whether you are 38 weeks pregnant or 3 months postpartum, taking the time to create a beautiful, functional space for your family is an act of love. These customized IKEA Knagglig boxes are more than just storage; they are a reflection of the care and intention you are pouring into your home. As you look at your finished crates, remember that the most important thing they will ever hold isn’t the toys—it’s the memories of the play, the laughter, and the quiet moments you’ll share with your little one. Happy crafting, and may your nursery always be a place of peace and joy!