No Space? 5 Floating Crib Layouts to Save Floor Space in Parent’s Bedroom
Welcome Home, Mama: Creating Space for Love
Oh, sweet mama, I see you. You are standing in your bedroom, measuring tape in one hand and a heart full of dreams in the other, wondering how on earth a crib is going to fit next to your nightstand. Maybe you are living in a cozy city apartment, or perhaps you just want to keep your little one within arm’s reach during those hazy, beautiful postpartum weeks. Whatever the reason, the ‘small space struggle’ is a very real part of the nesting process. As a doula, I’ve seen so many mothers feel overwhelmed by the ‘stuff’ that comes with a new baby. But here is a little secret from my heart to yours: Your baby doesn’t need a massive ballroom; they just need a safe, snug place near you.
In this guide, we are going to move beyond the traditional bulky furniture that eats up your floor space. We are looking upward! By utilizing ‘floating’ layouts—whether through wall-mounted bassinets, elevated platforms, or clever vertical integration—we can reclaim your floor while keeping your baby perfectly safe. This isn’t just about interior design; it’s about creating a postpartum sanctuary where you can move freely without stubbing your toe on a crib leg at 3:00 AM. Let’s dive into these five genius layouts that will help you breathe a little easier.
The Safety Foundation: A Doula’s Guide to Secure Sleep
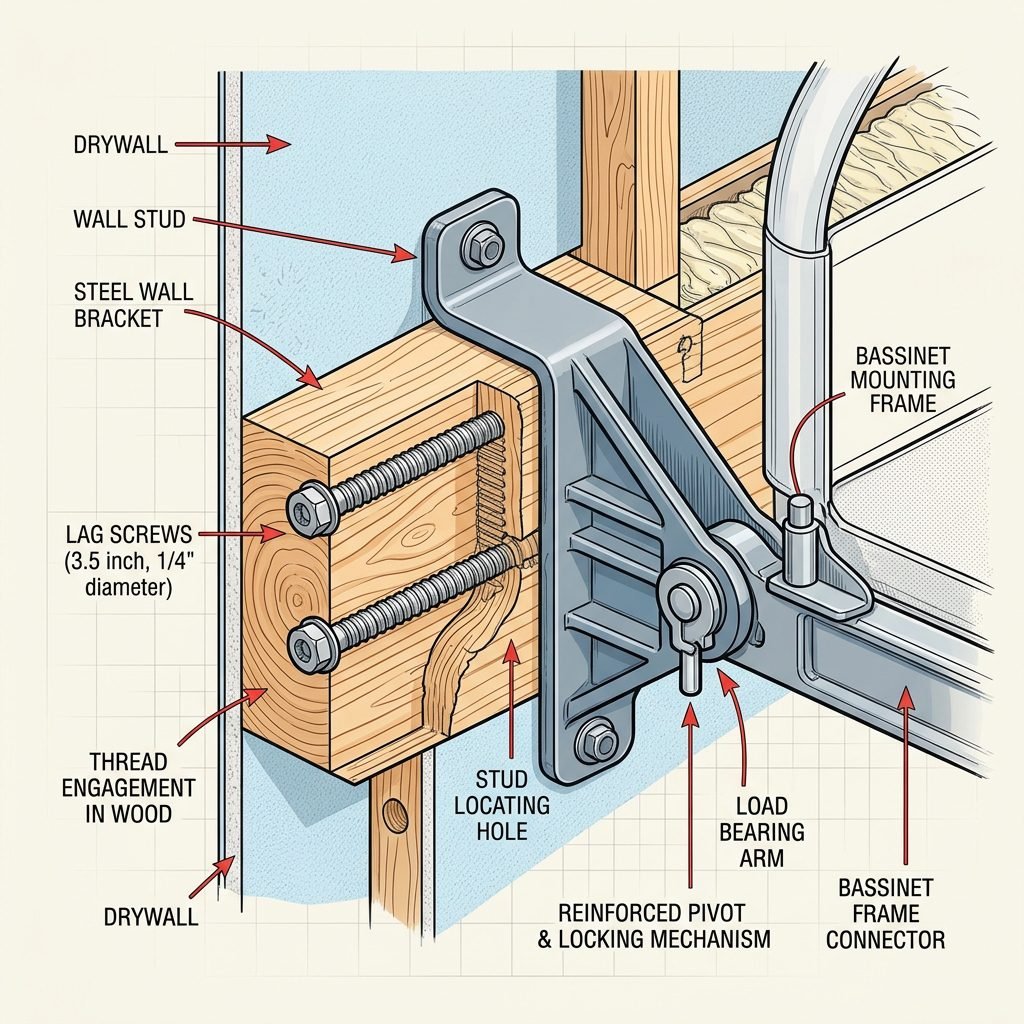
Before we pick out the cute sheets, we have to talk about the ‘boring’ but vital stuff. Safety is our absolute priority. When we talk about ‘floating’ or wall-anchored sleep spaces, we are usually referring to specialized wall-mounted bassinets or cribs designed with a minimalist footprint that attaches to the wall structure. As your doula, I must insist on a few non-negotiables to ensure your peace of mind.
- Find the Studs: Never, ever hang a sleeping surface into just drywall. You must use a stud finder to locate the wooden or metal beams behind your walls. Your baby’s safety depends on a structural anchor.
- Weight Limits: Most floating bassinets are designed for the ‘fourth trimester’ (the first 3 to 4 months). Always check the manufacturer’s weight limit—usually around 15 to 20 pounds—and stop use once your baby can push up on their hands and knees.
- Airflow and Clearance: Ensure the ‘floating’ area isn’t crowded by heavy curtains or dangling cords. We want a clear 3-foot radius from any window blind strings or electrical outlets.
| Safety Feature | Why It Matters | Doula Tip |
|---|---|---|
| Wall Stud Anchoring | Prevents the unit from pulling away from the wall. | Use 3-inch screws for maximum grip. |
| Firm Mattress Pad | Reduces the risk of SIDS and suffocation. | If you can indent it with your finger, it’s too soft! |
| Breathable Mesh Sides | Allows for maximum CO2 dissipation and visibility. | Great for checking on baby without getting out of bed. |
Layout 1: The Cantilevered Bedside Extension
The Ultimate Reach-In Convenience
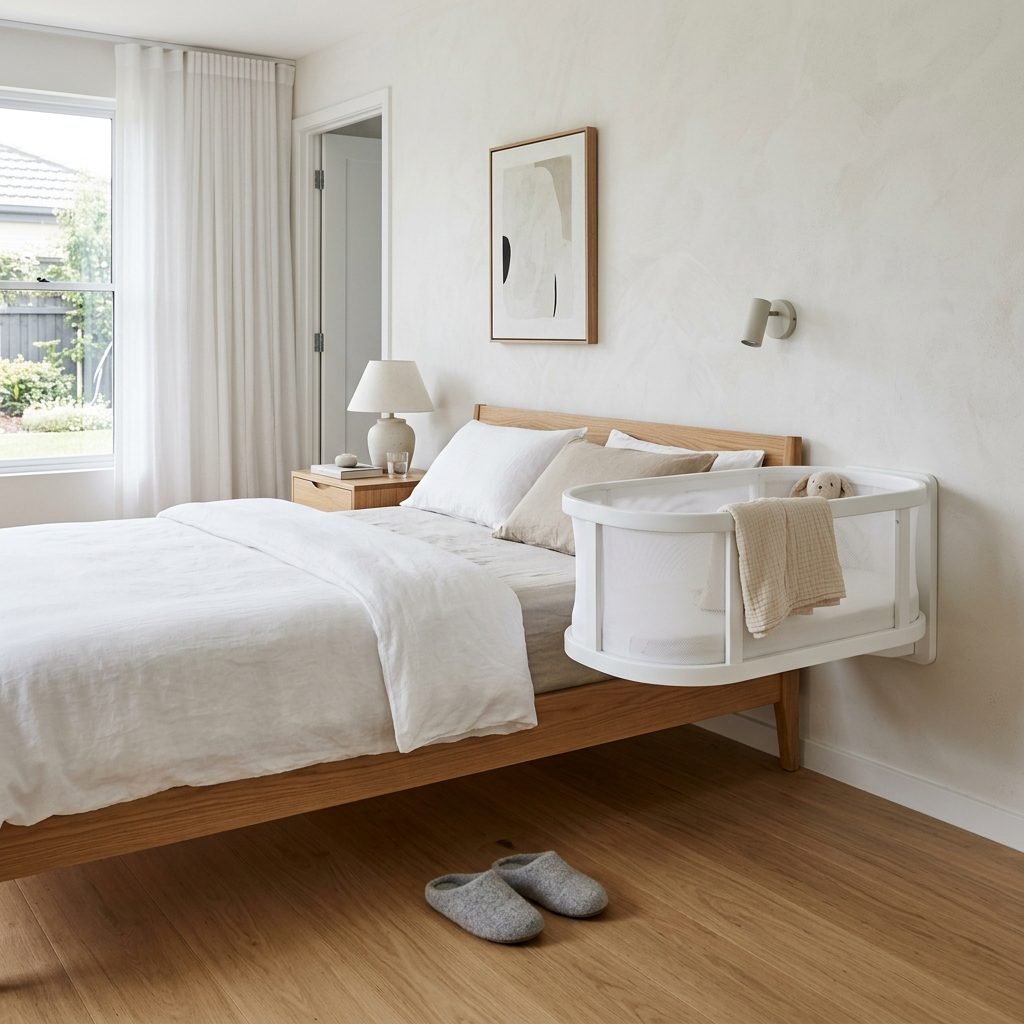
This is my favorite layout for the breastfeeding mama or the C-section recovery warrior. In this setup, a wall-mounted bassinet is positioned exactly at the height of your mattress, but because it has no legs on the floor, you can slide your slippers right underneath it. It feels like an extension of your own bed without the safety risks of true co-sleeping.
By choosing a cantilevered design, you save approximately 4 to 6 square feet of floor space that a traditional bassinet base would occupy. This allows you to keep your existing nightstand or even a small nursing stool tucked partially underneath the unit when not in use. It creates a seamless flow from your pillow to your baby’s head, making those midnight soothing sessions much easier on your healing body.
“In the quiet of the night, remember: you are the sun in your baby’s universe. Your proximity is their greatest comfort.”
Layout 2: The Floating Corner Nook with Vertical Storage
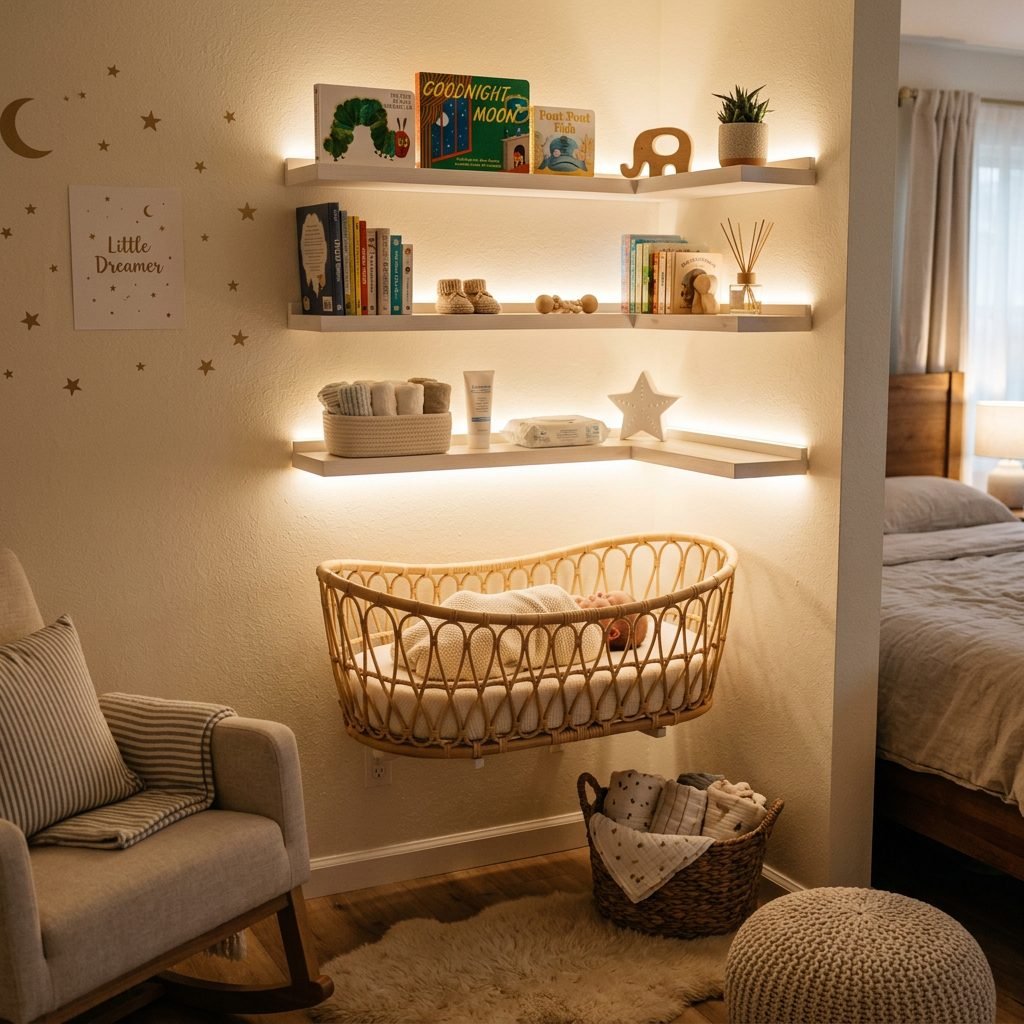
Turning ‘Dead Space’ Into a Sanctuary
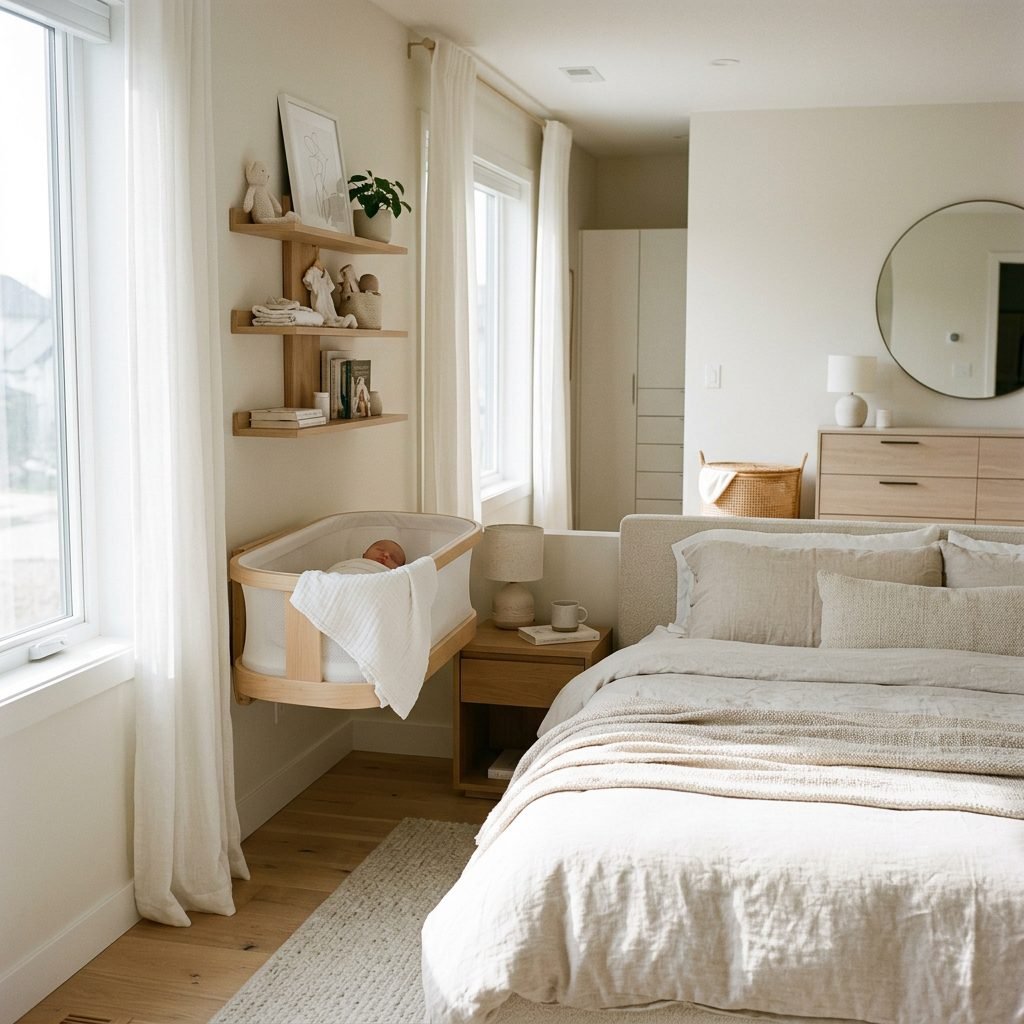
Every room has that one awkward corner that usually just collects a pile of ‘half-worn’ clothes. Let’s reclaim it! By mounting a compact crib or bassinet in the corner, you utilize two walls for support, which often feels more secure. But the real magic happens above the crib.
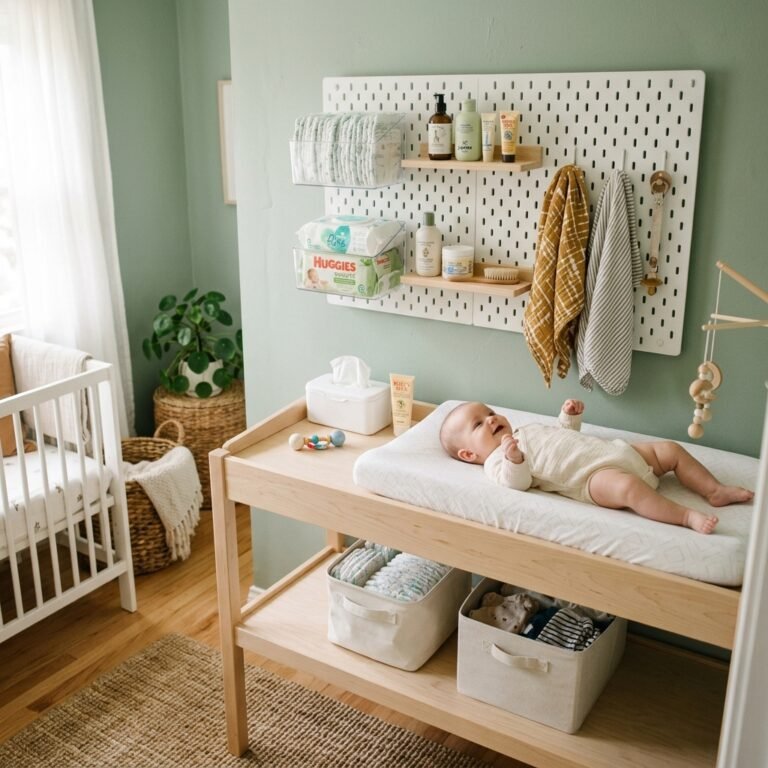
Instead of a bulky dresser, we use acrylic floating bookshelves and wall-mounted pegboards. This keeps all your diapering essentials—wipes, creams, and those tiny onesies—at eye level. Pro Tip: Install a dimmable LED strip underneath the lowest floating shelf. This gives you a soft ‘downlight’ for diaper changes that won’t wake your partner or fully stimulate the baby.
The Corner Strategy Checklist:
- Measure 24 inches of clearance on at least one side so you can stand comfortably.
- Install 3 floating shelves: one for books, one for diapers/wipes, and one for decor.
- Use a corner-mounted camera bracket for a birds-eye view of the sleep space.
Layout 3: The ‘Clousery’ (The Closet-to-Nursery Conversion)
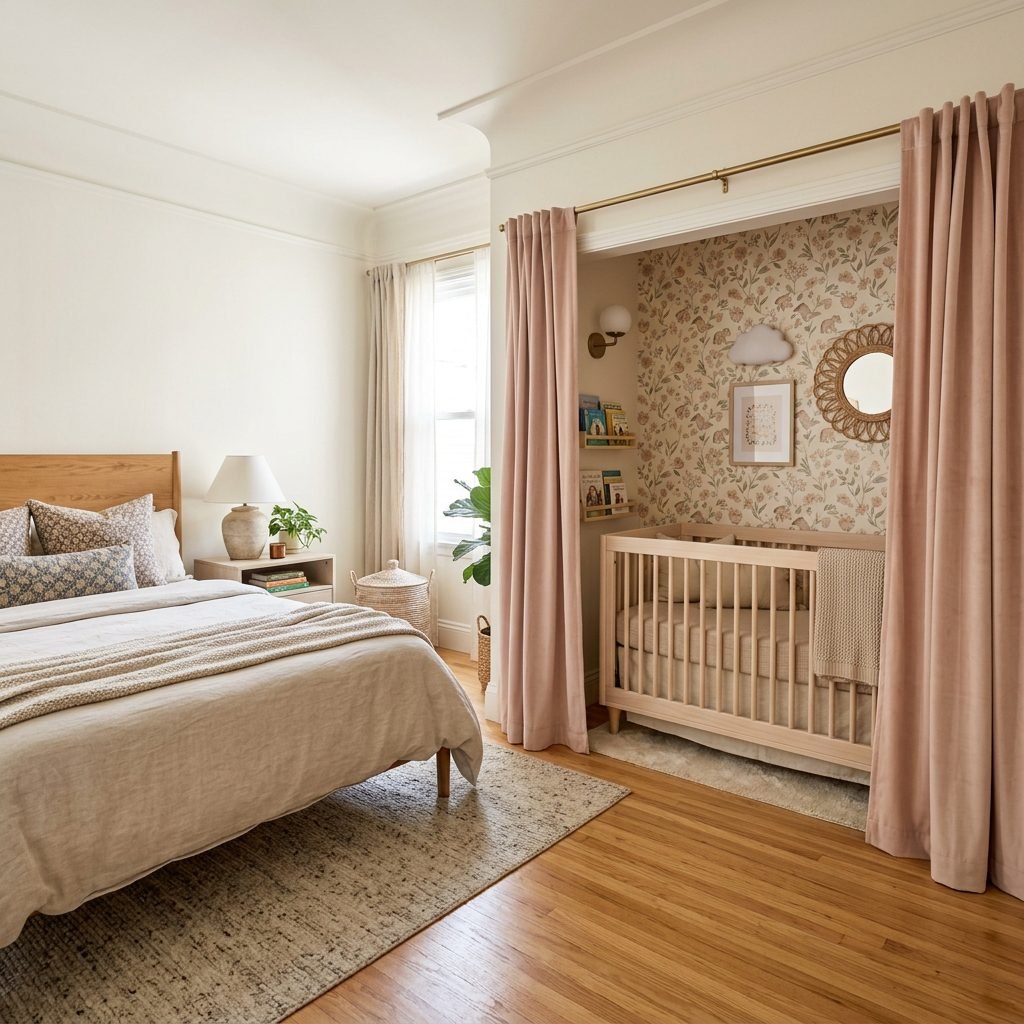
Hidden in Plain Sight
If your bedroom is truly tiny, it’s time to look at your closet. By removing the closet doors (or replacing them with soft linen curtains), you can create a ‘recessed’ nursery. This is the ultimate floor-space saver because the crib essentially ‘disappears’ into the wall depth.
Since we are focusing on floating layouts, you can install a custom-built floating platform inside the closet frame. This leaves the entire closet floor open for baskets of laundry or toy storage. I recommend using a beautiful peel-and-stick wallpaper on the back wall of the closet to define the space and make it feel like a intentional ‘room within a room’ rather than just a storage spot. It’s a crafty mom’s dream project!
| Modification | Estimated Cost | Benefit |
|---|---|---|
| Door Removal | $0 | Increases accessible square footage immediately. |
| Peel-and-Stick Wallpaper | $30 – $60 | Creates a visual boundary and aesthetic ‘nook’ feel. |
| Floating Platform Build | $100 – $150 | Keeps floor clear for heavy bins or vacuuming. |
Layout 4: The Window-Adjacent Floating Shelf System

Natural Light and Minimalist Lines
While we must be careful with windows (keeping baby away from direct drafts and cords), placing a floating bassinet on a wall perpendicular to a window can make a small room feel much larger. The natural light creates an airy feel, and the lack of furniture legs allows the light to hit the floor, tricking the eye into seeing more space.
In this layout, we often use a ‘fold-away’ wall-mounted changing table nearby. These genius inventions fold up flat against the wall when not in use, just like a Murphy bed. When combined with a floating crib, you have a full nursery setup that takes up zero permanent floor space. It’s the peak of interior organization for the modern, minimalist mama.
Safety Reminder for Window Layouts:
- Ensure the window is locked and has a safety guard.
- Use cordless cellular shades to eliminate strangulation risks.
- Check for drafts—baby’s sleep space should stay between 68-72 degrees Fahrenheit.
Layout 5: The Integrated Wardrobe ‘Float’
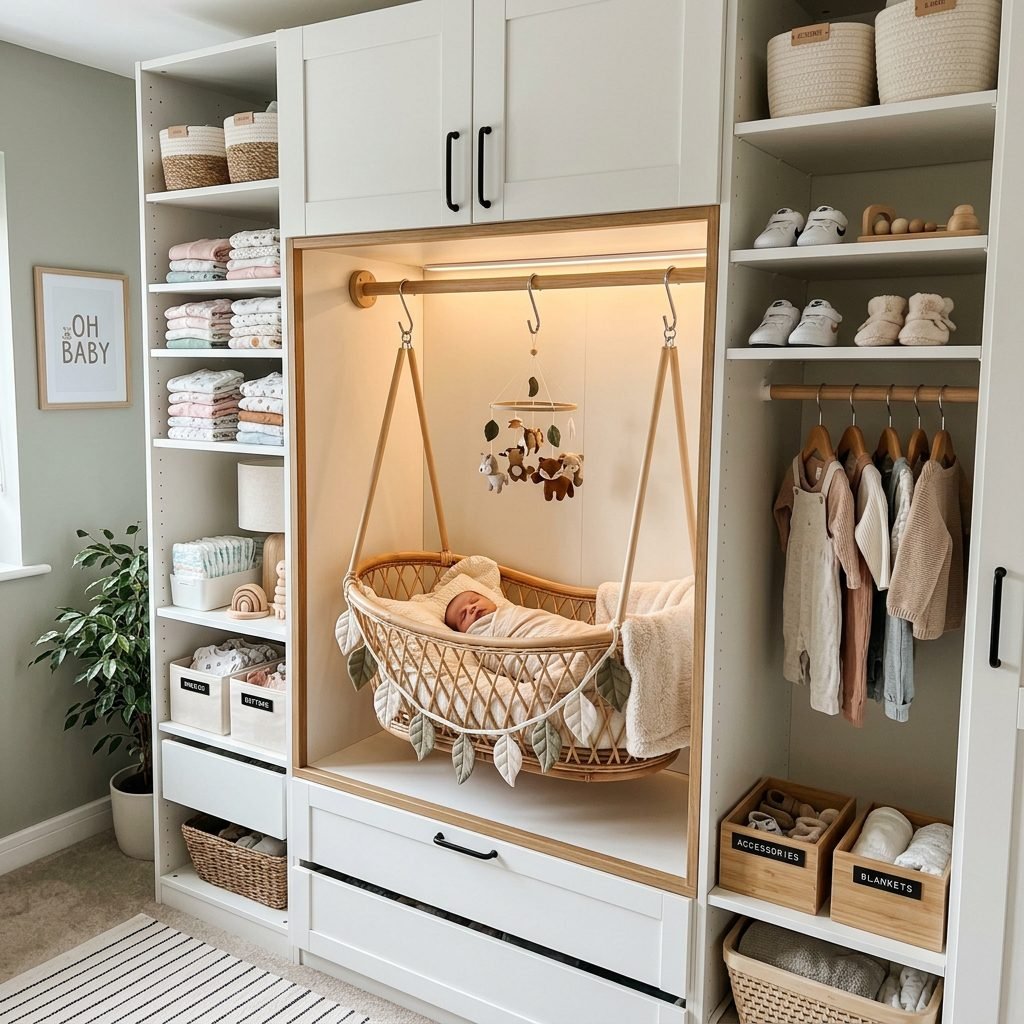
The IKEA Kallax Hack for Small Spaces
For the moms who love a good DIY project, this layout integrates the sleeping space into your existing storage. By using a sturdy, floor-to-ceiling wardrobe system (like the IKEA PAX or a reinforced Kallax setup), you can create a ‘cut-out’ or a floating shelf specifically designed to hold a certified bassinet insert.
This layout is brilliant because it treats the crib as part of the cabinetry. You aren’t adding a new piece of furniture; you are simply reconfiguring what you already have. Make sure the ‘nook’ is reinforced with heavy-duty L-brackets that can support at least 50 pounds to be extra safe. This keeps your nursing pads, pajamas, and baby’s swaddles all in one organized vertical column.
“Organization is a form of self-care. When your space is clear, your mind can focus on the sweet scent of your baby’s head.”
Maximizing the ‘Under-Float’ Space
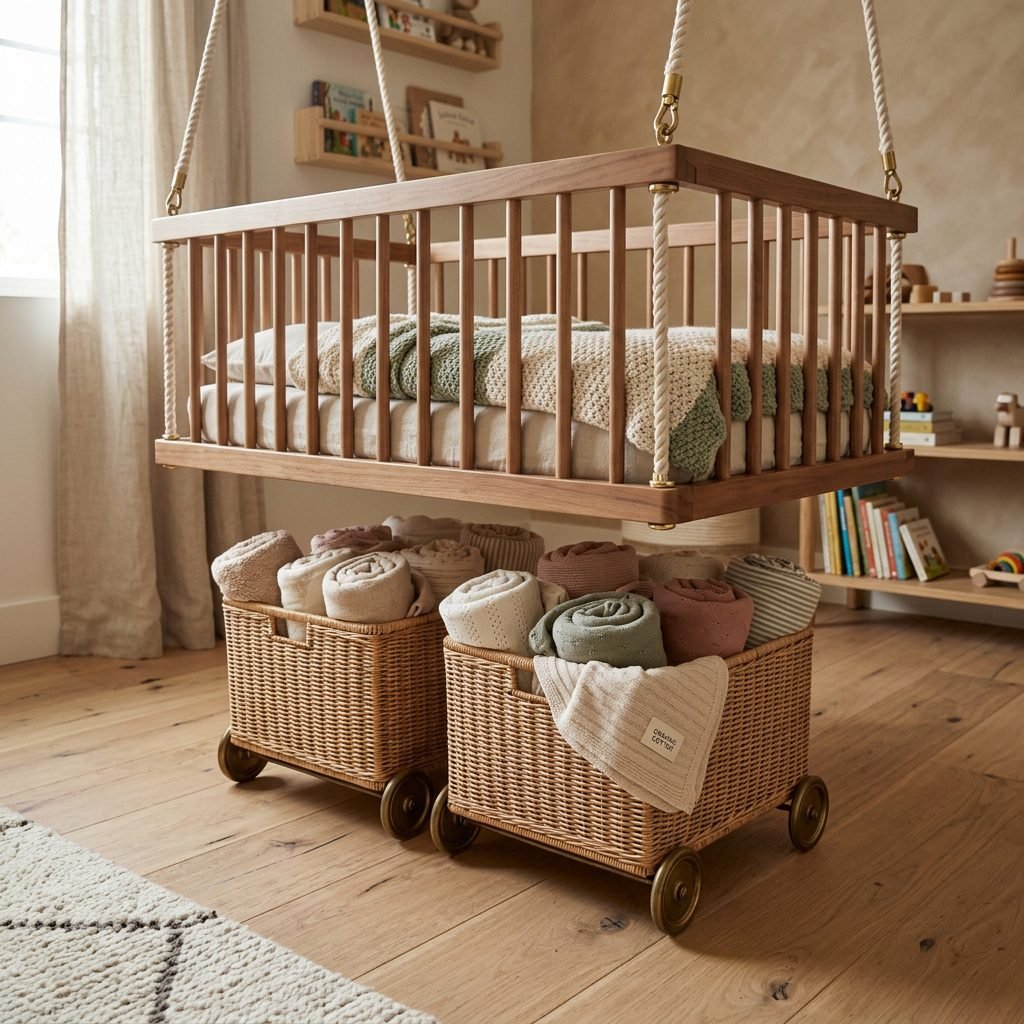
The Secret to Small Space Success
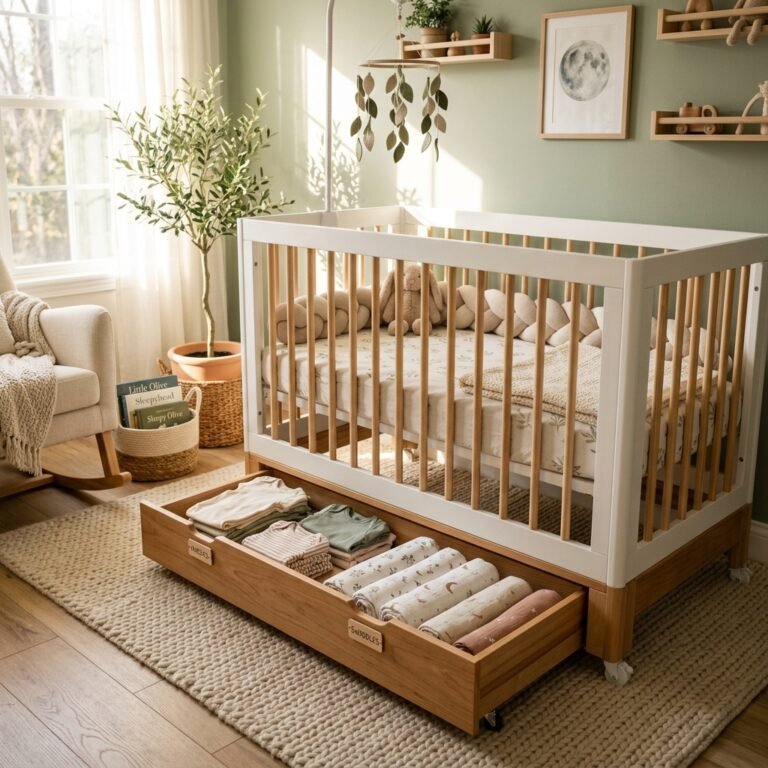
Once you have successfully ‘floated’ your crib, you are left with a wonderful gift: open floor real estate. But don’t just leave it empty! This is where we get strategic with storage. As an interior organizer, I recommend using low-profile, rolling bins that can slide under the floating crib. These are perfect for storing ‘next-size-up’ clothes or extra packs of diapers.
Alternatively, if you are a mama who needs a place to rest, a low-profile Moroccan pouf or a meditation cushion can be tucked under the crib. This gives you a place to sit while you fold laundry or just watch your little one sleep, without taking up the space of a full rocking chair. Remember, in a small room, every inch must earn its keep!
| Storage Item | What to Put Inside | Accessibility |
|---|---|---|
| Rolling Acrylic Bins | Diapers and Wipes | High (Daily use) |
| Woven Baskets | Blankets and Swaddles | Medium (Nightly use) |
| Vacuum-Sealed Bags | Outgrown Clothes | Low (Monthly use) |
The Aesthetic Touch: Styling Your Floating Nursery
Softness, Light, and Love
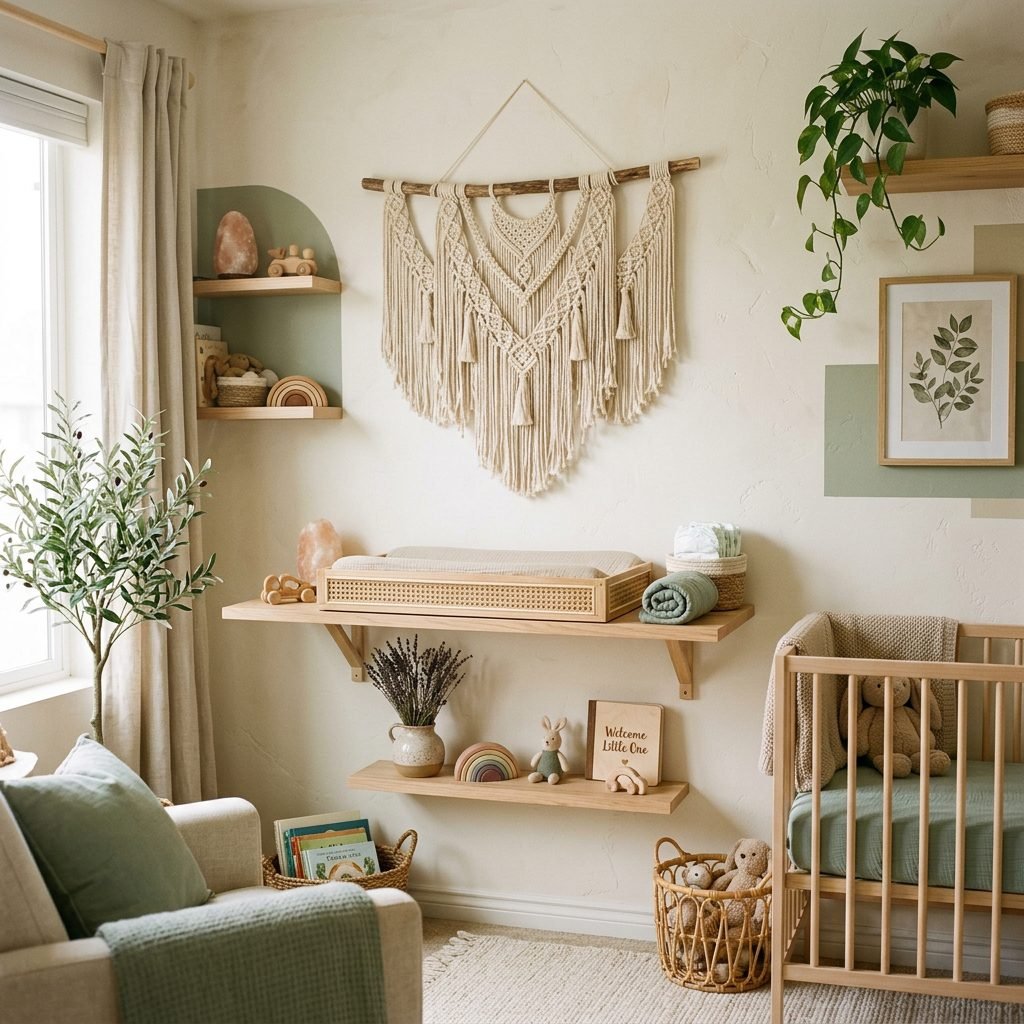
Finally, let’s talk about the ‘vibe.’ Just because we are saving space doesn’t mean we have to sacrifice style. To keep the room feeling like a parent’s retreat rather than a daycare, stick to a cohesive color palette. Use textures like linen, organic cotton, and light woods to keep the ‘floating’ elements feeling light and airy.
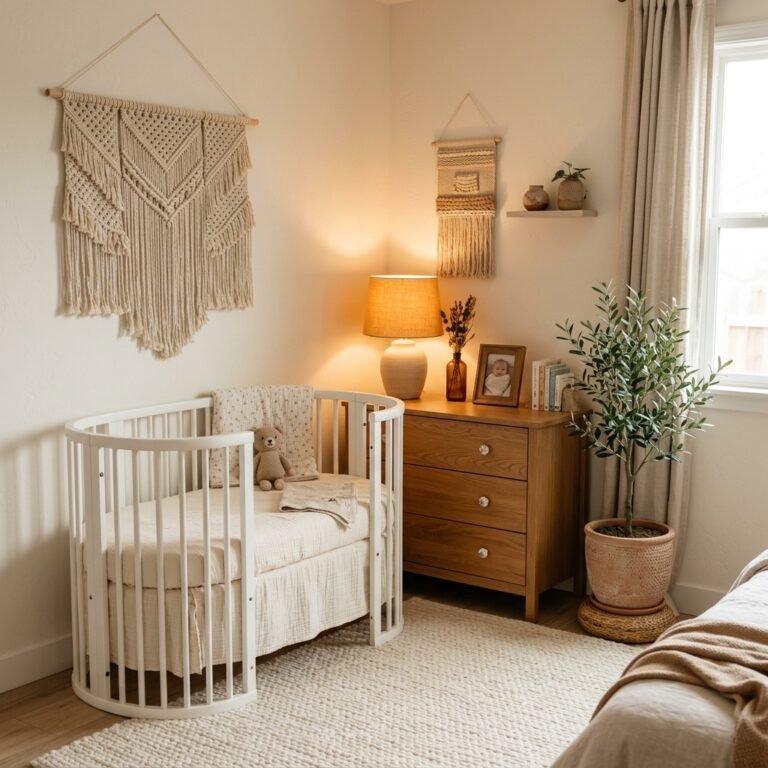
Avoid heavy, dark wood frames which can make a floating unit look ‘heavy’ on the wall. Instead, opt for white, birch, or even clear acrylic. Add one high-quality piece of art above the crib (securely fastened!) or a simple macramé wall hanging to add warmth. You’ve worked hard to create this space, mama. It should be a place where you feel calm, capable, and deeply connected to your new little soul.
Conclusion
You’ve Got This, Mama
Creating a nursery in a small space isn’t a limitation—it’s an opportunity to simplify and focus on what truly matters. By choosing one of these five floating crib layouts, you are not just saving floor space; you are creating a streamlined, stress-free environment for your postpartum recovery. Whether you choose the bedside cantilever for easy nursing or the closet ‘clousery’ for a hidden gem of a nook, know that your baby will be perfectly happy as long as they are near you. Take a deep breath, grab your stud finder, and start building the sanctuary you and your little one deserve. You are doing an amazing job!