How To Turn A Wardrobe Closet Into A Cozy Hidden Nursery Nook
Welcome to the World of the ‘Cloisery’
Oh, sweet mama, I see you. Whether you are living in a cozy city apartment, sharing your bedroom with the new arrival, or simply trying to make sense of a home that feels a little smaller than it used to, please know this: your baby doesn’t need a 500-square-foot suite to feel loved, safe, and secure. In fact, as a doula, I’ve seen that some of the most peaceful sleep happens in the most intimate of spaces.
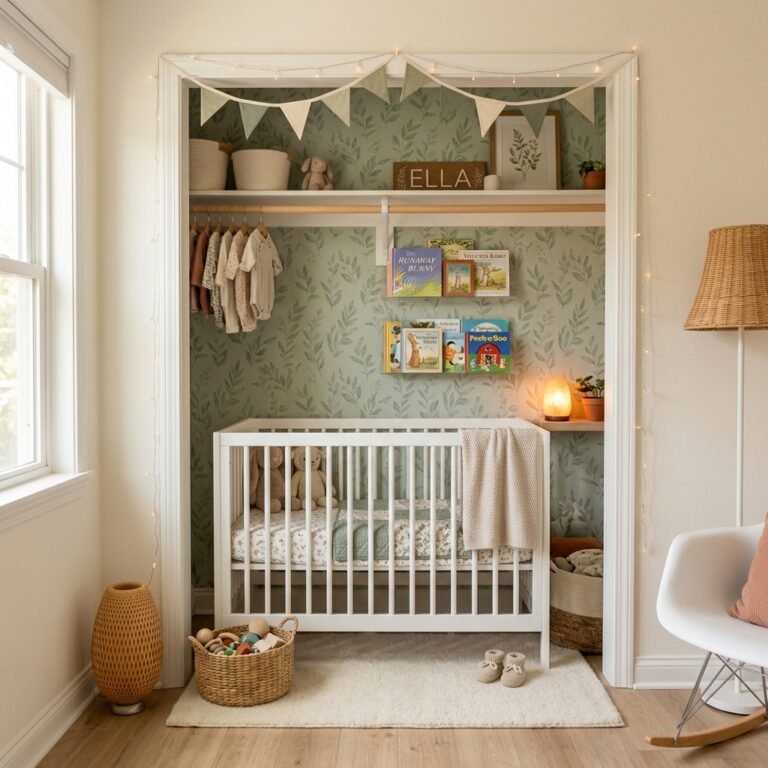
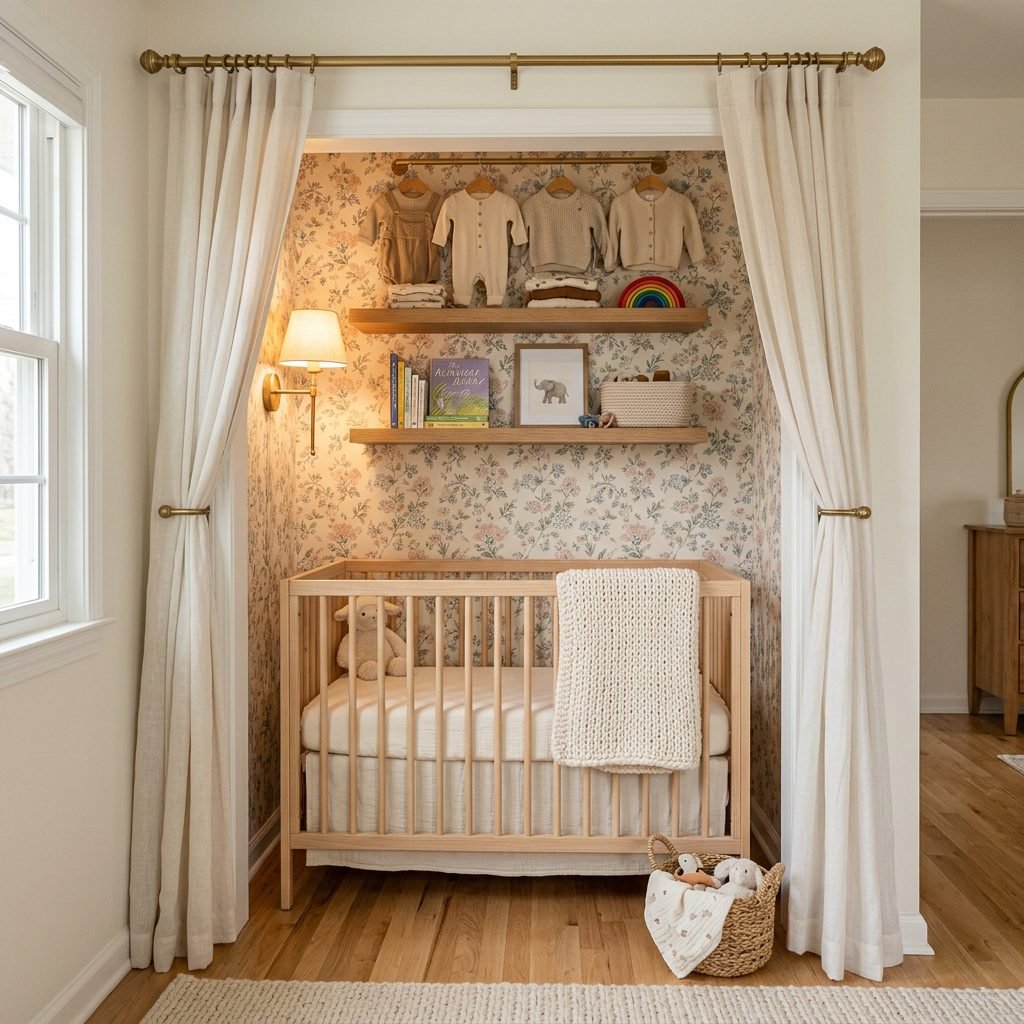
The ‘cloisery’—that magical hybrid of a closet and a nursery—is more than just a space-saving hack; it is a nesting instinct’s dream come true. It’s about carving out a dedicated sanctuary where the world falls away, and it’s just you and your little one during those midnight feedings. In this guide, we are going to walk through every step of transforming that standard wardrobe into a functional, breathable, and breathtakingly beautiful hidden nursery nook. We’ll cover everything from the safety of airflow to the aesthetics of vertical storage, ensuring your postpartum journey is supported by an organized and serene environment.
Step 1: The Great Clear-Out and Safety Assessment
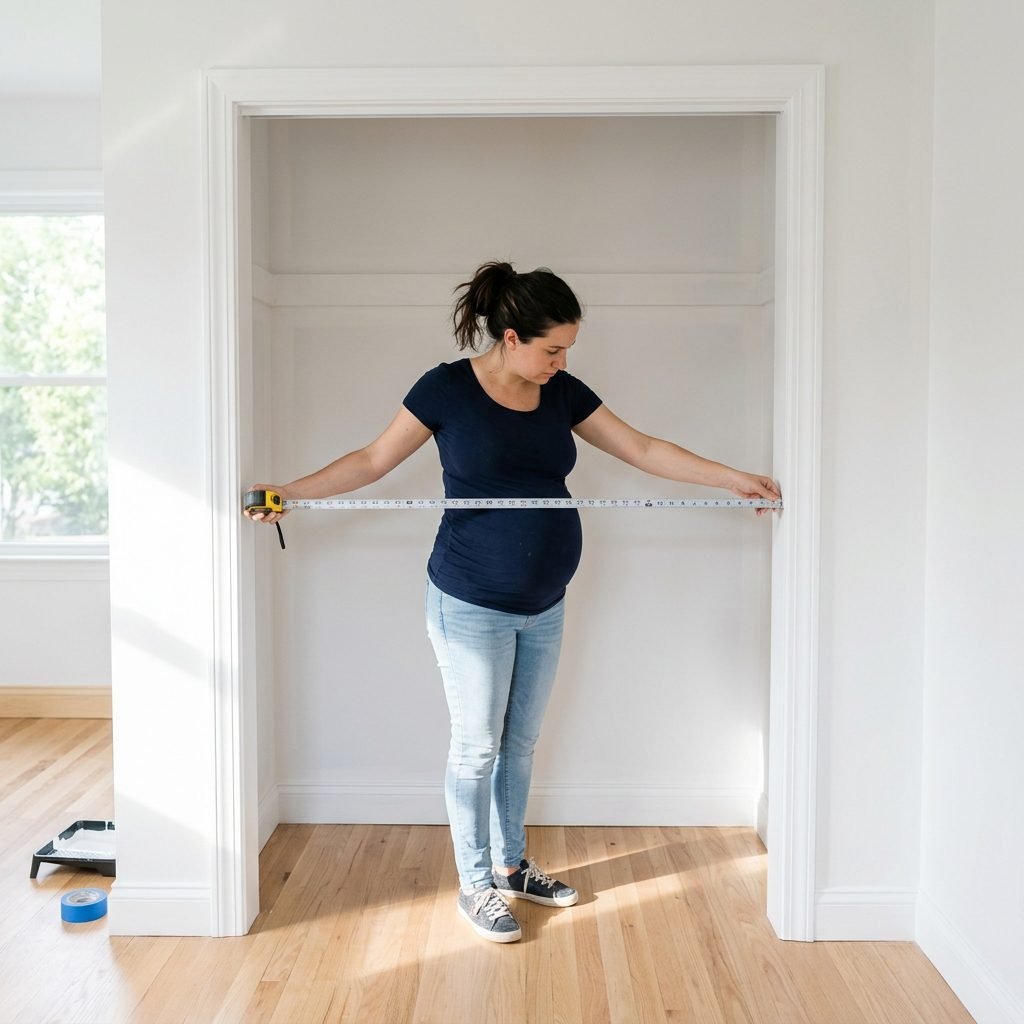
Before we pick out the cute wallpaper, we have to do the heavy lifting. Transforming a closet requires a literal and metaphorical ‘clearing of the decks.’ As your virtual doula, I want you to approach this with a focus on safety and air quality. Closets are often neglected spaces that can harbor dust, old carpet allergens, or even outdated paint.
Preparation Checklist
- Measure Twice: Most standard reach-in closets are about 24 inches deep. You need to ensure your chosen mini-crib or bassinet has at least two inches of clearance on all sides to prevent the baby from being pressed against a wall.
- Door Dilemma: Decide if you want to remove the doors entirely or replace them with soft, breathable curtains. Heavy sliding doors can be a finger-pinch hazard later on and can restrict airflow.
- The Sniff Test: If the closet has been closed for years, it needs a deep clean with non-toxic, pregnancy-safe cleaners. Check for any signs of mold or dampness, especially if the closet shares a wall with a bathroom.
| Feature | Standard Closet | Nursery Nook Requirement |
|---|---|---|
| Ventilation | Passive/None | Active (Open doors or fan) |
| Flooring | Carpet/Wood | Easy-to-clean rug or laminate |
| Lighting | Single overhead bulb | Soft, dimmable LED/Sconces |
| Power | Usually none | Safe cord management/Battery ops |
“Your home is an extension of your womb. Creating a soft, quiet, and intentional space for your baby is a beautiful way to honor the transition from pregnancy to parenthood.”
The Mini-Crib Masterplan: Choosing the Right Foundation
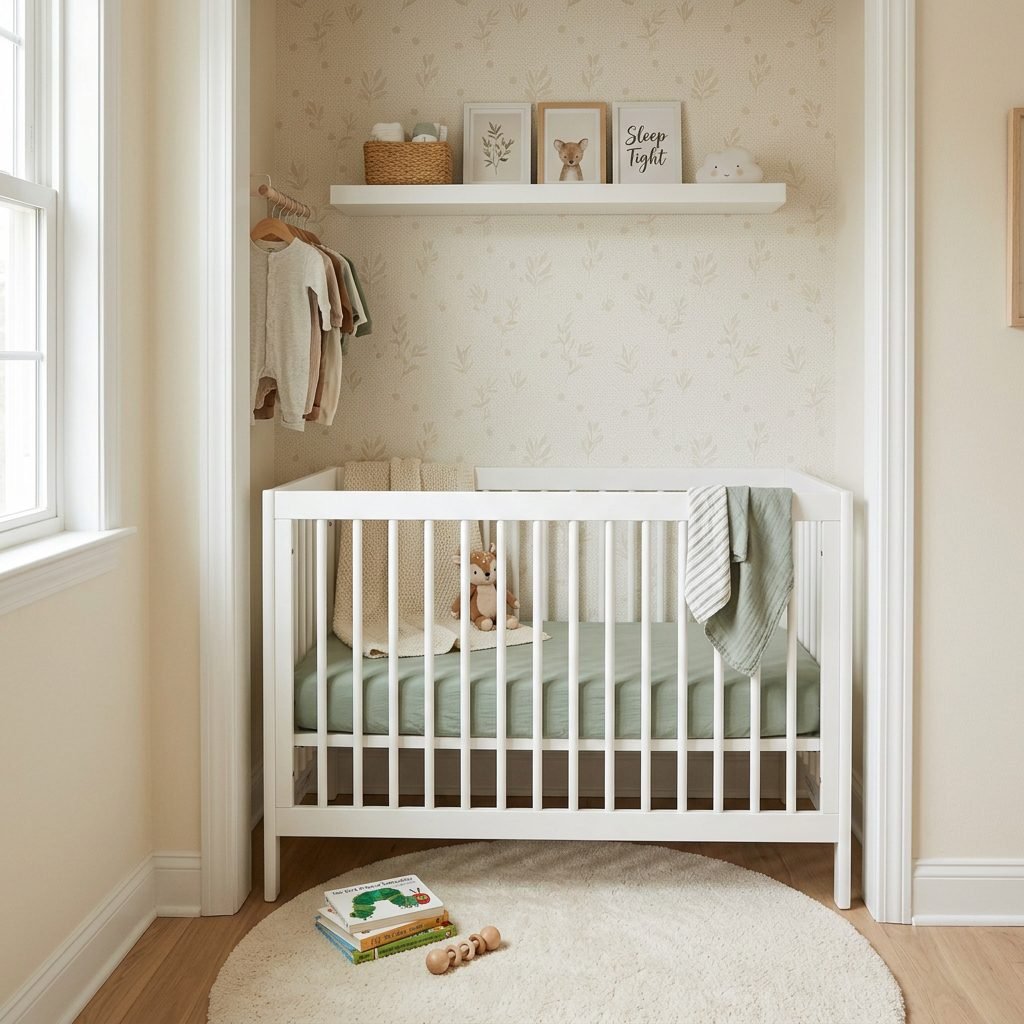
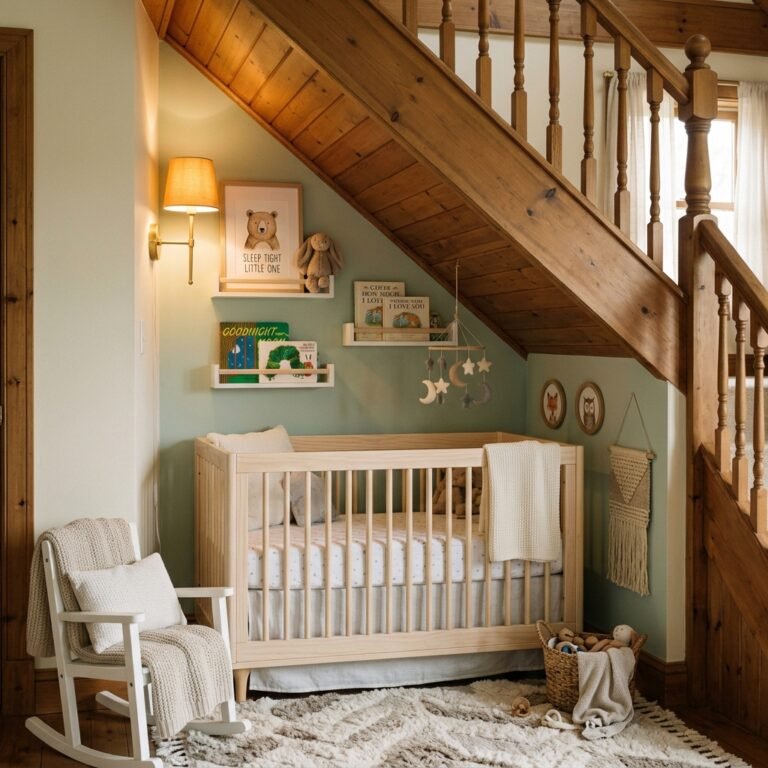
The centerpiece of your nook is, of course, the sleep surface. In a closet nursery, a standard full-size crib is usually out of the question. This is where the mini-crib becomes your best friend. Most mini-cribs are approximately 24″ x 38″, making them the perfect fit for a standard wardrobe footprint.
Why the Mini-Crib Wins
Mini-cribs offer the same safety standards as full-sized cribs but with a smaller footprint. Many come with wheels, which is a total game-changer for postpartum moms. If you need to move the baby closer to your bed for a difficult night, you can simply roll the sanctuary to you.
- Look for Greenguard Gold Certification: Since the space is small, off-gassing from furniture finishes can be more concentrated. Always choose low-VOC options.
- Adjustable Heights: Ensure the crib has at least two or three mattress height positions. As a postpartum recovery nurse would tell you, saving your back during those first few weeks by having the mattress higher is essential!
- Breathable Mattresses: Opt for a firm, breathable mattress to maximize safety in the enclosed space.
Remember, mama, the goal is minimalism. We aren’t trying to cram a whole dresser in here—just the essentials for sleep and perhaps a small changing station on top of a low-profile unit.
Maximizing Verticality: Storage Hacks for Tiny Spaces
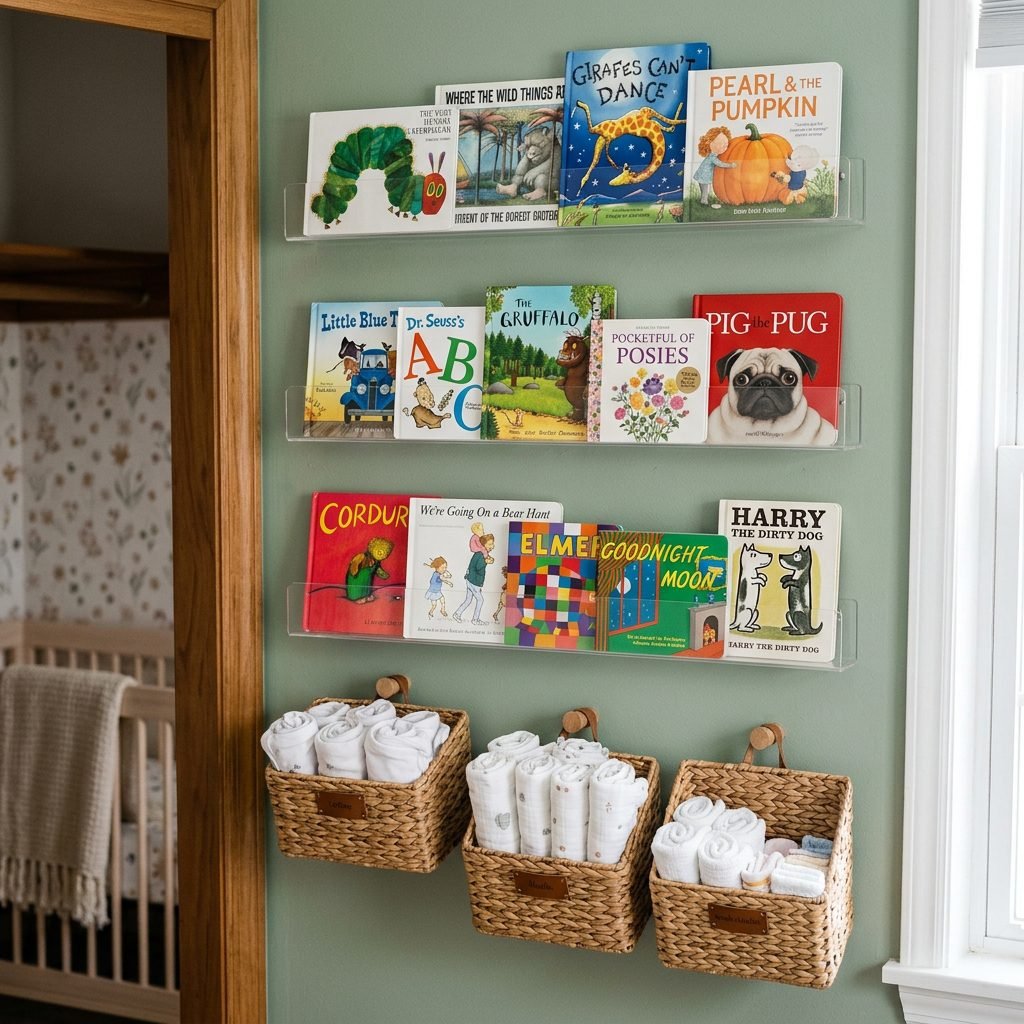
When you lose floor space, you must gain wall space. The ‘cloisery’ thrives on vertical organization. This is where we put on our Interior Organizer hats! We want to keep everything within arm’s reach so you never have to leave your baby unattended on a changing surface.
The Three-Tier Rule
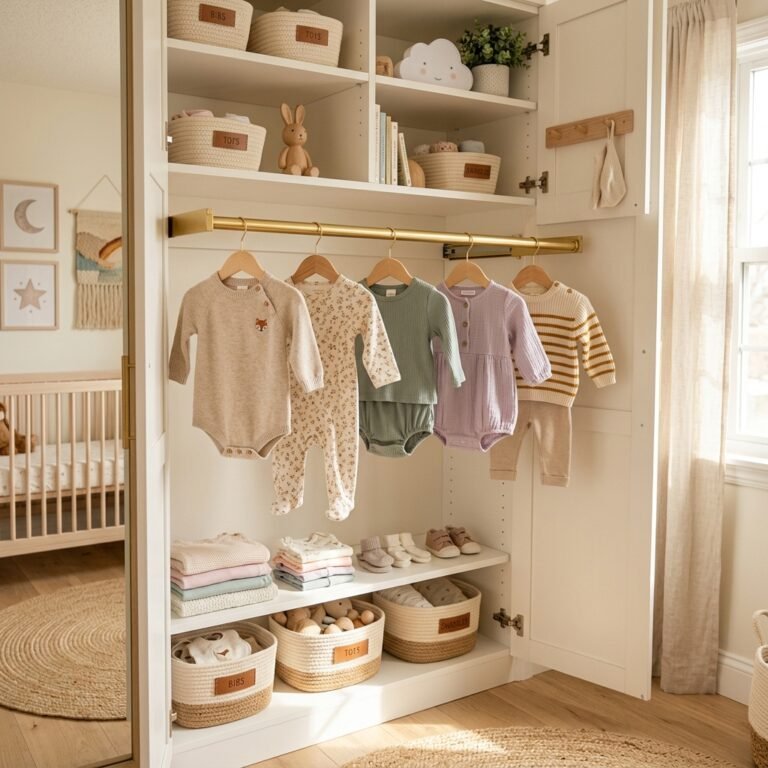
- The High Zone: Use the very top shelf (the one you need a step stool for) for out-of-season clothes, extra packs of diapers, and keepsake boxes. Use uniform, labeled bins to keep it looking tidy.
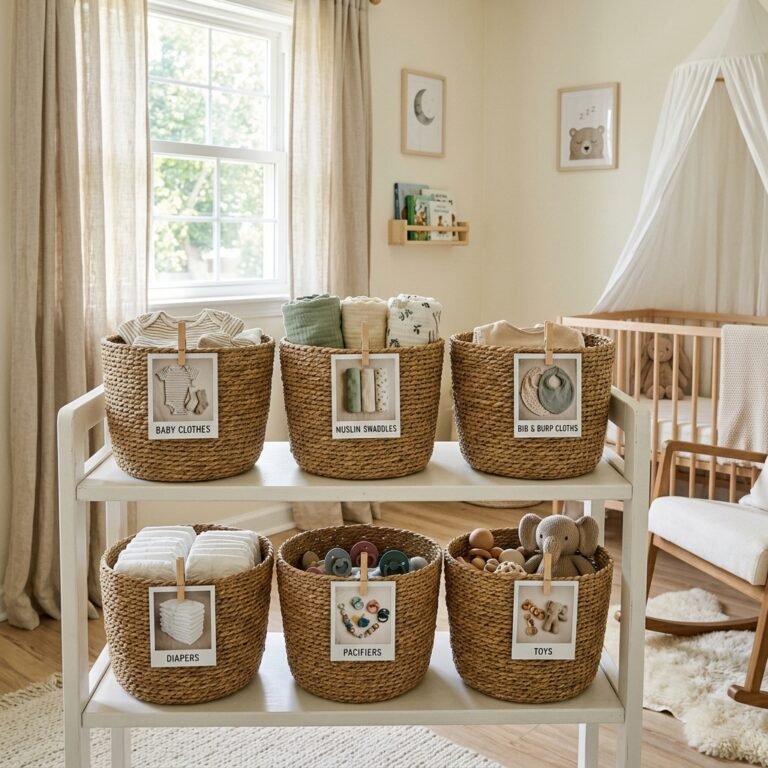
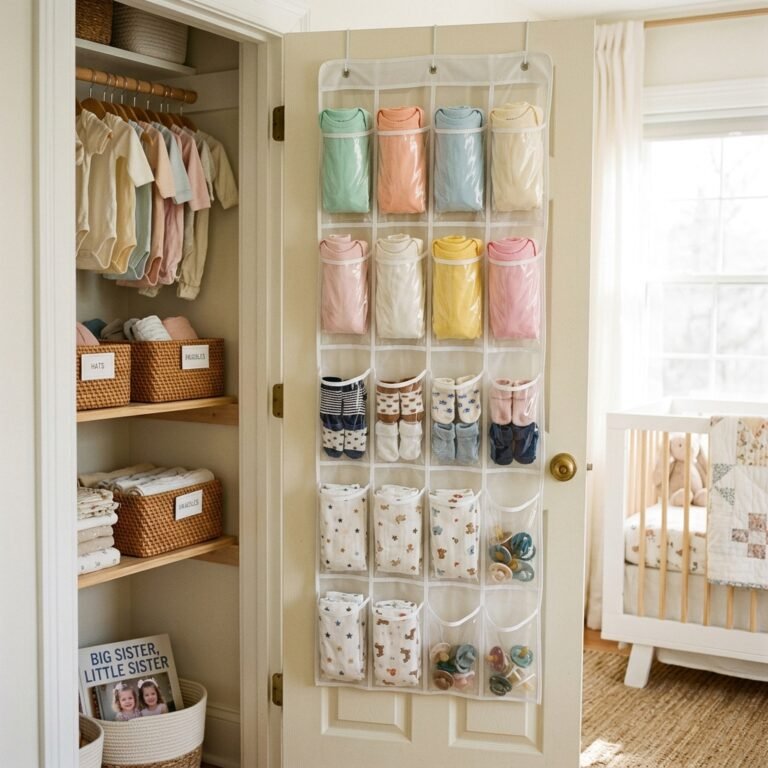
- The Mid Zone: This is your prime real estate. Install floating shelves or a hanging organizer for daily essentials: onesies, swaddles, and burp cloths. Acrylic shelves are wonderful here because they disappear visually, making the nook feel larger.
- The Low Zone: Under-crib storage is a lifesaver. Use low-profile rolling bins to store extra blankets or nursing pillows.
| Storage Item | Ideal Placement | Purpose |
|---|---|---|
| Acrylic Book Ledges | Side Walls | Bedtime stories/Visual stimulation |
| Hanging Canvas Bins | Back Wall/High | Diapers and Wipes |
| Woven Baskets | Floor/Under Crib | Laundry or Toys |
| S-Hooks | Side Rails | Hanging the diaper bag or swaddles |
Pro Tip: Use drawer dividers for those tiny newborn socks and mittens. In a small space, a little bit of clutter feels like a lot of chaos. Keeping things categorized will soothe your postpartum brain.
Ambiance and Sensory Design: Making it ‘Cozy’
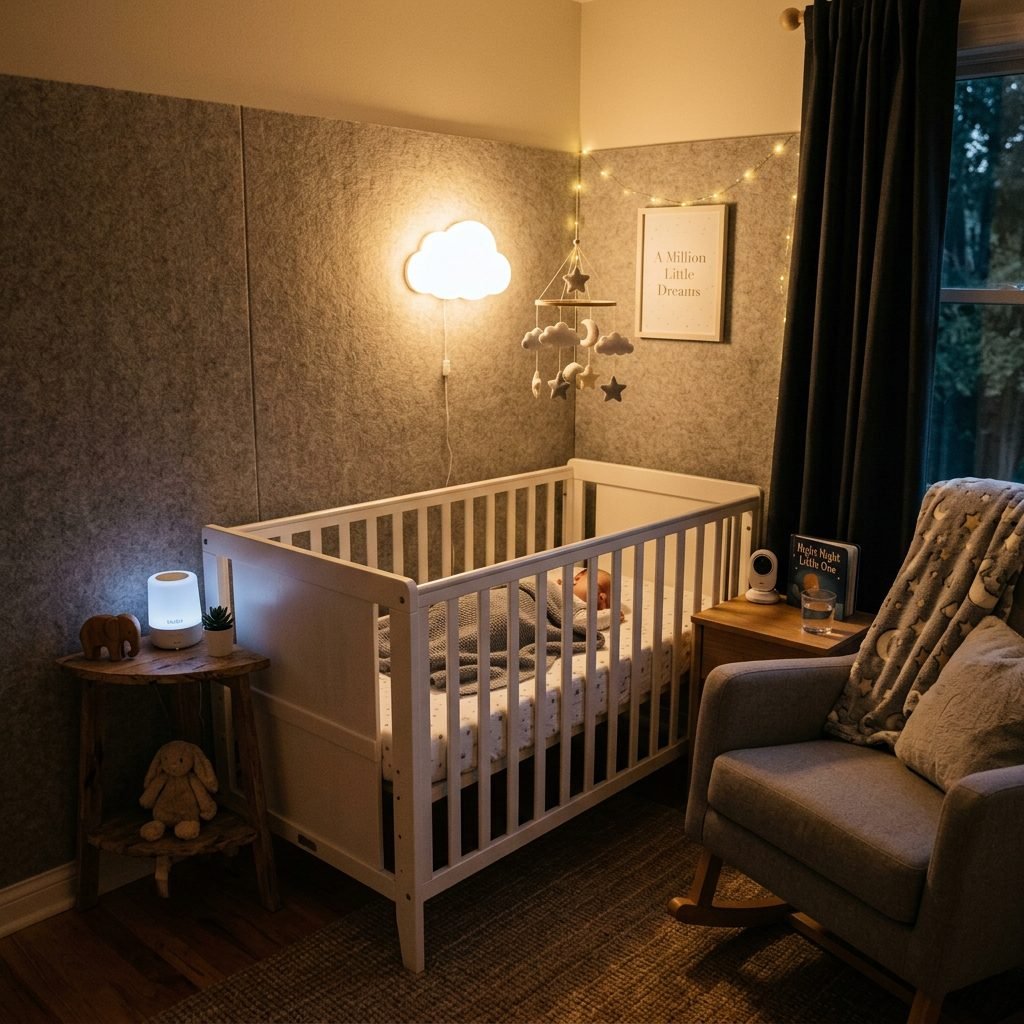
A closet can feel cold or industrial if we aren’t careful. We want to transform it into a womb-like environment. This is where the sensory details come in. As a sleep consultant, I focus heavily on the ‘Sleep Hygiene’ of the nook.
Light and Sound
- Soft Lighting: Avoid the harsh overhead closet light. Install a battery-operated LED sconce with a warm-toned bulb. This allows you to see during diaper changes without fully waking the baby (or yourself!).
- Sound Management: Closets can sometimes echo. Adding peel-and-stick wallpaper or even fabric wall panels can help dampen sound. A dedicated white noise machine is a must-have for a closet nursery to drown out the sounds of the rest of the house.
- Textural Comfort: Even if you are a minimalist, a small sheepskin rug (placed safely away from the crib) or a velvet curtain can add a layer of luxury that makes the space feel like a high-end boutique nursery.
“Close your eyes and imagine the scent of lavender, the sound of soft rain, and the feel of a warm cotton blanket. This is the energy we are inviting into your baby’s nook.”
The Doula’s Safety Checklist for Closet Nurseries
Safety is our absolute priority. While closet nurseries are beautiful, they require a few extra precautions compared to a standard room. Please review this checklist before your little one’s first night in their new nook.
Critical Safety Steps
- Airflow is King: Ensure there is a gap at the top or bottom of the closet if you use curtains. Never use heavy, non-breathable plastic doors that seal the space completely. A small, clip-on fan (out of baby’s reach) can help circulate air.
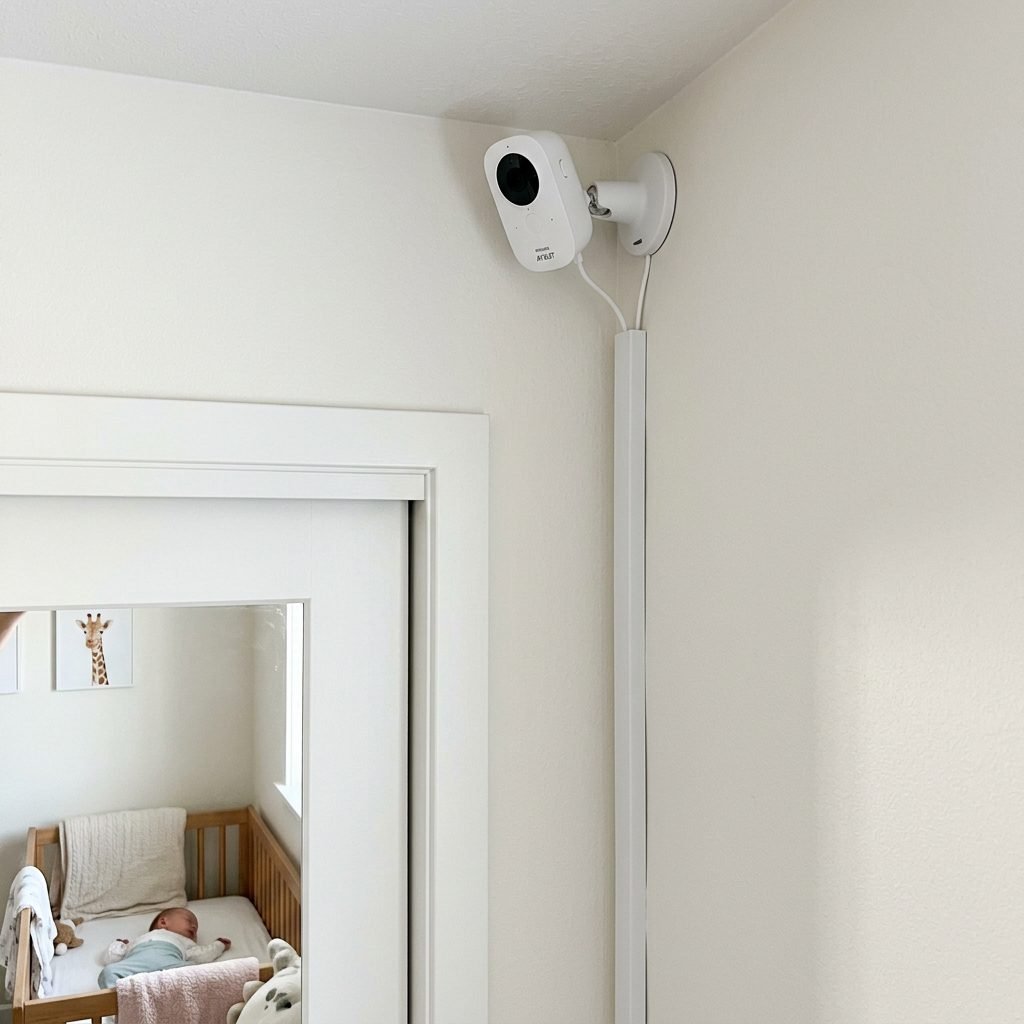
- Cord Management: This is non-negotiable. Use cord covers or adhesive clips to ensure no monitor wires or lamp cords are within 3 feet of the crib. A baby can pull a cord into the crib in seconds once they start reaching.
- Anchor Everything: If you have installed shelving or a small dresser inside the closet, it must be anchored to the studs. Closet walls are often thinner or made of different materials; ensure you use the right anchors.
- Monitor Placement: Mount your baby monitor high enough to see the entire crib but far enough away that it is not a strangulation hazard.
| Safety Concern | The Solution |
|---|---|
| Strangulation | Cord covers and 3-foot clearance |
| Overheating | Room thermometer and breathable fabrics |
| Tip-overs | Wall anchors for all shelving |
| Fall Hazard | Changing pad straps and constant supervision |
The Step-by-Step DIY Conversion Guide
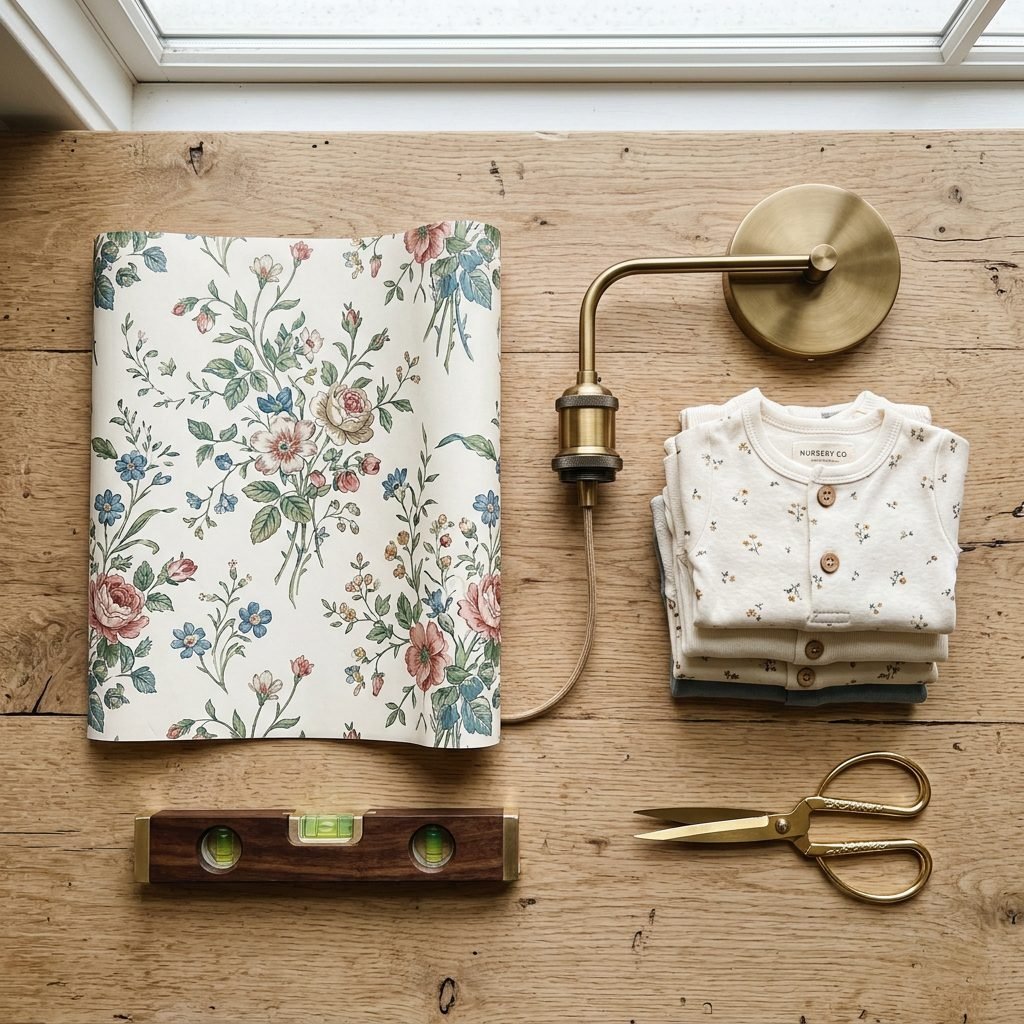
Ready to get to work? Here is your weekend warrior plan to get the nook ready before the third trimester fatigue hits!
- Friday Night: Demolition and Prep. Remove the doors, hardware, and old shelving. Patch any holes with spackle and sand them smooth.
- Saturday Morning: Paint and Paper. Apply your non-toxic paint or peel-and-stick wallpaper. Doing this early in the weekend allows plenty of time for any ‘new paint’ smells to dissipate.
- Saturday Afternoon: Lighting and Shelving. Install your floating shelves and your battery-operated lighting. Test the weight capacity of your shelves.
- Sunday Morning: The Big Build. Assemble your mini-crib inside the closet (it’s often easier than trying to squeeze it through the door later!).
- Sunday Afternoon: Styling and Stocking. This is the fun part! Add your bins, fold those tiny clothes, and place your birth affirmations where you can see them during late-night feeds.
Mama, take breaks! Don’t try to do this all at once. Put on some soothing music, stay hydrated, and enjoy the process of preparing for your miracle.
Conclusion
Your Tiny Sanctuary is Ready
Creating a hidden nursery nook is an act of love and ingenuity. By turning a simple wardrobe into a ‘cloisery,’ you’ve proven that motherhood isn’t about how much space you have, but how much heart you put into the space you’ve got. This little nook will soon be filled with the sweet scent of a newborn, the soft sounds of rhythmic breathing, and the quiet strength of a mother who knows exactly how to provide for her child.
Take a deep breath, mama. You’ve built a beautiful nest. Whether you use this space for six months or two years, it will always be the place where your journey as a parent truly began. Now, go put your feet up—you’ve earned it!