How to Crochet a Safe, Organic Cotton Pacifier Clip (Free Beginner Pattern)
Welcome to the Heart of Handmade Motherhood
Hello, sweet mama. There is something profoundly grounding about the rhythmic click of a crochet hook when you are navigating the beautiful, often whirlwind journey of pregnancy or early motherhood. Whether you are nesting and preparing for your little one’s arrival or you are a seasoned pro looking for a mindful way to spend naptime, crafting a safe, organic cotton pacifier clip is a project that combines utility with deep love.
As a doula, I often see parents overwhelmed by the sheer volume of plastic and synthetic materials in baby products. By making your own pacifier clip, you aren’t just saving a few dollars; you are ensuring that the item closest to your baby’s face is free from harsh chemicals, pesticides, and synthetic dyes. In this guide, we will walk through a beginner-friendly pattern that prioritizes safety standards while keeping style and comfort at the forefront. Let’s pick up our hooks and create something beautiful together.
The Safety Standards Every Mama Needs to Know
Before we dive into the stitches, we must talk about safety. Because this item will be attached to your baby, it is vital to follow strict guidelines to prevent choking or strangulation hazards. As a maternal wellness expert, I prioritize evidence-based safety in every DIY project.
Key Safety Dimensions and Regulations
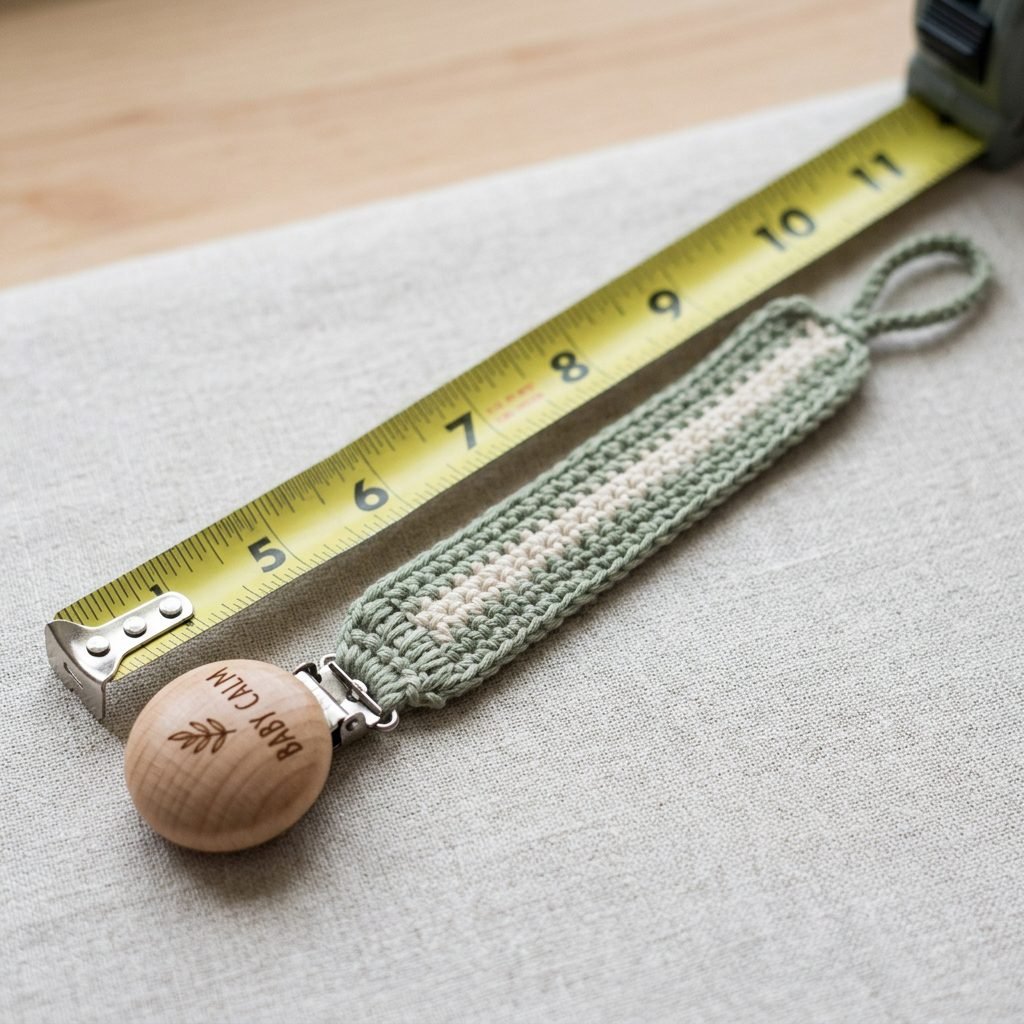
According to safety standards (like the CPSC in the US), a pacifier clip should never be long enough to wrap around a baby’s neck. The finished length of the fabric portion should generally not exceed 7 to 8 inches (approx. 19-20 cm). When you add the clip and the loop, the total length should stay under 8.6 inches (220mm).
| Safety Feature | Why It Matters | Our Standard |
|---|---|---|
| Length | Prevents strangulation risk. | Max 8 inches (fabric portion). |
| Material | Babies often chew on the clip. | 100% GOTS Certified Organic Cotton. |
| Clip Type | Avoids lead and rust. | Lead-free metal or unfinished beechwood. |
| Stitch Density | Prevents fingers from getting caught. | Tight, consistent single crochet. |
Always remember: A pacifier clip is a tool, not a toy. Never leave a baby unattended or sleeping with a pacifier clip attached to them. Safety is the highest form of love we can provide.
Sourcing Your Materials: The Organic Difference
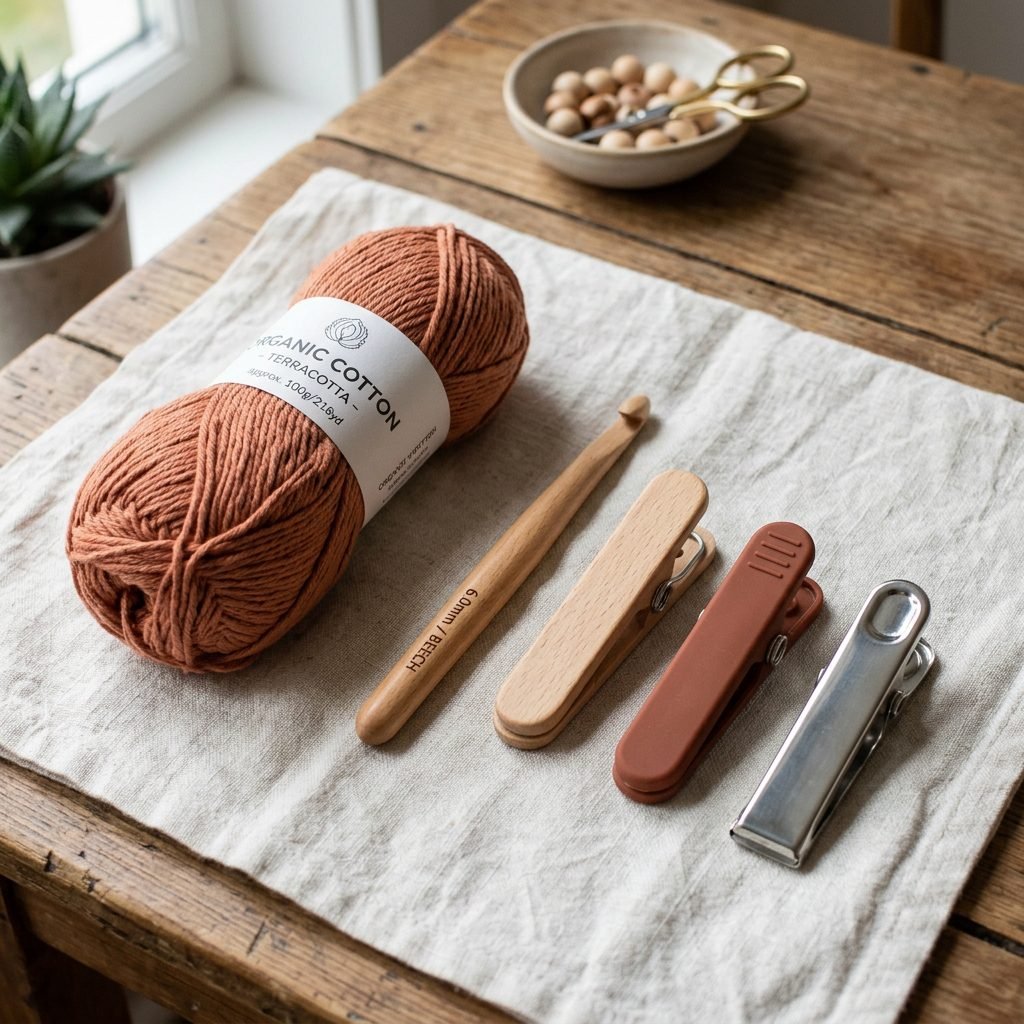
When choosing yarn for a baby who is in the ‘everything goes in the mouth’ phase, Organic Cotton is the gold standard. Conventional cotton is often treated with heavy pesticides, while synthetic yarns like acrylic can shed microplastics. We want a breathable, hypoallergenic, and washable material.
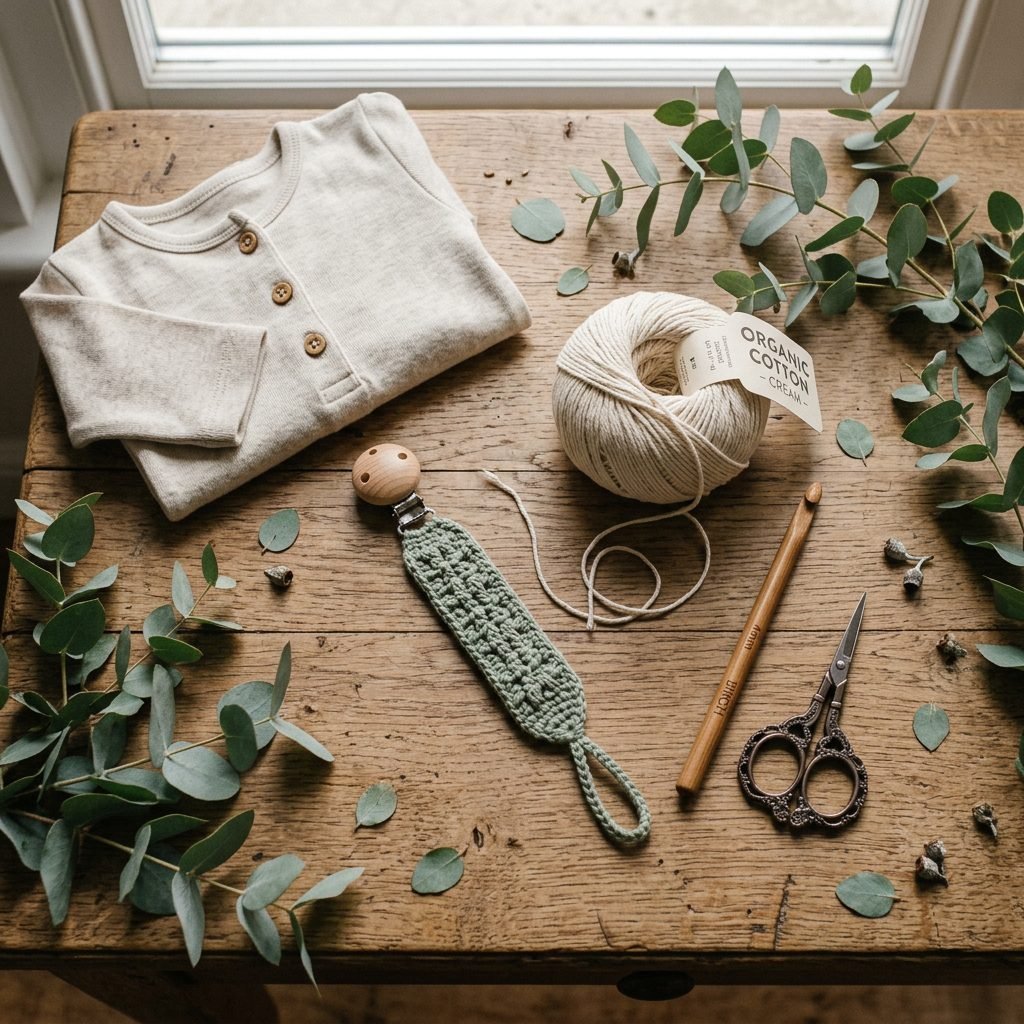
Your Shopping List
- Yarn: 1 skein of Category 4 (Medium/Worsted) or Category 3 (Light/DK) 100% Organic Cotton yarn.
- Hook: A 3.25mm (D) or 3.5mm (E) hook. We use a smaller hook than the yarn label suggests to ensure the stitches are extra tight and sturdy.
- Clip: One lead-free stainless steel or BPA-free silicone/beechwood suspender clip.
- Notions: A blunt yarn needle for weaving in ends and a pair of sharp scissors.
| Item | Estimated Cost | Where to Find |
|---|---|---|
| Organic Cotton Yarn | $6.00 – $10.00 | Local yarn shops or eco-online retailers. |
| Wooden/Metal Clip | $1.50 – $3.00 | Craft supply stores or specialty baby boutiques. |
| Crochet Hook | $3.00 – $5.00 | Standard craft stores. |
| Total Per Clip | ~$10.50 (with leftover yarn!) | Sustainable & Budget-Friendly |
The Step-by-Step Beginner Pattern
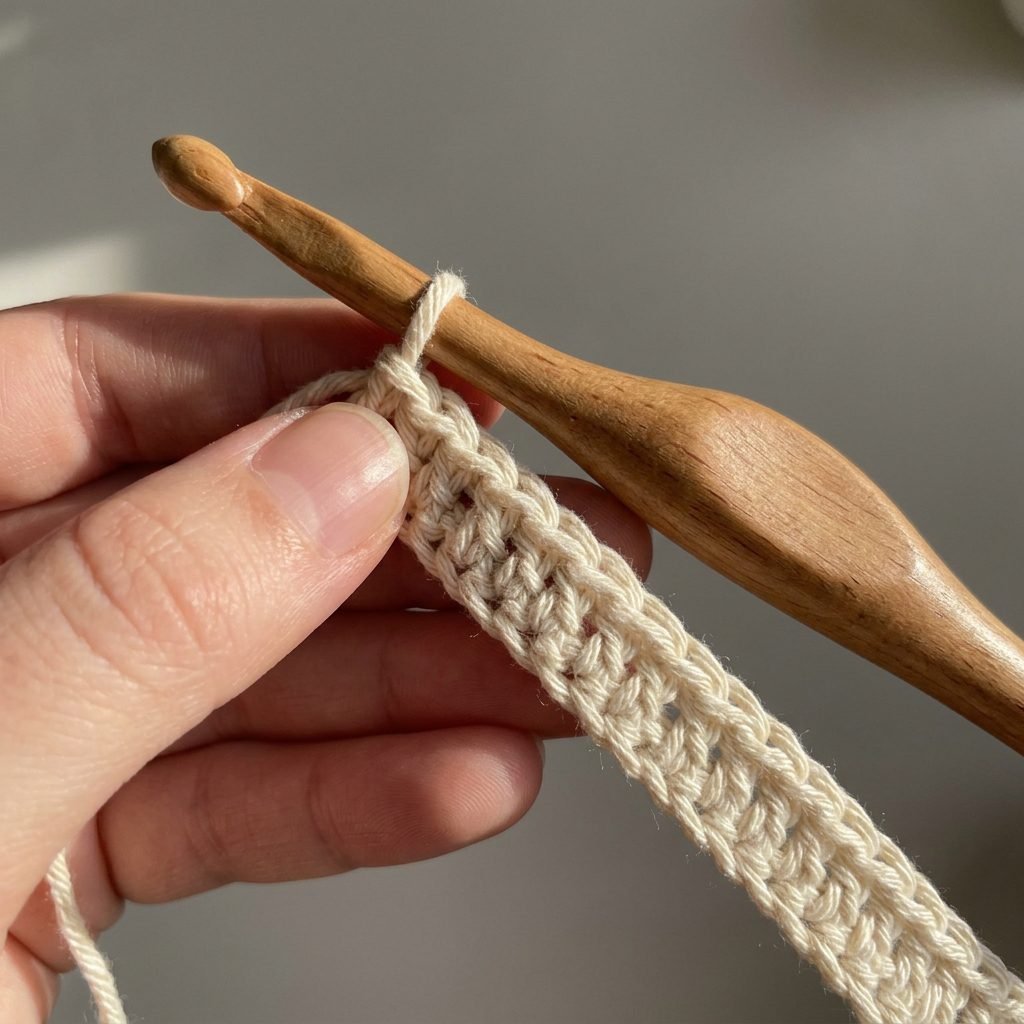
This pattern uses the Single Crochet (sc) stitch. It is the strongest, most dense stitch, which prevents the clip from stretching out too much over time. If you are a total beginner, don’t worry—this is the perfect ‘first project’.
Instructions
- Foundation: Leave a long tail (about 10 inches) before your slip knot. Chain 6.
- Row 1: Single crochet in the second chain from the hook and in each chain across. (5 stitches). Chain 1, turn.
- Row 2 – Row 45 (approx): Single crochet in each stitch across. Chain 1, turn. Note: Continue until the strip measures exactly 7.5 inches. Do not exceed this length.
- Creating the Loop: Once you reach 7.5 inches, do not turn. Instead, chain 15 to 20 (this creates the loop that attaches to the pacifier).
- Closing the Loop: Slip stitch back into the first stitch of your last row. Fasten off, leaving another long tail of 10 inches.
Pro-Tip: Pull your stitches tight! We want a fabric that feels firm, not floppy. This ensures the clip stays safe and doesn’t sag when a heavy pacifier is attached.
Assembly: Attaching the Clip with Strength
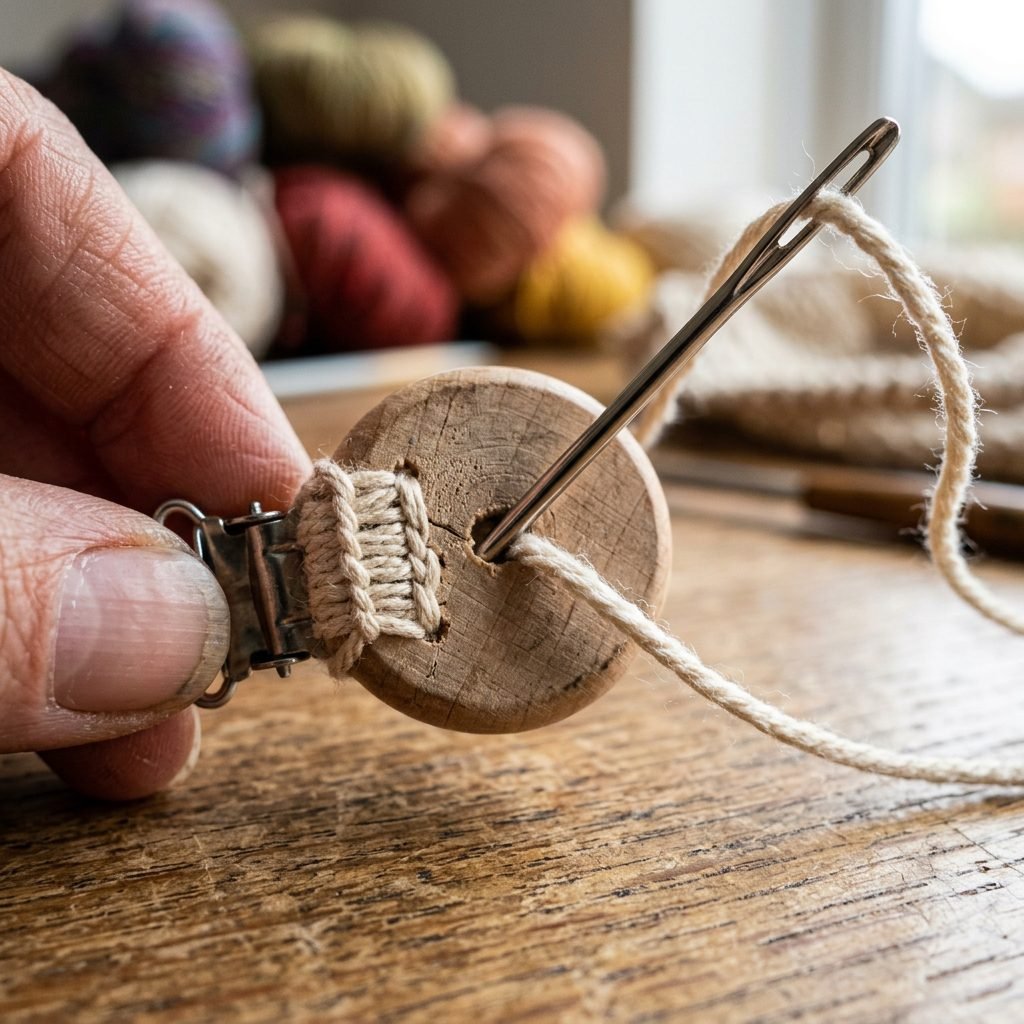
The most critical point of failure in a pacifier clip is where the fabric meets the metal or wood clip. We will use a triple-reinforced sewing technique using our yarn needle to ensure it stays put even with the most enthusiastic toddler tugging on it.
The Secure Finish
- Thread the long tail from the beginning of your project onto your yarn needle.
- Fold the bottom 1 inch of your crocheted strip around the bar of the suspender clip.
- Sew through both layers of the crochet fabric, going back and forth at least 4 to 5 times.
- Use a ‘whip stitch’ around the edges to ensure the corners don’t curl.
- Knot the yarn securely on the inside of the fold and weave the end through the center of the strip for at least 2 inches before cutting.
Affirmation for the Crafty Mama: My hands are capable, my heart is focused, and I am creating a safe haven for my child in every small detail.
Care, Longevity, and Maintenance
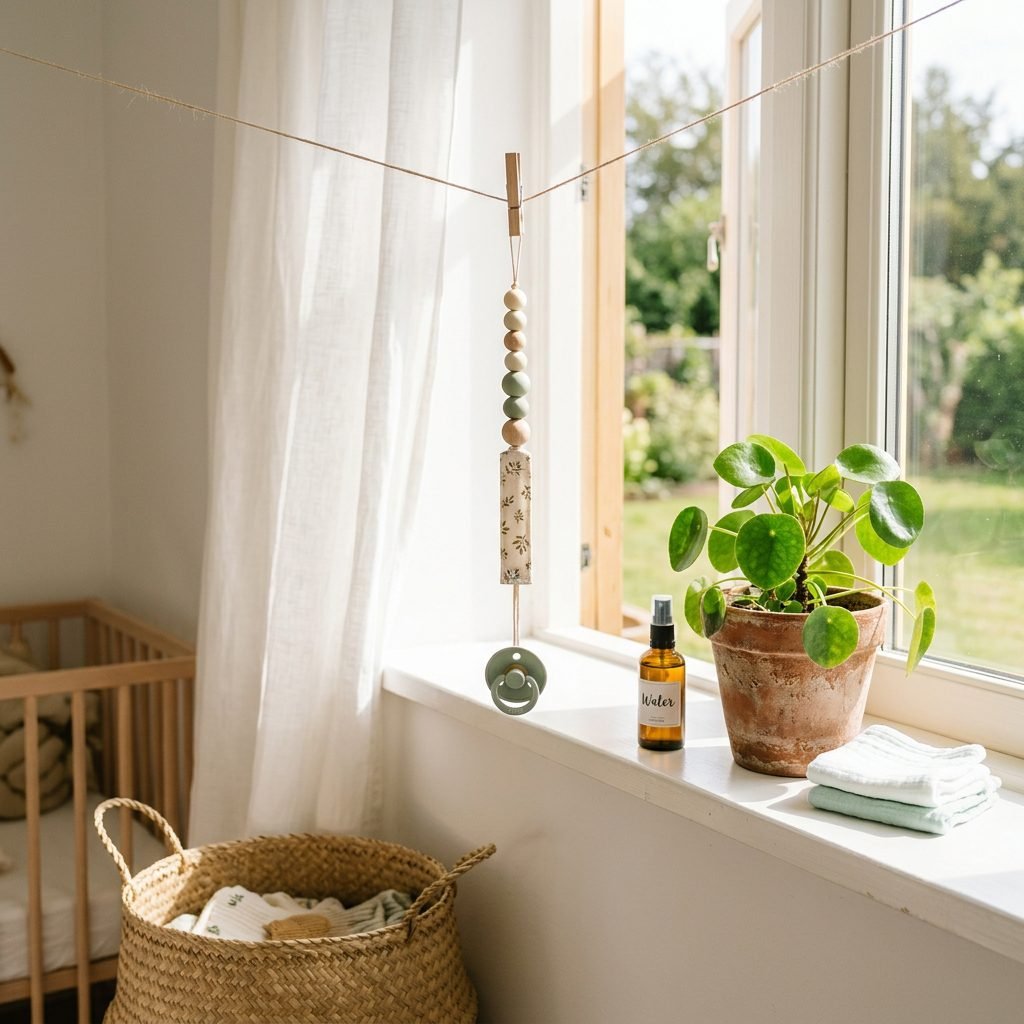
Because organic cotton is a natural fiber, it needs a little love to stay in top shape. Babies are messy—between drool, milk spills, and being dropped on the floor, your clip will need regular cleaning.
Washing Instructions
Hand wash your clip in warm water using a baby-safe, fragrance-free detergent. Avoid soaking wooden clips for too long, as the wood can swell or crack. Pat the metal or wood parts dry immediately and lay the cotton strip flat to dry in the sun. The sun acts as a natural disinfectant!
When to Replace
Inspect the clip every single morning. Look for:
- Fraying yarn or loose stitches.
- Cracks in wooden clips or rust on metal clips.
- Stretching of the loop (if it gets longer than 220mm total, it’s time to retire it).
- Rule of thumb: Replace your handmade clips every 2-3 months of heavy use.
Styling and Gifting: The Ultimate Baby Shower Addition
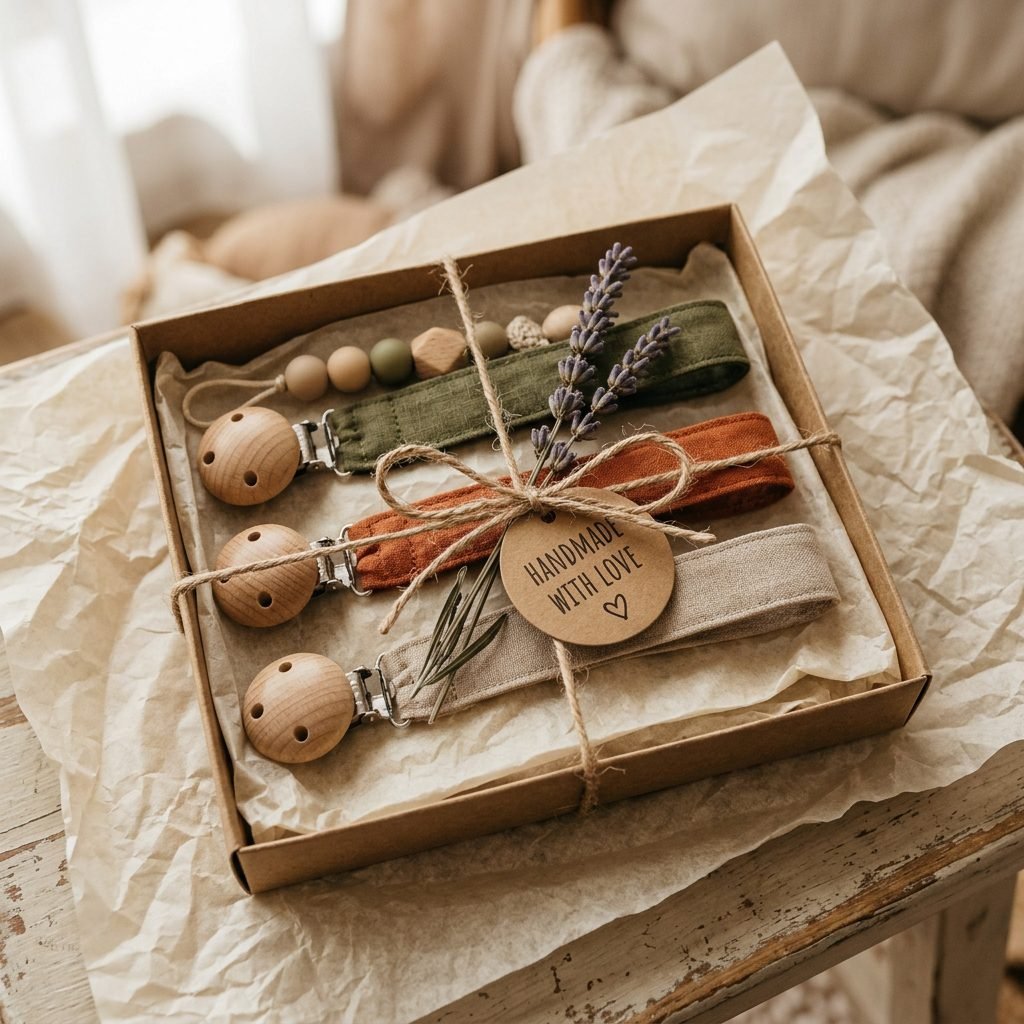
Are you making this for a friend’s baby shower? These clips are the perfect ‘topper’ for a gift basket. Since you are using organic cotton, you can choose a palette that reflects a modern, boho, or classic nursery.
Color Palette Inspiration
| Theme | Yarn Colors | Clip Pairing |
|---|---|---|
| Earth Child | Sage, Terracotta, Mustard | Unfinished Beechwood |
| Coastal Calm | Seafoam, Oat, Navy | Matte Silver Metal |
| Vintage Bloom | Dusty Rose, Cream, Sage | White Silicone |
| Modern Minimal | Charcoal, White, Slate | Black Stainless Steel |
To gift, wrap the clip around a piece of recycled cardstock with a handwritten note about the organic materials used. It adds a touch of boutique luxury that any new mother will cherish.
Conclusion
A Labor of Love in Every Stitch
Congratulations, mama! You’ve just created a functional, beautiful, and—most importantly—safe accessory for your little one. In a world of mass-produced plastic, your choice to use organic cotton and your own two hands makes a difference. This pacifier clip is more than just a way to keep a binky off the floor; it’s a testament to your care and intentionality as a parent.
Keep your hook handy—once you start making these, you’ll find they are the perfect quick project to gift to your doula clients, friends, or to keep in every diaper bag for those ‘just in case’ moments. Enjoy the peace of mind that comes with knowing exactly what your baby is touching. Happy crocheting!