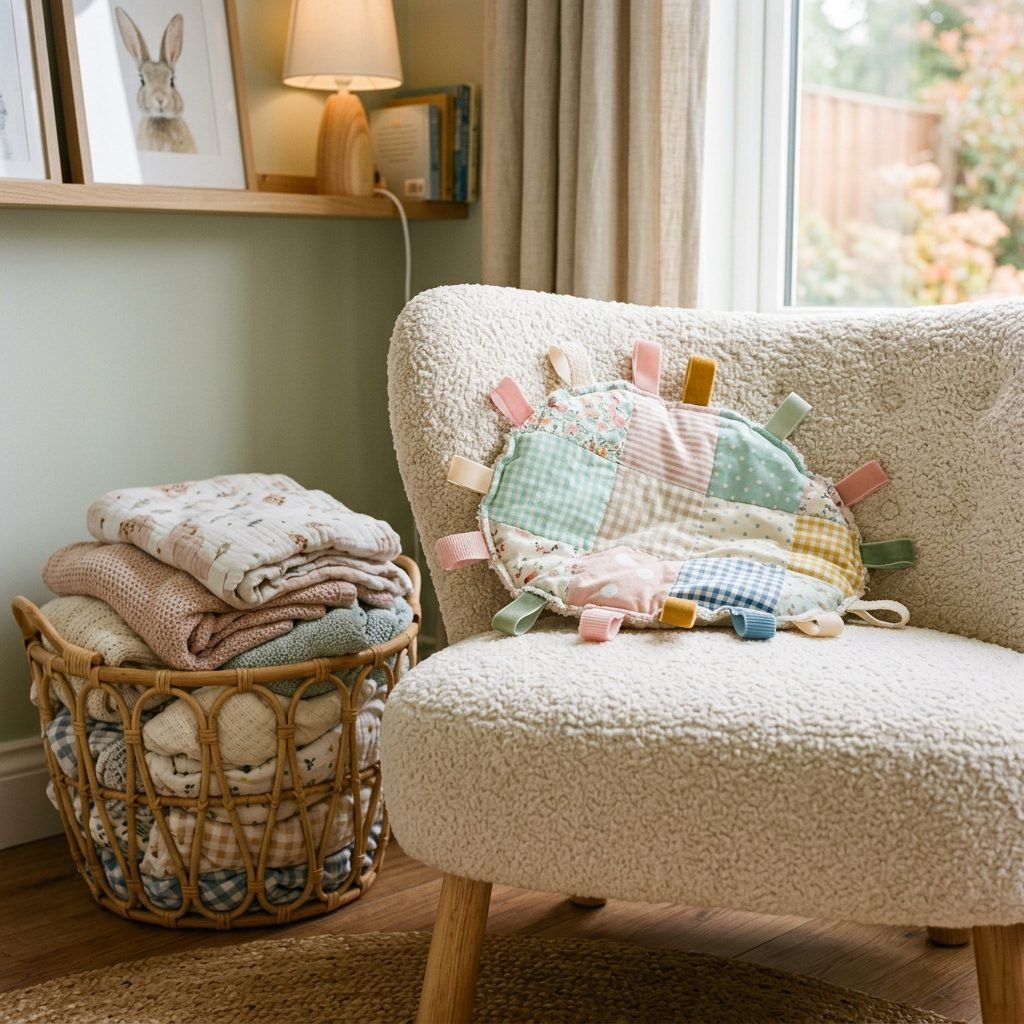
How to Make a Crinkly Fabric Sensory Toy for Newborns Using Scrap Cotton
Hello, beautiful mama. If you are currently in the thick of your nesting phase, feeling that deep, primal urge to prepare your home and heart for your little one’s arrival, I see you. You are likely organizing tiny socks, folding impossibly small onesies, and perhaps looking at a pile of leftover fabric from your nursery curtains or beloved old maternity shirts, wondering if they can be transformed into something special. The answer is a resounding yes! Welcome to one of the most fulfilling, simple, and impactful DIY baby crafts you can undertake: making a crinkly fabric sensory toy for your newborn using scrap cotton.
As a doula and pediatric sleep consultant, I spend a lot of time talking to expectant and new parents about newborn stimulation. It is incredibly easy to feel overwhelmed by the sheer volume of plastic, battery-operated, flashing toys lining the aisles of baby stores. The truth? Your baby’s developing brain doesn’t need all of that. In fact, overstimulation can often lead to those dreaded fussy evenings and sleep regressions. What your newborn truly craves in those delicate early months of the fourth trimester is gentle, intentional sensory exploration. They need high-contrast visuals, varied soft textures, and subtle, natural sounds that mimic the comforting whoosh of the womb.
“You do not need an entire aisle of expensive, battery-operated toys to stimulate your baby’s growing brain. Your loving presence, your soothing voice, and a simple, safe, handmade texture are more than enough to help them thrive.”
By crafting this crinkly sensory square yourself, you are not only saving money and upcycling materials, but you are also pouring your love and intention into your baby’s very first plaything. This guide will walk you through the neurodevelopmental benefits of crinkle toys, exactly what you need to gather (hint: you probably already have it all in your house!), and a foolproof, step-by-step tutorial to create a beautiful, safe, and easily washable sensory toy. Take a deep breath, grab a cup of warm red raspberry leaf tea, and let’s get crafty together!
Why Crinkle Toys Are Pure Magic for Newborn Brain Development
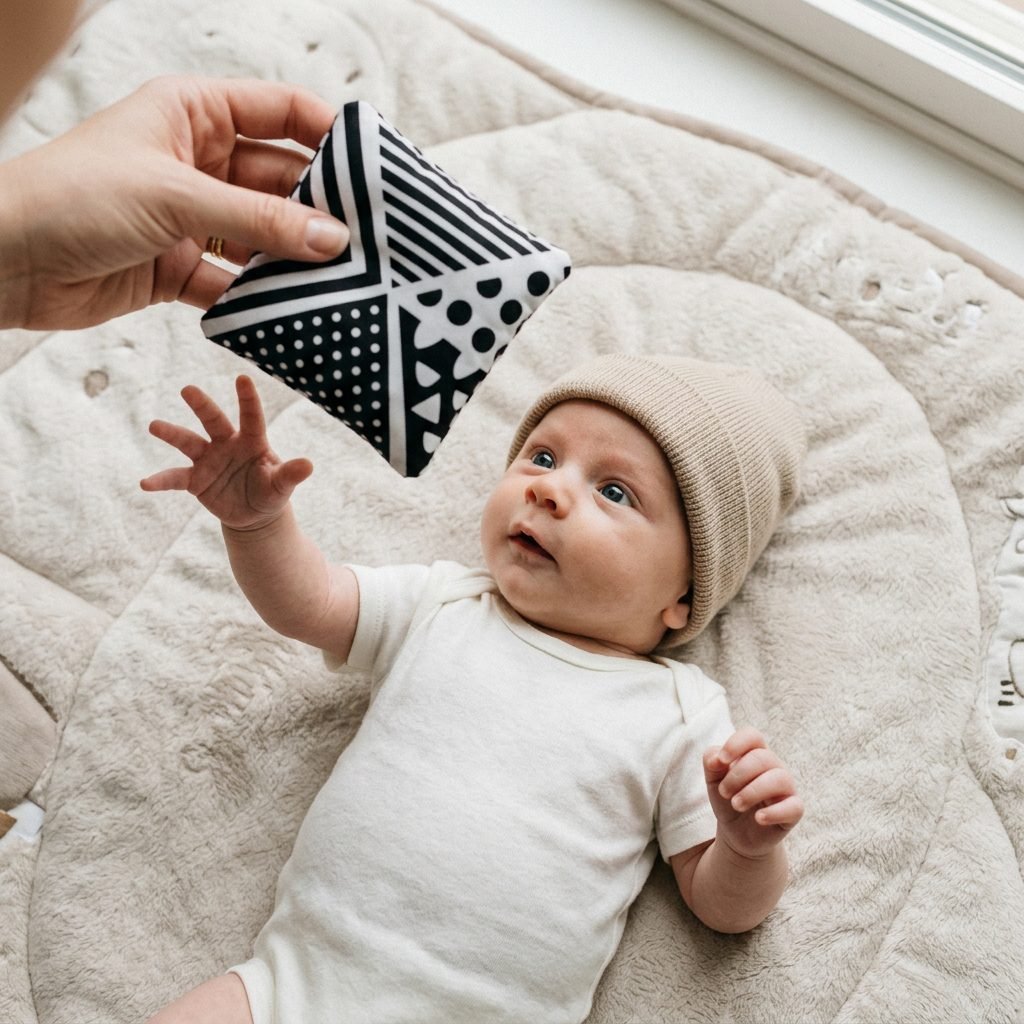
Before we dive into the sewing, let’s talk about the incredible benefits of what we are making. Why do babies absolutely lose their minds (in a good way!) over crinkle toys? It all comes down to how a newborn’s brain processes the world during the fourth trimester.
Auditory Stimulation and Womb Memories
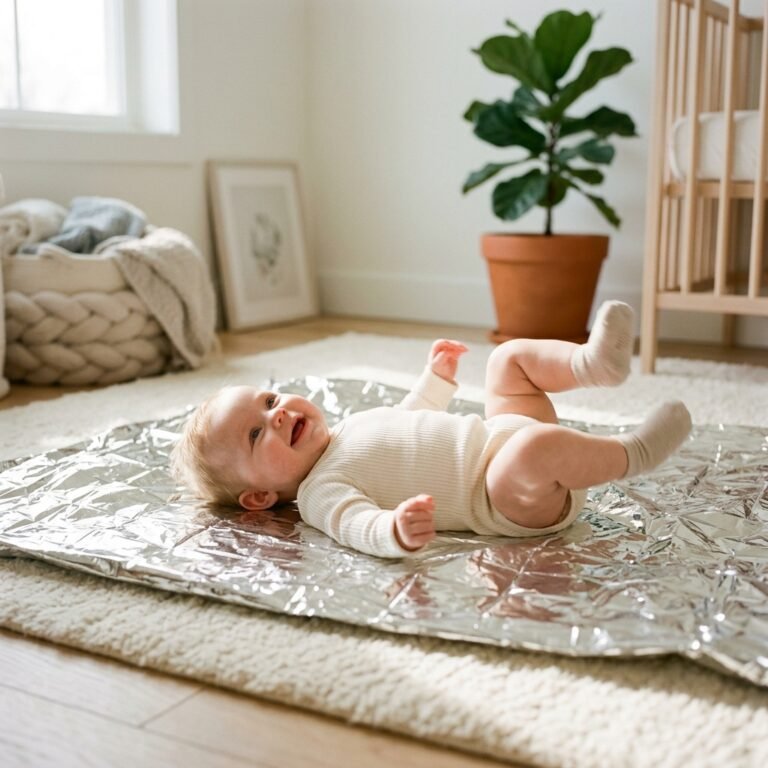
When your baby was safely tucked inside your womb, they were never in silence. They were surrounded by a constant, rhythmic symphony of your heartbeat, your digestion, and the steady whoosh-whoosh of your blood flow. When they are born into the outside world, sudden loud noises can trigger their Moro (startle) reflex, but gentle, rhythmic sounds are deeply soothing. The sound of a crinkle toy closely mimics that high-frequency white noise they remember from the womb. It provides immediate auditory feedback that is engaging but not alarming.
Tactile Exploration and Motor Skills
Newborns explore the world primarily through touch and taste. In the early weeks, their hands are often balled into tight little fists, but as they approach the 8 to 12-week mark, they begin to discover their hands and reach out. Offering a toy with multiple textures—the smoothness of scrap cotton, the ridges of grosgrain ribbon, and the hidden crunch of the crinkle material—stimulates the nerve endings in their tiny fingertips. This tactile feedback builds essential neural pathways, teaching them about cause and effect: “When I squeeze this soft square, it makes a fascinating noise!”
Visual Tracking and Focus
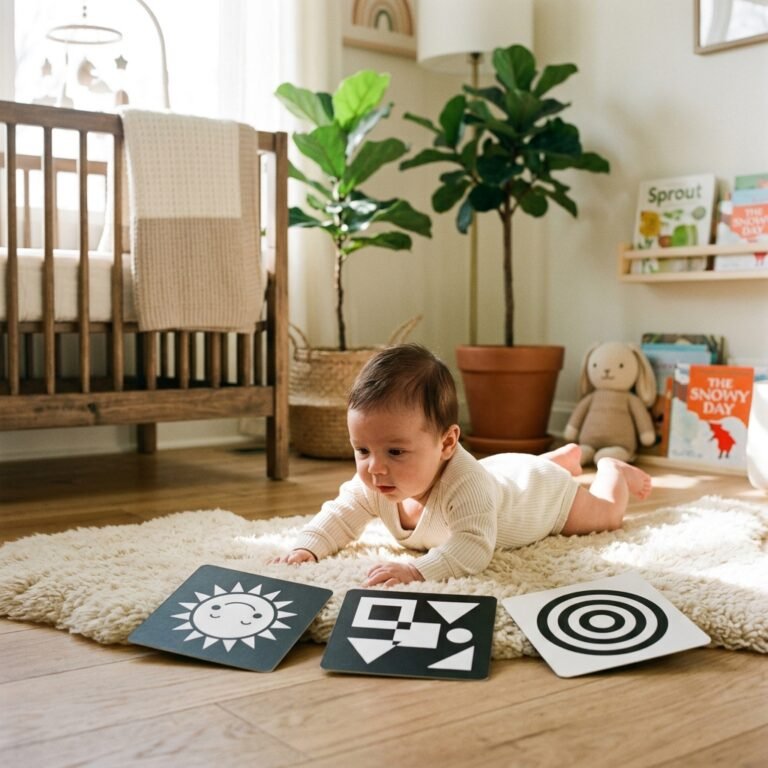
In the first few months, a baby’s vision is still quite blurry. They can only see clearly about 8 to 12 inches away from their face—conveniently, the exact distance from your breast or chest to your face! They also see high-contrast patterns much better than pale pastels. By choosing scrap cotton with bold, contrasting prints (like black and white stripes, or dark navy against cream), you are giving their developing eye muscles something to lock onto and track, which is a crucial developmental milestone.
Gathering Your Nesting Materials: What You’ll Need
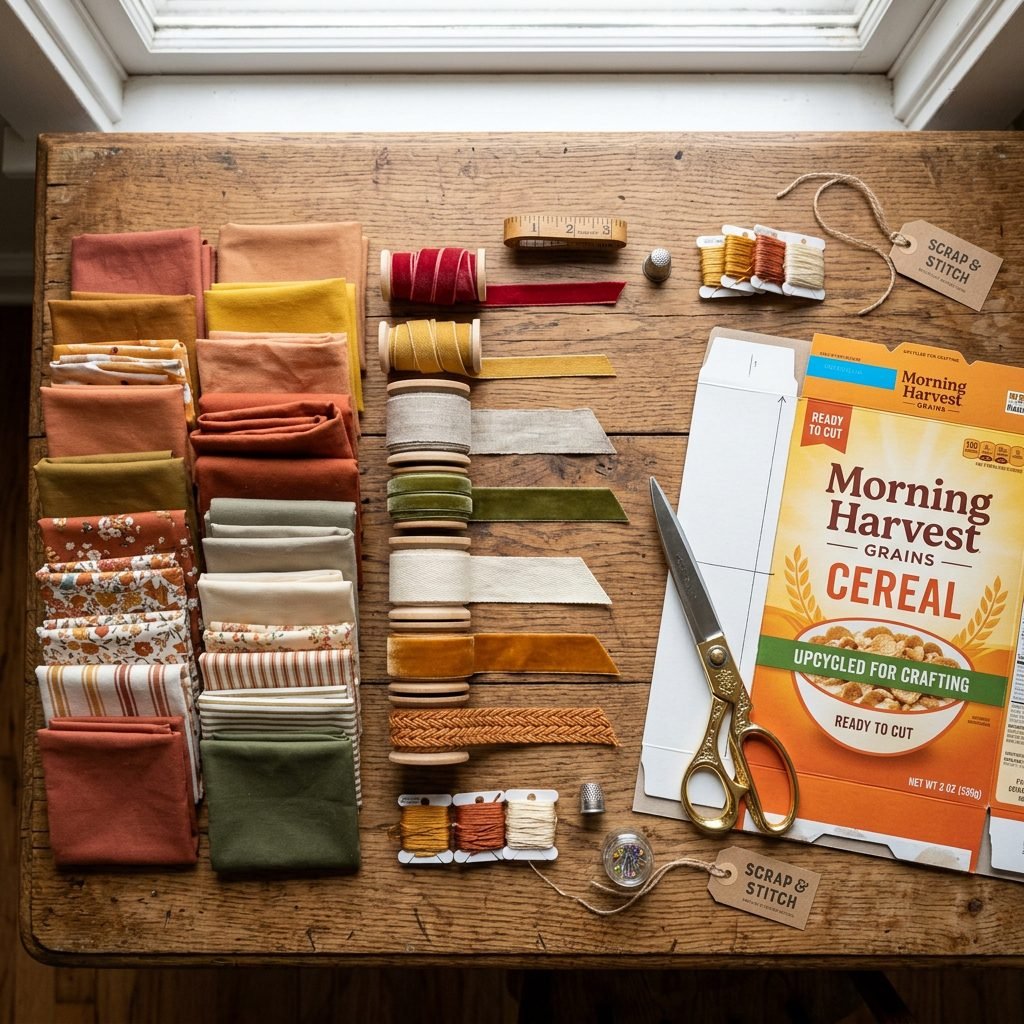
One of the most beautiful aspects of this project is its sustainability. We are going to shop our own homes before we ever step foot in a craft store. Upcycling is not only wonderful for your budget—leaving more room for those postpartum care essentials—but it also gives a second life to fabrics that might hold sentimental value. Perhaps you have a scrap from the maternity dress you wore to your baby shower, or a piece of a beloved grandfather’s flannel shirt. Let’s gather our supplies.
The Secret to the Crinkle
The most common question I get from crafty mamas is: What makes the toy crinkle safely? While you can purchase commercial, CPSIA-compliant crinkle material online, you likely have the perfect upcycled alternative in your pantry right now: an empty cereal bag or a clean wipe wrapper! These materials are designed to be food-safe, highly durable, and produce that perfect, satisfying crunch.
| Material / Tool Needed | Cost Estimate & Sourcing Notes |
|---|---|
| Scrap Cotton Fabric (Two 6×6 inch squares) | $0.00 – Upcycle old 100% cotton shirts, nursery curtain scraps, or flannel pajamas. |
| Textured Ribbons (4 to 6 pieces, cut to 4 inches each) | $0.00 to $3.00 – Check your gift wrap stash! Grosgrain, satin, or ric-rac work beautifully. |
| Crinkle Material (One 6×6 inch square) | $0.00 – A thoroughly washed and dried empty cereal bag liner or baby wipe wrapper. |
| Sewing Machine or Needle & Thread | Already owned – A machine is faster, but hand-sewing with a tight backstitch is perfectly fine! |
| Pins or Sewing Clips | Already owned – Essential for holding the “fabric sandwich” together. |
| Fabric Scissors or Rotary Cutter | Already owned – For precise, clean cuts. |
A Gentle Doula Reminder: When selecting your scrap cotton, always opt for breathable, natural fibers like 100% cotton, linen, or bamboo. These are gentle on your baby’s delicate, sensitive skin and hold up beautifully in the washing machine—because, let’s be honest, this toy will eventually end up in their mouth!
Step-by-Step Tutorial: Crafting Your Crinkle Sensory Square
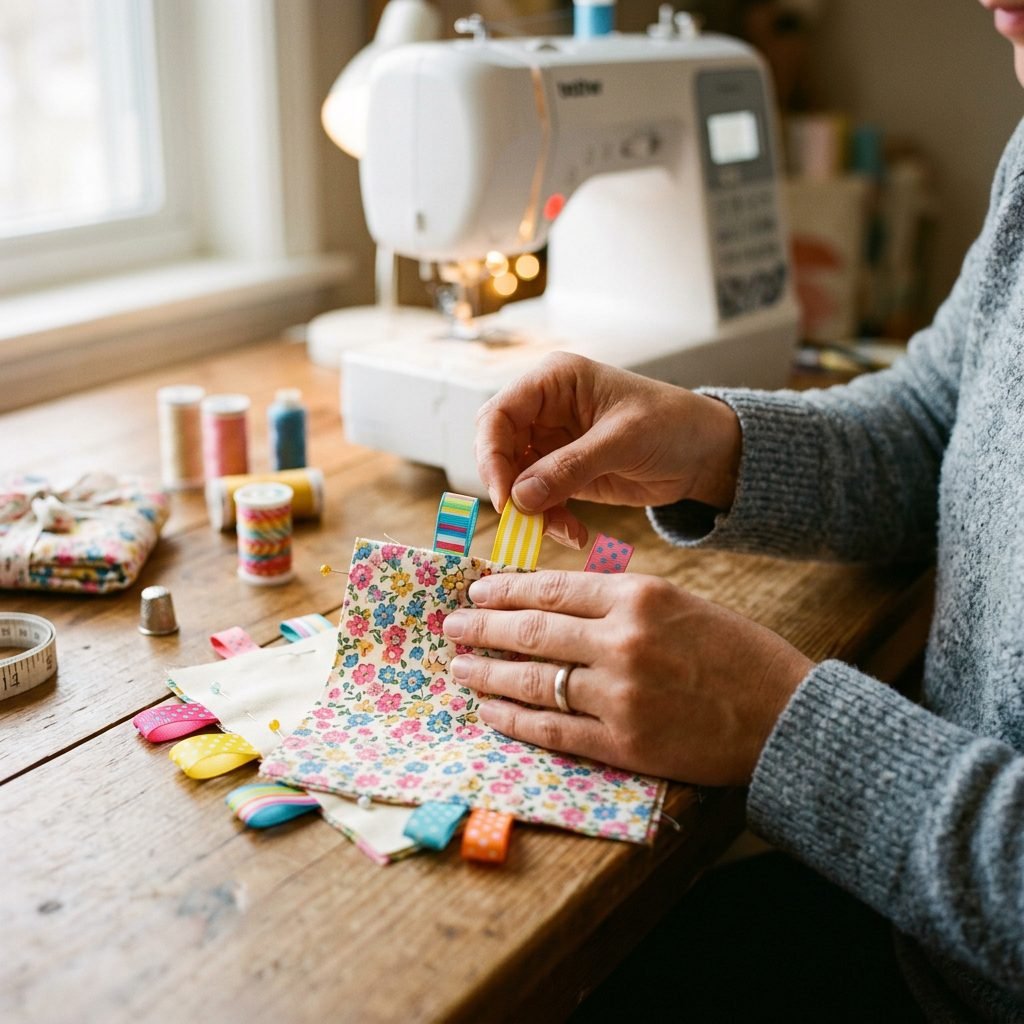
Alright, mama, it is time to create! Whether you are an experienced seamstress or haven’t touched a needle since middle school home economics, you can absolutely do this. This project is forgiving, simple, and deeply rewarding. Put on a relaxing playlist, take your time, and enjoy the process of making something with your own two hands for your sweet baby.
Step 1: Prep and Cut Your Materials
- Wash and dry your scrap cotton fabrics using a baby-safe, fragrance-free detergent. This ensures the fabric is pre-shrunk and free of any dust or irritants.
- Thoroughly wash your empty cereal bag with warm soapy water, rinse well, and let it dry completely.
- Using your fabric scissors, cut two squares of your scrap cotton, measuring exactly 6×6 inches.
- Cut one square of your crinkle material, also measuring 6×6 inches.
- Cut your assorted ribbons into strips measuring 4 inches in length. You can use as few or as many as you like, but 4 to 6 ribbons usually look best.
Step 2: Pinning the “Fabric Sandwich”
- Lay down your first square of cotton fabric right side up (the side with the pretty pattern facing you).
- Take your ribbon strips and fold each one in half to create a loop. Pin the raw edges of the loops to the raw edges of your cotton square, so the looped part points inward toward the center of the fabric. Space them out along the four edges however you like.
- Place your second square of cotton fabric face down on top of the first square. (The two pretty sides should be touching each other, kissing on the inside).
- Finally, place your square of crinkle material directly on top of the stack.
- Pin or clip all the way around the edges to secure your “fabric sandwich.” Important: Mark a 2-inch gap on one side with double pins. You will leave this unsewn so you can turn the toy right-side out!
Step 3: Sewing It All Together
- Thread your needle or set up your sewing machine with a durable, all-purpose thread.
- Starting at one side of your marked 2-inch gap, sew all the way around the square using a 1/2-inch seam allowance. When you get to a corner, put your needle down, lift the presser foot, pivot the fabric 90 degrees, and keep sewing.
- Pro-Tip: When you sew over the ribbons, reverse your stitch and go over them a second time. We want those ribbons incredibly secure so they can withstand a baby’s strong grip!
- Stop sewing when you reach the other side of your 2-inch gap. Tie off your thread securely.
Step 4: Turning and Topstitching
- Carefully clip the four corners of your square (be careful not to cut your stitches!). This reduces bulk and gives you crisp corners.
- Reach your fingers into the 2-inch gap and gently pull the fabric through, turning the entire toy right-side out. The crinkle material will naturally be trapped safely on the inside, and your ribbon loops will pop out along the edges!
- Use a chopstick or the blunt end of a pen to gently push the corners out so they are nice and square.
- Fold the raw edges of your 2-inch gap inward and pin them flat.
- To finish, sew a topstitch all the way around the entire perimeter of the toy, about 1/4-inch from the edge. This closes the gap, reinforces the ribbons one more time, and gives the toy a professional, polished look.
And just like that, you have created a beautiful, engaging sensory toy!
Safety First: Ensuring Your DIY Toy is Newborn-Ready
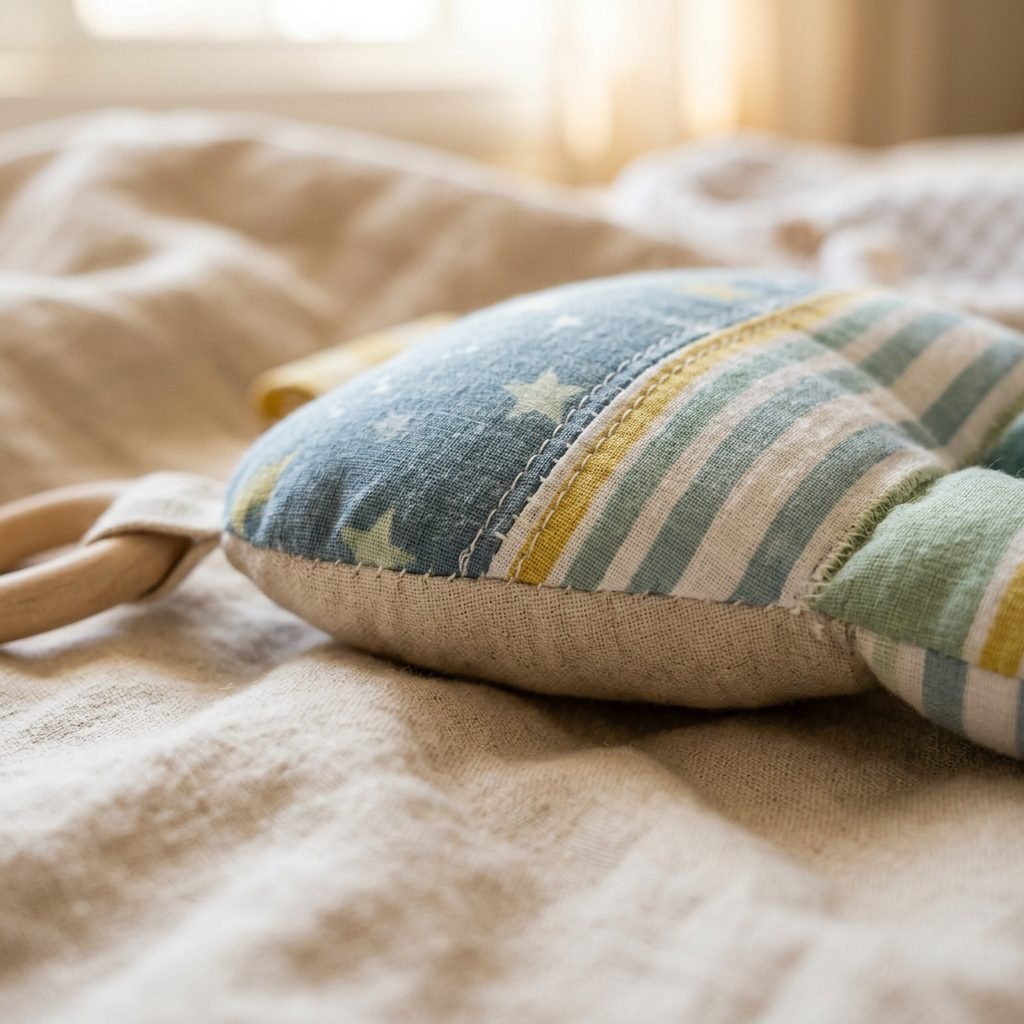
As a postpartum nurse and doula, my priority is always the safety and well-being of your little one. While DIY toys are wonderful, they require a meticulous eye for safety since they haven’t gone through commercial laboratory testing. Before you hand this beautiful creation over to your baby, let’s run through a crucial safety checklist.
The “Tug and Pull” Test
Babies are surprisingly strong! Once they discover their grip, they will pull, yank, and chew on those ribbon loops with impressive force. Before giving the toy to your baby, give every single ribbon a very firm tug. If you hear any thread popping or feel the ribbon slipping, take it back to the sewing machine and reinforce the seams. This is why we double-stitch over the ribbons during the crafting process and add that final topstitch.
Material Safety Dos and Don’ts
- DO use securely woven ribbons like grosgrain or high-quality satin.
- DO NOT use ribbons with wire edges, loose threads, or easily fraying materials.
- DO ensure your crinkle material is thoroughly washed and sanitized before sewing it inside.
- DO NOT add any small, hard items to this specific toy, such as wooden beads, buttons, or bells. While cute, these pose a significant choking hazard if they were to detach. Keep this toy entirely soft!
Washing and Maintenance
Because this toy will inevitably end up in your baby’s mouth, it needs to be washed regularly. The beauty of using scrap cotton and a cereal bag is that it is entirely machine washable! Toss it in a mesh laundry bag and wash on a gentle, cold cycle with your baby-safe detergent. Lay it flat to air dry. Do not put it in the dryer on high heat, as the plastic crinkle material inside could warp or melt.
“Motherhood is a constant balance of letting them explore and keeping them safe. By hand-making this toy and checking its seams, you are doing both beautifully. Trust your instincts, mama.”
Ways to Play: Incorporating Your Crinkle Toy into Daily Routines
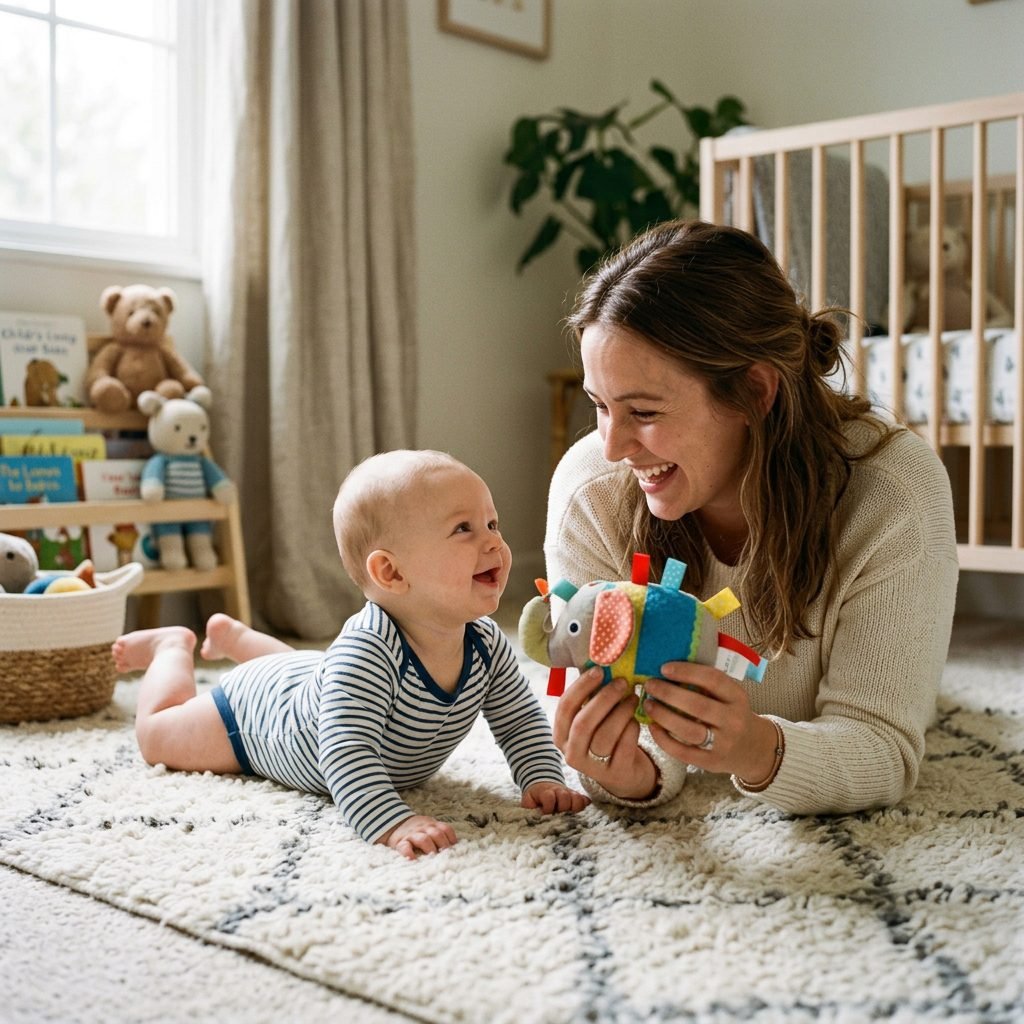
Now that you have this wonderful sensory tool, how do you use it? The beauty of the crinkle square is its versatility. It is lightweight, easy to pack in a diaper bag, and perfect for redirecting a fussy baby during tricky moments of the day.
Tummy Time Encouragement
We all know tummy time is essential for building core, neck, and shoulder strength, but many babies absolutely loathe it in the beginning. To make it more engaging, lay your baby on their tummy and hold the crinkle toy just out of their reach, slightly elevated. Slowly scrunch the toy to make that captivating crinkle sound. The noise will encourage them to lift their heavy little head to see where the sound is coming from, naturally building those vital muscles.
Diaper Change Distraction
Around the 4 to 6-month mark, diaper changes can transform into an Olympic wrestling match. Keep your crinkle toy right next to your changing pad. The moment you lay your baby down, hand them the toy. The tactile exploration of the ribbons and the sound of the crinkle will often keep their hands and minds occupied just long enough for you to secure a clean diaper.
Car Seat Soothing
Car rides can be overstimulating for some newborns. The restriction of the seat combined with the motion can lead to tears. Tuck the crinkle toy next to them in the car seat (always ensuring it is not covering their face). The familiar texture and the ability to grasp the ribbons can provide immense comfort, and the gentle crinkle sound they make as they move can help self-soothe them to sleep.
Conclusion
Creating this crinkly fabric sensory toy from scrap cotton is so much more than just a craft project; it is an act of deep, nurturing love. As you stitch those edges and choose those ribbons, you are actively preparing a gentle, welcoming world for your baby. Remember, mama, in a world that constantly tells you that you need to buy more to be a good mother, your time, your creativity, and your loving touch are the most valuable gifts you can offer. I hope this project brings you a moment of peaceful nesting and brings your little one hours of joyful, sensory exploration. You are doing an incredible job, and you are going to be a wonderful mother.