How to Make a DIY No-Sew High Contrast Sensory Book for Your Newborn
Welcome to the Beautiful World of Newborn Discovery
Hello, sweet mama. If you are reading this, you are likely in that sacred, hazy, and incredibly beautiful window of early motherhood, or perhaps you are nesting in anticipation of your little one’s arrival. As a doula, I often tell my clients that the simplest toys are often the most profound. In those first few months, your baby’s world is a beautiful blur of shadows and light. Their eyes are still learning how to focus, and their brain is working overtime to make sense of the new world around them. That is where high-contrast sensory play comes in.
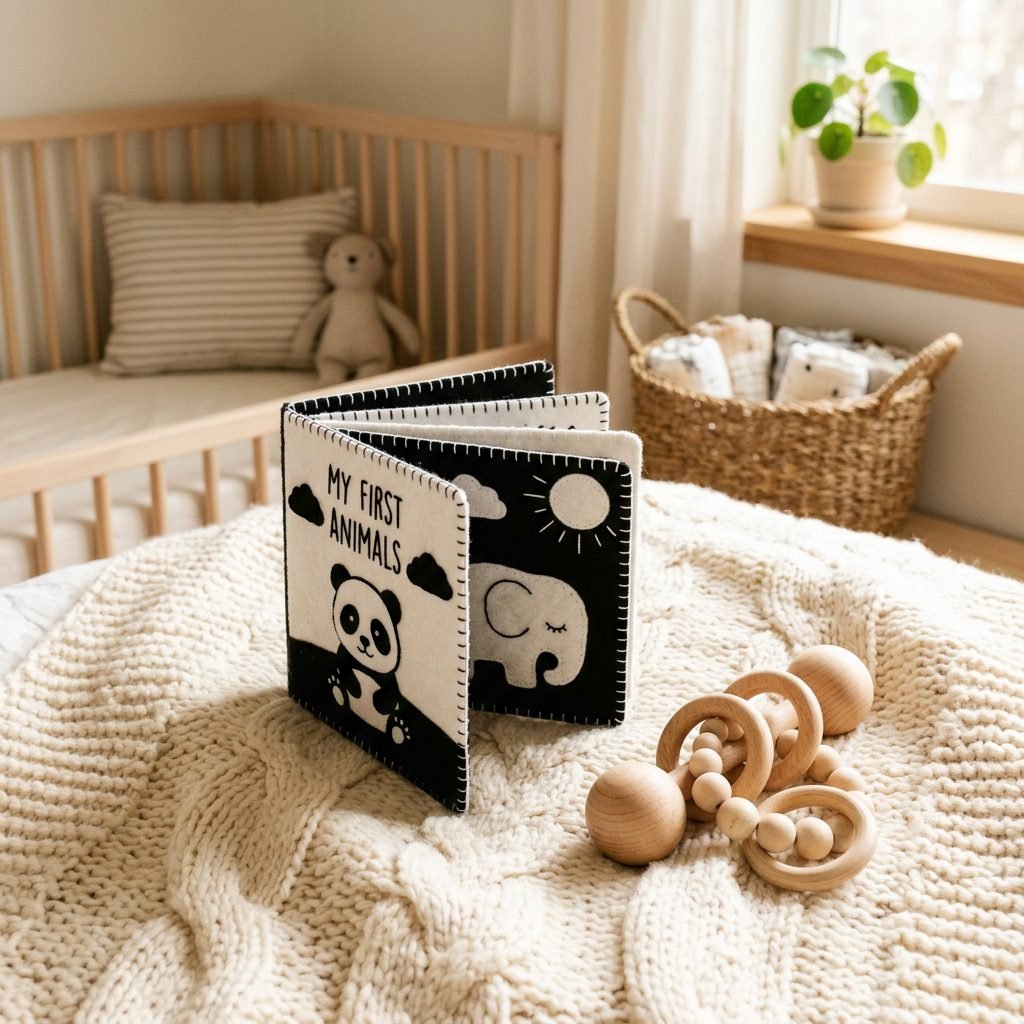
Creating a high-contrast book is more than just a craft project; it is a way to nourish your baby’s developing nervous system. Because newborns can primarily see high-contrast patterns—specifically black, white, and shades of grey—these images provide a clear signal to their brain, encouraging visual tracking and focus. Today, we are going to create a stunning, professional-looking sensory book without touching a single needle or thread. This no-sew method is designed for the busy, perhaps slightly sleep-deprived, but deeply loving mother who wants to give her baby the best start possible. Grab a cup of herbal tea, find a comfortable spot, and let’s create something beautiful for your baby together.
The Science of Sight: Why Black and White Matters
Understanding the Newborn Eye
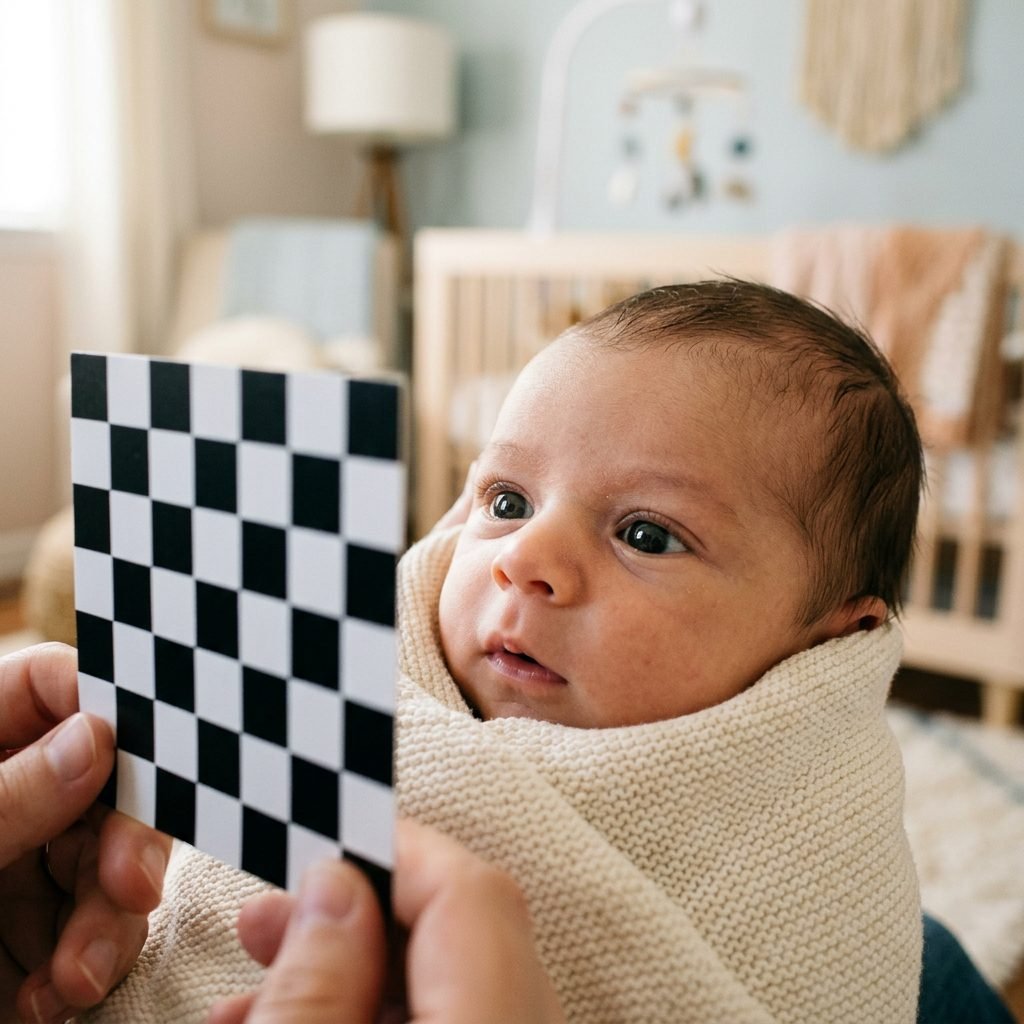
When your baby is born, their vision is the least developed of all their senses. They are essentially nearsighted, seeing most clearly at a distance of 8 to 12 inches—which, beautifully enough, is the exact distance from your face to theirs while you are nursing or cradling them. Their retinas are not yet fully equipped to distinguish colors like subtle pastels, which is why those pale nursery themes are more for us than for them! High-contrast images, however, stand out against the background, providing the sharpest possible stimulus.
Neurological Benefits of High-Contrast Play
Research shows that high-contrast patterns can actually increase your baby’s attention span and curiosity. When a baby looks at a high-contrast image, their brain receives a strong signal, which helps the optic nerve grow and strengthens the connections in the visual cortex. By providing these visual ‘anchors,’ you are helping your baby learn to track objects and eventually reach for them, hitting those vital motor milestones. It’s not just a book; it’s a brain-building tool.
“In a world of soft pastels, be your baby’s bold black and white. You are their first and most important teacher, and every gaze shared over a simple book is a building block for their future.”
Gathering Your Supplies: The Ultimate Non-Toxic List
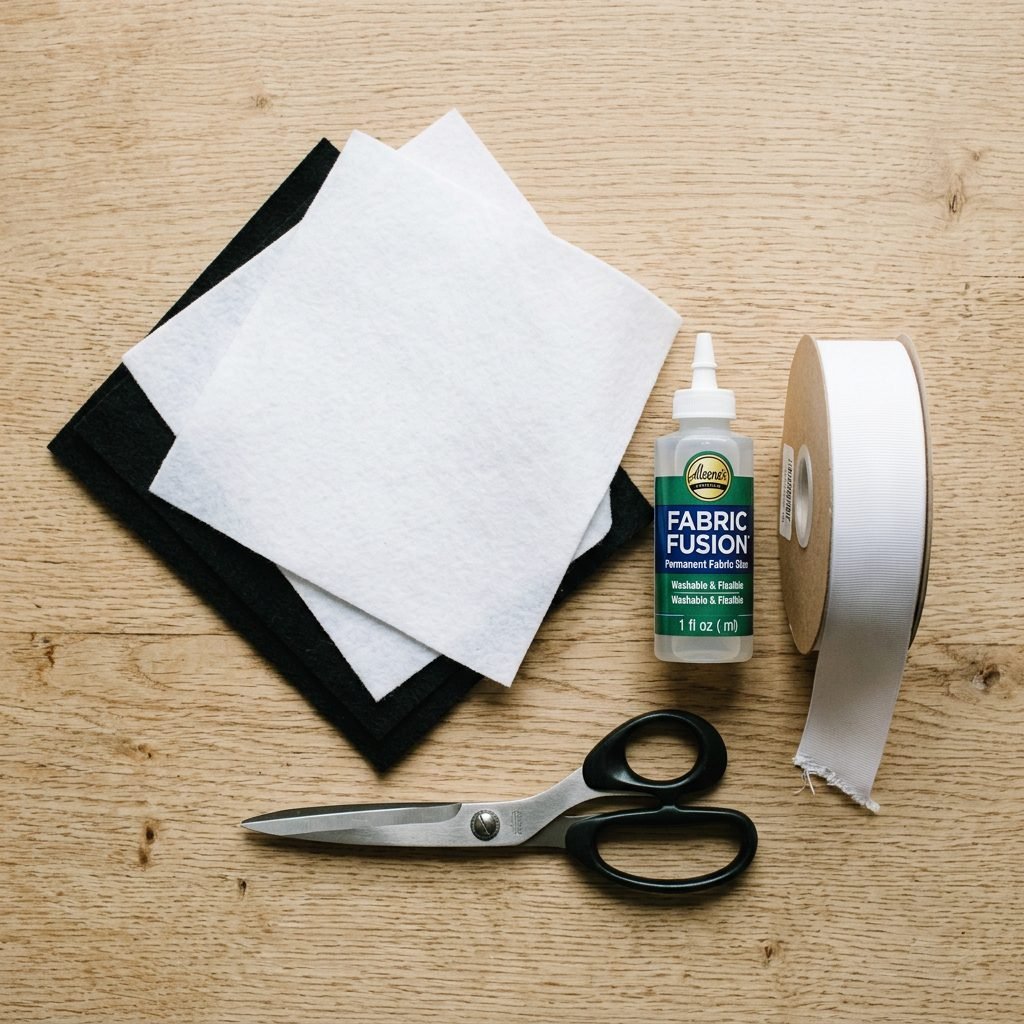
Choosing the Right Materials
Since this is a sensory item for your baby, we want to prioritize materials that are safe, durable, and tactile. For a no-sew book, stiff felt is your best friend. It holds its shape beautifully and provides a sturdy base for the pages. For the motifs, soft felt works best as it is easier to cut into intricate shapes. When it comes to adhesives, we must be mindful of fumes and safety, especially since babies eventually explore everything with their mouths.
Budget Breakdown & Shopping Guide
| Material | Purpose | Estimated Cost |
|---|---|---|
| Stiff Black Felt (9×12 sheets) | Book Pages (Base) | $5.00 – $8.00 |
| Soft White Felt Sheets | High-Contrast Motifs | $3.00 – $5.00 |
| Non-Toxic Fabric Glue (e.g., Aleene’s) | Assembly (No-Sew) | $6.00 – $10.00 |
| Sharp Fabric Scissors | Precise Cutting | $10.00 (or use home pair) |
| Thick Cotton Ribbon or Twine | Binding the Spine | $2.00 – $4.00 |
Pro Tip: Look for felt made from recycled plastic bottles or wool blends for a more eco-friendly and premium feel. Avoid using glittery felt or anything with small sequins that could become a choking hazard if they detach.
Step-by-Step Assembly: Crafting Your Masterpiece
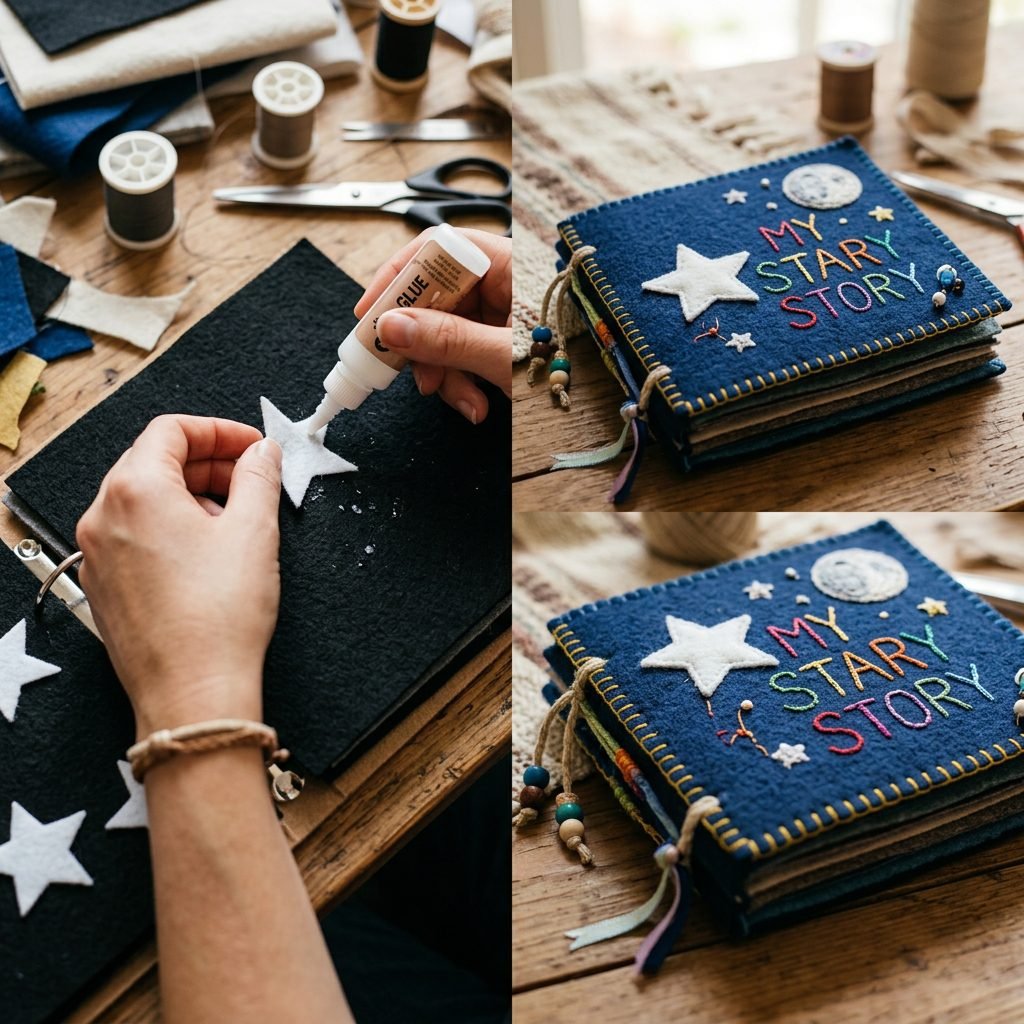
Step 1: Preparing Your Pages
Start by taking your 9×12 stiff black felt sheets and cutting them in half. This will give you 6×9 inch pages, which is the perfect size for little hands and for propping up during tummy time. I recommend creating a 6-page book (3 double-sided sheets). Lay them out in pairs to visualize how the book will flow.
Step 2: Designing Your Motifs
On your white felt, trace simple geometric shapes. For newborns, keep it simple! Think circles, triangles, and squares. As you move through the book, you can add more complex shapes like a sun, a heart, or a simple animal silhouette. Precision is key here—the sharper the contrast, the better the visual stimulus.
Step 3: The No-Sew Bonding Process
Apply a thin, even layer of non-toxic fabric glue to the back of your white felt cutouts. Press them firmly onto the black felt pages. To ensure a professional finish, place a heavy book on top of the pages while they dry to prevent the felt from bubbling or warping. Allow at least 12 to 24 hours for the glue to cure completely.
Step 4: Binding the Book
Once the pages are dry, stack them together. Using your scissors (or a hole punch if your felt is thin enough), make two small holes along the left margin of all pages. Thread your cotton ribbon through the holes and tie a secure, tight knot. Make sure the ribbon tails are short so they don’t pose a safety risk.
- Cut base pages (6×9 inches).
- Trace and cut white motifs.
- Glue motifs to pages and let dry under weight.
- Punch holes for binding.
- Secure with ribbon using a double knot.
Pattern Inspiration: From Circles to Silhouettes
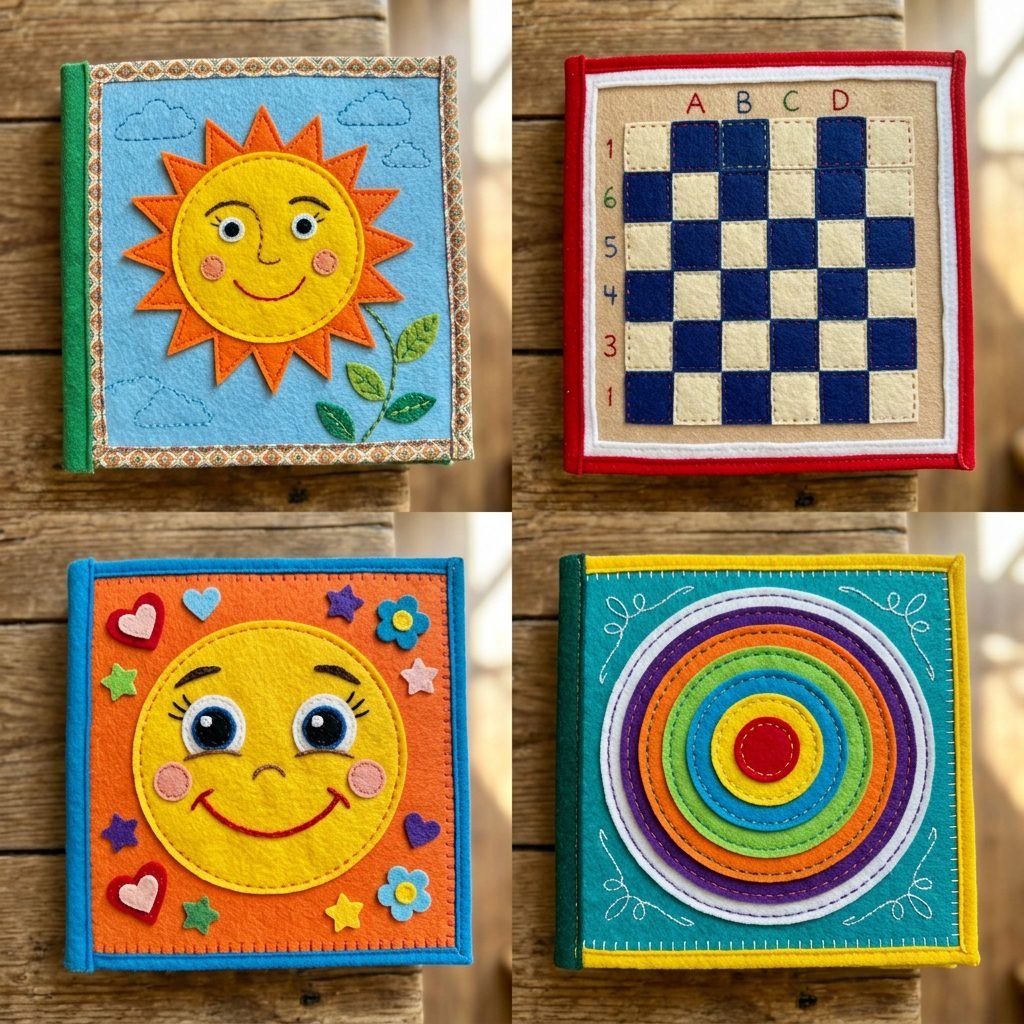
The Progression of Patterns
As your baby grows, their ability to process complex images increases. You can design your book to ‘grow’ with them by varying the patterns on each page. Here are some ideas for your page layouts:
- The Bullseye: A large white circle with a smaller black circle inside. This is excellent for helping babies practice ‘fixing’ their gaze.
- The Checkerboard: Alternating small squares. This provides a high density of contrast edges, which is very stimulating.
- The Happy Face: Babies are biologically wired to look for faces. Use two white circles for eyes and a curved line for a smile.
- Nature Silhouettes: A simple white leaf, a cloud, or a star. These introduce the idea of shapes found in the real world.
Adding Texture for Sensory Integration
While the visual contrast is the star of the show, you can add a tactile element by using different types of white fabric for the motifs. Try a white minky fabric for a soft cloud or a white ribbed corduroy for a textured sun. This engages their sense of touch alongside their vision, creating a multi-sensory experience that is incredibly grounding for a developing infant.
Tummy Time & Beyond: How to Use Your Sensory Book
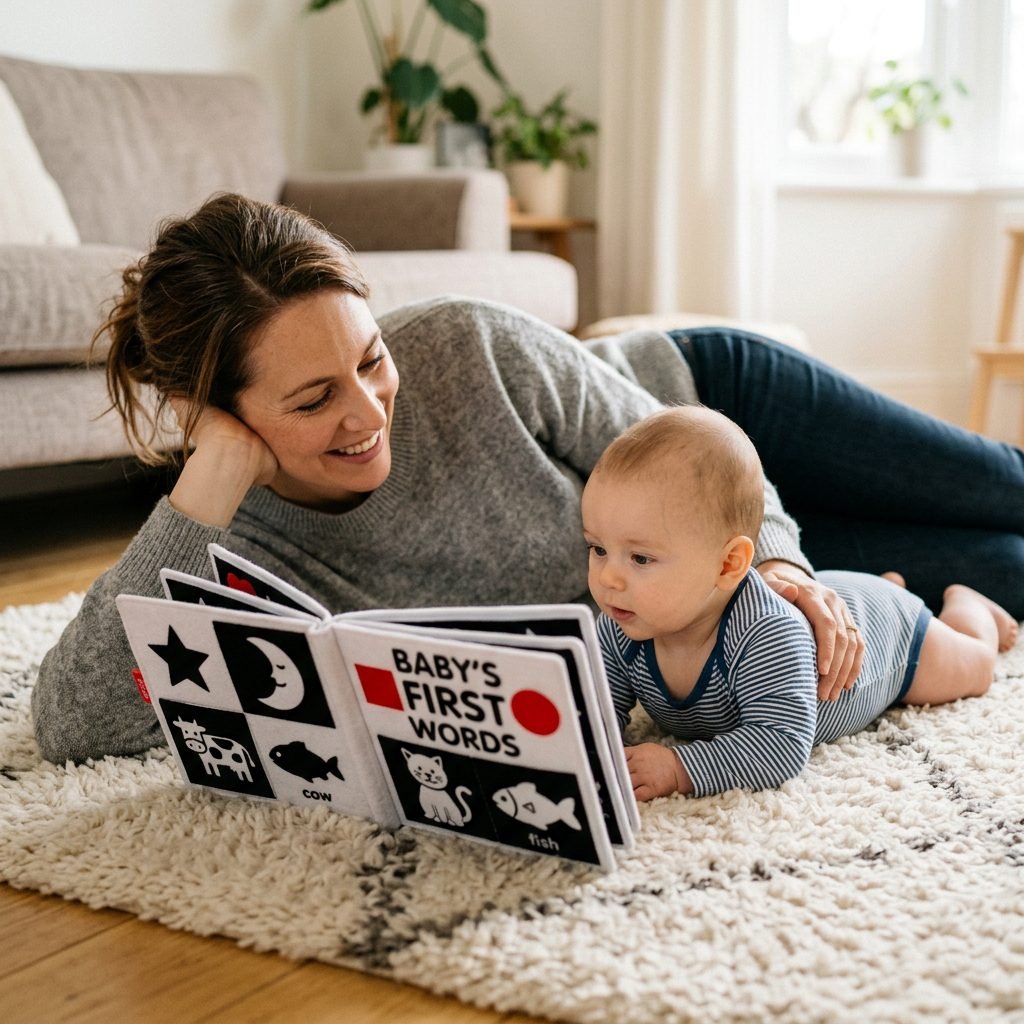
Maximizing Tummy Time Success
Tummy time can be a challenge for many babies (and their parents!). Using your DIY high-contrast book can be a game-changer. Prop the book up in a ‘V’ shape about 10 inches in front of your baby’s face while they are on their tummy. The visual stimulation provides a distraction from the hard work of lifting their head, encouraging them to stay in the position longer and strengthen those neck and shoulder muscles.
Bonding and Language Development
Even though your newborn can’t talk back yet, they are absorbing every word you say. Use the book as a prompt for narrative play. Point to the shapes and describe them: ‘Look at the bright white star, it’s so pointy and clear!’ This exposure to language, combined with the visual input, creates a rich learning environment. It’s a beautiful way to spend those quiet moments between naps.
“Tummy time is the first ‘workout’ of your baby’s life. By giving them something beautiful to look at, you aren’t just helping their body—you’re nurturing their spirit of discovery.”
Safety First: Ensuring a Durable Experience
The Daily Safety Check
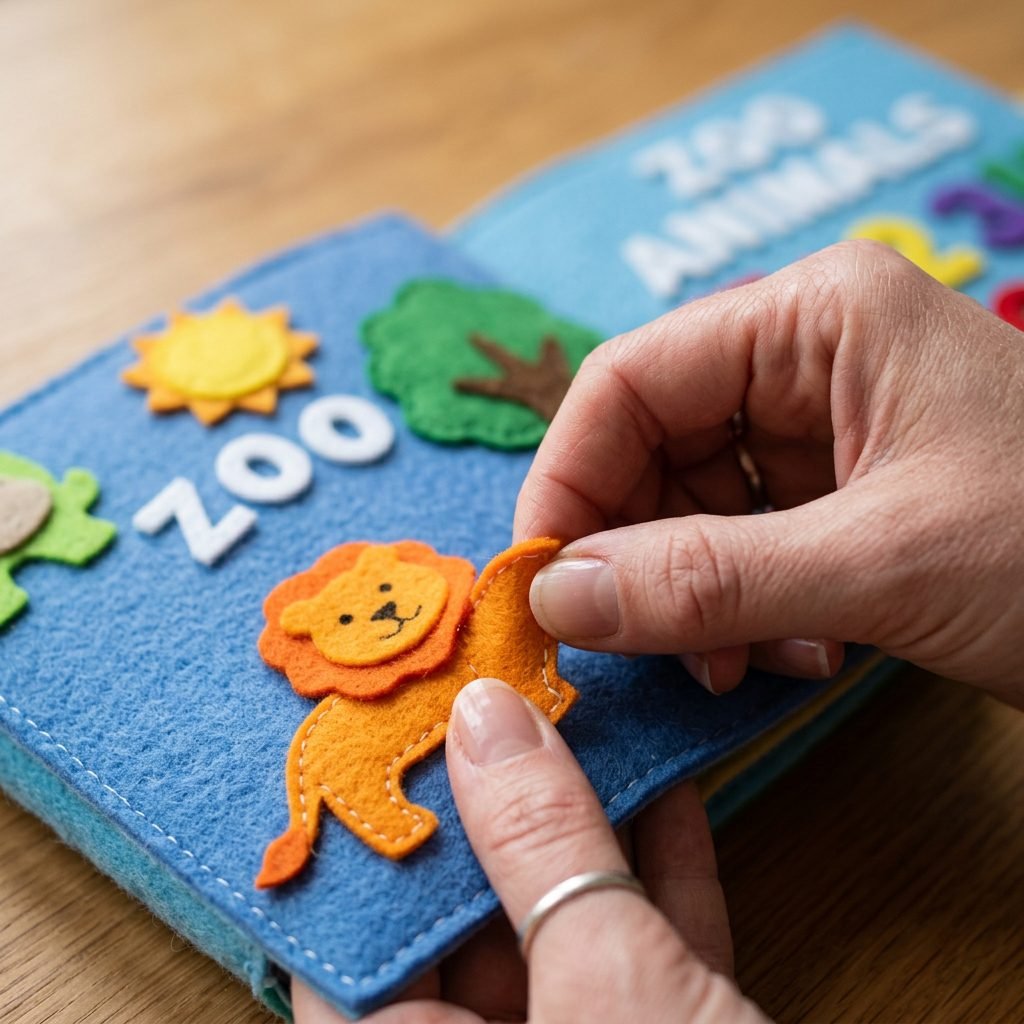
Because this is a DIY project, it is vital to perform a safety check before every use. As your baby gets stronger, they may begin to pull or gum the pages. Always ensure that the glue bond remains strong and that no pieces of felt are lifting. If a piece begins to peel, set the book aside immediately and re-glue it before the next play session.
Cleaning and Longevity
Felt can attract lint and pet hair. To clean your sensory book, use a lint roller or a damp cloth for spot cleaning. Do not put the book in the washing machine, as the agitation and heat can break down the fabric glue and cause the felt to pill. Store the book in a dry place when not in use to maintain its crisp contrast.
| Safety Feature | What to Check |
|---|---|
| Binding Security | Ensure ribbon knots are tight and cannot be untied. |
| Adhesive Integrity | Tug gently on the edges of white motifs to ensure they are stuck. |
| Material Purity | Confirm no small parts or loose threads are present. |
| Supervision | Always use the book under adult supervision during play. |
Conclusion
A Labor of Love for Your Little One
Mama, you have just created a tool that will light up your baby’s world. In the grand scheme of motherhood, a felt book might seem like a small thing, but it represents the intentionality and love you are pouring into your new role. This high-contrast book will be there for the first time your baby tracks an object, the first time they push up during tummy time, and the countless quiet moments of bonding on the nursery floor.
Remember that you don’t need expensive, battery-operated toys to be a ‘good’ mom. Your presence, your voice, and a few simple, high-contrast shapes are more than enough to nourish your baby’s growing mind. Enjoy this craft, enjoy your baby, and give yourself grace in this beautiful postpartum journey. You are doing an incredible job.