How To Set Up A Safe DIY Basket Newborn Photoshoot At Home
Capturing the Magic Safely at Home
Oh, mama, those first few weeks are a whirlwind of milky breath, tiny fingernails, and a love so deep it feels like your heart is walking around outside your body. You want to freeze time, don’t you? While professional newborn photography is a beautiful investment, there is something incredibly intimate—and practical—about a DIY newborn photoshoot. You’re in your own space, baby is comfortable, and you can work around those unpredictable nap and feeding schedules.
As a doula and a mom who has been in those sleep-deprived shoes, I want to tell you: you can do this. But before we pick up the camera, we have to talk about the most important thing—safety. A ‘basket shot’ looks effortless, but it requires specific techniques to ensure your little one is supported, warm, and never at risk of a fall or breathing obstruction. In this guide, I’ll walk you through the styling, the lighting, and the essential safety protocols to create heirloom-quality photos right in your living room.
“The days are long, but the years are short. Capture the tiny details today so you can remember the miracle tomorrow.”
The Safety First Philosophy: Spotters and Composites
Before we even touch a prop, we need to establish the Golden Rule of Newborn Photography: Safety is never sacrificed for a ‘cute’ shot. Newborns have zero neck control and an unpredictable startle reflex (the Moro reflex), which can cause them to shift suddenly.
The Power of the Spotter
Never, under any circumstances, should you be more than an arm’s length away from the baby without a dedicated spotter. If you are the photographer, your partner, a friend, or even a doula should have their hands hovering just inches from the baby at all times. In professional photography, we often use ‘composites’—this is where the spotter holds the baby’s head or stays in the frame, and then we edit their hand out later using an app or software.
Safe Surface Placement
- Level Ground: Always place your basket on a flat, non-slip surface. The floor is the safest place. Never place a basket on a bed, table, or sofa where it could tip or roll off.
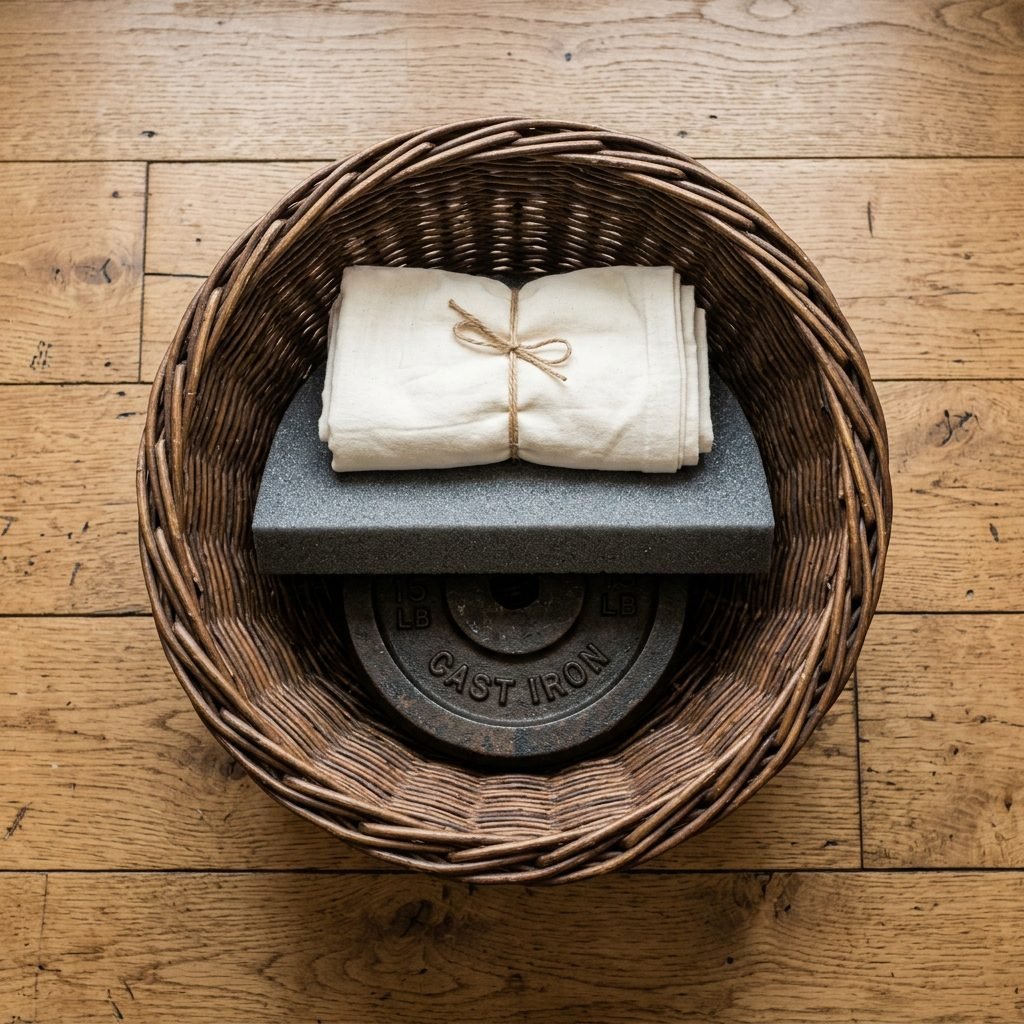
- Weighting the Basket: Baskets are lightweight. If a baby leans to one side, the basket can tip. Place 5-10 lb weights (like ankle weights or small hand weights) at the bottom of the basket underneath the padding to lower the center of gravity.
- Airflow: Ensure the baby’s chin is never tucked toward their chest, as this can restrict their delicate airway. Always keep the ‘two-finger’ space under the chin.
Selecting the Right Basket and Props
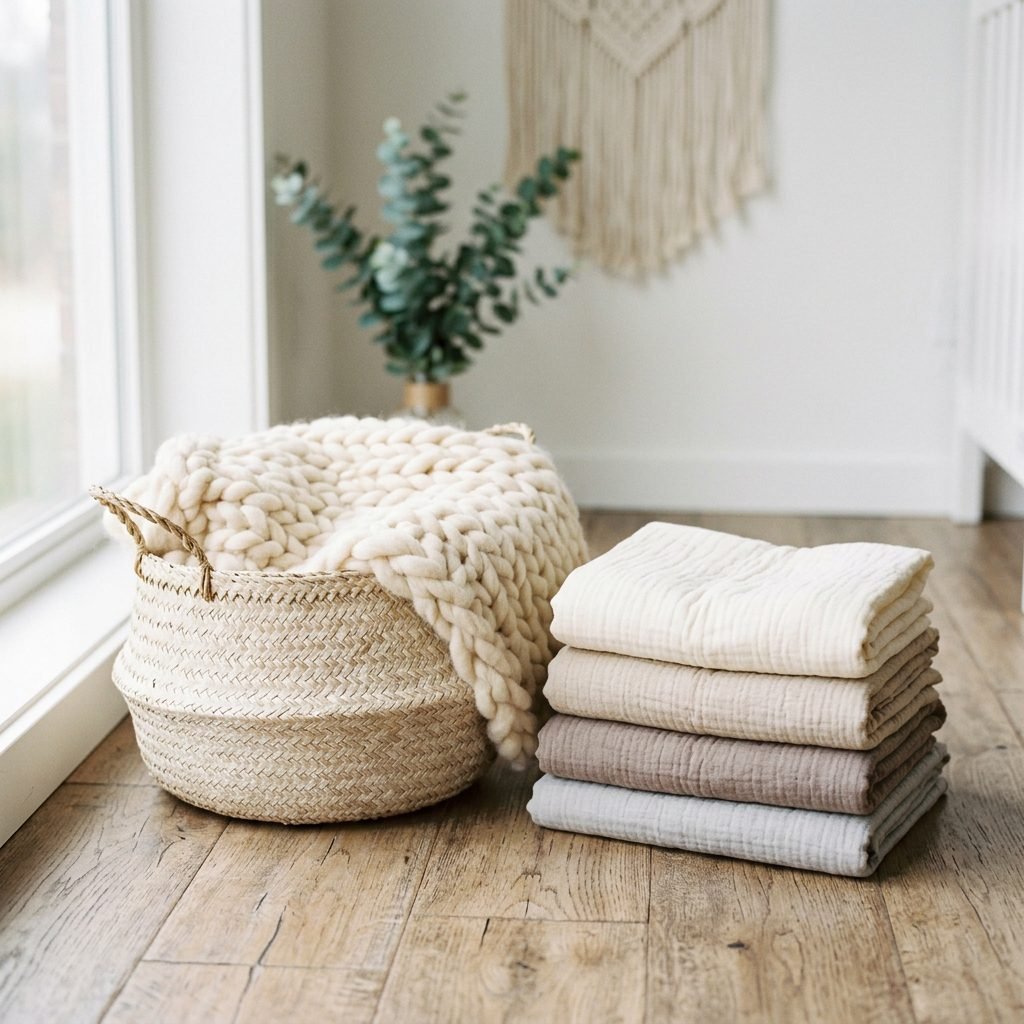
Not all baskets are created equal. When selecting your vessel, you want to look for stability, texture, and size. A basket that is too deep will swallow the baby and hide the light; one that is too shallow won’t provide enough support.
Material Matters
Look for natural materials like wicker, seagrass, or sturdy wire (if lined properly). Avoid anything with sharp, protruding bits of wood or loose weaving that could snag a tiny toe or finger. If using a vintage find, ensure it has been thoroughly cleaned and disinfected.
| Prop Type | Safety Considerations | Aesthetic Vibe |
|---|---|---|
| Woven Moses Basket | Very stable, high sides for support. | Boho, Classic, Timeless |
| Wooden Crate | Must be sanded smooth; requires heavy padding. | Rustic, Farmhouse |
| Wire Egg Basket | Must be lined with thick blankets to prevent pinching. | Industrial, Modern |
| Soft Rope Basket | Collapsible; requires internal structure (like a firm pillow). | Soft, Minimalist |
The ‘Snuggle Factor’ Padding
The secret to a professional-looking DIY photo is the layering. You aren’t just putting a baby in a basket; you are creating a nest. Use firm pillows or rolled-up towels at the bottom to create a ‘shelf’ for the baby to rest on, then layer your aesthetic blankets on top. Pro Tip: Use a waterproof pad under the top layer of fabric to protect your props from the inevitable ‘newborn surprises’!
Lighting Your Home Studio Like a Pro
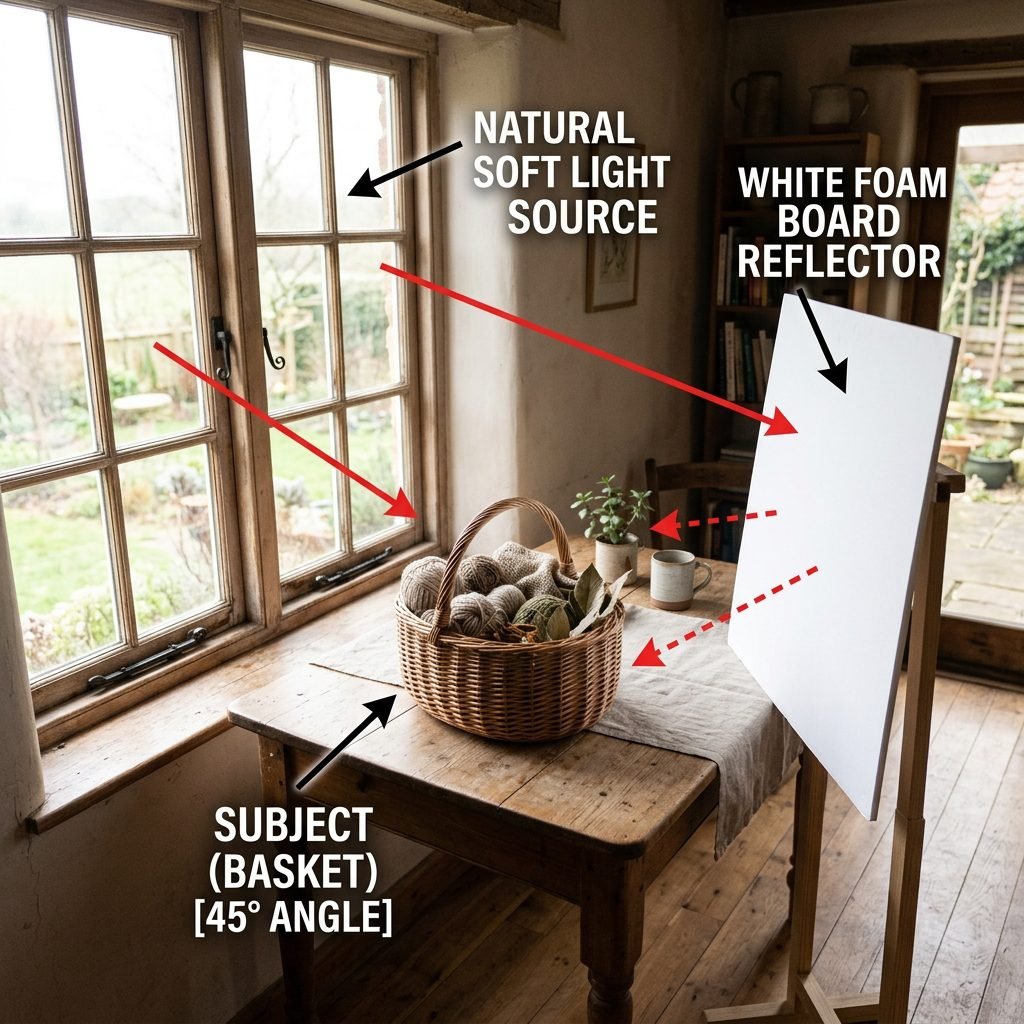
You don’t need expensive studio lights to get that soft, ethereal glow. In fact, natural light is often much more flattering for newborn skin. The key is ‘directional’ light.
Finding the ‘Sweet Spot’
- Locate the largest window in your home during mid-morning or early afternoon.
- Turn off all overhead lights! Mixing yellow light bulbs with blue-toned natural light creates ‘muddy’ skin tones that are hard to fix.
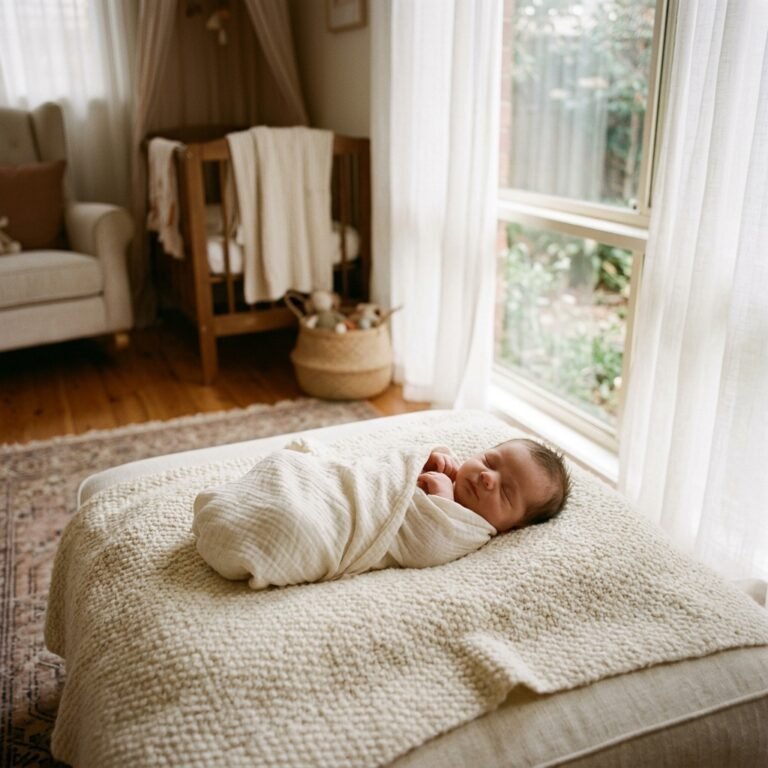
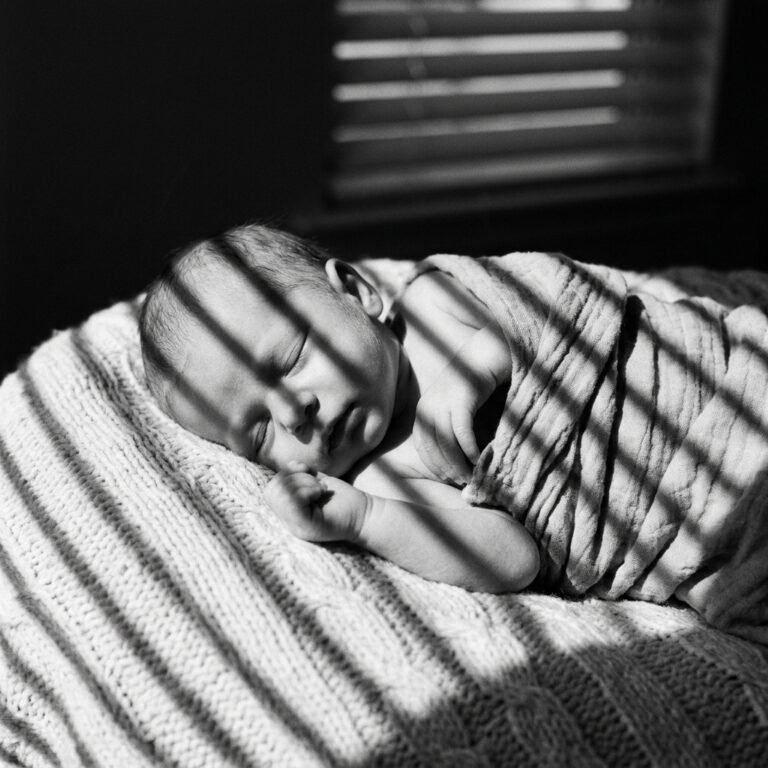
- Position your basket so the window light flows from the top of the baby’s head down toward their feet at a 45-degree angle. This creates soft shadows under the nose and chin, giving the face beautiful dimension.
- Avoid ‘lighting up the nostrils.’ If the light is coming from the chin up, it creates a ‘ghost story’ lighting effect that isn’t flattering for babies.
Softening the Shadows
If the light from the window is too harsh, hang a sheer white curtain over it. If the side of the baby’s face away from the window is too dark, use a large piece of white foam board (from the craft store) to bounce light back onto the shadows. This is a classic ‘reflector’ hack that costs less than five dollars!
Styling, Texture, and Color Palettes
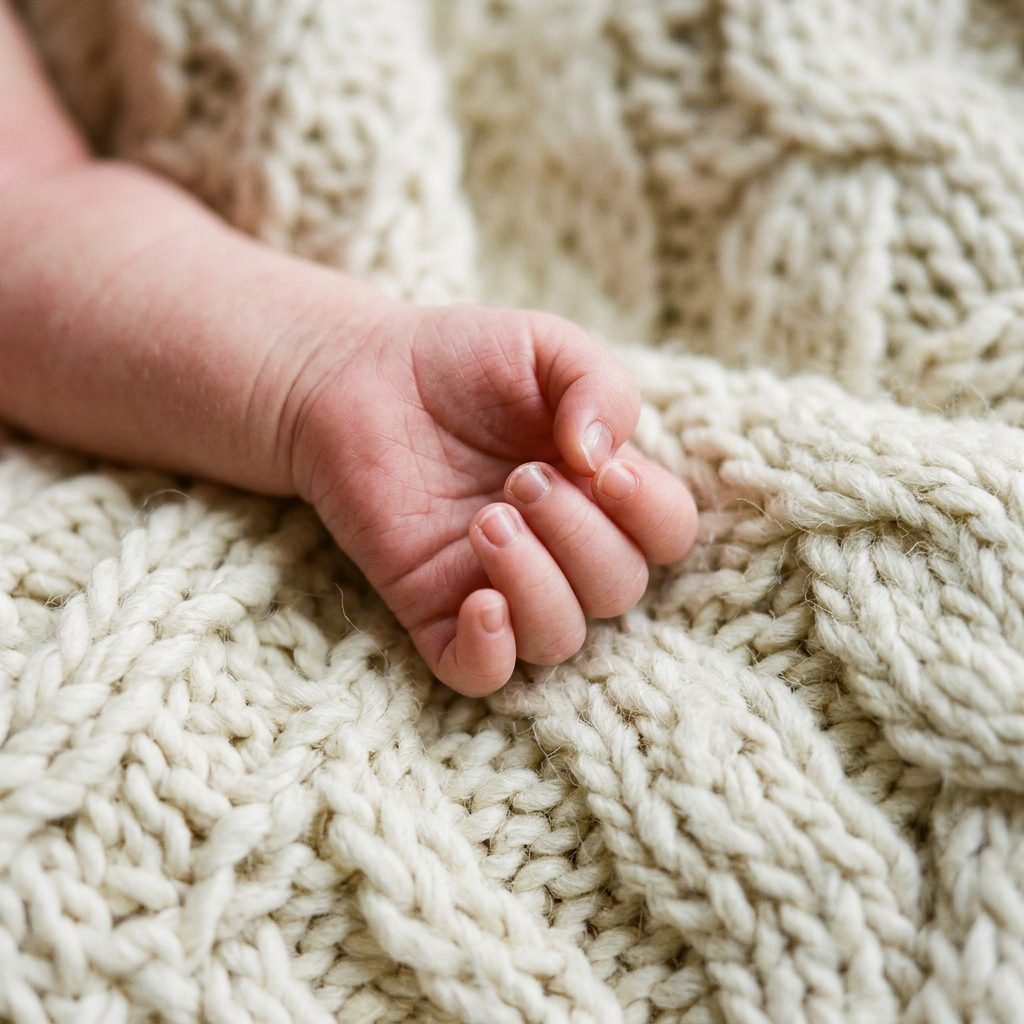
When it comes to DIY newborn photography, less is almost always more. You want the focus to be on your baby’s features—their long eyelashes, their pouty lips, and those flaky little feet.
Monochromatic Magic
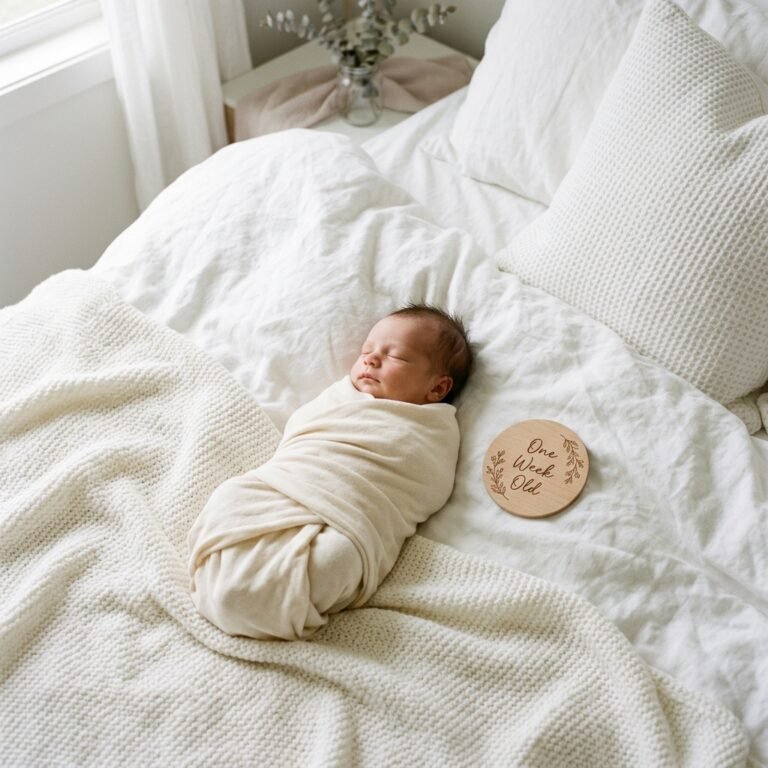
Choosing a monochromatic color palette (all creams, all soft greys, or all earthy tans) makes the photo look high-end and cohesive. Different textures—like a chunky knit blanket paired with a smooth silk wrap—add visual interest without distracting the eye.
The ‘Wrap’ Technique
A sleepy baby is a photogenic baby. Using a ‘swaddle’ or ‘wrap’ technique not only keeps the baby calm by mimicking the womb but also hides any ‘fidgety’ hands that might blur the photo.
“Think of the wrap as a warm hug. It provides the security they need to drift into those deep, poseable sleep cycles.”
Temperature Control
Since you’ll likely be photographing the baby in just a diaper or a thin wrap, the room needs to be warm. Professionals keep their studios at 75-80°F. Run a small space heater (safely away from fabrics) or turn up the thermostat 30 minutes before you start. If you are sweating, the baby is likely just right.
DIY Budget Breakdown: What You Actually Need
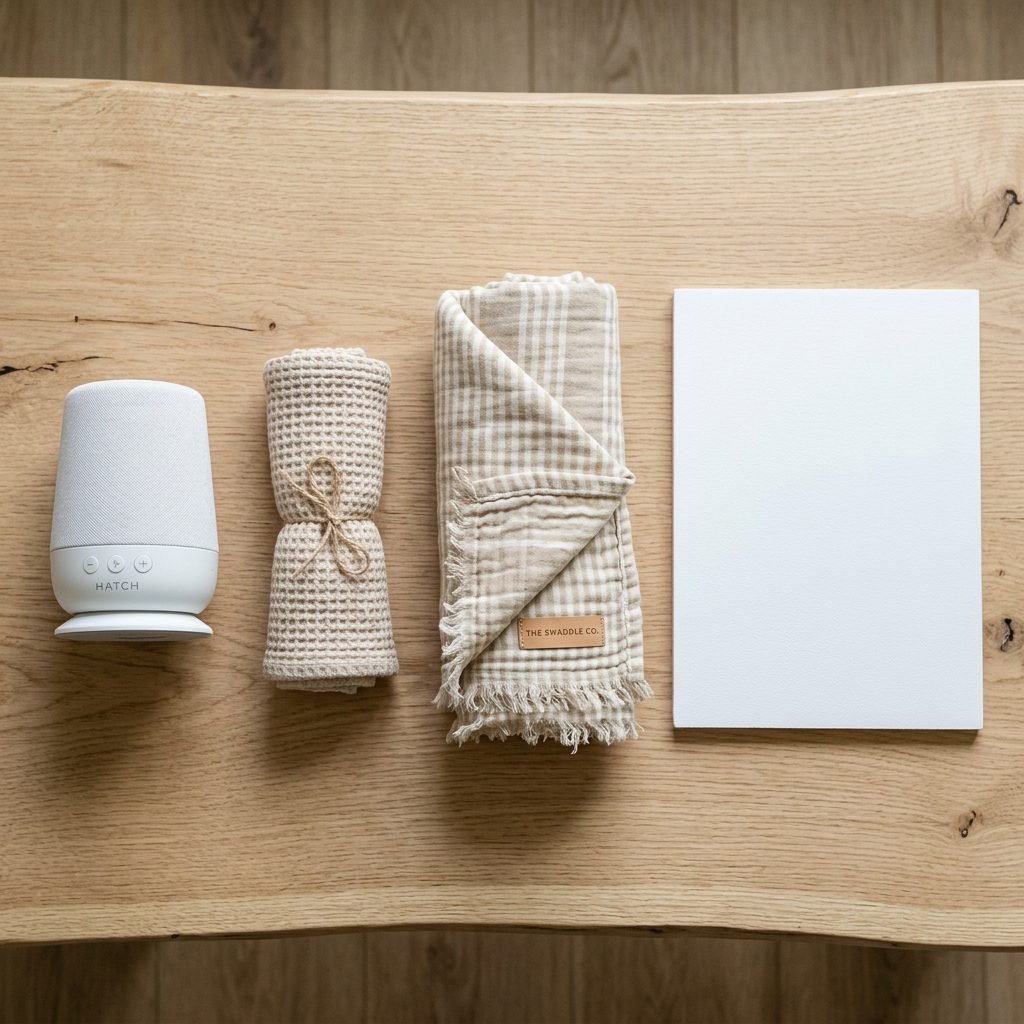
You don’t need to break the bank to create a beautiful setup. Most of these items are things you likely already have or can find at a local craft store for a few dollars.
| Item | Source | Estimated Cost |
|---|---|---|
| Woven Basket | Home decor store / Thrift shop | $15 – $30 |
| Weights (Ankle/Hand) | Existing gym gear / Water bottles | $0 – $10 |
| Chunky Knit Throw | Bedroom decor / Craft store | $0 – $25 |
| Muslin Swaddle | Baby registry / Nursery closet | $0 (already owned) |
| White Foam Board | Dollar store / Office supply | $2 – $5 |
| White Noise Machine | Nursery essential | $0 (already owned) |
| Total Estimated DIY Cost | – | $17 – $70 |
A Note on ‘Posing Beans’
Professionals use ‘posing beans’ (small travel-sized pillows) to prop up the baby’s head. You can DIY this by rolling up newborn socks or small washcloths and tucking them under the blanket layer to create subtle lifts where needed.
Step-by-Step: The Photoshoot Workflow
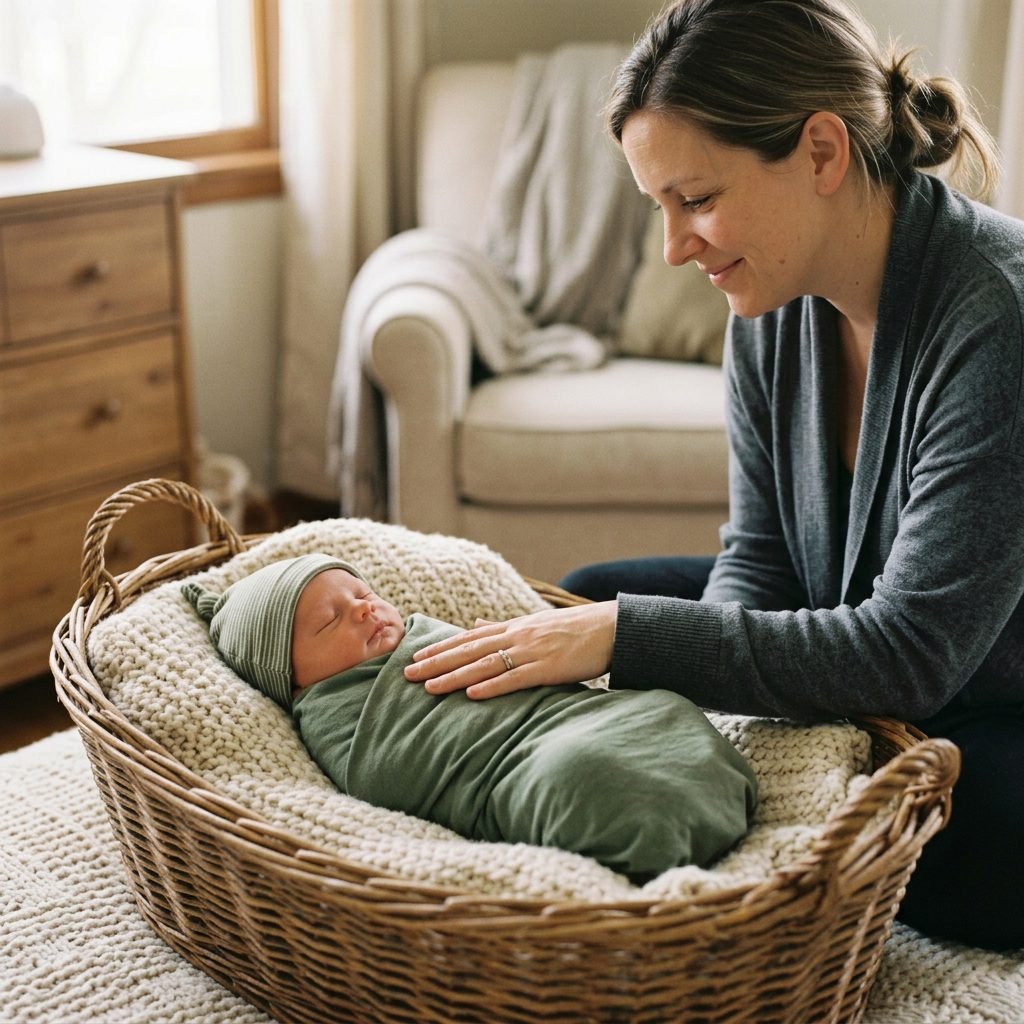
Ready to shoot? Follow this workflow to keep things calm and efficient. Remember, the baby is the boss! If they need to stop and eat, we stop and eat.
- The Full Belly: Feed the baby right before you plan to start. A ‘milk drunk’ baby is much easier to pose.
- The Soundscape: Turn on a white noise machine or a ‘shusher’ app. This masks the sound of the camera shutter or phone click.
- The Setup: Get your basket, lighting, and blankets ready before you wake or move the baby.
- The Transition: Gently place the baby in the basket. If they stir, place a warm hand on their chest and ‘shush’ until they settle.
- The Angles: Start with a ‘full body’ shot from above. Then move in for ‘macro’ shots: the toes, the ears, the crown of the head.
- The Safety Check: Every 5 minutes, check the baby’s temperature (feeling their chest) and ensure their airway is clear.
Conclusion
You’ve Got This, Mama!
Setting up a DIY basket newborn photoshoot at home is about more than just the final image; it’s about the love and intention you pour into celebrating your new arrival. By focusing on safety, utilizing natural light, and keeping your baby warm and comforted, you are creating a stress-free environment for those precious memories to unfold.
Don’t worry about perfection. If the baby wakes up, capture the yawns. If they cry, take a break for a snuggle. The most beautiful photos are the ones that reflect the reality of your love. You are doing an incredible job, and these photos will be a treasure for a lifetime. Happy snapping!