Cheap and Easy DIY Dried Bean Sensory Bin for Developing Fine Motor Skills
Welcome to the Magic of Sensory Play, Mama
Hey there, sweet mama. If you are looking for a way to engage your little one while sipping a cup of coffee that is actually still warm, you have come to the right place. As a doula and a fellow mom who has spent many hours on the nursery floor, I know that the simplest activities are often the most profound. We often feel pressured to buy the latest high-tech gadgets, but the truth is that your pantry holds the key to incredible developmental milestones. Today, we are diving deep into the world of dried bean sensory bins. These bins are more than just a way to keep hands busy; they are a powerhouse for fine motor skill development, tactile exploration, and cognitive growth. Whether you are a first-time mom or a seasoned pro looking for a low-prep activity, this guide will show you how to create a sensory experience that is as affordable as it is effective. Let’s roll up our sleeves and create some magic together.
The Science of Play: Why Beans are Developmental Gold
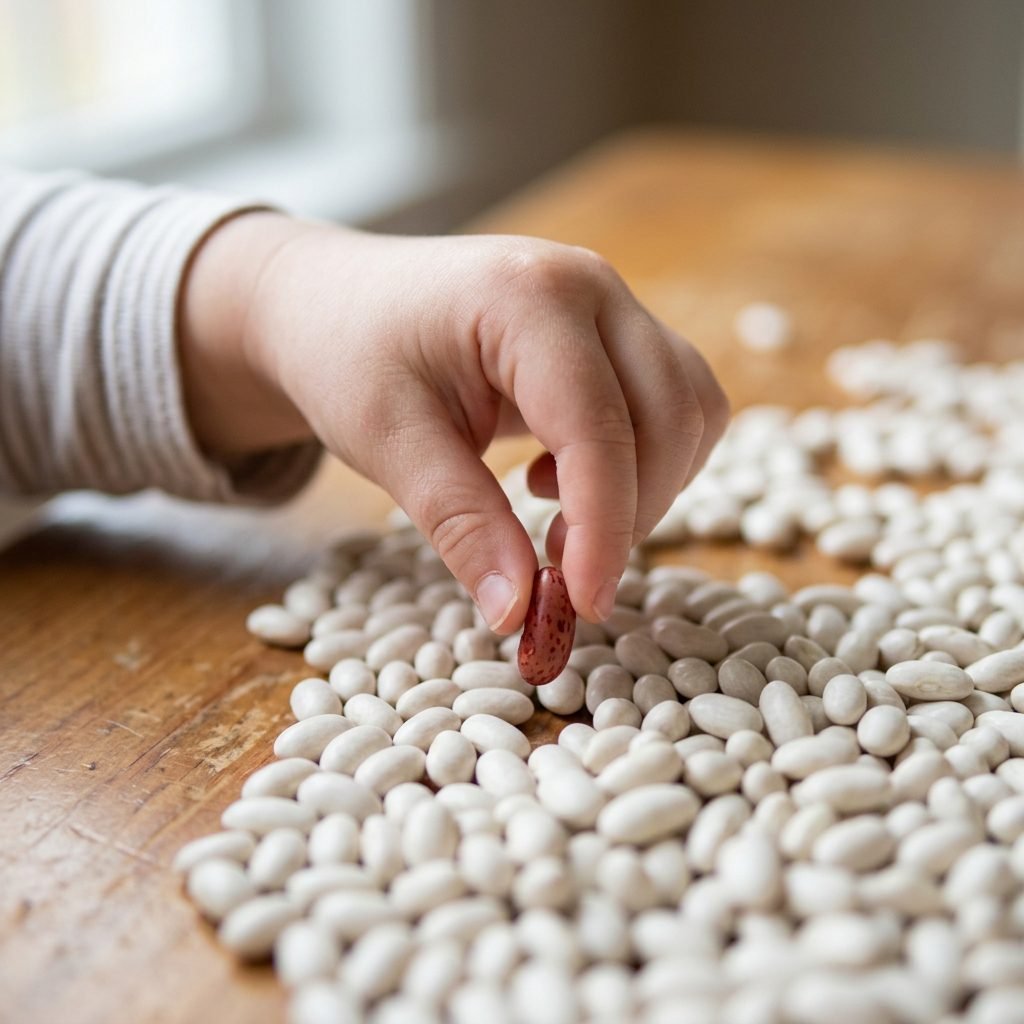
When we talk about sensory play, we aren’t just talking about making a mess (though, let’s be honest, that happens!). We are talking about neurological development. For a toddler or preschooler, plunging their hands into a bin of cool, smooth dried beans provides immense proprioceptive input—the sense that tells our brain where our body parts are in space. This is incredibly calming for many children.
Building the Pincer Grasp
The primary goal of our bean bin today is the refinement of fine motor skills. Specifically, we are looking at the pincer grasp—the ability to pick up small objects with the thumb and index finger. This is the foundation for eventual pencil grip and buttoning clothes. By encouraging your child to pick up individual beans or use small tools, you are strengthening the intrinsic muscles of their tiny hands.
Remember, mama: Every time they pinch a bean, they are one step closer to writing their name. You are doing a great job providing these opportunities!
Sensory bins also encourage bilateral integration, which is the ability to use both sides of the body at the same time. Think of a child holding a funnel with one hand while pouring beans with the other. This cross-midline movement is vital for brain development and future coordination.
Raid Your Pantry: The Budget-Friendly Ingredient List
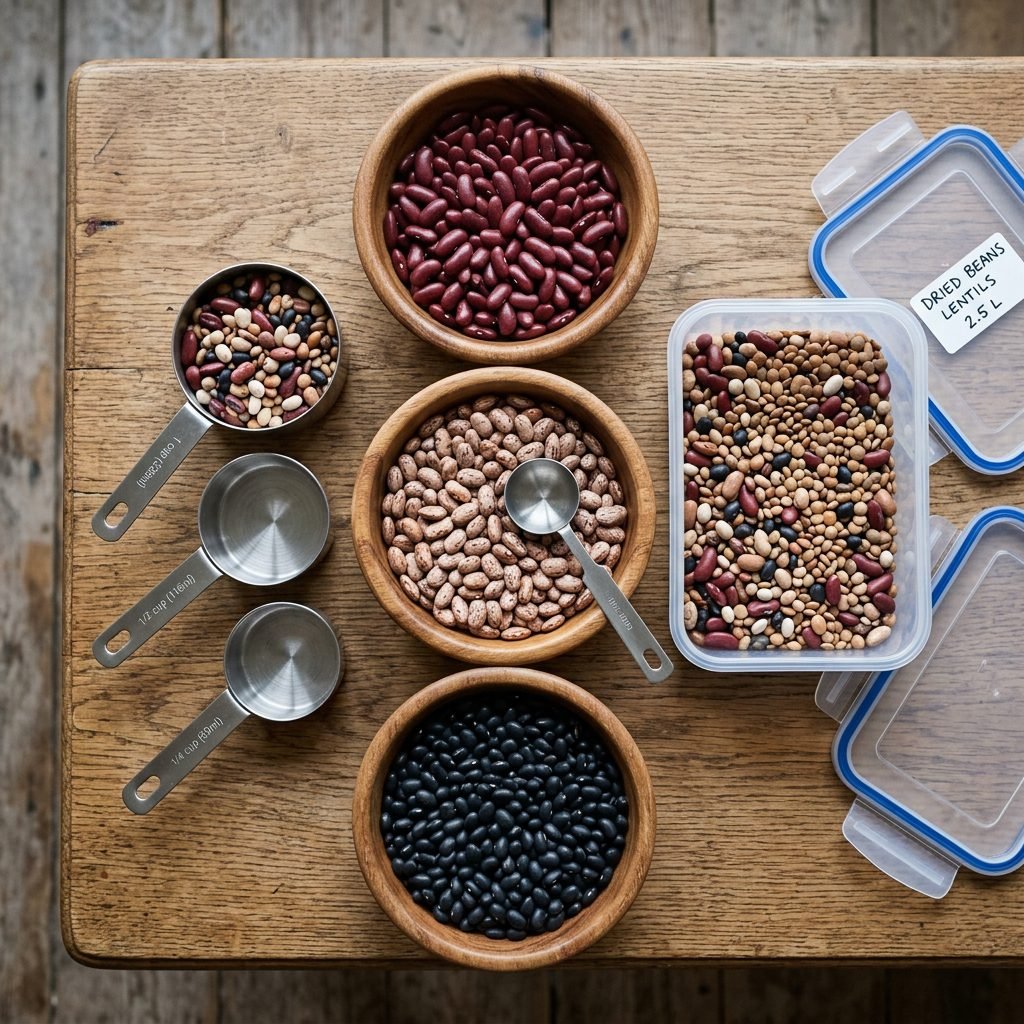
One of the best things about this project is the cost. You likely already have half of these items in your kitchen. If not, a quick trip to the bulk section of your grocery store will cost you less than a fancy latte. Here is a breakdown of what you need to build your ultimate sensory station.
| Item | Purpose | Estimated Cost |
|---|---|---|
| Large Plastic Bin | The ‘container’ for the fun. A shallow 15-20 quart bin works best. | $5.00 – $8.00 |
| Dried Beans (Assorted) | The sensory base. Use Kidney, Navy, Black, or Lima beans for texture. | $1.00 per bag |
| Measuring Cups & Scoops | Tools for pouring and scooping. | $0.00 (From your kitchen) |
| Empty Egg Carton | A perfect tool for sorting and ‘counting’ beans. | $0.00 (Recycled) |
| Small Tongs or Tweezers | For advanced fine motor practice. | $2.00 |
| Total Estimated Investment | Developmental fun for under $15! | ~$12.00 |
Choosing Your Bean Base
I recommend a mix of textures and colors to keep things visually stimulating. Kidney beans are large and smooth, black beans are small and sleek, and chickpeas (garbanzo beans) provide a satisfying round shape that rolls easily. Avoid using split peas or lentils if you want an easier cleanup, as they tend to stick to everything!
Step-by-Step: Assembling Your Sensory Station

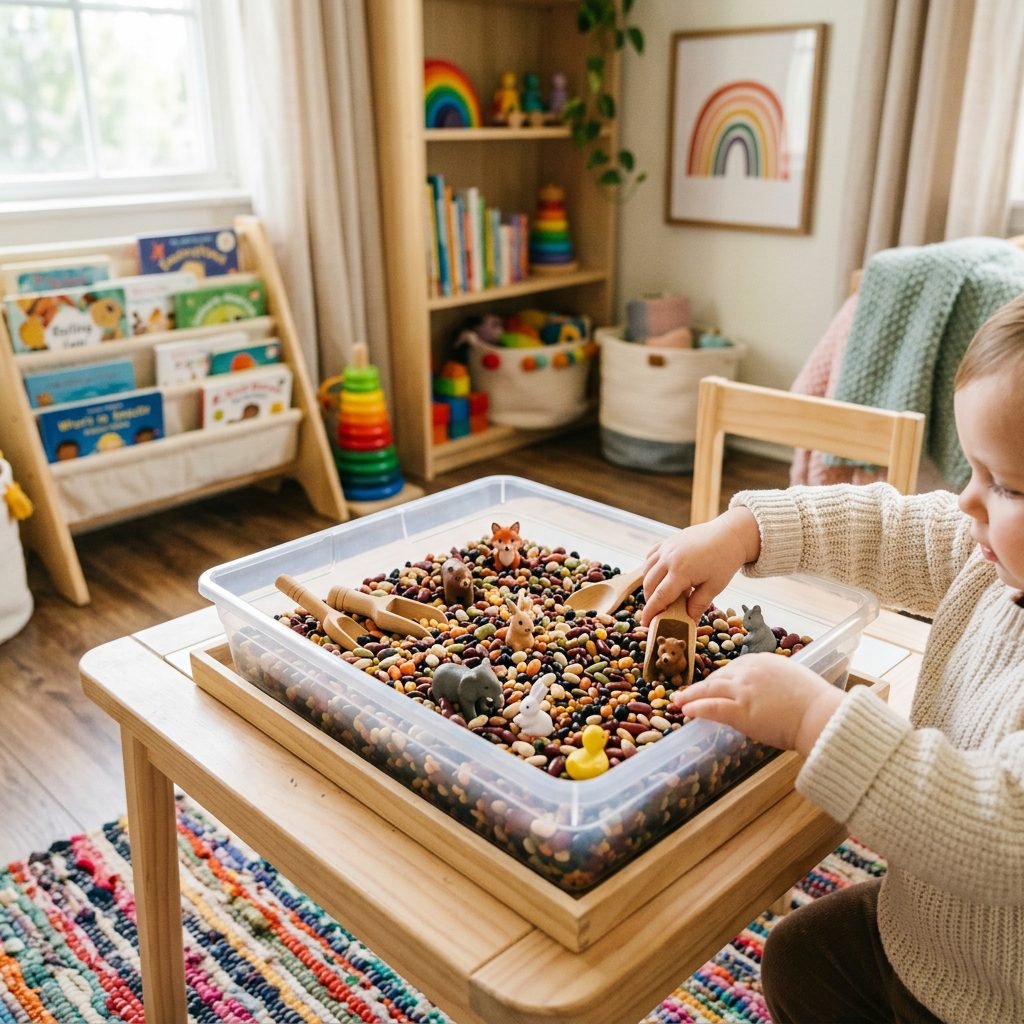
Setting up your bin is a ritual in itself. I like to involve the kids in the ‘pouring’ phase because the sound of beans hitting a plastic bin is a sensory experience all its own—it sounds like falling rain!
- Clean the Bin: Start with a dry, clean plastic container. Wipe it down with a non-toxic cleaner to ensure a safe play environment.
- Layer the Beans: Pour in your bags of dried beans. You want at least 2 to 3 inches of depth so the children can bury their hands and hide objects underneath.
- Introduce the Tools: Don’t overwhelm them! Start with just two scoops and a bowl. You can add more ‘challenges’ like tongs or funnels as they master the basic scooping motion.
- Set the Boundaries: Before the play begins, establish the ‘Bin Rules.’ I like to say, “The beans stay in the bin. If they leave the bin, the bin goes away for a little nap.”
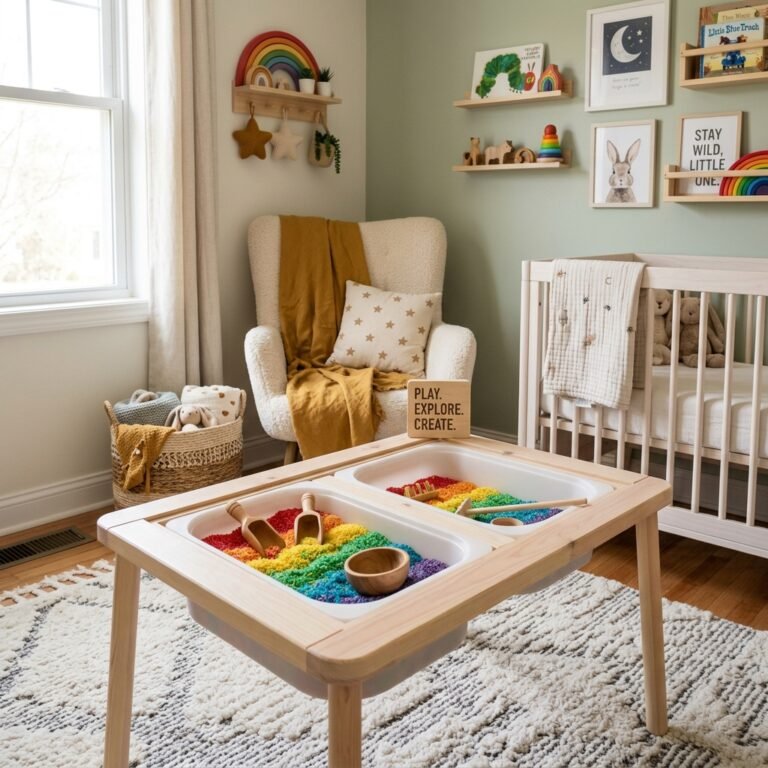
If you want to get extra crafty, you can actually dye your beans using a little bit of vinegar and food coloring, but for a cheap and easy version, the natural earthy tones of the beans are absolutely beautiful and stylish in any nursery or playroom.
Skill-Building Games: 5 Ways to Play
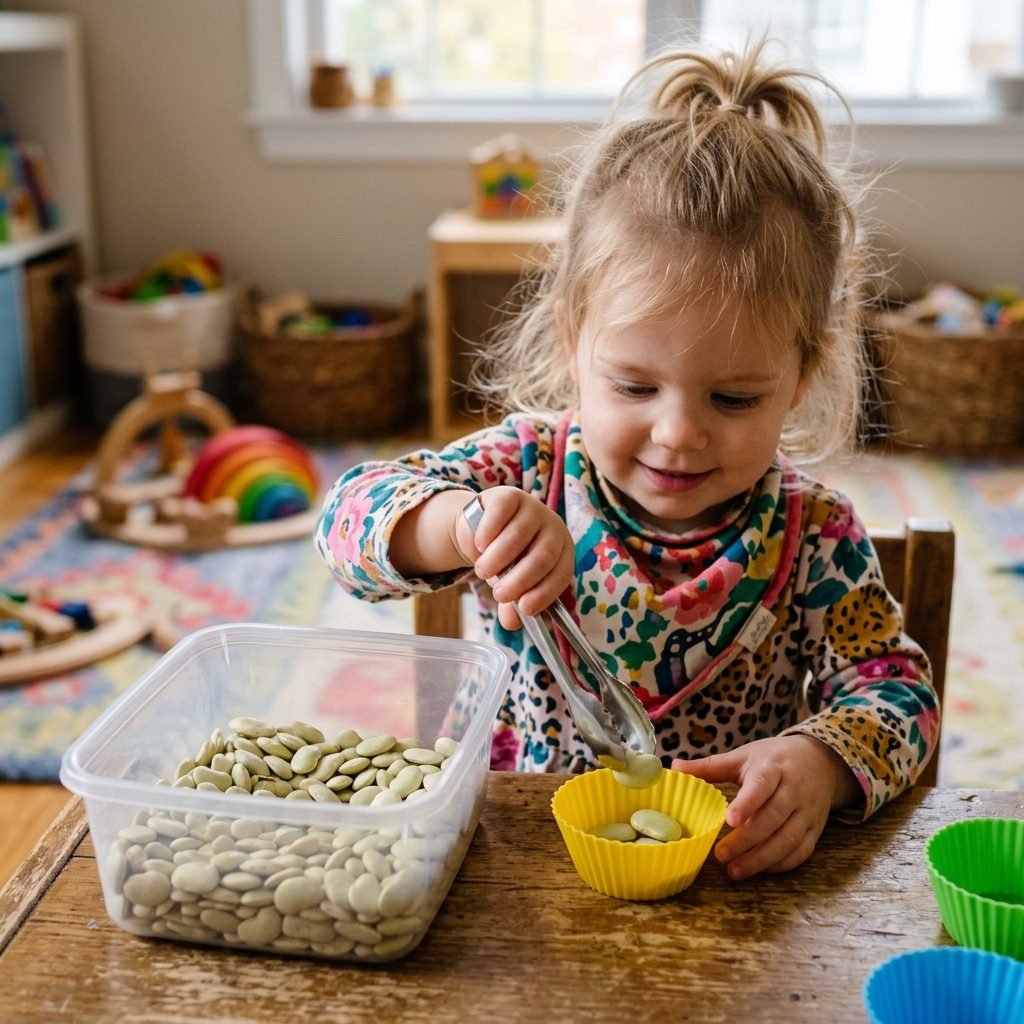
Now that your bin is ready, how do we actually use it to develop those fine motor skills? Here are five doula-approved play prompts that focus on specific milestones.
- The Great Bean Rescue: Hide small plastic animals or ‘treasures’ deep in the beans. Ask your child to find them and ‘rescue’ them using only their thumb and pointer finger.
- Color Sorting: If you used a variety of beans, provide small muffin tins or an egg carton. Ask your child to sort the ‘big red ones’ from the ‘little black ones.’ This builds visual discrimination.
- The Pouring Challenge: Provide a narrow-necked bottle (like a clean juice bottle). Challenge your child to scoop beans and pour them into the bottle without spilling. This is excellent for hand-eye coordination.
- Tong Transfers: For older toddlers (3+), introduce kitchen tongs. Have them move beans from the main bin into a smaller bowl. This builds the hand strength needed for using scissors later on.
- Sensory Writing: Smooth out the beans so the surface is flat. Use a finger to ‘draw’ shapes, letters, or numbers in the beans, revealing the bottom of the bin.
Pro-Tip: If your little one is still in the ‘everything goes in the mouth’ phase, swap the dried beans for large O-shaped cereal or edible ‘sand’ made of crushed crackers. Safety is our number one priority!
The Doula’s Safety Guide: Supervision is Key
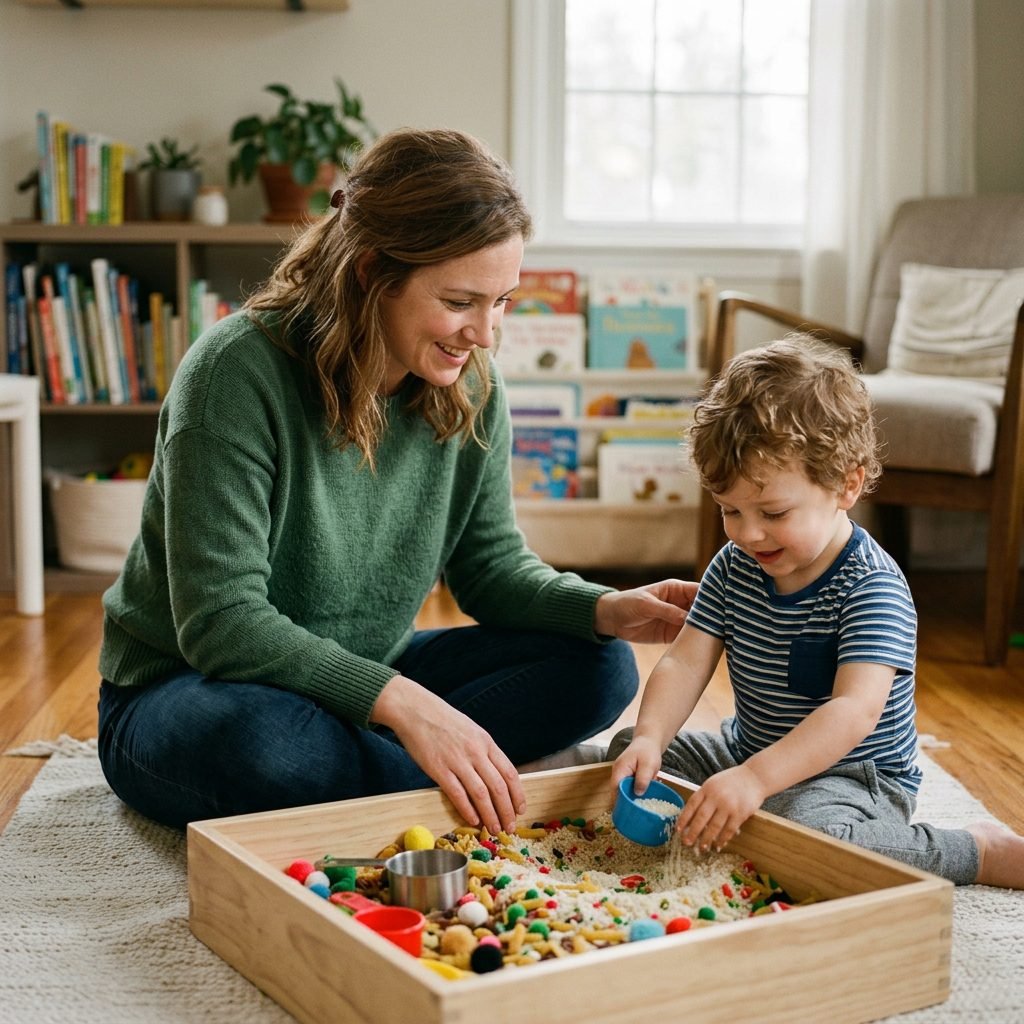
As much as we love the educational benefits of dried beans, we must address the safety aspect. Dried beans are a choking hazard for children under the age of three (and even for older children who are prone to putting things in their mouths).
Safety Guidelines for Peace of Mind
- Active Supervision: This is not an activity where you can leave the room. You should be within arm’s reach at all times.
- Check for Allergies: While rare, some children can have sensitivities to the dust on dried beans. If you notice any sneezing or skin redness, discontinue use.
- The ‘Mouth Test’: If your child is still regularly mouthing toys, wait a few months before introducing small beans. Opt for larger items like whole walnuts (in the shell) or large pasta shapes instead.
- Clean Up Stray Beans: After play, do a quick ‘sweep’ of the floor to ensure no stray beans are left for a crawling baby or pet to find.
By staying vigilant, you create a safe space for your child to explore their boundaries and learn through tactile discovery.
Mess-Free Magic: Storage and Cleanup Hacks
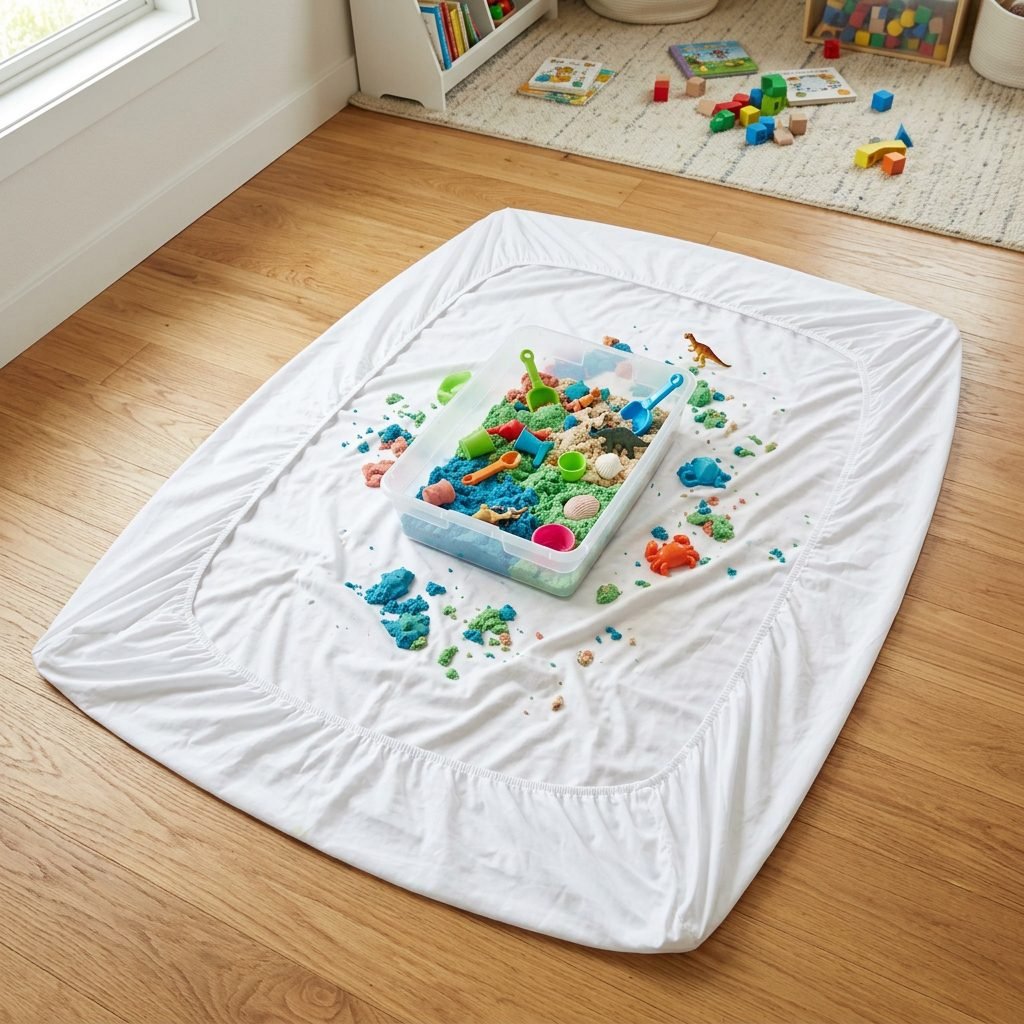
I know what you’re thinking, mama: “Beans all over my rug? No thank you!” But I have a few tricks up my sleeve to keep the mess contained so you can enjoy the play as much as they do.
| Cleanup Hack | How it Works |
|---|---|
| The Fitted Sheet Trick | Place a fitted bedsheet on the floor and put the bin in the center. Pull the corners up slightly. It catches every stray bean! |
| The ‘Tray’ Method | Place the sensory bin inside an even larger, shallower tray or a kiddie pool to create a secondary ‘splash zone.’ |
| Hand Vacuum Power | Keep a small handheld vacuum nearby for a 30-second cleanup once the lid is back on the bin. |
When play is over, simply pop the lid on your bin and slide it under a bed or into the bottom of a closet. These bins are incredibly space-saving and can be brought out whenever you need a quick, engaging activity. If the beans get dusty over time, you can actually ‘wash’ them by shaking them in a mesh bag and letting them air dry completely, or simply replace them for a few dollars.
Conclusion
Nurturing Growth, One Bean at a Time
Creating a cheap and easy DIY dried bean sensory bin is one of the most rewarding ‘gifts’ you can give your developing child. It’s a reminder that we don’t need much to foster a rich, educational environment at home. By providing these simple materials, you are encouraging curiosity, building physical strength, and creating a calm space for your child to focus. So, next time you’re at the store, grab a few bags of beans. You’re not just buying groceries; you’re buying a tool for your child’s bright future. You’ve got this, mama!