7 Daily Stretches to Widen Your Pelvic Outlet for a Faster, Easier Pushing Stage
Hello there, mama. As a doula, I’ve sat beside many birthing beds, and if there is one thing I want you to know, it is this: your body is not a fixed, rigid structure. It is a dynamic, intelligent masterpiece designed to create space. When we talk about the ‘pushing stage’—that final, powerful journey of bringing your baby into the world—we are focusing on the pelvic outlet. This is the bottom opening of your pelvis, and while the hormones of pregnancy (hello, relaxin!) are already working to soften your ligaments, we can use specific, intentional movements to help those bones ‘bloom’ open even further.
Preparing your pelvic outlet isn’t just about flexibility; it’s about mobility and confidence. By incorporating these seven daily stretches into your routine during the third trimester, you are essentially ‘greasing the hinges’ of your pelvis. We want to ensure that when the time comes to push, your sit-bones can spread wide and your tailbone can move out of the way. Let’s dive into these gentle, evidence-based movements that will help you feel empowered, prepared, and ready to meet your little one with ease.
“Your pelvis is a mobile gateway, not a locked door. Every stretch is a ‘yes’ to your baby’s descent.”
The Anatomy of Space: Inlet vs. Outlet
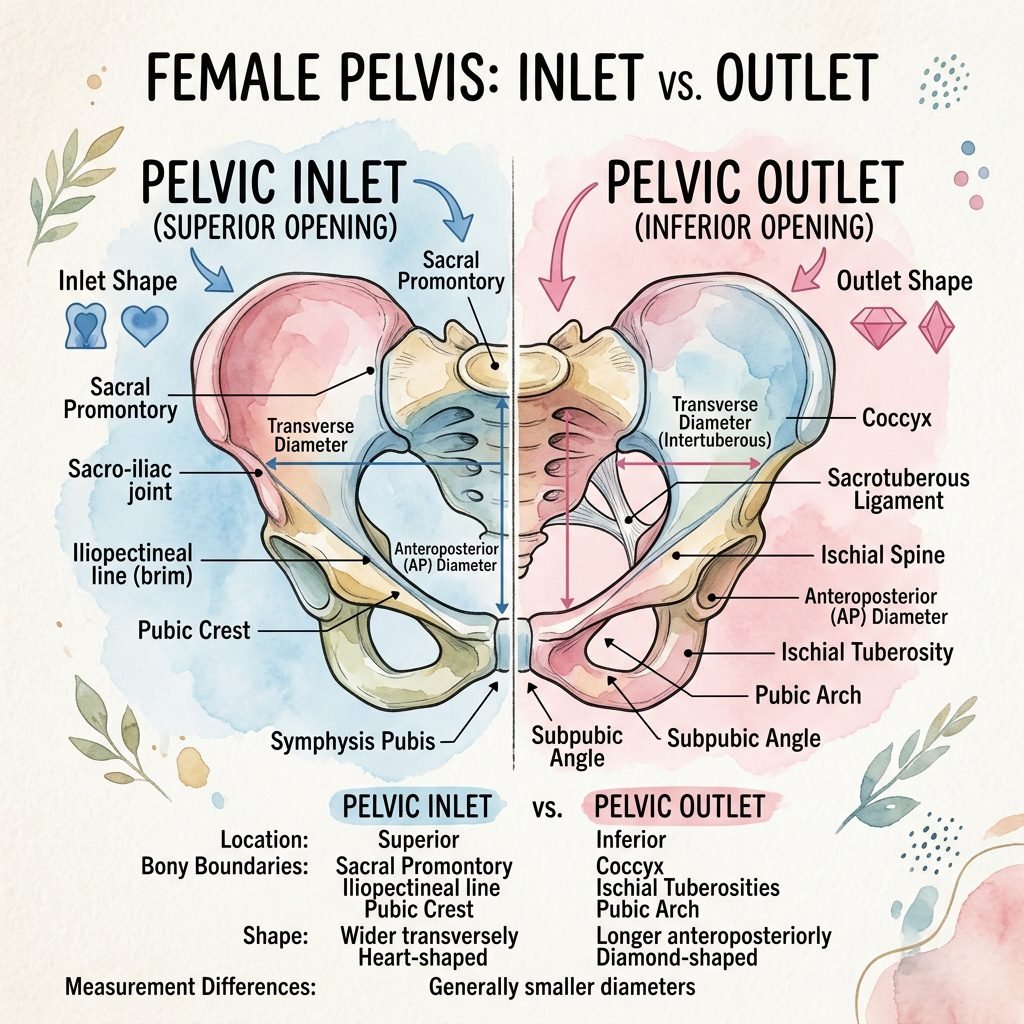
Before we start stretching, it’s helpful to understand what we are actually aiming for. Your pelvis has two main ‘doors.’ The pelvic inlet is the top, where the baby first engages. The pelvic outlet is the bottom, where the baby emerges. To widen the outlet during the pushing stage, we actually need to do something counter-intuitive: internally rotate the knees and turn the toes in. This movement spreads the sit-bones (ischial tuberosities) apart, creating the maximum amount of room for the baby’s head to pass through.
The following table helps you understand which movements target which phase of labor, so you can be a pro when the big day arrives:
| Labor Phase | Pelvic Target | Goal Movement |
|---|---|---|
| Early & Active Labor | Pelvic Inlet (Top) | External rotation (knees out, butterfly legs) |
| Transition & Pushing | Pelvic Outlet (Bottom) | Internal rotation (knees in, heels out) |
| Second Stage (Pushing) | Sacral Mobility | Forward leaning, tailbone freedom |
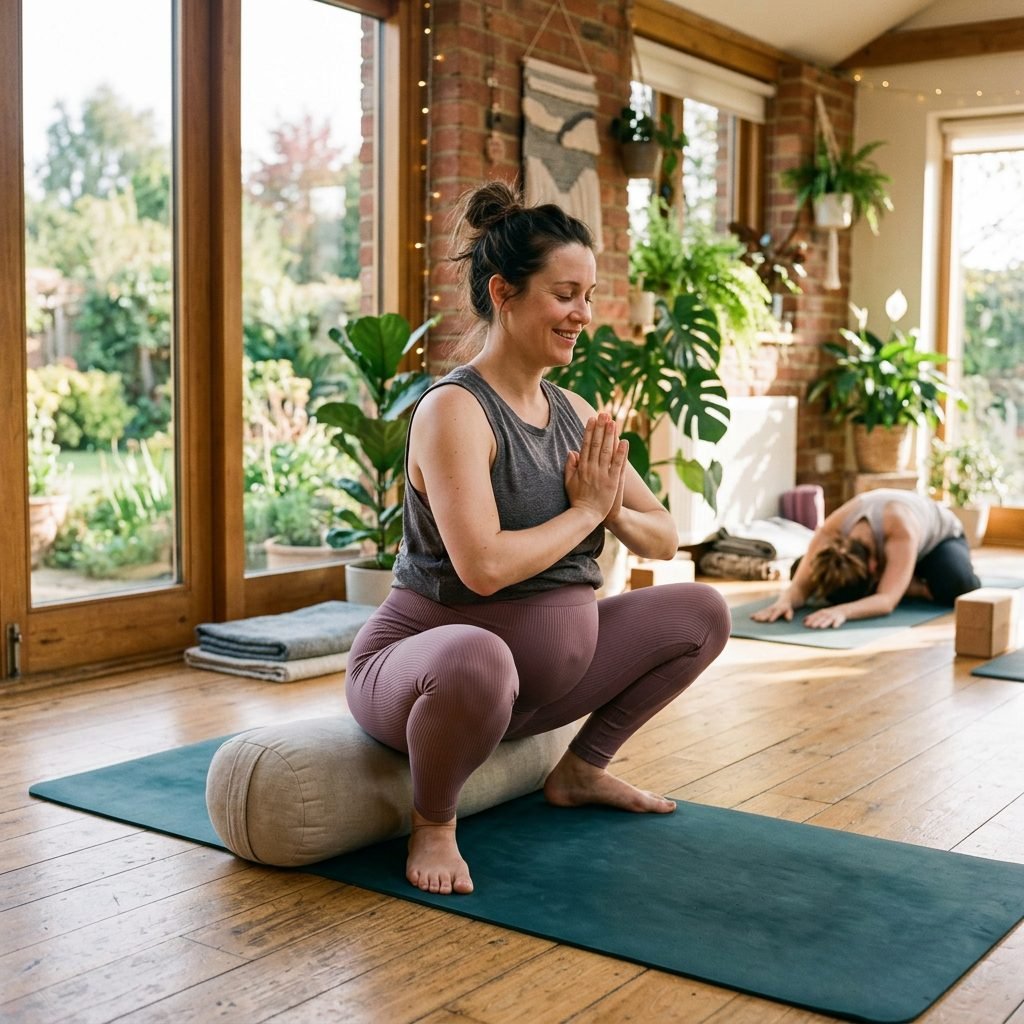
1. The Modified Deep Squat (The Malasana Flow)
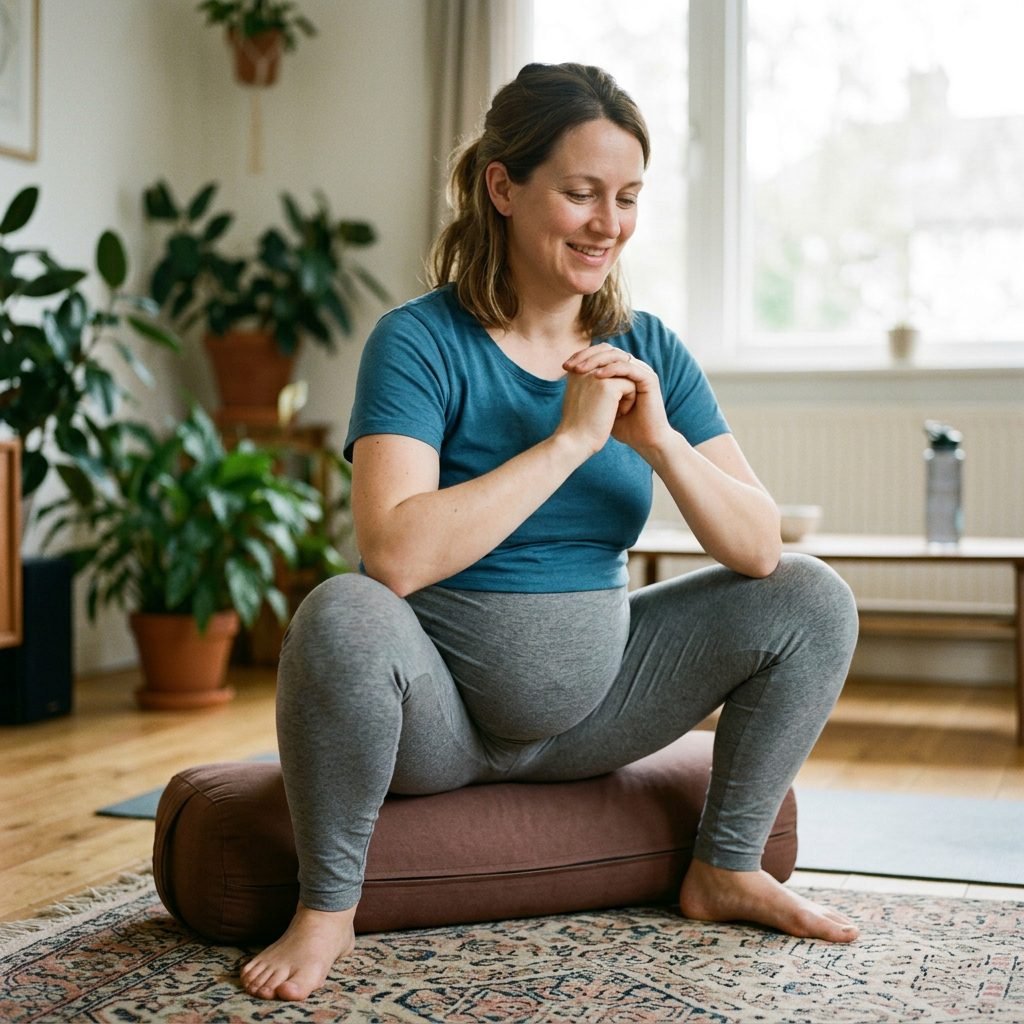
The deep squat is the gold standard for pelvic health, but for the pushing stage, we want to focus on the release. Squatting can increase the pelvic outlet diameter by up to 20-30%. However, if you have any pelvic girdle pain (PGP) or symphysis pubis dysfunction (SPD), please keep your squats shallow and supported.
- Stand with feet slightly wider than hip-width apart.
- Slowly lower your hips toward the floor. Use a stack of pillows or a low stool (a birth squat stool is perfect!) if you need support.
- Keep your chest lifted and your spine long.
- The Pro Tip: To specifically target the outlet, try to keep your heels flat on the floor. If they lift, place a rolled-up yoga mat under them.
- Take 5 deep diaphragmatic breaths, feeling your pelvic floor lengthen as you inhale.
2. The ‘Captain Morgan’ (Asymmetrical Kneeling)
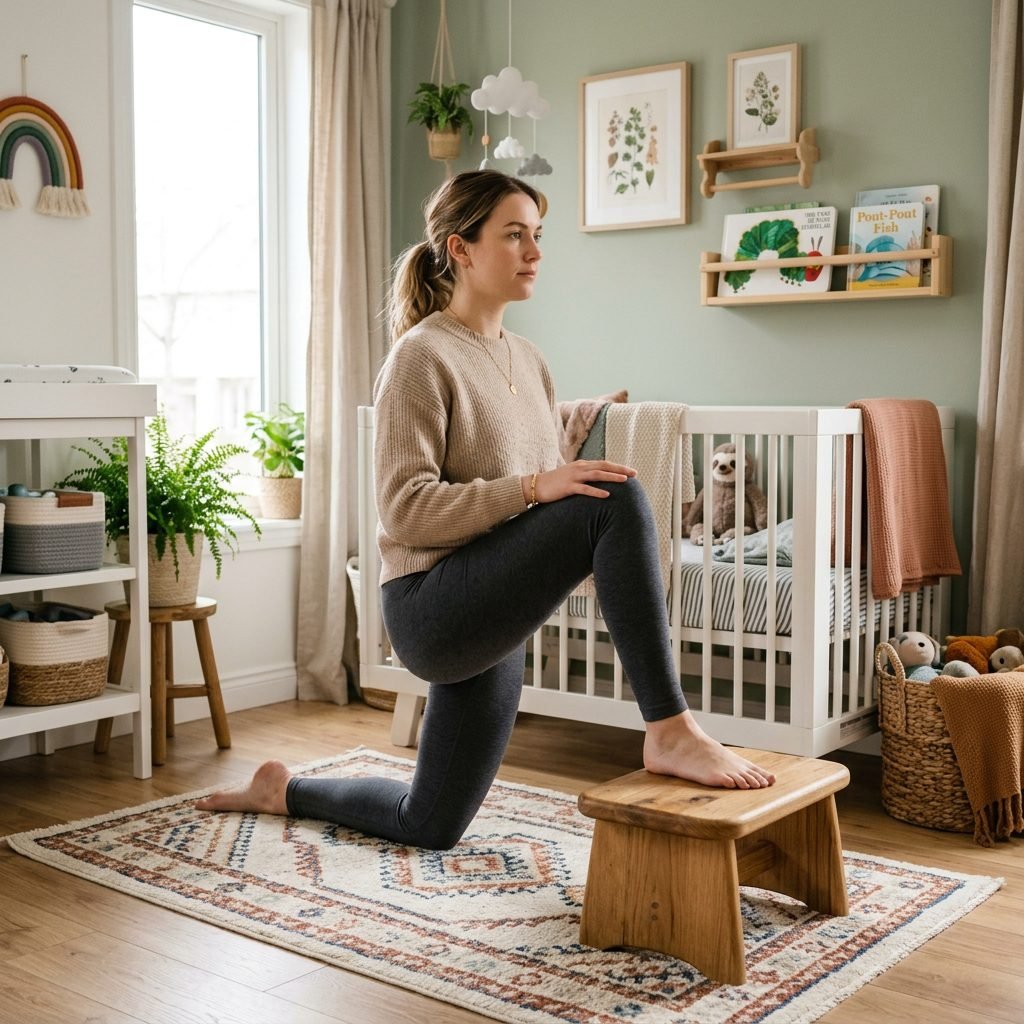
Asymmetry is your best friend in labor! By lifting one leg, you shift the pelvic bones in a way that creates an opening on one side, allowing the baby to rotate and descend more easily. This is a fantastic stretch to do while watching TV or even during active labor.
- Kneel on a soft surface (like a yoga mat or rug).
- Bring your right foot forward and place it firmly on the floor, as if you are proposing, or place it up on a sturdy chair or ottoman to the side.
- Gently lean into the lifted leg, feeling the space open in your hip and lower pelvis.
- Hold for 60 seconds, then switch sides.
- Keep your movements fluid and ‘bouncy’—think of it as a gentle swaying rather than a static, rigid hold.
3. Side-Lying Release (The Gentle Opener)

This is a favorite among doulas for ‘spinning’ babies into the optimal position and softening the pelvic floor. It requires a bit of gravity and a lot of relaxation. It helps to lengthen the pelvic floor muscles that might be holding the outlet tight.
- Lie on your side on a bed or a massage table, quite close to the edge.
- Your bottom leg should be straight. Your top leg will hang off the edge of the bed.
- Important: Ensure your hips are stacked vertically and not leaning forward or back.
- Let the top leg hang freely for 2 to 3 minutes. You might feel a slight ‘pull’ in the hip—this is the fascia releasing!
- Have a partner stand in front of you to ensure you don’t slip off the bed.
4. The ‘Knees-In’ Cat-Cow Variation
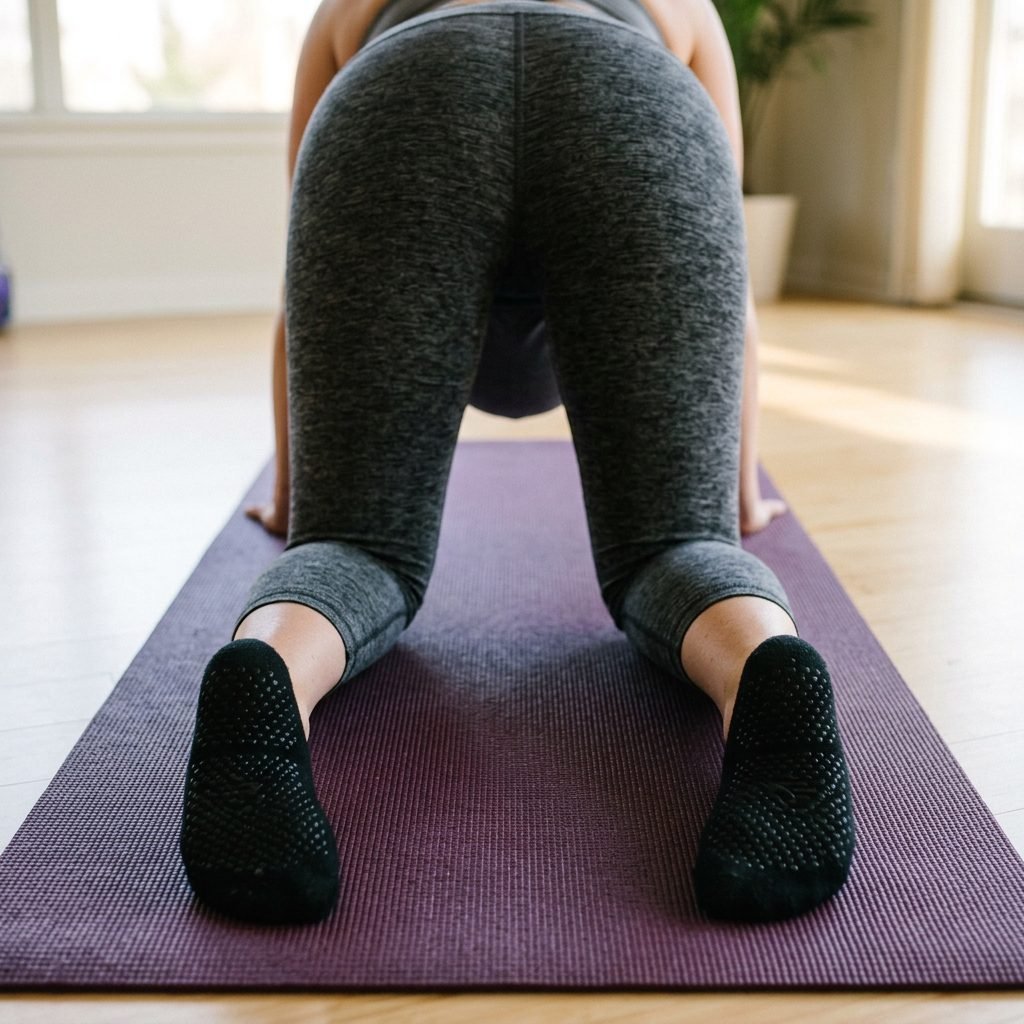
Standard Cat-Cow is great for back pain, but we are going to tweak it to widen the sit-bones. This specific variation targets the lower pelvic ligaments.
- Get on all fours (hands and knees).
- Instead of having your feet parallel, bring your big toes together and push your heels outward.
- As you inhale, drop your belly and look up (Cow), but focus on ‘blooming’ your sit-bones toward the wall behind you.
- As you exhale, round your back (Cat), tucking your chin.
- Repeat for 10-15 breath cycles. The ‘heels out’ position is what opens that bottom outlet!
5. Supported Forward Leaning Inversion (Modified)

Don’t let the name scare you! We aren’t doing headstands. A gentle forward lean helps the uterus hang forward, taking pressure off the sacrum and allowing the pelvic outlet to ‘breathe.’ This is excellent for babies who are ‘sunny-side up’ (OP position).
- Kneel on the edge of a sofa or a sturdy chair.
- Slowly lower your hands, then your forearms, to the floor (or a stack of firm cushions) in front of the sofa.
- Let your head hang heavy. Your hips should be higher than your heart.
- Stay here for only 30 seconds to 1 minute.
- To come out, walk your hands back up to the sofa and sit on your knees for a moment to let your blood pressure stabilize.
“Gravity is your greatest labor assistant. Let it do the heavy lifting for you.”
6. The Happy Baby (Ananda Balasana)

There is a reason babies love this pose—it is the ultimate pelvic floor opener! For pregnancy, we modify it to accommodate your beautiful bump. This stretch directly targets the perineum and the pelvic outlet.
- Lie on your back (if comfortable) or slightly propped up on a wedge pillow.
- Bring your knees toward your chest, keeping them very wide to go around your belly.
- Reach for your ankles, shins, or the outside edges of your feet.
- Gently pull your knees toward your armpits.
- The Outlet Secret: Try to keep your tailbone tucked ‘down’ toward the floor rather than curling it up. This creates the most space at the bottom of the pelvis.
7. The Pelvic Clock (Sacral Mobility)
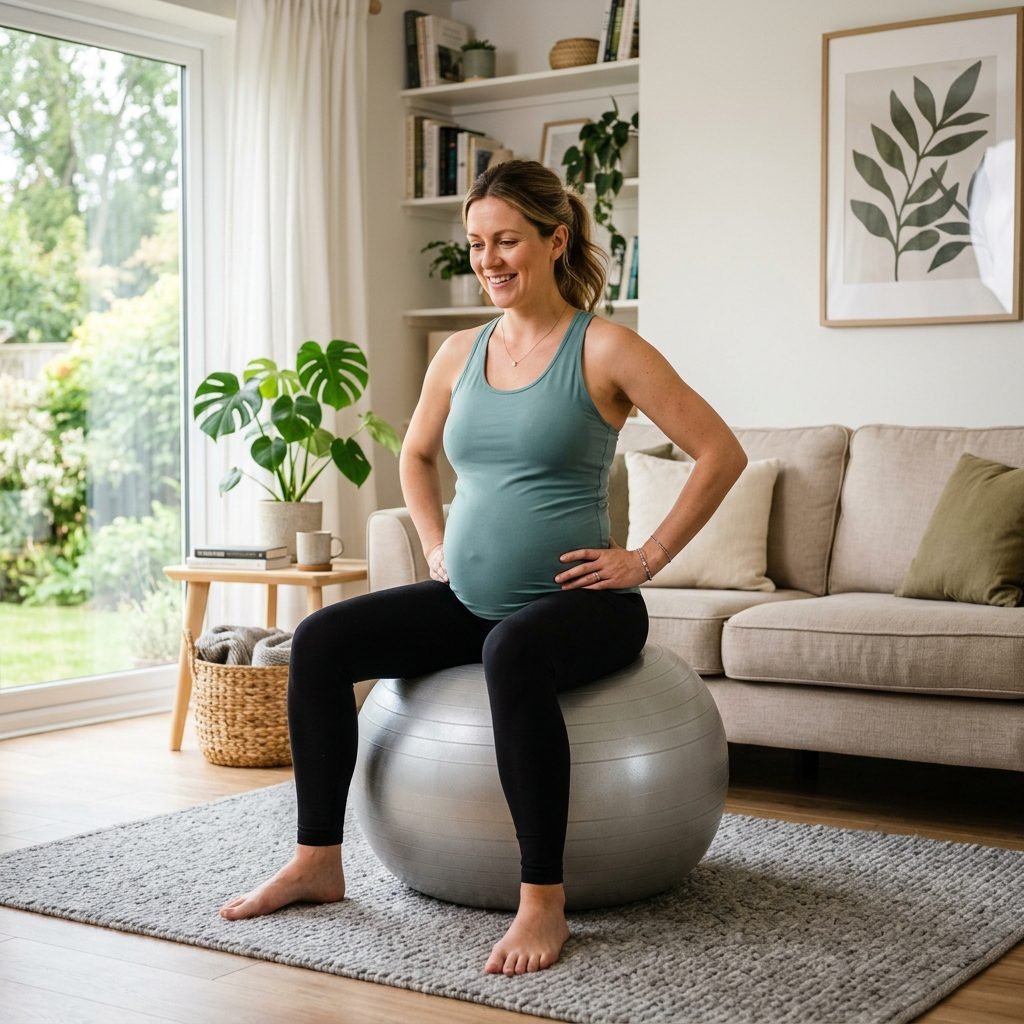
The sacrum (the bone at the base of your spine) needs to be able to swing outward like a trapdoor during the pushing stage. The Pelvic Clock keeps the sacroiliac (SI) joints mobile and prevents the tailbone from getting ‘stuck.’
- Sit on a large birthing ball (exercise ball). Ensure your hips are slightly higher than your knees.
- Imagine your pelvis is a clock face. 12 is your belly button, 6 is your tailbone.
- Slowly tilt your pelvis toward 12, then toward 6.
- Now, circle your hips, hitting every number on the clock (1, 2, 3…).
- Do 10 circles in each direction daily. This ‘oils’ the joints that need to move during the final stages of labor.
Partner Support & Breathing Techniques

Stretching is only half the battle, mama. How you breathe and how your partner supports you can change everything. During the pushing stage, we want to avoid ‘purple pushing’ (holding your breath until your face turns red). Instead, focus on ‘J-Breathing’—breathing down and out, imagining your breath following the shape of a J.
How Your Partner Can Help:
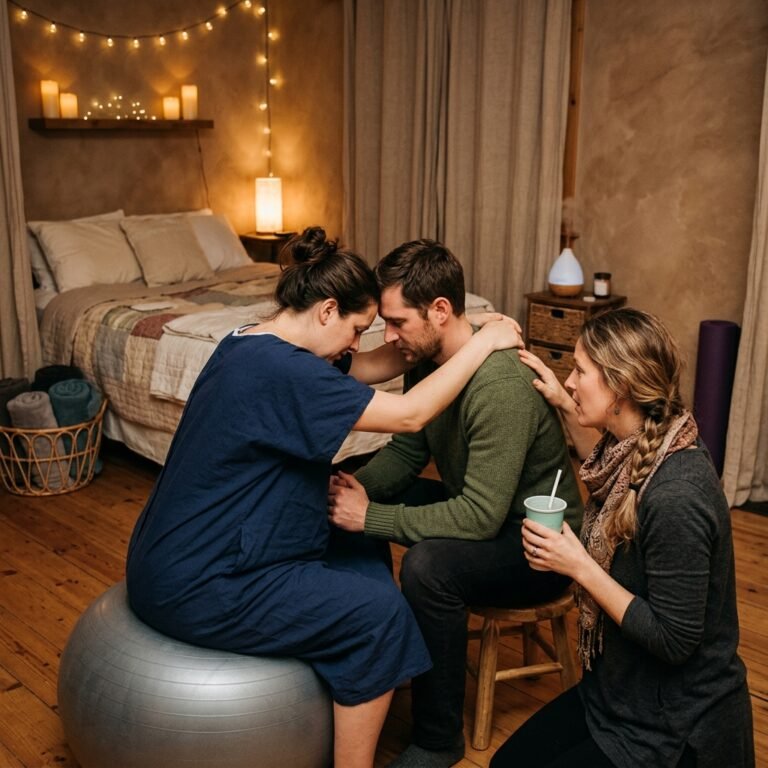
- Hip Squeezes: During a contraction, your partner can apply firm pressure to the outside of your hips. This actually helps the bottom of the pelvis (the outlet) open up!
- Counter Pressure: Firm pressure on the lower back/sacrum can relieve the ‘back labor’ feeling.
- Affirmations: Remind her: “Your body is opening. There is plenty of room for our baby.”
Conclusion
Preparing for the pushing stage is about more than just physical strength; it’s about creating a sense of openness and surrender. By practicing these seven stretches daily, you are teaching your body how to expand and your mind how to trust the process. Remember, you don’t need to be a yoga expert to do this. Just 15 minutes a day of intentional movement can lead to a faster, more efficient second stage of labor.
You are doing an incredible job, mama. Your body knows how to do this, and your baby knows the way. Use these tools to build your ‘birth toolbox,’ and when the time comes to push, you’ll know exactly how to bloom. You’ve got this!