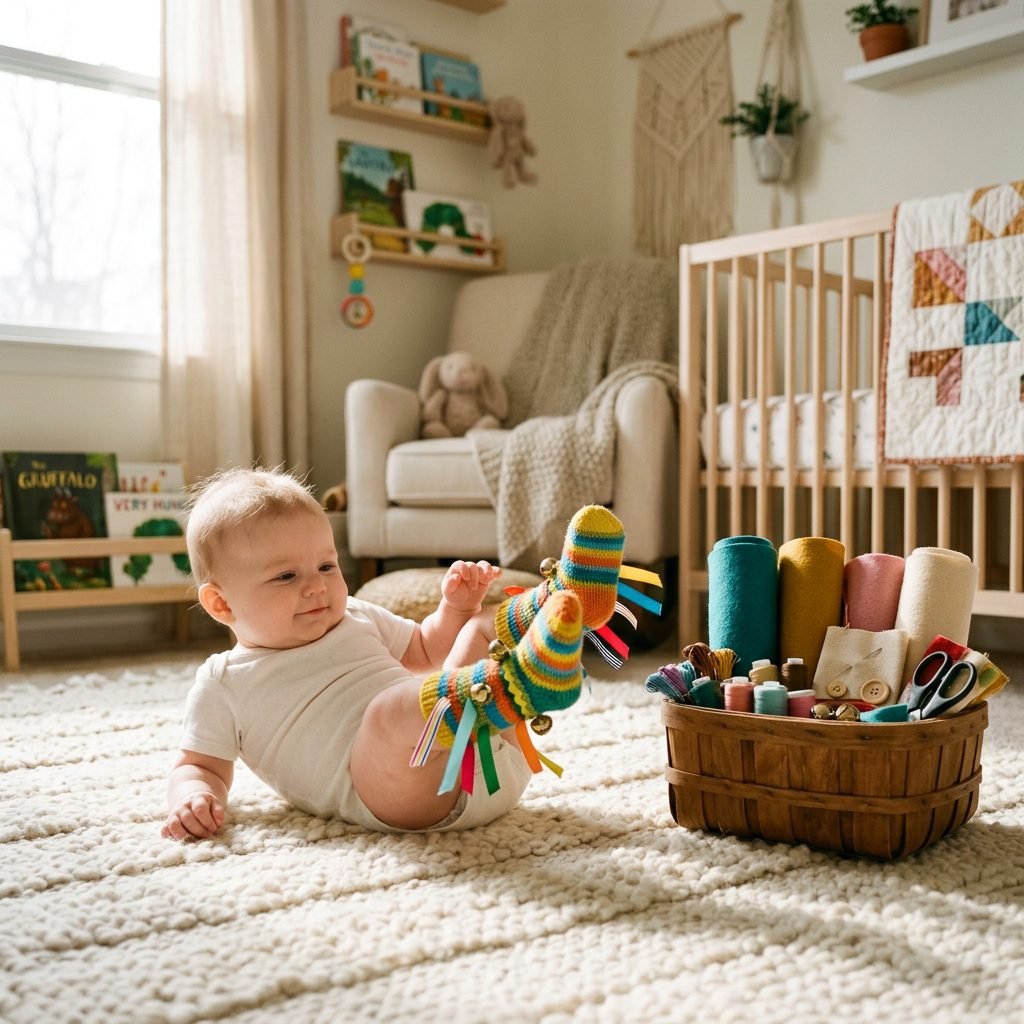
How to Make DIY Sensory Socks to Help Your Baby Find Their Feet
Welcome to the Magic of Discovery, Mama
There is a truly magical moment in your baby’s first year that every parent remembers: the day they finally discover their own feet. One minute they are lying there, simply existing in the world, and the next, they’ve grabbed those tiny toes with a look of pure, unadulterated shock and joy. As a doula and maternal wellness advocate, I call this the ‘Great Foot Discovery.’ It isn’t just adorable; it is a massive developmental milestone. It marks the beginning of proprioception—the brain’s ability to understand where the body is in space. Helping your little one find their feet is about more than just cute photos; it’s about building the neural pathways that lead to rolling, sitting, and eventually, those first wobbly steps. Today, we are going to lean into our crafty, nurturing side to create DIY Sensory Socks. These are gentle, texture-rich tools designed to provide the tactile and auditory feedback your baby needs to bridge the gap between ‘what are these things at the end of my legs?’ and ‘oh, these belong to me!’ Let’s dive into this cozy project together, keeping safety, science, and sisterly love at the heart of everything we do.
The Science of Sensory Play: Why Focus on the Feet?

You might wonder why we focus so much on feet when babies seem so hand-oriented. In the early months, a baby’s primary way of learning is through their senses. Their feet are actually packed with more nerve endings per square centimeter than almost any other part of their body! When we add sensory elements to their socks, we are providing enhanced sensory input. This helps the brain map the lower extremities, which is often a slower process than mapping the hands and face.
Benefits of Sensory Socks
- Body Awareness: The weight and texture of the socks help the baby ‘feel’ their feet even when they aren’t looking at them.
- Visual Tracking: Bright colors and high-contrast patterns encourage the baby to look down, strengthening neck and eye muscles.
- Gross Motor Skills: To touch the interesting textures, your baby will naturally lift their legs, engaging their core abdominal muscles—perfect preparation for rolling over!
- Auditory Association: Adding a tiny bell creates a cause-and-effect relationship: ‘When I kick my leg, I hear a sound!’
Finding their feet is a baby’s first lesson in autonomy. It is the moment they realize they have the tools to move through the world.
Safety First: Selecting Baby-Safe Materials
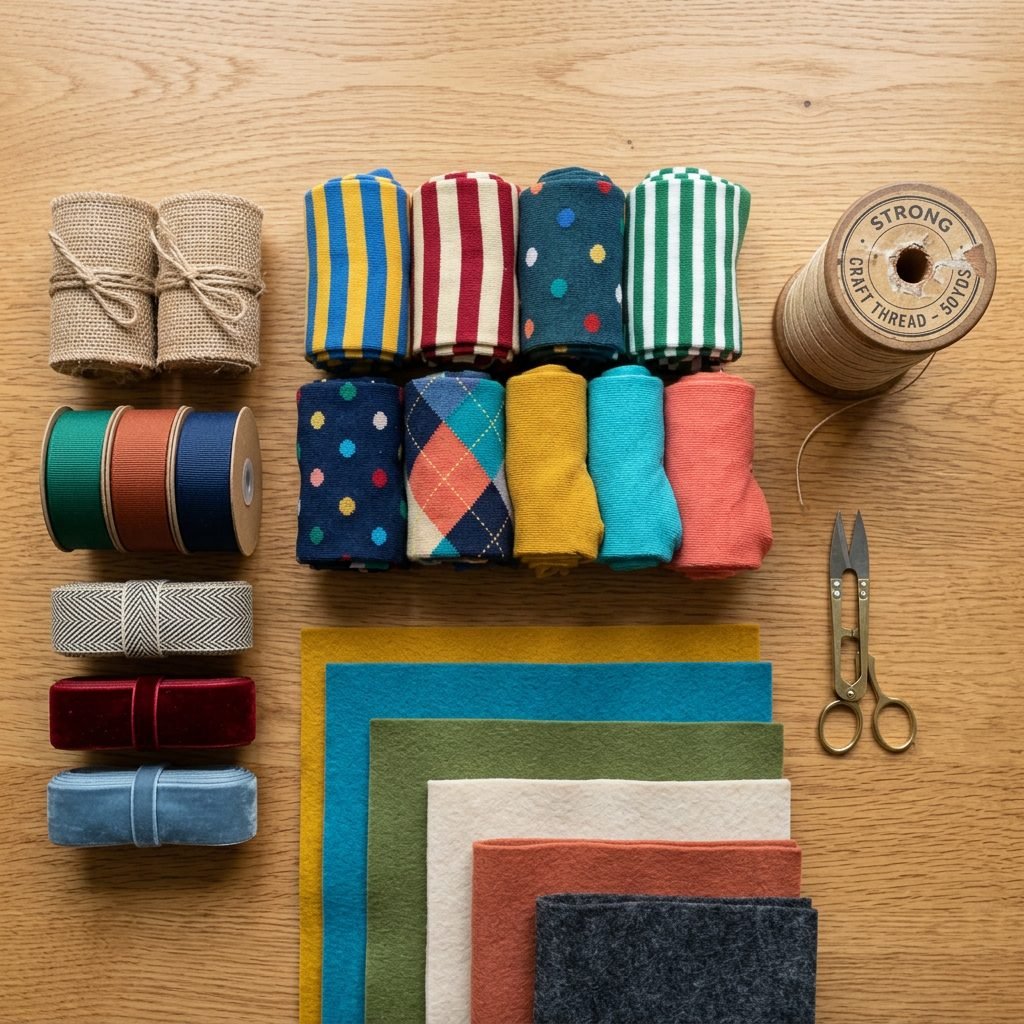
Before we pick up our needles or glue, we have to talk about the most important thing: safety. Since these socks will be near your baby’s face (they love to taste those toes!), every material must be non-toxic and incredibly secure. As a postpartum nurse, I cannot stress enough that anything attached to the sock must be double-stitched or secured with industrial-strength, non-toxic fabric bond.
What to Look For
- OEKO-TEX Certified Fabrics: Ensure your socks and felt are free from harmful chemicals.
- Lead-Free Bells: If you use bells, ensure they are high-quality and have no small internal parts that could fall out.
- No Choking Hazards: Avoid small beads, sequins, or buttons. Stick to ribbons, felt shapes, and soft textures.
- Breathable Cotton: Use 100% cotton socks to prevent overheating and skin irritation.
| Material | Why We Use It | Safety Check |
|---|---|---|
| Cotton Socks | Breathable & soft | Must be snug but not tight |
| Grosgrain Ribbon | Tactile texture | Heat-seal ends to prevent fraying |
| Felt Shapes | Visual contrast | Use 100% wool or bamboo felt |
| Soft Bells | Auditory feedback | Must be encased or double-sewn |
Step-by-Step Guide: Crafting Your Sensory Socks
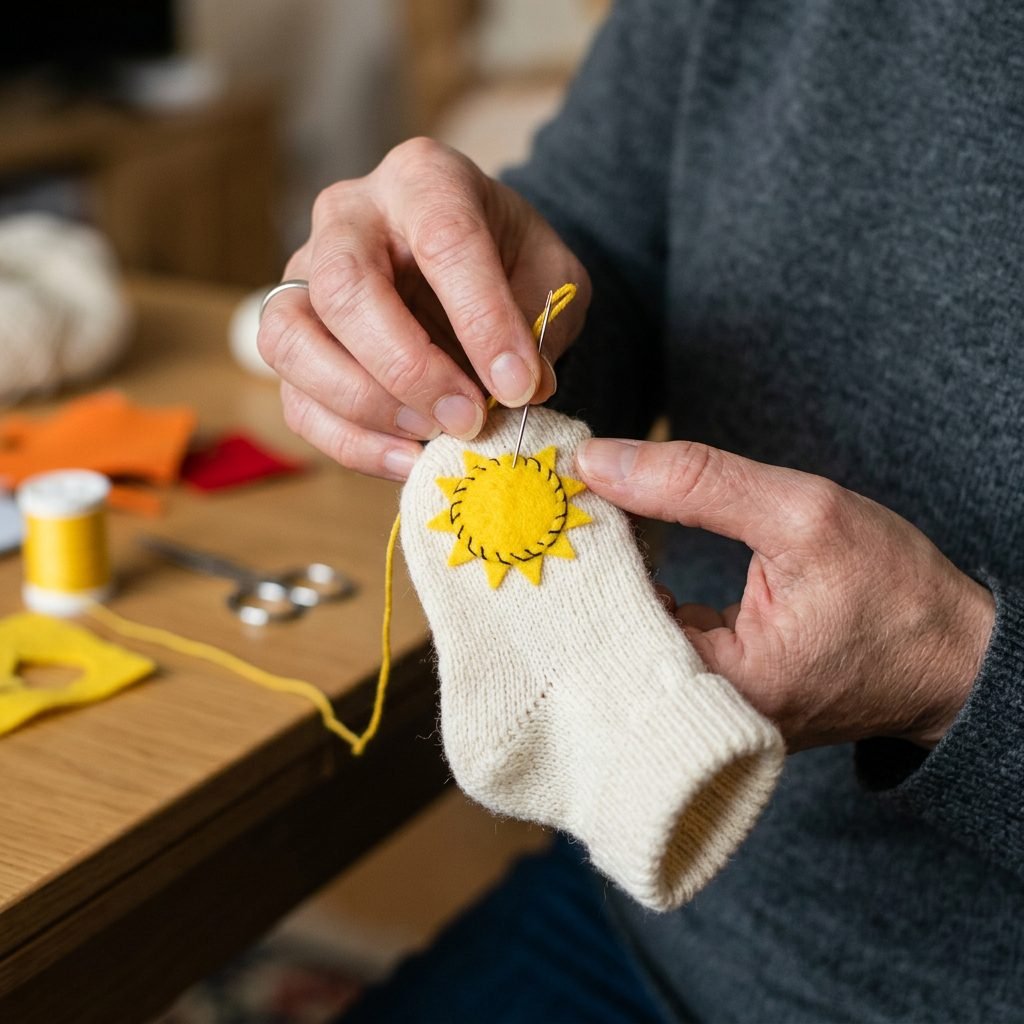
Ready to get crafty? This is a wonderful activity to do during a nap time or even at a baby shower with friends. We want to create two distinct experiences: one for sight and one for sound and touch.
Instructions
- Prepare the Base: Choose a pair of socks that fit your baby comfortably. If they are too loose, they’ll just kick them off. If too tight, they can restrict circulation. Pro-tip: Use socks with a slightly longer ‘crew’ length so they stay on better during vigorous kicking.
- The Visual Anchor: On the toe area of the first sock, sew a high-contrast felt shape (like a black and white star or a bright red heart). Use a blanket stitch around the edges to ensure the felt doesn’t peel up.
- The Auditory Element: On the second sock, sew a small bell or a piece of ‘crinkle’ material (clean cereal bag liners work great!) inside a small fabric pouch. Secure this pouch firmly to the top of the foot area, not the sole.
- Texture Loops: Cut 2-inch strips of different ribbons (satin, grosgrain, velvet). Fold them into loops and sew the ends deeply into the ribbed cuff of the sock. These ‘tags’ are irresistible to tiny fingers!
- The Stress Test: Once finished, give every attachment a firm tug. If it moves even a millimeter, stitch it again. Your baby’s grip is surprisingly strong!
Mama, don’t worry about perfection. Your baby doesn’t care if your stitches are straight; they only care about the love and stimulation you’re providing.
Budget Breakdown & Materials Checklist
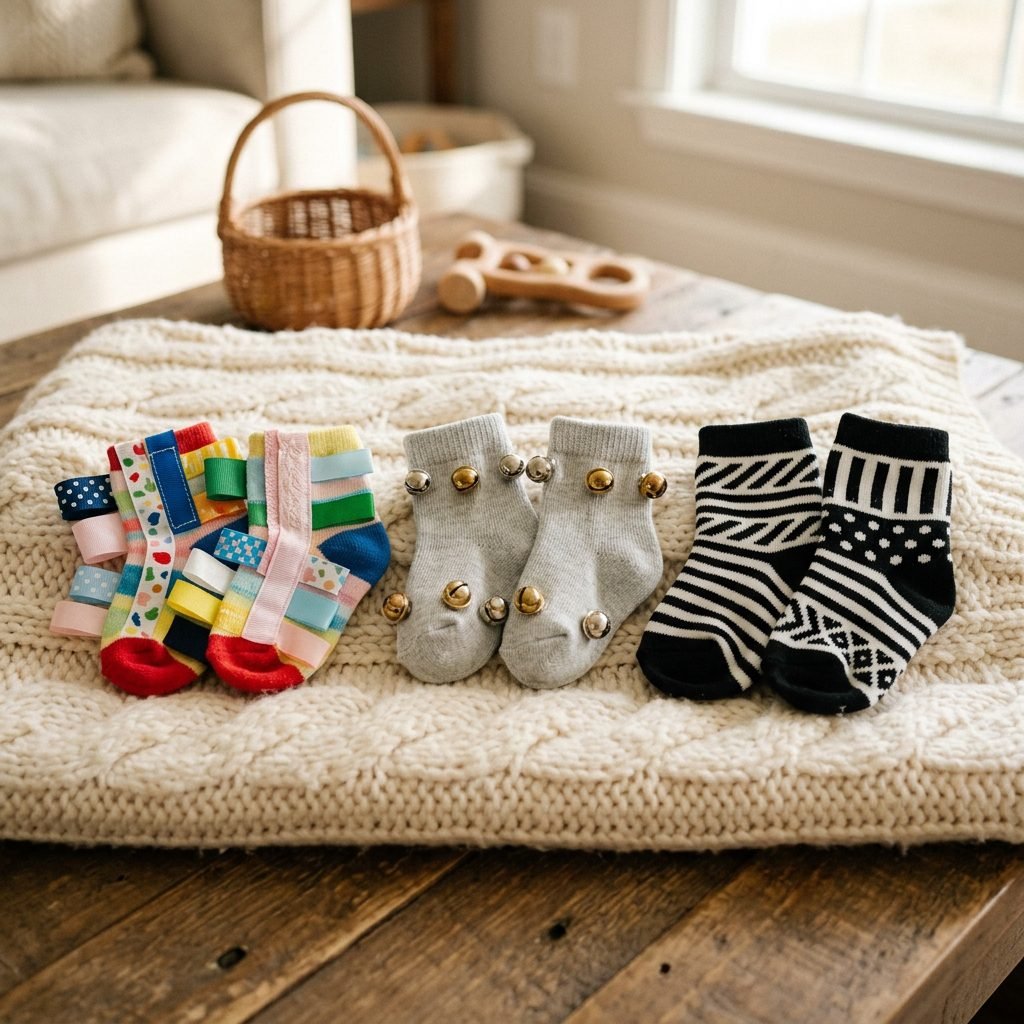
Creating your own sensory toys is not only more personal, but it’s also incredibly cost-effective. Most ‘store-bought’ versions of these socks can cost upwards of $25. You can make several pairs for a fraction of that price, especially if you use scraps from other projects.
| Item | Estimated Cost | Where to Buy |
|---|---|---|
| Pack of 6 Cotton Socks | $8.00 | Local Department Store |
| Felt Scraps | $2.00 | Craft Store Remnants |
| Ribbon Assortment | $4.00 | Dollar Store or Craft Bin |
| Embroidery Thread | $1.00 | General Craft Store |
| Total Project Cost | $15.00 | Covers 3+ pairs! |
By making these yourself, you are saving nearly 50% compared to retail prices, and you have the peace of mind knowing exactly what materials are touching your baby’s skin.
Sensory Play Activities: How to Use the Socks
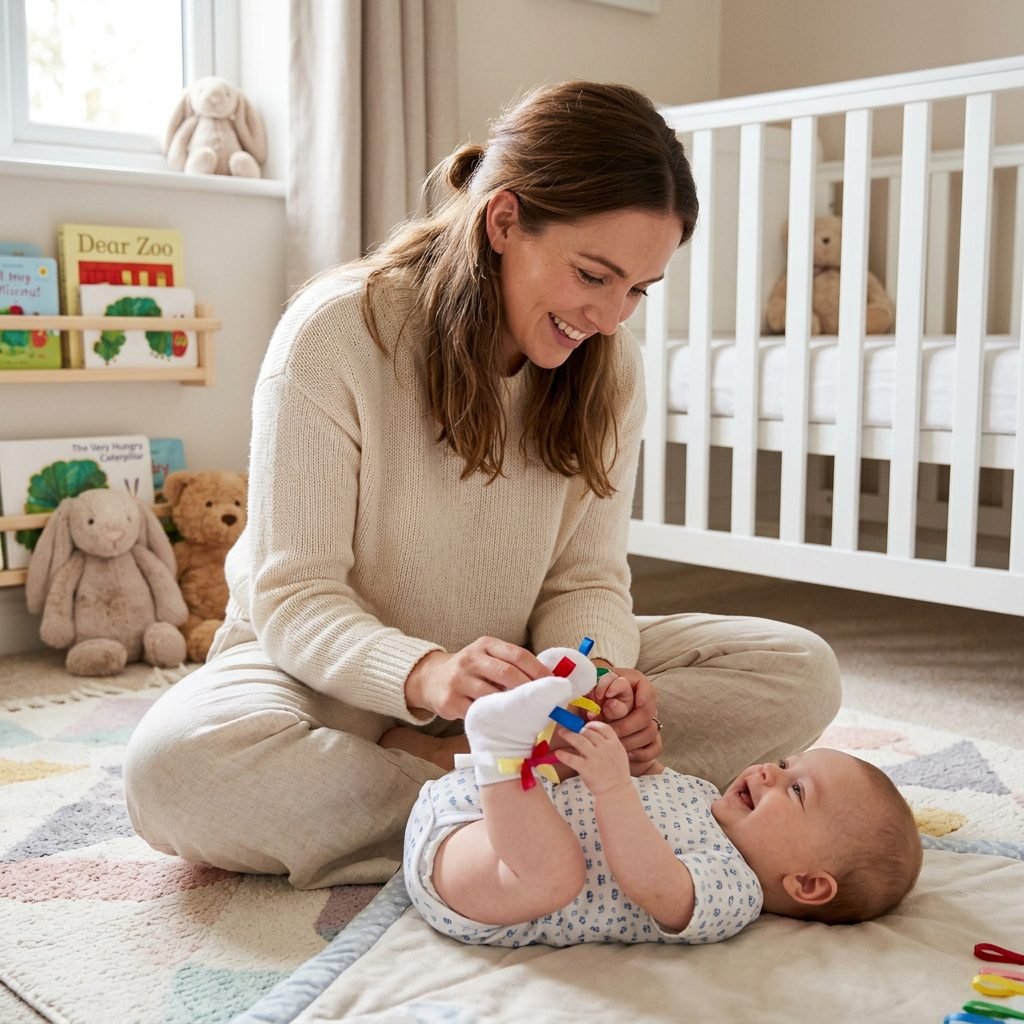
Now that you’ve made these beautiful socks, it’s time for the fun part: play! As a pediatric sleep and play consultant, I recommend using these during your baby’s ‘active alert’ state—usually about 30 minutes after a feeding and a fresh diaper.
Activity Ideas
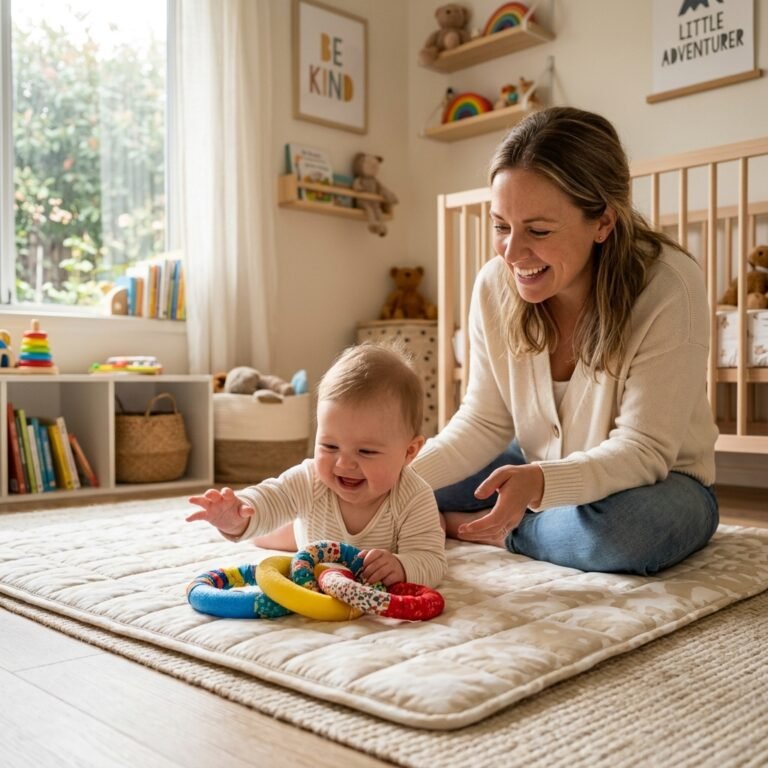
- The Bicycle Kick: Lay your baby on their back. Gently move their legs in a bicycle motion. The sound of the bells will encourage them to take over the movement themselves.
- The Mirror Game: Place your baby in front of a floor-length, baby-safe mirror. Seeing the ‘other baby’ move their colorful socks provides incredible visual reinforcement.
- Tummy Time Extension: While on their tummy, place a favorite toy just out of reach. The sensory socks provide the ‘grip’ and ‘weight’ they need to feel their feet pushing off the ground, which is the precursor to crawling.
- Texture Exploration: Sit with your baby and guide their hands to the ribbons on their feet. Narrate the experience: ‘That’s the soft velvet ribbon. That’s the bumpy grosgrain.’
Note on Duration: Start with 5-10 minutes of play. Sensory input can be tiring for a little brain! If your baby starts to turn away, fuss, or arch their back, it’s time to take the socks off and rest.
Troubleshooting & Customization for Milestones
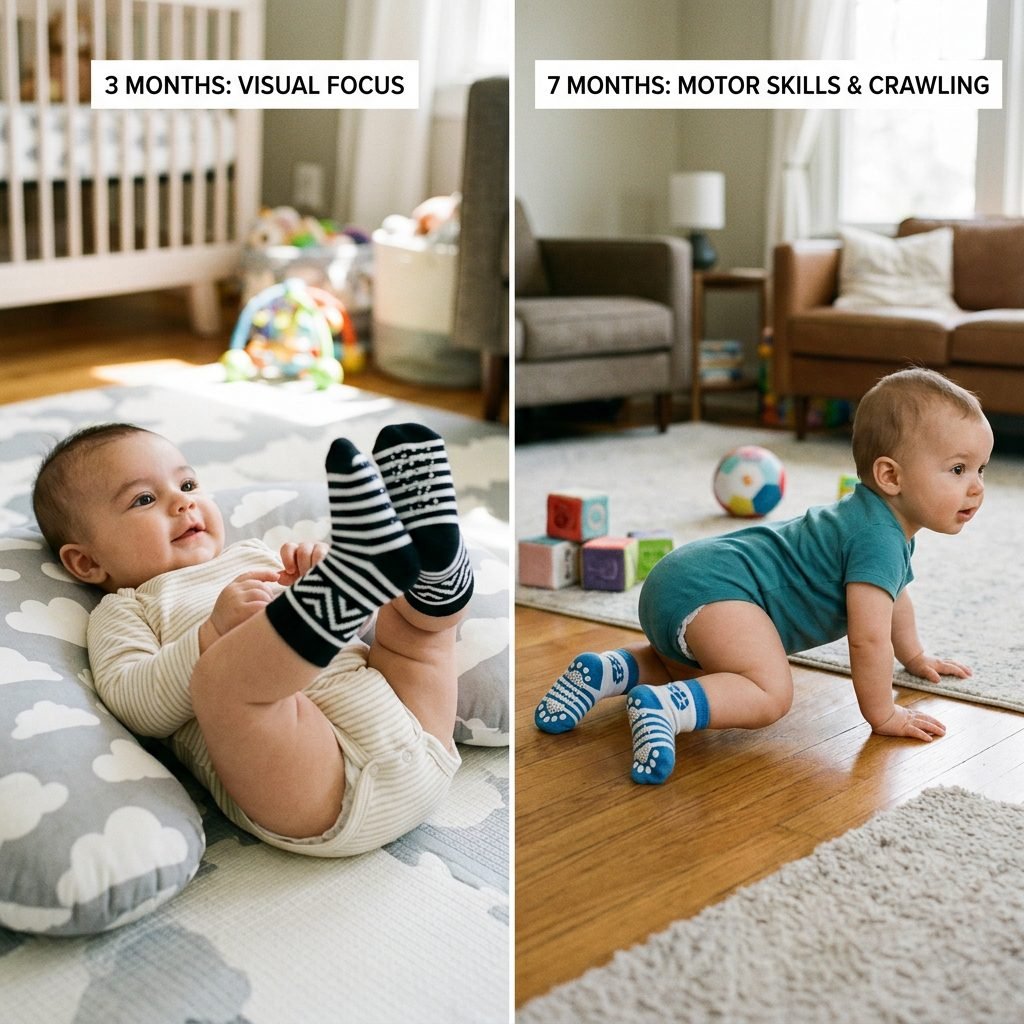
As your baby grows, their sensory needs will change. What worked at 3 months might need an upgrade at 6 months. Here is how to adapt your DIY sensory socks for different stages of development.
Adapting for Growth
- For the 3-Month-Old: Focus on high contrast (Black, White, Red). Their color vision is still developing, and these bold patterns are the easiest for them to see.
- For the 5-Month-Old: Focus on sound. This is the prime age for cause-and-effect. Louder (but still soft) bells or more crinkle material will keep them engaged.
- For the 7-Month-Old: Focus on resistance. If your baby is starting to pull up, ensure the socks have non-slip grips on the bottom. You can add these yourself using non-toxic puff paint!
Common Troubleshooting
If your baby seems uninterested, try taking one sock off. Sometimes ‘less is more’ and having one bare foot and one sensory foot allows them to compare the sensations, which can be even more stimulating for their brain.
Conclusion
Your Hands, Their Future
Mama, creating these sensory socks is such a beautiful way to show up for your baby’s development. You are taking the time to understand their growing brain and providing them with a safe, loving environment to explore their own body. Remember, the goal isn’t just to hit a milestone on a checklist; it’s to foster a sense of curiosity and confidence in your little one. Every time they reach for those toes, they are learning that they can interact with the world and that their body is a wonderful, capable thing. Enjoy these precious moments of discovery—they go by in the blink of an eye. You’re doing an incredible job, one stitch at a time. Happy crafting, and even happier playing!