How to Use a Yoga Strap for Pelvic Floor Release in Late Pregnancy
Oh, mama. If you are reading this right now, you are likely in the thick of the third trimester. First of all, take a deep breath, drop your shoulders, and let me just say: you are doing an incredible job. Your body is performing an absolute miracle every single second of the day, but let us be brutally honest—it can also feel incredibly heavy, exhausting, and achy right now.
As you approach those final weeks of pregnancy, you might be experiencing what many mamas describe as a “bowling ball sitting on the cervix” sensation. Your hips might ache, your lower back is likely tired, and your pelvic floor is working overtime to support the beautiful, growing life inside of you. For months, you have probably been told to “do your Kegels” to keep everything strong. But as a doula and maternal wellness expert, I am here to share a vital, often-overlooked secret for late pregnancy and birth preparation: your pelvic floor doesn’t just need strength; it desperately needs to know how to release.
Breathe in deeply and remind yourself: A tight pelvic floor is not necessarily a strong pelvic floor. To birth your baby and find comfort in these final weeks, your muscles need to learn the beautiful art of letting go.
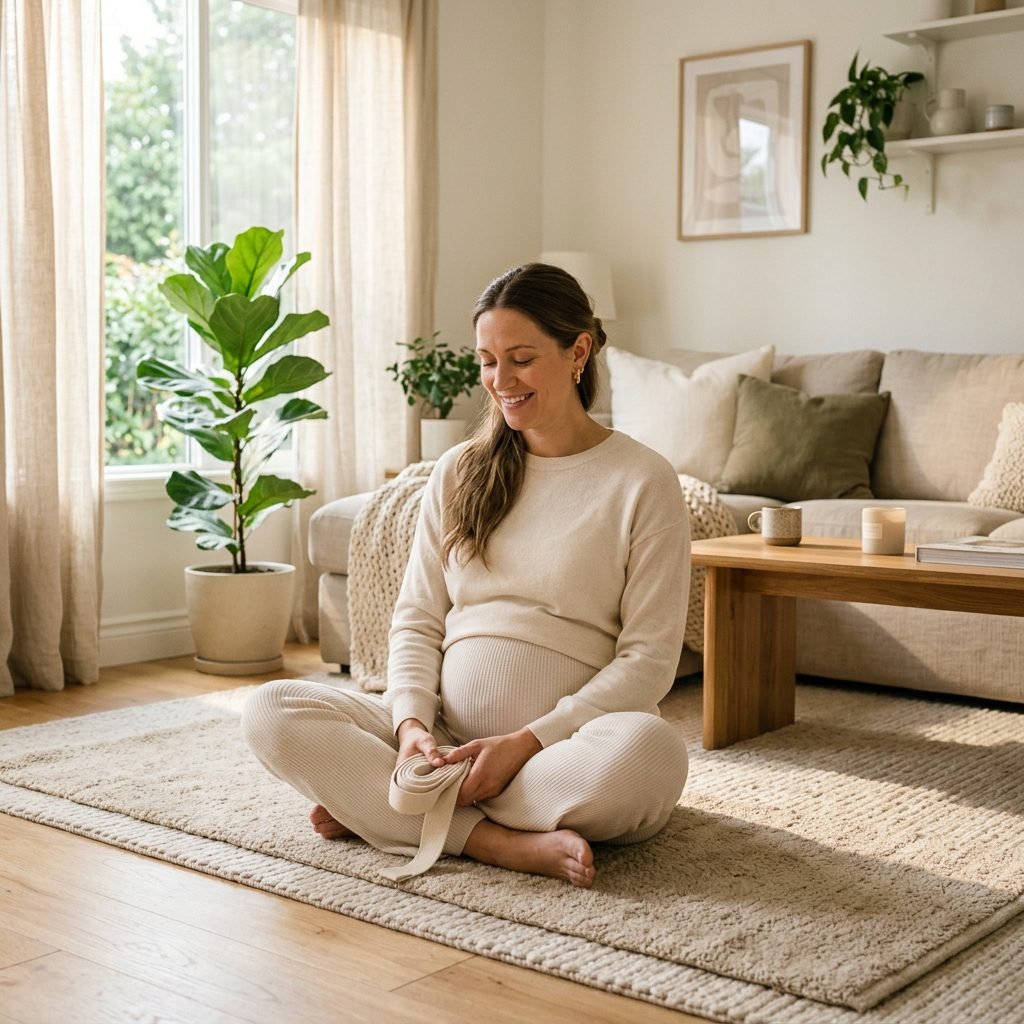
Enter one of my absolute favorite, inexpensive, and magical tools for birth prep: the simple cotton yoga strap. While it might look like just a piece of fabric with a couple of metal rings, a yoga strap can act as an extension of your own body, providing the structural support you need to completely surrender your weight. When you don’t have to use your own muscle power to hold yourself up, your nervous system finally feels safe enough to tell your pelvic floor to relax, lengthen, and open.
In this comprehensive, sisterly guide, we are going to walk through exactly how to use a yoga strap for pelvic floor release in late pregnancy. We will cover the anatomy of why you feel so heavy, step-by-step instructions for my favorite strap-supported poses, and how to safely incorporate this into your daily routine to prepare your body for a smoother, more empowered birth experience. Grab a cup of red raspberry leaf tea, get cozy, and let’s dive in.
The Heavy Truth: Why Your Pelvic Floor Needs a Break Right Now
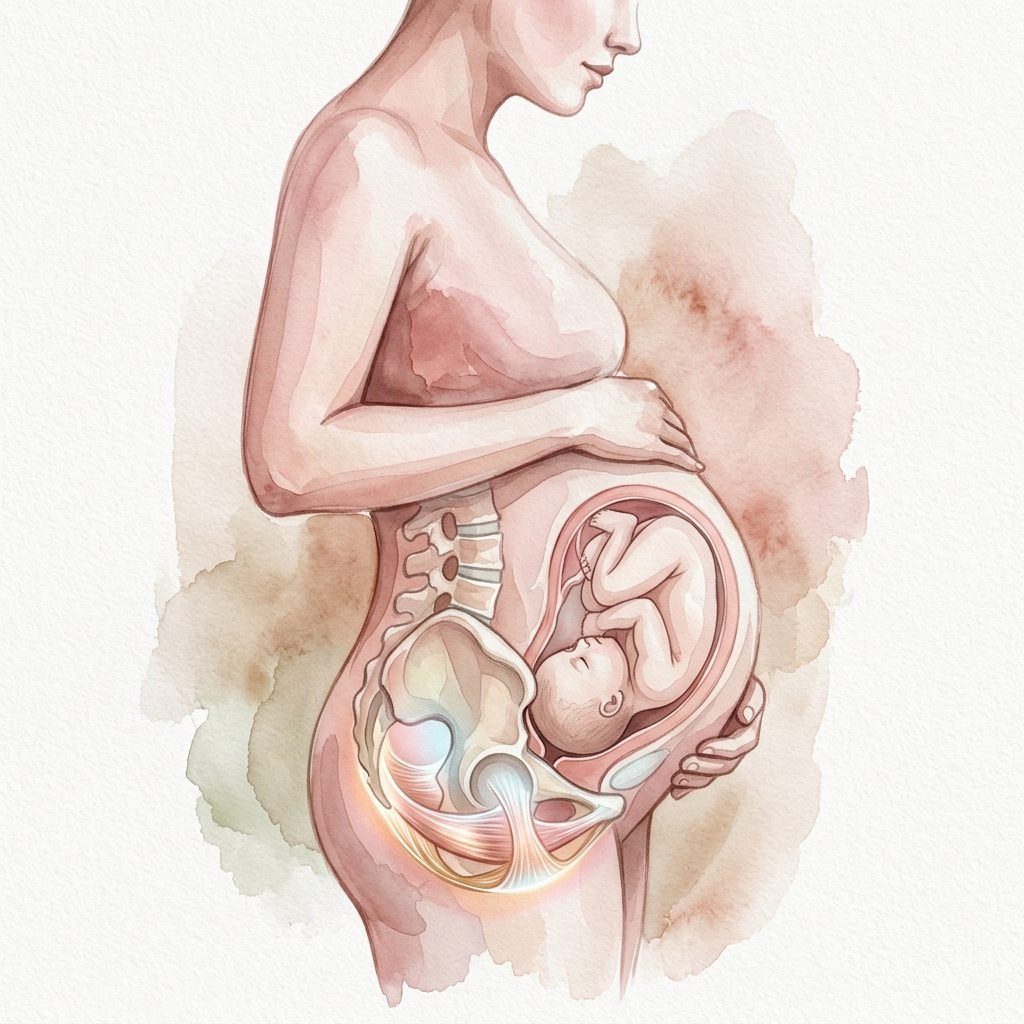
Before we start looping up our yoga straps, it is incredibly important to understand what is actually happening inside your body during the third trimester. Knowledge is power, and understanding your anatomy helps you visualize the release when you are practicing these techniques.
The Anatomy of the Pelvic Hammock
Imagine your pelvic floor as a beautiful, intricate hammock made of muscle and connective tissue that stretches from your pubic bone in the front to your tailbone in the back, and side-to-side between your sit bones. For your entire life, this hammock has done a brilliant job of holding up your internal organs. But right now? That hammock is carrying an additional 10 to 15 pounds (or more!) of baby, amniotic fluid, placenta, and increased blood volume. That is a massive load for a small group of muscles to bear 24/7.
Because of this constant downward pressure, your pelvic floor muscles often become hypertonic—meaning they are clenched, tight, and fatigued from working overtime to keep everything supported. Think of it like carrying a heavy box in your arms all day; eventually, your biceps would become rigid and sore. You wouldn’t try to fix that by doing bicep curls (the equivalent of Kegels). You would fix it by setting the box down and gently stretching your arms.
The Role of Relaxin and Birth Prep
During late pregnancy, your body is also flooded with a hormone beautifully named relaxin. This hormone is designed to loosen your ligaments and joints so your pelvis can expand to let your baby pass through. However, because your joints are looser, your muscles often tense up to overcompensate and stabilize your body. This is why you might feel sharp pains, lightning crotch, or deep pelvic aches.
To prepare for labor, we need to teach these overworked muscles how to yield. During a vaginal delivery, the pelvic floor muscles must stretch up to three times their normal length to allow the baby to crown. If the muscles are rigidly tight and unaccustomed to releasing, labor can feel more difficult, and the pushing phase can take longer. By using a yoga strap now, we are creating muscle memory. We are teaching your body that it is safe to open, soften, and make space for your baby’s descent.
The Magic of the Yoga Strap (and Your Cozy Setup)

You might be wondering, “Why do I need a strap? Can’t I just stretch on my own?” The magic of the yoga strap lies in the concept of passive release. When you try to do a deep squat or a hip opener on your own, a part of your brain is constantly firing signals to your leg and core muscles to keep you balanced so you don’t fall over. If your legs and core are firing, your pelvic floor is likely firing, too. The strap takes away the need for balance. It holds you securely, allowing your nervous system to switch from “alert and stabilizing” to “safe and surrendering.”
Choosing the Right Strap
Not all yoga straps are created equal, especially when we are using them to support the beautiful, heavy weight of late pregnancy. Here is what you should look for:
- Length: You absolutely need a strap that is at least 8 feet long, though a 10-foot strap is even better for pregnancy. Standard 6-foot straps will be too short to loop around your body and an anchor point comfortably.
- Material: Opt for 100% thick cotton. It is soft against your skin, won’t cause friction burns, and has no “give” or elasticity, which is crucial for feeling secure.
- Hardware: Look for a strap with metal D-rings or cinch buckles. Avoid plastic buckles, as they can snap under pressure.
Alternative Options
If you don’t have a yoga strap right now and want to try this tonight, you can use a thick, woven cotton belt, a sturdy martial arts belt, or a non-stretchy woven scarf. Just ensure whatever you use is long enough and will not snap or stretch under your body weight. Please avoid using resistance bands (therabands) for these specific exercises, as the elasticity will defeat the purpose of passive support and could cause you to bounce or lose balance.
Creating Your Sanctuary
Before you begin, set the mood. Releasing the pelvic floor is just as much a mental exercise as it is a physical one. Dim the overhead lights, turn on a soft lamp or some battery-operated candles, play your favorite birth affirmations or calming spa music, and wear your softest, non-restrictive loungewear. You want to send every possible signal to your brain that you are safe, cozy, and ready to let go.
Step-by-Step: The Supported Deep Squat (Malasana) with a Strap
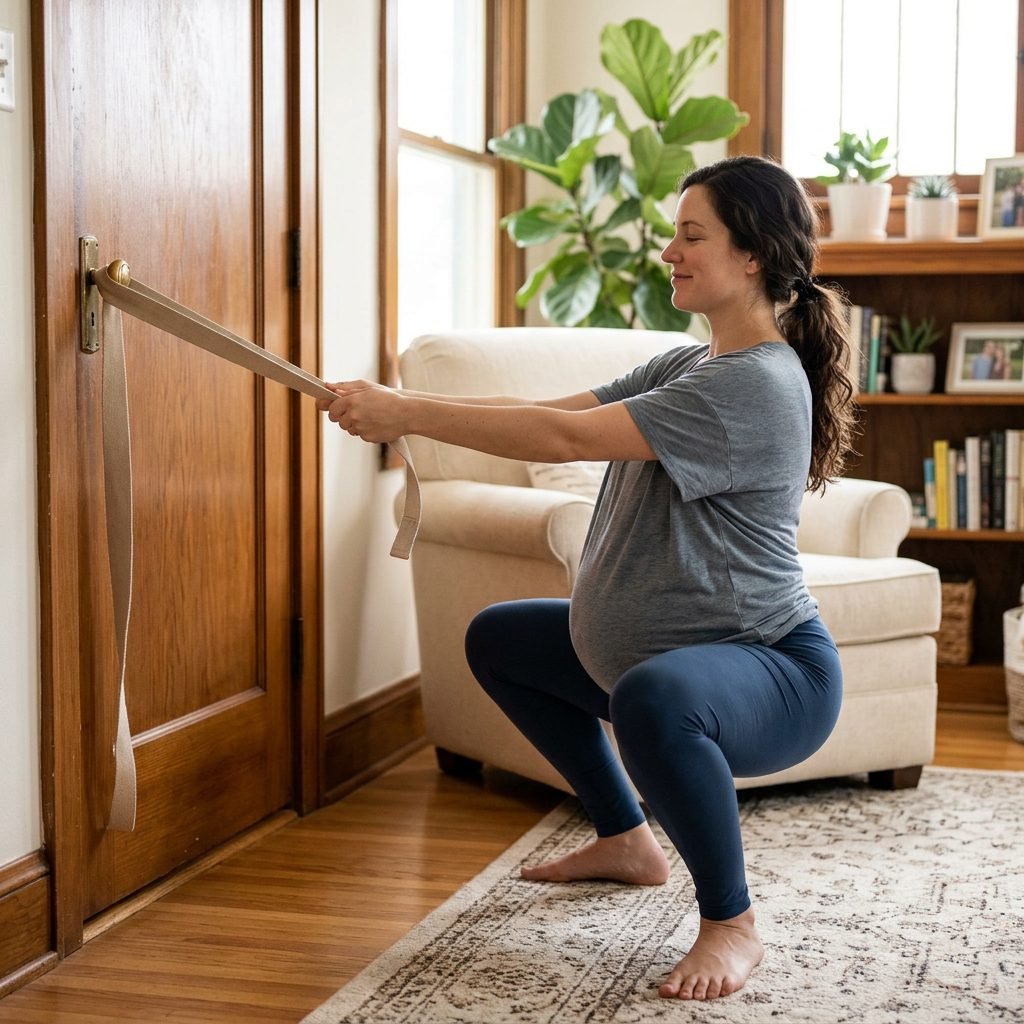
The deep squat (Malasana) is the holy grail of pelvic floor preparation. It opens the pelvic outlet by up to 30 percent, making incredible room for your baby to engage. However, doing a deep squat unassisted in the third trimester can feel terrifying, hard on the knees, and exhausting. By using a strap anchored to a door or held by your birth partner, you can sink into the squat effortlessly.
Method 1: The Door Anchor Squat
This is a wonderful solo practice you can do anytime you feel pelvic pressure.
- Create a secure loop: Thread the end of your strap through the D-rings to create a large, secure loop.
- Anchor the strap: Open a sturdy door (preferably one that opens away from you). Loop the strap around both doorknobs (the one on the inside and the one on the outside) so the strap bridges the gap of the door. Close the door firmly until it clicks. Give it a hard tug to ensure it is incredibly secure.
- Position yourself: Stand facing the edge of the door, holding the hanging loop of the strap with both hands. Step your feet slightly wider than your hips, toes pointing outward at a 45-degree angle.
- Descend slowly: Hold the strap tightly and slowly bend your knees, keeping your weight sitting back into your heels. Imagine you are sliding down an invisible wall. Let the strap take your weight as you lower your hips down toward the floor.
- Settle and release: Once you are in a deep squat, let your arms straighten slightly so you are leaning back into the strap. Do not hold yourself up with your legs. Let the strap hold you. Close your eyes, and visualize your sit bones spreading wide. Stay here for 5 to 10 deep breaths.
- To come up: Do not just push up with your legs. Use your arms to pull on the strap, engaging your glutes to slowly rise back to a standing position.
Method 2: The Partner-Supported Squat
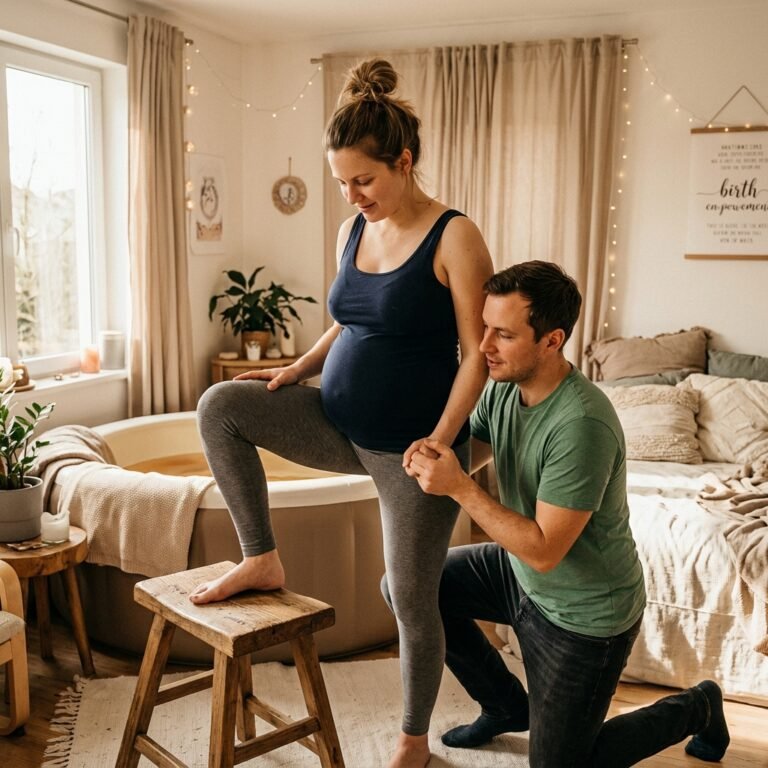
This is a beautiful way to connect with your partner and practice a position you might actually use during labor.
- The Wrap: Have your partner stand facing you, with a wide, grounded stance. Take the strap and wrap it around your lower back/sacrum, passing the two ends forward under your arms.
- The Hold: Hand the ends of the strap to your partner. They will hold the ends firmly and lean back slightly to act as a counterweight.
- The Squat: Slowly lower down into your deep squat, trusting your partner and the strap to hold your weight. Keep your chest lifted and your heels on the ground.
- The Connection: As you hold the squat, have your partner maintain steady tension. You can rest your hands on their knees or forearms. Breathe together. When you are ready, have your partner gently pull on the strap to help assist you back up to standing.
Step-by-Step: Reclined Bound Angle (Supta Baddha Konasana) Strap Hack
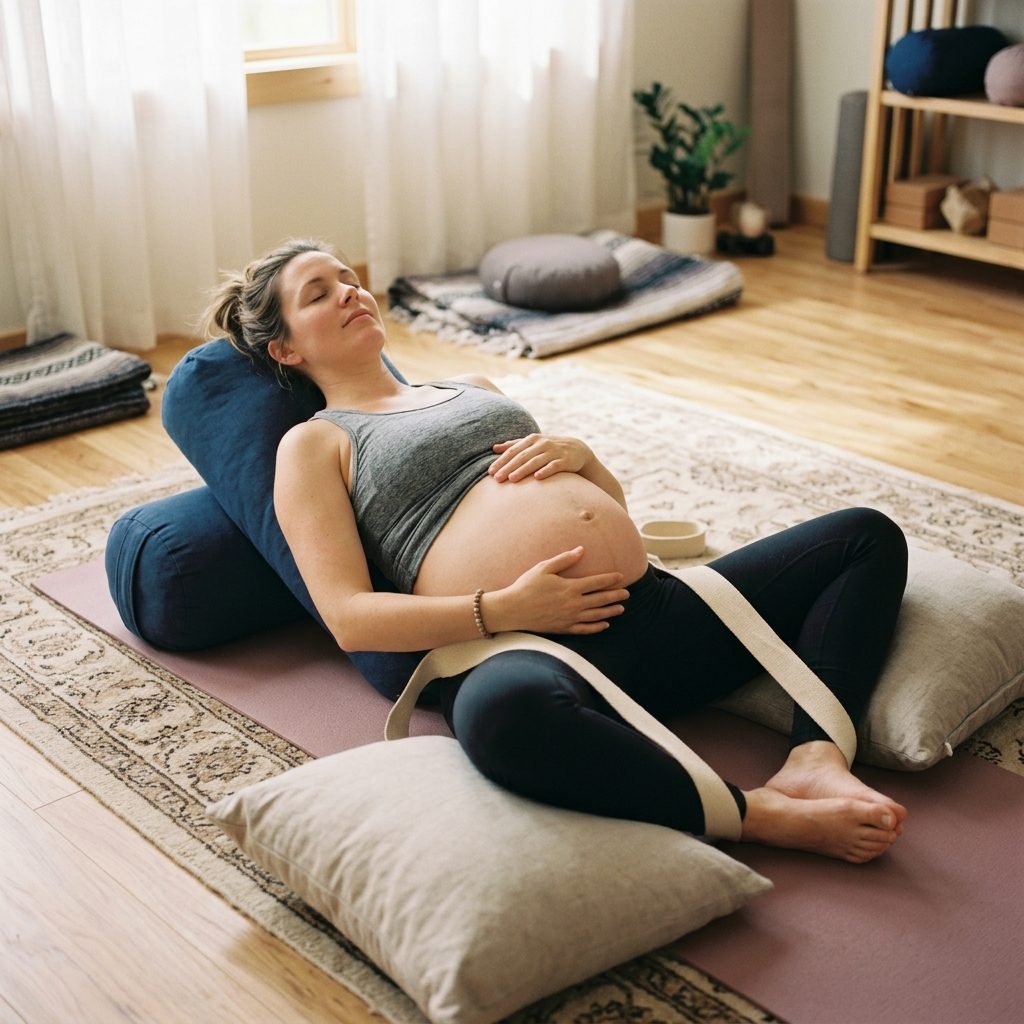
Sometimes, even a supported squat is too much effort. By the end of the day, your feet are swollen, your back aches, and you just want to lie down. This is where the Reclined Bound Angle pose becomes your best friend. It is a deeply restorative pose that gently opens the hips and encourages the pelvic floor to completely unravel, but holding the legs in position can cause inner thigh strain. The yoga strap hack fixes this perfectly.
How to Set Up Your Reclined Release
- Create a large loop: Thread your strap through the D-rings to create a large circle. You want it to be as wide as possible to start.
- Position your body: Sit on your yoga mat or a firm bed. Bring the soles of your feet together in a butterfly position, letting your knees drop open to the sides. Place a thick pillow or a yoga bolster behind you to support your back and head. (Remember, in late pregnancy, we avoid lying flat on our backs for long periods, so prop yourself up at a comfortable 30 to 45-degree angle).
- Place the strap: Take the large loop and place it over your head and shoulders, bringing it all the way down to your lower back. The back of the strap should rest right across your sacrum (the flat, bony part just above your tailbone)—not your waist or your lower spine.
- Secure your feet: Bring the front part of the loop forward, passing it over the top of your thighs, and hook it underneath your feet (around the outer edges of your pinky toes).
- Adjust the tension: Gently pull the tail of the strap to tighten the loop. You want it tight enough that the strap is holding your feet securely against your pelvis, but not so tight that it feels restrictive.
- Add support: Place a rolled-up towel, a yoga block, or a firm pillow underneath each knee or thigh. This is crucial! If your knees are hanging in mid-air, your inner thighs will tense up to protect your joints. The props allow your legs to heavily surrender.
- Lie back and melt: Lean back onto your bolster or pillows. Rest your hands on your beautiful belly. With the strap holding your legs and the pillows supporting your knees, your pelvic floor has absolutely no choice but to soften and let go.
Try this script in your mind as you rest here: “My body is safe. My baby is safe. I am making space. I am softening for birth.”
Stay in this luxurious, supported pose for 10 to 15 minutes, practicing your deep breathing. When you are ready to come out, loosen the strap first, then gently use your hands to guide your knees back together like closing a book.
Safety First: What’s Safe vs. What to Avoid When Releasing the Pelvic Floor
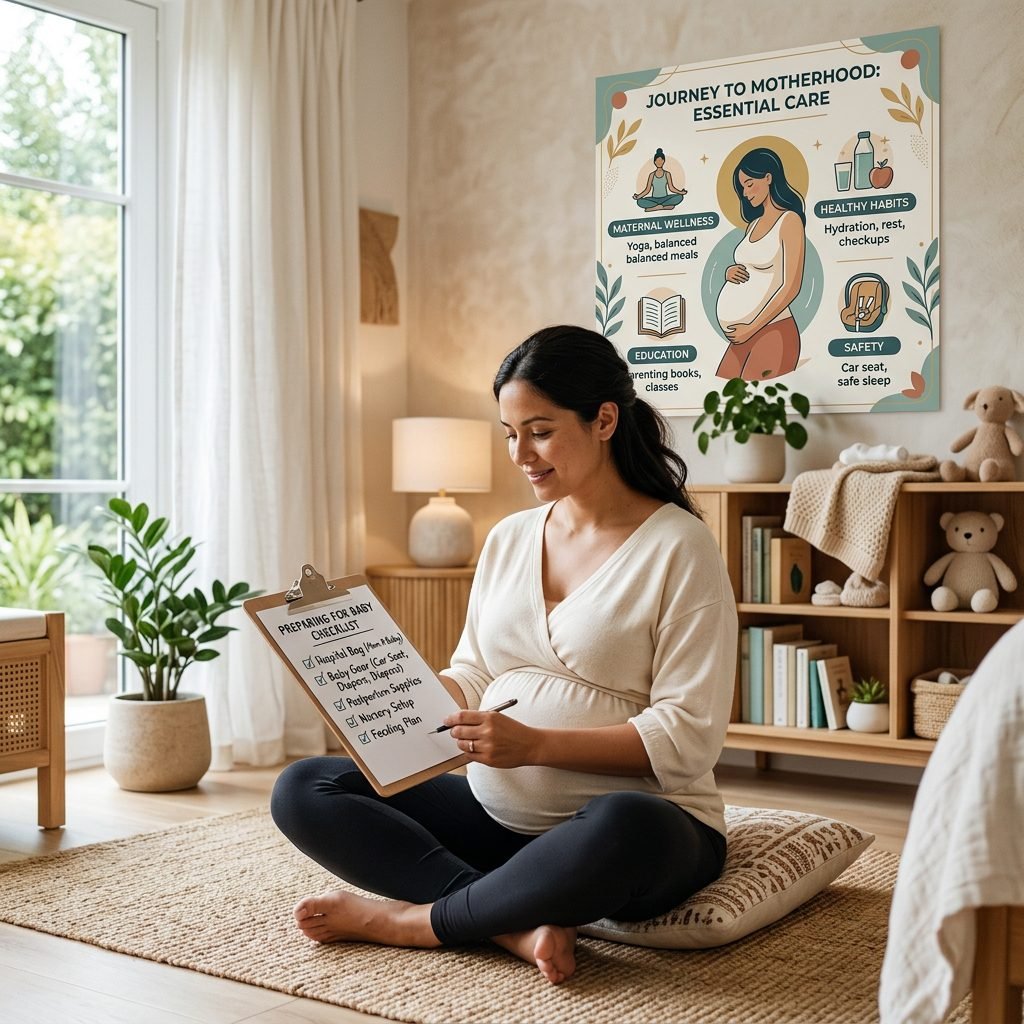
While releasing the pelvic floor is incredibly beneficial, your body is in a delicate state of transition during the third trimester. Because of the hormone relaxin, it is very easy to overstretch your ligaments without realizing it until the next day. We always want to prioritize safety, stability, and comfort. Here is a clear, doula-approved guide on what to embrace and what to avoid when practicing these strap-supported releases.
| Safe Practices (Do This) | Unsafe Practices (Avoid This) |
|---|---|
| Using props generously. Always use pillows, bolsters, and blocks under your knees during seated or reclined poses. | Hanging in mid-air. Never let your knees or hips hang without support, which forces muscles to clench and overwork. |
| Listening to your body’s limits. Stop at the first sign of a stretch, aiming for a gentle 4/10 sensation, not a 10/10 pull. | Pushing into pain. Never push through sharp pain, joint clicking, or deep pelvic aching. Stretching should feel relieving, not painful. |
| Practicing daily for short periods. 10-15 minutes a day of gentle release is far better than a grueling 60-minute session. | Overstretching. Because of relaxin, you can easily overstretch ligaments, leading to pelvic girdle pain (PGP) or symphysis pubis dysfunction (SPD). |
| Squatting if baby is head down. Deep squats are excellent for encouraging a head-down baby to descend into the pelvis. | Deep squats if baby is breech. If your baby is breech after 34 weeks, avoid deep squats as they can encourage the baby to settle into the pelvis bottom-first. |
| Focusing on deep, diaphragmatic breathing. Using your breath to actively massage and release the pelvic floor muscles. | Holding your breath. Clenching your jaw or holding your breath instinctively tightens the pelvic floor. |
Always remember that your body is the ultimate guide. If a position feels wrong, awkward, or causes a pinching sensation, gently come out of it. There is no “pushing through the pain” in prenatal wellness. Comfort is your compass.
The Missing Piece: Diaphragmatic Breathing for Pelvic Floor Relaxation

We have covered the physical tools and the poses, but there is one crucial element that makes the yoga strap techniques actually work: your breath. You can strap yourself into a perfect squat, but if you are shallow breathing into your chest and clenching your jaw, your pelvic floor will remain locked tight. The diaphragm (the primary muscle of breathing, located under your ribs) and the pelvic floor are intimately connected. They act like a piston system in your body.
The Breath-to-Pelvis Connection
When you inhale deeply, your diaphragm moves downward to make room for your expanding lungs. Because your belly is full of baby, that downward pressure has to go somewhere—so it travels down to your pelvic floor. A proper, deep inhale naturally stretches and lengthens the pelvic floor muscles. When you exhale, the diaphragm moves back up, and the pelvic floor gently recoils.
The “Blooming Flower” Visualization
To maximize the release while you are in your strap-supported squat or reclined bound angle, try this beautiful visualization technique:
- The Inhale (The Bloom): Close your eyes and place your hands on the sides of your ribcage. Take a slow, deep breath in through your nose, expanding your ribs outward like an umbrella opening. Visualize a closed flower bud resting at the base of your pelvis. As the breath travels down, imagine the petals of that flower slowly opening and blooming outward. You should feel a subtle, physical dropping or bulging sensation in your perineum. This is exactly what we want!
- The Exhale (The Soft Return): Slowly exhale through your mouth with soft, relaxed lips (like you are blowing out a candle or sighing). Imagine the flower petals gently folding back in. Do not actively squeeze or do a Kegel here; just let the natural recoil of your breath bring the muscles back to a resting state.
- The Jaw Connection: Keep your jaw completely relaxed. The sphincter muscles of the jaw and the sphincter muscles of the pelvis are connected via the fascia in your body. An open, relaxed jaw equals an open, relaxed pelvis. Try keeping your lips slightly parted or making low, deep vocalizations (like “horse lips” or low moans) as you exhale.
Aim to practice 10 to 20 cycles of this deep diaphragmatic breathing while using your yoga strap. It is one of the most powerful ways to prepare your mind and body for the sensations of labor.
Your Body is Ready, Mama

As you navigate these final, heavy weeks of pregnancy, please remember to give yourself an abundance of grace. Your body is doing exactly what it needs to do to bring your baby into the world. By taking just ten minutes a day to use a yoga strap, support your weight, and consciously release your pelvic floor, you are giving yourself a profound gift of comfort and preparation.
You are teaching your body that it is safe to yield. You are practicing the art of surrender—a skill that will serve you beautifully not just in labor, but in the wild, wonderful journey of postpartum motherhood that follows. Trust your instincts, lean on your support systems (and your yoga straps!), and know that you are incredibly strong, even when you are practicing how to be soft.
Wishing you a peaceful, empowered, and deeply supported birth experience. You’ve got this, mama.
Conclusion
Thank you for letting me be a part of your birth preparation journey. Remember, every pregnancy is wonderfully unique. Take what serves you from this guide, leave what doesn’t, and always listen to the quiet wisdom of your own body.