5 Cozy DIY Under-Stairs Nursery Nook Ideas for Tiny Homes and Small Spaces
Embracing the Magic of Small Spaces
Hello, sweet mama. If you are reading this, you are likely in the thick of the ‘nesting’ phase, that beautiful, sometimes frantic urge to prepare a safe harbor for your little one. But what if your ‘harbor’ feels more like a tiny boat? Whether you are living in a charming tiny home, a compact city apartment, or just a house where every bedroom is already claimed, I want you to take a deep breath. You do not need a 200-square-foot master suite to create a sanctuary for your baby.
As a doula, I have seen babies thrive in the most unconventional spaces. What a newborn truly needs is proximity to you, a safe place to sleep, and an environment curated with love. That awkward, dusty triangular void under your staircase? It is not just wasted square footage; it is a hidden gem waiting to be polished. In this guide, we are going to walk through 5 cozy DIY under-stairs nursery nook ideas that prioritize safety, ergonomics, and that ‘Pinterest-perfect’ aesthetic without the massive footprint.
Your baby won’t remember the square footage of their first room, but they will feel the warmth and peace you poured into every corner.
Foundations First: Preparing Your Under-Stairs Canvas
The Structural and Safety Audit
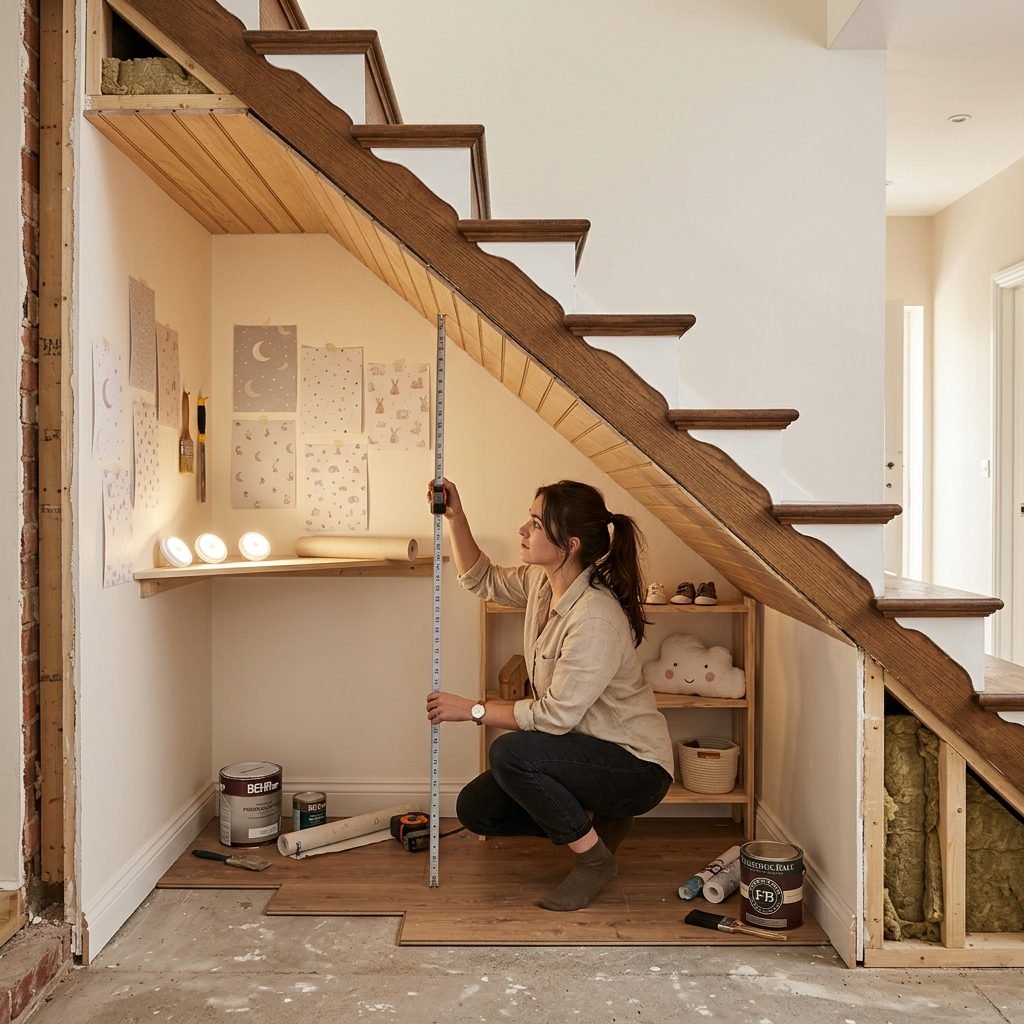
Before we dive into the beautiful aesthetics, we need to talk about the ‘bones’ of your nook. Designing under a staircase requires a bit more foresight than a standard room. As your sister-in-health and design, I want to ensure this space is as safe as it is cute.
Airflow and Ventilation
Stairwells can sometimes become ‘dead zones’ for air circulation. To keep your baby comfortable and reduce the risk of SIDS, ensure the nook isn’t completely enclosed. If you plan on adding a curtain or a sliding door, choose breathable fabrics like linen or cotton muslin, and never leave the space fully sealed while the baby is sleeping.
Lighting the Way
Under-stairs spaces are notoriously dark. Since you’ll be doing middle-of-the-night diaper changes and feedings, lighting is crucial. I recommend a three-tier approach:
- Ambient Lighting: Battery-operated LED puck lights or a dimmable wall sconce.
- Task Lighting: A small, focused lamp near the changing area.
- Safety Lighting: A low-wattage nightlight so you don’t trip on your way in.
| Feature | Small Space Solution | Why It Matters |
|---|---|---|
| Flooring | Interlocking foam tiles + Washable rug | Provides cushion and easy cleanup for spit-ups. |
| Walls | Light-colored peel-and-stick wallpaper | Brightens the dark alcove and adds personality. |
| Ceiling | Smooth finish or fabric drape | Prevents dust from the stairs from falling into the crib. |
Idea #1: The ‘Dreamland’ Sleeping Alcove
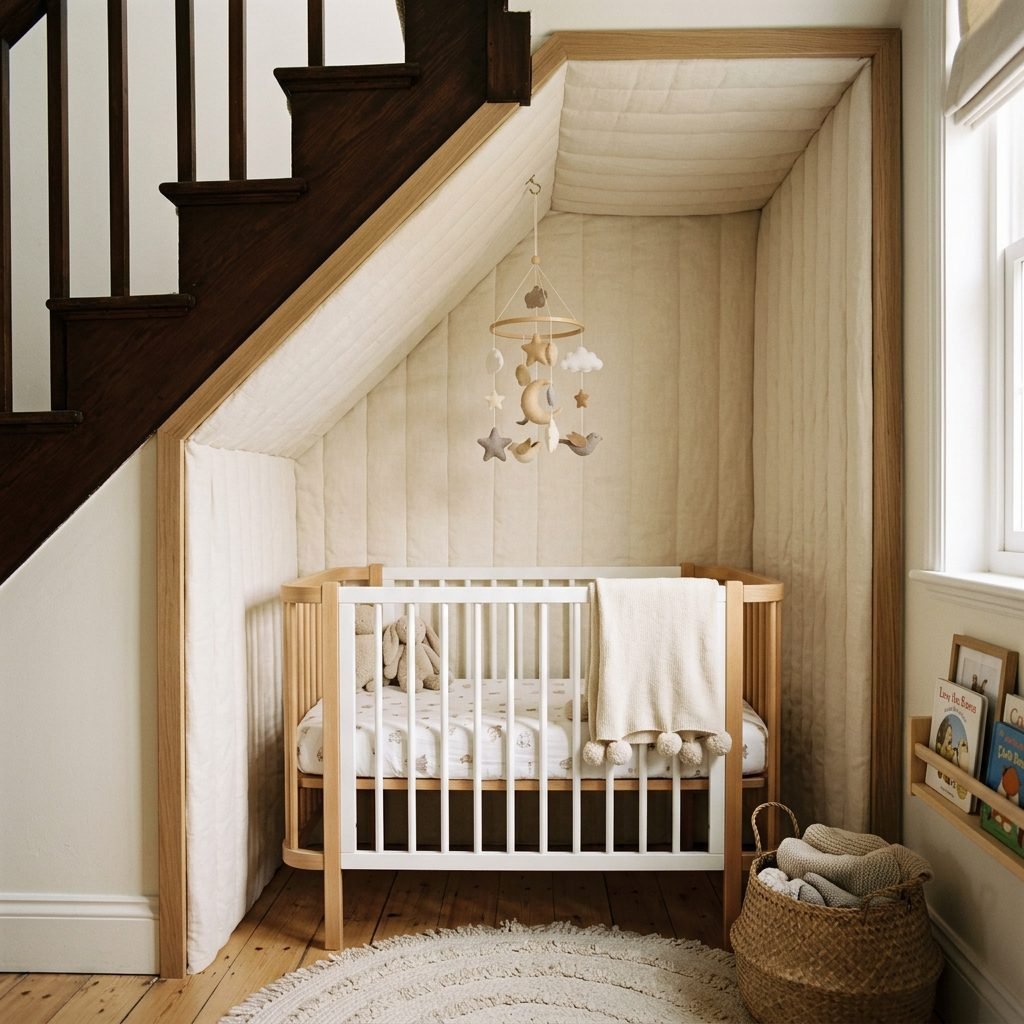
Maximizing the Slope for Sleep
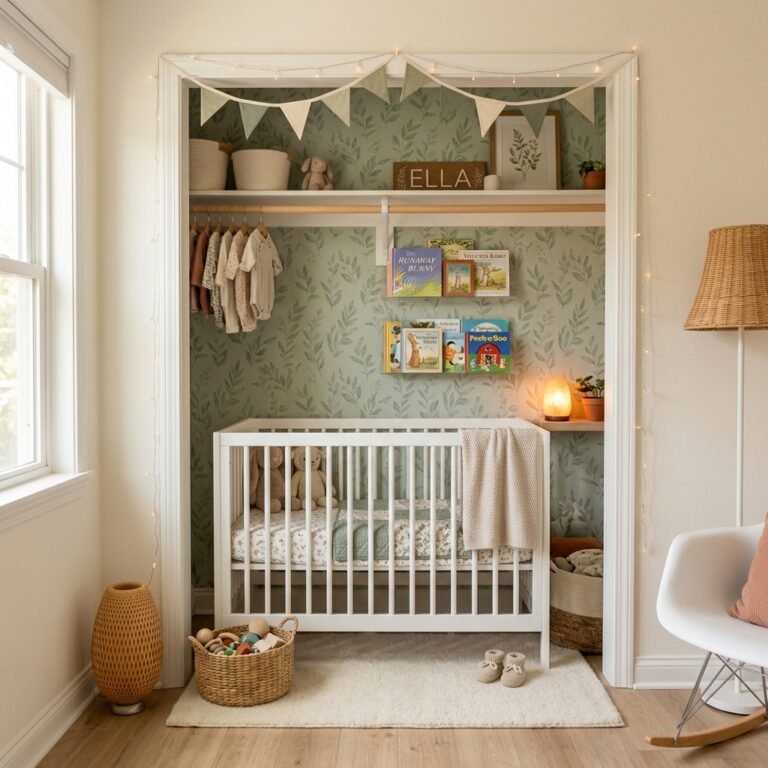
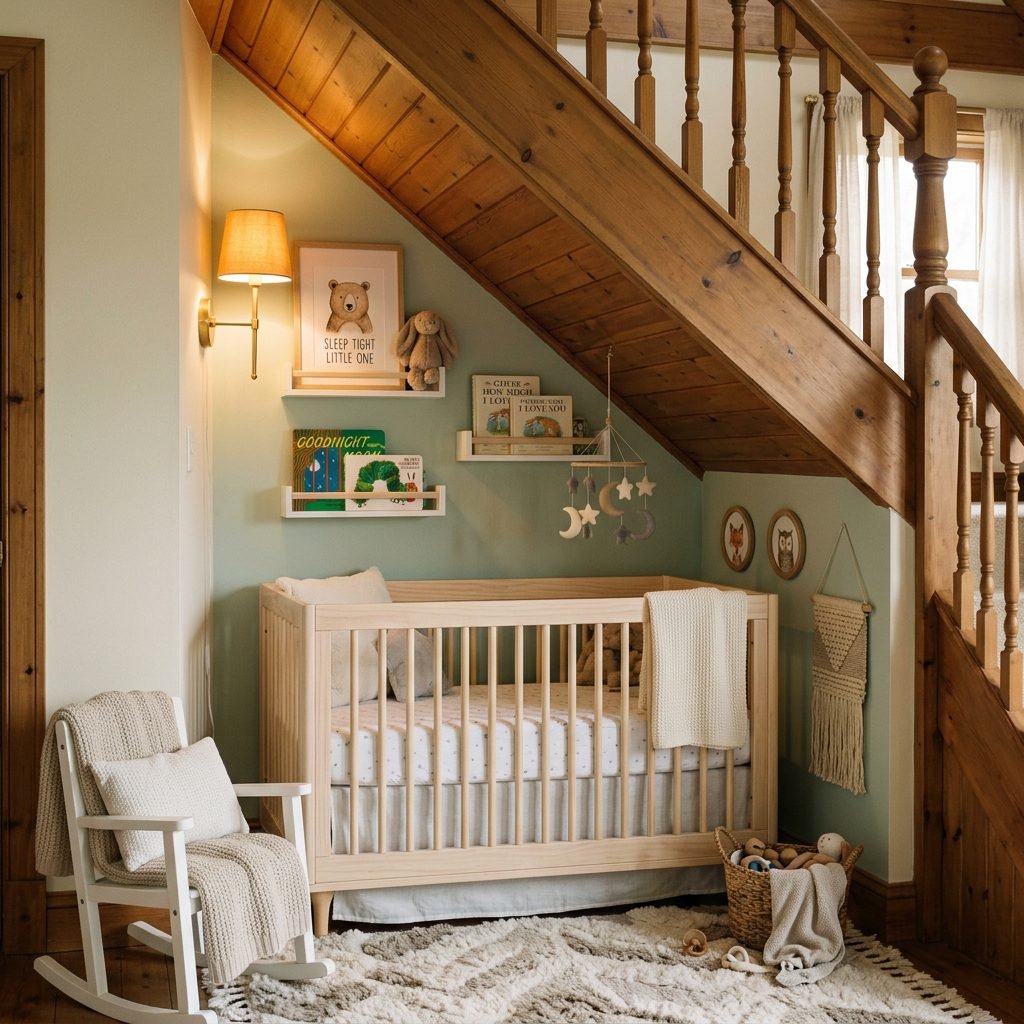
The most common use for an under-stairs nook is a dedicated sleep zone. The key here is choosing a crib that fits the unique ‘slope’ of your stairs. A standard full-size crib rarely works here, so we look to mini-cribs or bassinets.
The DIY Setup
Place the head of the mini-crib at the highest point of the slope. This allows you to reach in and scoop up your little one without hitting your head. Use the lower part of the slope for integrated storage baskets that hold extra swaddles and sleep sacks.
Doula Tip: The ‘Ceiling’ Shield
Because stairs are high-traffic areas, tiny particles of dust or debris can sometimes vibrate down from the treads. I highly recommend lining the ‘ceiling’ of your nook (the underside of the stairs) with a solid piece of plywood or a heavy-duty decorative fabric to create a barrier between the foot traffic and your baby’s lungs.
Affirmation: This space is a cocoon of safety. My baby is protected, loved, and peaceful here.
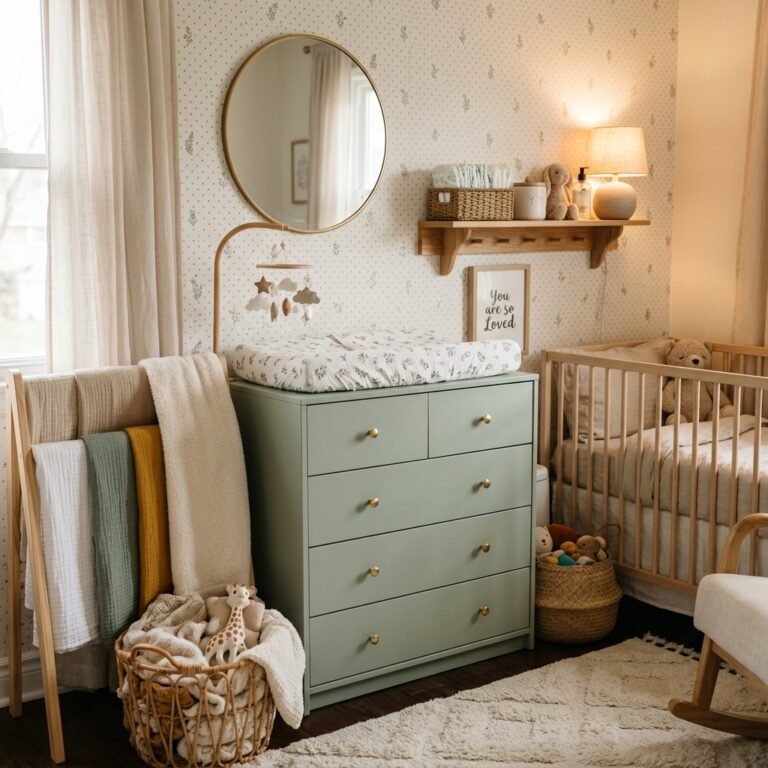
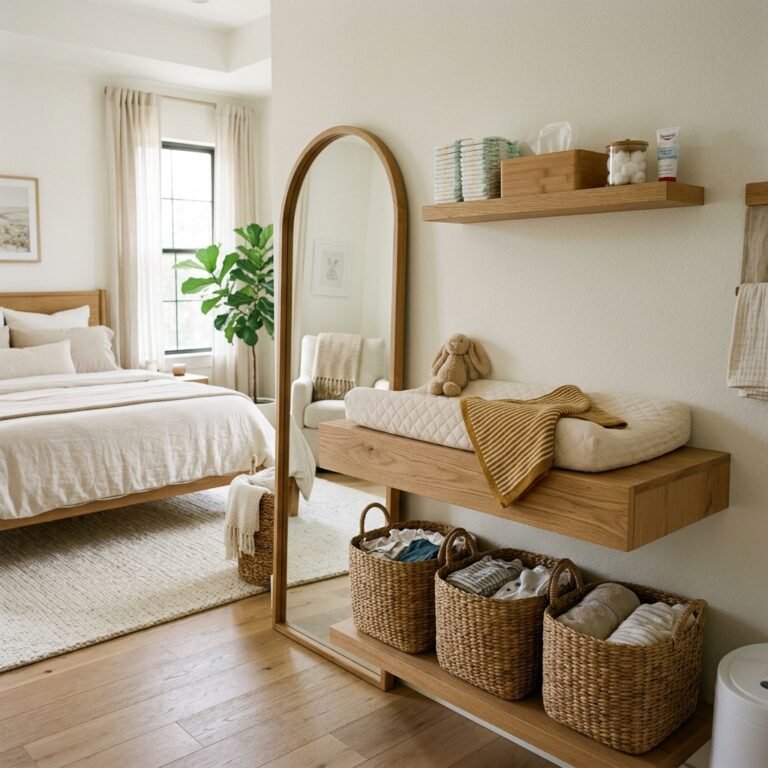
Idea #2: The ‘Zen Station’ Changing & Care Nook
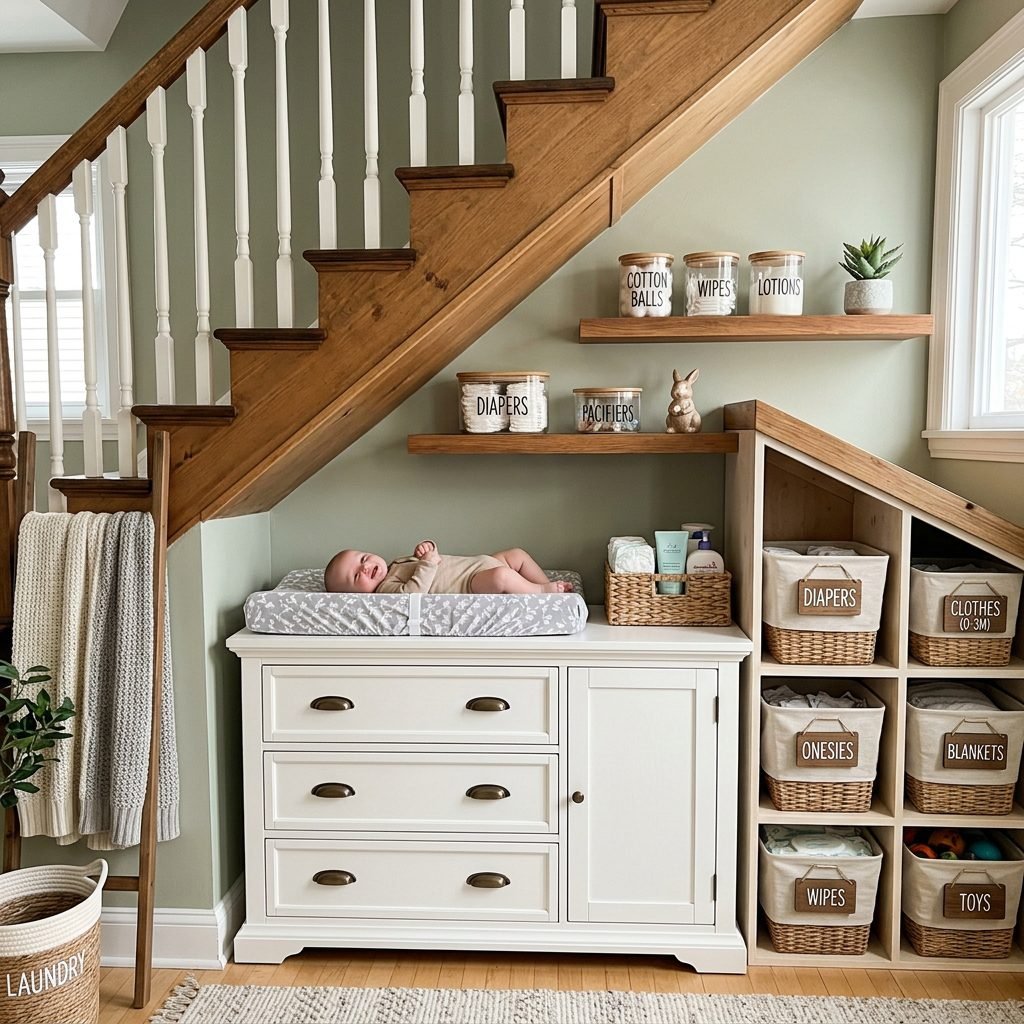
Ergonomics in Tight Quarters
If you already have a bassinet in your bedroom, use the under-stairs space as your primary changing and health station. This keeps the ‘messy’ part of baby care out of your main living area.
The IKEA Hemnes or Kallax Hack
A shortened IKEA Kallax unit (2×2) is often the perfect height for a changing table. By adding 4-inch furniture legs, you can bring it to an ergonomic height that saves your back—essential for postpartum recovery! Use the cubbies below for diapers, wipes, and those adorable tiny socks.
Organization is Your Best Friend
In a small space, clutter feels twice as big. Use acrylic drawer organizers to separate onesies by size and keep health essentials (thermometer, nasal aspirator, vitamin D drops) in a specific ‘grab-and-go’ bin.
| Item | Storage Location | Frequency of Use |
|---|---|---|
| Diapers/Wipes | Top Shelf/Caddy | Every 2-3 hours |
| Burp Cloths | Middle Basket | Constantly! |
| Seasonal Clothes | Under-crib bins | Once a month |
| Medical Kit | High shelf (out of reach) | As needed |
Idea #3: The ‘Storybook Secret’ Reading Grotto
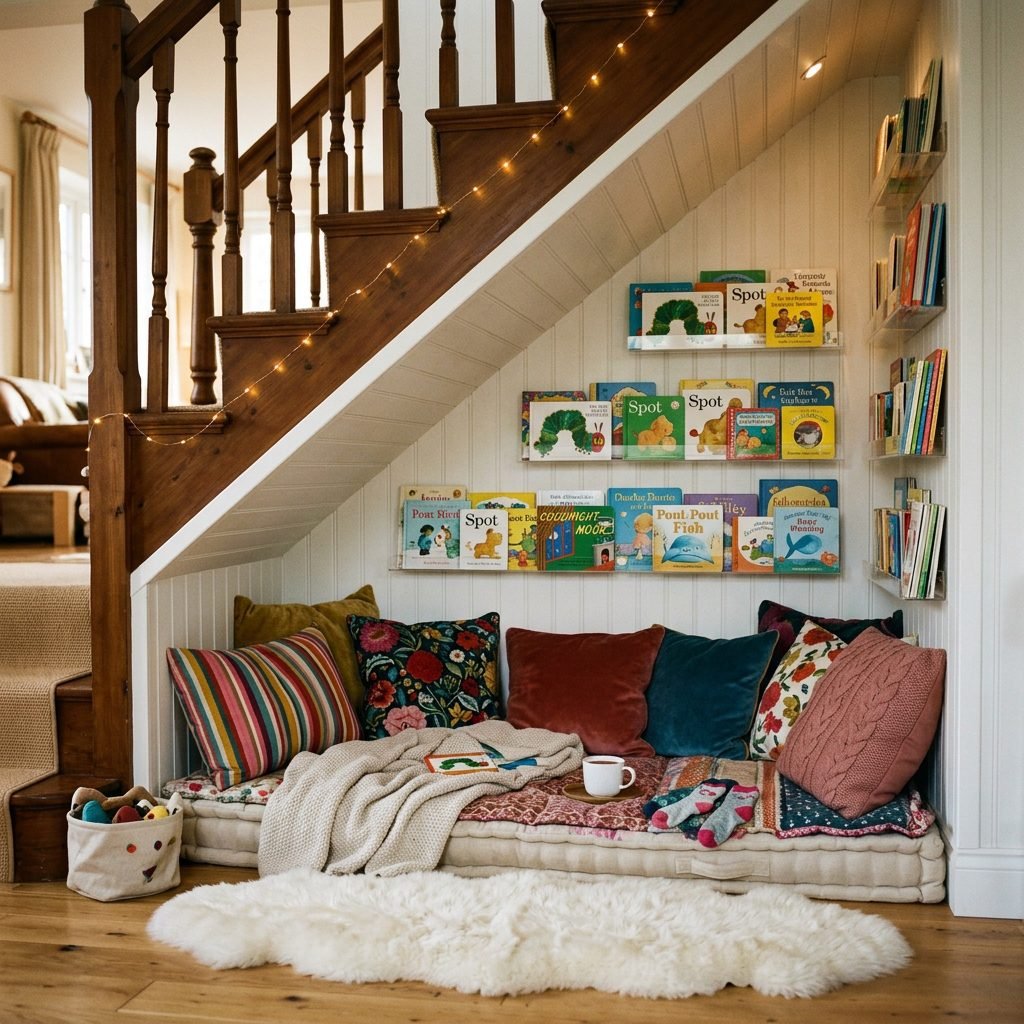
Fostering Early Literacy and Connection
One of the most beautiful ways to use a low-ceiling under-stairs space is as a sensory reading nook. Since you and the baby will likely be sitting on the floor, the height restriction isn’t an issue.
The Setup
- Layer the Comfort: Start with a thick rug, add a sheepskin (real or faux), and finish with several large floor pillows.
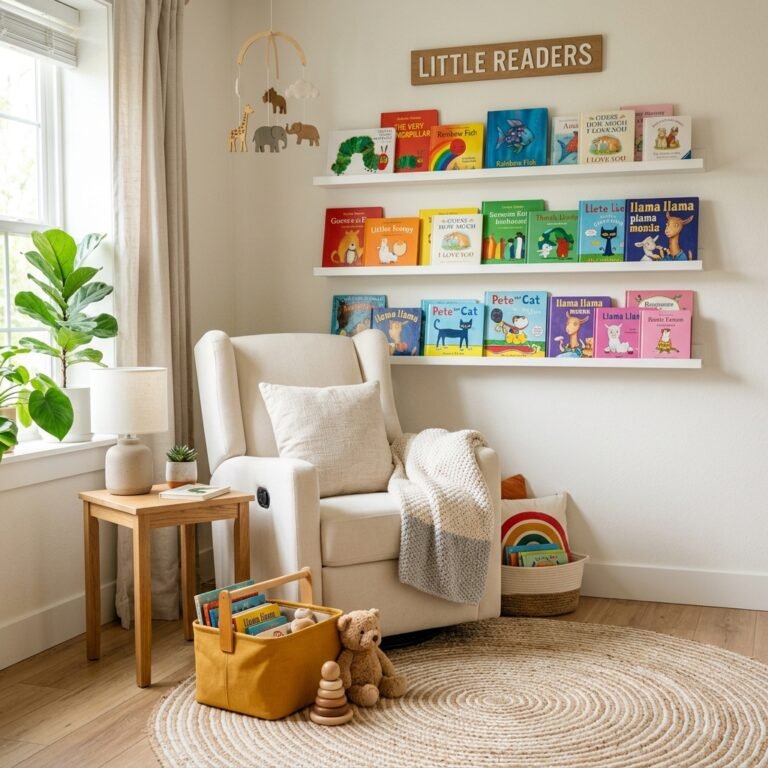
- Vertical Libraries: Use acrylic floating bookshelves on the side walls. These are ‘invisible,’ making the space feel larger while displaying the colorful covers of children’s books.
- Soft Textures: Hang a small canopy from the highest point to create a ‘tent’ feel that babies find incredibly soothing.
As a pediatric sleep consultant, I love this idea because it creates a clear ‘wind-down zone’ separate from the sleeping area. Reading in the same spot every night helps signal to your baby’s brain that sleep is coming.
Idea #4: The ‘Mini-Montessori’ Sensory Play Zone
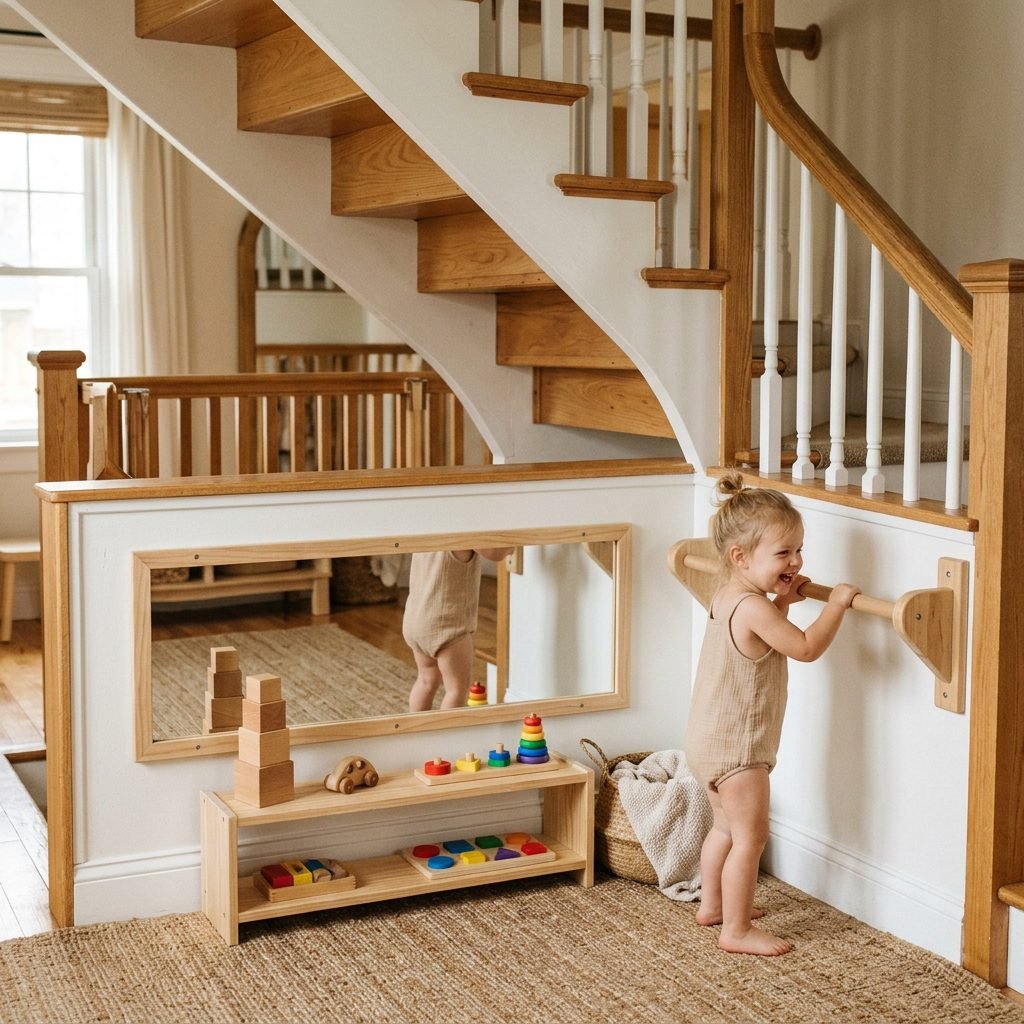
Developmental Play in a Micro-Space
Tiny homes often lack a dedicated ‘playroom.’ Your under-stairs nook can serve as a curated Montessori play space that grows with your child from the newborn stage through toddlerhood.
The Visual Stage (0-4 Months)
Mount a shatterproof acrylic mirror low on the wall. Place your baby on their tummy in front of it. This encourages head control and self-discovery. Hang high-contrast (black and white) art cards on the walls at the baby’s eye level.
The Reaching Stage (4-8 Months)
Install a low ‘pull-up bar’ (a sturdy wooden towel bar works perfectly!) along the back wall. This helps your baby eventually pull themselves up to a standing position. Keep only 3-5 high-quality toys out at a time to prevent sensory overload.
- Texture Wall: Attach different fabrics (velvet, silk, corduroy) to a board for tactile exploration.
- Low Shelves: Use the lowest part of the stair slope for ‘open-faced’ toy storage.
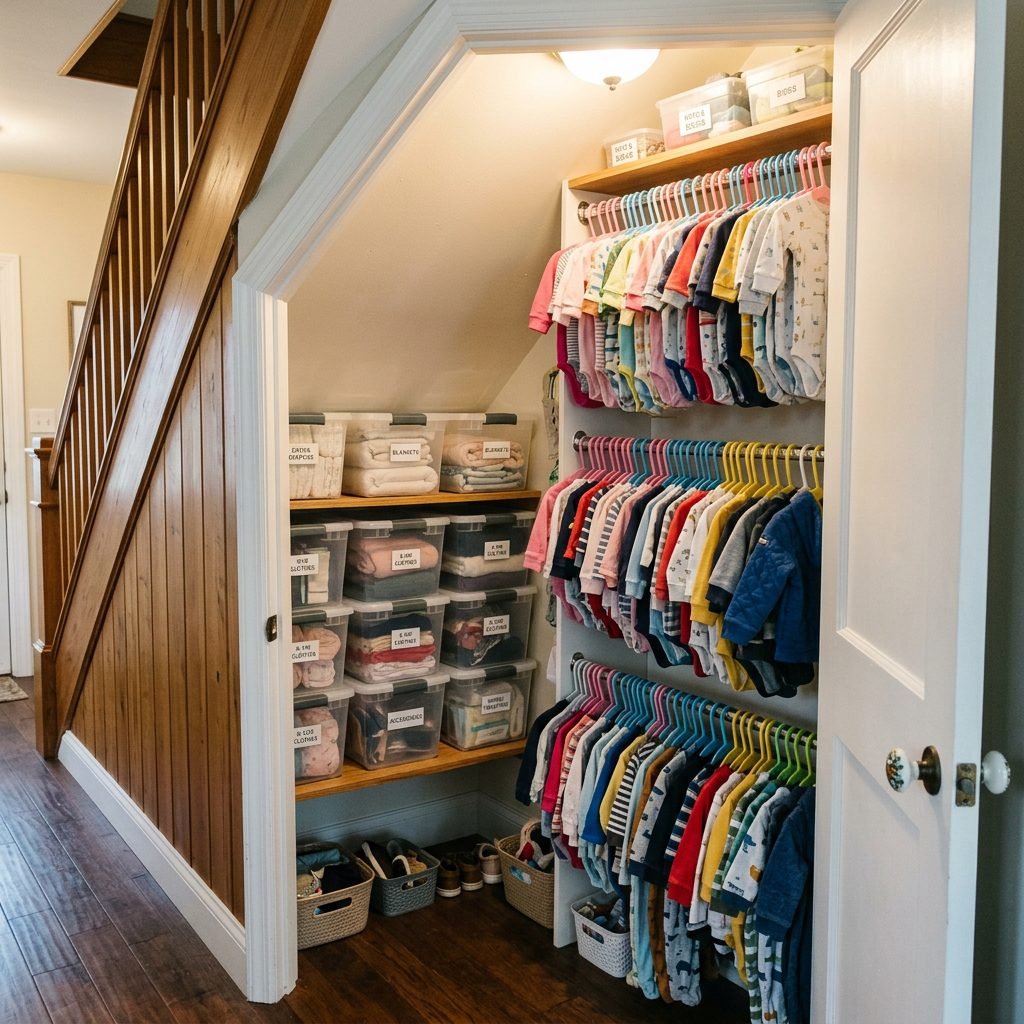
Idea #5: The ‘Micro-Wardrobe’ and Gear Gallery
Maximizing Vertical and Depth Potential
If you are blessed with a deep under-stairs space, use it as a walk-in baby closet. This frees up dresser space in your bedroom or living area.
The Double-Rod System
Baby clothes are tiny! You can easily fit two or even three rows of hanging rods in the tallest part of the staircase void. Use the ‘dead space’ at the very back for items you don’t use daily, like the bulky stroller bassinet attachment or extra boxes of diapers.
The ‘Next Size Up’ Bin System
Moms, we all know how fast they grow. Use the deepest, hardest-to-reach corner of the nook for clear bins labeled ‘3-6 Months,’ ‘6-9 Months,’ and ‘To Donate.’ This keeps your active wardrobe manageable and organized.
Sisterly Advice: Don’t feel pressured to fill every inch. A little ‘white space’ allows the room to breathe and makes it easier for you to find what you need during those blurry newborn days.
Conclusion
Small Space, Big Love
Creating an under-stairs nursery nook is a testament to your creativity and your commitment to your baby. Whether you’ve built a tiny sleeping sanctuary or a cozy reading grotto, remember that the most important element of any nursery is the person standing in it. Your baby doesn’t need a sprawling mansion; they need your scent, your voice, and your presence.
As you finish your DIY project, take a moment to sit in the space. Feel the peace you’ve created. You are doing an incredible job, mama. Welcome to the beautiful journey of parenthood, where we learn that sometimes, the smallest spaces hold the most room for love.