How to Create a Beautiful Custom Wardrobe with an IKEA Havsta Cabinet Hack
Embracing the Nesting Season with Style
Oh, mama, I see you. You’re in that beautiful, slightly frantic, and deeply emotional phase of nesting. Your heart is full, your feet might be a little swollen, and your mind is racing with all the things you need to prepare for your little one’s arrival. One of the biggest challenges we face in those early months—and even as the years go by—is finding a place for all those tiny, adorable, but surprisingly numerous baby items. From the mountain of onesies to the stacks of muslin swaddles, storage is the unsung hero of a peaceful nursery.
As a doula and a fellow mom, I know that your environment deeply impacts your mental well-being during the postpartum period. A cluttered room often leads to a cluttered mind. That is why I am so passionate about the IKEA Havsta Cabinet Hack. Unlike the thinner MDF used in other IKEA lines, the Havsta is made of solid pine, giving it the weight, durability, and ‘heirloom’ feel that your baby’s room deserves. In this guide, we are going to walk hand-in-hand through the process of turning a standard cabinet into a custom, high-end wardrobe that looks like it cost thousands of dollars, but was actually built with your own two hands (and maybe a little help from a partner or friend).
Why the Havsta is the Doula-Approved Choice for Your Nursery
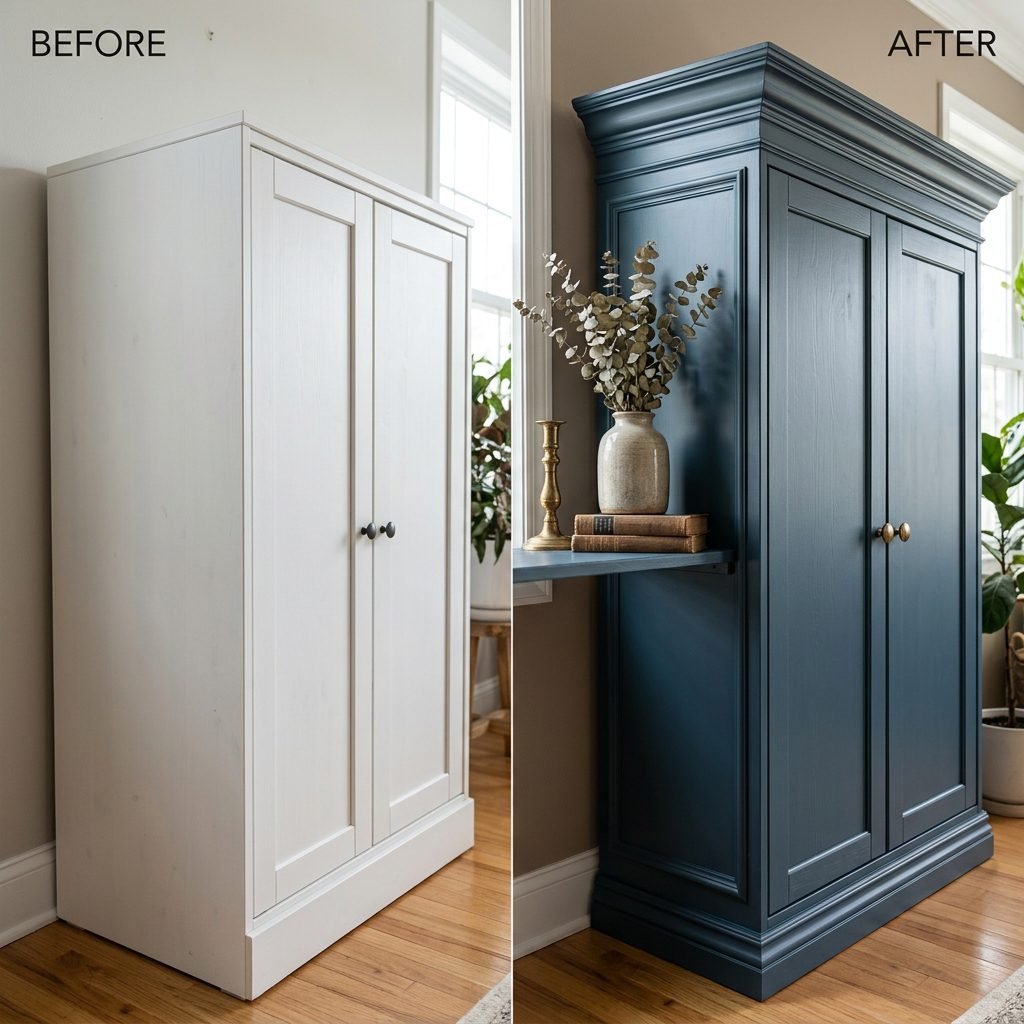
When we talk about nursery furniture, we have to talk about longevity and safety. Many of the ‘nursery-specific’ wardrobes on the market are either prohibitively expensive or made of materials that won’t survive the toddler years. The Havsta series is a game-changer because it is solid wood. This means it can be sanded, stained, and painted much more effectively than laminate furniture.
Benefits of Choosing Havsta Over Other IKEA Lines
- Structural Integrity: It can support the weight of heavy storage bins and hanging clothes without bowing.
- Customization: The wood grain takes paint beautifully, allowing for a professional finish.
- Safety: Because it is heavy and solid, it provides a stable base (though wall anchoring is still non-negotiable!).
Before we dive into the ‘how-to,’ let’s look at how this hack compares to standard nursery storage solutions.
| Feature | Standard Plastic Bins | Basic IKEA Billy | Custom Havsta Hack |
|---|---|---|---|
| Durability | Low | Medium | High (Solid Wood) |
| Aesthetic | Utilitarian | Simple | High-End Designer |
| Adjustability | None | Limited | Fully Customizable |
| Resale Value | Low | Moderate | High |
Remember, sweet mama: your nursery doesn’t need to be perfect; it just needs to be a soft place for you and your baby to land. Creating this wardrobe is a labor of love that will serve you for years.
Step 1: Planning Your Layout for Maximum Organization
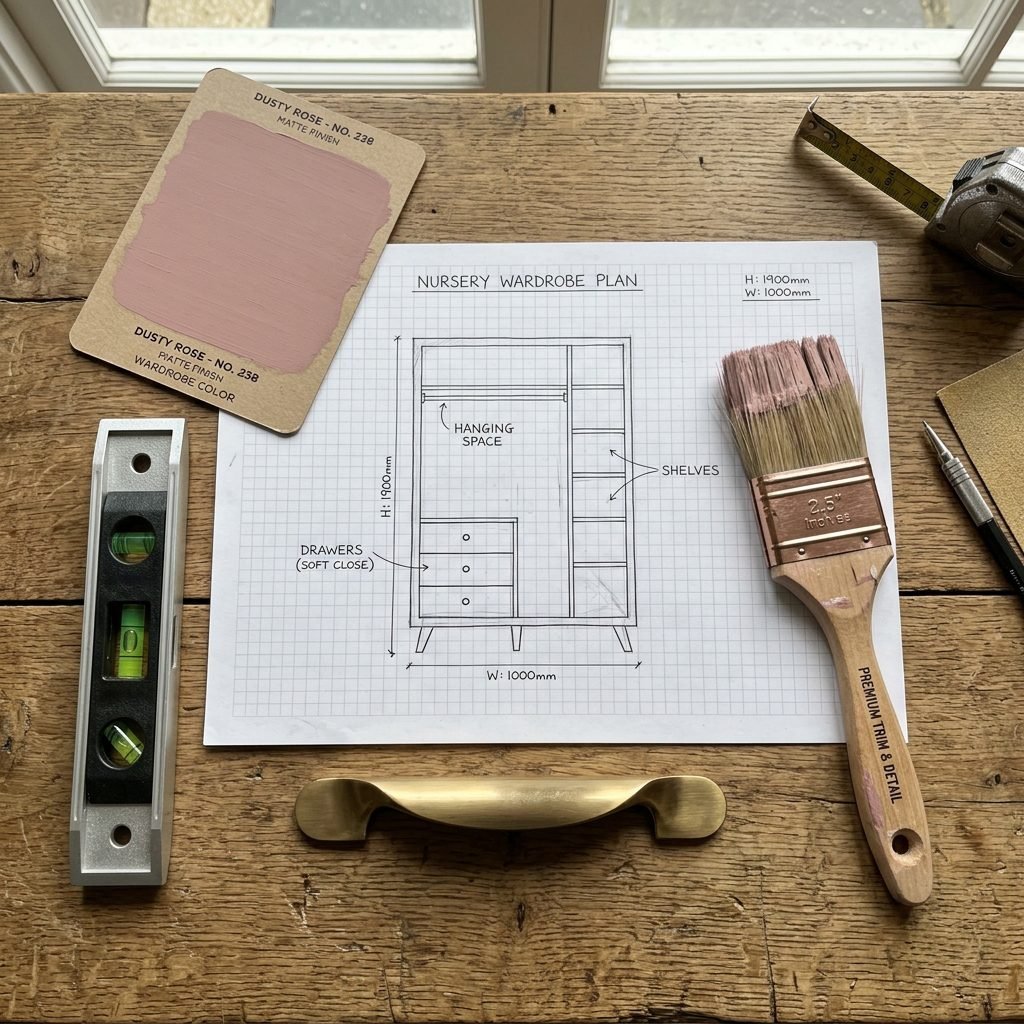
Designing for the Future
The secret to a successful IKEA hack is in the planning. You aren’t just building a cabinet; you are building a system. Think about what you need to store right now (diapers, newborn gowns, wipes) versus what you’ll need in a year (toddler shoes, heavier coats, toys).
The Dimensions You Need to Know
The standard Havsta cabinet comes in various heights and widths. For a wardrobe hack, I recommend the tall cabinet with plinth. This gives you the vertical space needed for hanging rods. Measure your wall space twice! You want to ensure you have enough clearance for the doors to swing open fully without hitting the crib or your rocking chair.
Materials Needed for the Hack
- IKEA Havsta Cabinet (with or without glass doors, depending on your preference).
- Hanging Rods: Look for adjustable tension rods or small wooden dowels.
- High-Quality Primer: Essential for the paint to stick to the pre-finished wood.
- Low-VOC Paint: Crucial for nursery air quality.
- Custom Hardware: Brass or ceramic knobs can instantly elevate the look.
Step 2: The Build—Sanding, Priming, and Painting
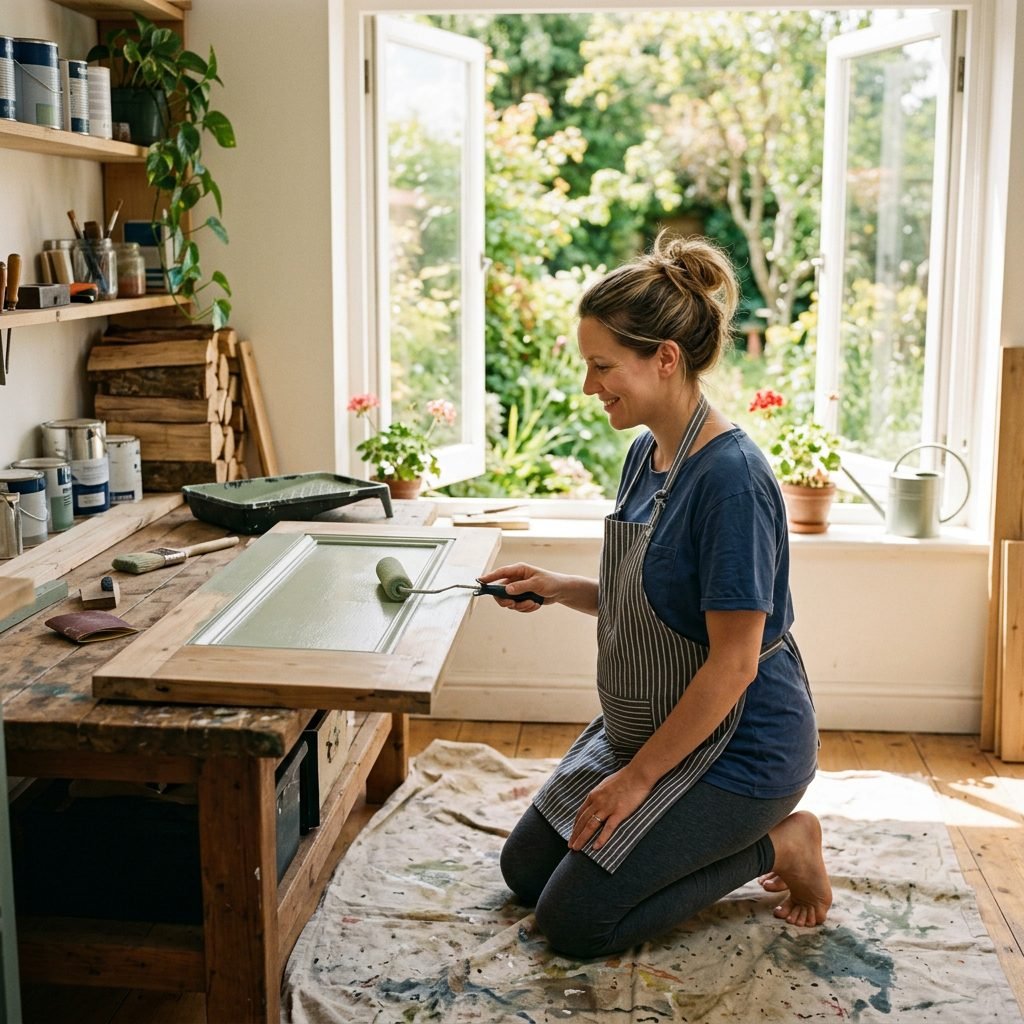
Creating a Safe and Beautiful Finish
This is where the magic happens. To get that ‘custom-built’ look, we need to move away from the ‘out of the box’ IKEA finish. Since you may be pregnant or have a newborn nearby, safety is our top priority.
The Painting Process
- Light Sanding: Use a fine-grit sandpaper (220 grit) to lightly scuff the surface. This creates ‘teeth’ for the primer to grab onto.
- Cleaning: Wipe down every inch with a tack cloth or a damp microfiber towel. Any dust left behind will ruin your smooth finish.
- Priming: Use a shellac-based primer like Zinsser BIN. It blocks any tannins from the pine and ensures the paint won’t peel.
- Painting: Apply 2-3 thin coats of your chosen color. I always recommend a Satin or Semi-Gloss finish for nurseries because it’s much easier to wipe away those inevitable sticky handprints!
Sisterly Tip: If you are currently pregnant, please ensure you are in a well-ventilated area, wear a mask, and better yet—delegate the heavy sanding and priming to a partner or friend. You focus on the ‘artistic direction’!
Step 3: Customizing the Interior for Tiny Clothes
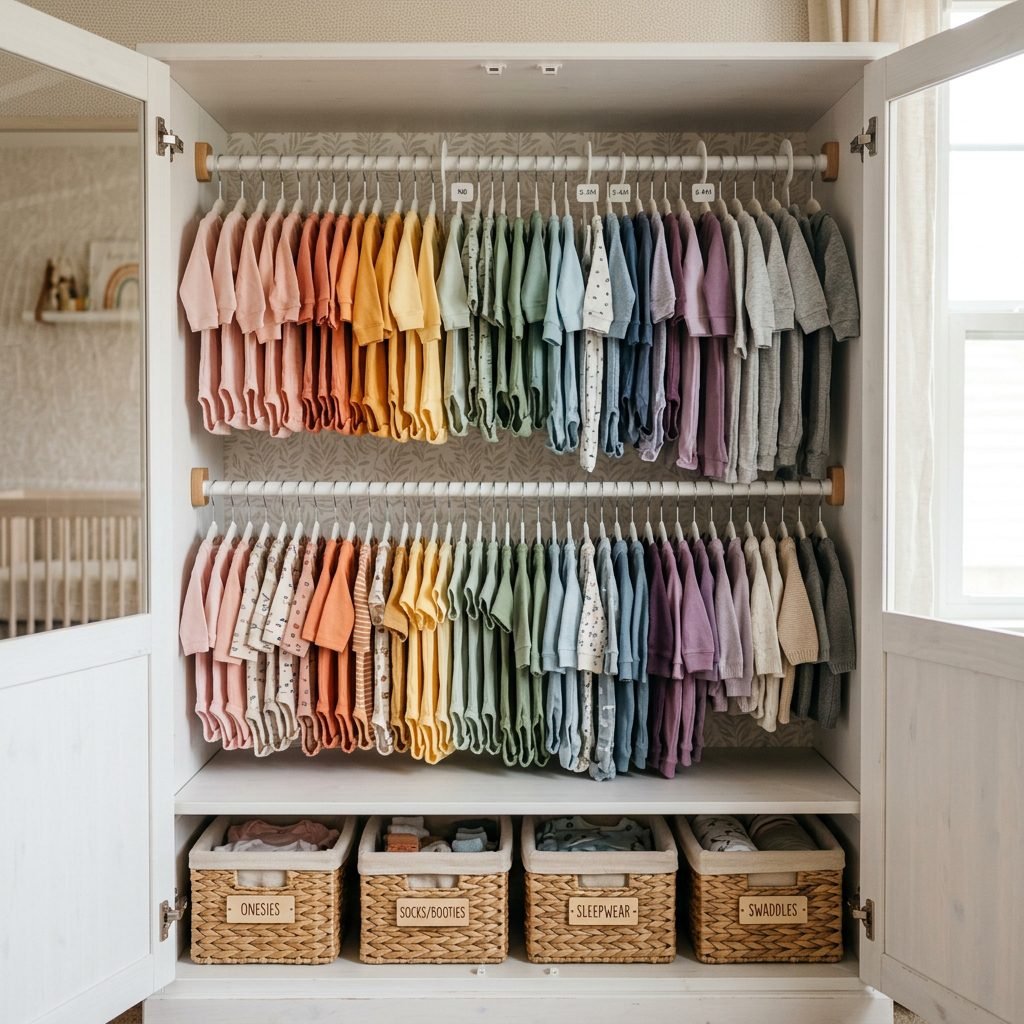
Maximizing Every Square Inch
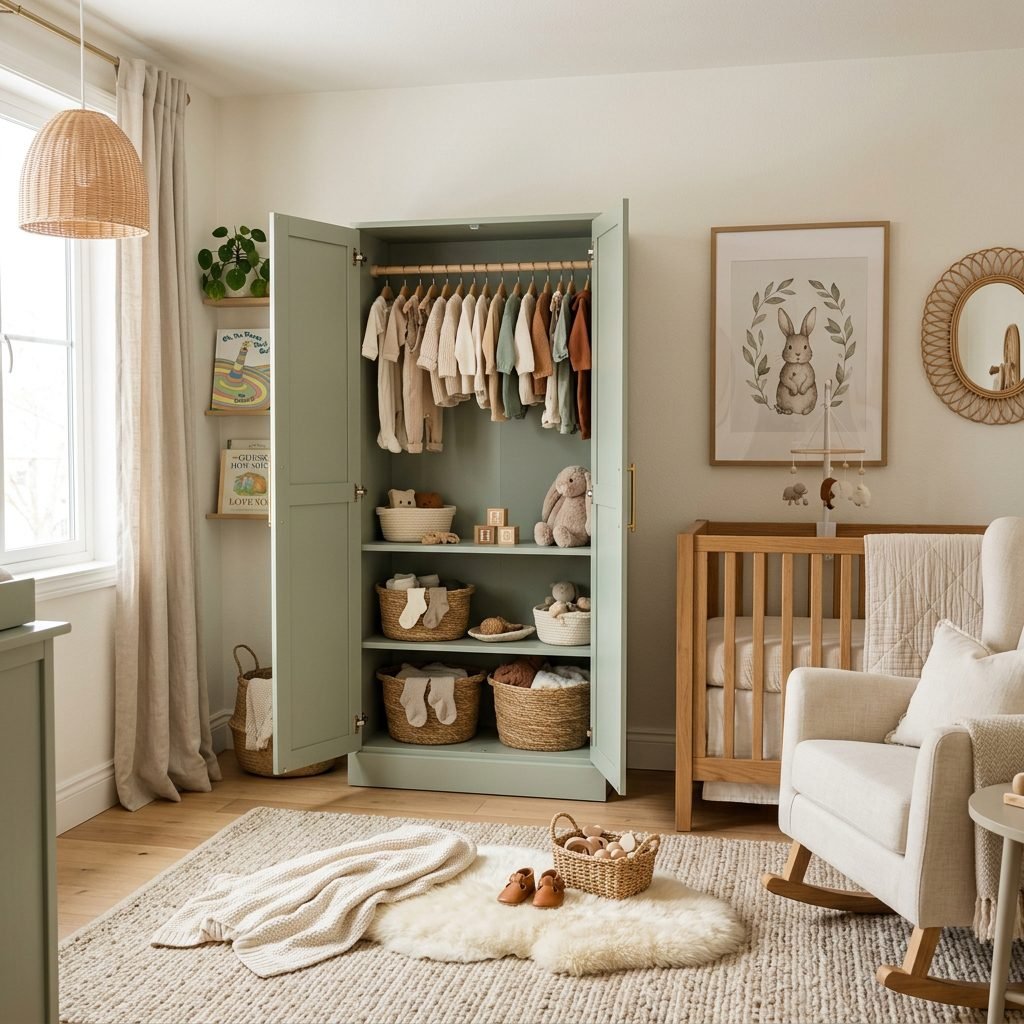
Standard wardrobes are designed for adult clothes, which means there is a lot of wasted space when you’re hanging tiny 0-3 month sleepers. The beauty of the Havsta hack is that we can double the hanging space.
The Double-Rod System
Install one hanging rod near the top and another about 24-30 inches below it. This allows you to have two rows of hanging clothes. Use the bottom of the cabinet for baskets that hold items like socks, hats, and shoes.
Storage Solutions Table
| Item Type | Best Storage Method | Accessibility Rank |
|---|---|---|
| Daily Onesies | Hanging (Eye Level) | 1 (High) |
| Swaddles/Blankets | Rolled in Baskets | 2 (Medium) |
| Next-Size-Up Clothes | Top Shelf (Bins) | 3 (Low) |
| Diaper Backstock | Bottom Cabinet | 1 (High) |
By categorizing your storage this way, you save your back from constant bending—a small detail that makes a huge difference during postpartum recovery!
Step 4: The Glow-Up—Hardware and Molding
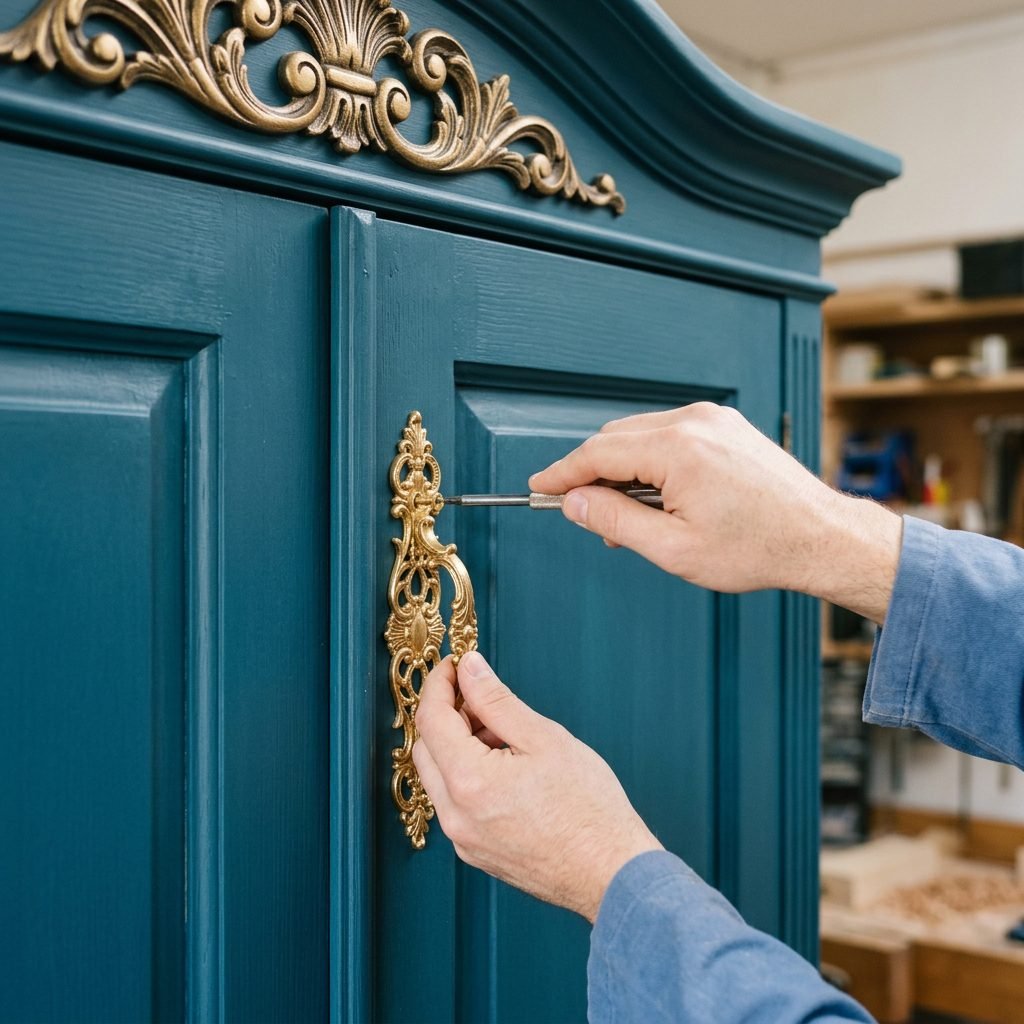
The Finishing Touches that Scream ‘Custom’
If you want people to ask, ‘Where did you buy that gorgeous piece?’ the secret is in the details. Adding crown molding to the top of the Havsta or a decorative baseboard can seamlessly integrate the piece into your room’s architecture.
Hardware Selection
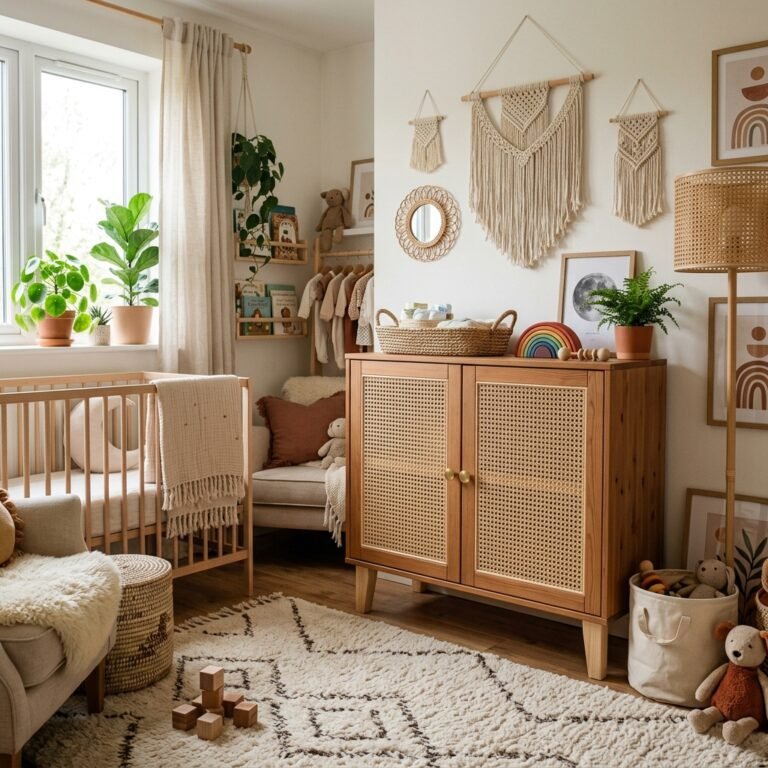
Swap out the standard IKEA knobs for something with character. Unlacquered brass, matte black, or even leather pulls can change the entire vibe of the room. If you’re going for a vintage or ‘grandmillennial’ look, consider adding cane webbing to the door panels. It’s a simple DIY: soak the cane, staple it to the back of the door frame, and as it dries, it tightens into a professional-looking finish.
Lighting Hacks
Don’t forget the ‘wow’ factor! Install battery-operated, motion-sensor LED strip lights inside the cabinet. When you open the doors for those middle-of-the-night outfit changes after a diaper blowout, you’ll be able to see exactly what you’re grabbing without waking the baby with bright overhead lights.
The Doula’s Guide to Ergonomic Nursery Organization
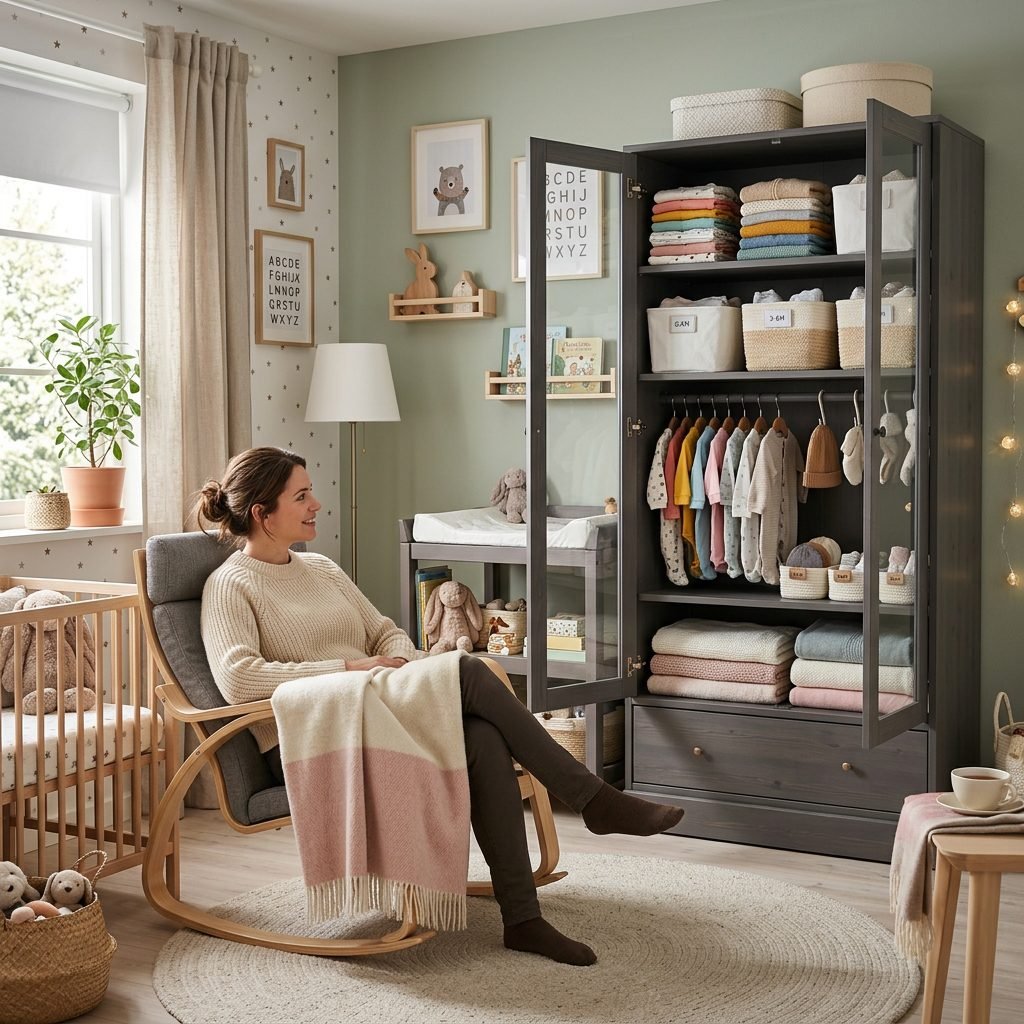
Caring for Your Body While Caring for Baby
As a doula, I have to remind you: how you organize your furniture affects your physical recovery. After birth, your core is healing, and your back is often strained from nursing and carrying. Your custom Havsta should work for you, not against you.
Ergonomic Tips
- Keep ‘Frequent Flyers’ at Waist Height: Diapers, wipes, and the current size of onesies should be between your hips and shoulders to avoid excessive bending or reaching.
- Use Lightweight Bins: Avoid heavy wooden crates inside the wardrobe. Opt for fabric or soft seagrass baskets that are easy to pull out with one hand while holding a baby in the other.
- Label Everything: In the ‘sleep deprivation haze,’ you won’t remember which basket has the 6-month sleep sacks. Use pretty, handwritten labels or a label maker to help your partner (and yourself!) find things quickly.
Setting up your wardrobe this way is an act of self-care. You are making future-mom’s life just a little bit easier.
Conclusion
Your Dream Nursery Awaits
Creating a custom wardrobe with an IKEA Havsta hack is more than just a DIY project; it is a way to pour your love and anticipation into the very walls of your baby’s room. You’ve taken a simple piece of furniture and transformed it into a functional work of art that reflects your style and meets your family’s unique needs. As you stand back and look at the finished product—the soft paint, the gleaming hardware, and the rows of tiny clothes—take a deep breath and acknowledge the incredible work you are doing. You are building a home, a sanctuary, and a life for your little one. You’ve got this, mama!