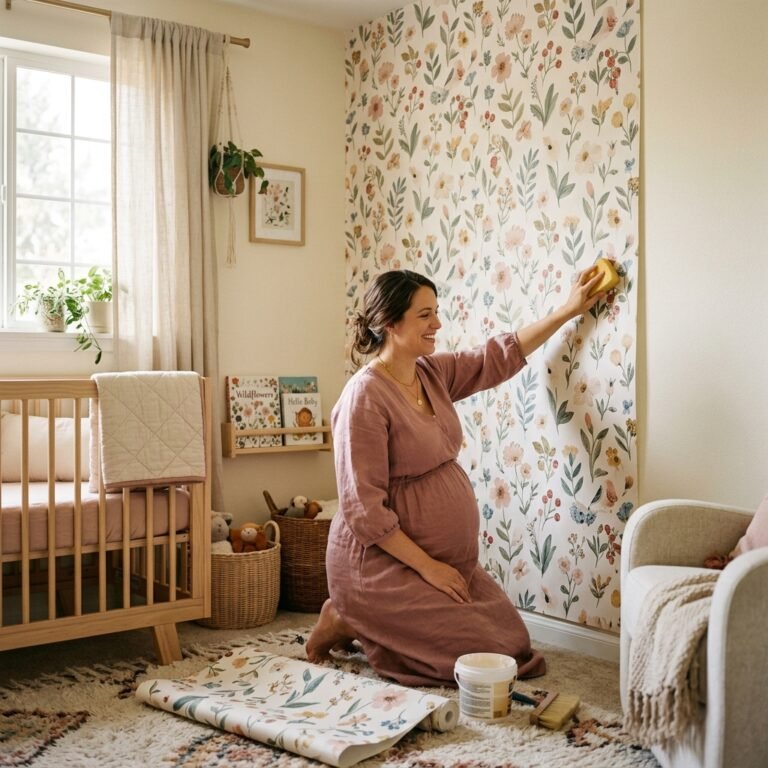
Smart Layouts: 5 Floor Plans for a Minimalist Nursery Corner in Your Master Bedroom
Welcome, mama! Whether you are living in a cozy city apartment, awaiting a home renovation, or simply want to keep your sweet little one close for those first precious months, creating a nursery corner in your master bedroom is a beautiful, practical choice. As a doula, I’ve seen firsthand how room-sharing can ease the transition into parenthood, simplifying those 2:00 AM feedings and providing a profound sense of security for both you and your baby. You don’t need a sprawling, Pinterest-perfect separate room to provide a nurturing environment. In fact, a minimalist approach often leads to a calmer, less cluttered mind—something every new mother deserves.
The American Academy of Pediatrics recommends room-sharing for at least the first six months to reduce the risk of SIDS, but the challenge often lies in how to fit a whole human’s worth of gear into your sanctuary without it feeling like a chaotic storage unit. Today, we are going to walk through five intentional, smart layouts that respect your space and your style. We will focus on functional flow, vertical storage, and maintaining that restful master bedroom vibe while carving out a tiny, magical home for your newest addition.
Remember, sweet mama: Your baby doesn’t need a designer suite. They need your scent, your voice, and a safe place to rest their head. You are already doing a wonderful job.
The Philosophy of the Minimalist Nook
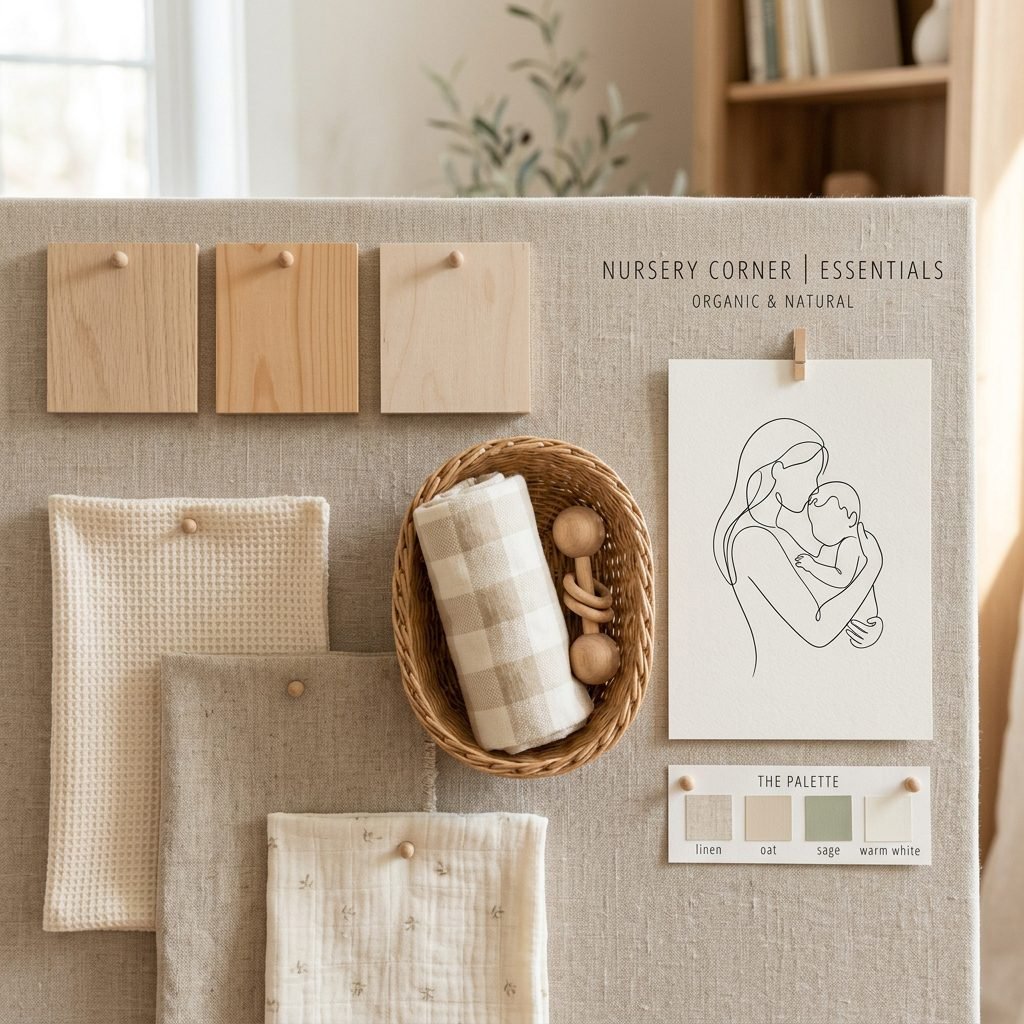
Embracing the ‘Less is More’ Mindset
Before we move the furniture, let’s talk about the heart of a minimalist nursery. Minimalism isn’t about having nothing; it’s about having exactly what you need and nothing more. In a shared bedroom, every square inch is prime real estate. By choosing multi-functional pieces and resisting the urge to buy every ‘must-have’ gadget, you create a space that breathes. This is especially vital for postpartum recovery, where a clear path to the bathroom and a clutter-free environment can significantly lower cortisol levels.
Benefits of a Shared Minimalist Space
- Enhanced Bonding: Hearing those tiny baby sighs nearby strengthens the maternal-infant bond.
- Easier Night Transitions: No more stumbling down a dark hallway; your baby is just a few steps away.
- Cost Efficiency: You avoid buying unnecessary furniture that your baby will outgrow in months.
- Simplified Cleaning: Fewer items mean less dusting and more time for skin-to-skin snuggles.
| Feature | Minimalist Approach | Traditional Approach |
|---|---|---|
| Crib Style | Mini-crib or Bassinet | Full-size Convertible Crib |
| Changing Station | Top of existing dresser | Standalone Changing Table |
| Storage | Vertical shelving & bins | Large Armoire |
| Decor | Functional art & soft textures | Extensive themed wall decals |
Layout 1: The Bedside Parallel (The Sidecar Approach)
Keeping Baby Within Arm’s Reach
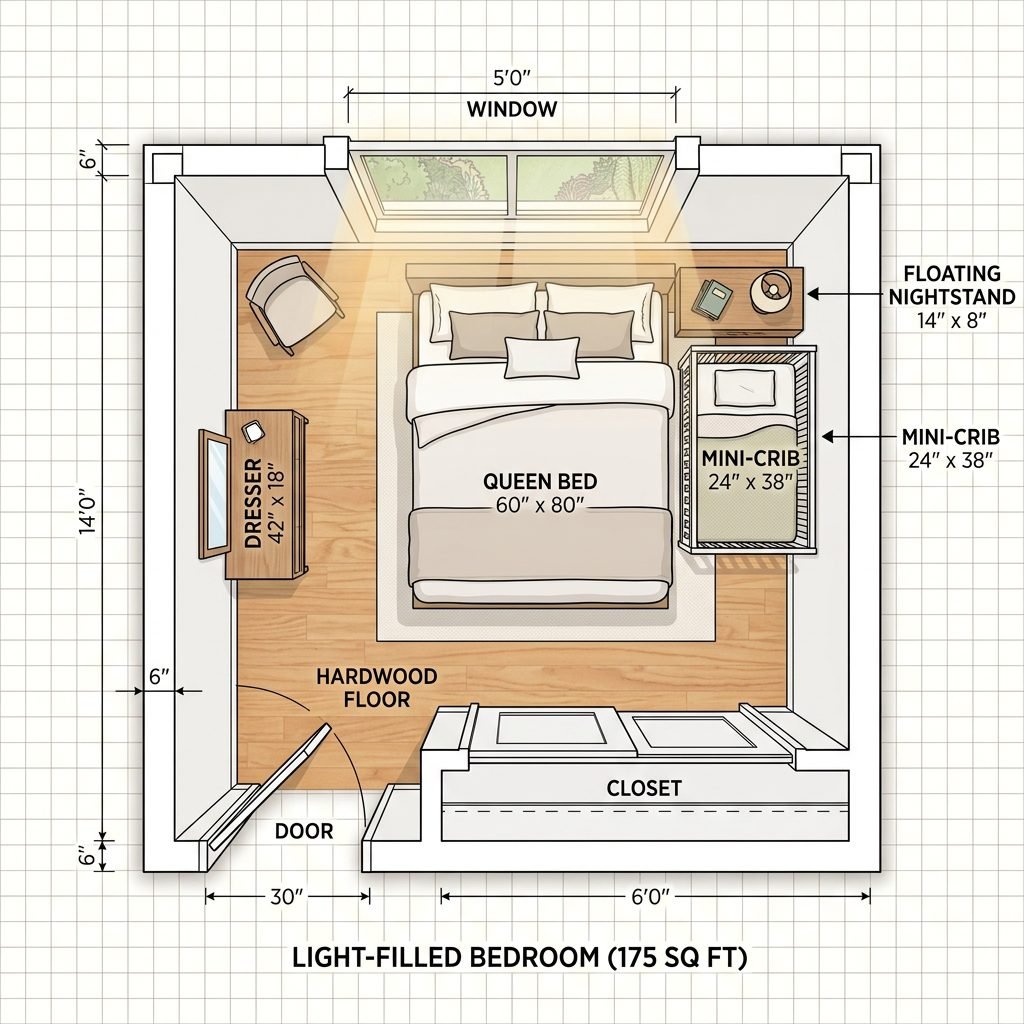
The Bedside Parallel layout is the gold standard for breastfeeding mothers and those recovering from a C-section. In this plan, the mini-crib or bassinet is placed directly parallel to your side of the bed. This creates a seamless transition for nighttime soothing without you having to fully stand up and walk. It mimics the closeness of co-sleeping while maintaining a firm, flat, separate sleep surface for safety.
How to Execute This Layout
Position your bed so there is at least 30 inches of space between the bed and the wall. Place a slim mini-crib in this gap. Instead of a bulky nightstand, use a small floating shelf or a ‘bedside caddy’ that hangs off your bed frame to hold your water bottle, phone, and nursing pads. This keeps the floor clear and the look streamlined.
- Best for: Small bedrooms with long walls.
- Pro Tip: Use a dimmable, clip-on reading light on the crib frame for low-light diaper changes.
- Safety Check: Ensure no loose bedding or pillows from your bed can fall into the baby’s sleep space.
Layout 2: The Foot-of-the-Bed Command Center
Maximizing the Unused Footprint
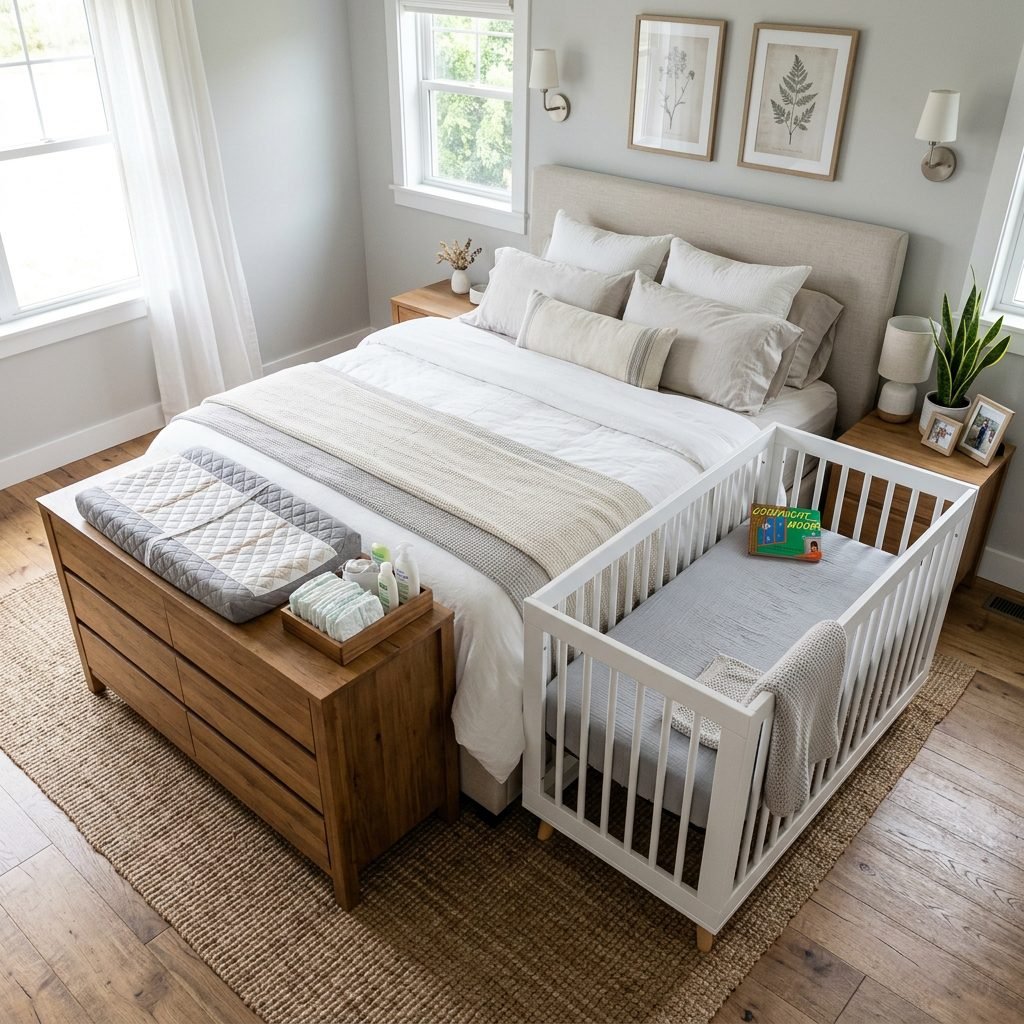
If your bedroom is narrow but long, the Foot-of-the-Bed Command Center is your best friend. Many parents overlook the space at the end of their bed, but it’s actually a perfect spot for a nursery zone. This layout keeps the sides of your bed open for easy entry and exit, which is a blessing when you’re navigating those first few weeks of physical healing.
Creating a Defined Zone
Place a low dresser at the foot of your bed and top it with a contoured changing pad. Next to the dresser, place the crib. This creates a ‘work triangle’ between your bed, the changing station, and the crib. To make it feel like a cohesive ‘nursery,’ you can lay down a small, plush rug that fits just under the crib and the dresser, visually separating the baby’s area from your sleeping area.
| Pros | Cons |
|---|---|
| Keeps walkways clear on both sides of the bed. | Requires a longer room to maintain walking space. |
| Centralizes all baby gear in one ‘station’. | Can feel slightly more ‘busy’ at the foot of the bed. |
| Allows both parents equal access to the baby. | Limits the use of a traditional footboard. |
Layout 3: The L-Shaped Cozy Corner
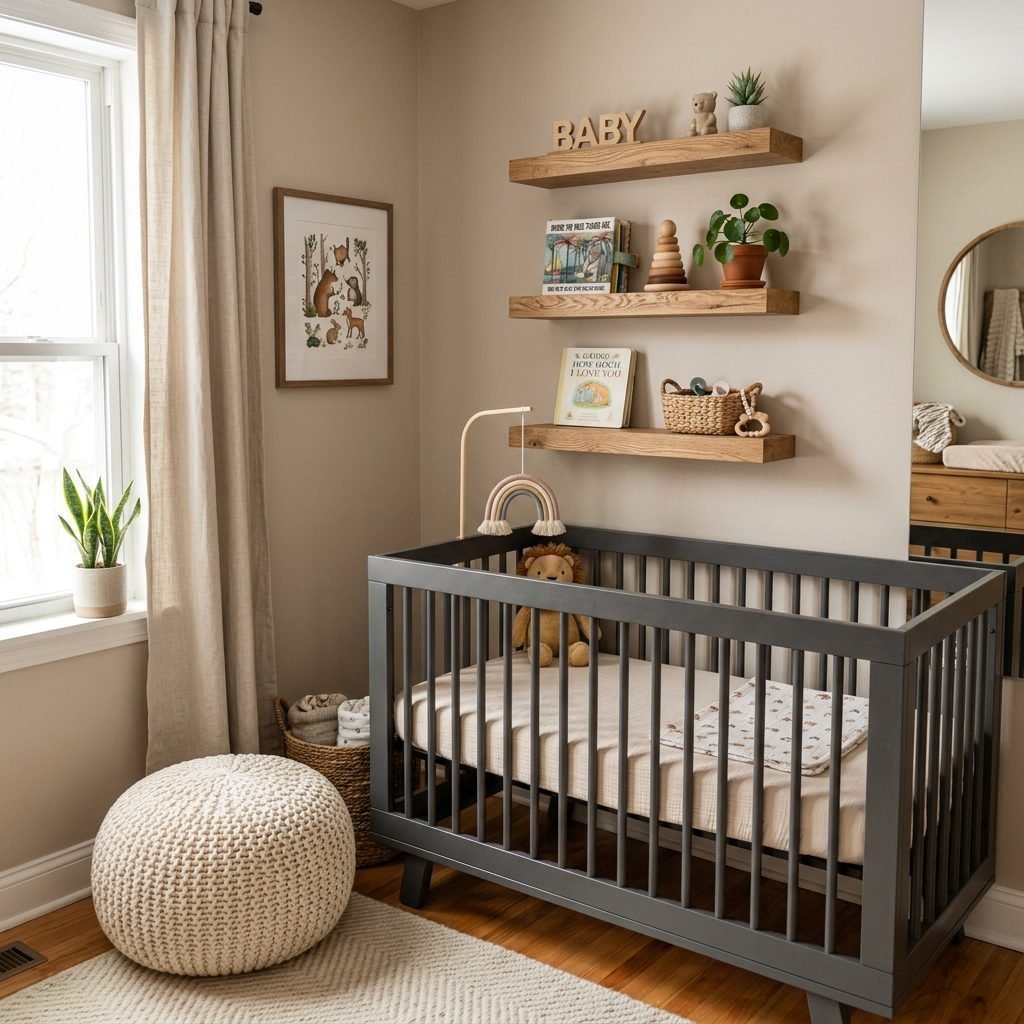
Tucking into the Architecture
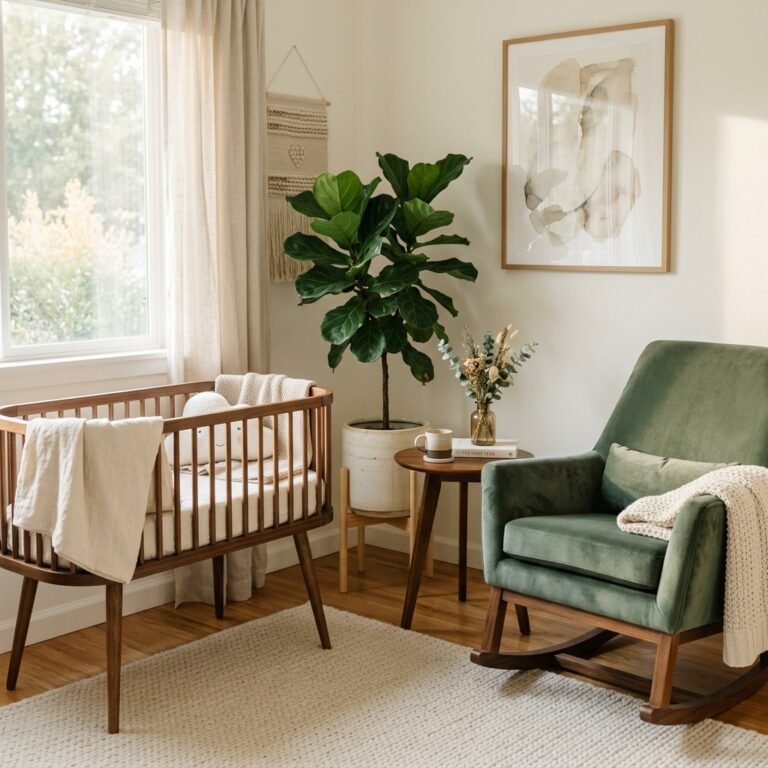
Does your room have an awkward corner or a recessed nook? The L-Shaped Cozy Corner utilizes the ‘dead space’ that often accumulates dust bunnies. By placing the crib against one wall and a small rocking chair or storage unit perpendicular to it, you create a snug, protected feel for the baby. This layout is incredibly comforting for infants as it limits their visual field, helping them feel more secure in a large room.
Optimizing the Corner
Use corner-mounted floating shelves above the crib (well out of baby’s reach!) to store board books and small keepsakes. This draws the eye upward, making the corner feel intentional rather than cramped. A soft, round rug in the center of the ‘L’ can soften the sharp angles of the room and provide a soft spot for you to rest your feet while nursing.
“Mama, your room is still your sanctuary. By tucking the nursery into a corner, you preserve the ‘grown-up’ feel of the rest of your space while keeping your heart close to your baby.”
Layout 4: The ‘Closit’ (The Closet-to-Nursery Conversion)
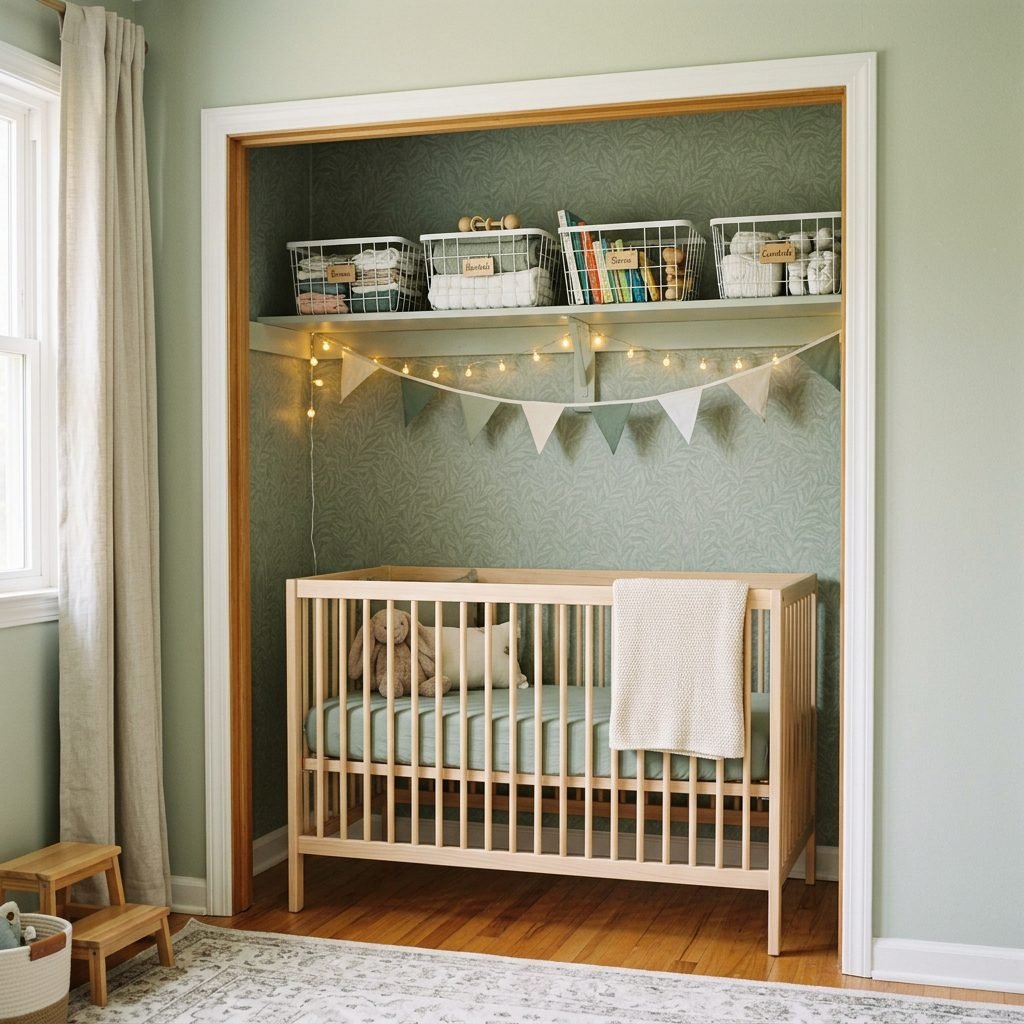
The Ultimate Space-Saving Hack
If you have a standard reach-in closet, consider the ‘Closit’! By removing the closet doors and taking out the lower hanging rod, you can slide a mini-crib or even a full-sized crib partially into the closet space. This essentially ‘borrows’ square footage from your storage to give you more floor space in the bedroom. It’s a favorite among minimalist designers because it allows the baby’s ‘room’ to be tucked away.
Steps to Build a Closit
- Remove the Doors: Store them safely or replace them with a high-mounted curtain that can be pulled shut when the baby is napping.
- Paint or Wallpaper: Add a pop of soft color or a gentle floral wallpaper to the back of the closet to define the space.
- Lighting: Install a battery-operated puck light or a plug-in sconce for a soft glow that doesn’t require hardwiring.
- Vertical Storage: Keep the top shelf of the closet for baby’s clothes and diapers in organized bins.
Important Note: Always ensure there is proper airflow in a closet nursery. Keeping the doors off or using a breathable curtain is essential for safety.
Layout 5: The Zoned Divider (Creating a Room Within a Room)
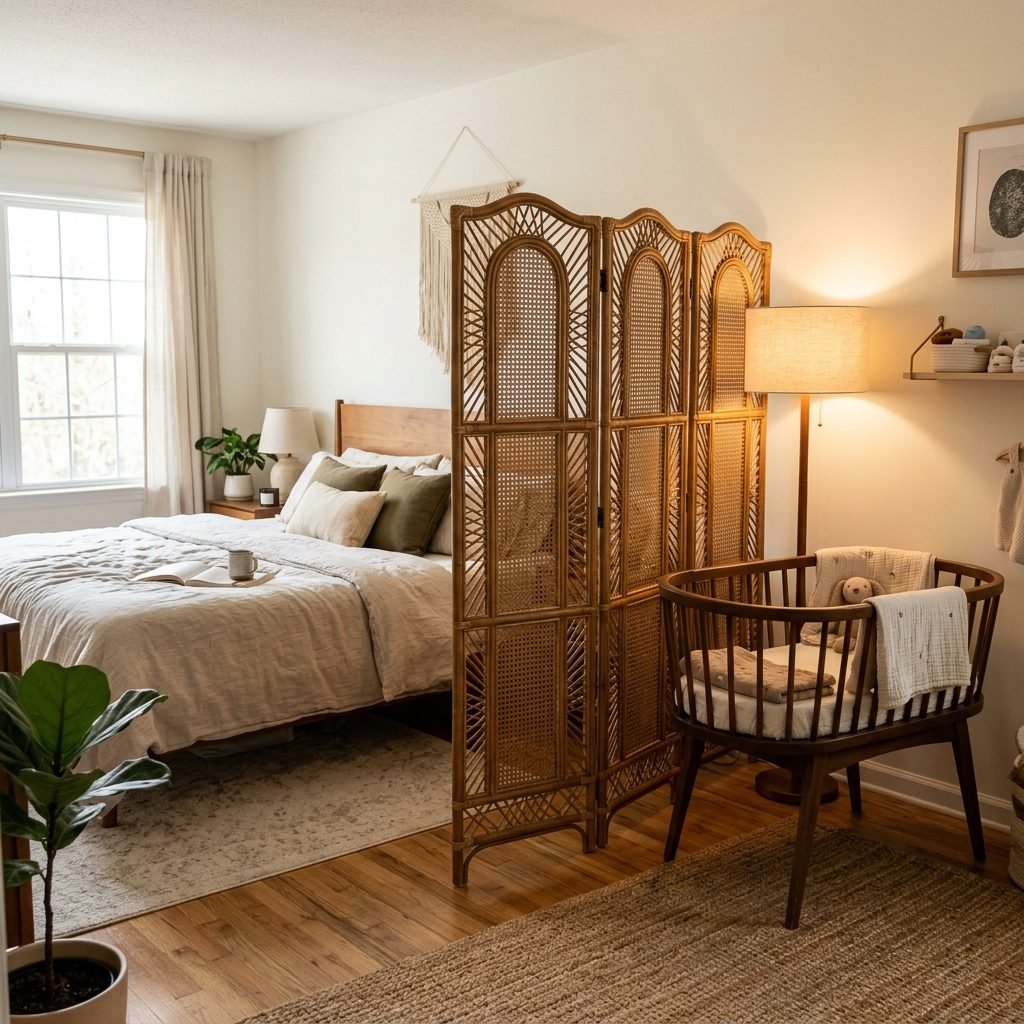
Defining Boundaries for Better Sleep
For some parents, the visual of ‘baby gear’ can make it hard to switch into ‘sleep mode.’ The Zoned Divider layout uses a physical—but light—barrier to separate the nursery corner. This can be achieved with a folding screen, a tall bookshelf (anchored to the wall!), or floor-to-ceiling sheer curtains. This layout is excellent for babies who are easily distracted by seeing their parents move around the room at night.
Choosing Your Divider
- Sheer Curtains: Provide a soft, ethereal look and allow for airflow while blocking out light.
- Open Bookshelves (IKEA Kallax style): Offer incredible storage for diapers, wipes, and clothes while acting as a wall. Must be anchored!
- Folding Screens: Portable and easy to move if you need to open the space back up during the day.
| Divider Type | Storage Capacity | Light Blocking |
|---|---|---|
| Curtains | Low | Medium |
| Bookshelf | High | High |
| Folding Screen | Low | High |
The Minimalist Nursery Essentials Checklist
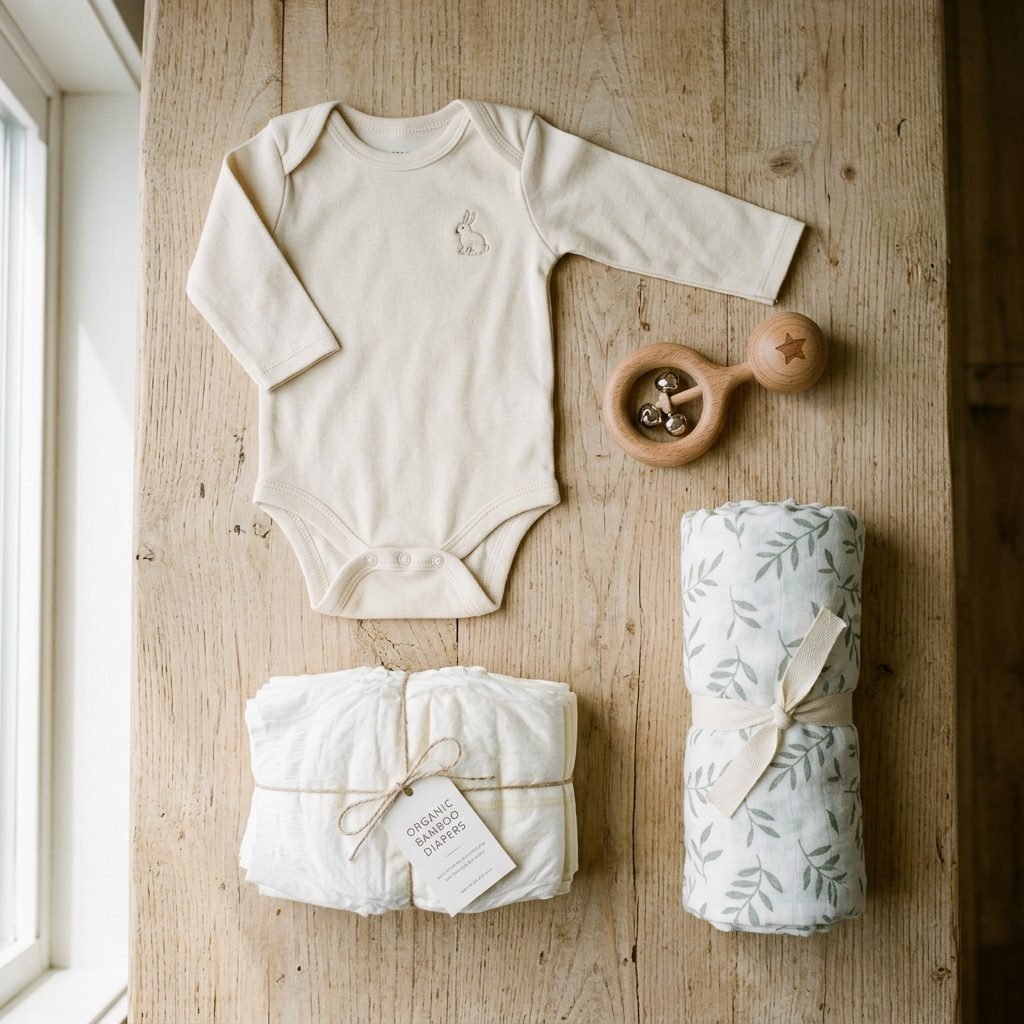
What You Actually Need (and What You Don’t)
When you are working with a small corner, you have to be a ruthless editor. You don’t need a wipe warmer, a diaper genie, and a massive rocking chair. Here is the Doula-Approved Minimalist List for your master bedroom nook:
- A Safe Sleep Surface: A mini-crib, bassinet, or pack-and-play with a firm mattress.
- A Changing Surface: A waterproof pad that can sit on your existing dresser.
- Two Snuggle Spots: One for you (your bed or a small chair) and one for baby.
- Dimmable Lighting: Essential for maintaining melatonin levels during night feeds.
- A White Noise Machine: To drown out your own movements so baby sleeps soundly.
- Minimalist Wardrobe: 10-15 onesies, 5 sleepers, and a few swaddles—that’s it!
Skip the: Large toy boxes, bulky strollers (keep those in the car or entryway), and heavy bedding sets that aren’t safe for sleep anyway.
Mastering the Vertical: Storage Hacks for Tiny Nooks

Thinking Up, Not Out
When floor space is gone, look at your walls! Vertical storage is the secret weapon of the nursery corner. You can fit an entire nursery’s worth of supplies on one wall if you use the right tools. As an organizer, I always recommend over-the-door organizers and pegboards for maximum efficiency.
3 Genius Vertical Hacks
- The Pegboard Station: Mount a large pegboard next to the changing station. Use hooks and baskets to hold diapers, creams, hairbrushes, and even pacifiers. It keeps everything at eye level and off the surfaces.
- Over-the-Door Acrylic Bins: Use the back of your bedroom door to store extra blankets, burp cloths, and out-of-season clothes. Acrylic is great because you can see exactly what you have.
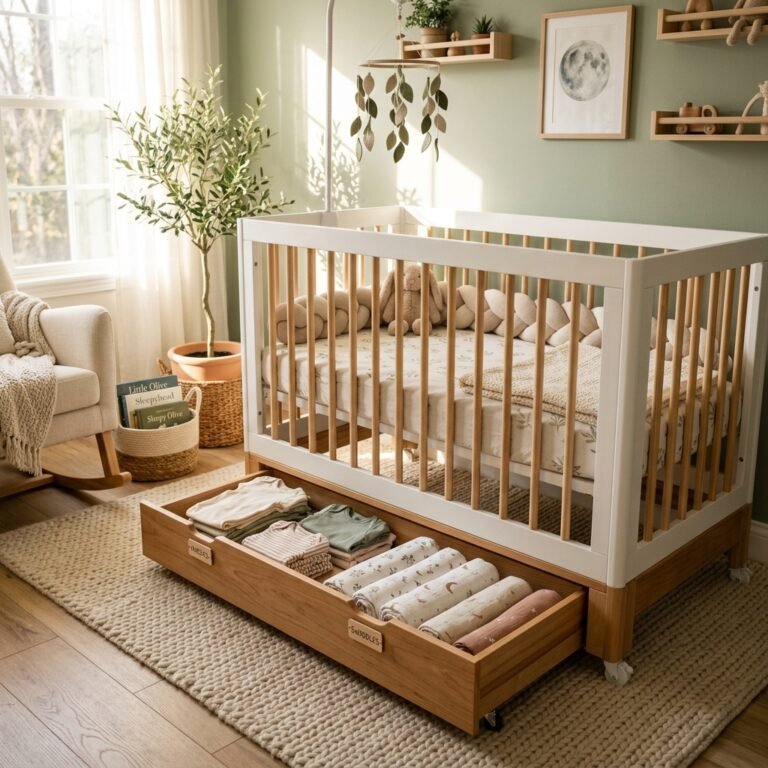
- Under-Crib Rolling Drawers: Many mini-cribs have enough clearance for slim rolling bins. Use these for ‘backstock’ items like extra packs of wipes or diapers.
“Organization is a form of self-care. When every diaper has a home, your mind can focus on the miracle in your arms, not the mess on the floor.”
Conclusion
Creating a minimalist nursery corner in your master bedroom is more than just a space-saving strategy; it is an intentional way to start your journey into motherhood. By focusing on smart layouts, vertical storage, and essential items, you create a sanctuary that fosters closeness, reduces stress, and honors your need for a beautiful environment. Whether you choose the Bedside Parallel for easy nursing or the Closit for a hidden nook, remember that the most important element of any nursery is the love and care you provide within it. Take a deep breath, mama. You have everything you need to create a perfect, tiny home for your little one right where you are.