5 Cute Newborn Photography Ideas Using Handmade Felt Hats at Home
Embracing the Magic of the Fourth Trimester
Hello, sweet mama. Welcome to those hazy, beautiful, and slightly sleep-deprived weeks of the fourth trimester. As a doula, I know how fast these days fly by. One moment you are marveling at their tiny fingernails, and the next, they are outgrowing their first onesies. Capturing these fleeting moments doesn’t require a high-priced studio or a stressful outing. In fact, some of the most precious memories are made right in the comfort of your own nest. Handmade felt hats bring a touch of whimsical, artisanal charm to newborn photos, offering textures that look stunning on camera while being incredibly gentle on your little one’s sensitive skin. Today, we are going to walk through five heartwarming photography setups you can achieve at home, focusing on safety, comfort, and that unmistakable glow of new life.
Remember, mama: the goal isn’t perfection; it’s the connection. Your baby feels your calm, so take a deep breath and enjoy this creative bonding time.
1. The ‘Woodland Fox’ – Warmth, Texture, and Earthy Tones
Creating a Rustic Forest Floor at Home
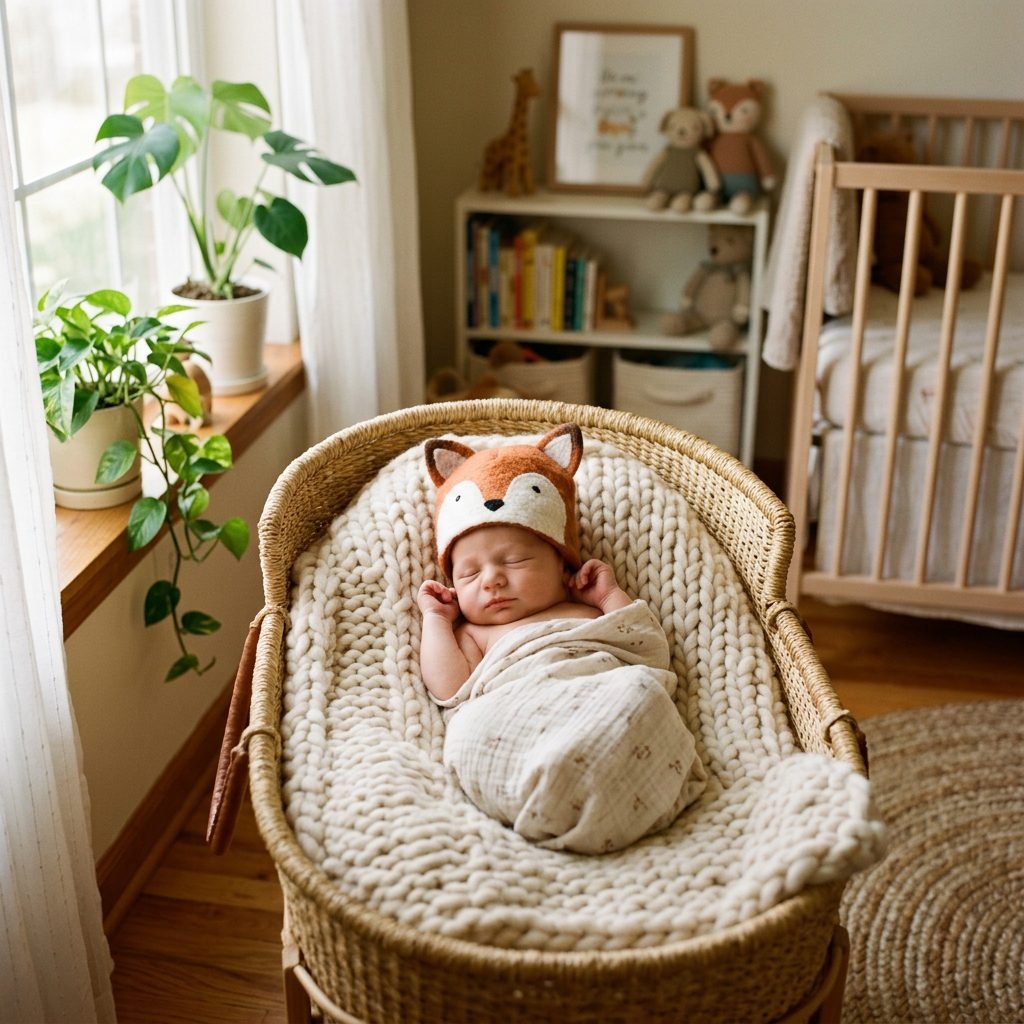
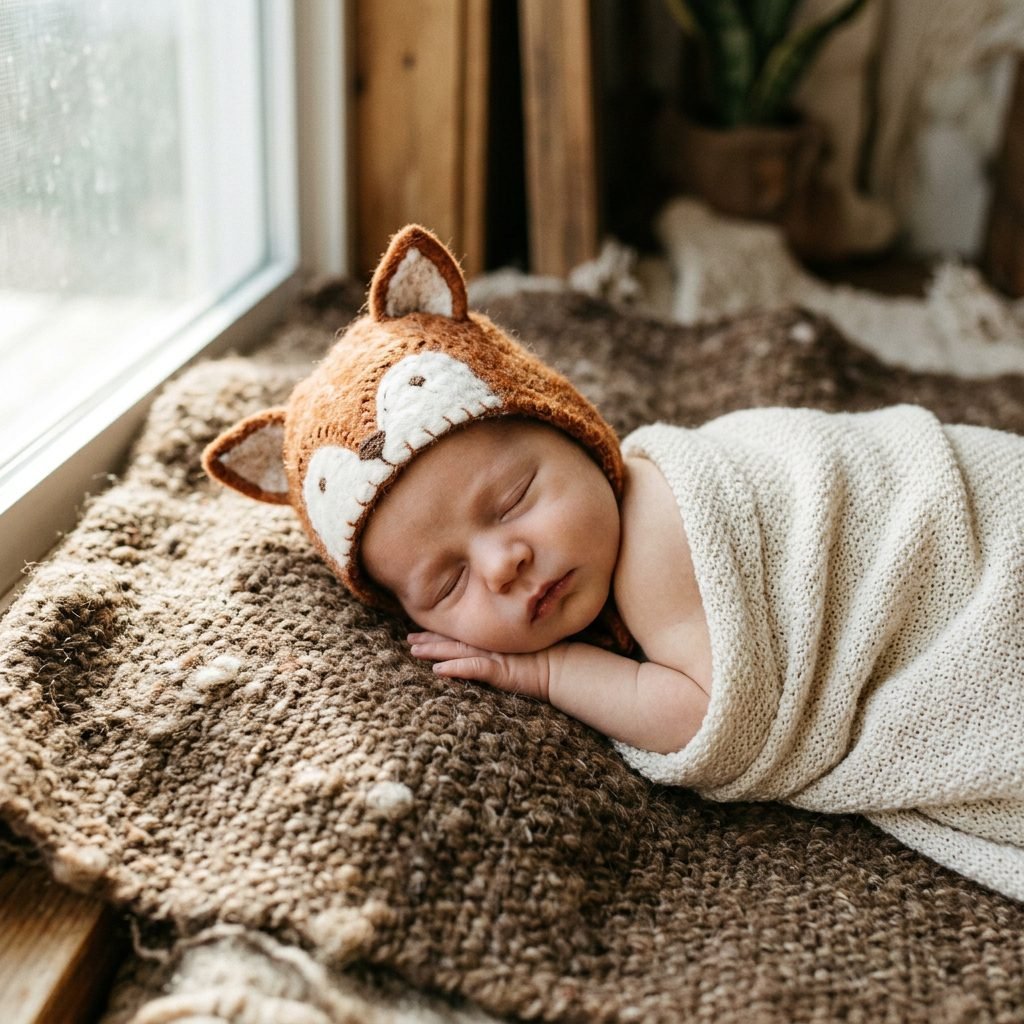
There is something inherently cozy about woodland themes. A handmade felt fox hat, with its vibrant burnt orange hues and soft white accents, creates a stunning focal point against neutral backdrops. For this setup, we want to mimic the soft textures of a forest floor without the actual dirt!
Setting the Scene
- The Base: Use a thick, chunky knit blanket in oatmeal or cream. This provides the ‘nest’ feel.
- The Props: Place a few smoothed wooden blocks or a plush evergreen tree nearby, but keep them at least 12 inches away from the baby’s face.
- The Lighting: Position your baby near a large window with indirect sunlight. We want soft shadows to highlight the felt’s texture.
The Doula’s Secret for Success: Before placing the hat on your baby, ensure it has been aired out and is free of any loose fibers. If your little one is fussy, try the ‘pacifier swap.’ Let them suck on a clean finger or pacifier until they are deeply asleep, then gently slide the felt hat on, starting from the back of the head and moving toward the forehead. Always ensure the hat is not covering the baby’s eyes or nose.
2. The ‘Garden Bloom’ – Soft Petals and Botanical Bliss
Bringing the Outdoors In with Felt Florals
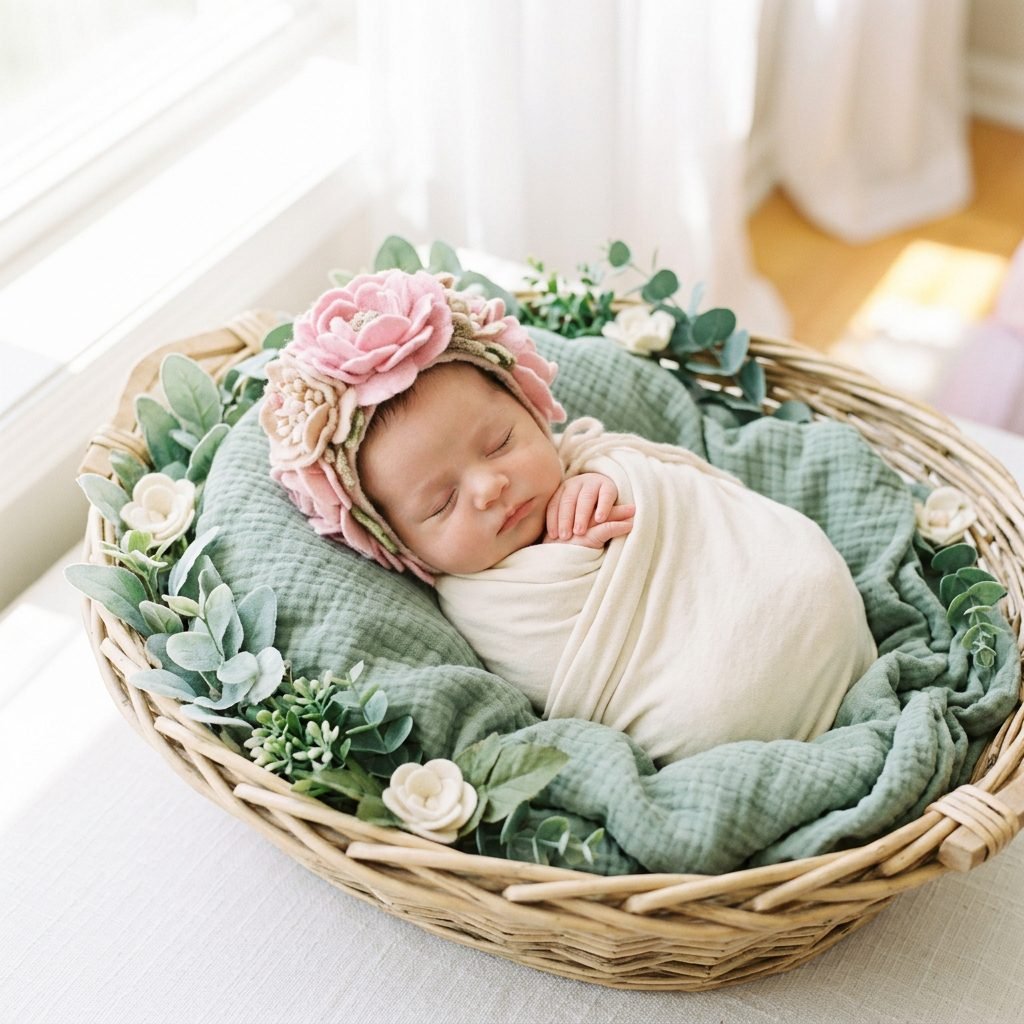
If you have a handmade felt hat shaped like a flower—perhaps a delicate rose or a sunny sunflower—you can create a ‘Garden Bloom’ setup that feels like a breath of fresh air. This is perfect for celebrating a new season of life.
Styling Your Tiny Sprout
- Color Palette: Think soft sage greens, dusty pinks, or pale yellows.
- The Layering Technique: Use a muslin swaddle in a solid botanical color as the bottom layer, then place a sheer piece of lace over it for added depth.
- Posing: The ‘Side-Lying’ pose works beautifully here. Gently tuck your baby’s knees toward their tummy and place their hands near their chin.
Stylist Tip: When using felt flower hats, the ‘texture contrast’ is your best friend. The matte, dense look of felt looks incredible next to the airy, light texture of a muslin wrap. Ensure the room temperature is between 72-75 degrees Fahrenheit so your baby stays comfortable while being lightly swaddled or partially unclothed for the photo.
3. The ‘Celestial Dreamer’ – Stars, Moons, and Midnight Blues

A Night Sky Full of Wonder
For the baby who arrived under the stars, a celestial theme is deeply symbolic. A felt hat featuring a sleepy moon or a pointed nightcap with a star at the end is absolutely darling. This setup focuses on high contrast and deep, calming colors.
Creating the Galaxy
- Find a dark navy or charcoal grey bedsheet to serve as your backdrop. Lay it flat on the floor or a firm mattress.
- Scatter ‘stars’ using small cutouts of white felt or even large, flat sequins (well away from the baby’s reach).
- Place your baby in the center, wearing their celestial felt hat.
Affirmation: ‘You are my sun, my moon, and all my stars.’ Repeat this as you capture these sleepy, heavenly gazes.
Safety Note: Never use real string lights or ‘fairy lights’ directly touching the baby or the blanket they are lying on. If you want the ‘twinkle’ effect, place the lights in the far background (at least 5 feet away) to create a blurred ‘bokeh’ effect in the lens.
4. The ‘Vintage Aviator’ – Adventure and Imagination

Preparing for Life’s Great Journey
The ‘Vintage Aviator’ look is a classic for a reason. A handmade felt pilot hat, complete with ‘goggles’ sewn on top, suggests a lifetime of adventure. This setup is playful, nostalgic, and full of character.
The Adventure Kit
| Element | DIY Suggestion |
|---|---|
| The ‘Cloud’ | Use a white faux-fur rug or fluffed-up cotton batting. |
| The ‘Cockpit’ | A vintage-style suitcase or a simple wooden crate (ensure it is padded!). |
| The ‘Sky’ | A light blue wall or a pale blue blanket hung behind the setup. |
Pro Tip: To get that ‘hero’ shot, shoot from a slightly lower angle. This makes your little aviator look like they are soaring through the clouds. If the baby wakes up, don’t panic! An awake, wide-eyed ‘pilot’ is just as cute as a sleeping one. Just make sure the hat is secure and not slipping.
5. The ‘Heirloom Lamb’ – Minimalist Purity and Softness
The Beauty of Simplicity
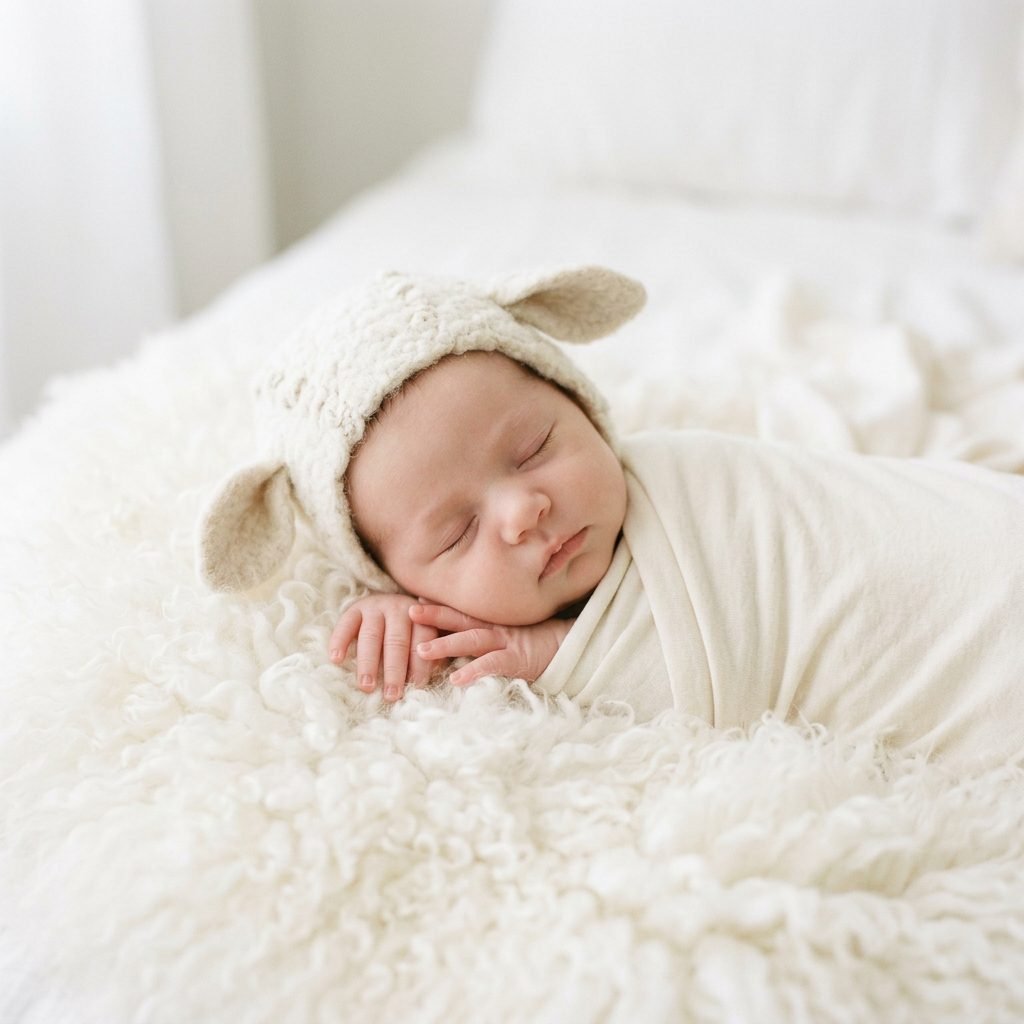
Sometimes, less is truly more. A simple, cream-colored felt lamb hat with tiny textured ears is the epitome of newborn sweetness. This ‘monochromatic’ look is timeless and focuses entirely on your baby’s delicate features.
The White-on-White Aesthetic
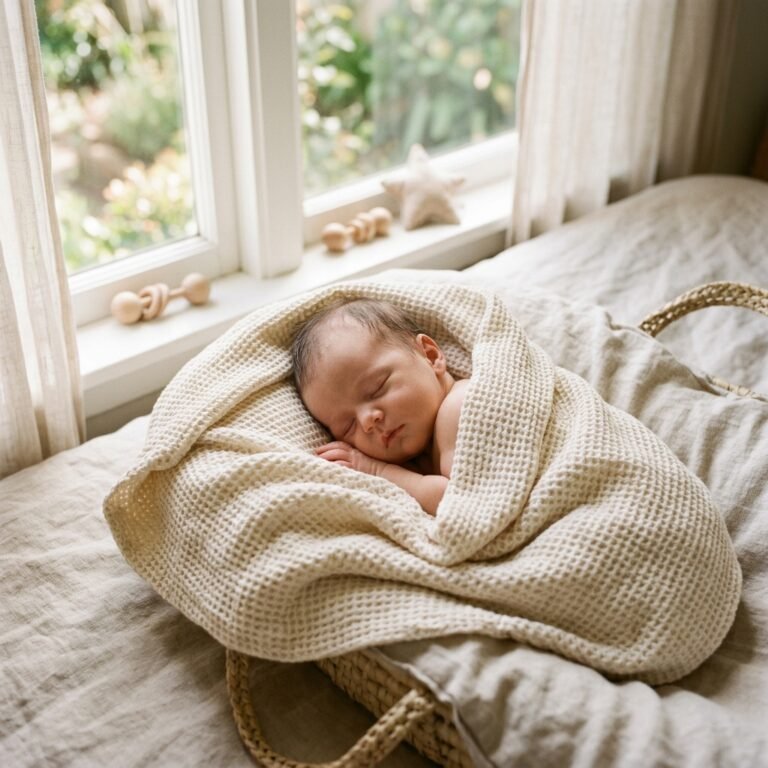
- Texture Over Color: Use different shades of white and cream. A felt hat, a wool blanket, and a linen sheet all provide different ‘feels’ even if they are the same color.
- The Focus: Use a ‘macro’ setting or get close to capture the long eyelashes, the tiny nose, and the soft felt ears.
- The Mood: Keep the room quiet. Use a white noise machine to mimic the sounds of the womb, keeping the baby in a deep, peaceful slumber.
Postpartum Care Tip: Mama, if you are doing this photoshoot yourself, remember to take breaks. Your recovery is the priority. If you feel tired, sit down and let your partner or a friend hold the camera while you style the baby. You are doing a great job.
The DIY Crafting Guide: Materials and Safety
Choosing the Right Materials for Your Handmade Hats
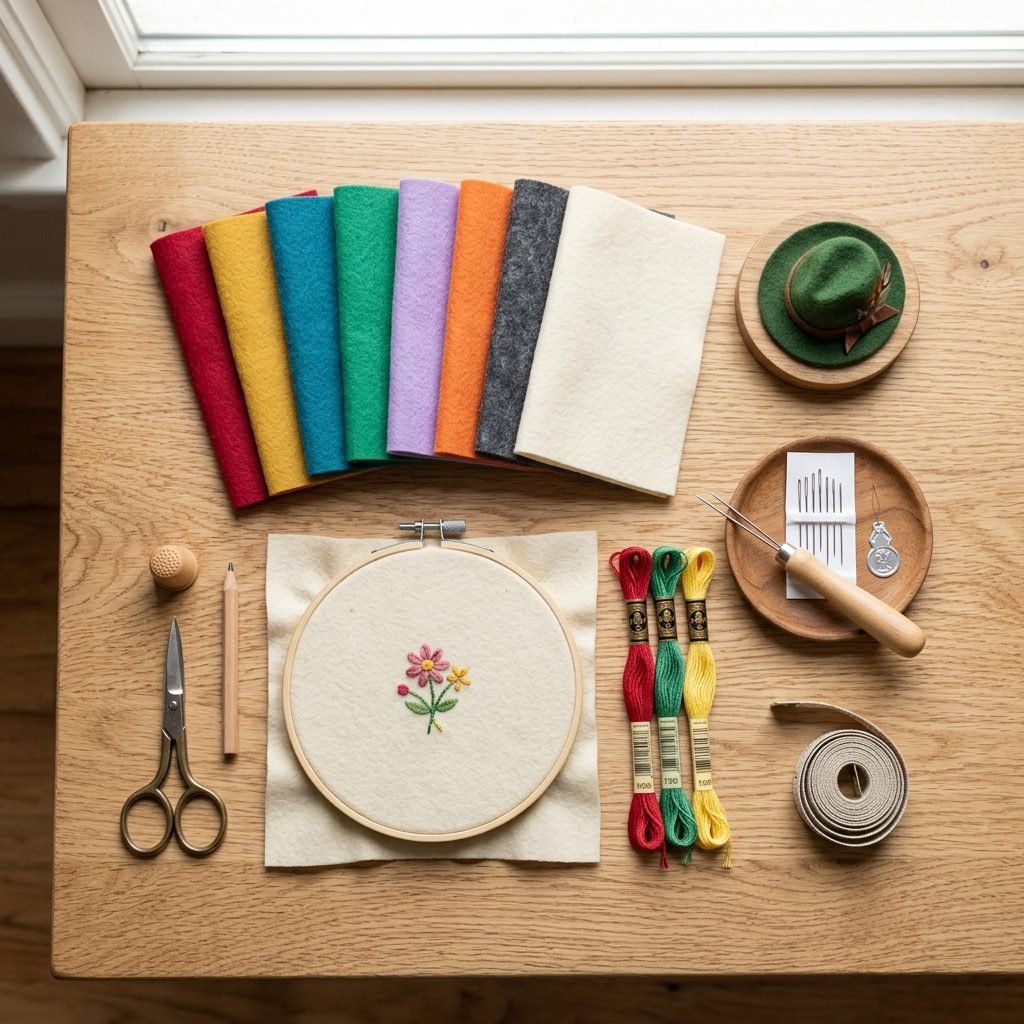
If you are crafting these hats yourself or purchasing them from an artisan, the quality of the felt matters immensely. For newborns, we always recommend 100% Wool Felt or a high-quality Wool-Rayon blend. Synthetic acrylic felts can sometimes be scratchy or trap too much heat.
Material Comparison and Budget
| Material | Safety Rating | Estimated Cost | Best For… |
|---|---|---|---|
| 100% Merino Wool Felt | Excellent (Breathable) | $15 – $25 | Sensitive skin & professional finish |
| Wool-Rayon Blend | Good (Soft) | $10 – $15 | Durable DIY projects |
| Craft Acrylic Felt | Fair (Can be itchy) | $2 – $5 | Background props only |
| Organic Cotton Thread | Excellent | $5 | Sewing the hat together safely |
Essential Safety Checklist for At-Home Shoots
- Never Leave Baby Unattended: Even if they aren’t rolling yet, a baby can startle and shift. Always have a ‘spotter’ (like a partner) within arm’s reach.
- Temperature Control: Newborns cannot regulate their temperature well. If they are just in a hat and a diaper, keep the room warm.
- Cleanliness: Wash all blankets and hats in baby-safe, fragrance-free detergent before the shoot.
- No Heavy Props: Never place anything heavy or sharp near the baby. All ‘felt’ props should be soft-filled.
Conclusion
Capturing Love, One Stitch at a Time
Mama, these early days are a whirlwind, but taking an hour to creatively document your baby’s growth is a gift you are giving to your future self. Using handmade felt hats adds a layer of love and craftsmanship to your photos that store-bought props simply can’t match. Whether you are styling a woodland fox or a tiny celestial dreamer, the most important element in every photo is the love you have for your little one. Don’t worry about the laundry in the background or the fact that you’re in your pajamas—focus on those tiny toes and that sweet, felt-capped head. You are creating a beautiful legacy of these first few weeks. Happy snapping!