How to Hack the IKEA Trones Shoe Cabinet for Ultra-Slim Nursery Storage
Welcome to the Magic of Small-Space Nesting
Mama, I see you. You are in that beautiful, whirlwind phase of nesting, where every corner of your home feels like it needs a purpose, and every square inch of the nursery is precious real estate. Whether you are living in a cozy urban apartment, converting a walk-in closet into a ‘cloffice’ nursery, or simply trying to make sense of the mountain of diapers and swaddles that have suddenly appeared in your life, I have a secret weapon for you.
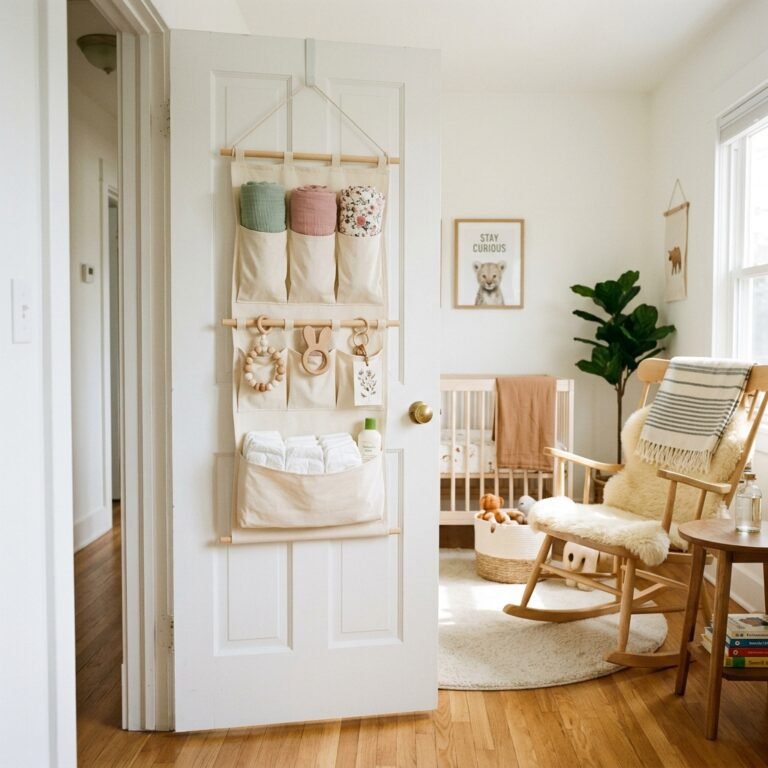
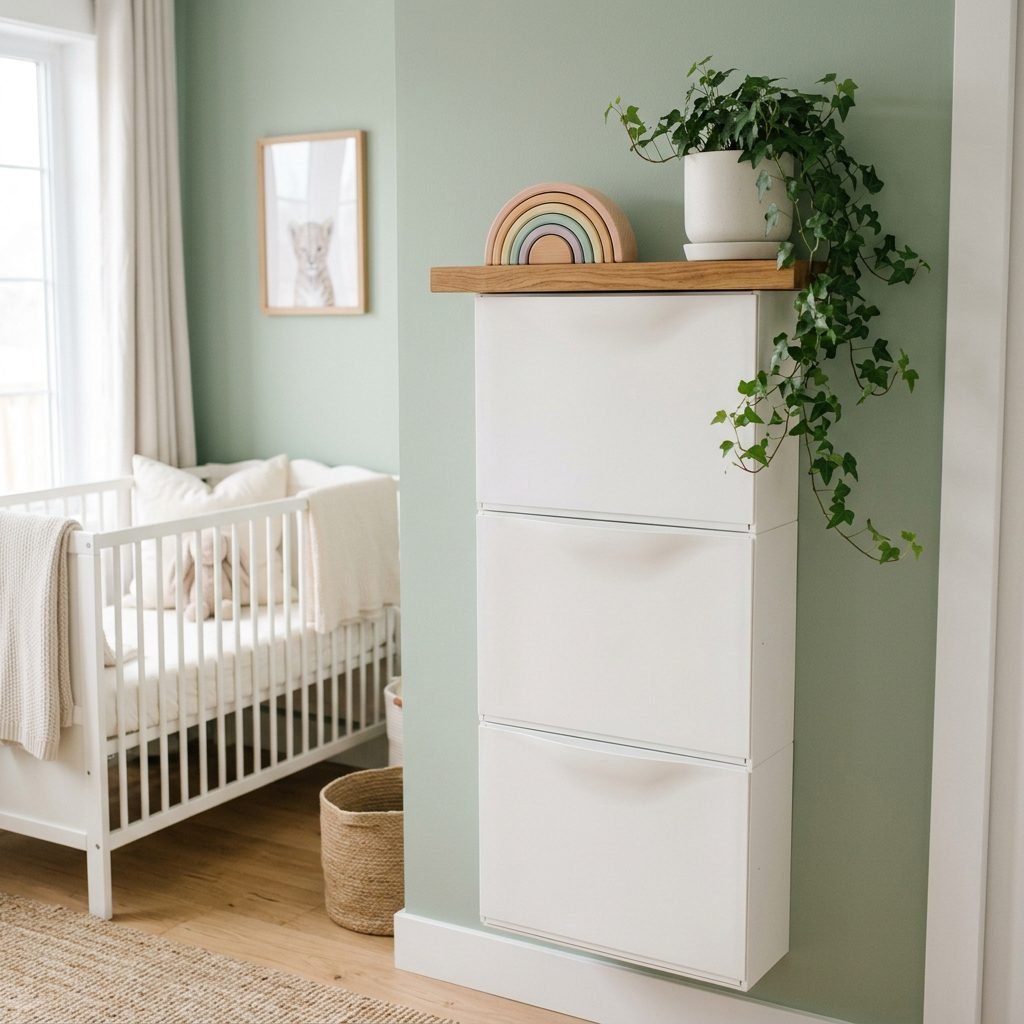
As a doula, I’ve spent countless hours in nurseries helping new parents find their flow. I’ve realized that the biggest stressor isn’t usually the lack of space—it’s the lack of accessible organization. Enter the IKEA Trones. Originally designed as a humble shoe cabinet, this slim, polypropylene wonder is the ultimate hack for the modern mother. It is only 7 inches deep, meaning it can fit behind doors, in narrow hallways, or along the side of a crib where a traditional dresser would never dare to go.
In this guide, we are going to walk through exactly how to ‘glow up’ these plastic bins into a high-end, custom storage system that will save your sanity during those 3:00 AM diaper changes. We’ll talk about aesthetics, safety, and the practical ‘mom-logic’ of what to store inside. Let’s roll up our sleeves and create some space for you to breathe.
The Anatomy of the Hack: Why Trones is a Nursery Game-Changer
Before we get into the paint and the wood tops, let’s talk about why we are choosing the Trones over other IKEA favorites like the Kallax or the Hemnes. When you are healing postpartum, or when you are nine months pregnant and just trying to navigate a room without bumping your belly, floor space is everything.
The Dimensions That Matter
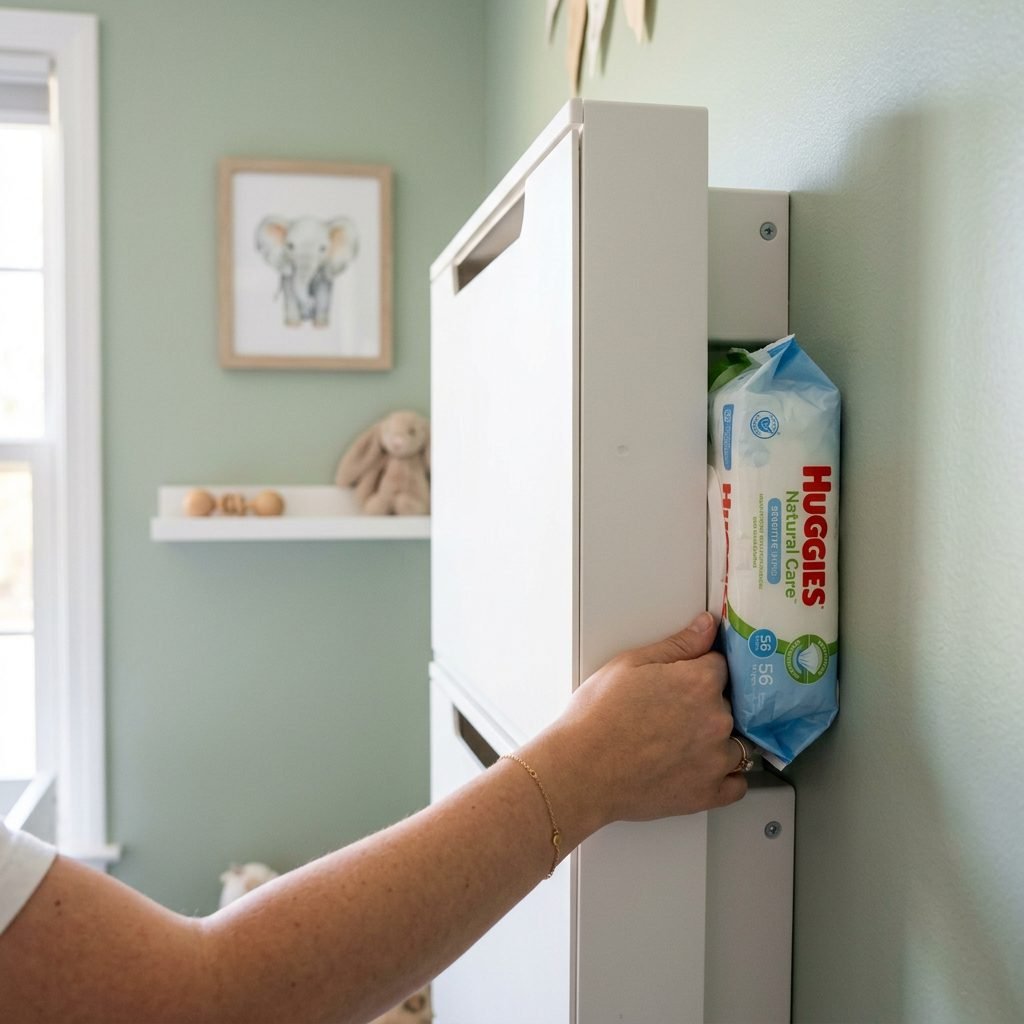
The Trones cabinet is unique because it is wall-mounted. By lifting your storage off the floor, you create the visual illusion of more space, and more importantly, you leave room for your feet (and the vacuum!).
- Depth: Only 7 1/8 inches. It is thinner than a standard diaper box.
- Width: 20 1/2 inches, making it perfect for those awkward wall gaps.
- Material: Polypropylene plastic. Why does this matter? Because it is wipeable. From leaked bottles to diaper cream mishaps, you can sanitize these bins in seconds.
Doula Tip: In the early weeks of motherhood, ‘easy to clean’ is a love language. Don’t choose porous materials for high-traffic diaper zones!
Because they come in packs of two, you can stack them vertically to use the full height of your walls, or side-by-side to create a long, slim sideboard effect. This flexibility is what makes them a staple for the crafty mom.
The Aesthetic Glow-Up: Turning Plastic into Premium
Let’s be honest: out of the box, the Trones looks a bit… utility-room. But with a few simple additions, we can make it look like a custom piece from a high-end boutique. This is where your inner nursery designer gets to shine!
Step 1: The Wooden Topper
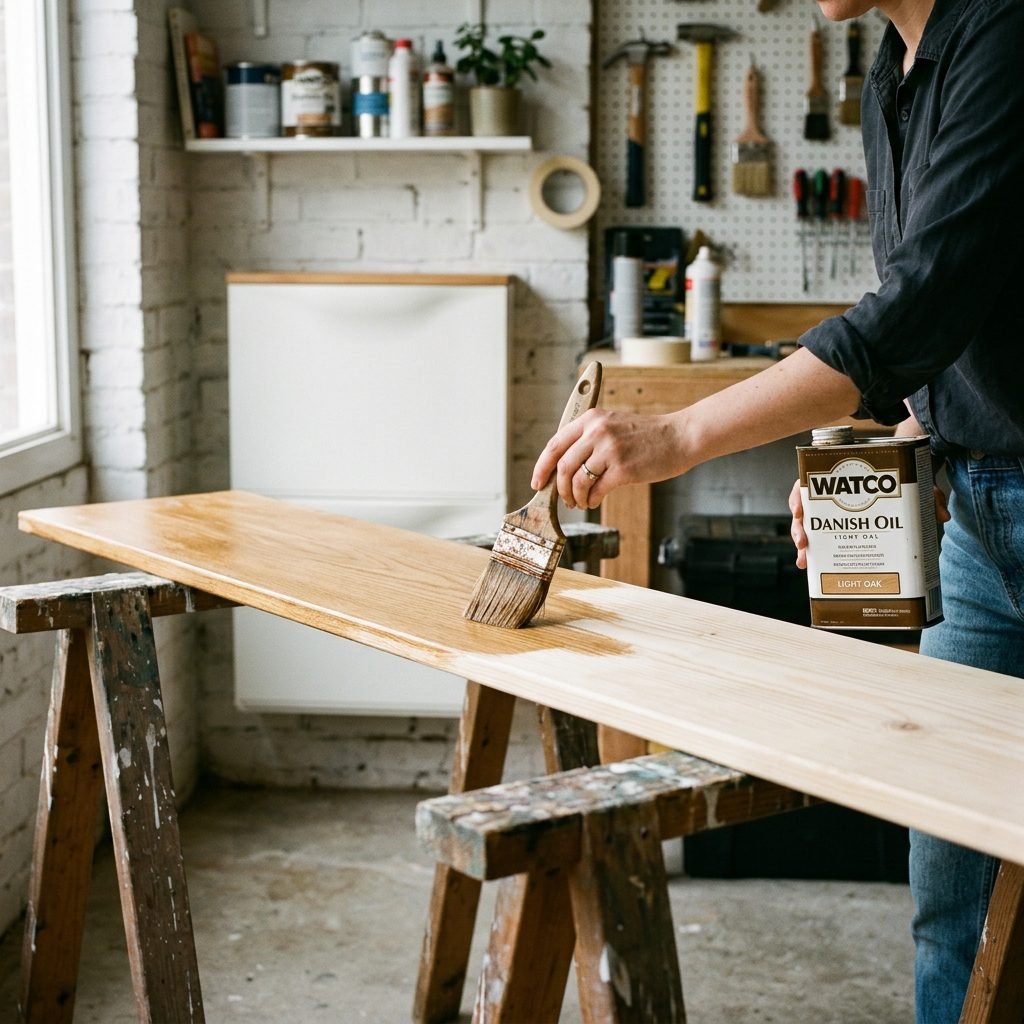
The most popular way to hack the Trones is to add a common board or a piece of stained pine across the top. This bridges the gap between the cabinets and gives you a solid surface to place a lamp, a sound machine, or a small plant.
- Measure the total width of your mounted cabinets (e.g., 41 inches for two side-by-side).
- Purchase a wood board at your local hardware store and have them cut it to size.
- Sand the edges until they are ‘baby-safe’ smooth.
- Apply a non-toxic, water-based stain or a simple beeswax finish.
- Attach it to the top of the Trones using heavy-duty mounting tape or by drilling small screws from the inside of the cabinet upward into the wood.
Step 2: Custom Knobs and Pulls
The Trones has a built-in recessed handle, but you can easily add leather tab pulls or brass knobs to the front. This adds texture and a pop of ‘jewelry’ to the piece. If you choose leather, it adds a soft, organic touch that balances the plastic material beautifully.
Step 3: To Paint or Not to Paint?
If the standard white or black doesn’t match your nursery palette, you can paint these! However, since they are plastic, you must use a bonding primer (like Zinsser Bulls Eye 1-2-3) specifically designed for slick surfaces. Follow up with a cabinet-grade spray paint for a smooth, durable finish.
The Organization Blueprint: What Goes Inside?
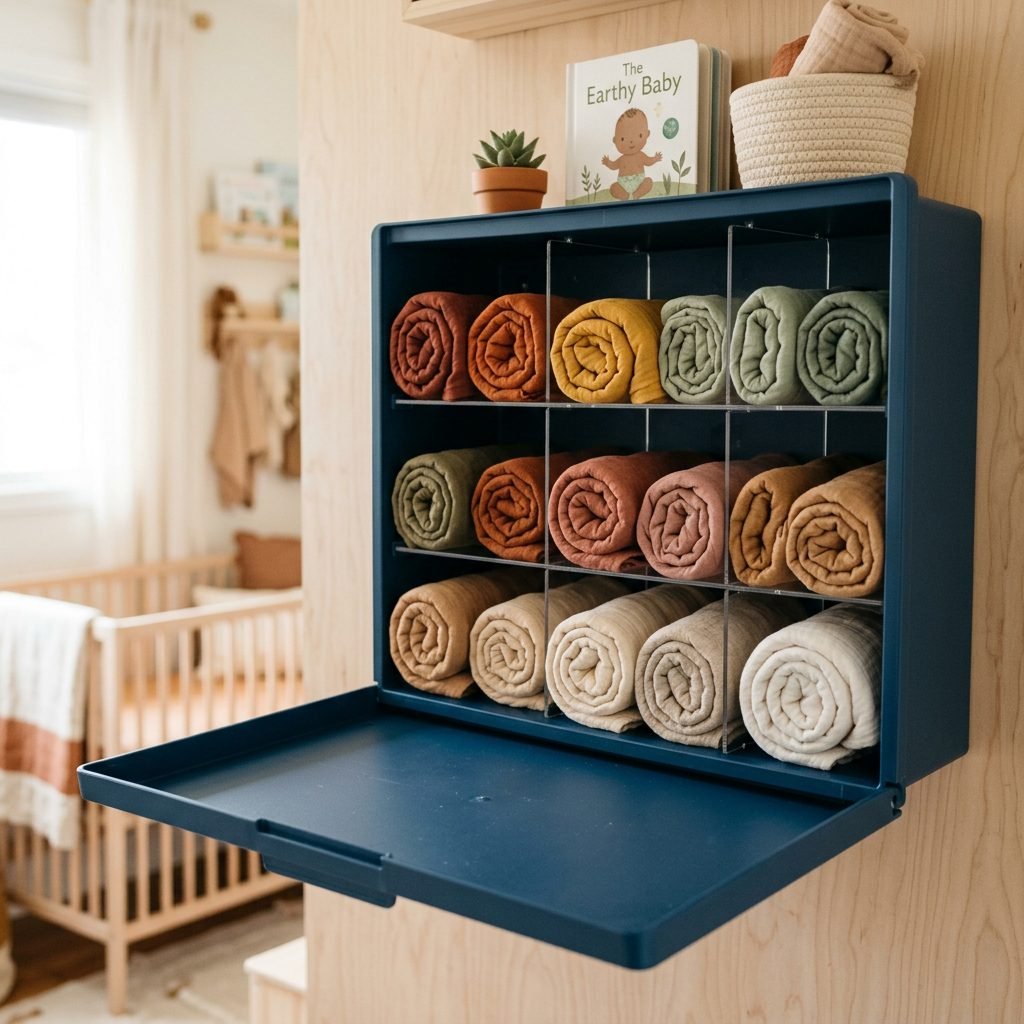
Now that your cabinets look beautiful, let’s talk about functionality. The way the Trones bins ‘tip out’ makes them perfect for items you need to grab with one hand while holding a wiggly baby with the other.
| Bin Level | Recommended Items | Why It Works |
|---|---|---|
| Top Bin | Diapers, Wipes, Cream | At waist height for easy access during changes. |
| Middle Bin | Swaddles, Burp Cloths | Keeps linens clean and dust-free but easy to grab. |
| Bottom Bin | Backstock (Wipes, Diaper Pail Liners) | Items you don’t need daily but want nearby. |
| Side Hack | Nursing Pads, Nipple Cream | Perfect for a slim ‘nursing station’ near your glider. |
Maximizing the Interior
Because the bins are deep but narrow, things can get buried at the bottom. I recommend using small clear acrylic bins or fabric drawer dividers inside the Trones to keep your ‘diapering kit’ from becoming a jumbled mess. Pro-tip: Use the top of the cabinet (the wood part!) for your Hatch sound machine and a small basket for hand sanitizer and pacifiers.
Affirmation: My home is a sanctuary, and every organized drawer is a gift to my future, tired self.
Safety and Installation: The Non-Negotiables
Securing Your Nursery
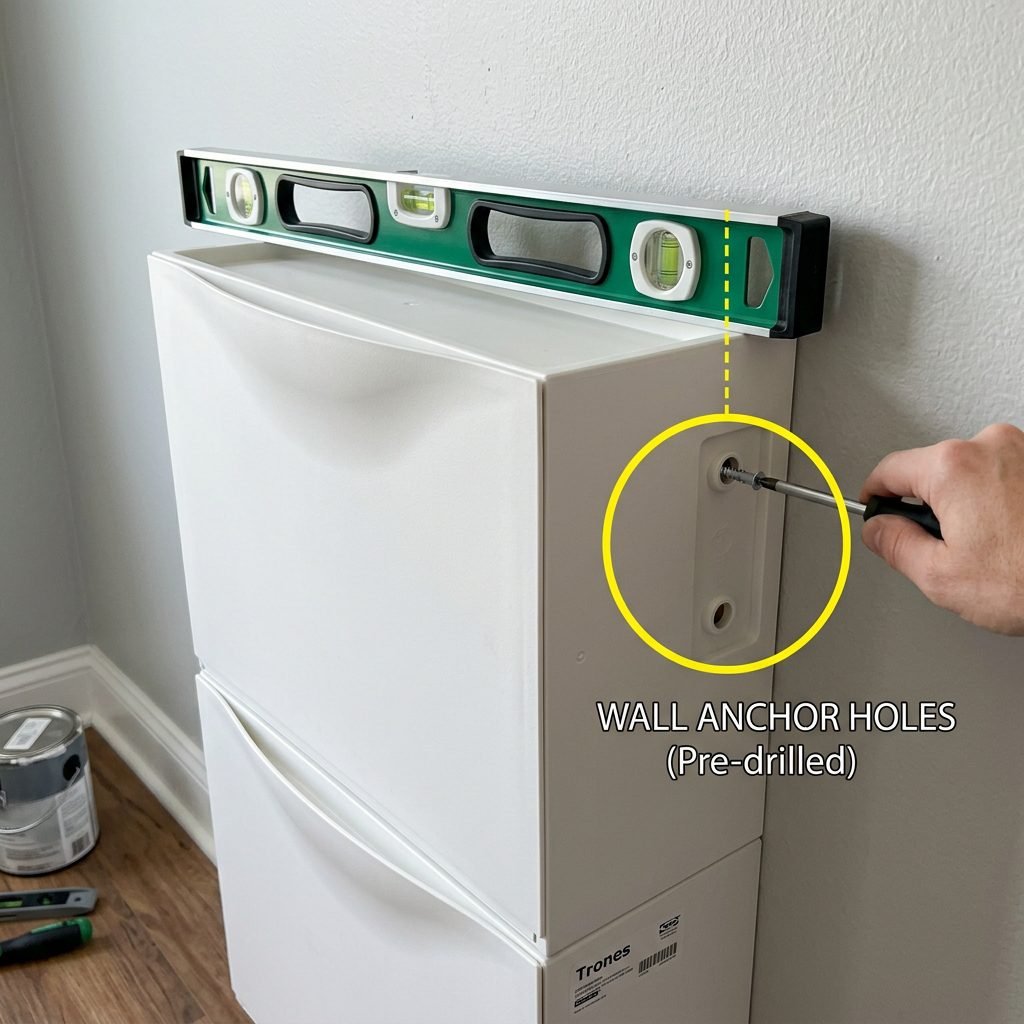
Mama, as a doula and a safety-conscious nurse, I cannot stress this enough: you must anchor these to the wall. While the Trones are lightweight, once they are filled with 50+ diapers and topped with a heavy wood board, they become a tipping hazard for a crawling baby or a toddler who decides to use the bins as a ladder.
Installation Checklist
- Find the Studs: Whenever possible, screw the cabinets directly into wall studs. If the studs aren’t lining up with your design, use heavy-duty toggle bolts or drywall anchors rated for at least 50 lbs.
- Height Placement: Mount them high enough that you don’t have to hunch over to reach the top bin, but low enough that the ‘tipping’ action of the bottom bin doesn’t hit your toes. Usually, 30-36 inches from the floor to the top of the cabinet is the sweet spot.
- The ‘Gap’ Factor: Ensure there is enough clearance for the bins to tilt forward fully without hitting any nearby furniture like the crib or a rocking chair.
Warning: Never place a wall-mounted cabinet directly over the crib. Even with the best anchors, we want to keep the ‘sleep zone’ 100% clear of any overhead items for maximum safety.
Beyond Diapers: Creative Ways to Use Trones as Baby Grows
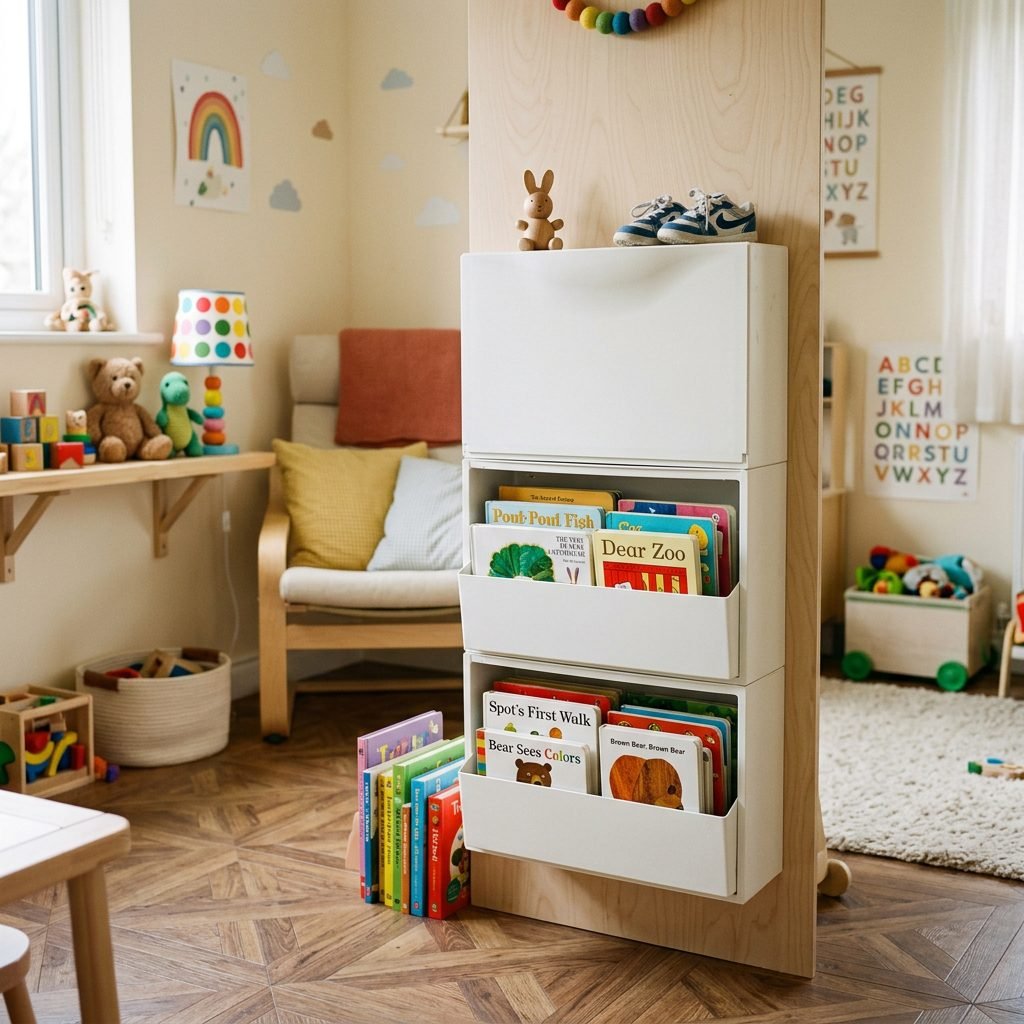
One of the reasons I love this hack for my clients is its longevity. Your baby won’t be in diapers forever (I promise!), but the Trones will continue to serve your family for years. Here is how to pivot the use of these cabinets as your little one hits new milestones:
The Toddler Library
The slim profile of the Trones is actually perfect for storing children’s books. You can face the books ‘cover out’ inside the bins, making it easy for a toddler to see their favorite stories and pick one out for bedtime. It’s like a secret library that hides the visual clutter of mismatched book spines!
The Sensory & Craft Hub
As your child enters the world of sensory play, use the bins to store:
- Playdough kits and rolling pins.
- Coloring books and non-toxic crayons.
- Flashcards and educational puzzles.
The ‘Independent Dressing’ Station
Around age two, you can move the Trones lower to the ground. Fill the bins with socks, pajamas, and underwear. This allows your toddler to practice the Montessori-style skill of choosing their own clothes and helping with the ‘put away’ process after laundry day.
Conclusion
You’ve Got This, Mama
Creating a nursery isn’t about having the biggest room or the most expensive furniture; it’s about creating a space that supports you. The IKEA Trones hack is a testament to the fact that with a little bit of creativity and a few hours of ‘nesting’ energy, you can turn a small, awkward space into a functional masterpiece.
By choosing vertical, slim storage, you are clearing the physical and mental clutter from your path. You are making room for the things that truly matter: the late-night cuddles, the first smiles, and the quiet moments of bonding with your new baby. So, grab your level, find your studs, and enjoy the process of building your perfect nest. You are doing an incredible job, and your baby is so lucky to have a mama who cares so much about the details.