
7 Active Peanut Ball Positions To Speed Up Labor With An Epidural
Welcome, beautiful mama! If you are preparing for birth and planning to get an epidural, I want to take a moment to wrap you in a massive, reassuring hug. Choosing an epidural is a wonderful, empowering decision that allows you to rest, manage your energy, and experience birth with a profound sense of comfort. But there is a common myth floating around the maternity wards that we need to bust right now: getting an epidural does not mean you are stuck lying flat on your back, completely immobile, just waiting for your baby to arrive.
Enter your new labor best friend: The Peanut Ball.
As a doula and postpartum nurse, I can tell you that the peanut ball is pure magic. It is a peanut-shaped exercise ball designed to fit perfectly between your legs when you are lying in bed. When you have an epidural, your lower body is delightfully numb, which means you can’t walk the halls, do deep unassisted squats, or bounce on a round birthing ball. However, your pelvis still needs movement and asymmetrical positioning to help your baby navigate the birth canal. The peanut ball bridges this gap flawlessly. It mimics the biomechanics of active labor, opening your pelvis, encouraging your baby to rotate, and speeding up dilation—all while you are resting comfortably in your hospital bed.
“Your body knows exactly what to do, and your baby knows exactly how to be born. We are just giving them the space to do it together.”
In this guide, we are going to walk through the biomechanics of your amazing pelvis and break down exactly how to use the peanut ball. Whether you are a first-time mom packing your hospital bag, a supportive partner looking for hands-on techniques, or a doula expanding your toolkit, these seven active peanut ball positions are essential for an empowering, smooth, and progressive epidural birth.
Understanding Your Pelvis and the Magic of the Peanut Ball
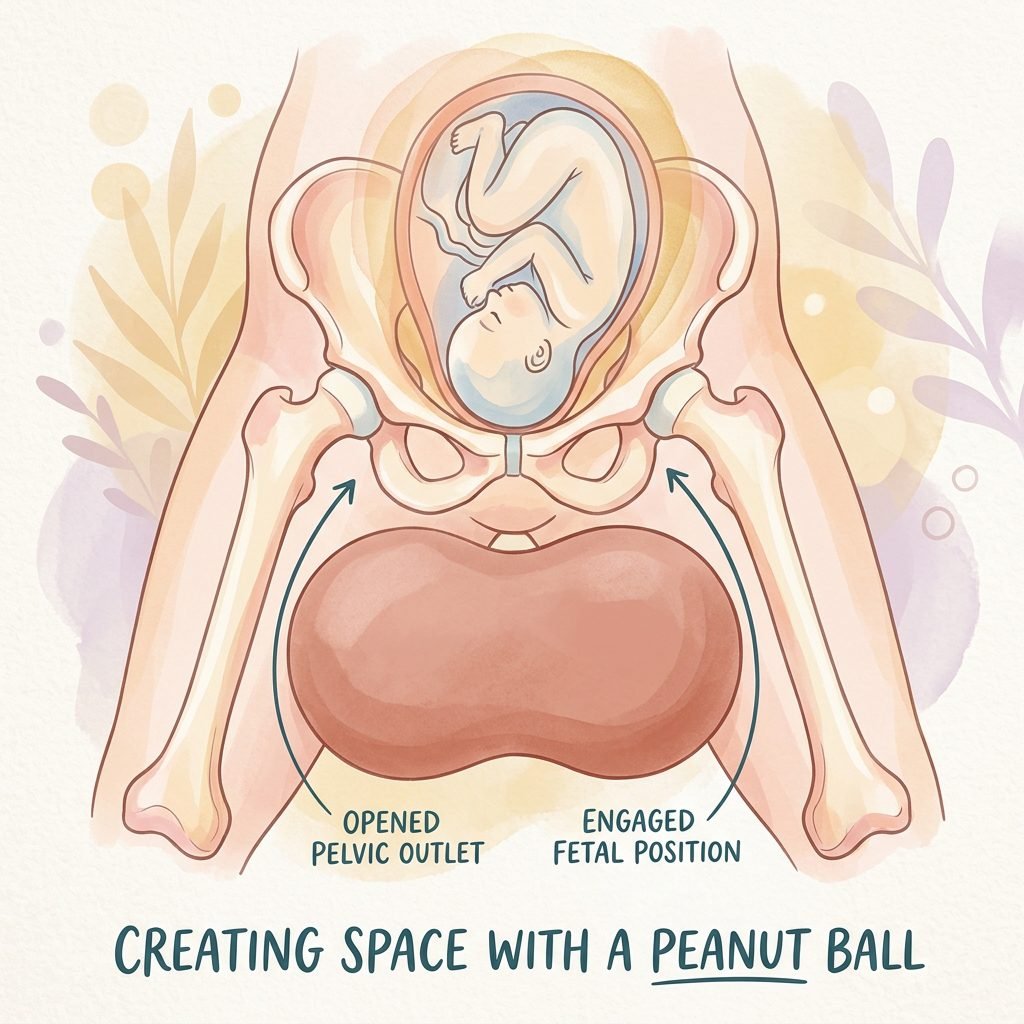
Why Movement Still Matters With an Epidural
Before we dive into the positions, it is so helpful to understand why we use the peanut ball in the first place. Your pelvis is not a rigid, fused bowl; it is a dynamic, flexible structure made of bones, ligaments, and joints that can shift and open. During labor, your baby has to navigate three distinct levels of the pelvis: the inlet (the top), the midpelvis (the middle), and the outlet (the bottom).
Different leg positions open different levels of the pelvis. For example, keeping your knees wide and your ankles together opens the top of the pelvis. Conversely, keeping your knees together and your ankles wide (internal rotation of the femur) opens the bottom of the pelvis. When you get an epidural, the natural urge to shift your weight, sway your hips, and change positions is muted by the anesthesia. If you stay in one position for too long, labor can stall simply because the baby doesn’t have the anatomical space to rotate and descend.
The Peanut Ball Advantage
The peanut ball does the heavy lifting for you. By placing it between your legs in various configurations, we can strategically open the exact level of the pelvis your baby is currently navigating. Studies have shown that using a peanut ball during epidural labor can shorten the first stage of labor by over 90 minutes and significantly reduce the likelihood of an unplanned Cesarean birth.
- It creates asymmetry: Offsetting your hips helps baby navigate the “jiggle” needed to get through the pelvic bones.
- It maximizes pelvic diameters: It opens the pelvic outlet by up to 30 percent depending on the position.
- It preserves your energy: You get to sleep, rest, and hydrate while your pelvis remains “active.”
The 7 Active Peanut Ball Positions for Epidural Labor
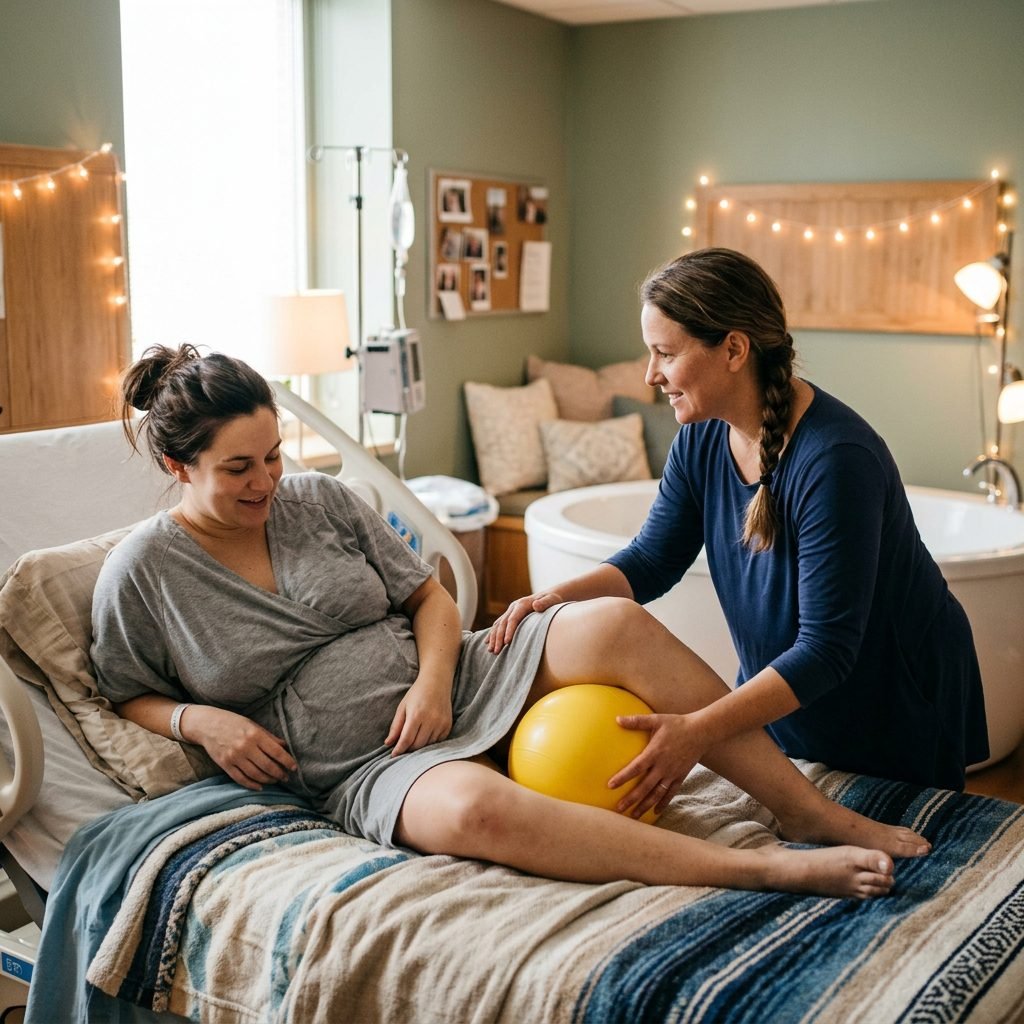
Position 1: The Classic Side-Lying (The Walrus)
This is the most common and foundational peanut ball position. It is incredibly restful and perfect for the early stages of your epidural when you just need to catch up on sleep.
- Have your nurse or partner help you roll completely onto your side. Ensure your hips are stacked directly on top of one another.
- Place a standard pillow under your head and neck for comfort.
- Take the peanut ball and place it length-wise between your legs.
- Wrap your top leg completely over the ball, ensuring that both your knee and your foot are supported by the ball. Your bottom leg should be slightly bent underneath.
- Pro-Tip: Make sure your top ankle isn’t drooping off the end of the ball. The ankle should be elevated to the same height as the knee to keep the pelvis properly aligned.
Position 2: The Flying Cowgirl (Exaggerated Runner’s Lunge)
This position is an absolute powerhouse for opening the midpelvis and helping a baby that is “sunny-side up” (occiput posterior) rotate into a more favorable position.
- Start in the classic side-lying position.
- Keep your bottom leg straight or slightly bent.
- Take your top leg and bring it high up toward your chest, bending the knee deeply.
- Tuck the peanut ball under that top knee and calf, so your leg is resting on it like you are taking a giant, exaggerated step forward.
- Adjust the bed so the head is slightly elevated, giving you a comfortable angle to rest.
Position 3: The Fire Hydrant (Supported Open Knee)
When you are nearing transition and need to open the pelvic inlet and midpelvis simultaneously, this position is fantastic.
- Roll onto your side and bend both knees up toward your belly, almost in a fetal position.
- Place the peanut ball horizontally (perpendicular to your body) between your knees.
- Your top knee will rest high up on the ball, while your feet remain closer together.
- Why it works: This external rotation of the femur creates massive space at the top of the pelvis, inviting the baby to drop deeper into the birth canal.
Position 4: The Semi-Sitting Butterfly (The Tuck)
Sometimes, lying on your side isn’t comfortable, or your baby’s heart rate prefers you to be more upright. The butterfly position utilizes gravity while keeping the pelvis open.
- Adjust the head of the hospital bed so you are sitting up at a 45 to 60-degree angle.
- Bring the soles of your feet together (as much as the epidural allows—your partner will need to help maneuver your legs).
- Place the peanut ball horizontally under your knees to support the outward stretch of your legs.
- Allow your knees to fall open, resting heavily on the curves of the peanut ball.
Position 5: The Forward-Leaning Straddle
Who says you can’t be on your hands and knees with an epidural? With a little help and the right bed adjustments, this position is a game-changer for back labor.
- Have your nurse lower the bottom half of the bed completely (if your hospital bed has this feature) or sit you up high.
- With significant assistance from your partner and nurse, pivot so you are facing the back of the raised bed.
- Straddle the peanut ball, placing it between your thighs like you are sitting on a horse.
- Lean your upper body forward onto a stack of pillows placed on the raised head of the bed.
- Note: This requires a very sturdy epidural block and continuous monitoring by your nurse to ensure you are safe and supported from falling.
Position 6: The Side-Lying Release (The Dangling Leg)
When you are fully dilated but the baby is taking their time descending, we need to open the pelvic outlet. This position internally rotates the femur, which flares the sitz bones apart.
- Lie on your side, very close to the edge of the bed (with a support person standing right there for safety!).
- Keep your bottom leg straight.
- Place the peanut ball behind your bottom leg.
- Take your top leg and bend it, resting the knee on the bed, but let your top foot and calf dangle over the peanut ball or edge of the bed.
- Why it works: By dropping the ankle lower than the knee, you create internal rotation. This physically spreads the bottom of your pelvis, making the exit door as wide as possible!
Position 7: The Modified Squat Prep
As you get ready to push, mimicking a squat can help bring the baby all the way down.
- Raise the head of the bed to a high sitting position.
- Have your partner place the peanut ball horizontally under your thighs, close to your glutes.
- Place your feet flat on the bed. The peanut ball will act as a wedge, supporting your legs in a deep, wide squatting position while you remain seated.
- You can use a sheet tied to a squat bar to pull on during contractions while in this position.
The Golden Rules of Peanut Ball Labor: Timing and Transitions
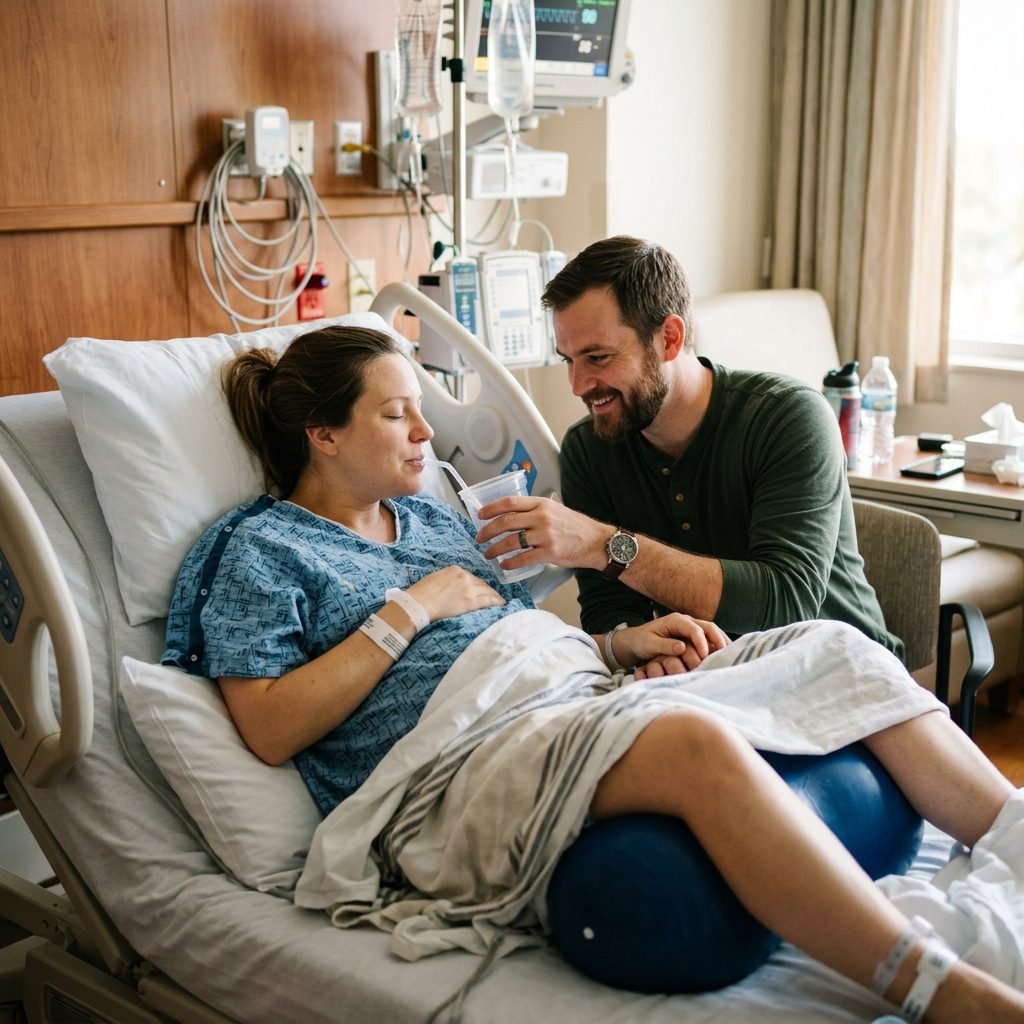
How Often Should You Change Positions?
One of the most important things to remember when laboring with an epidural is the Rule of 30. Because you cannot feel the natural cues your body sends to shift your weight, you must rely on the clock. You should aim to change your position every 30 to 45 minutes.
Rotating positions prevents the baby from getting stuck in one alignment and ensures continuous, even pressure on the cervix, which helps dilation. It also prevents pressure sores and ensures good blood flow to your uterus and your baby.
“Rotate, rest, and receive. Every 30 minutes, shift your body, take a deep breath, and trust that your baby is moving exactly where they need to be.”
The Partner & Doula Support Guide
Partners, this is your time to shine! When mama has an epidural, moving her legs requires physical effort. Here is your step-by-step support script:
- Be the Timekeeper: Set a gentle, non-jarring alarm on your phone for every 45 minutes. When it goes off, it’s time for a flip.
- The “Log Roll” Technique: When helping mama turn from her left side to her right side, remove the peanut ball first. Help her bend her knees, and gently roll her hips and shoulders at the same time (like a log) to prevent twisting her spine.
- Check the Ankles: Always double-check that her top ankle is fully supported by the peanut ball and not hanging off the edge, which can strain the hip joint.
- Hydration Station: Every time you change her position, offer her a sip of water, ice chips, or clear electrolytes. Epidurals can lower blood pressure, so staying hydrated is vital.
- Massage and Touch: Even though she is numb in her lower half, gentle shoulder massages, cool washcloths on the forehead, and holding her hand provide immense emotional grounding.
Position vs. Labor Phase Matrix

Choosing the Right Position for the Right Time
Labor is a journey of descent. As your baby moves lower, the part of the pelvis that needs to open changes. If you are ever unsure of what position to use, ask your nurse, “What station is the baby at?” Use this handy matrix to match your peanut ball position to your labor phase.
| Labor Phase / Dilation | Pelvic Station (Where is Baby?) | Best Peanut Ball Position | Frequency of Change |
|---|---|---|---|
| Early Active (4-6 cm) | High (Pelvic Inlet) – Negative Station | The Fire Hydrant, The Butterfly | Every 45 minutes |
| Active Labor (6-8 cm) | Midpelvis – Zero Station | The Flying Cowgirl, Classic Side-Lying | Every 30-45 minutes |
| Transition (8-10 cm) | Low (Pelvic Outlet) – Positive Station | Side-Lying Release (Dangling Leg) | Every 30 minutes |
| Pushing Phase (10 cm) | Crowning – +3 to +4 Station | Modified Squat Prep | As directed by provider |
Advocating for Yourself: Most modern labor and delivery units have peanut balls available, but they come in different sizes! If you are petite (under 5’3″), ask for a 40cm ball. If you are average height or taller, a 50cm or 60cm ball will be a better fit. Don’t be afraid to ask your nurse to track down the correct size for you.
Conclusion
Sweet mama, as you prepare for the beautiful marathon of birth, I want you to feel deeply empowered by the tools at your disposal. An epidural is a fantastic tool for rest and pain relief, and when paired with the biomechanical brilliance of the peanut ball, you are setting yourself up for a truly active, progressive, and supported labor. Remember that you are not just a passenger in your birth experience; even while resting comfortably in bed, your body is doing monumental, miraculous work.
Take a deep breath, trust your body, and lean on your support team. Print out this guide, pack it in your hospital bag, and share it with your partner so they know exactly how to support you. You are strong, you are capable, and you are going to meet your beautiful baby so soon. You’ve absolutely got this!