
The Complete Midwife-Approved Natural Hospital Birth Preferences Checklist
Hello, sweet mama. I see you, and I feel that beautiful mixture of excitement, anticipation, and perhaps a little bit of ‘how-is-this-all-going-to-go’ nerves. As your virtual doula and sister-in-arms, I want you to take a deep breath and know one thing for certain: you are incredibly powerful. Choosing a natural birth within a hospital setting is a brave and beautiful path. It is the marriage of honoring your body’s ancient wisdom while having the safety net of modern medicine right outside the door. But here is the secret to a successful natural hospital birth—it isn’t just about ‘winging it.’ It is about preparation, communication, and creating a sacred bubble around yourself.
A ‘Birth Plan’ can sometimes feel rigid, leading to disappointment if things shift. That is why we call this a Birth Preferences Checklist. It is a fluid, living document that tells your medical team: ‘This is how I feel safest and most supported.’ Midwives love these because they provide a clear roadmap for your care. In this guide, we are going to walk through every detail—from the lighting in your room to the way your baby is handled in those first precious moments—to ensure your voice is heard and your body is respected. Let’s get you ready to bring your little one into the world with confidence and grace.
Setting the Stage: Creating Your Sacred Hospital Sanctuary
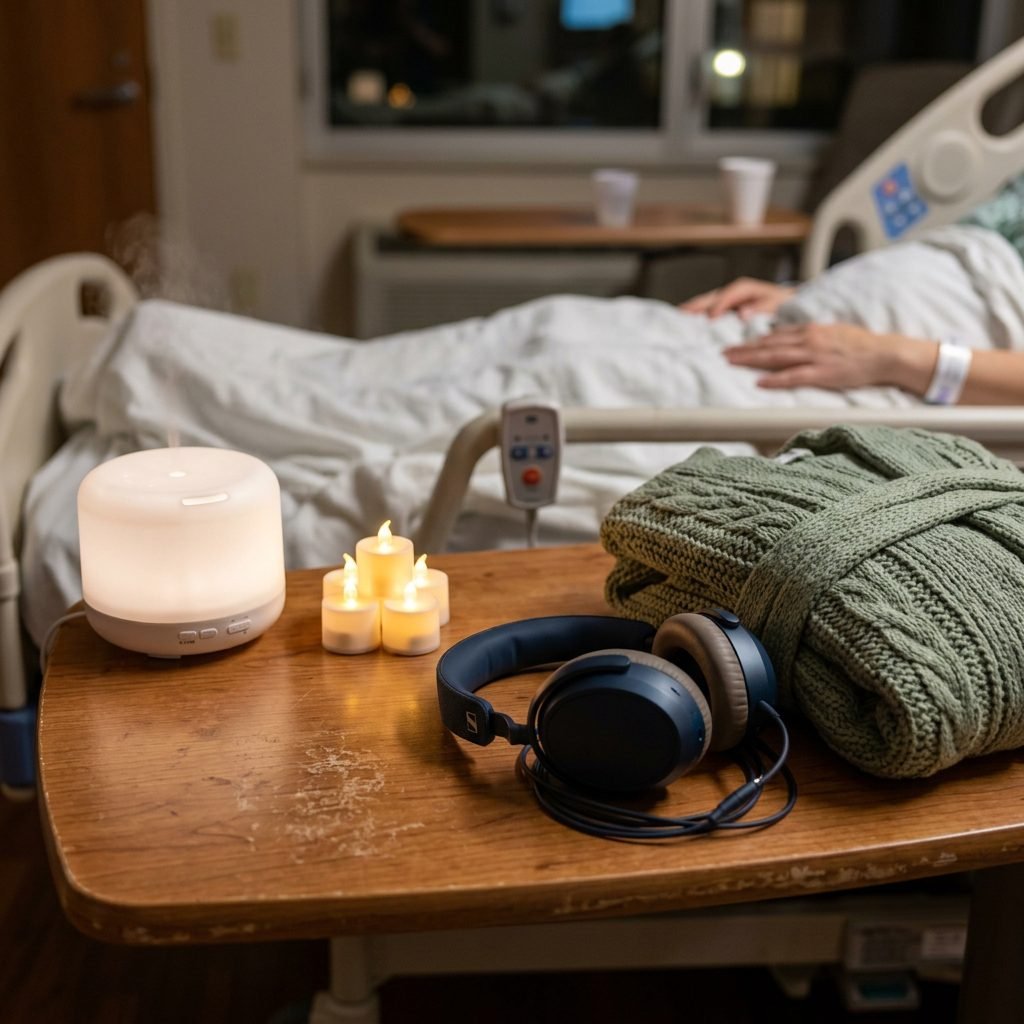
The hospital environment is designed for clinical efficiency, but birth is a physiological process that thrives on privacy, darkness, and safety. To keep your oxytocin—the ‘love hormone’ that drives labor—flowing, we need to minimize the adrenaline that comes from bright lights and loud noises. Think of your labor room not as a hospital ward, but as a cocoon.
The Sensory Checklist
- Lighting: Ask the staff to dim the overhead fluorescent lights. Bring battery-operated tea lights or fairy lights to create a warm, amber glow.
- Sound: Create a labor playlist with grounding tracks and another for the ‘pushing’ phase with empowering beats. Noise-canceling headphones are a must for the moments you need to go deep inside yourself.
- Scent: Use a portable diffuser with lavender for relaxation or peppermint for nausea. Pro-tip: Put drops on a cotton ball so you can move it away quickly if your sensory needs change.
- Clothing: You do not have to wear the hospital gown! Bring your own soft, button-down nightie or a comfortable labor bra. Feeling like yourself helps you stay in control.
“Your birth environment is the container for your experience. When the lights go down, the intuition turns up.”
The Natural Labor Dance: Movement and Positioning Strategies
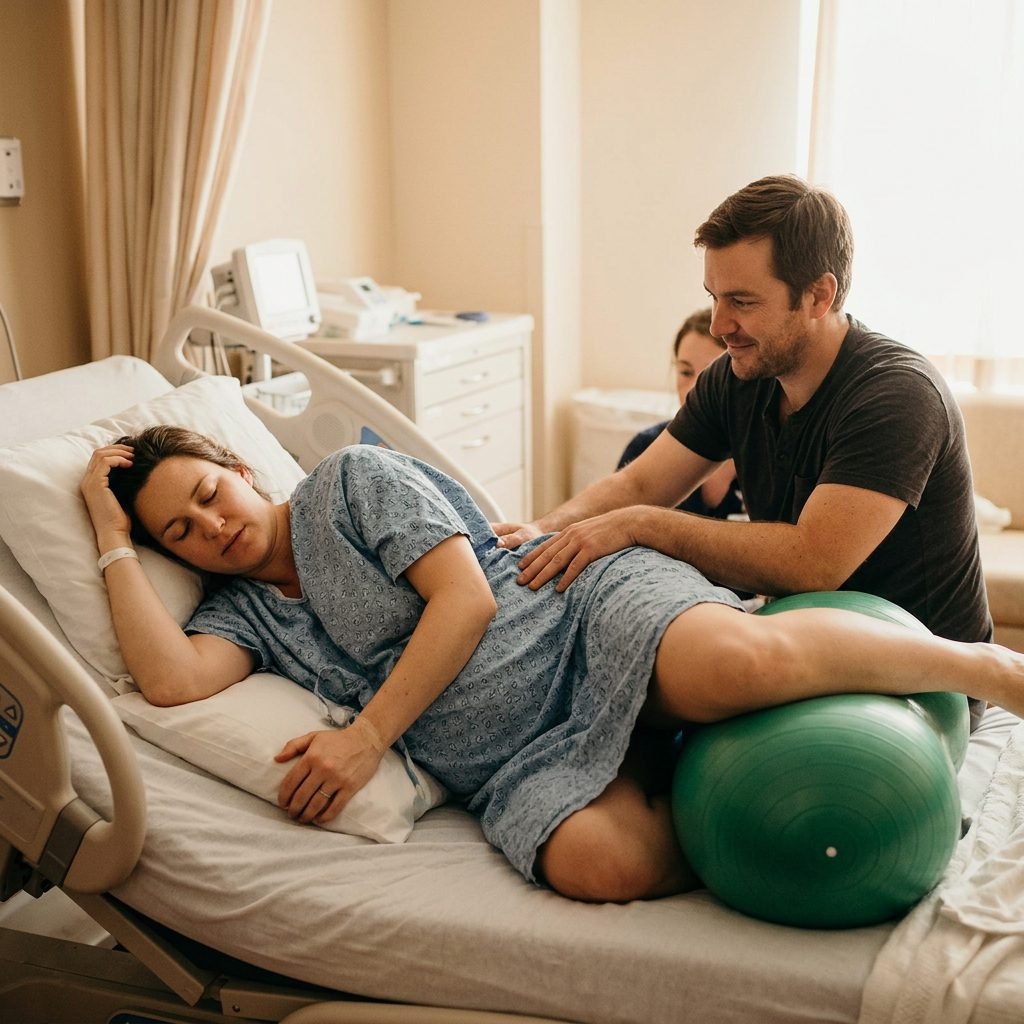
In a natural birth, movement is your greatest tool for pain management and helping your baby navigate the pelvis. Staying upright and active uses gravity to your advantage. Here is how we move through the stages of labor.
Step-by-Step Physical Movements for an Active Labor
- The Slow Dance: Wrap your arms around your partner’s neck and sway your hips back and forth. This allows your partner to provide a firm double hip squeeze to relieve back pressure.
- Hands and Knees: This is the ‘gold standard’ for relieving back labor and helping a baby rotate. Use a yoga mat or a soft towel under your knees.
- The Forward-Leaning Inversion: Leaning forward onto a birth ball or the raised head of the hospital bed helps create space in the lower uterus for the baby to tuck their chin.
- The Peanut Ball: If you need to rest or are in bed, place a peanut ball between your ankles and knees to keep the pelvis open.
Position vs. Labor Phase Matrix
| Labor Phase | Recommended Position | Why It Works |
|---|---|---|
| Early Labor | Walking and Curb Walking | Uses gravity to engage the head. |
| Active Labor | Squatting or Lunging | Opens the pelvic outlet by 20-30%. |
| Transition | Hands and Knees / All Fours | Relieves pressure on the sacrum. |
| Pushing | Side-Lying or Upright Squat | Protects the perineum and uses gravity. |
Navigating Interventions: The ‘No-Thank-You’ and ‘Yes-Please’ List
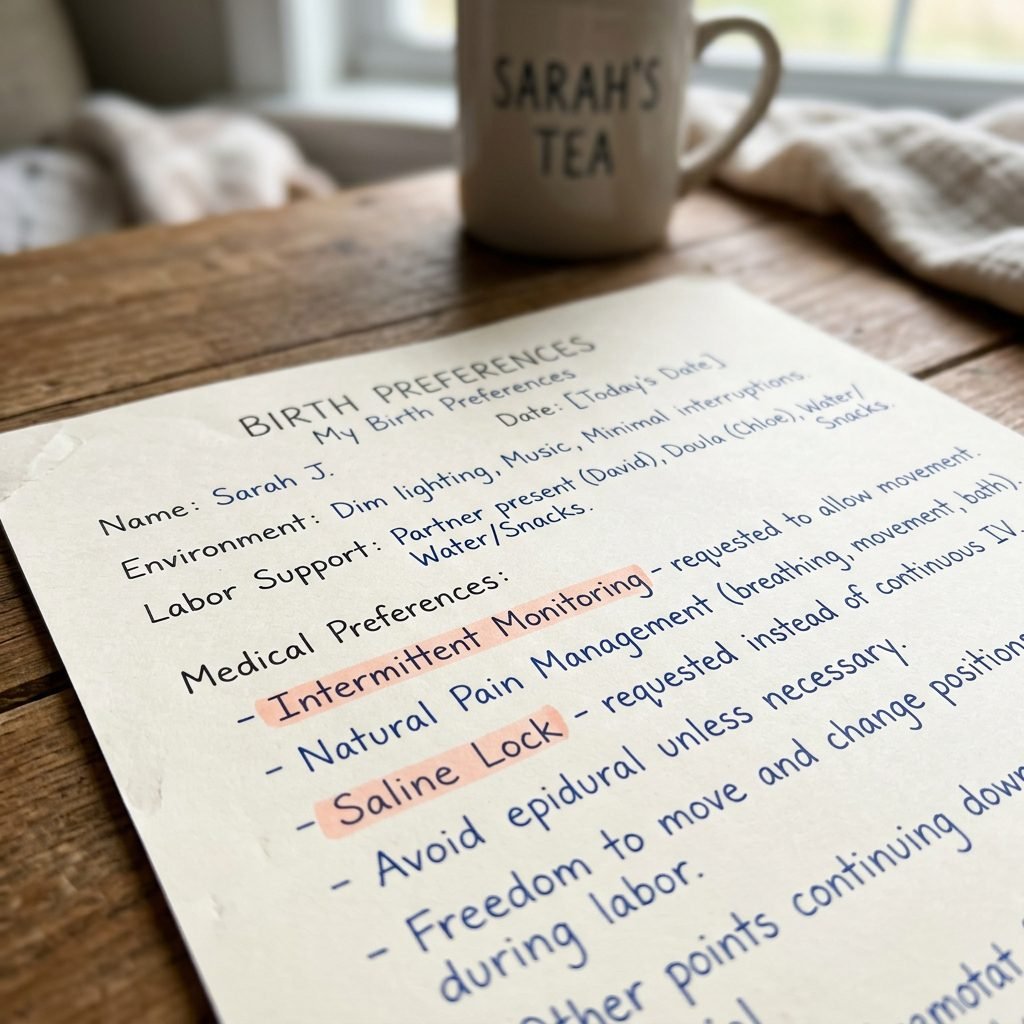
In a hospital, certain protocols are standard, but many are negotiable for a low-risk, natural birth. The key is to discuss these with your midwife or OB-GYN beforehand and include them clearly on your checklist. We use the BRAIN acronym for every decision: Benefits, Risks, Alternatives, Intuition, and what happens if we do Nothing.
Midwife-Approved Preferences
- Intermittent Monitoring: Instead of being tethered to a machine with continuous fetal monitoring, request intermittent monitoring with a handheld Doppler. This allows you to keep moving.
- Saline Lock (Hep-Lock): Request a saline lock instead of a continuous IV drip. This keeps a port open for emergencies but keeps you free from wires and over-hydration.
- Eating and Drinking: Labor is a marathon! Request to stay hydrated with coconut water or clear broths and eat light, energy-dense snacks like honey sticks or fruit.
- No Routine Augmentation: Clearly state that you prefer to avoid synthetic oxytocin (Pitocin) unless there is a true medical necessity, allowing your body to set its own pace.
Remember: You have the right to informed consent and informed refusal. Your medical team is there to support your safety, but you are the primary decision-maker for your body.
The Holistic Pain Management Toolkit
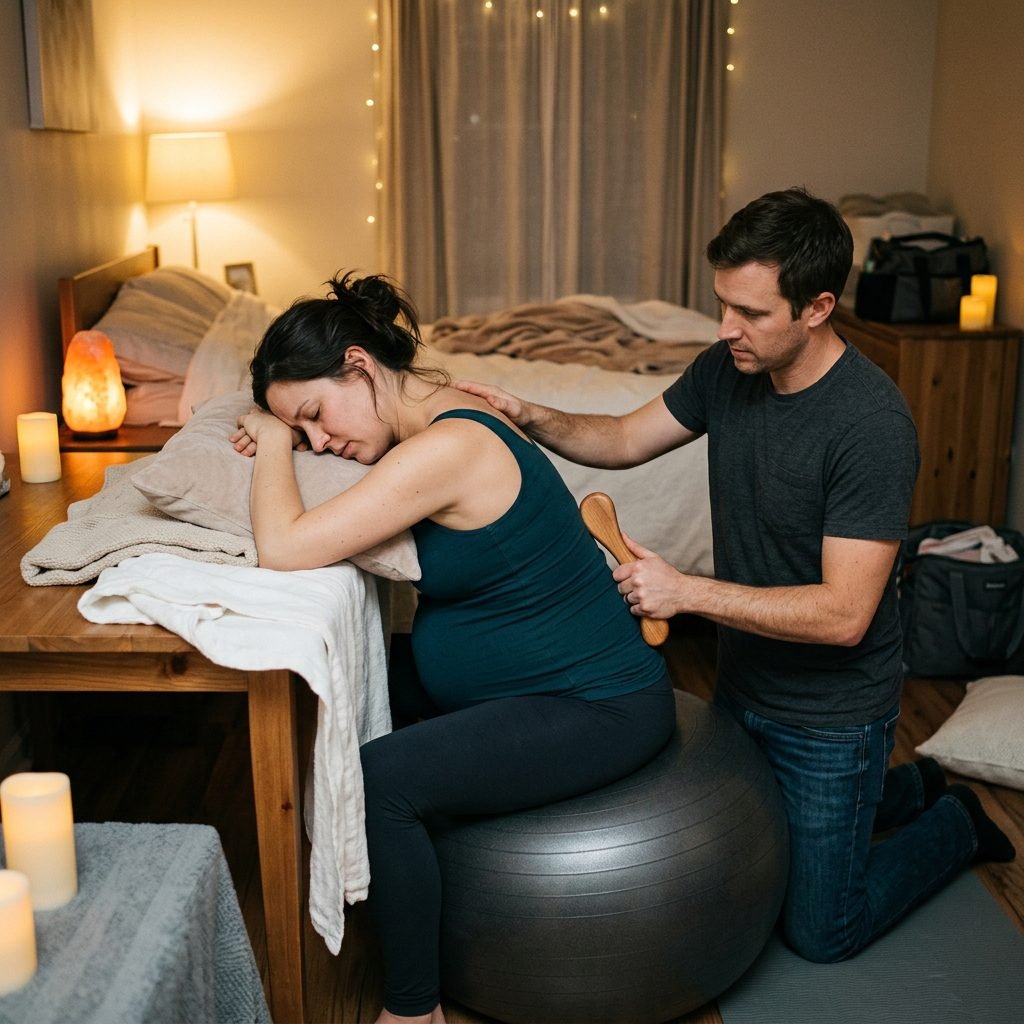
Without an epidural, you will need a ‘labor bag’ full of coping mechanisms. Natural pain management is about working with the sensation rather than running from it. It is helpful to view each contraction as a wave bringing you closer to your baby.
Non-Pharmacological Comfort Measures
- Hydrotherapy: If your hospital has a tub or a shower, use it! Water is often called the ‘midwife’s epidural.’ The buoyancy relieves pressure and the warm water relaxes the muscles.
- TENS Machine: A Transcutaneous Electrical Nerve Stimulation machine sends tiny electrical pulses to your back, which helps ‘gate’ the pain signals to your brain.
- Counter Pressure: Have your doula or partner use their fists or a tennis ball to apply firm pressure to your lower back during contractions.
- Vocalizations: Low, guttural moans help keep your pelvic floor relaxed. Avoid high-pitched screaming, which can tighten the birth canal.
“I can do anything for sixty seconds. Each breath is a step closer to my baby’s face.”
Protecting the Golden Hour: Postpartum Preferences

The first 60 minutes after birth are sacred. This is when the ‘hormonal cocktail’ of oxytocin and endorphins is at its peak, facilitating bonding and breastfeeding. Your checklist should extend into this period to ensure these moments are undisturbed.
The Postpartum Checklist
| Preference | Description | Benefit |
|---|---|---|
| Immediate Skin-to-Skin | Baby is placed directly on your chest. | Regulates baby’s heart rate and temp. |
| Delayed Cord Clamping | Waiting 3-5 mins or until the cord stops pulsing. | Increases baby’s iron stores by 30%. |
| Physiological Third Stage | Allowing the placenta to deliver naturally. | Reduces the risk of postpartum hemorrhage. |
| The ‘Wait’ for Weight | Delaying weighing and measuring for 1-2 hours. | Ensures the first breastfeeding bond is made. |
- Vitamin K and Erythromycin: State if you want these administered while the baby is on your chest, or if you prefer to wait.
- Breastfeeding Only: Request that no pacifiers or formula be given without your explicit consent.
- Quiet Room: Request that non-essential staff stay out of the room during the first hour to allow for family bonding.
The Essential Hospital Bag: Natural Birth Edition

To support your natural birth preferences, your bag should be packed with items that foster comfort and autonomy. This isn’t just about diapers; it’s about your survival and thrive kit.
What to Pack for a Natural Birth
- A Rebozo: A long Mexican shawl used for sifting the hips and providing support in various labor positions.
- Electrolyte Drinks: Think coconut water or magnesium-infused drinks to prevent muscle cramping.
- A Focal Point: An ultrasound photo, a crystal, or a birth affirmation card to look at when things get intense.
- Comfortable Nursing Bra: Choose one with no underwire to allow for immediate skin-to-skin and easy breastfeeding access.
- Soft Toilet Paper: Trust me, hospital toilet paper is not your friend postpartum. Bring a roll of the good stuff!
By bringing these items, you are signaling to the hospital staff that you are prepared, educated, and intentional about your birthing process. It sets a tone of active participation rather than passive patienthood.
Conclusion
Mama, as you finalize this checklist, I want you to remember that the most important thing you can bring into that hospital room is trust. Trust in your body, trust in your baby, and trust in the process. This checklist is your voice when you are in ‘labor land’ and cannot speak for yourself. It is a bridge between your desires and the medical team’s care. No matter how your birth unfolds—whether it follows this list to the letter or takes a surprising turn—know that you are making informed, empowered choices every step of the way. You are already an incredible mother. Now, go forth and bring that baby home! You’ve got this.