How to Paint a Magical Tree Bookshelf Wall Mural for Your Nursery
Hello, mama. Can you feel that? That sweet, buzzing energy in your chest that makes you want to scrub every baseboard and organize every tiny onesie by color? We call that the nesting instinct, and it is one of the most beautiful parts of the journey to motherhood. It is your soul’s way of preparing a soft landing for the little life you are carrying. Today, we are going to channel that beautiful energy into something truly magical: a Tree Bookshelf Wall Mural.
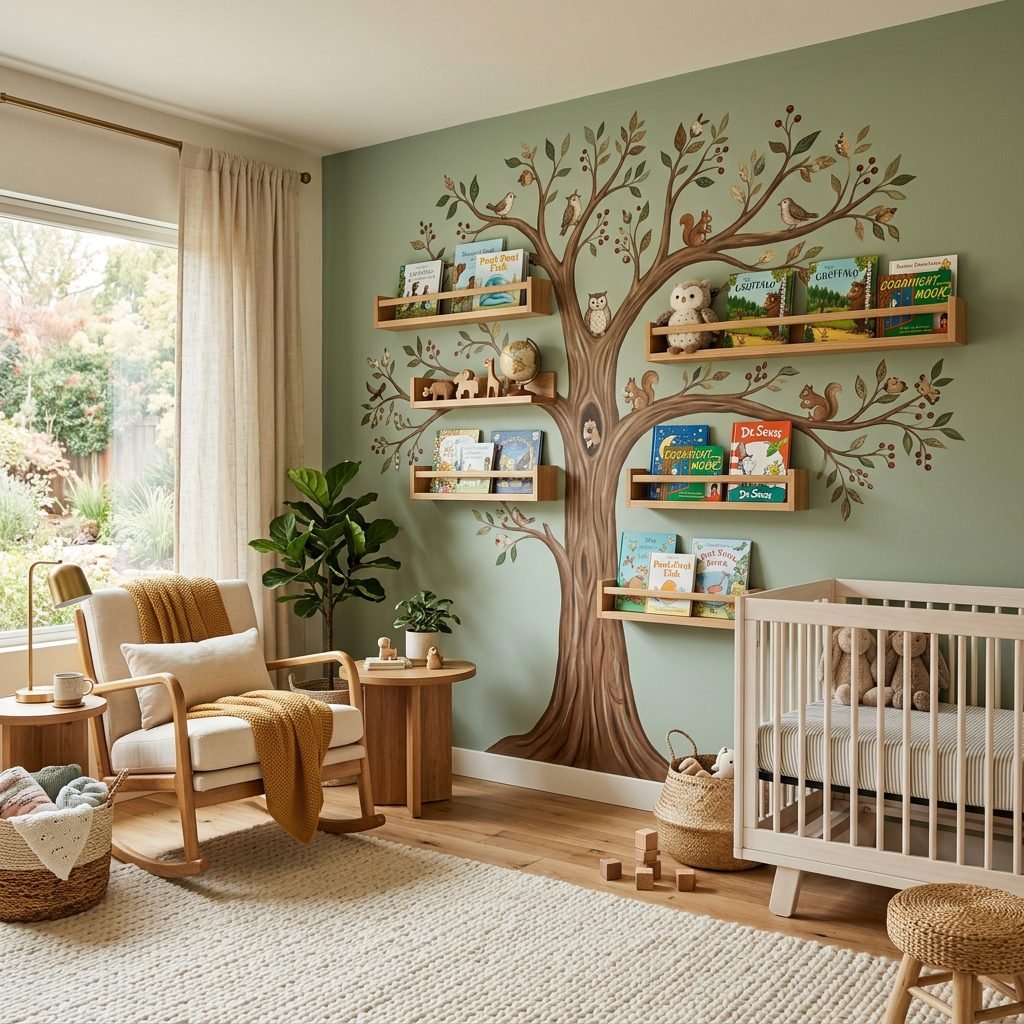
As a doula, I often tell my clients that the nursery isn’t just a room; it’s a sanctuary for the late-night feeds, the first giggles, and the quiet moments of bonding. A tree mural symbolizes growth, strength, and the deep roots of your family. By combining a hand-painted mural with functional floating shelves, we create a ‘living’ piece of art that grows with your child. It turns storage into a storybook scene. Grab a glass of red raspberry leaf tea, put on your favorite soothing playlist, and let’s create some magic together.
Phase 1: Planning Your Enchanted Canopy
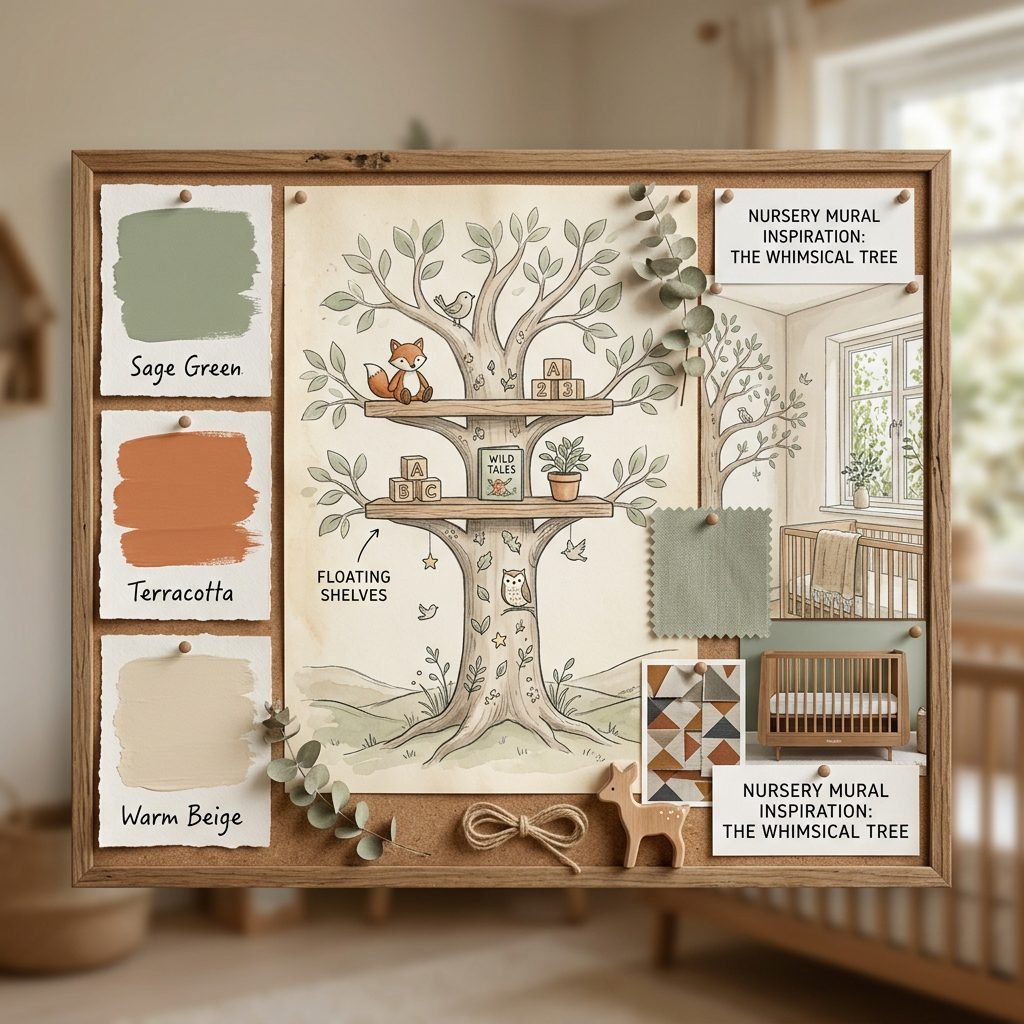
Before we touch a brush to the wall, we need a vision. A tree mural can take many forms—from a minimalist Scandinavian birch to a lush, whimsical oak. Think about the emotional atmosphere you want to create. Do you want vibrant, stimulating colors for play, or muted, earthy tones for sleep?
Choosing Your Color Palette
When selecting paints, I always recommend No-VOC (Volatile Organic Compounds) or Low-VOC options. Your nesting lungs and your baby’s developing respiratory system deserve the cleanest air possible. Earthy greens, soft browns, and creamy off-whites create a timeless look that won’t overstimulate your little one.
“In this room, we plant the seeds of dreams and water them with love. Every stroke of the brush is a prayer for your baby’s future.”
Consider the placement of the tree. Usually, a corner works best because the branches can ‘reach’ across two walls, creating an immersive 3D effect. Ensure the ‘trunk’ is wide enough to support the visual weight of the bookshelves you’ll be installing later.
Phase 2: Gathering Your Magic Wand and Supplies
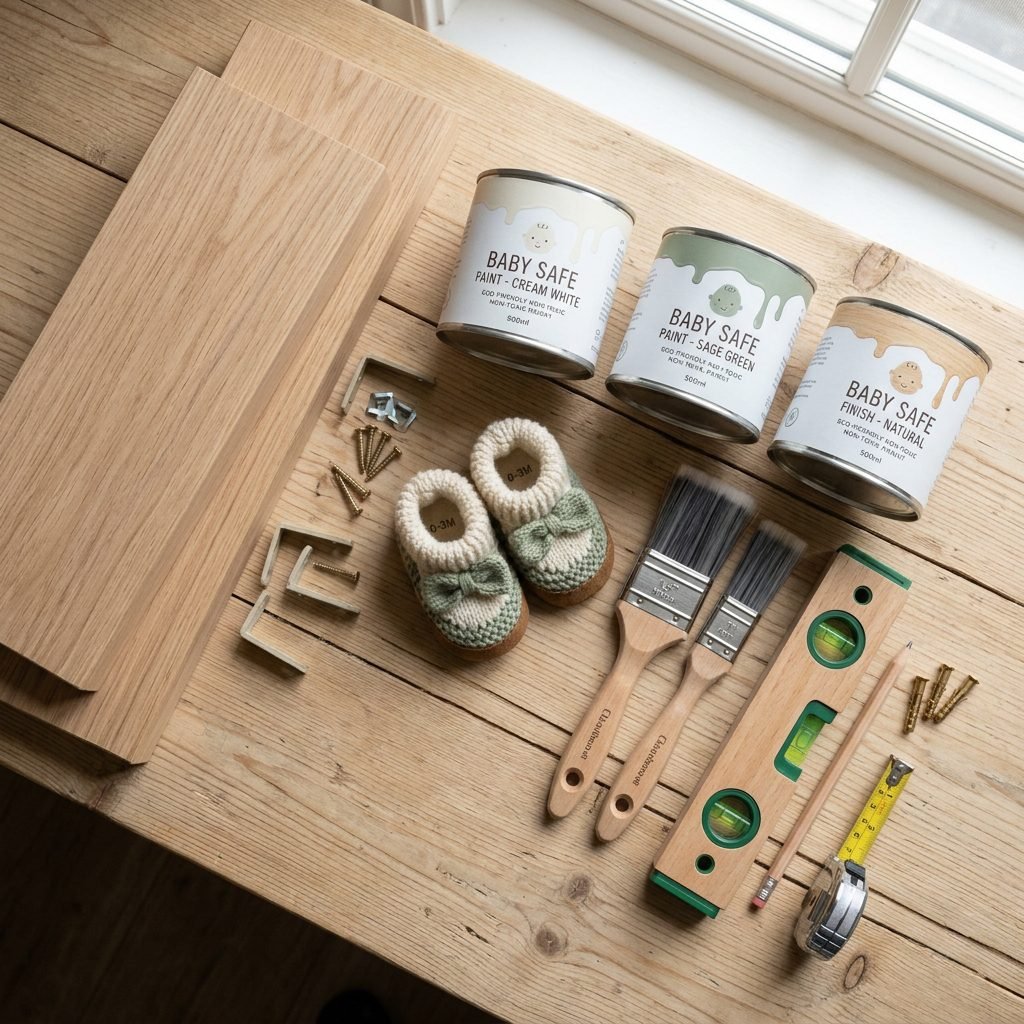
Preparation is the key to a stress-free DIY project. You don’t want to be halfway up a ladder and realize you’re out of painter’s tape! Here is a breakdown of everything you’ll need to bring this forest to life.
| Category | Items Needed | Estimated Cost |
|---|---|---|
| Paint & Prep | No-VOC Interior Paint (Trunk, Leaves, Background), Primer, Painter’s Tape, Drop Cloths | $60 – $100 |
| Art Tools | Chalk (for sketching), Angled Brushes, Small Detail Brushes, Sea Sponge (for texture) | $25 – $40 |
| Shelving | 3-5 Floating Wooden Shelves (varying lengths), Heavy-duty Wall Anchors, Level, Drill | $80 – $150 |
| Safety Gear | Step Stool with Handrail, Support Pillow for Back, Water Bottle | $0 (Household items) |
Pro-Tip from a Doula: If you are in your third trimester, please do not do the heavy lifting or high-ladder work alone. This is the perfect time to enlist your partner, a friend, or your own ‘village’ to help with the physical labor while you act as the artistic director.
Phase 3: Sketching and Painting the Trunk of Wisdom
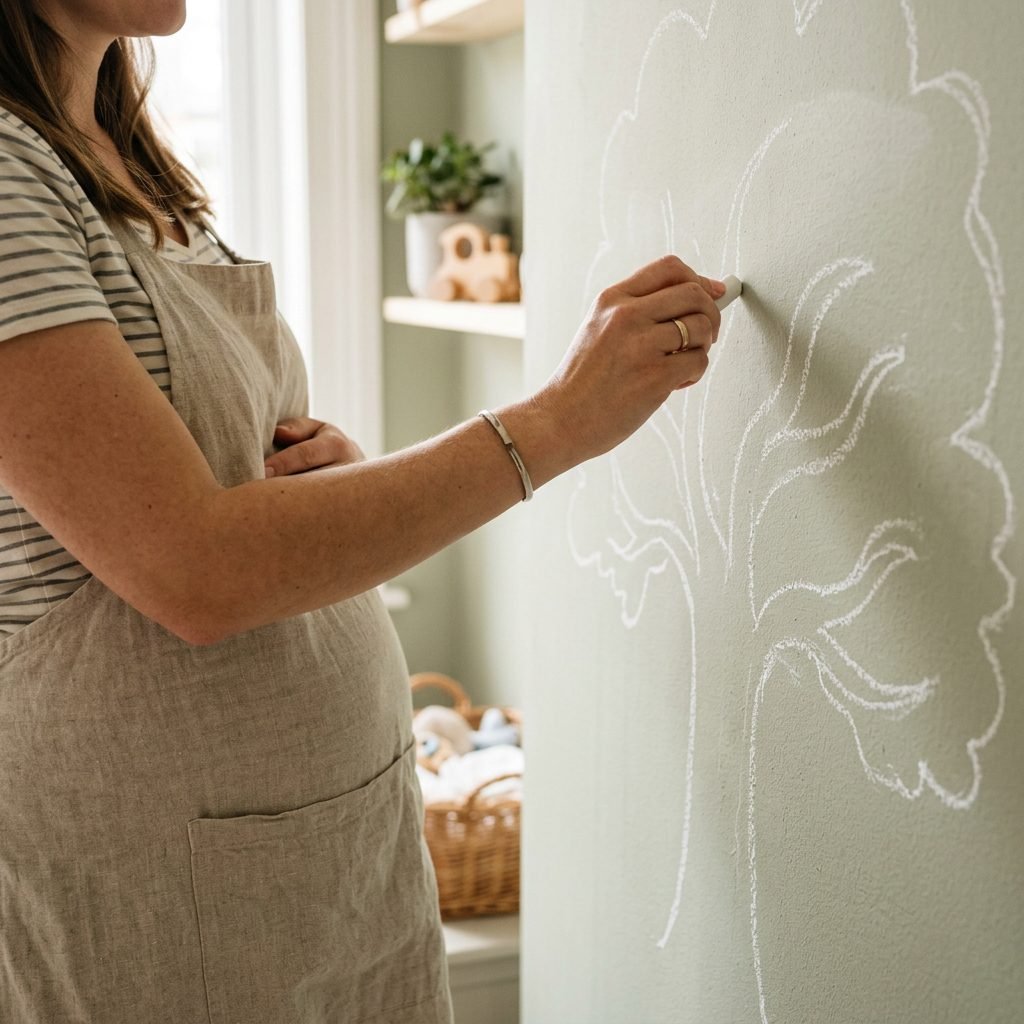
Now comes the fun part! Don’t be intimidated by the ‘art’ aspect. This tree doesn’t have to be perfect; in fact, the knots and twists make it look more organic and magical.
- Clean the Wall: Wipe down the surface with a damp cloth to remove dust. Let it dry completely.
- The Chalk Sketch: Use a piece of white chalk to lightly sketch the outline of your tree. Why chalk? Because you can wipe it away with a wet rag if you change your mind! Start with a thick base at the floor and taper it as you go up toward the ceiling.
- Branch Placement: Mark exactly where your bookshelves will go. You want the branches of the mural to ‘cradle’ the shelves. Use your level to ensure the shelf marks are perfectly straight.
- The Base Coat: Paint the trunk and main branches using your primary brown or grey tone. Use an angled brush for the edges and a roller for the thicker parts of the trunk.
- Adding Texture: Once the base is dry, use a slightly darker shade and a sea sponge to dab ‘bark’ textures onto the trunk. This adds depth and makes the mural pop.
Remember, mama, take frequent breaks. Sit down, hydrate, and feel those kicks. There is no rush.
Phase 4: Adding the ‘Leaves’—Installing the Bookshelves
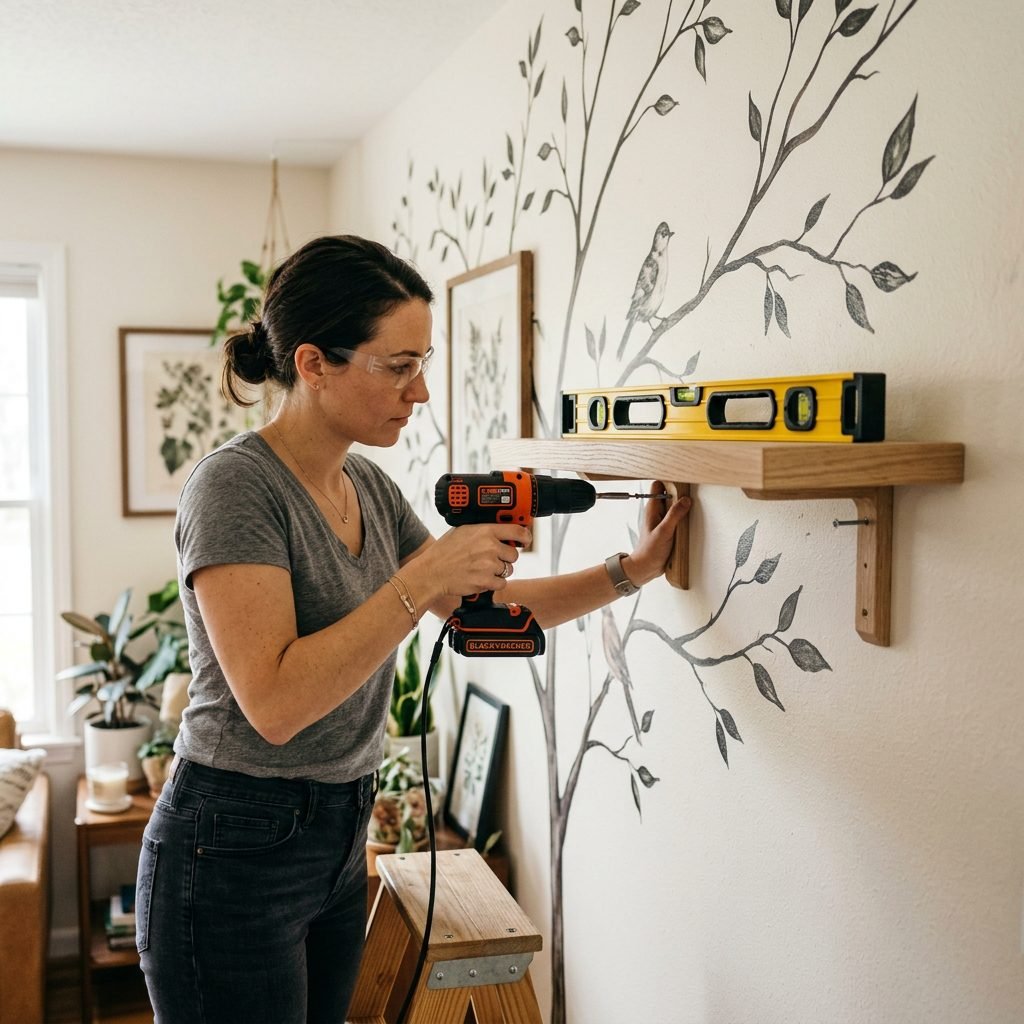
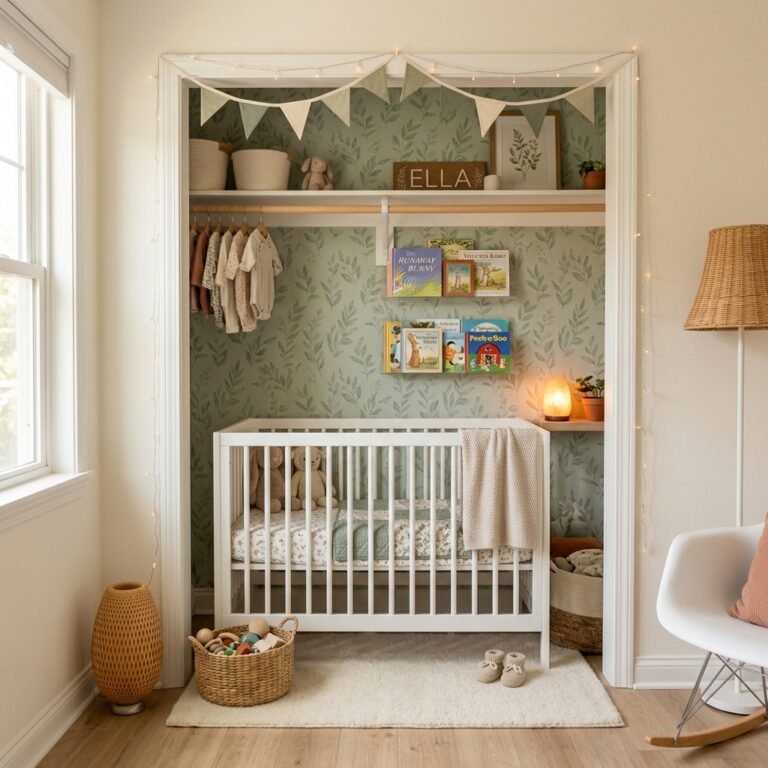
The bookshelves are the ‘leaves’ of your tree. They provide the function to the form. When installing shelves in a nursery, safety is the absolute priority. As your baby grows into a toddler, they will eventually try to pull themselves up on these, so they must be anchored into studs or secured with heavy-duty drywall anchors.
Shelf Height vs. Baby Development
| Height from Floor | Developmental Stage | Recommended Items |
|---|---|---|
| 0 – 18 Inches | Crawling & Pulling Up | Soft board books, plush toys, fabric bins. |
| 18 – 36 Inches | Toddlerhood | Picture books, interactive touch-and-feel books. |
| 36+ Inches | Parent-Only Access | Fragile keepsakes, heavy hardcovers, nursery monitor. |
When you install the shelves, stagger them at different heights along the ‘branches’ you painted. This creates a more natural, whimsical look than a straight vertical line. Always use a level! A crooked shelf will break the magic of the mural.
Phase 5: Styling the Canopy for Sensory Play
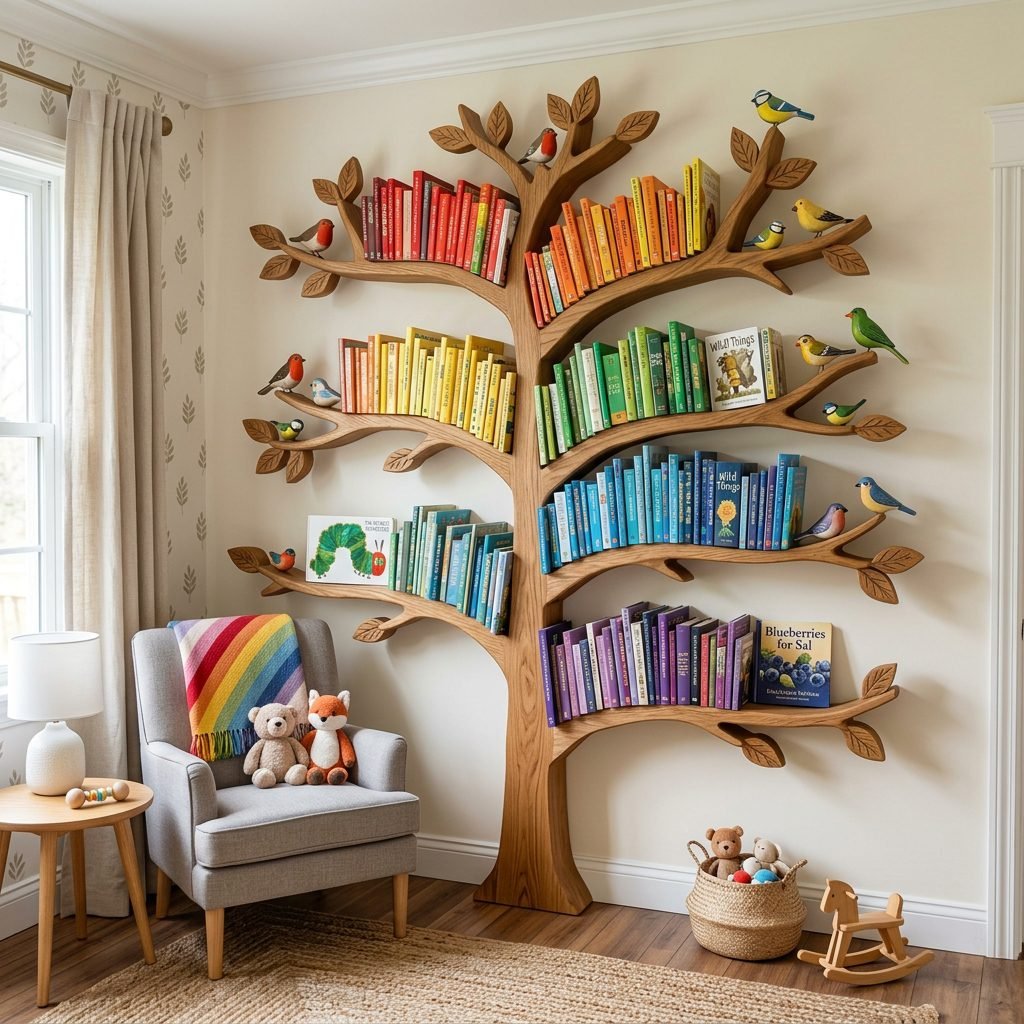
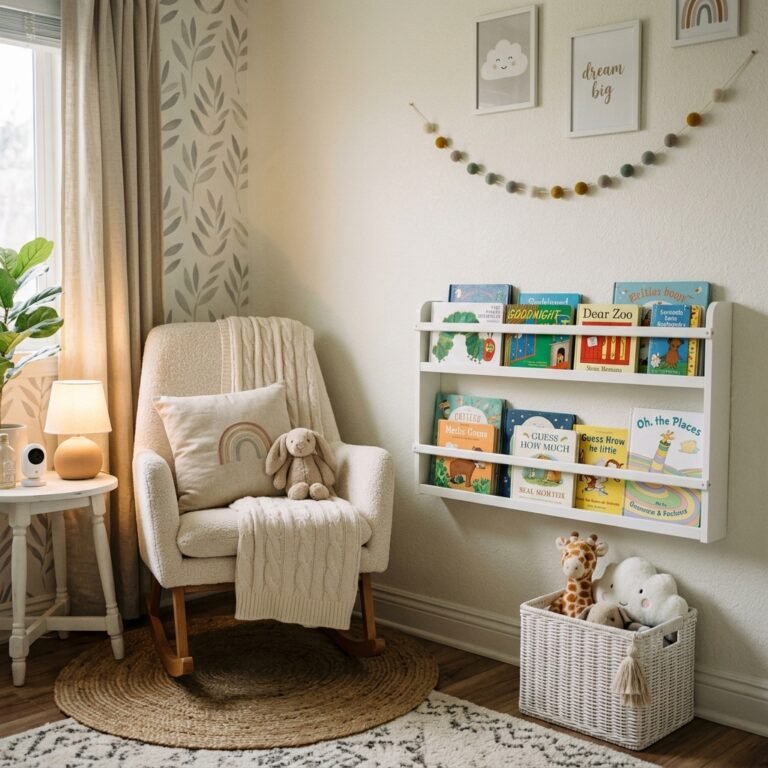
Once the paint is dry and the shelves are secure, it’s time to style! This is where you can incorporate sensory elements that will help your baby’s brain development. Books are wonderful, but we can add more layers to our magical tree.
- Color Coding: Arrange books by the color of their spines to create a ‘rainbow’ leaf effect. This is visually soothing for you and eventually helps toddlers with color recognition.
- Texture & Light: Drape a small string of battery-operated LED fairy lights (safely tucked away from tiny hands) around a branch to act as a nightlight. Hang a few felt leaves or wooden birds from the shelves for tactile interest.
- The Reading Nook: Place a comfortable floor cushion or a small sheepskin rug at the base of the tree. This signals to your child that this is a safe, quiet space for imagination.
As a sleep consultant, I recommend keeping the items on the lowest shelves very simple. We don’t want the ‘tree’ to become a source of overstimulation right before nap time!
Safety and Sustainability: The Doula’s Checklist
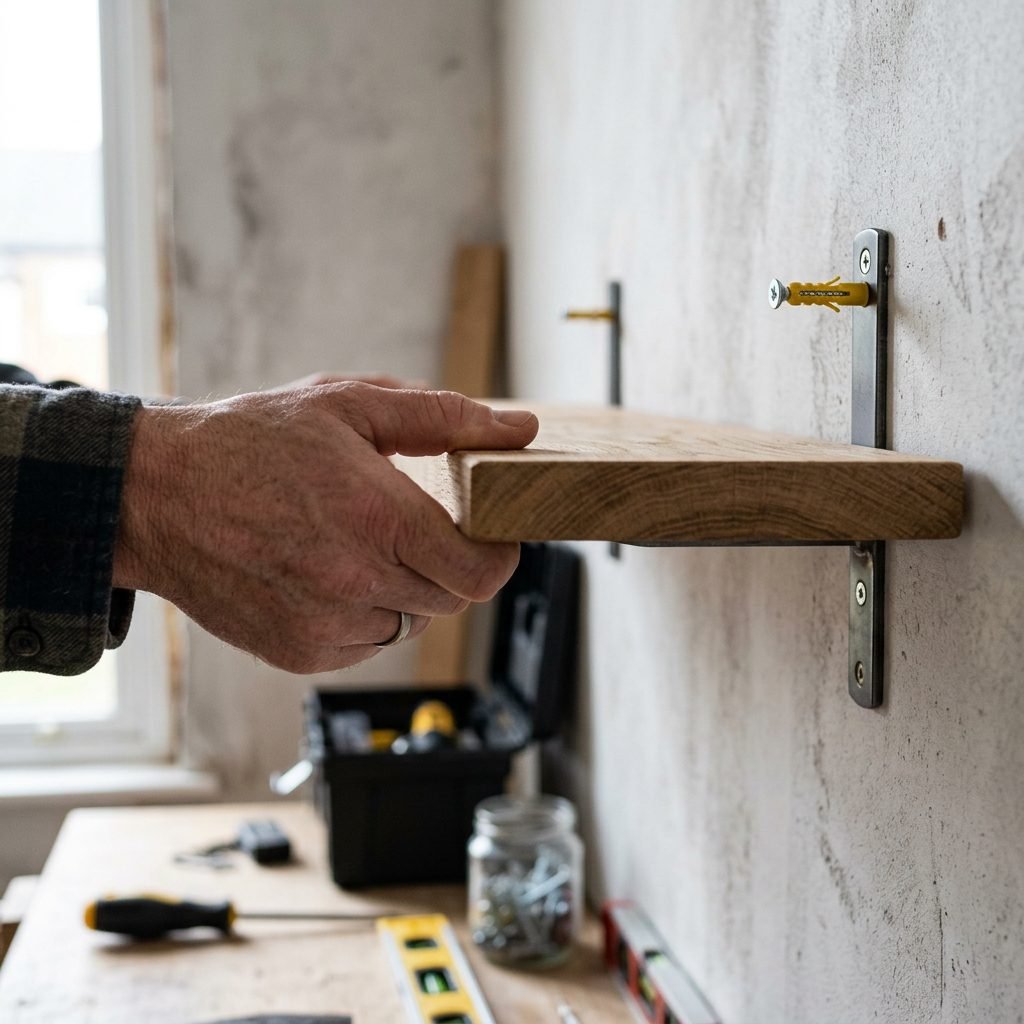
Before we call this project finished, let’s do a final safety sweep. Your nursery should be a fortress of peace.
- Anchor Check: Give every shelf a firm ‘tug’ test. If it wiggles, it needs more support.
- Corner Protection: If your floating shelves have sharp 90-degree corners, consider clear silicone corner guards once the baby starts cruising.
- Weight Limits: Do not overload the ‘branches.’ Books are surprisingly heavy! Distribute the weight evenly across the shelves.
- Paint Curing: Even No-VOC paint needs time to ‘off-gas’ its natural odors. Keep the windows open and a fan running for 48 to 72 hours before moving the baby into the room.
“Safety isn’t just a checklist; it’s the foundation of the peace of mind every mother deserves.”
Conclusion
You did it, mama! You’ve created a masterpiece that is so much more than just a wall decoration. You’ve built a doorway to other worlds for your child. This magical tree bookshelf will stand tall as your baby grows from a tiny bundle in your arms to a curious toddler reaching for their favorite bedtime story. Every time you look at this mural, remember the love and intention you poured into it during these precious months of waiting. Your roots are strong, your branches are wide, and your home is ready for the beautiful life about to join it. Happy nesting!