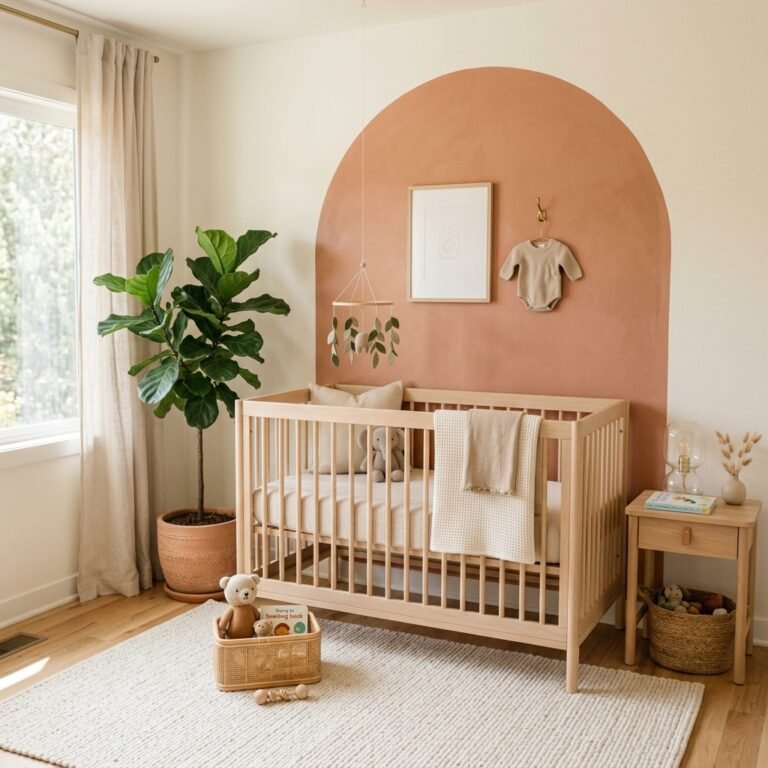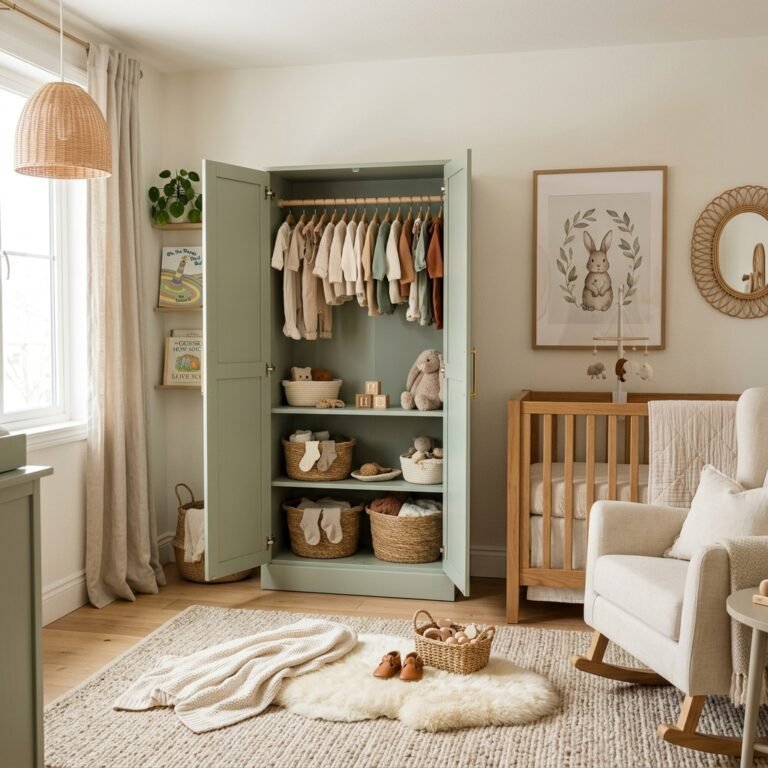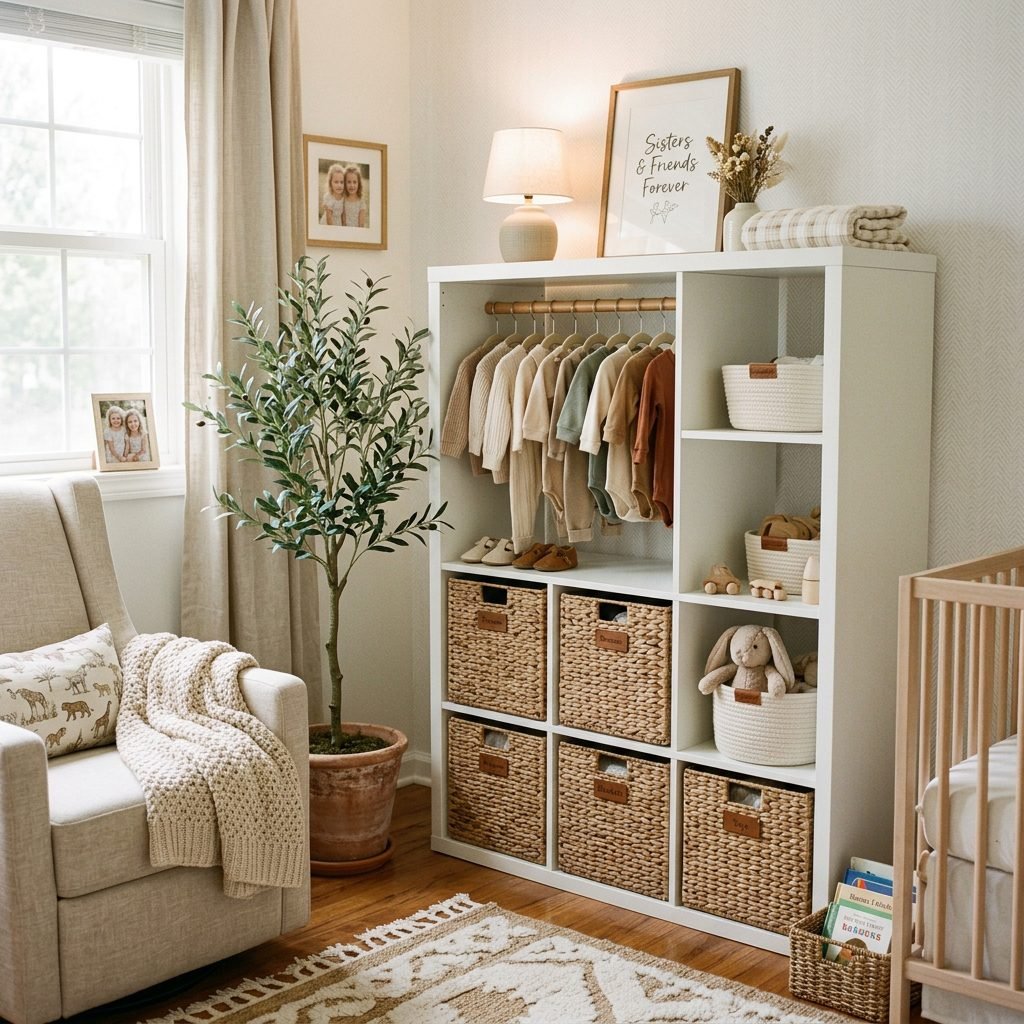
The Ultimate IKEA Kallax Hack: Turning Cube Shelves into a Hanging Baby Wardrobe
Oh, mama, I see you. I see you standing in the middle of your future nursery, surrounded by a mountain of adorable, teeny-tiny onesies, miniature socks, and swaddle blankets, wondering exactly where it is all going to go. The nesting instinct is fierce, isn’t it? It is a deeply biological, beautiful urge to prepare a safe, warm, and organized space for your little one’s arrival. But when you are working with a small space, a tight budget, or just the overwhelming reality of how much stuff a tiny human requires, nursery organization can quickly turn from a joyful dream into a stressful puzzle.
As a doula and a mama who has organized her fair share of nurseries, I am here to wrap my arms around you and offer a deep, reassuring breath. You do not need a massive walk-in closet or a thousand-dollar custom dresser to create a functional, breathtakingly beautiful space for your baby. Enter the ultimate nursery hero: The IKEA Kallax.
Today, we are going to walk through, step-by-step, how to transform the humble, budget-friendly IKEA Kallax cube shelf into a stunning, custom-looking hanging baby wardrobe. Not only is this DIY hack incredibly satisfying for your nesting brain, but it is also designed with your postpartum recovery in mind. By keeping baby’s everyday essentials at eye-level and arm’s reach, we are going to protect your healing body from unnecessary bending and straining during those 3 AM diaper changes. Let us brew a cup of red raspberry leaf tea, put on some calming music, and build the nursery storage of your dreams.
Why the Kallax is a Nesting Mama’s Best Friend (and Postpartum Savior)

When we think about nursery design, we often focus purely on aesthetics—the color palette, the whimsical wallpaper, the soft rugs. But as a postpartum care expert, I want to gently remind you that your nursery is actually a workspace. It is the room where you will recover, feed, rock, and change your baby multiple times a day (and night). Ergonomics matter immensely.
Traditional dressers with deep, heavy drawers can be a challenge during the first few weeks postpartum, especially if you are recovering from a Cesarean birth or experiencing abdominal separation (diastasis recti). Bending over to dig through the bottom drawer for a clean sleep sack while holding a squirming, crying newborn is not ideal for your healing core.
Here is why the Kallax hanging wardrobe hack is a functional masterpiece:
- Visual Organization: Tiny baby clothes get lost in deep dresser drawers. Hanging them up allows you to see exactly what you have, organized by size and season, at a single glance.
- Postpartum Ergonomics: By removing the top cube dividers and installing a hanging rod, your baby’s most frequently used items are placed right at waist and eye level. No bending, no squatting, no straining.
- Customizable Footprint: Whether you choose the 4×2 unit or the 3×4 unit, the Kallax utilizes vertical space, making it an absolute lifesaver for small apartments or shared master bedroom nurseries.
- Grows with Baby: When your child outgrows tiny hanging clothes, you can simply slide the cube dividers back in, and voila—you have a standard bookcase for toddler toys and storybooks.
“Mama, remember: your nursery should serve you just as much as it serves your baby. Creating a space that protects your physical energy and mental peace during the fourth trimester is an act of profound self-care.”
Gathering Your Supplies: The Master Materials List

Before we begin building, let us gather our supplies. I highly recommend enlisting your partner, a family member, or a friend to do the heavy lifting and drilling. If you are in your third trimester, your job is to be the project manager, point the finger, and stay hydrated!
You have two options for the hanging rod: a simple, no-drill tension rod (perfect for renters or those wanting a quick 5-minute hack) or a custom-cut wooden dowel with mounting brackets (for a sturdier, high-end boutique look). Below is the breakdown of what you will need.
| Material / Tool | Purpose | Estimated Cost |
|---|---|---|
| IKEA Kallax Unit (4×2 or 3×4) | The base structure of your wardrobe. | $60 – $90 |
| Wooden Dowel (1-inch diameter) | To serve as the hanging rod (if doing the permanent hack). | $5 – $8 |
| Closet Pole Sockets / Flanges | To mount the wooden dowel securely to the inside walls. | $6 – $10 |
| OR: Heavy-Duty Tension Rod | The renter-friendly, no-drill alternative (must fit 13-inch to 27-inch openings). | $10 – $15 |
| Baby Velvet Hangers | Keeps tiny clothes from slipping off and maximizes rod space. | $15 – $20 |
| Storage Bins (13×13 inches) | For the bottom cubes to hold folded pants, diapers, and swaddles. | $20 – $40 |
| Drill & Screws | For assembling the Kallax and mounting the rod brackets. | Owned |
Choosing Your Unit
The most popular unit for this hack is the 4×2 Kallax. When stood vertically, it gives you a tall, narrow wardrobe. By leaving out the top middle divider, you create a perfect double-wide cube space at the top for hanging clothes, while retaining four single cubes at the bottom for bins. If you have twins or simply want more space, the 3×4 unit laid horizontally is a phenomenal choice.
Step-by-Step: Building Your Hanging Baby Wardrobe
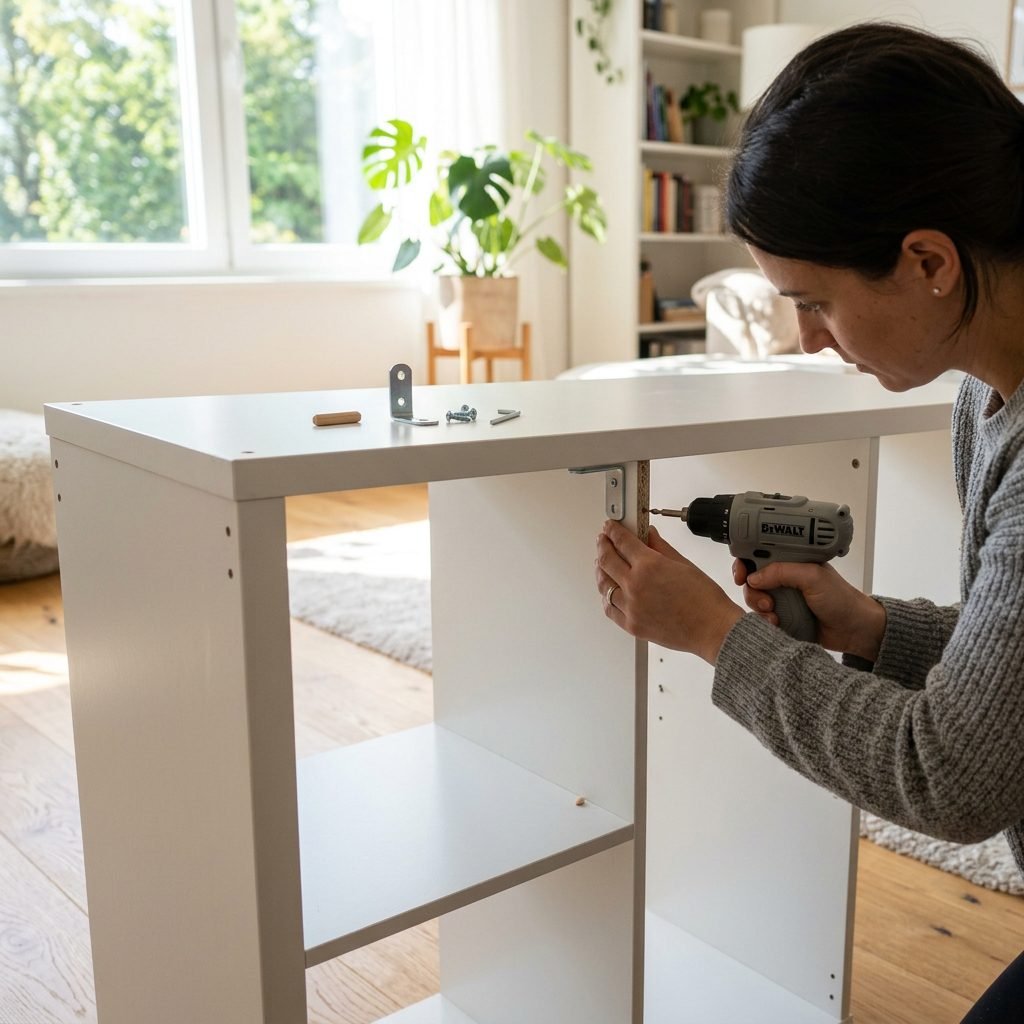
Now for the fun part! Watching this piece of furniture come together will give you such a rush of nesting satisfaction. Please ensure you follow the manufacturer’s safety instructions for the outer frame, but we will be making a few strategic omissions on the inside.
- Assemble the Outer Frame: Build the outer rectangular shell of the Kallax exactly according to the IKEA instructions. Make sure your partner uses a mat or soft rug to protect your floors.
- Install the Long Vertical Divider: Slide the long central dividing board into the frame. This gives the unit its structural integrity.
- Omit the Top Shelves: Here is where the hack happens! As you insert the small, horizontal dividing shelves, leave out the top one (or two, depending on your unit). By skipping these inserts, you create a large, open rectangular space at the top of the unit.
- Secure the Bottom Shelves: Insert the remaining horizontal shelves into the bottom half of the unit and lock them in with the provided wooden dowels and screws. This creates your bottom cubbies.
- Measure and Cut the Rod: If you are using a wooden dowel, measure the exact interior width of your new open top section (it should be approximately 27 inches wide). Have your local hardware store cut the dowel to size, or use a hand saw.
- Install the Rod Brackets: Measure down approximately 2 inches from the interior ceiling of the Kallax. Mark your spots on the left and right walls. Pre-drill small pilot holes, then screw your closet pole sockets into place.
- Insert the Rod: Slide your cut wooden dowel into the sockets. Give it a gentle tug to ensure it is secure. (If using a tension rod, simply twist and expand it tightly into the space).
- ANCHOR TO THE WALL: Mama, this is the most critical step. Once your wardrobe is in its final position, you must use the provided anti-tip hardware to anchor the Kallax to the wall studs. Babies grow into toddlers who love to climb, and anchoring saves lives.
“Safety Check: Never skip the wall anchor. Even if the unit feels heavy and stable now, a pulling toddler changes the center of gravity instantly. Anchor it, and give yourself absolute peace of mind.”
The Magic of Cubes: Organizing the Fourth Trimester Essentials
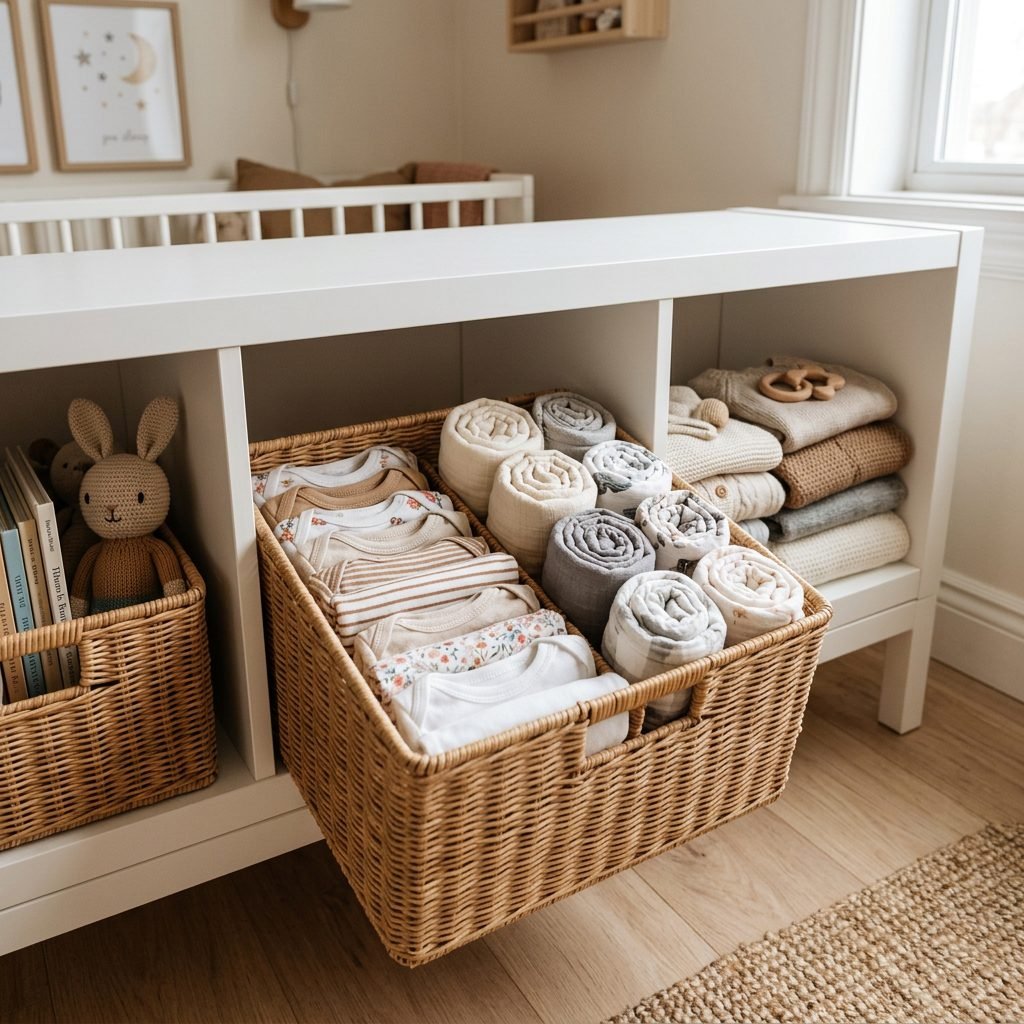
Your wardrobe is built, and it looks glorious. Now, how do we fill it? Organizing a baby’s belongings isn’t just about making it look Pinterest-perfect; it is about creating systems that work for you when you are sleep-deprived and operating on pure adrenaline.
The Hanging Bar: Day-to-Day Outfits
Reserve the hanging bar for items that are easily wrinkled or pieces you need to see clearly to put together an outfit. This includes rompers, dresses, overalls, and delicate sweaters. I highly recommend purchasing closet size dividers (you can find beautiful wooden ones online) to separate the clothes into Newborn, 0-3 Months, 3-6 Months, and so on. Only keep the current size and the next size up on the bar; store older or much larger sizes in vacuum-sealed bags under the crib to avoid visual clutter.
The Bottom Cubes: The “Grab-and-Go” System
The remaining bottom cubes are your command center. Use 13×13 inch storage bins (rattan baskets add beautiful texture, while soft fabric bins are great for safety) to hide the less glamorous essentials.
| Cube Location | Contents | Organization Method |
|---|---|---|
| Top Left Bin | Onesies & Bodysuits | File-folded (Marie Kondo style) so you can see every neckline at a glance. |
| Top Right Bin | Pants, Leggings & Shorts | File-folded. Keep footed pants separate from open-ankle pants. |
| Bottom Left Bin | Sleep Sacks & Swaddles | Rolled tightly to save space. Easy to grab one-handed in the dark. |
| Bottom Right Bin | The Blowout Kit / Overstock | Extra wipes, backup diaper sleeves, burp cloths, and a spare changing pad cover. |
By organizing this way, you create a muscle-memory map. Even in the pitch black of a 2 AM feeding, you will know exactly which bin to reach into to find a fresh swaddle when the inevitable diaper leak happens. This level of preparation is a gift you are giving to your future postpartum self.
Customizing Your Wardrobe: Aesthetic Upgrades for Your Nursery

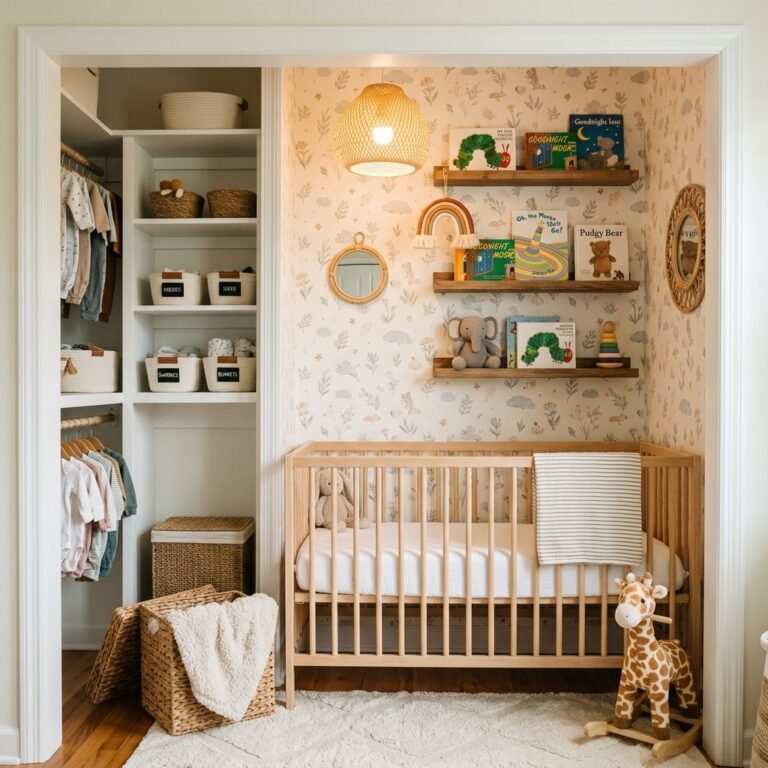
While the basic Kallax hack is wonderfully functional, adding a few custom touches can elevate it from a piece of flat-pack furniture to a bespoke nursery centerpiece. As a design enthusiast, I encourage you to let your creativity shine here. These small upgrades require minimal effort but yield maximum aesthetic reward.
- Add Mid-Century Furniture Legs: Elevating the Kallax off the floor instantly makes it look more expensive and less heavy in the room. Purchase a set of 4 or 6 wooden tapered furniture legs and metal mounting plates. Screw them into the bottom of the unit. This also makes vacuuming underneath a breeze!
- Peel-and-Stick Wallpaper Backing: By default, the Kallax has no back panel, meaning your wall color will show through. For a pop of whimsy, purchase a thin sheet of MDF or heavy poster board, cut it to the size of your open hanging section, and wrap it in a beautiful peel-and-stick nursery wallpaper (think soft florals, woodland creatures, or subtle geometric patterns). Nail or tape it to the back of the unit.
- Upgrade the Hardware: If your storage bins have handles, swap out basic fabric pulls for soft leather tabs or brushed brass knobs. It is a tiny detail that ties the whole room together.
- Top Display Surface: The top of the Kallax is prime real estate. Treat it like a mantle! Add a beautiful woven changing basket (if using the horizontal layout), a dimmable salt lamp or pink-noise machine for sleep conditioning, and a framed ultrasound photo or birth affirmation cards.
Remember, mama, there is no right or wrong way to decorate this space. Whether your style is vibrant and eclectic or minimalist and neutral, this wardrobe is a canvas for your love.
Embracing the Nesting Journey

As you stand back and look at your beautifully transformed Kallax wardrobe, with its tiny velvet hangers and perfectly rolled swaddles, take a moment to place a hand over your heart and another over your belly. You did this. You are actively building the nest, preparing the soft landing pad for the little soul who is about to change your world forever.
Nursery projects like this are about so much more than storage. They are physical manifestations of our love, our anticipation, and our hopes for the future. But please hear this, from my doula heart to yours: your baby does not care if the onesies are perfectly file-folded. Your baby does not care if the wallpaper aligns flawlessly. Your baby only cares about the warmth of your chest, the sound of your heartbeat, and the safety of your arms.
Use this wardrobe to make your postpartum life easier, to save your healing back, and to bring a sense of calm to your space. But when the baby arrives, give yourself permission to let the organization slide a little. The bins might get messy. The clean laundry might sit on top of the shelf for three days. That is not failing; that is mothering in the thick of it.
You are strong, you are prepared, and you are going to be a phenomenal mother. Now, go put your feet up, drink a massive glass of water, and admire your handiwork. You have earned it!
Conclusion
Creating a beautiful, functional, and ergonomically friendly nursery doesn’t have to drain your energy or your bank account. The IKEA Kallax hack is proof that with a little creativity, a few basic tools, and a focus on postpartum practicality, you can build a space that truly supports both you and your baby. From the custom hanging rod to the easily accessible grab-and-go bins, every inch of this wardrobe is designed to make your fourth trimester just a little bit smoother.
If you tackle this DIY project, take your time, enlist help for the heavy lifting, and most importantly, enjoy the beautiful, deeply natural process of nesting. You are creating a sanctuary for your family’s newest chapter.