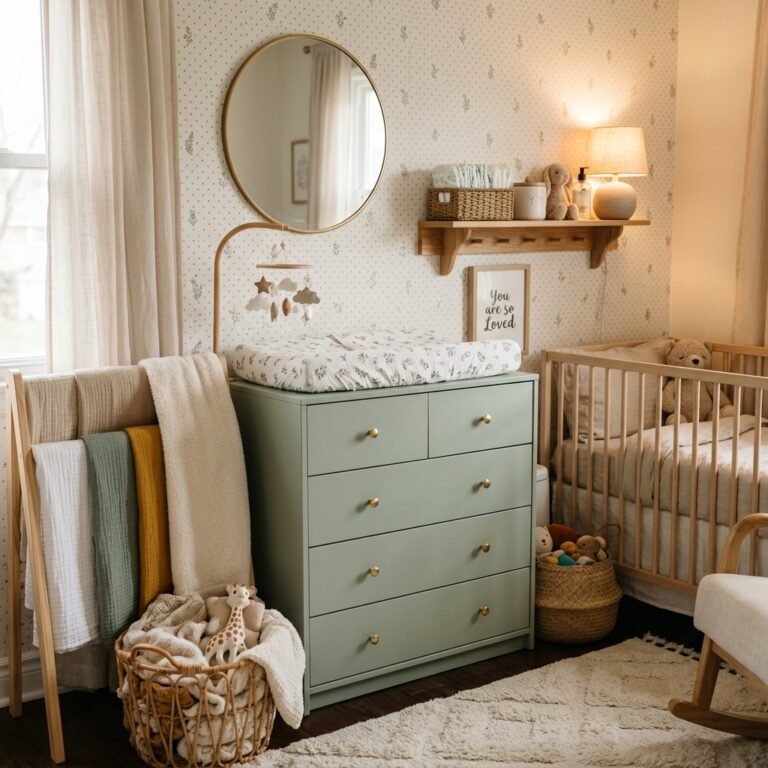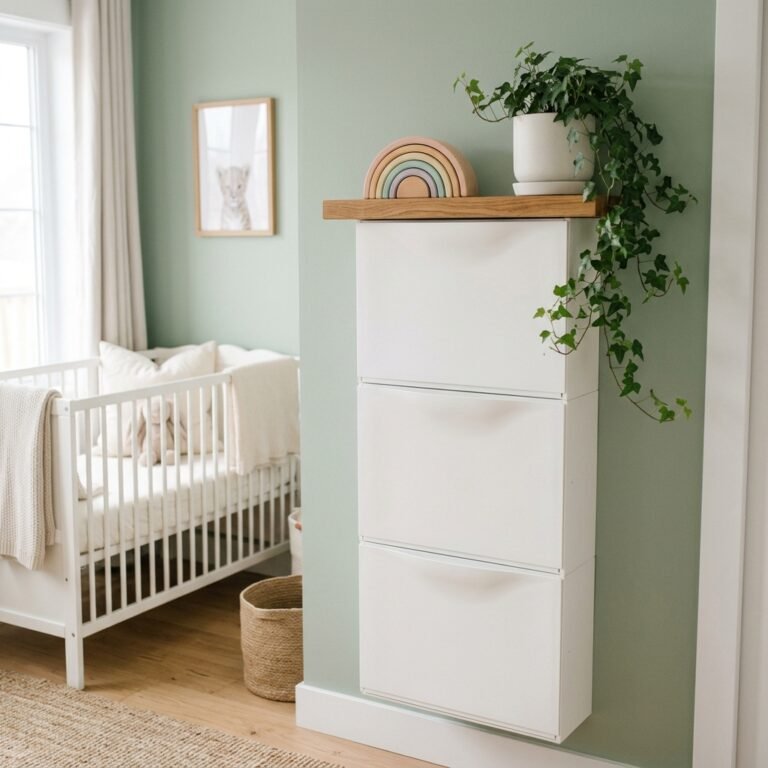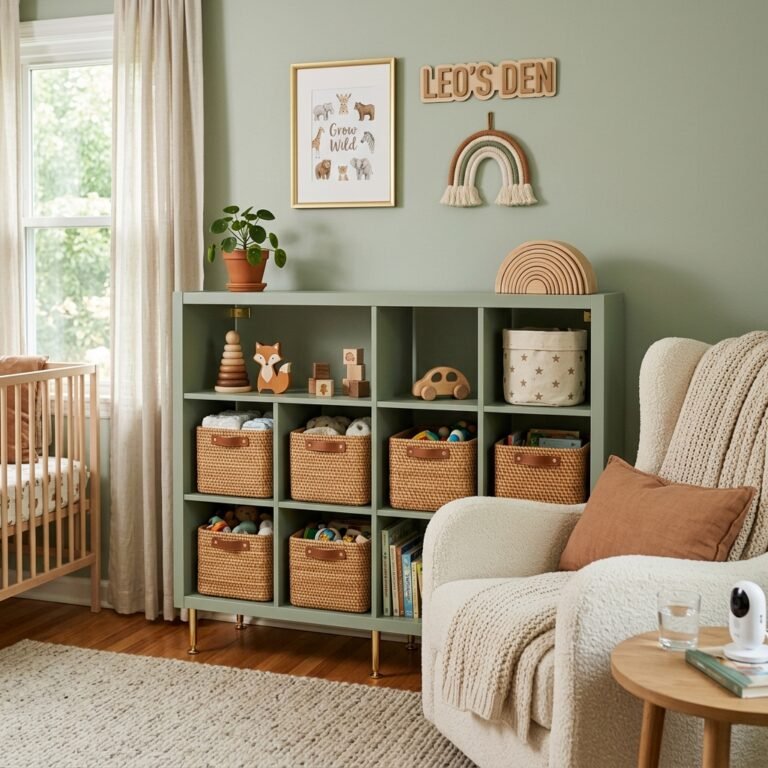
How to Hack the IKEA PLATSA System for the Ultimate Custom Baby Closet
Oh, mama, I can feel that nesting energy radiating from you! There is something so incredibly soul-soothing about folding those tiny, soft onesies and tucking them into a perfect little spot. As a doula and a mama who has spent many hours helping families prep their homes for a new arrival, I know that the ‘standard’ closet often feels like a giant, disorganized void when you are trying to fit items the size of a sandwich. That is where the IKEA PLATSA system comes in—it is the secret weapon of nursery organization that most people overlook in favor of the PAX.
In this guide, we are going to walk through why the PLATSA is actually the superior choice for a nursery, how to measure your space without the stress, and the exact steps to hack this modular system into a custom masterpiece. We aren’t just building a closet; we are building a functional station that will support you through those blurry, beautiful postpartum weeks. Let’s grab a cup of red raspberry leaf tea and get to planning your dream nursery storage!
Why PLATSA is the Secret Star of the Nursery
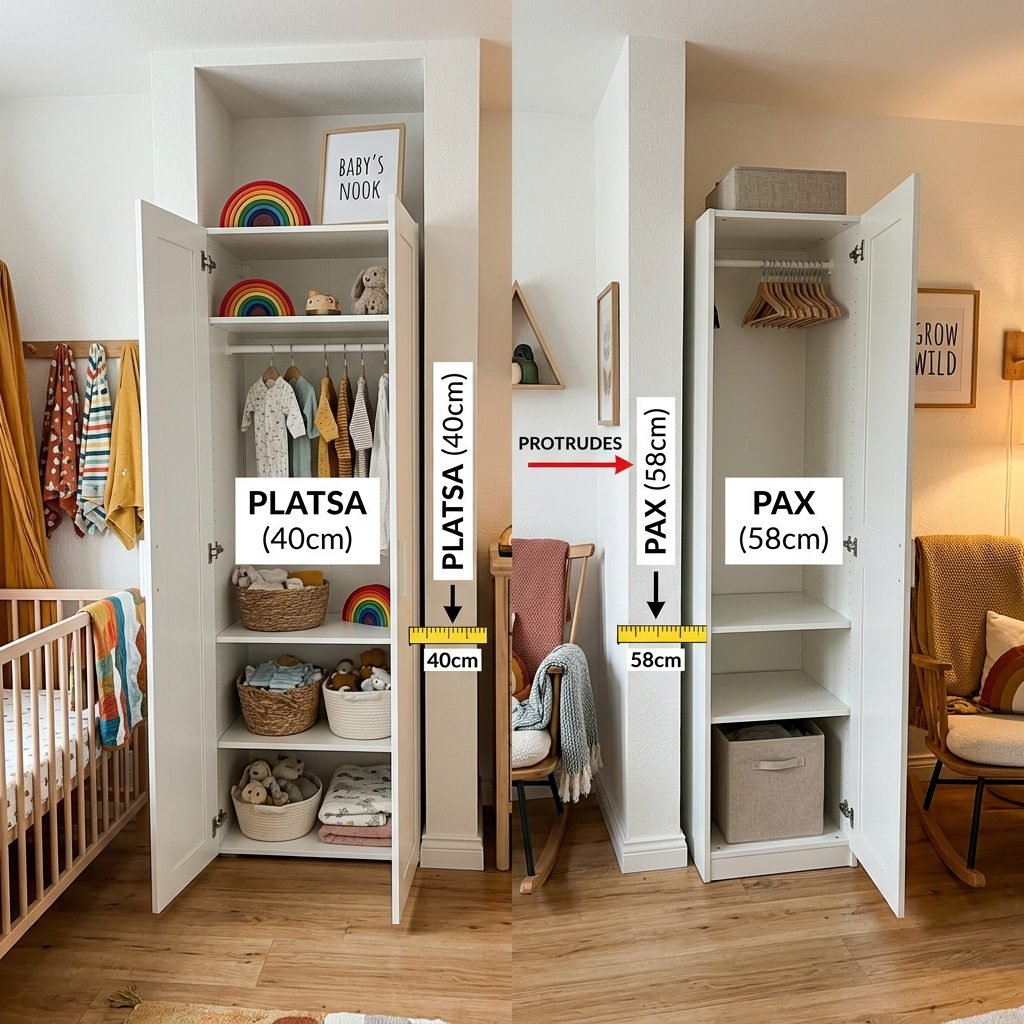
While the IKEA PAX system gets all the Instagram glory, the PLATSA is often the smarter choice for a baby’s room. Why? Because the PLATSA is modular, lightweight, and comes in a 40cm depth. Standard closets are often too deep, leading to ‘lost’ clothes in the back. With a 40cm depth, everything for your baby is right at your fingertips.
As your doula, I want you to think about ergonomics. Postpartum recovery—especially if you’ve had a C-section—means you shouldn’t be bending and reaching into deep, dark corners. The PLATSA allows us to build ‘up’ rather than ‘out,’ keeping the most-used items at waist height.
| Feature | IKEA PAX | IKEA PLATSA |
|---|---|---|
| Standard Depth | 58cm (Deep) | 40cm or 55cm (Versatile) |
| Assembly Style | Cam-locks & Screws | Wedge Dowels (Click-together) |
| Weight | Heavy Particle Board | Lightweight Honeycomb Paper Fill |
| Customization | High, but bulky | Exceptional for small/sloped spaces |
The goal of a nursery closet isn’t just to store clothes; it is to reduce the cognitive load on a tired parent. If you can see it, you can find it.
Planning Your Layout: The Doula’s Ergonomic Blueprint
Measuring Your Space
Before you click ‘add to cart,’ we need to measure. Use a metal measuring tape—not a fabric one—for accuracy. Measure the width of your wall at three points: the floor, the middle, and the ceiling. Baseboards can often eat up 1-2 centimeters, so always plan for a little ‘wiggle room’ on the sides.
The ‘Zone’ Strategy
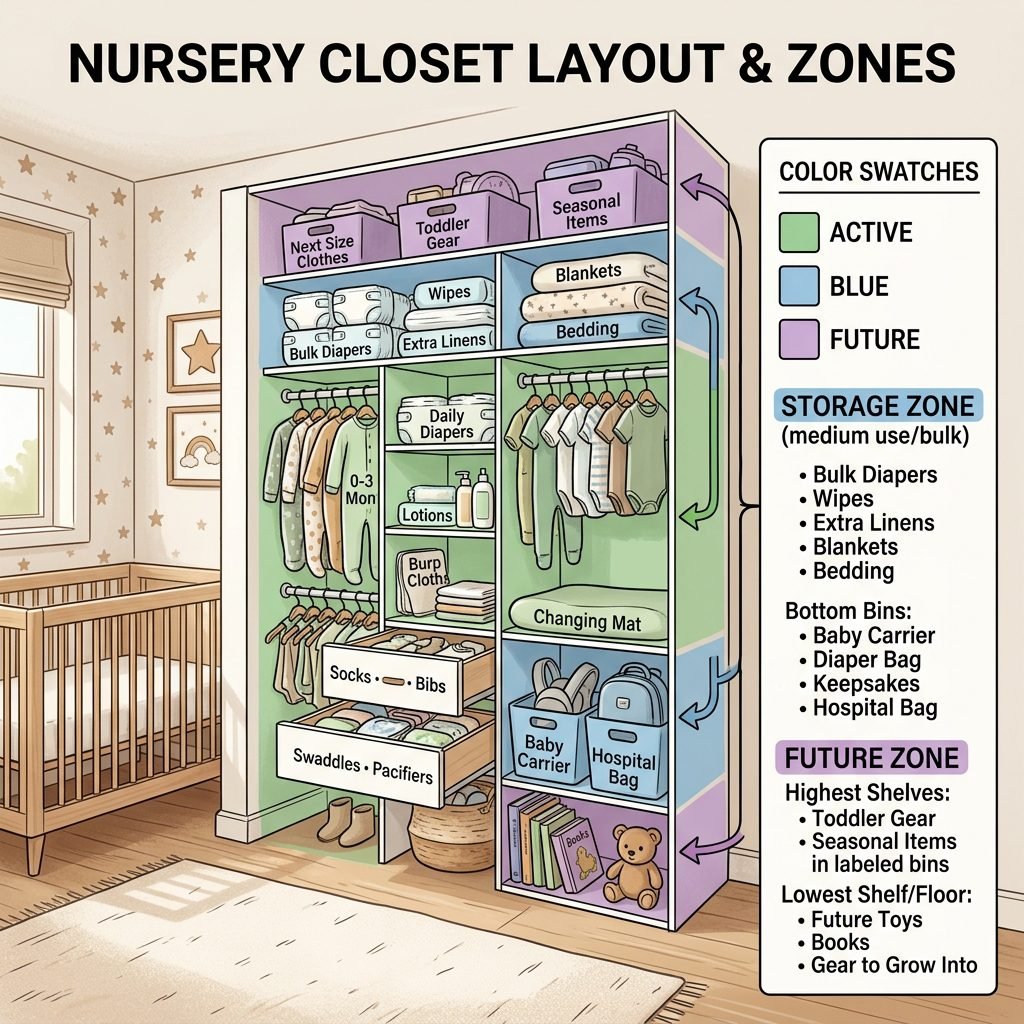
When hacking your PLATSA, I recommend dividing the closet into three specific zones to save your sanity during those 3 AM diaper blowouts:
- The Active Zone (Waist to Eye Level): This is where the 0-3 month and 3-6 month sleepers live. Use the HJÄLPA pull-out rails here.
- The Storage Zone (Floor Level): Perfect for heavy items like packs of diapers, wipes, and the diaper pail refills.
- The Future Zone (Top Shelves): This is for the 6-12 month clothes, seasonal items like snowsuits, and keepsakes you aren’t ready to use yet.
Pro Tip: If you are planning to use the closet as a changing station, ensure the ‘Active Zone’ counter height is approximately 32 to 36 inches from the floor, depending on your height, to prevent back strain.
The Step-by-Step PLATSA Hack Assembly
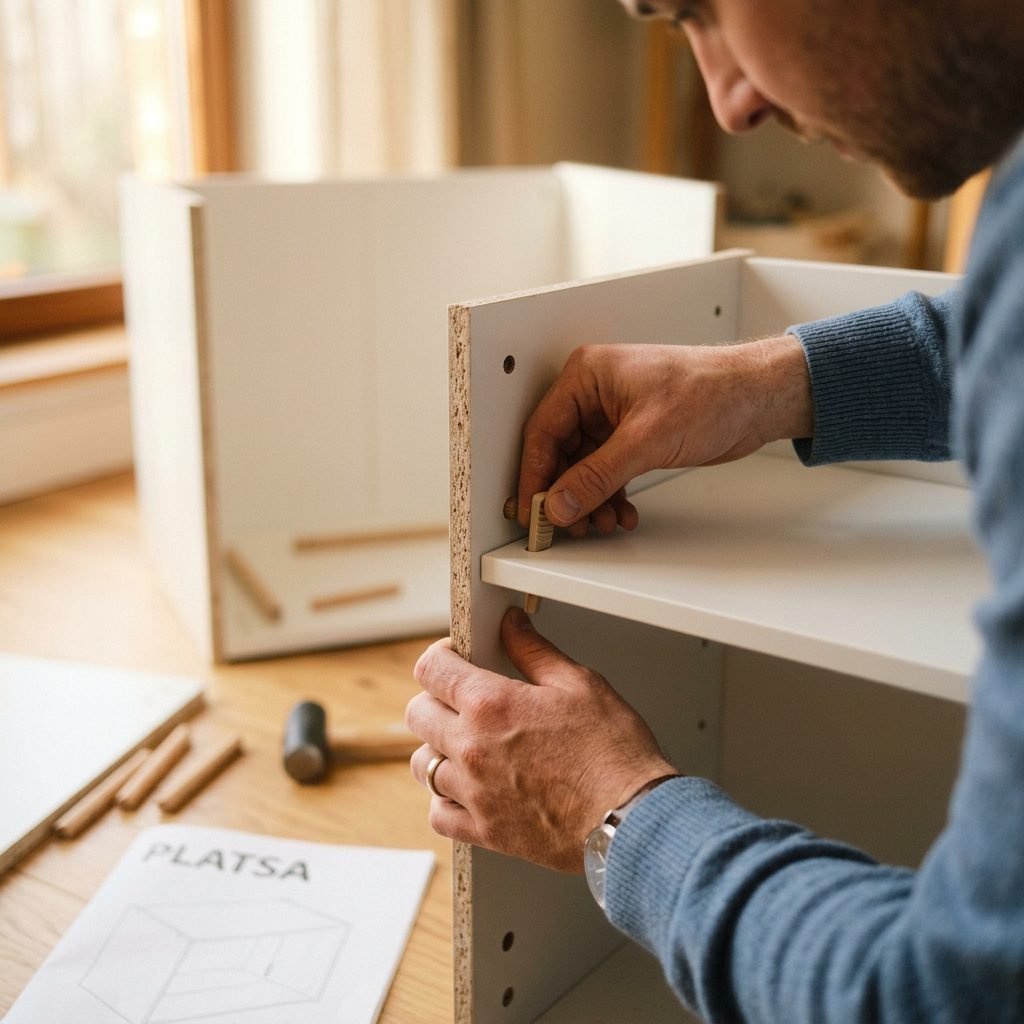
One of the best things about the PLATSA is the wedge dowel technology. It literally clicks together without a million screws, which is a blessing for your pregnancy joints! Here is how to assemble your custom unit:
- Assemble the Base: Start with the LÄTTHET legs. I recommend the adjustable ones if your nursery floor is uneven (common in older homes!).
- Click the Frames Together: Align your frames. For a standard nursery wall, a mix of 60x40x180cm and 60x40x60cm frames usually works beautifully.
- Secure to the Wall: This is non-negotiable, mama. Even if it feels sturdy, you must use the wall attachment hardware. Once your baby starts crawling and pulling up, every piece of furniture becomes a ladder.
- The ‘Custom’ Hack: To give it a built-in look, add a ‘common board’ from the hardware store across the top of multiple units. Sand it down and paint it to match the frames or leave it as natural wood for a boho vibe.
- Install the HJÄLPA Internals: This is the fun part! Click in the wire baskets for swaddles and the clothes rails for those tiny dresses and rompers.
Safety Reminder: Always check for studs in the wall before drilling. Your peace of mind is worth the extra five minutes with a stud finder!
Organizing for the Fourth Trimester and Beyond
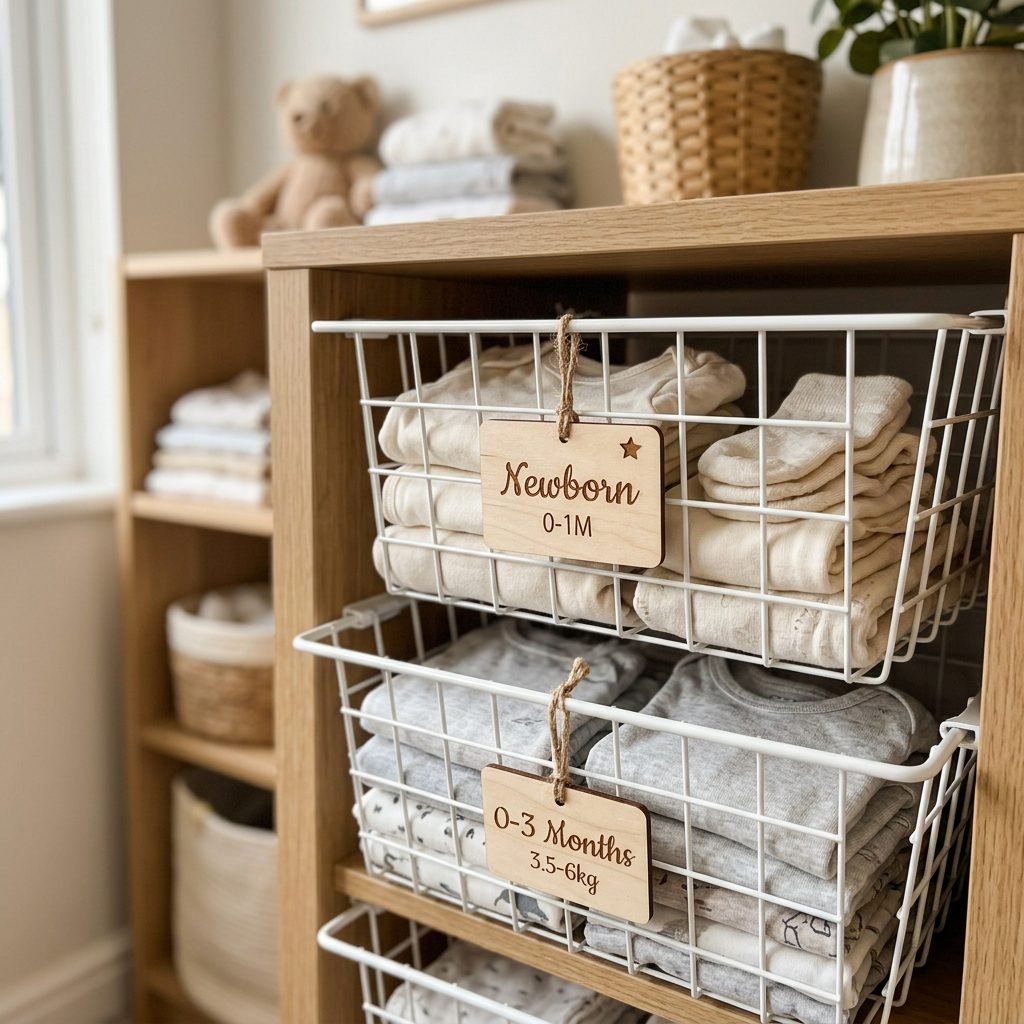
Now that the shell is built, let’s talk about the magic of organization. In the fourth trimester, you will be operating on minimal sleep. We want to make the closet ‘husband-proof’ and ‘grandma-proof.’
The Power of Labeling
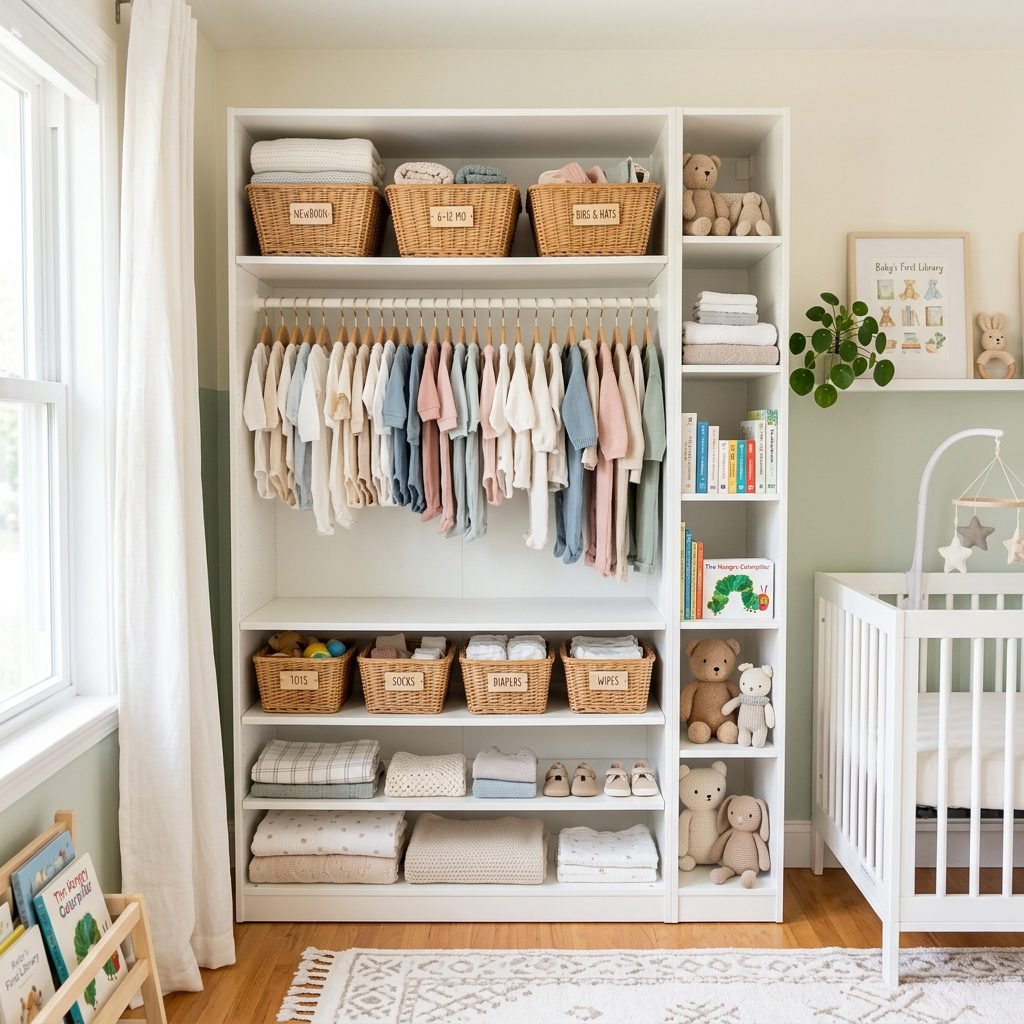
Use clip-on basket labels or a simple label maker. Don’t just label by category (e.g., ‘Socks’); label by size. When someone offers to help with the laundry, they will know exactly where those 0-3 month onesies go.
Baskets vs. Drawers
I am a huge fan of the FONNES doors for a clean look, but inside, use open wire baskets. Why? Airflow. Baby clothes can sometimes get a little damp if they aren’t perfectly dry from the dryer, and wire baskets prevent that ‘musty’ closet smell.
The ‘Next Size Up’ Bin
Always keep one empty basket in the bottom of the closet. As soon as your baby outgrows something (and it happens overnight!), toss it in the bin. When the bin is full, it’s ready for storage or donation. This prevents the ‘small’ clothes from cluttering up your active space.
Elevating the Aesthetic: Making it Look High-End
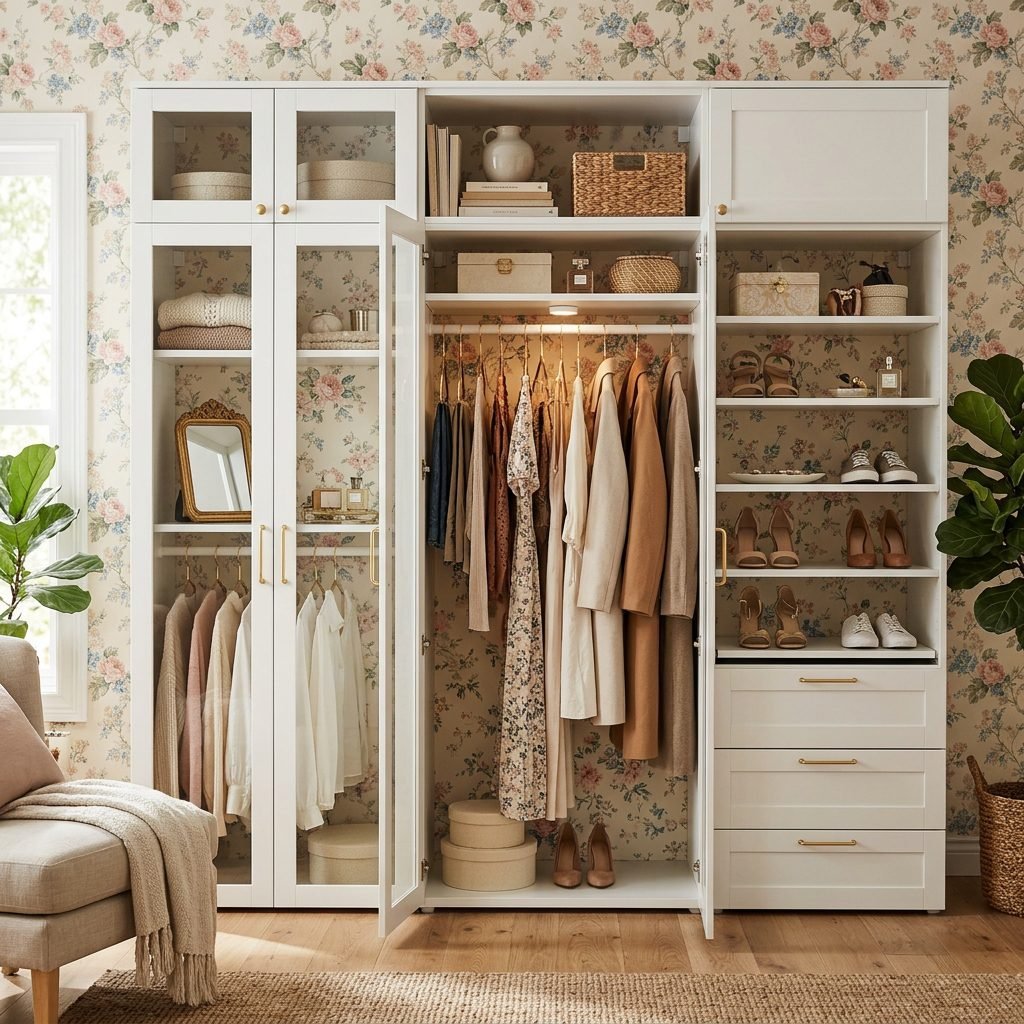
You don’t want your nursery to look like an IKEA showroom; you want it to feel like a sanctuary. Here are my favorite stylist hacks to elevate the PLATSA system:
- Swap the Hardware: The standard IKEA knobs are fine, but adding brass, leather, or ceramic pulls from Etsy can completely transform the look.
- Wallpaper the Back: Before you click the back panel into place, cover it with a peel-and-stick floral or whimsical wallpaper. It adds a pop of joy every time you open the doors.
- Integrated Lighting: Use the STÖTTA LED light strips. They are battery-operated and motion-activated. Opening the closet in the middle of the night and having a soft glow illuminate the diapers is a total game-changer.
- Crown Molding: If you are feeling extra crafty, add a piece of crown molding across the top of the units where they meet the ceiling. This creates a truly ‘built-in’ custom cabinetry look for a fraction of the cost.
| Upgrade Idea | Estimated Cost | Impact Level |
|---|---|---|
| Custom Brass Knobs | $20 – $40 | High Visual Impact |
| Peel-and-Stick Wallpaper | $30 – $50 | High Joy Factor |
| Motion LED Lights | $15 – $25 | High Functional Impact |
| Trim/Molding | $15 – $30 | High Professional Look |
Conclusion
Building your baby’s closet is one of the most tangible ways to prepare for their arrival. By choosing the IKEA PLATSA system and using these hacks, you are creating a space that isn’t just beautiful, but one that truly serves you during the most transformative time of your life. Remember, mama, it doesn’t have to be perfect—it just has to work for you. Take it one ‘click’ at a time, and before you know it, you’ll be hanging up that first tiny outfit. You’ve got this, and I am so proud of the home you are building for your little one!