The Clever IKEA Luroy Hack: Turn Bed Slats into Gorgeous Nursery Wall Storage
Oh, mama, I see you. You’re in that beautiful, slightly frantic ‘nesting’ phase where every corner of your home feels like it needs a purpose, especially that precious nursery. Whether you’re working with a cozy ‘nook’ in your master bedroom or a dedicated nursery that feels just a little too small for all the gear, I have a secret to share with you. As a doula, I’ve spent countless hours in nurseries helping new parents find their flow, and I can tell you that vertical storage is your absolute best friend during those blurry, postpartum days.
Enter the IKEA Luroy bed slats. Yes, those simple, curved wooden slats meant to hold up a mattress! For less than the price of a fancy diaper cream, you can transform these slats into a customizable, stunning wall organizer. It’s not just about the aesthetic (though it is Pinterest-perfect, honey); it’s about having your wipes, pacifiers, and swaddles exactly where you need them without bending over or digging through a drawer while balancing a fussy newborn. Let’s walk through this together, sister-to-sister, and get your space ready for your little one’s arrival.
The Ergonomics of the ‘Golden Zone’: Why This Hack Works
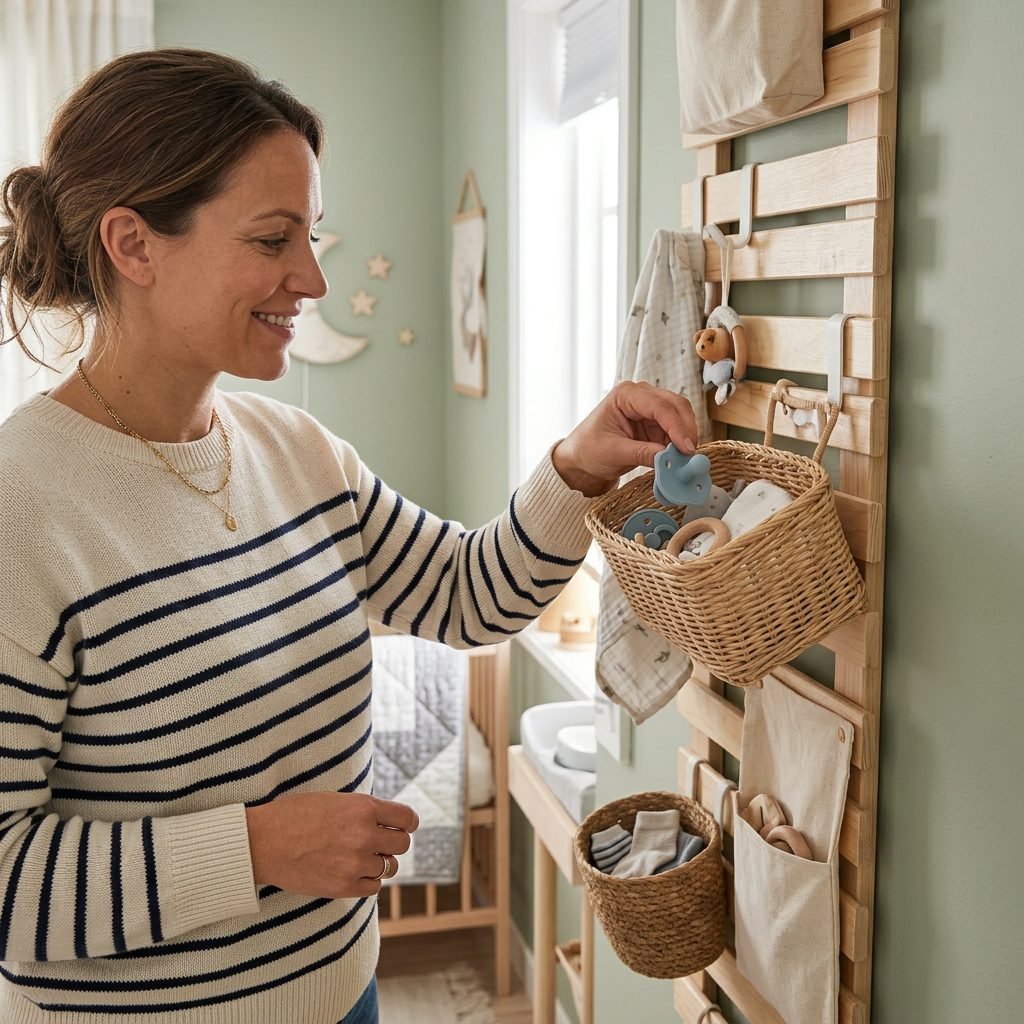
When we talk about nursery design, we often focus on the colors and the cute crib sheets, but as a postpartum specialist, I want to talk to you about your back and your sanity. The ‘Golden Zone’ is the area between your waist and your shoulders. This is where you want your most-used items to live. The IKEA Luroy hack allows you to create a completely customized vertical ‘dashboard’ that keeps your essentials in this zone.
Why Vertical Storage Matters Postpartum
- C-Section Recovery: If you’ve had a cesarean birth, bending down into low drawers can be painful for the first 6 to 8 weeks. Having your diapering supplies at chest level is a physical lifesaver.
- One-Handed Access: You will almost always have a baby in one arm. This hack uses hooks and baskets that allow you to grab a clean onesie or a burp cloth with just your free hand.
- Visual Calm: Clutter causes cortisol (the stress hormone) to rise. By getting items off the floor and changing table surface, you create a serene environment that helps both you and baby stay regulated.
The Luroy slats provide a natural, warm wood texture that fits beautifully into boho, Scandinavian, or modern nursery themes. It’s a soft, organic look that balances the plastic-heavy nature of many baby products.
The Shopping List: Budget-Friendly Supplies
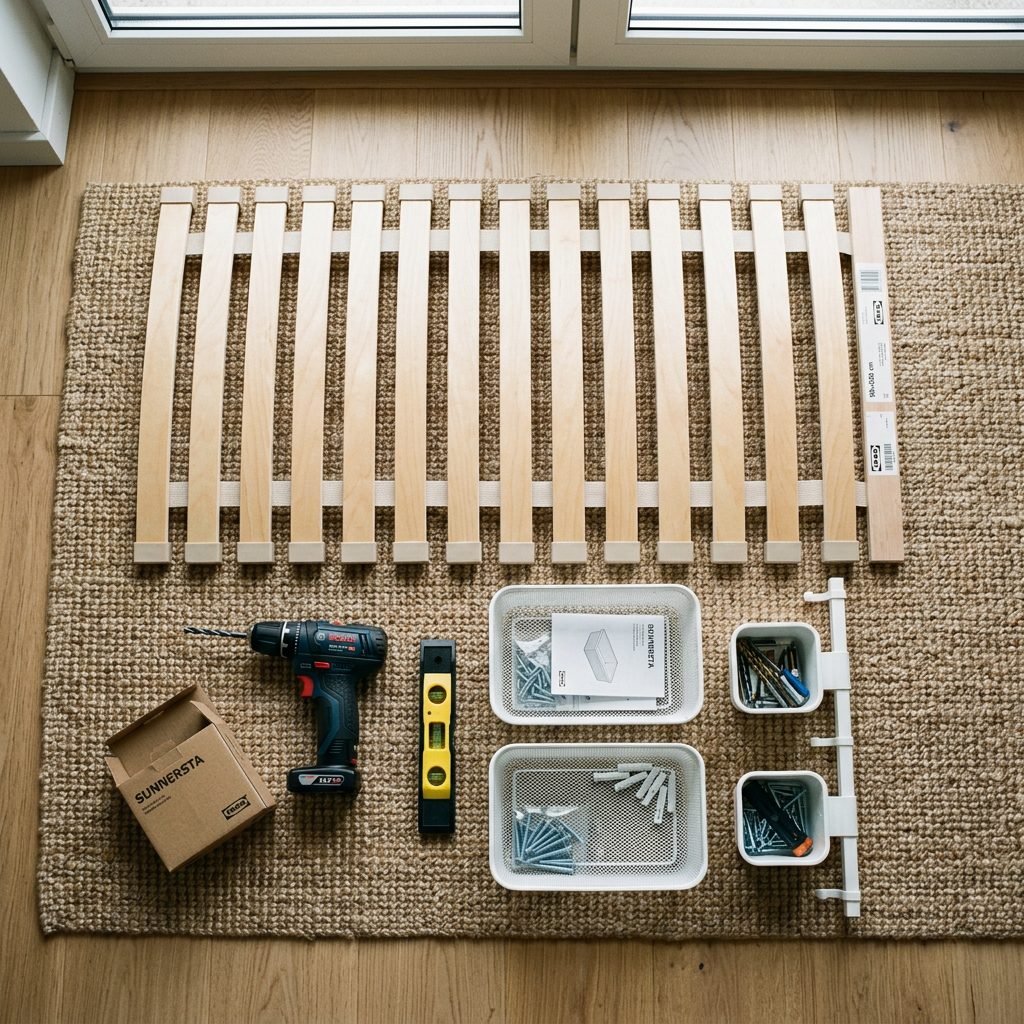
Before we get our hands dirty, let’s make sure your ‘hospital bag’ for DIYing is packed. This project is incredibly budget-friendly, often costing less than $50 total depending on the accessories you choose. You don’t need a massive workshop for this, just a few basics and a little bit of ‘mama-can-do-it’ spirit.
Essential Items
- IKEA Luroy Bed Slats: The Twin/Single size is usually perfect for a standard wall, but you can go Full/Queen if you want a massive feature wall.
- Wall Anchors and Screws: Since we’re hanging this in a nursery, safety is non-negotiable. Use heavy-duty anchors if you aren’t hitting a stud.
- Power Drill and Level: We want those slats straight, honey! A crooked wall is the last thing you want to look at during a 3:00 AM feeding.
- IKEA Sunnersta or Hultarp Accessories: These are the hooks, bins, and cups that clip directly onto the slats.
| Item | Approximate Cost | Purpose |
|---|---|---|
| Luroy Slats (Twin) | $30.00 | The main structural frame |
| Sunnersta Baskets (3pk) | $4.00 | Holding diapers, lotions, and wipes |
| Hultarp Hooks (5pk) | $4.00 | Hanging headbands, hats, and sleep sacks |
| Wall Hardware | $5.00 | Ensuring the unit stays securely on the wall |
Remember, Mama: You don’t have to buy everything at once. Start with the slats and a few hooks, then add more baskets as you figure out your baby’s unique rhythm.
Step-by-Step Installation: Mounting with Confidence
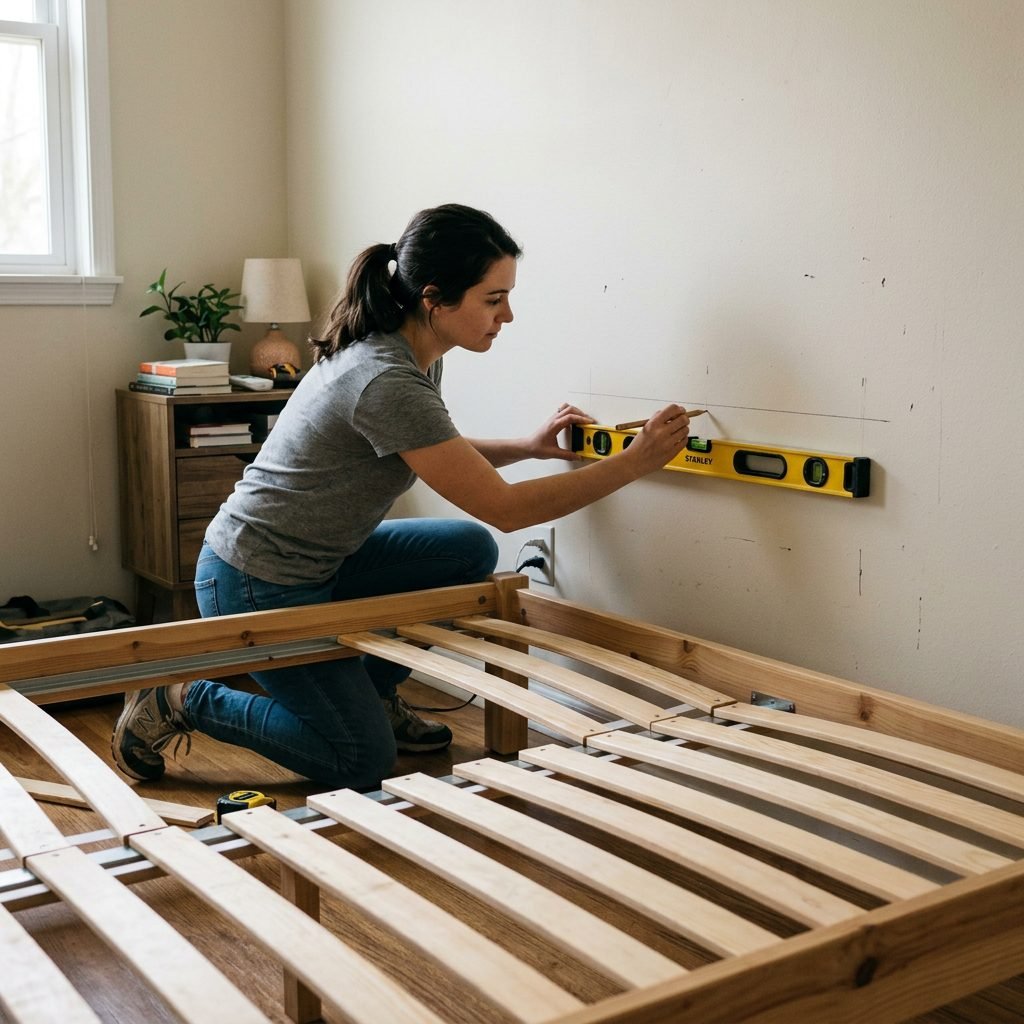
Don’t let the power tools intimidate you! If you can put together a bassinet, you can definitely handle this. The Luroy slats are held together by two polyester ribbons. When you hang it, the weight is distributed, but the mounting points are the most critical part.
- Measure and Mark: Hold the slats up to the wall. I recommend the top slat being about 60 inches from the floor. Use your level to make sure the slats are perfectly horizontal.
- Identify the Studs: Use a stud finder. If you can’t find a stud where you want to hang it, you must use toggle bolts or heavy-duty drywall anchors. We want this to be secure enough that it won’t budge even if a toddler eventually gives it a curious tug.
- The ‘Ribbon’ Trick: You will be screwing through the wood slats themselves, not the ribbon. I recommend drilling a small pilot hole in the top slat, the middle slat, and the bottom slat on both the left and right sides (6 screws total).
- Mounting: Screw the top slat in first, double-check the level, then pull the slats taut toward the floor before screwing in the middle and bottom sections. This prevents the ‘ladder’ from swinging or sagging.
Pro-Tip from a Doula: If you’re currently pregnant, please don’t do the heavy lifting or the high-reaching yourself. Direct your partner or a friend while you sit comfortably with a snack. Your center of gravity is changing, and we want you safe!
Styling Your Slats: Organization for Every Stage
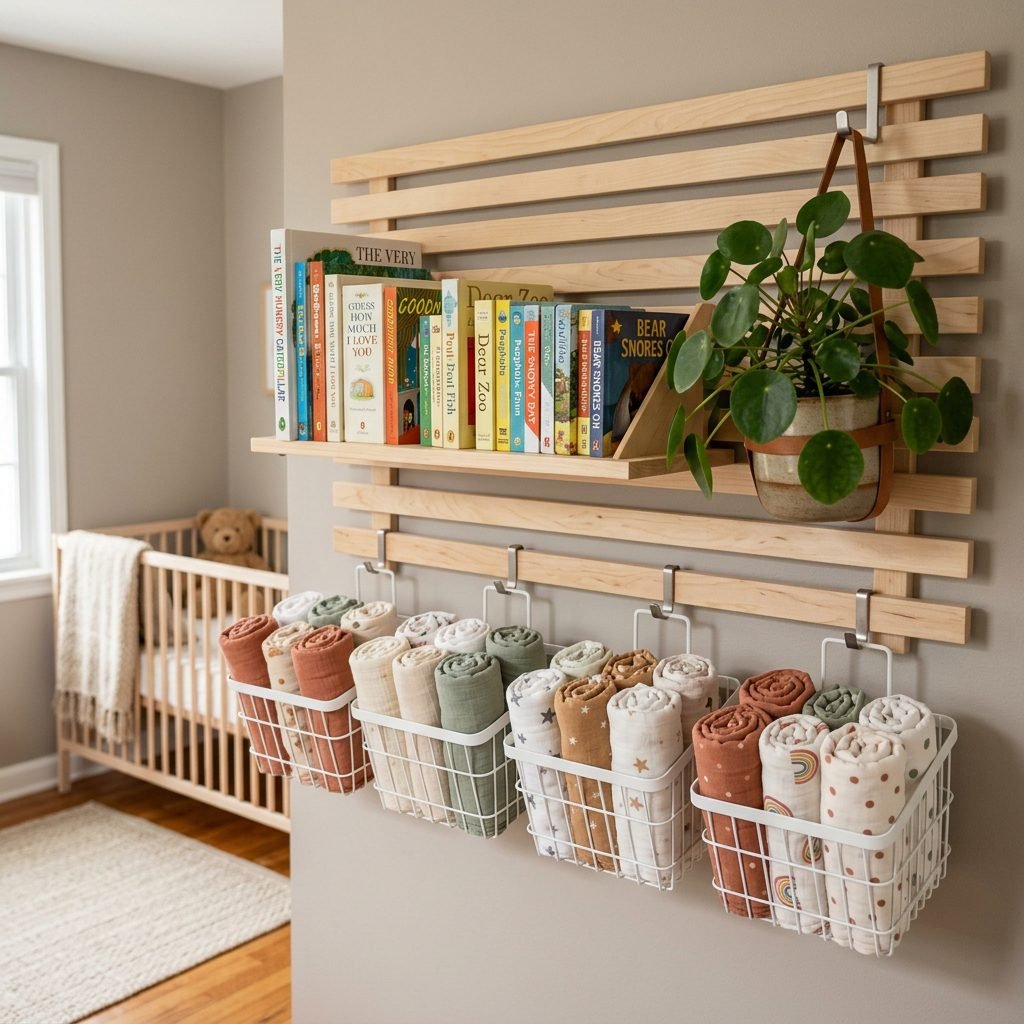
Now for the fun part—making it pretty! This is where your personality shines. The Luroy system is a ‘living’ organizer; it evolves as your baby grows. What you need for a newborn is vastly different from what you’ll need for a busy 12-month-old.
The Newborn Phase (0-6 Months)
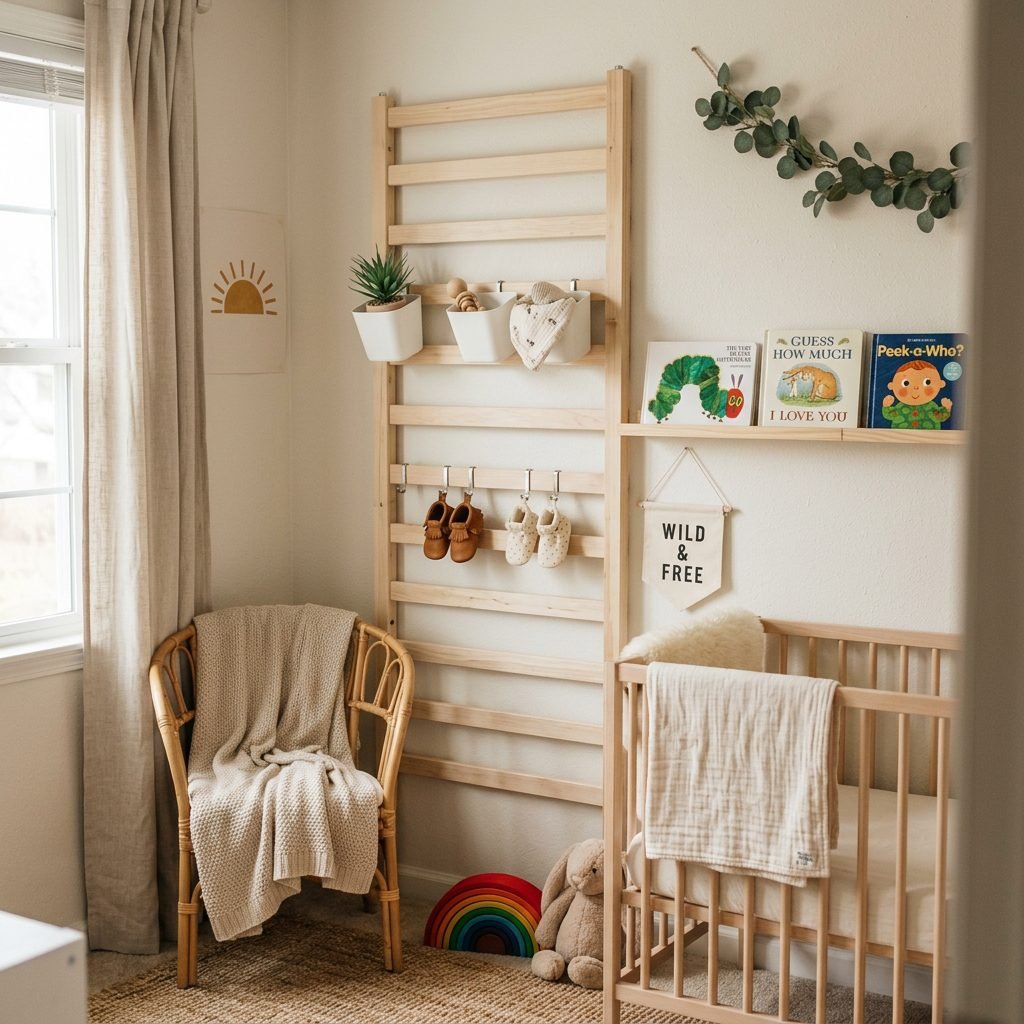
Focus on hygiene and comfort. Use the deeper Sunnersta bins for a stack of diapers and a pack of wipes. Use the small cups for diaper rash cream, a digital thermometer, and a nasal aspirator. Hang your favorite muslin swaddles on the hooks—they look like art and stay wrinkle-free!
The Discovery Phase (6-12 Months)
As baby starts sitting up and eating solids, swap some diaper bins for board books. The slats act as perfect ‘ledges’ for thin books. Use hooks to display those adorable tiny shoes they are finally starting to wear, or hang a sensory toy they love to reach for during diaper changes.
The Toddler Phase and Beyond
When the nursery turns into a big-kid room, this hack becomes a craft station! The cups hold crayons and markers, and the slats display their latest masterpieces clipped on with clothespins. It’s a sustainable piece of furniture that grows with your family.
Safety First: Keeping the Nursery Secure
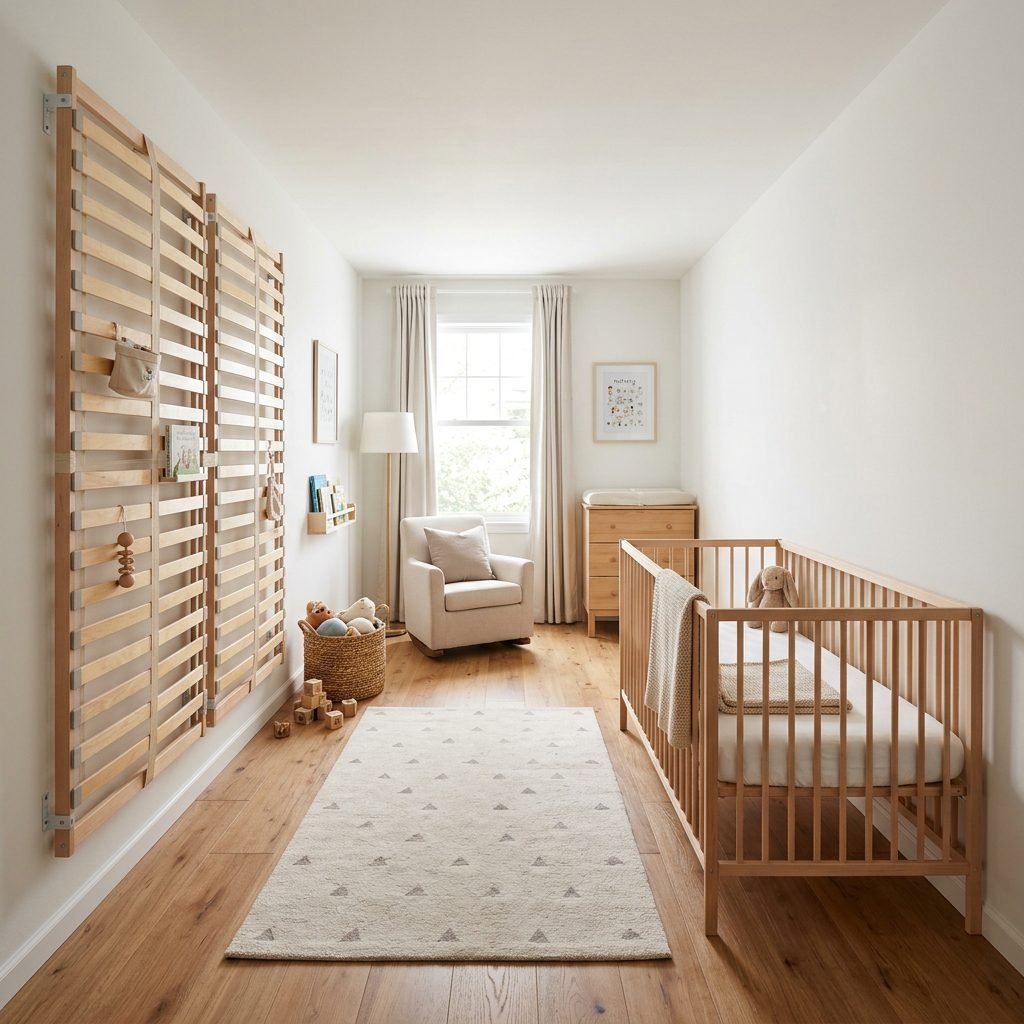
As a doula and a nurse, safety is my top priority. While this hack is brilliant, we have to be smart about where and how we install it. A nursery should be a ‘Yes Space’—a place where you don’t have to constantly worry about hazards.
- Placement: Never hang the Luroy slats directly over the crib. While we are mounting it securely, it is a best practice to keep the ‘drop zone’ clear of the sleeping area.
- Weight Limits: These slats are sturdy, but they aren’t meant for heavy items. Avoid hanging heavy mirrors or large framed pictures from the slats. Stick to textiles, light plastic bins, and books.
- The ‘Climb’ Factor: Once your baby starts pulling up or climbing (around 9 to 12 months), ensure the bottom slats are high enough that they can’t be used as a ladder.
- Anchor Check: Every few months, give the slats a gentle tug to ensure the wall anchors haven’t loosened with use.
| Safety Feature | Requirement |
|---|---|
| Distance from Crib | At least 3 feet away |
| Mounting Points | Minimum 4-6 secure screws |
| Bottom Slat Height | Above toddler reach (approx. 30-36″) |
| Hardware Type | Zinc or Steel Wall Anchors |
Conclusion
There you have it, Mama! A custom, high-end look for a fraction of the price. The IKEA Luroy hack is more than just a DIY project; it’s a way to reclaim a little bit of control in the beautiful chaos of motherhood. By organizing your space, you’re creating more room for what really matters: those quiet snuggles, the sweet smell of a baby’s head, and the peace of mind that comes with knowing exactly where the pacifier is at 2:00 AM.
You are doing an incredible job preparing for this little soul. Take a deep breath, admire your handiwork, and remember that the most important thing in that nursery is the love you’re filling it with. Happy hacking!