How to Turn the IKEA IVAR Cabinet into a Boho-Style Nursery Wardrobe
Embracing the Nesting Journey with a Touch of Boho Soul
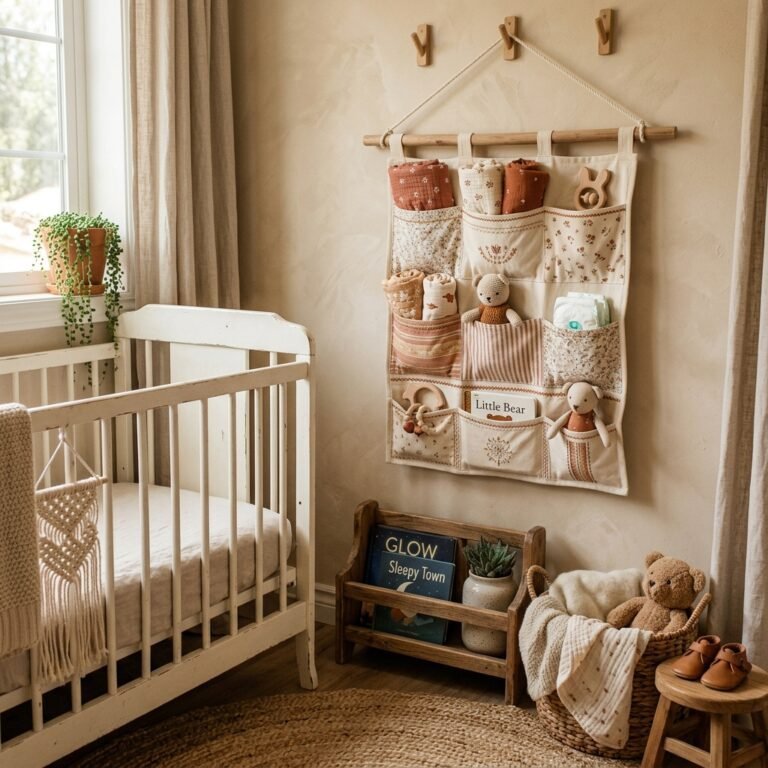
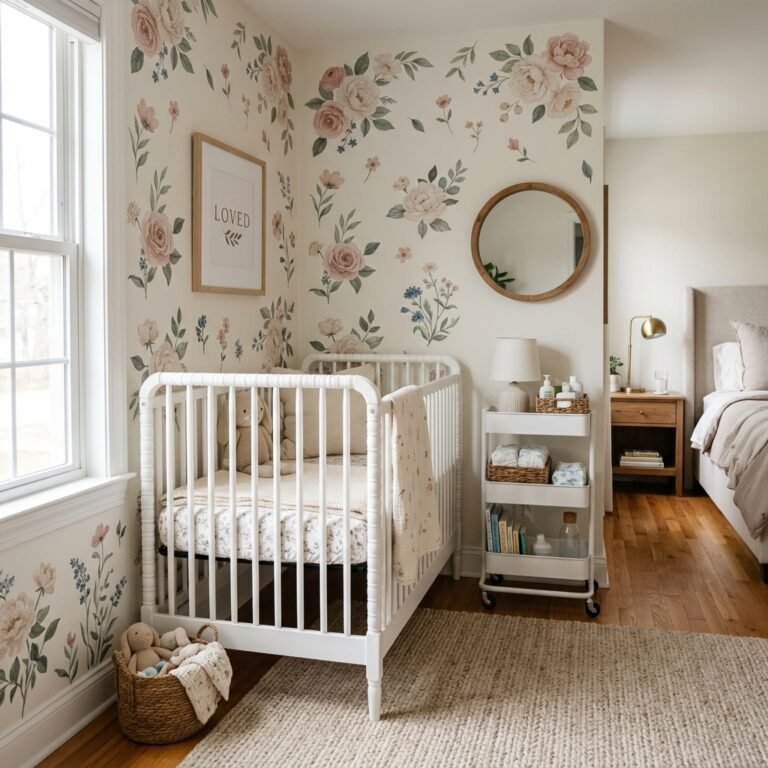
Hello, sweet Mama. If you are reading this, you are likely in that beautiful, whirlwind phase of nesting—that biological urge to create a safe, soft, and organized landing pad for your little one. As a doula, I’ve seen how a calm, beautiful environment can truly soothe a mother’s soul during those late-night feedings and early-morning snuggles. The nursery isn’t just a room; it’s a sanctuary for both you and your baby.
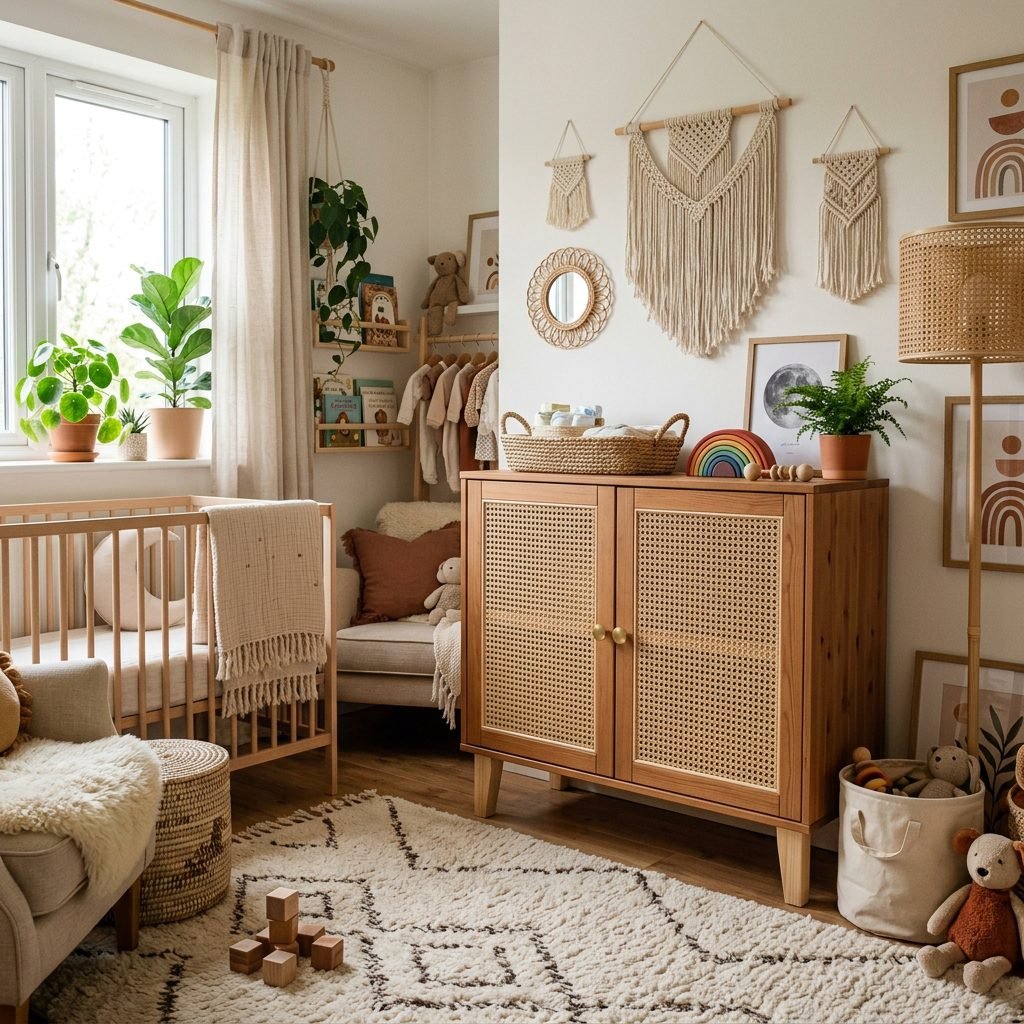
Today, we are going to take the humble IKEA IVAR cabinet—a solid pine staple known for its utility—and transform it into a breathtaking, boho-chic wardrobe. Why the IVAR? Because it’s made of solid, untreated wood, which means no nasty off-gassing of chemicals, making it a dream for a non-toxic nursery. With a little bit of love, some cane webbing, and a sister’s guidance, you’ll create a piece that looks like it cost a fortune at a high-end boutique, but carries the warmth of something made by hand. Let’s roll up our sleeves and create some magic together.
Why the IVAR is a Nesting Mama’s Best Friend
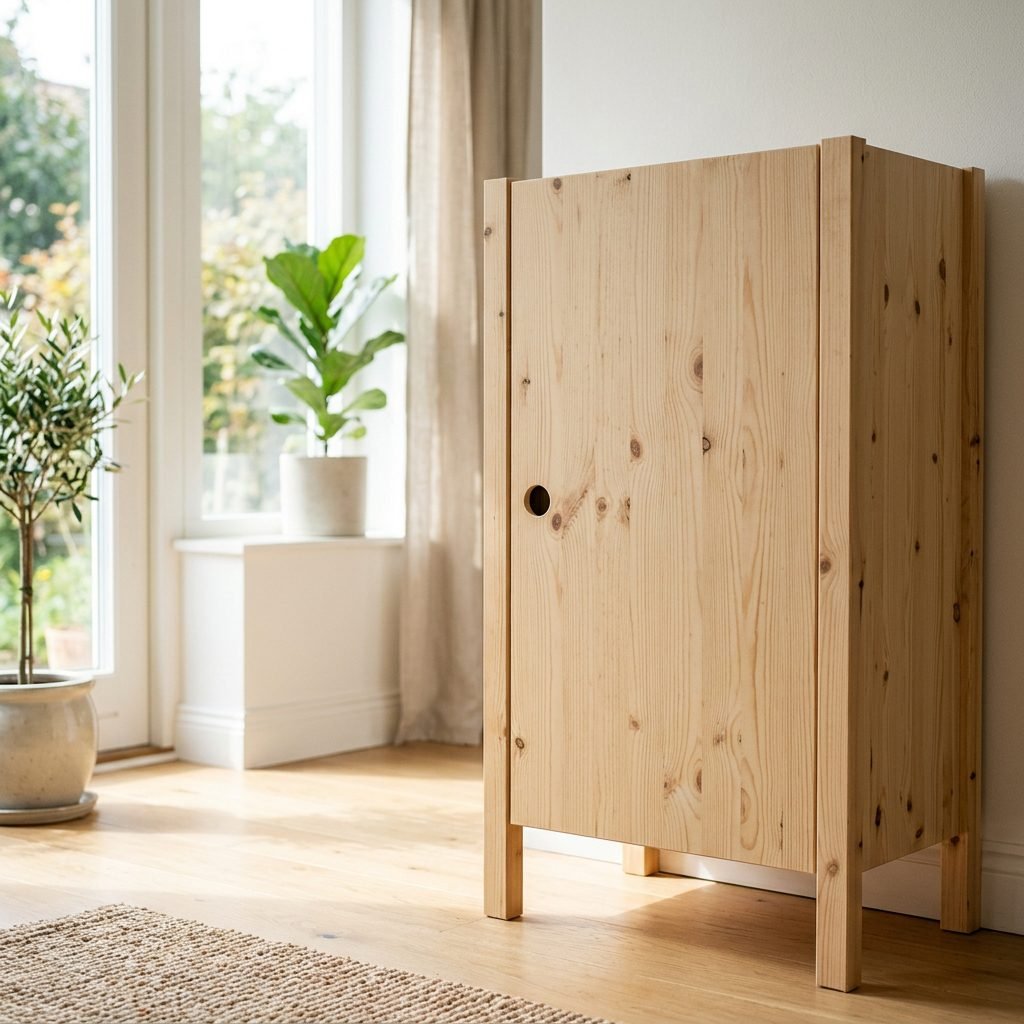
When we think about nursery furniture, we often look for three things: safety, longevity, and style. The IKEA IVAR cabinet ticks all these boxes, especially for those of us who love the earthy, organic feel of a boho nursery. Unlike many modern furniture pieces made of particleboard, the IVAR is solid pine. This is vital because it allows us to use VOC-free stains and paints, ensuring the air your baby breathes is as pure as possible.
The Benefits of Choosing Solid Wood
- Durability: This cabinet can grow with your child, moving from a diaper storage unit to a toy cupboard or even a school supply station.
- Customization: Because it is raw wood, you don’t need to do heavy stripping or priming. It’s a blank canvas ready for your creative touch.
- Compact Footprint: At 31 inches wide and 11 or 19 inches deep, it fits into even the smallest nursery nooks without overwhelming the space.
In my experience as a doula and organizer, I’ve found that having a dedicated space for those tiny, precious outfits helps reduce the mental load of new motherhood. When everything has a home, your mind can rest.
Gathering Your Supplies: The Boho Material List
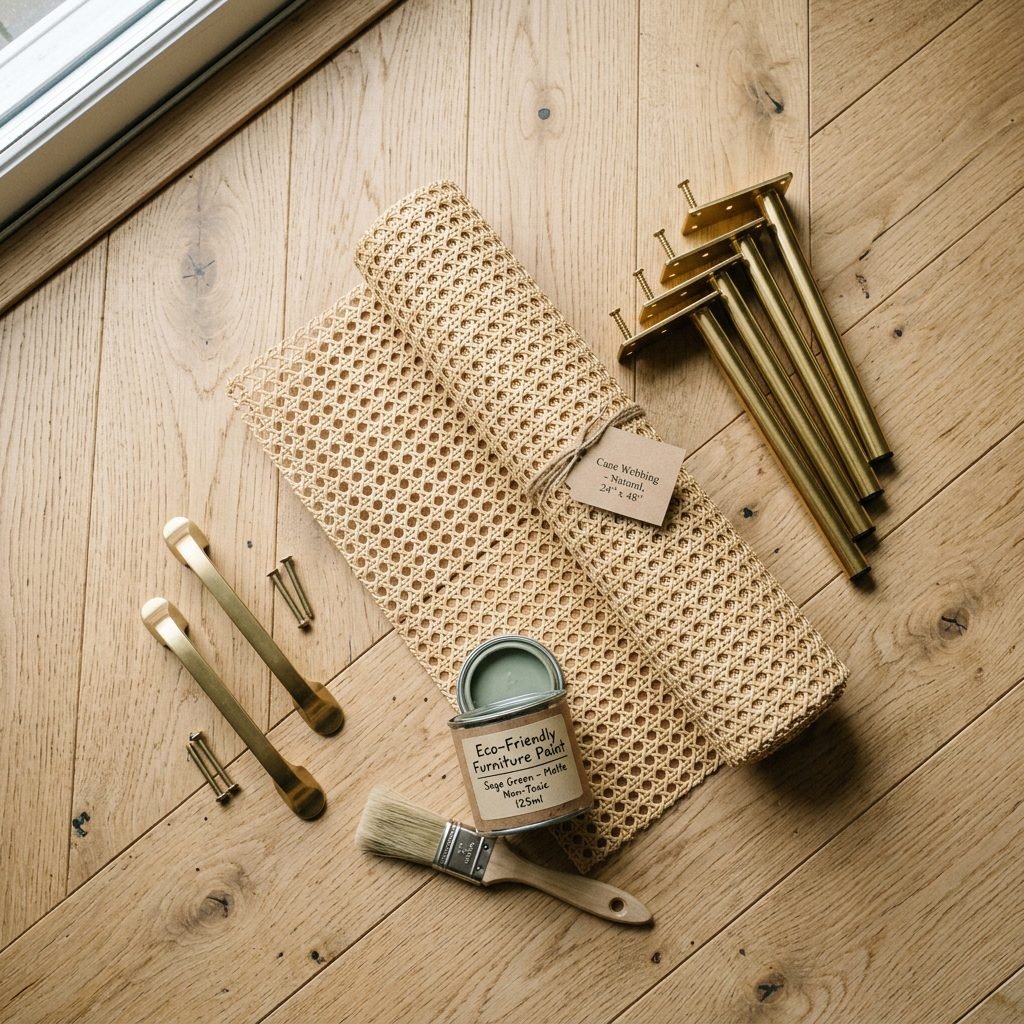
Before we dive into the craft, let’s gather our materials. Think of this as preparing your ‘labor bag’ for the DIY process—having everything ready makes the experience much more relaxing. For a true boho look, we are going to focus on natural textures like rattan and brass.
| Material | Purpose | Estimated Cost |
|---|---|---|
| IKEA IVAR Cabinet | The base structure (choose the 19-inch depth for clothes). | $95 – $110 |
| Cane Webbing (Rattan) | To create those beautiful, breathable door panels. | $30 – $50 |
| Furniture Legs | Elevates the cabinet for a more high-end look. | $20 – $40 |
| Brass or Wood Knobs | The ‘jewelry’ of the cabinet. | $10 – $15 |
| VOC-Free Paint/Stain | Adding color without the toxic fumes. | $20 – $30 |
Pro-Tip: When choosing your cane webbing, look for ‘fine open cane’ or ‘radio weave.’ These allow for airflow, which is wonderful for keeping baby clothes smelling fresh and preventing any mustiness in the wood.
Step-By-Step: The Boho Transformation Process
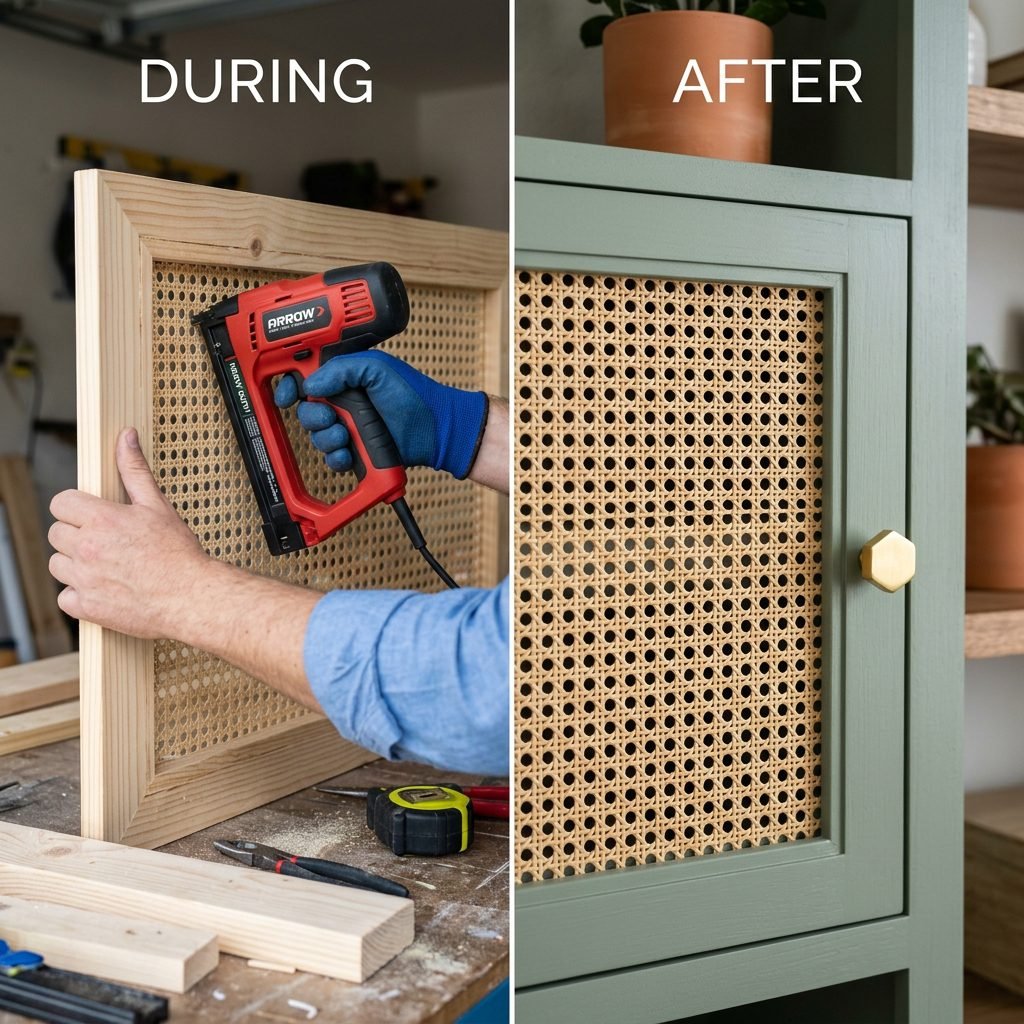
Alright, Mama, let’s get into the heart of the project. Remember to take breaks, stay hydrated, and if you are in your third trimester, please have a partner or friend do the heavy lifting and the stapling!
- Sanding and Prep: Even though IVAR is raw, a light sand with 220-grit sandpaper will smooth out any rough edges that might snag delicate baby knits.
- Cutting the Door Panels: Using a jigsaw or a steady hand with a saw, cut out the center rectangle of the IVAR doors, leaving a 2-inch frame all the way around. This creates the window for our cane webbing.
- Soaking the Cane: Soak your rattan webbing in warm water for about 30 minutes. This makes it pliable and ensures it dries taut and professional-looking.
- Attaching the Webbing: Lay the wet cane over the back of the door frame and staple it securely using a heavy-duty staple gun. Start from the center of each side and work your way out to the corners, pulling firmly.
- Adding the Legs: Flip the cabinet over and attach your chosen furniture legs. Adding 6-inch tapered legs not only adds style but makes it easier to vacuum underneath—a must for keeping dust bunnies away from baby!
- Finishing Touches: Once the cane is dry, paint or stain the wood frame. Attach your knobs, and voila! You have a masterpiece.
“Creating for your baby is an act of love. Every staple, every brushstroke is a prayer for the beautiful life about to unfold in this room.”
Doula-Expert Organization: What’s Inside Matters
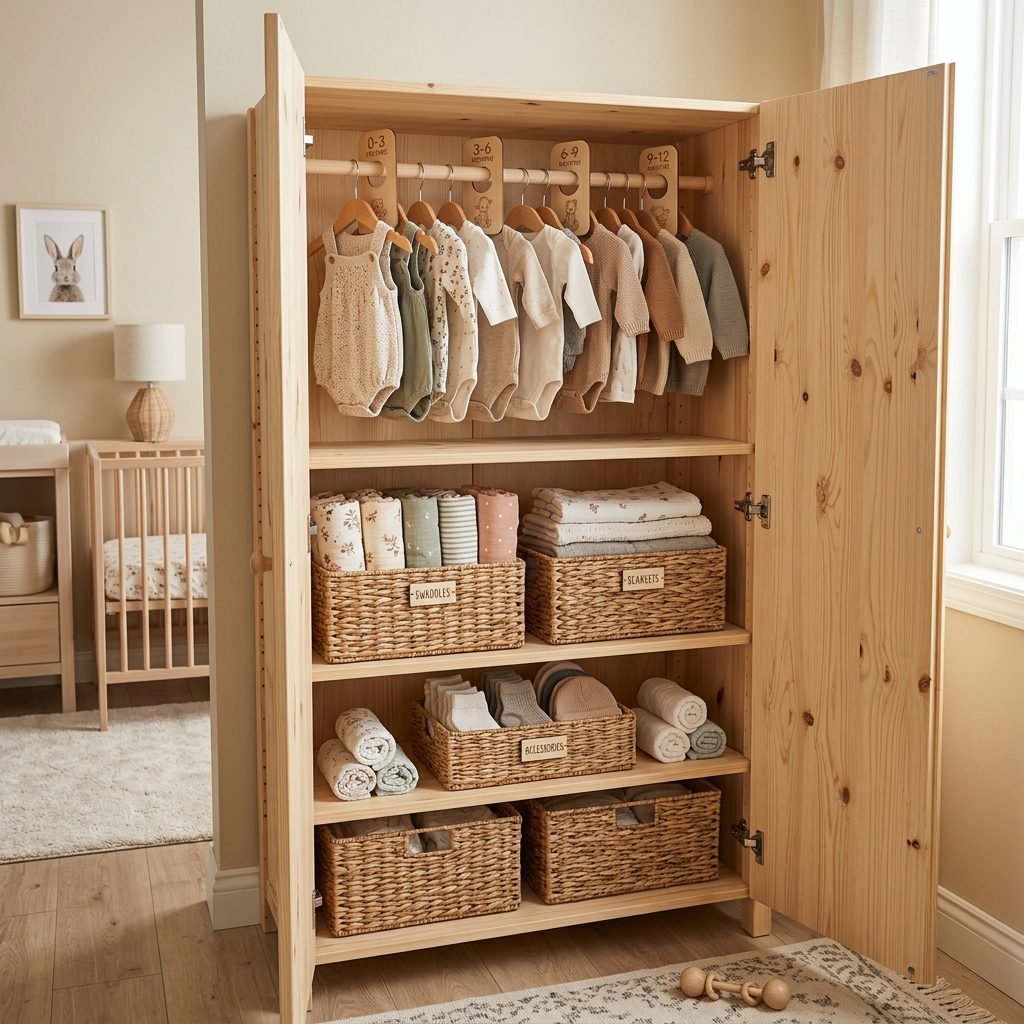
Now that the exterior is stunning, let’s talk about the internal architecture. As a postpartum nurse and doula, I know that you will be accessing this wardrobe while sleep-deprived and possibly holding a crying infant. Organization isn’t just about aesthetics; it’s about functional flow.
The Zonal Organization Method
- The Eye-Level Zone: Place 0-3 month onesies and sleepers here. You need to be able to grab these without bending or reaching.
- The Top Shelf: Keep your ‘special’ items here—heirloom blankets, coming-home outfits, and items baby hasn’t grown into yet.
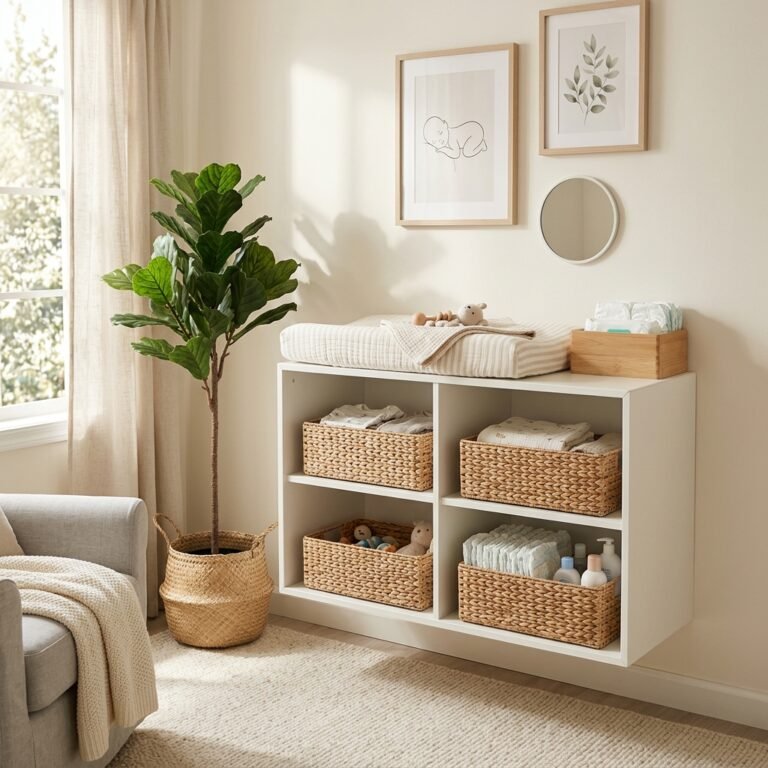
- The Bottom Baskets: Use the bottom of the cabinet for bulky items like extra diapers, wipes, and heavy sleep sacks.
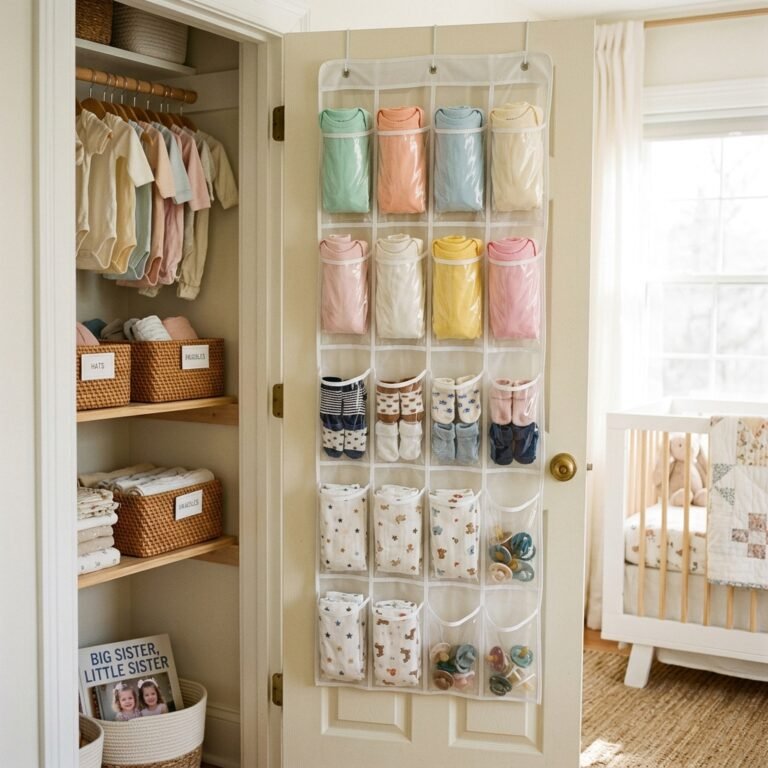
Inside the IVAR, I recommend installing a small tension rod or a dedicated IKEA HJÄLPA rail for hanging those tiny dresses or rompers. Use velvet hangers to prevent clothes from slipping off. For the shelves, use woven baskets to categorize items: ‘Socks & Mittens,’ ‘Hats,’ and ‘Burp Cloths.’
| Storage Type | Best For | Mama Tip |
|---|---|---|
| Hanging Rod | Dresses, Jackets, Sleep Sacks | Use size dividers (0-3, 3-6) for easy sorting. |
| Woven Baskets | Diapers, Swaddles, Loose Items | Label them so partners can help find things! |
| Clear Bins | Medicine, Grooming Kits | Keep these on a higher shelf out of toddler reach. |
Styling and Safety: The Final Flourish
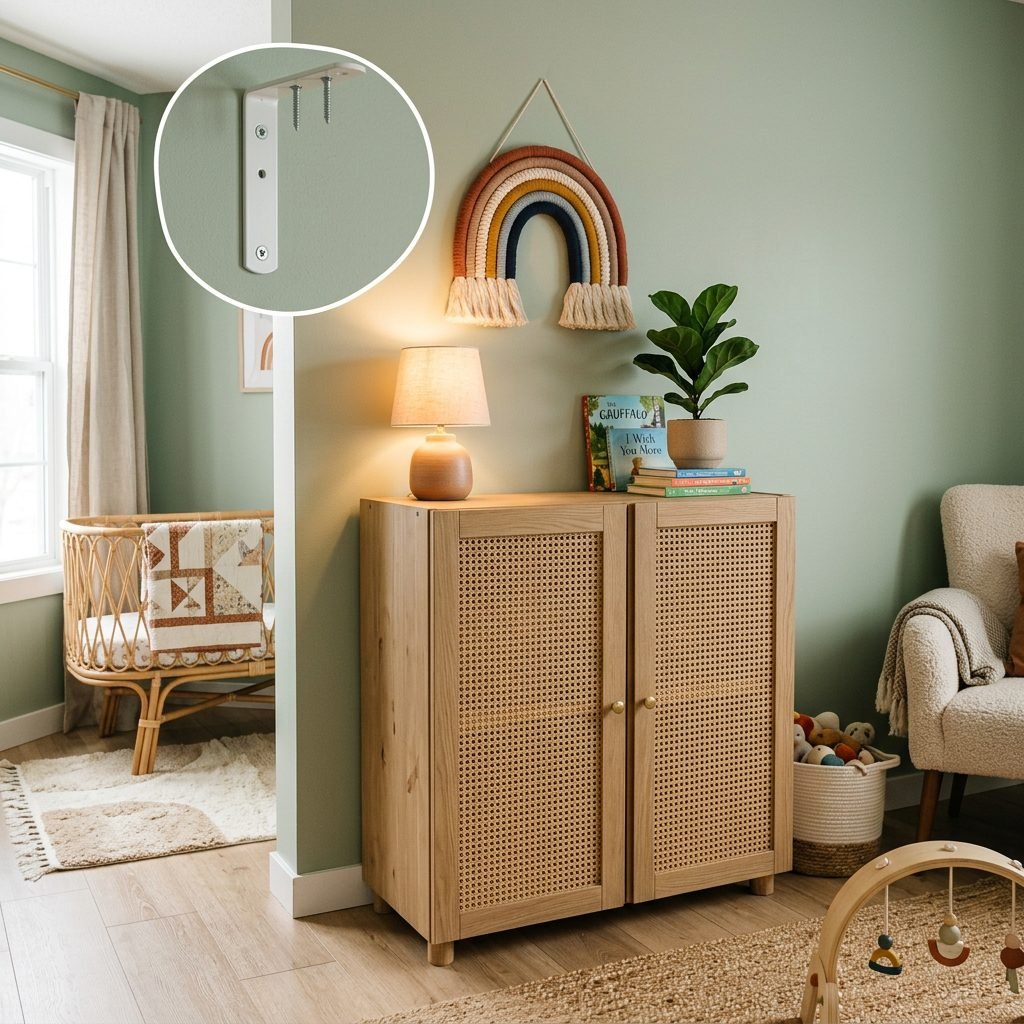
Your boho wardrobe is almost ready! To truly lean into that earthy aesthetic, style the top of the cabinet with a trailing silk plant (safety first—no real dirt or water near the wood!), a small wooden lamp for soft midnight lighting, and perhaps a framed ultrasound photo.
Crucial Safety Warning
Mama, this is the most important part: You MUST anchor this cabinet to the wall. The IVAR is lightweight, and once your little one starts crawling and pulling themselves up, it becomes a tipping hazard. IKEA provides wall anchoring kits; please use them. Ensure you are drilling into a stud for maximum security. Your peace of mind is worth those five extra minutes of work.
For the finish, if you chose to paint, ensure you used a water-based, non-toxic sealant. Babies love to explore with their mouths once they start crawling, and a baby-safe finish ensures that even a curious nibble on the cabinet corner is perfectly safe.
Conclusion
A Labor of Love for Your Little One
There you have it, Mama—a custom, boho-style nursery wardrobe that is as functional as it is beautiful. By turning the IKEA IVAR into a personalized piece of furniture, you’ve not only saved money but also infused your baby’s room with your own energy and creativity. This cabinet will hold the tiny clothes that will soon be filled with the most precious person in your world.
As you finish this project, take a moment to sit in your nursery chair, breathe in the space, and acknowledge the incredible work your body and mind are doing. You are already an amazing mother. Enjoy these final weeks of preparation, and may your nursery be a place of deep peace, sweet smells, and endless cuddles. You’ve got this!