How to Safely Set Up a Vintage Suitcase Newborn Photo Shoot at Home
Welcome to this beautiful, fleeting season, sweet mama. You have just brought a miracle into the world, and if you are anything like the thousands of mothers I have supported as a doula, you are desperately trying to bottle up every single newborn detail. Those tiny, flaky toes, the milk-drunk smiles, and the way they curl up into that precious fetal position—it all changes so incredibly fast. Hiring a professional newborn photographer is a wonderful investment, but it is not always in the budget, or perhaps you simply want the intimate experience of capturing these early days in the quiet comfort of your own home.
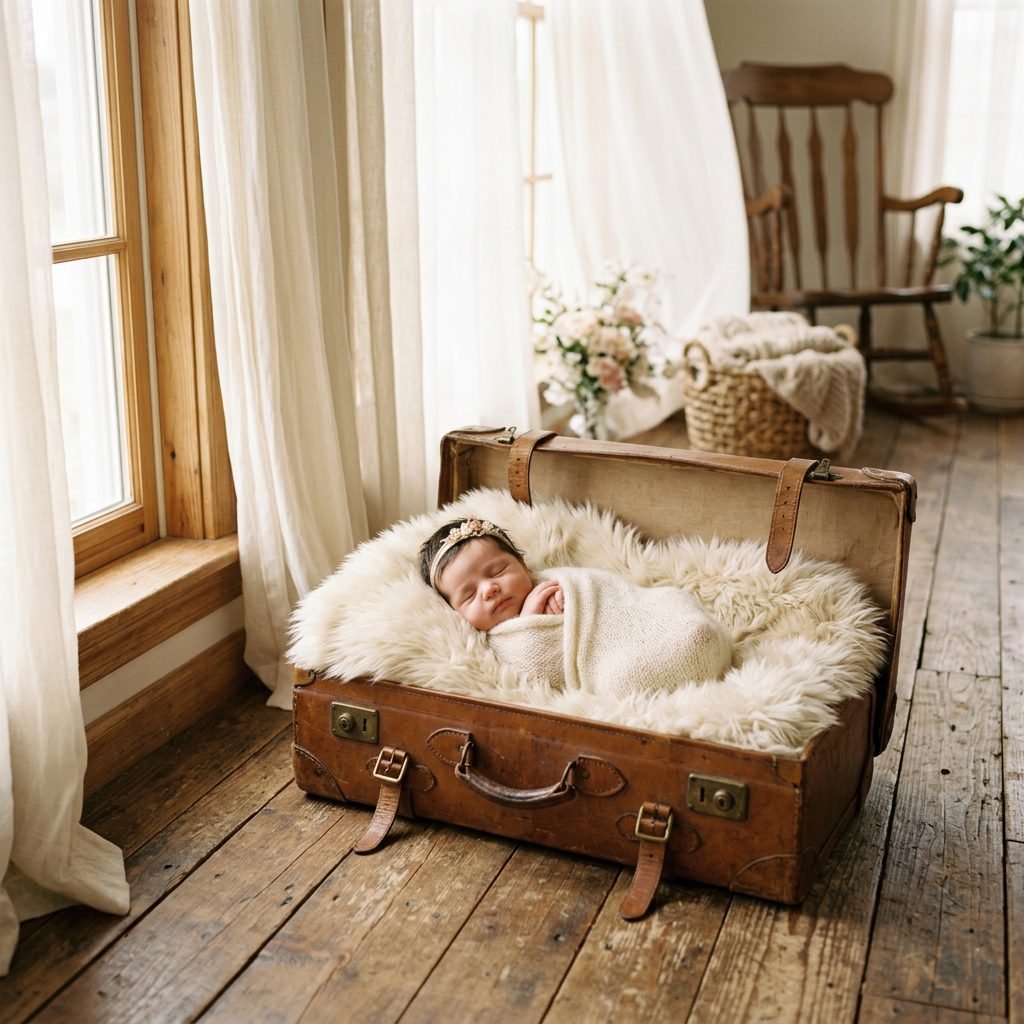
One of the most timeless, enchanting setups for DIY newborn photography is the vintage suitcase pose. It evokes a sense of journey, nostalgia, and the incredible adventure of parenthood you have just embarked upon. However, as a postpartum nurse and pediatric sleep consultant, I must emphasize one vital truth: newborn safety is the absolute priority. Professional photographers make these images look effortless, but behind the scenes, there are spotters, hidden weights, and clever editing tricks keeping that baby perfectly safe. Today, I am taking you by the hand and walking you through every single step to safely, beautifully, and calmly set up a vintage suitcase newborn photo shoot right in your living room. Grab a cup of warm tea, take a deep breath, and let us create some magic together.
Sourcing and Sanitizing Your Vintage Treasure
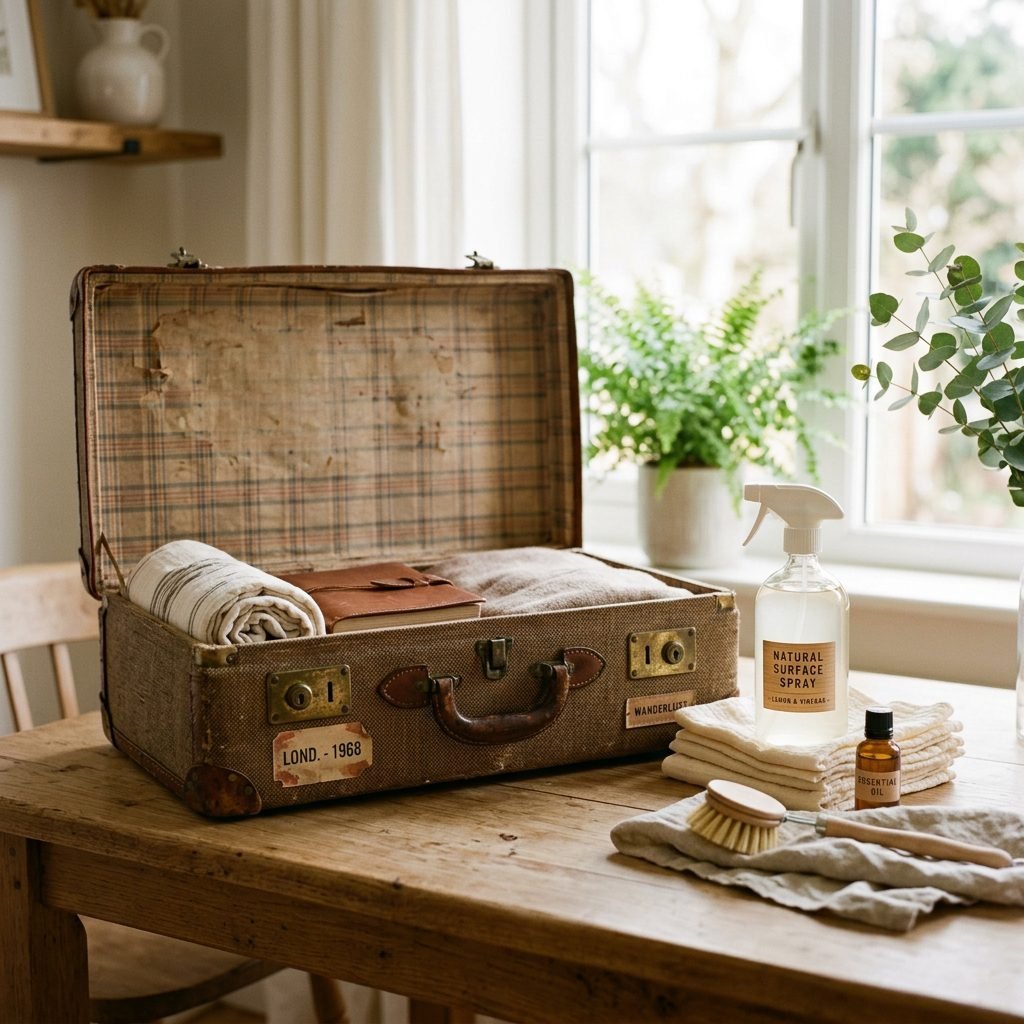
Before we even think about placing your precious, delicate newborn into a prop, we need to ensure the environment is pristine. Vintage suitcases are stunning—they have character, patina, and history. But they can also harbor decades of dust, mold spores, and rusty hardware. As a doula who prioritizes your baby’s still-developing immune system, I want you to be incredibly selective about the prop you choose.
Where to Look and What to Avoid
Thrift stores, antique malls, and even your grandparents’ attic are fantastic places to hunt for the perfect piece. Look for hard-shell suitcases, classic tweed, or worn leather. However, you must inspect the interior meticulously. Avoid any suitcase that smells strongly of mildew, has peeling interior fabric that cannot be removed, or features exposed, rusty nails and broken hinges. The lid of the suitcase should either detach completely or be able to lock firmly into an open position so there is absolutely 0% chance of it falling shut.
The Deep Cleaning Process
Once you bring your treasure home, it is time to purify it. Remember, we want to use pregnancy- and newborn-safe cleaning agents.
- Step 1: Vacuum Thoroughly. Use a brush attachment to get into every crevice, corner, and pocket of the suitcase interior.
- Step 2: Sun Bleaching. Leave the open suitcase out in direct sunlight for at least 48 hours. UV rays are nature’s best disinfectant and will help eliminate lingering odors.
- Step 3: Safe Sanitizing. Wipe down the interior and exterior with a mixture of equal parts water and white vinegar. For leather exteriors, use a gentle, non-toxic leather conditioner to bring out that beautiful rich tone for the camera.
- Step 4: The Barrier Method. Even after cleaning, your baby’s skin should never touch the raw vintage material. We will be building a thick, protective nest inside.
Engineering the Setup: Weights, Padding, and Texture
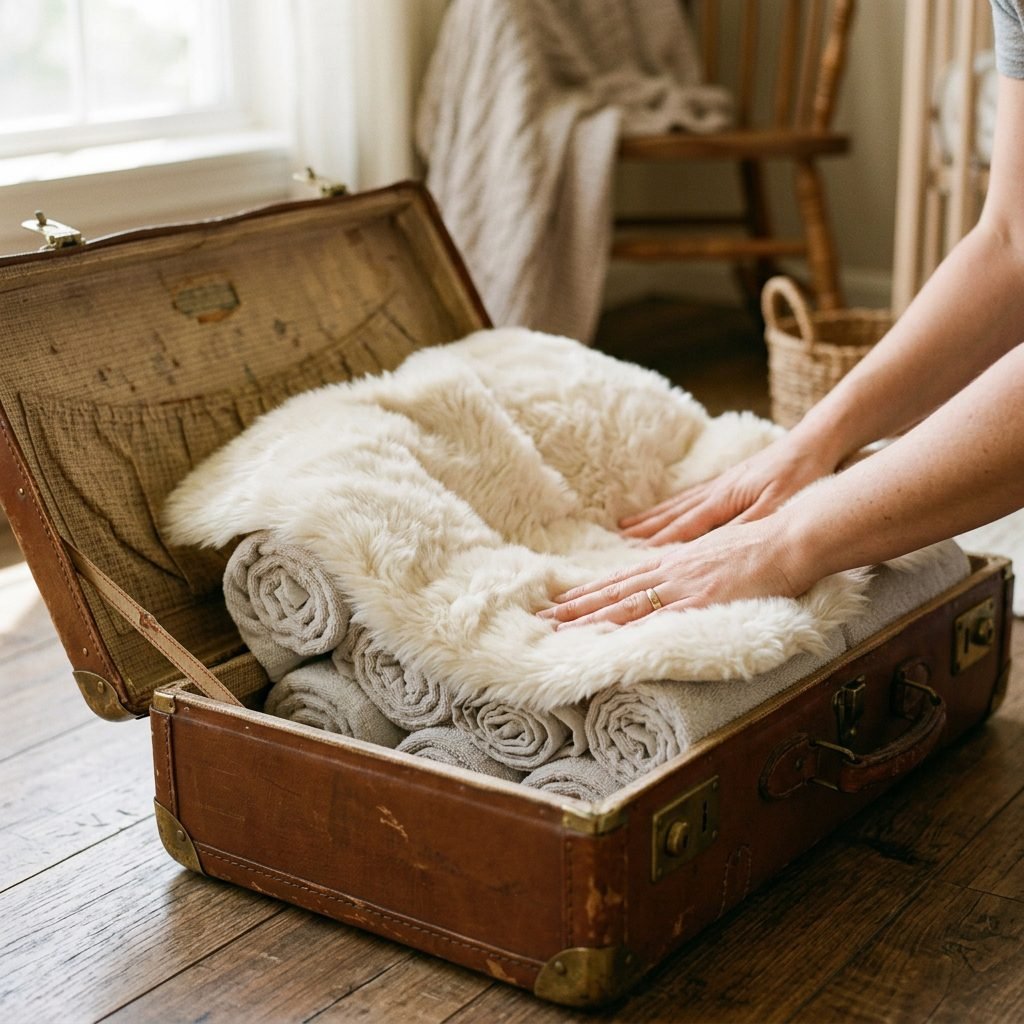
Now comes the most critical structural step. A vintage suitcase is inherently top-heavy when the lid is open, and placing a baby inside can shift the center of gravity, causing the suitcase to tip backward or forward. We are going to engineer a completely tip-proof, luxuriously soft nest for your little one.
The Foundation: Weighing It Down
Before adding any cute blankets, you must line the very bottom of the suitcase with flat, heavy weights. You can use specialized photography sandbags, heavy books, or even sealed bags of rice. You want at least 5 to 10 pounds of weight distributed evenly across the bottom to anchor the suitcase to the floor.
Building the Nest
Once the base is weighted, we build up. You want the baby to sit high enough in the suitcase that they aren’t lost in the shadows, but low enough that they are securely cradled. Use firm rolled towels or a nursing pillow (like a Boppy) to create a supportive bowl shape. The baby’s head should always be elevated slightly higher than their hips to ensure an open airway. Finally, drape your aesthetic layers over the towels.
| Layer / Material | Purpose | Estimated Cost / Source |
|---|---|---|
| Heavy Sandbags or Books | Anchors the suitcase to prevent tipping | $0 (Use items from home) |
| Firm Bath Towels (Rolled) | Creates a customized, supportive “bowl” shape | $0 (Linen closet) |
| Waterproof Changing Pad Liner | Protects the setup from unexpected diaper leaks | $5 (Baby registry item) |
| Plush Faux Fur or Flokati Rug | Provides a soft, textured, aesthetic base layer | $15 – $25 (Craft store) |
| Stretchy Knit Wrap | Swaddles the baby tightly to keep them calm | $10 – $20 (Etsy or Amazon) |
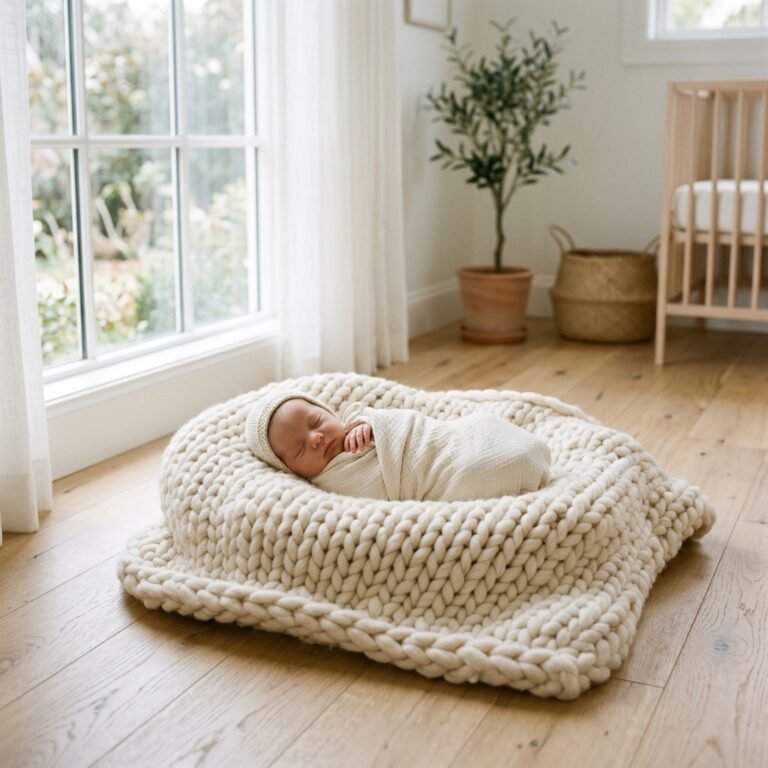
When choosing your top layers, think about texture rather than loud patterns. A chunky knit blanket, a delicate lace throw, or a simple cream faux fur rug will bounce soft light onto your baby’s face and keep the visual focus exactly where it belongs: on your beautiful newborn.
The Doula’s Secret to a Sleepy, Pliable Baby

The secret to those peaceful, curled-up newborn photos isn’t just photography skill—it is understanding newborn sleep cycles and nervous systems. As a pediatric sleep consultant, I can tell you that trying to pose a wide-awake, hungry, or overstimulated baby is a recipe for tears (for both of you!). You want to aim for what we call “deep sleep” or “milk coma” sleep.
Timing is Everything
Plan to do your photo shoot when your baby is between 5 and 14 days old. During this window, newborns are still incredibly sleepy and naturally curl into that beautiful womb-like “fetal position.” Choose a time of day when the natural light in your home is best—usually mid-morning, around 10:00 AM.
The Pre-Shoot Routine
- Warm the Room: Newborns cannot regulate their body temperature well. If they are going to be bare or lightly wrapped, the room needs to be uncomfortably warm for adults. Set a space heater nearby (but at a safe distance) and aim for a room temperature of 78 to 80 degrees Fahrenheit.
- Keep Them Awake: Try to keep your baby awake for about an hour before the shoot. Give them a gentle sponge bath or let them kick on their play mat.
- The Big Feed: Strip the baby down to just their diaper (loosen the diaper slightly so it doesn’t leave red marks on their skin) and wrap them in a warm blanket. Feed them a full, satisfying meal. A full tummy equals a sleepy baby.
- Burp Thoroughly: Trapped gas will wake a baby up mid-pose. Spend extra time doing gentle back pats and bicycle legs to ensure all gas is released.
- Swaddle and Shush: Use a stretchy knit wrap to swaddle them snugly. Turn on a white noise machine to a continuous, deep “womb” sound (pink or brown noise works best) and place it near the suitcase.
“A calm mother creates a calm baby. If your baby is fussy, do not force the pose. Pick them up, sway, breathe deeply, and try again later. The timeline is yours, and there is no rush.”
Safety First: Spotters and The Composite Trick
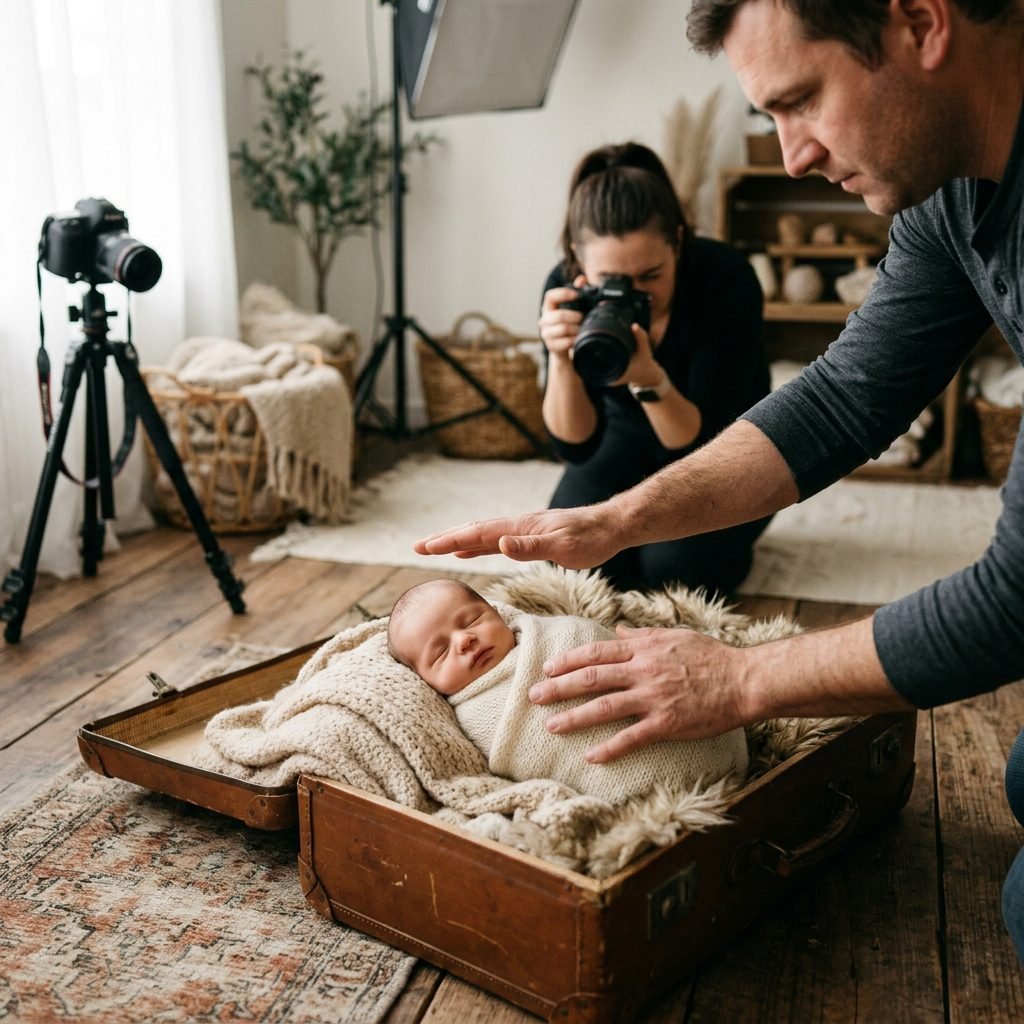
This is the most critical section of this guide. Many of the breathtaking newborn photos you see on Pinterest and Instagram are actually optical illusions. Professional photographers use a technique called “compositing,” where they take two separate photos and merge them together in Photoshop. This ensures that hands are always on the baby.
The Role of the Spotter
You should never do this photo shoot alone. You need a partner, a trusted friend, or a family member to act as the “Spotter.” The Spotter’s only job is to sit directly next to the suitcase, keeping their eyes and hands within one inch of the baby at all times. If the baby startles (the Moro reflex), the Spotter is right there to gently place a hand on the baby’s chest to soothe them and prevent any sudden movements.
How to Do a Simple Composite on Your Phone
If you want a shot where the baby looks like they are resting their chin on their hands (the “froggy” pose) or sitting in a prop that feels even slightly unstable, you must use the composite method. Here is how you do it without fancy software:
- Image 1: The Spotter holds the baby safely by the wrists/arms while you take a photo.
- Image 2: The Spotter moves their hands to hold the baby safely by the top of the head/crown while you take the exact same photo from the exact same angle.
- The Edit: Use a free app like Snapseed or Canva. Layer the two photos and use the “erase” tool to brush away the Spotter’s hands from the top half of the first image, revealing the baby’s untouched head from the second image. Voila! Magic, and zero risk to your baby’s delicate neck.
Never, under any circumstances, leave a baby unattended in a prop, even for a split second to check your camera settings. If the baby is in the suitcase, hands are hovering.
Capturing the Magic: Lighting, Angles, and Phone Camera Hacks
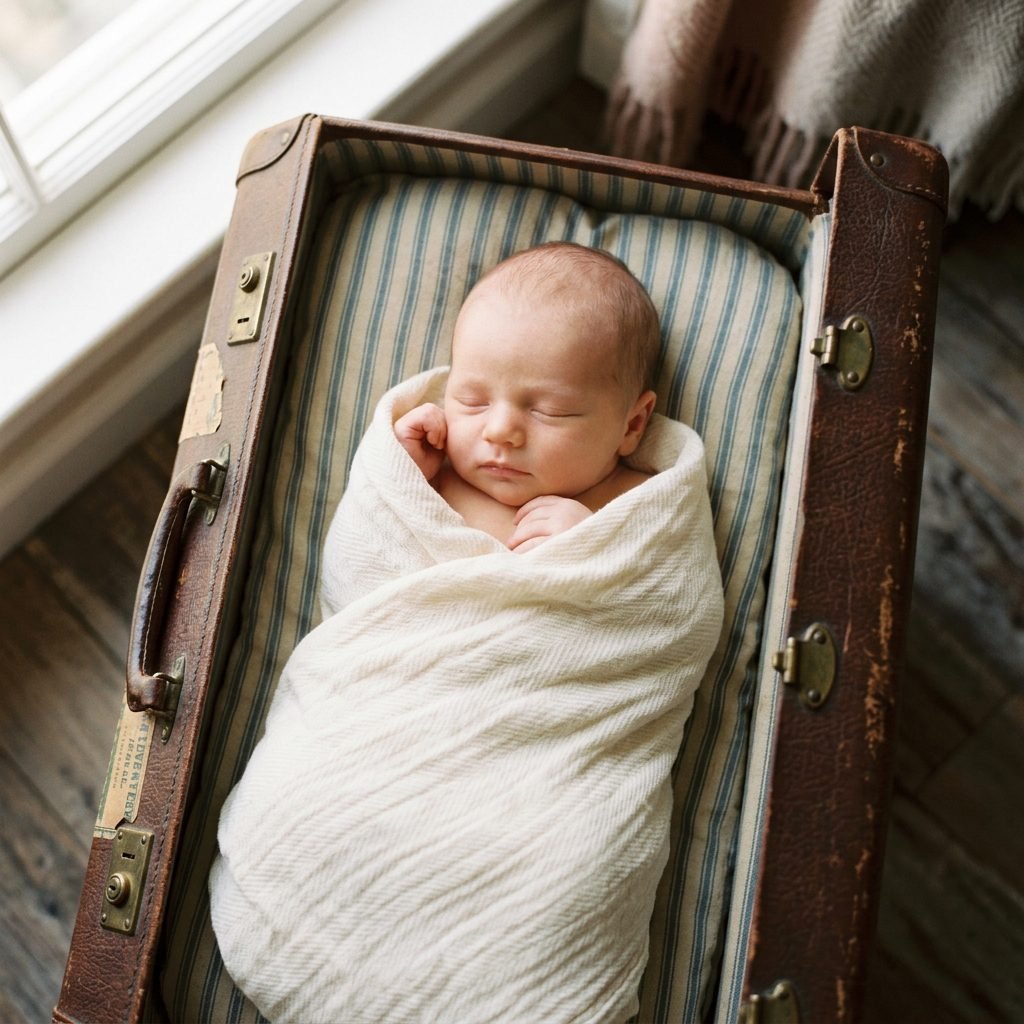
You have sourced the perfect prop, engineered a safe and cozy nest, and successfully lulled your sweet baby into a deep sleep. Now it is time to actually capture the image. You do not need a $3,000 DSLR camera to get breathtaking photos; modern smartphones are incredibly capable if you understand how to harness light and angles.
Mastering Window Light
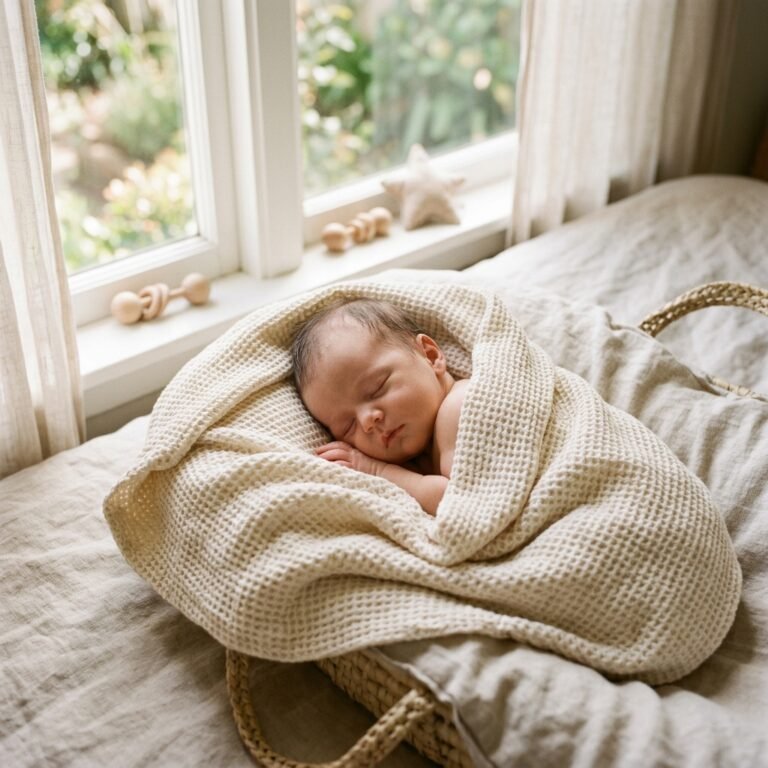
Turn off all the artificial lights in your room—overhead lamps, ceiling fixtures, and warm table lamps. Mixing artificial yellow light with natural blue window light will make your baby’s skin look unnatural and muddy. Instead, rely entirely on soft, diffused window light. Push the suitcase setup close to your largest window. If the sun is beaming directly in and creating harsh, dark shadows, hang a sheer white curtain or tape a white bedsheet over the window to soften and diffuse the light. You want the light to flow down from the top of the baby’s head toward their toes, which creates a natural, flattering shadow under their chin and nose.
Angles to Adore (and Angles to Avoid)
The biggest mistake DIY newborn photographers make is shooting “up the nose.” If you shoot from the baby’s feet looking up toward their head, it distorts their features. Instead, always shoot from the top of their head looking down, or directly from a 90-degree overhead angle.
| Camera Angle | Visual Effect | Best Used For |
|---|---|---|
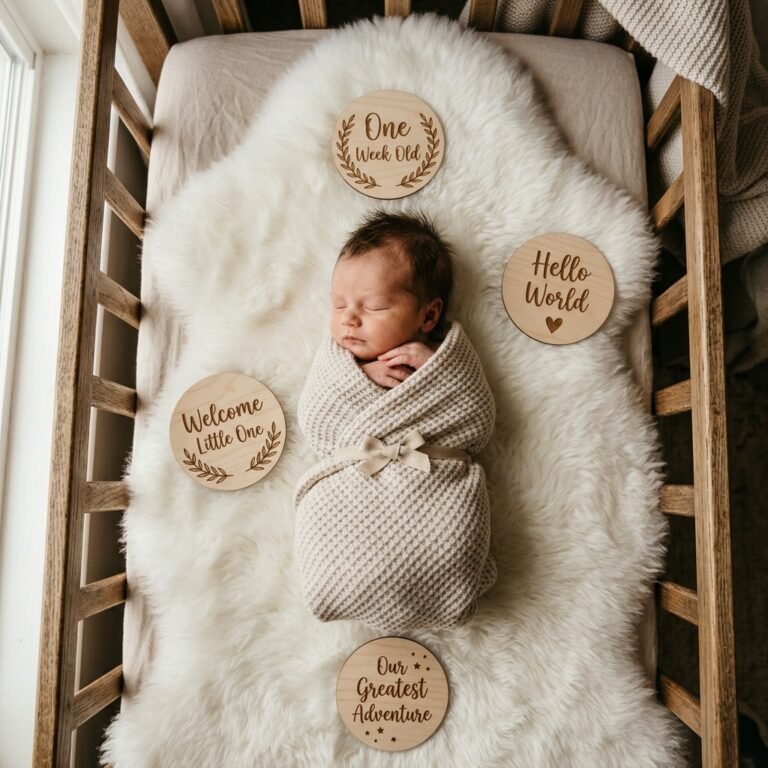
| Top-Down (Bird’s Eye) | Captures the entire suitcase and the baby’s curled-up form | The wide, storytelling “hero” shot |
| 45-Degree Downward | Highlights the baby’s chubby cheeks and eyelashes | Intimate portraits and facial details |
| Macro (Extreme Close-Up) | Focuses on tiny details like flaky toes, lips, or fingers clutching the blanket | Creating an emotional, detailed gallery wall |
If you are using a smartphone, tap on the baby’s face on your screen to lock the focus. You will see a little sun icon appear—drag that sun down slightly to lower the exposure. Smartphones tend to overexpose (make too bright) skin tones, so slightly darkening the image before you take it will retain all those beautiful, creamy details in your baby’s skin.
Embracing the Imperfections of Motherhood
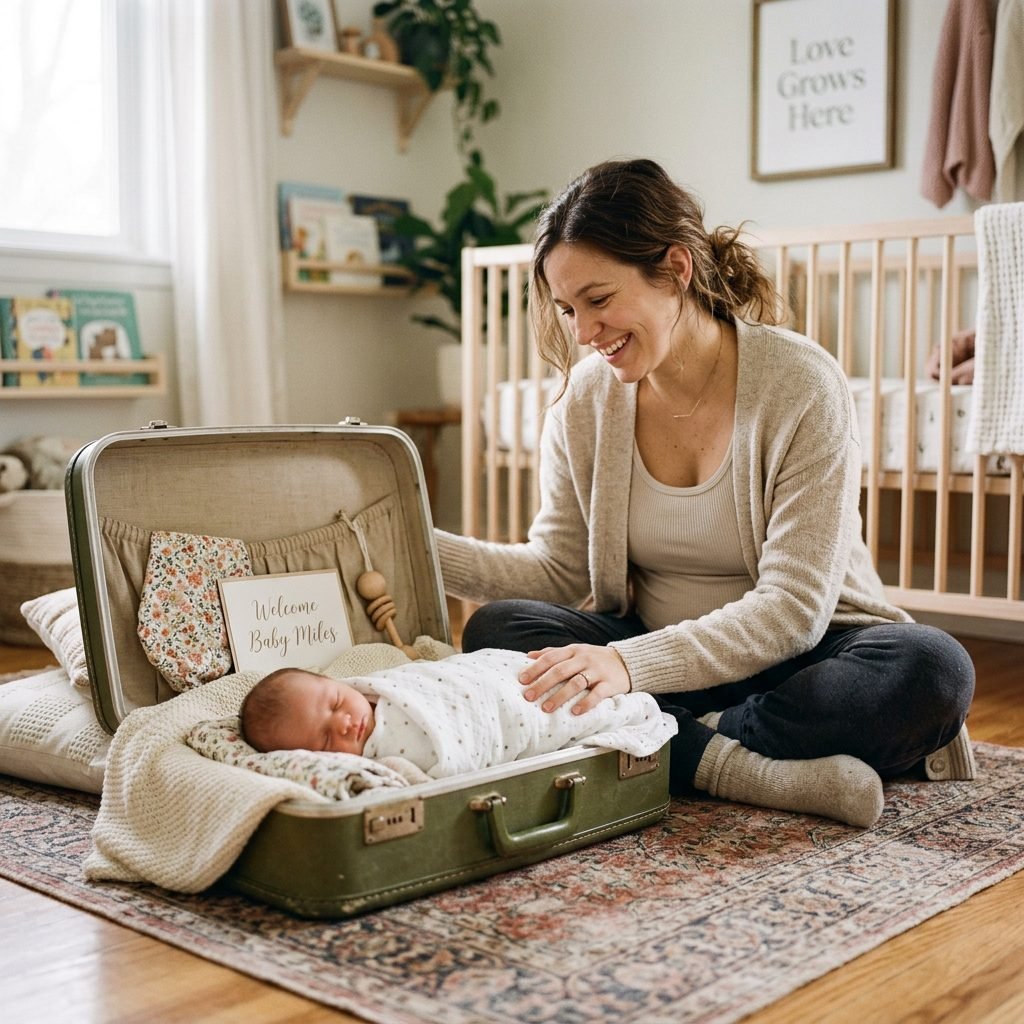
As we wrap up this creative journey, I want to leave you with a gentle reminder from my doula heart to yours. Setting up a DIY newborn shoot is a beautiful act of love, but it can also be exhausting, especially when you are healing postpartum, managing hormonal shifts, and running on fragmented sleep. If the baby won’t settle, if the lighting isn’t quite right, or if the suitcase setup just isn’t working out the way you envisioned—give yourself grace.
The goal here isn’t to produce a magazine cover; the goal is to freeze a moment in time. Even if the photo is a little blurry, or the baby is wide awake and giving you a hilarious grumpy face, you will look back on that image in five years and cry at how impossibly tiny they were. You are doing an incredible job, mama. Trust your instincts, prioritize your baby’s safety, and have fun creating these core memories.
Conclusion
Creating a vintage suitcase newborn photo shoot at home is a deeply rewarding project that allows you to capture the magic of the fourth trimester at your own pace. By focusing heavily on safety, proper weighting, temperature control, and soft natural lighting, you can achieve stunning, timeless results without ever leaving your living room. Remember to lean on your partner as a spotter, keep the environment warm and soothing, and most importantly, soak in every single second of this fleeting newborn phase. You’ve got this, mama!