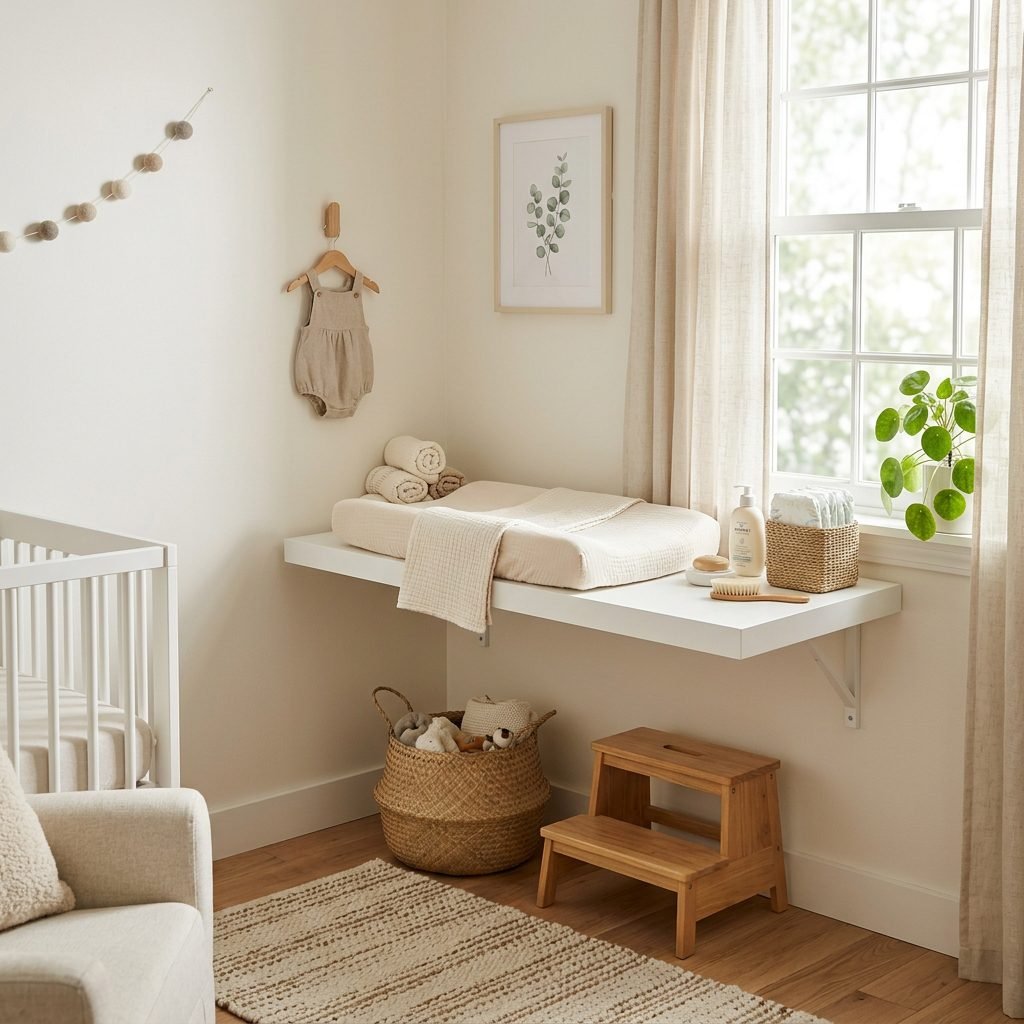
Space-Saving Hack: How to Turn an IKEA Ekby Alex into a Floating Changing Table
Welcome to the Nesting Phase, Mama!
If you are currently looking at your spare bedroom—or perhaps just a corner of your own bedroom—and wondering how on earth a tiny human requires so much square footage, you are not alone. As a doula and a fellow mom who has lived in a small city apartment, I know that the ‘nesting’ urge is real, but the space often isn’t. You want a nursery that feels serene and organized, not cluttered and cramped.
One of the biggest space-hogs in any nursery is the traditional changing table. They are often bulky, heavy, and have a very short shelf-life in your home. That is why I am so excited to share one of my favorite ‘pro-mom’ secrets: the IKEA Ekby Alex Floating Changing Table hack. This project isn’t just about saving floor space; it’s about creating an ergonomic, stylish, and highly functional station that grows with your family. By mounting the unit to the wall, you keep the floor clear for baskets of toys or a cozy rug, making the room feel twice as large instantly.
In this guide, we are going to walk through every step of this transformation—from choosing the right hardware to ensuring the ultimate safety for your little one. Grab a cup of red raspberry leaf tea, and let’s get your nursery ready for baby!
The Anatomy of the Hack: Why the Ekby Alex?
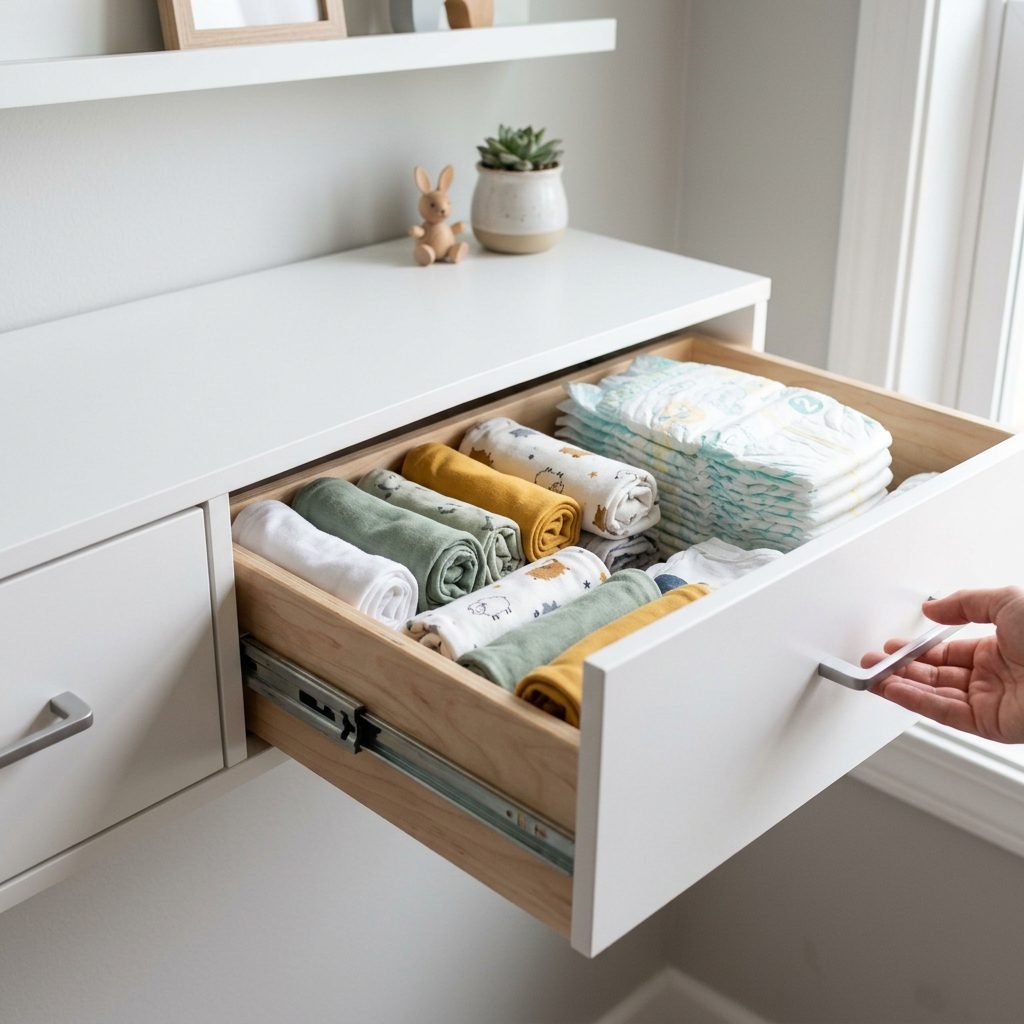
The IKEA Ekby Alex is technically a shelf with two sleek drawers, but for a savvy mom, it is a storage powerhouse. When mounted at the correct height, it provides a slim profile that doesn’t overwhelm a small room. The two drawers are the perfect depth for stashing diapers, wipes, and those tiny newborn socks that always seem to go missing.
Before we dive into the ‘how-to,’ let’s look at why this floating option often beats the traditional floor-standing models:
| Feature | Traditional Changing Table | Floating IKEA Ekby Alex |
|---|---|---|
| Floor Space | Occupies 4-6 sq. ft. | Zero floor space |
| Height | Fixed (often too low) | Customizable to your height |
| Storage | Open shelves (can look messy) | Two hidden, sleek drawers |
| Longevity | Hard to repurpose | Becomes a desk or vanity later |
Choosing the floating route allows you to customize the height perfectly for your own back. As a doula, I see so many moms struggling with postpartum back pain because they are hunching over a table that is too low. With this hack, we can set the height exactly where your elbows naturally bend, saving you from thousands of uncomfortable diaper changes.
Your DIY Shopping List: Materials and Tools

To make this hack successful and safe, you need more than just the shelf itself. Because this unit will be supporting the weight of your growing baby (and your leaning weight during those 3 AM changes), the mounting hardware is the most important part of this list.
- IKEA Ekby Alex: The shelf unit itself (approximately 46 inches long).
- Heavy-Duty Brackets: I recommend the IKEA Ramshult or sturdy steel L-brackets from a hardware store.
- Stud Finder: Non-negotiable for safety.
- Toggle Bolts or Heavy-Duty Wall Anchors: Only if you cannot hit two studs.
- Power Drill and Level: To ensure everything is straight and secure.
- Contoured Changing Pad: Look for one that fits the 11-inch depth (standard pads may overhang slightly, so measure carefully!).
- Non-Slip Grip Liner: To keep the pad from sliding on the smooth surface.
Pro-Tip: When buying your changing pad, look for a ‘travel’ or ‘dresser-top’ size. The Ekby Alex is 11 1/4 inches deep, so a standard 17-inch pad will overhang. Many moms find that a slim, firm foam pad works beautifully here.
Step-by-Step: Mounting for Strength and Style
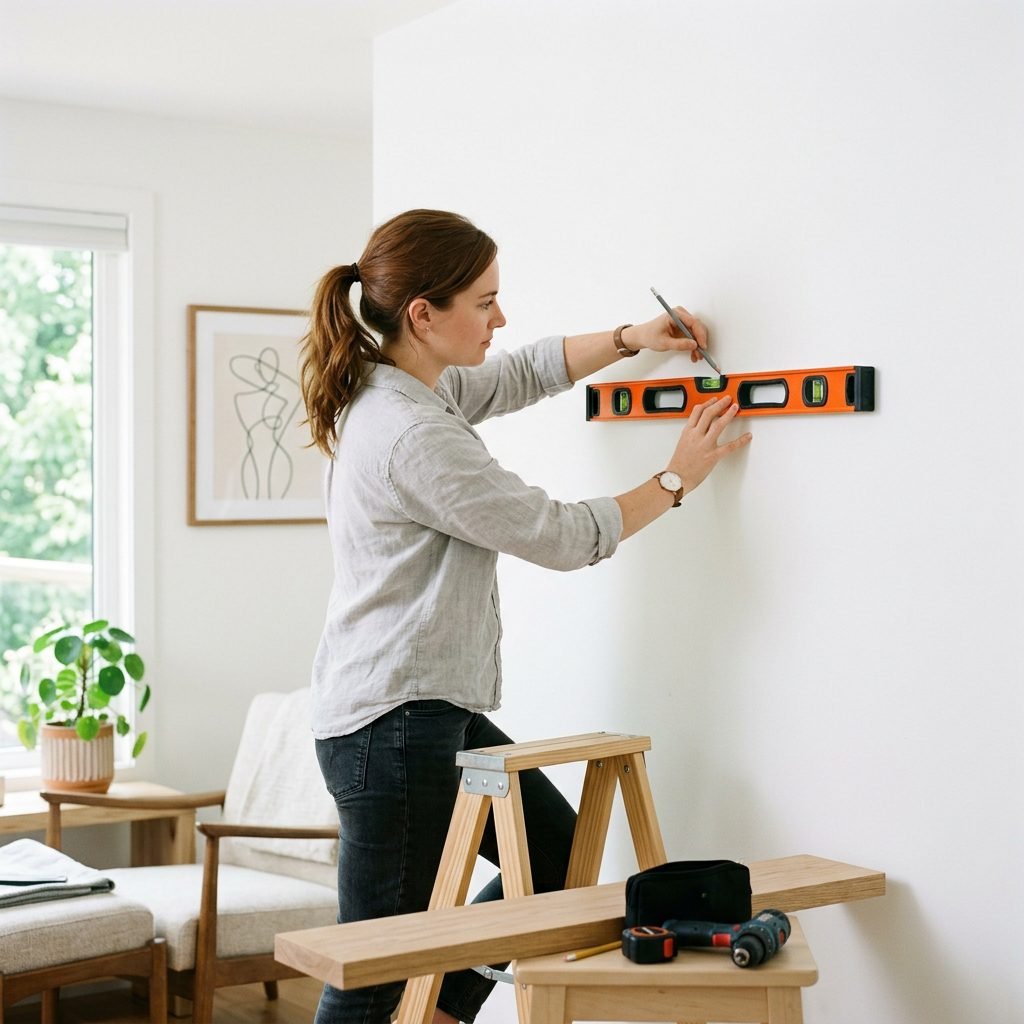
Ready to build? Follow these steps carefully. Remember, mama, if you are currently pregnant, this is a great time to ‘supervise’ while a partner or friend does the heavy lifting and drilling!
- Determine the Ideal Height: Stand comfortably and bend your elbows at a 90-degree angle. The top of the changing table should be just below this point. Mark this height on the wall with a pencil.
- Find the Studs: Use your stud finder to locate the wooden studs in your wall. You must secure at least two of your brackets into studs. If the studs don’t align with where you want the table, you will need to use heavy-duty toggle bolts rated for at least 100 lbs each.
- Level and Mark: Hold the Ekby Alex (or a straight edge) against the wall at your height mark. Use your level to ensure it is perfectly horizontal. Mark the holes for your brackets.
- Pre-Drill and Attach Brackets: Drill your pilot holes. If using anchors, insert them now. Screw the brackets into the wall securely.
- Secure the Shelf: Place the Ekby Alex on top of the brackets. Screw the shelf to the brackets from underneath. Give it a firm ‘tug test’—it should feel like a permanent part of the wall.
Safety Warning: Never rely on simple plastic drywall anchors for a changing table. The weight of a wiggling 20-pound toddler plus the downward pressure of your hands requires a mechanical connection to the wall studs.
Organizing the Drawers: The Doula’s Method
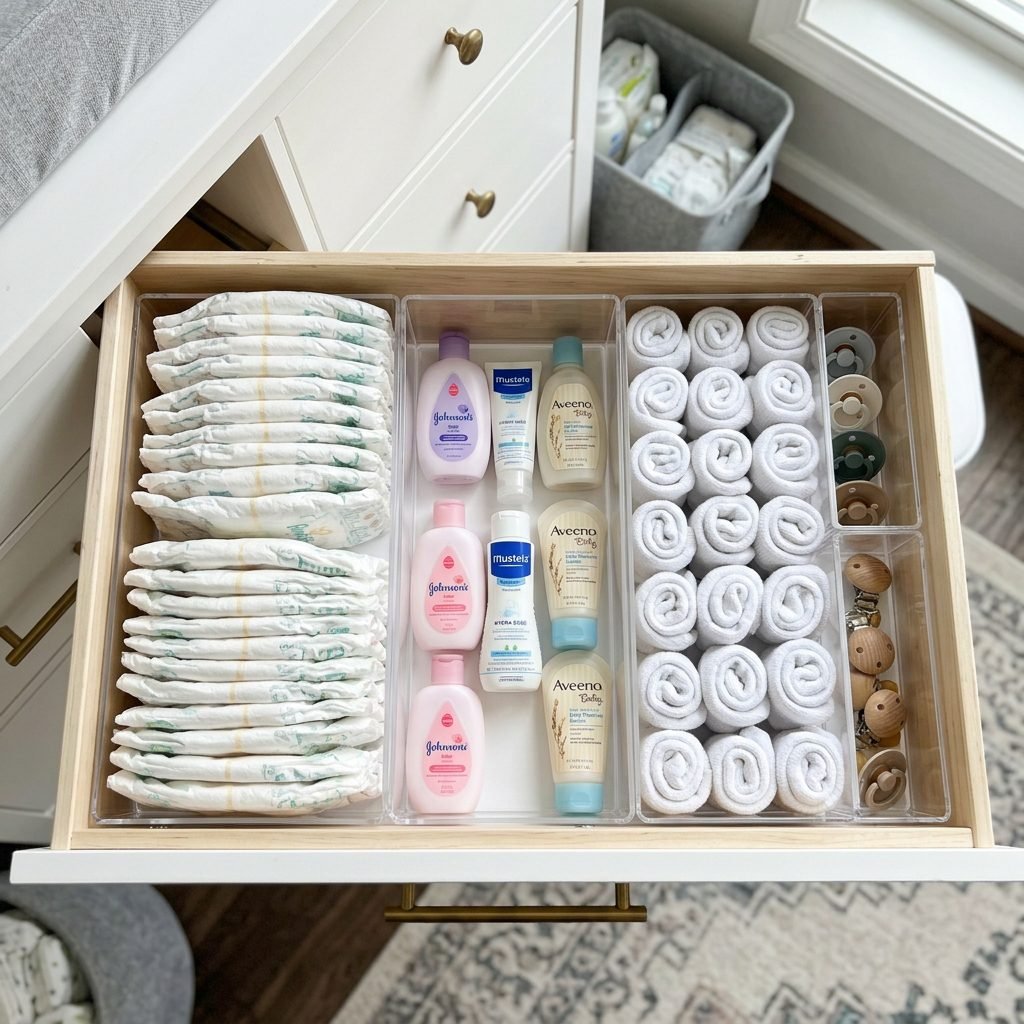
Now for the fun part—organizing! The Ekby Alex drawers are shallow, which is actually a blessing because it prevents ‘the abyss’ where things get buried and forgotten. We want to use micro-organization techniques here.
The Left Drawer: The High-Frequency Zone
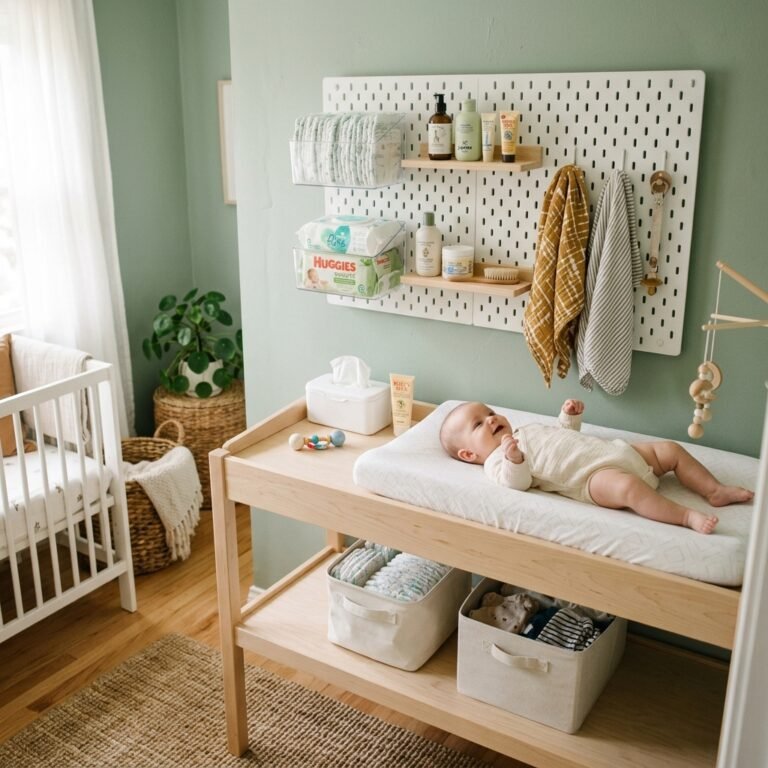
- Diapers: Line them up vertically (the ‘file folder’ method) so you can see exactly how many you have left.
- Wipes: Keep a slim travel pack or a stack of reusable cloth wipes here.
- Diaper Cream: Use a small acrylic divider to keep the tube upright to prevent leaks.
The Right Drawer: The ‘Just in Case’ Zone
- Spare Onesies: Keep 2-3 clean onesies here for those inevitable ‘blowout’ moments.
- Health Kit: A nasal aspirator, a small thermometer, and nail clippers.
- Burp Cloths: Rolled tightly for easy grabbing.
By keeping the top of the table clear of everything except the changing pad, the nursery stays looking visually calm. Everything you need is at your fingertips, but tucked away from curious toddler hands later on.
Safety First: The Golden Rules of Floating Tables
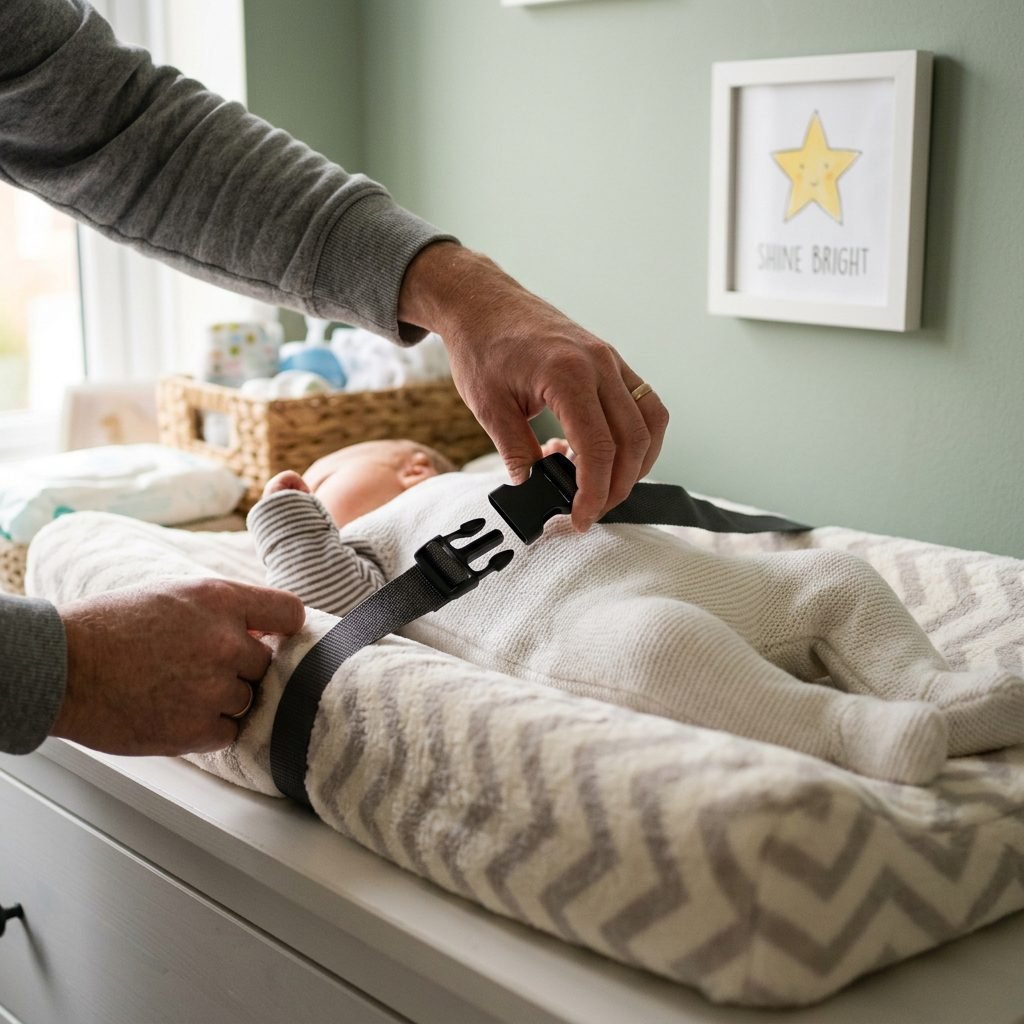
As a doula, safety is my number one priority. A floating table is a brilliant hack, but it requires a few extra precautions to ensure your peace of mind.
- The Weight Limit: Most Ekby Alex units, when properly mounted into studs, can support significant weight, but always check the IKEA manual for the specific bracket ratings. Generally, these are safe for babies up to 30 lbs, but always monitor the brackets for any signs of pulling away from the wall.
- The ‘One Hand’ Rule: This applies to all changing tables, but especially floating ones. Never, ever walk away from baby. Keep one hand on their tummy at all times.
- Secure the Pad: Use heavy-duty adhesive Velcro strips on the bottom of the changing pad and the top of the shelf. This prevents the pad from sliding if the baby kicks.
- Clearance: Ensure there are no crib slats or chairs nearby that an older baby could use to ‘climb’ onto the shelf from the side.
A Reassuring Reminder: You are doing an amazing job. Creating a space that is organized and safe is one of the first ways you are mothering your little one. Trust your instincts and your handiwork!
The Evolution: From Diaper Station to Big-Kid Desk

One of the reasons I advocate for this hack is sustainability. Traditional changing tables are often listed for free on Facebook Marketplace because they become useless after two years. The Ekby Alex, however, is a chameleon.
Once your little one is potty trained, you don’t need to tear this down. Simply remove the changing pad, give the surface a good scrub, and you have:
- A Craft Desk: Lower it slightly to kid-height for a perfect coloring station.
- A Vanity: Add a mirror above it for a teenage daughter’s makeup station.
- An Entryway Console: Move it to the hallway for keys, mail, and sunglasses.
By choosing this hack, you are investing in a piece of furniture that will serve your home for a decade, not just a season. That is smart, conscious nesting!
Conclusion
Your Dream Nursery is Ready
Creating a beautiful, functional nursery doesn’t require a massive room or a massive budget. It requires a bit of creativity and the willingness to think outside the ‘big box store’ nursery sets. The IKEA Ekby Alex floating changing table is more than just a space-saving hack; it’s a testament to your resourcefulness as a mother.
You’ve cleared the floor for playtime, saved your back from future aches, and created a sleek, organized system that will make those middle-of-the-night changes just a little bit easier. Remember, mama, the most important part of the nursery isn’t the furniture—it’s the love and care you bring into it. But having a tidy, stylish space certainly helps you feel more like yourself during the transition into motherhood.
Happy building, happy nesting, and most importantly, happy snuggling!