How to Use a Tension Rod Curtain to Create a Private Nursery Corner in Your Master Bedroom
Hello, beautiful mama. If you are reading this, you are likely in the thick of the nesting phase, looking around your home and wondering exactly where your sweet new baby is going to fit. Take a deep, grounding breath. You are not alone in this. As a doula and postpartum specialist, I have walked into countless homes where expectant parents are stressed about square footage. But let me tell you a secret: your baby does not need a massive, magazine-worthy room to feel safe, loved, and perfectly at home.
The American Academy of Pediatrics (AAP) recommends room-sharing (without bed-sharing) for at least the first six months of your baby’s life to reduce the risk of SIDS. While this is wonderful for your baby’s safety and makes those 2:00 AM nursing sessions much easier, it can sometimes feel like you are sacrificing your own adult sanctuary. You need a space to decompress, and your baby needs a quiet, dark environment for healthy sleep consolidation.
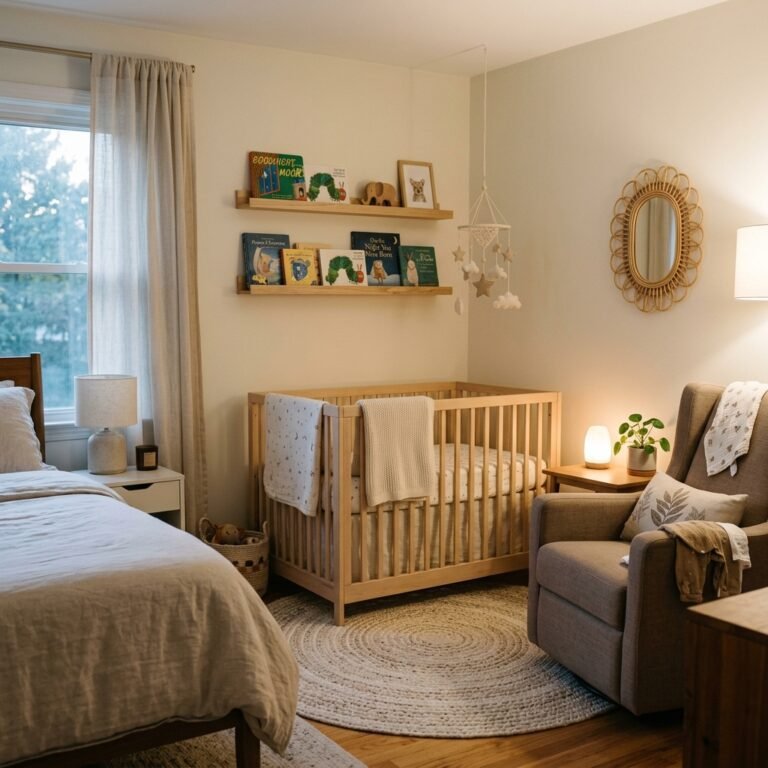
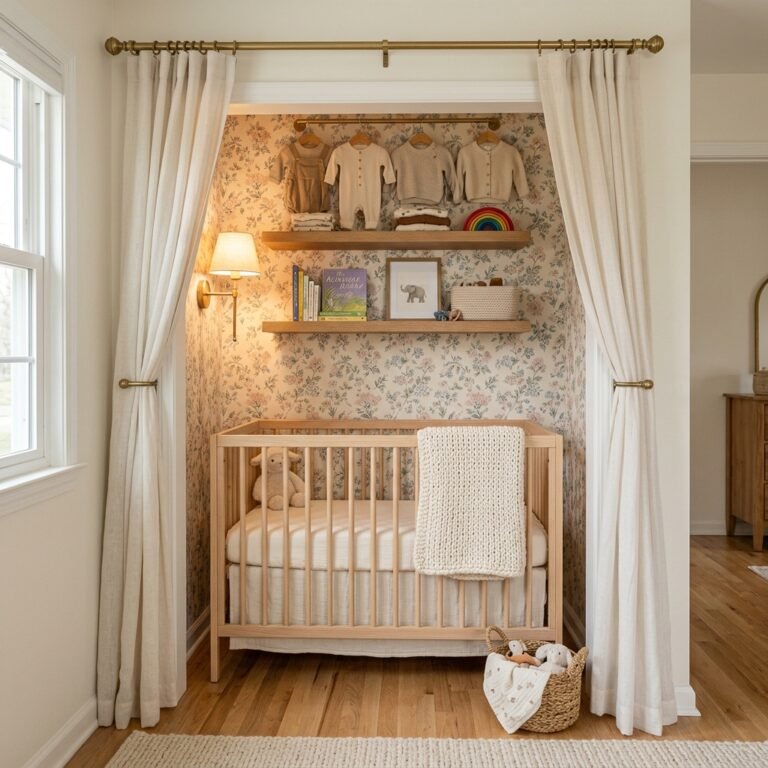
Enter the ultimate small-space saving grace: the tension rod curtain room divider. This brilliant, budget-friendly, and completely renter-safe hack allows you to carve out a dedicated nursery corner right inside your master bedroom. It provides a visual boundary that helps signal to your brain that your sleep space is still yours, while giving your little one a cozy, distraction-free micro-environment.
In this comprehensive guide, we are going to walk through exactly how to measure, install, and organize a private nursery nook using a tension rod curtain. We will cover the best blackout fabrics, safe-sleep airflow guidelines, and space-saving storage hacks that will make your tiny nursery function like a dream. Let’s build your baby’s cozy nest together!
Why a Tension Rod Nursery Corner is a Postpartum Game-Changer

The Psychology of Space and Sleep for New Parents
When you bring your newborn home, your master bedroom suddenly transforms into a nursery, a feeding station, a diaper-changing zone, and a recovery room. Without physical boundaries, the lines between these spaces blur, which can lead to heightened postpartum anxiety. You might find yourself staring at the crib when you should be resting, hyper-vigilant to every little grunt and sigh your baby makes.
Creating a physical barrier—even one as simple as a fabric curtain—works wonders for your mental health. It allows you to “leave” the nursery, even if you are only stepping three feet away into your own bed. This visual separation is crucial for postpartum recovery, helping lower your cortisol levels so you can achieve deeper, more restorative sleep between feeds.
Benefits for Your Baby’s Sleep Architecture
Around three to four months of age, babies undergo a major sleep progression (often dreaded as the “four-month sleep regression”). During this time, they become incredibly aware of their surroundings. If they wake up between sleep cycles and make eye contact with you across the room, they are instantly stimulated and ready to party. A curtain prevents this accidental eye contact.
“Creating a visual barrier in a shared room is one of the most effective pediatric sleep consulting secrets. It allows parents to room-share safely while preventing the baby from being stimulated by parents rolling over, reading, or turning on a bedside lamp.”
Flexibility and Renter-Friendly Design
- Zero Damage: No drilling, no wall anchors, and no patching holes later. This is perfect for renters or parents who plan to move the baby to their own room eventually.
- Cost-Effective: Traditional room dividers or custom renovations can cost thousands. A heavy-duty tension rod and curtain panels can be set up for under $100.
- Adjustable: During the day, you can pull the curtains wide open to let natural light flood the room. At night, draw them closed to create a dark, womb-like sleep environment.
Measuring and Planning Your Master Bedroom Nursery Nook
Finding the Perfect Corner
Before you buy anything, we need to map out your space. Not all corners are created equal when it comes to infant safety and comfort. As a general rule, you want to keep the crib away from direct drafts, heating vents, and—most importantly—windows with blinds or cords, which pose a strangulation hazard.
Standard Measurements to Keep in Mind
You need to know exactly how much floor space you can dedicate to the nursery nook. Here are the standard dimensions you’ll be working with:
- Standard Crib: Approximately 28 inches wide by 52 inches long.
- Mini Crib: Approximately 24 inches wide by 38 inches long (Highly recommended for room-sharing!).
- Clearance: You need at least 2 to 3 feet of standing room next to the crib to safely bend over and lift your baby, especially if you are recovering from a C-section.
Evaluating Room Layout Options
Let’s look at the best places to position your tension rod and crib. Below is a breakdown to help you choose the safest and most efficient layout for your master bedroom.
| Nursery Nook Location | Pros for Parents & Baby | Cons & Safety Considerations |
|---|---|---|
| The Walk-In Closet Nook | Ultimate darkness, excellent sound muffling, saves main floor space. | Must ensure proper ventilation/airflow. Often requires removing doors. |
| The Bedroom Corner (L-Shape) | Uses dead space, easy to section off with a single tension rod. | May be close to windows; must ensure curtains are far from the crib. |
| The Foot of the Bed | Keeps baby incredibly close for night feeds, symmetrical room design. | Requires a very long tension rod spanning the width of the room. |
| The Windowless Alcove | Naturally dark, safe from window cords, feels like a built-in room. | Can feel cramped; requires good overhead or wall-sconce lighting. |
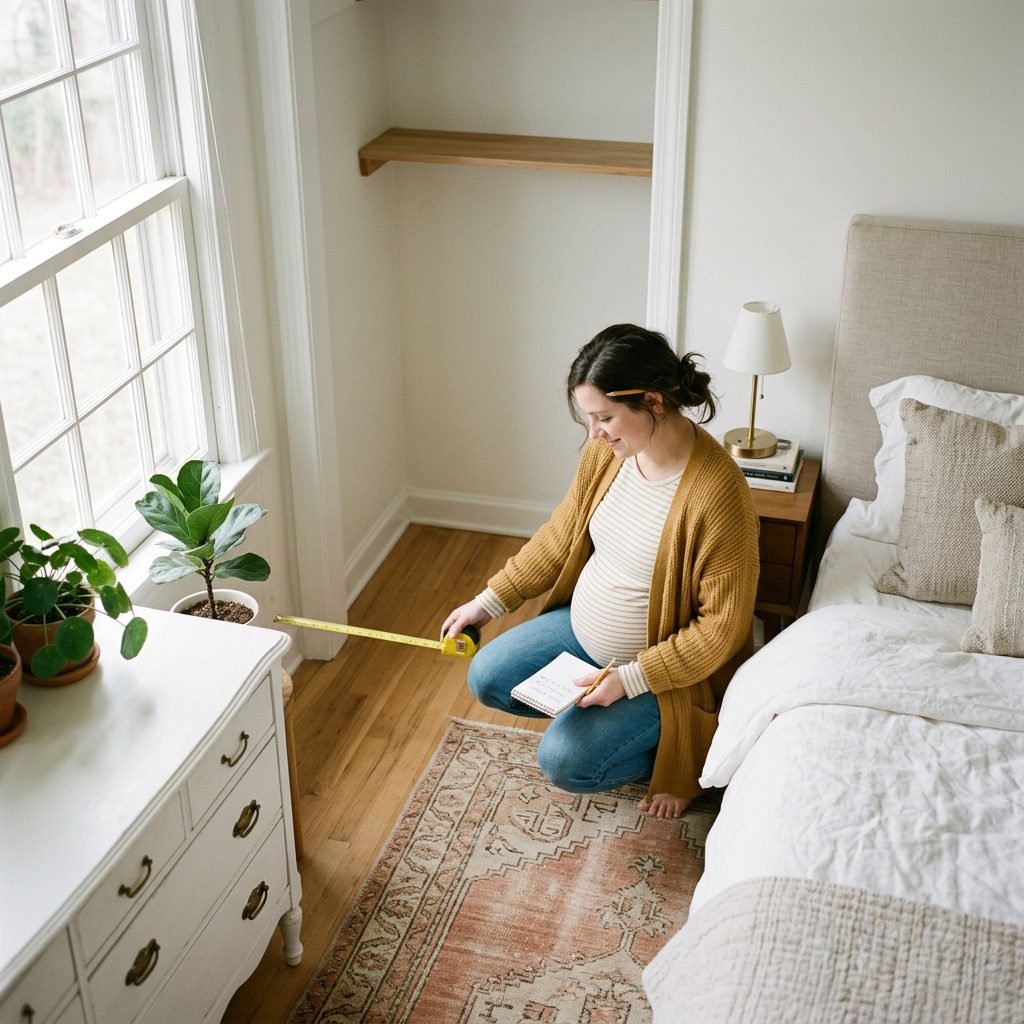
Once you have chosen your spot, take your measuring tape and measure the distance from wall to wall where the rod will sit. Pro Tip: Measure the width at the exact height you plan to hang the rod (usually right near the ceiling), as older houses often have walls that aren’t perfectly square!
Choosing the Right Tension Rod and Curtain Combo
The Hardware: Heavy-Duty is Non-Negotiable
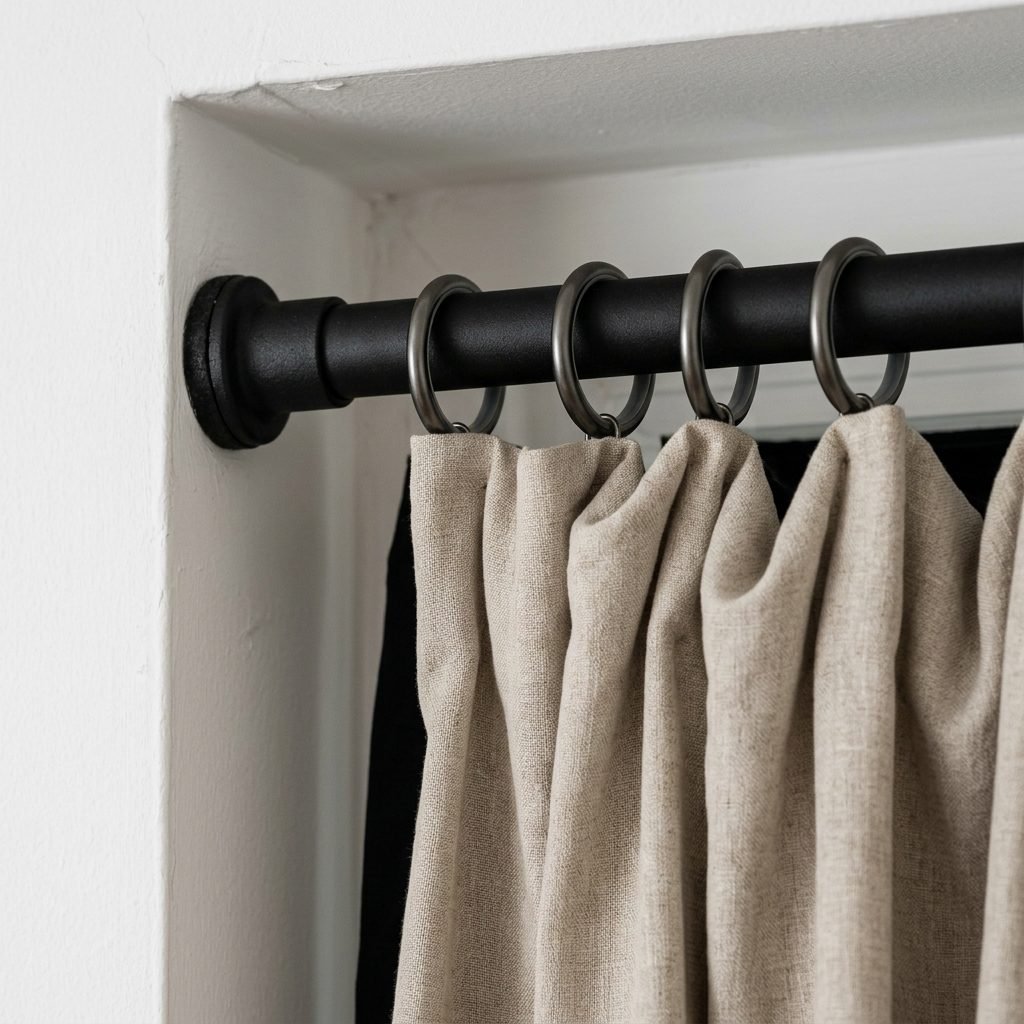
Mama, this is not the time for a flimsy, $10 shower curtain rod. Because you will be hanging long, potentially heavy fabric panels, and because this is near your baby’s sleep space, safety and stability are paramount. You need a commercial-grade room divider tension rod.
- Diameter: Look for a rod with a diameter of at least 1 inch to 1.5 inches. Thicker rods distribute weight better and will not bow in the middle.
- End Caps: Ensure the rod has wide, non-slip rubber or silicone end caps. This protects your drywall and provides the friction needed to hold the rod securely in place.
- Weight Capacity: The rod should be rated to hold at least 20 to 30 pounds.
Selecting the Perfect Fabric
The curtains you choose will dictate the functionality of the space. You want a fabric that blocks light, absorbs sound, but remains breathable.
Blackout vs. Room Darkening vs. Sheer
For a nursery nook, 100% blackout curtains are usually the gold standard. They help recreate the dark environment of the womb, which encourages the release of melatonin (the sleepy hormone) in your baby’s brain. However, true blackout curtains can be heavy. If you are worried about weight, opt for a high-quality “room darkening” linen blend. It won’t block 100% of the sun, but it provides a gorgeous, airy aesthetic while still obscuring your baby’s view of you.
“When shopping for nursery curtains, always check the label for OEKO-TEX certification. This ensures the fabric has been tested for harmful substances and volatile organic compounds (VOCs), keeping your baby’s breathing space pure and safe.”
Color Psychology: Stick to calming, neutral tones for the side facing the baby. Soft sage greens, warm oatmeals, muted terracottas, or classic ivory help soothe the nervous system. You can choose a pattern for the side facing your bed to match your master bedroom decor!
Step-by-Step Installation Guide

Setting Up Your Nursery Room Divider
Grab your partner, a friend, or your doula! While you can install a tension rod by yourself, having a second set of hands makes leveling it much easier, especially if you are in your third trimester. Please, do not climb on tall ladders if you are heavily pregnant—let your support person do the reaching.
The Installation Process
- Prep the Curtains: Before dealing with the rod, wash and dry your curtain panels according to the manufacturer’s instructions. Iron or steam out the wrinkles. Slide the curtain rings or grommets onto the tension rod.
- Position the Rod: Have one person hold the left side of the rod against the wall at the desired height (usually 2 to 3 inches below the ceiling makes the room look taller).
- Extend and Twist: The second person should extend the right side of the rod until it touches the opposite wall. Begin twisting the rod to engage the tension mechanism.
- Apply Maximum Tension: Once the rod feels snug, give it another 3 to 4 full twists. You want it to feel incredibly tight against the walls. (Note: If you hear the drywall cracking, stop! But a firm, tight pressure is necessary.)
- Level It Out: Step back and look at the rod, or use a standard bubble level to ensure it is perfectly straight. Adjust one side up or down as needed.
- The Pull Test: Give the rod a firm, gentle tug downward in the center. It should not budge, slip, or bow. If it moves, take it down, extend it an extra inch, and wedge it back into place for a tighter fit.
Securing the Curtains
Once the rod is up, distribute the curtain panels evenly. If you want the curtains to stay in place and not slide open accidentally, you can use a small command hook on the wall hidden behind the edge of the curtain, and loop the final curtain ring over it. This anchors the ends of the curtain firmly against the wall, preventing light leaks.
Organizing Your Tiny Nursery Space (Storage Hacks)
Maximizing Vertical Space
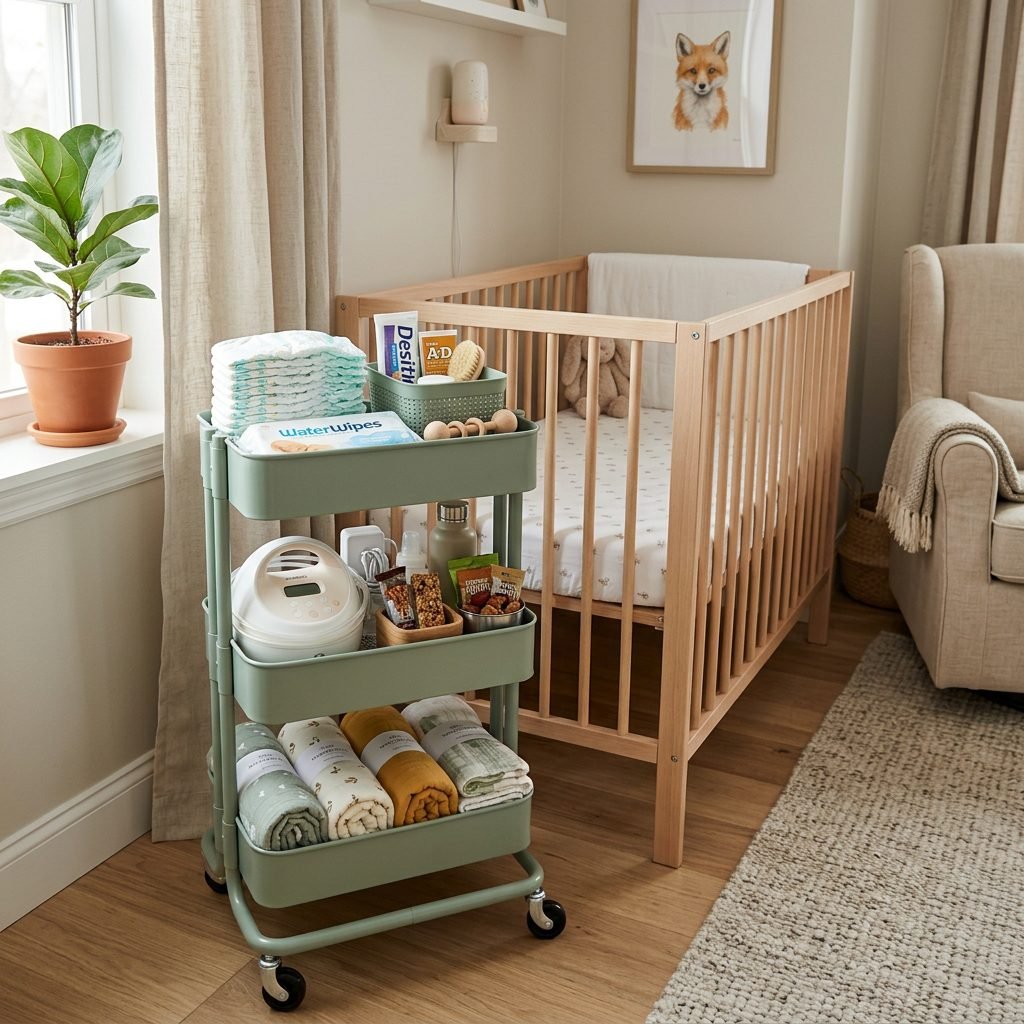
Now that your boundaries are set, how do you fit all the baby gear into a 4×4 foot square? The secret to small-space nursery design is thinking vertically. When you don’t have room for a bulky dresser or a traditional changing table, you have to get creative with organizers.
The 3-Tier Rolling Cart: A Doula’s Best Friend
I recommend a 3-tier metal rolling utility cart (like the IKEA Raskog) to every single one of my clients. It serves as a mobile changing station, pumping station, and postpartum care kit all in one. Because it is on wheels, you can roll it out of the nursery nook and right up to your bed during night feeds, then tuck it away behind the curtain during the day.
| Cart Level | What to Store (Baby & Mama Essentials) |
|---|---|
| Top Tier (Easy Access) | Diapers, wipes, diaper cream, hand sanitizer, pacifiers, burp cloths. |
| Middle Tier (Feeding/Pumping) | Breast pump, haakaa, nipple cream, nursing pads, a large water bottle, one-handed snacks (granola bars). |
| Bottom Tier (Backups/Linens) | Extra crib sheet, backup swaddles/sleep sacks, an extra sleeper for baby, muslin blankets. |
Under-Crib and Wall Storage
Don’t let the space under the crib go to waste! Use shallow, clear acrylic bins or aesthetic woven baskets to store bulk items like extra boxes of wipes, out-of-season baby clothes, or diapers in the next size up. If your crib has a skirt, these items will be completely hidden.
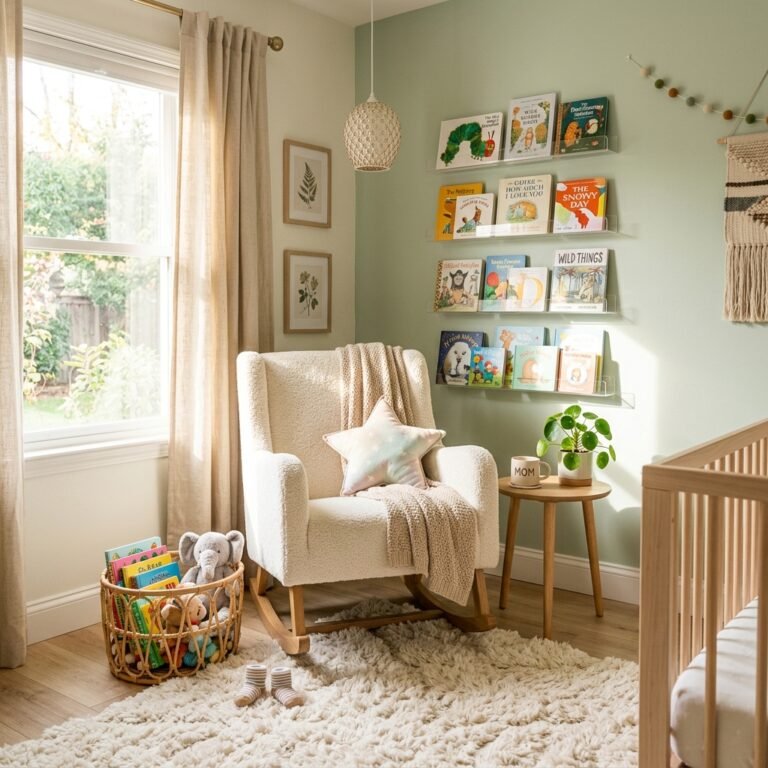
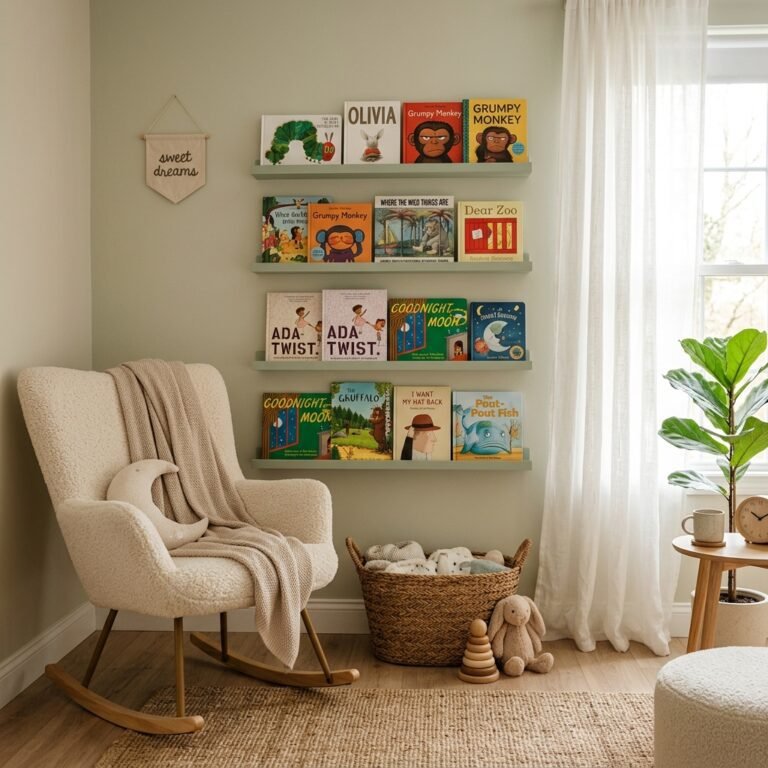
For the walls inside your nook, consider installing acrylic floating bookshelves. They take up virtually zero visual space but are perfect for holding a sound machine, a baby monitor camera, a small nightlight, and a few favorite bedtime storybooks. Just ensure any shelves are installed securely into wall studs and are placed well out of reach of the crib.
Safe Sleep, Airflow, and Important Considerations
Prioritizing Air Circulation
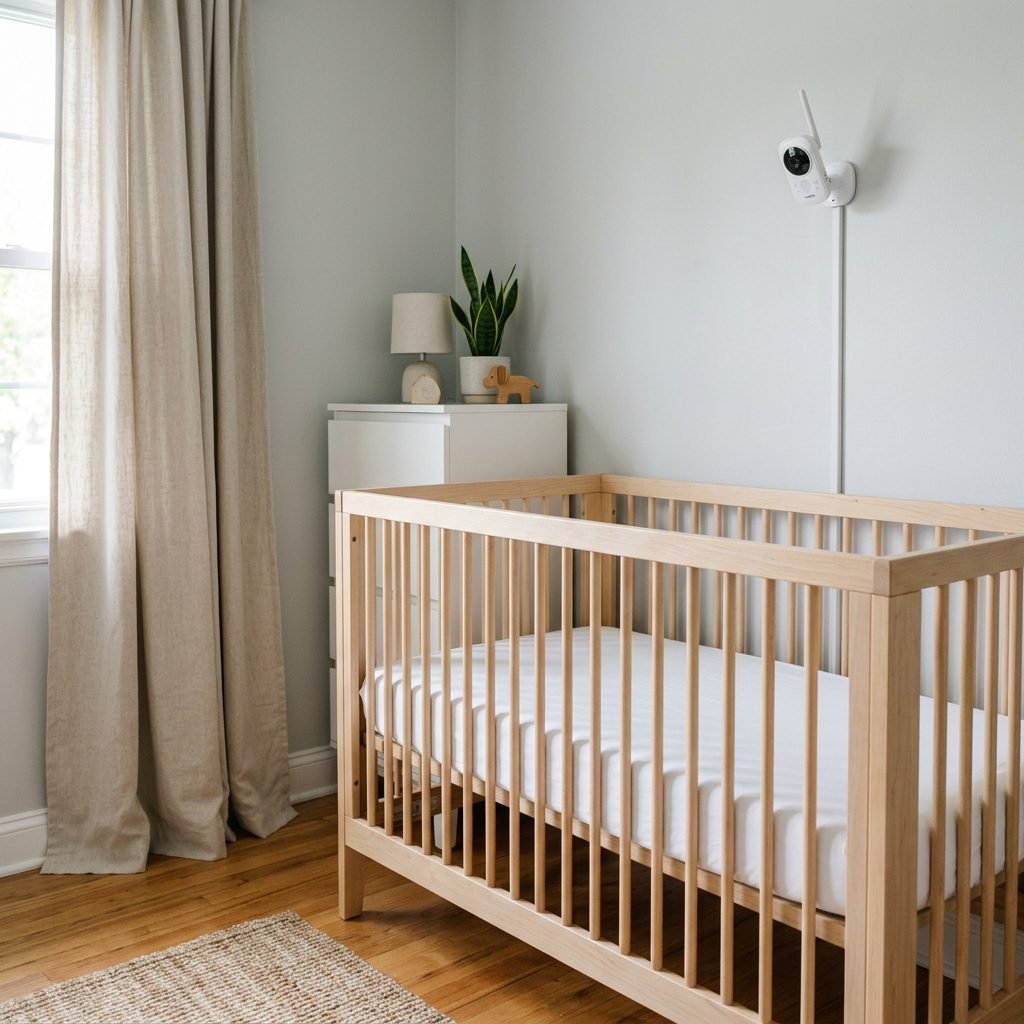
As a maternal care expert, I cannot stress this enough: creating a private space is wonderful, but airflow is critical for safe infant sleep. Stagnant air and overheating are known risk factors for Sudden Infant Death Syndrome (SIDS).
When you draw your tension rod curtains closed at night, you must ensure that air can still circulate freely around your baby’s crib. Here is how to keep the nook safe:
- Leave a Gap: Never close the curtains completely flush against the walls. Always leave a 6-to-12-inch gap at one end to allow air from the ceiling fan or AC vent to enter the nook.
- Crib Placement: The crib itself must be placed at least 12 to 18 inches away from the curtain fabric. If a baby were to reach out, they should not be able to grab, pull, or become entangled in the curtain.
- Use a Fan: Consider placing a small, clip-on oscillating fan on a nearby shelf (pointing near the crib, but not directly blasting the baby) to keep the air moving continuously.
Monitoring Your Baby
Even though your baby is in the same room as you, the curtain acts as a visual block. You should absolutely still use a baby monitor. Mount the camera high on the wall inside the nook, angled down into the crib. Keep the monitor screen on your nightstand. This allows you to check if the baby is just actively dreaming or actually awake and needing you, without having to pull back the curtain and risk waking them up fully.
“Remember the ABCs of Safe Sleep: Baby should be sleeping Alone, on their Back, in a bare Crib. No pillows, no loose blankets, and certainly no curtain fabrics draped over the crib rails.”
Medical Disclaimer: The information provided in this article is for educational and informational purposes only and is not intended as medical advice. Always consult with your pediatrician or a qualified healthcare provider regarding safe sleep practices, SIDS prevention, and the specific health and safety needs of your infant.
Conclusion
My sweet friend, preparing a space for your baby is one of the most primal, beautiful instincts of motherhood. Whether you are bringing your baby home to a sprawling five-bedroom house or a cozy one-bedroom apartment, remember this: your baby does not care about square footage. They care about your warmth, your heartbeat, and your voice.
By using a simple tension rod curtain to create a private nursery corner in your master bedroom, you are taking a brilliant, proactive step to protect your baby’s sleep and your own postpartum mental health. You are creating a boundary that says, “This space is for resting, and this space is for growing.”
Take your time setting up this little nook. Pick out a curtain color that makes you feel calm. Organize that little rolling cart with care. And when the nights get long—because they will—know that you have created a safe, beautiful, and functional haven for your family to bond and rest. You are going to be an incredible mother. Now, go measure those walls, order that heavy-duty rod, and build that beautiful baby nest!